Greetings friends of hive
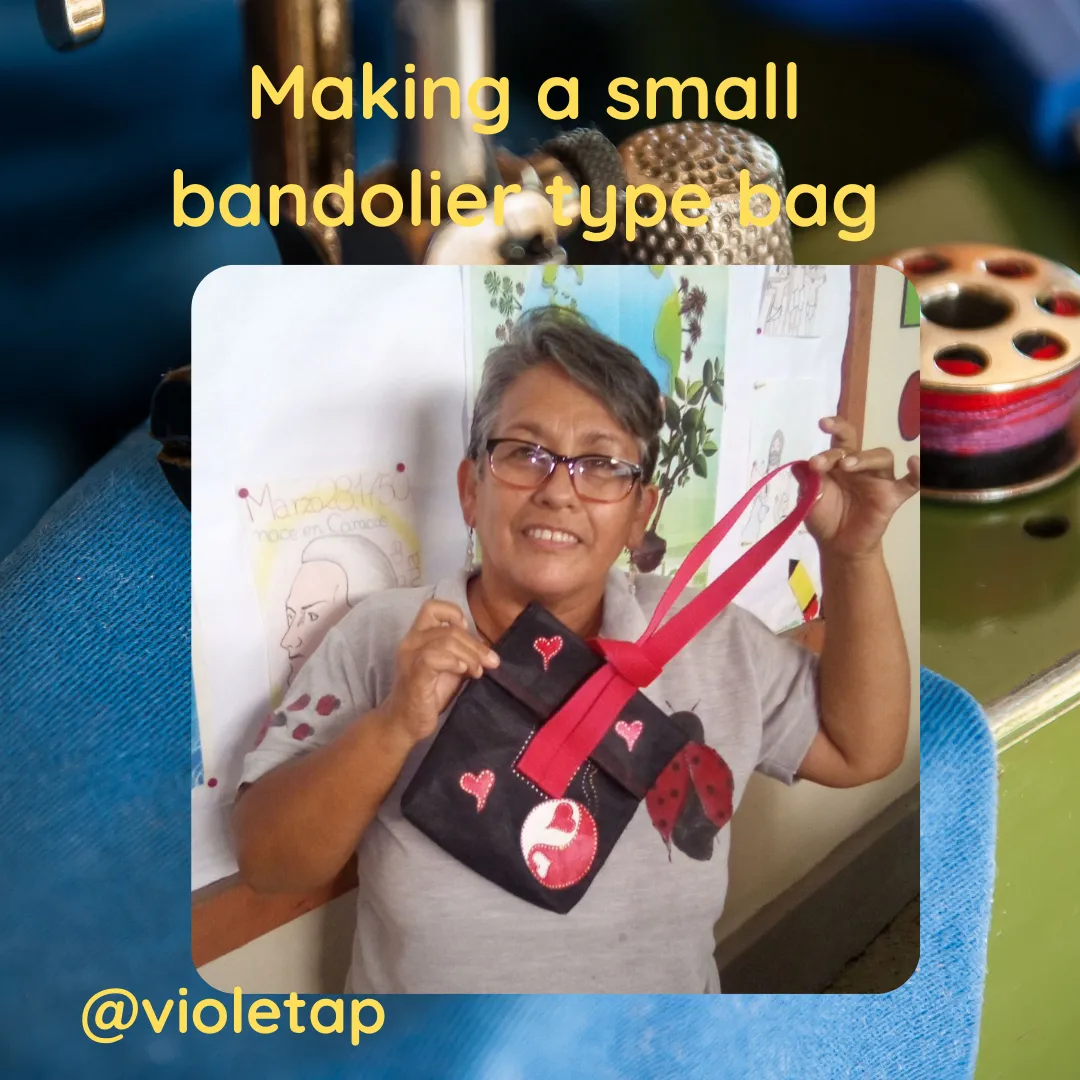
Today I want to share with you my last work, although it is more like a little work because I made a small shoulder bag. This model caught my attention and I decided to make it. As I have already told you, I am not an expert in sewing nor can I call myself a seamstress, but I am learning with my older sister who has been sewing for many years and with her help I have been learning to sew.
In this opportunity I made this little bag, the materials I used have been the following:
Materials:
- Denim fabric
- Reata (strap to hold the bag)
- Thread
- Needle
- Paint of different colors
- Measuring tape
- Scissors
Now I want to show you how my creative process went, but first, I must confess that it is a type of bag that I love because of its practicality, it is also simple to make, and I can tell you that I am just a sewing apprentice, that is to say that it is really simple. Although I think it helps a lot because of its small size.

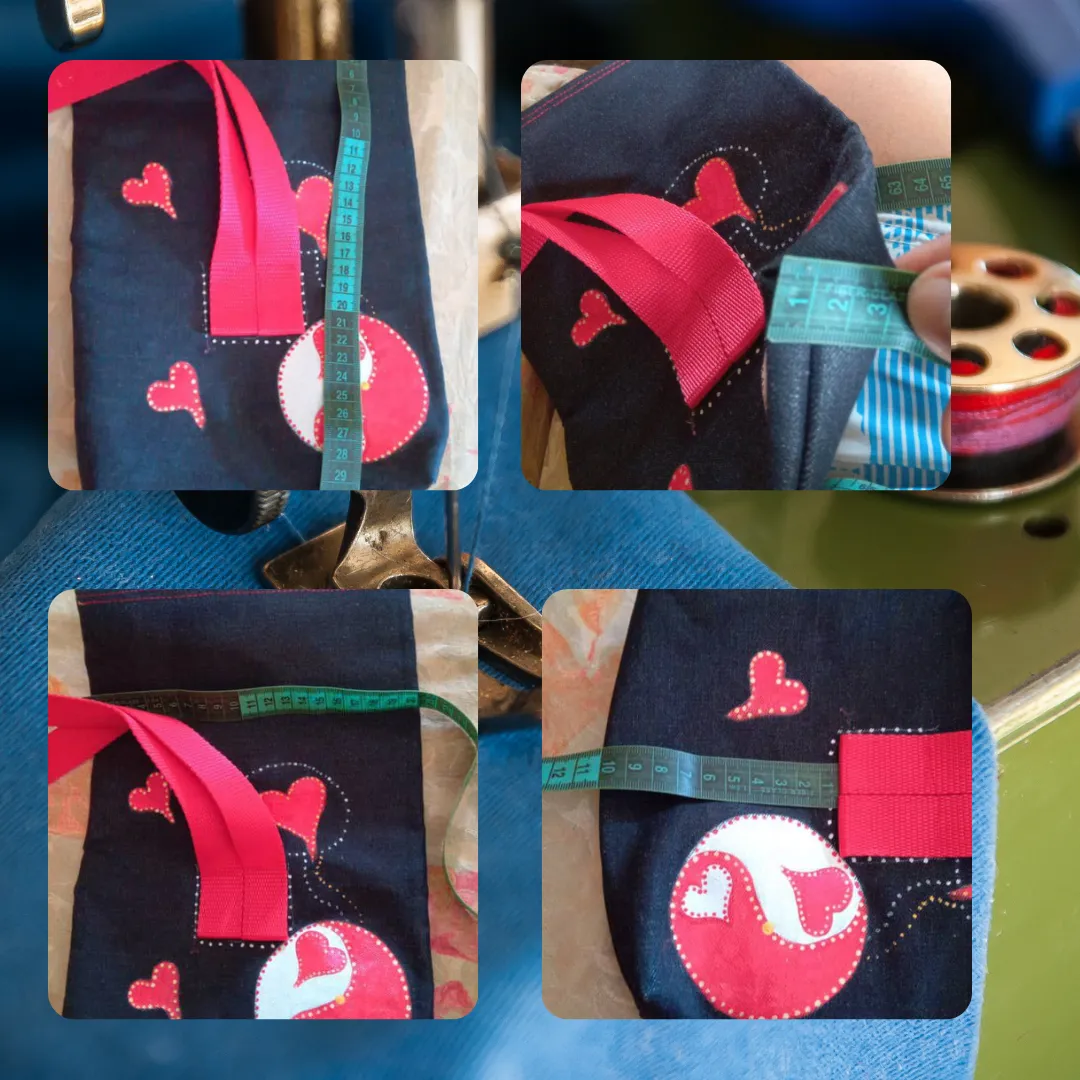
The first thing you have to do is to cut the fabric to have the piece of the length and width that you want, in this case I cut it 31cm long and 20cm wide, then you have to sew the fabric on the front and also on the back, because the next thing is to sew the piece on all sides to join the bag.
Then at the bottom you make a seam called bellows (that's what my friend who is the facilitator of the course I'm doing told me), this is done for the bag to have more capacity and more width, in this case I did it 3cm, the next thing I did was a seam on the top of the bag, it was by way of decoration.
With these simple steps the bag is ready, now the decorative part is missing. So after having the bag ready, I proceeded to draw hearts on the bag and also the symbol of yin and yang with little hearts inside, because I thought it was very cute, then I began to paint the drawings and place dots in a decorative way, technique called pointillism.
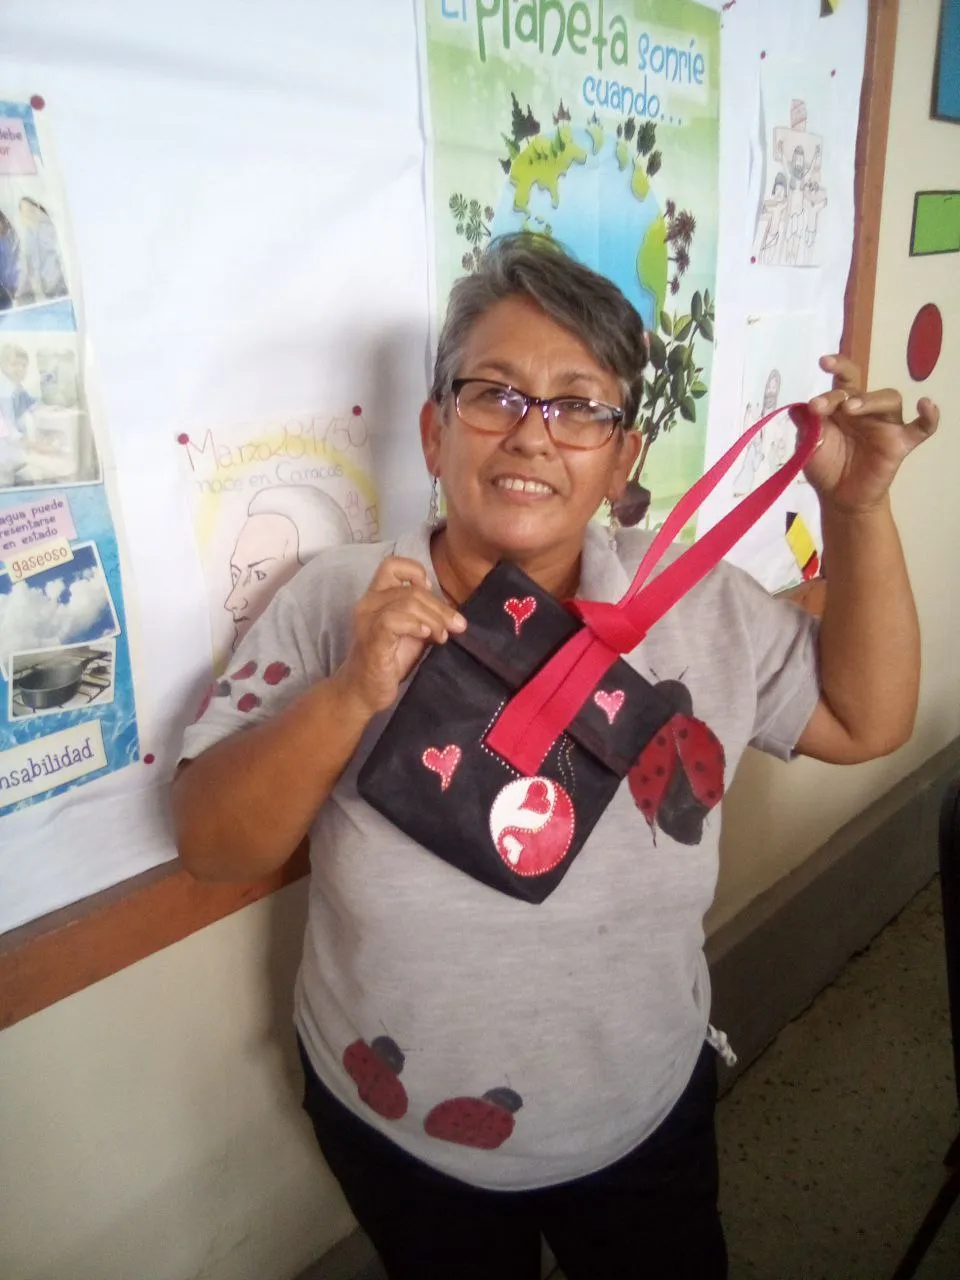
As you can see this bag is very easy to make and it is really very practical, it is also very useful for those people who can not or do not like to carry bags on their shoulders, I hope you are encouraged to do it because it is a very nice bag as you can see in the pictures, it is very simple.
Until next time, dear friends.

VERSIÓN EN ESPAÑOL
Elaborando un pequeño bolso tipo bandolero
Saludos amigos de hive
Hoy quiero compartirles mi último trabajo, aunque es más bien un trabajito porque hice un pequeño bolso tipo bandolero. Me llamó mucho la atención este modelo y me animé a hacerlo. Como ya les he comentado, no soy una experta en la costura ni me puedo llamar costurera, sino que estoy aprendiendo con mi hermana mayor que lleva muchos años dedicándose a la costura y con su ayuda he ido aprendiendo a coser.
En esta oportunidad hice este pequeño bolsito, los materiales que utilicé han sido los siguientes:
Materiales:
Tela de jeans
Reata (tira para sujetar el bolso)
Hilo
Aguja
Pintura de diferentes colores
Cinta métrica
Tijera
Ahora quiero mostrarles como fue mi proceso creativo, pero antes, debo confesar que es un tipo de bolsito que me encanta por lo práctico que es, también es sencillo de hacer, y que lo diga yo que apenas soy una aprendiz de costura, es decir que en verdad es sencillo. Aunque creo que ayuda mucho por su tamaño pequeño.
Lo primero que se tiene que hacer es cortar la tela para tener la pieza del largo y ancho que uno desea, en este caso la corté de 31cm de largo y 20cm de ancho, luego se tiene que cocer la reata por la parte delantera y también por la parte de atrás, ya que lo siguiente es coser la pieza por todos los lados para unir el bolso.
Luego por la parte de abajo se le hace una costura llamada fuelle (eso fue lo que me dijo mi amigo que es el facilitador del curso que estoy haciendo), esto se realiza para el bolso tenga más capacidad y más ancho, en este caso yo lo hice de 3cm, lo siguiente que realice fue una costura por la parte de arriba del bolso, fue a manera de decoración.
Con estos sencillos pasos ya estaría listo el bolso, ahora falta la parte decorativa. Así que
luego de tener el bolso listo, proseguí a dibujar corazones sobre el bolso y también el símbolo del del yin y yang con corazoncitos adentros, porque me parecía muy lindo, luego comencé a pintar los dibujos y a colocar puntitos de manera decorativa, técnica que llaman puntillismo.
Como pueden ver este bolso es muy fácil de hacer y realmente es muy práctico, también es muy útil para aquellas personas que no pueden o no les gusta llevar bolsos en los hombros, espero que se animen a realizarlo ya que es un bolso muy bonito como pueden ver en las imágenes, es algo muy sencillo
Hasta la próxima. queridos amigos.