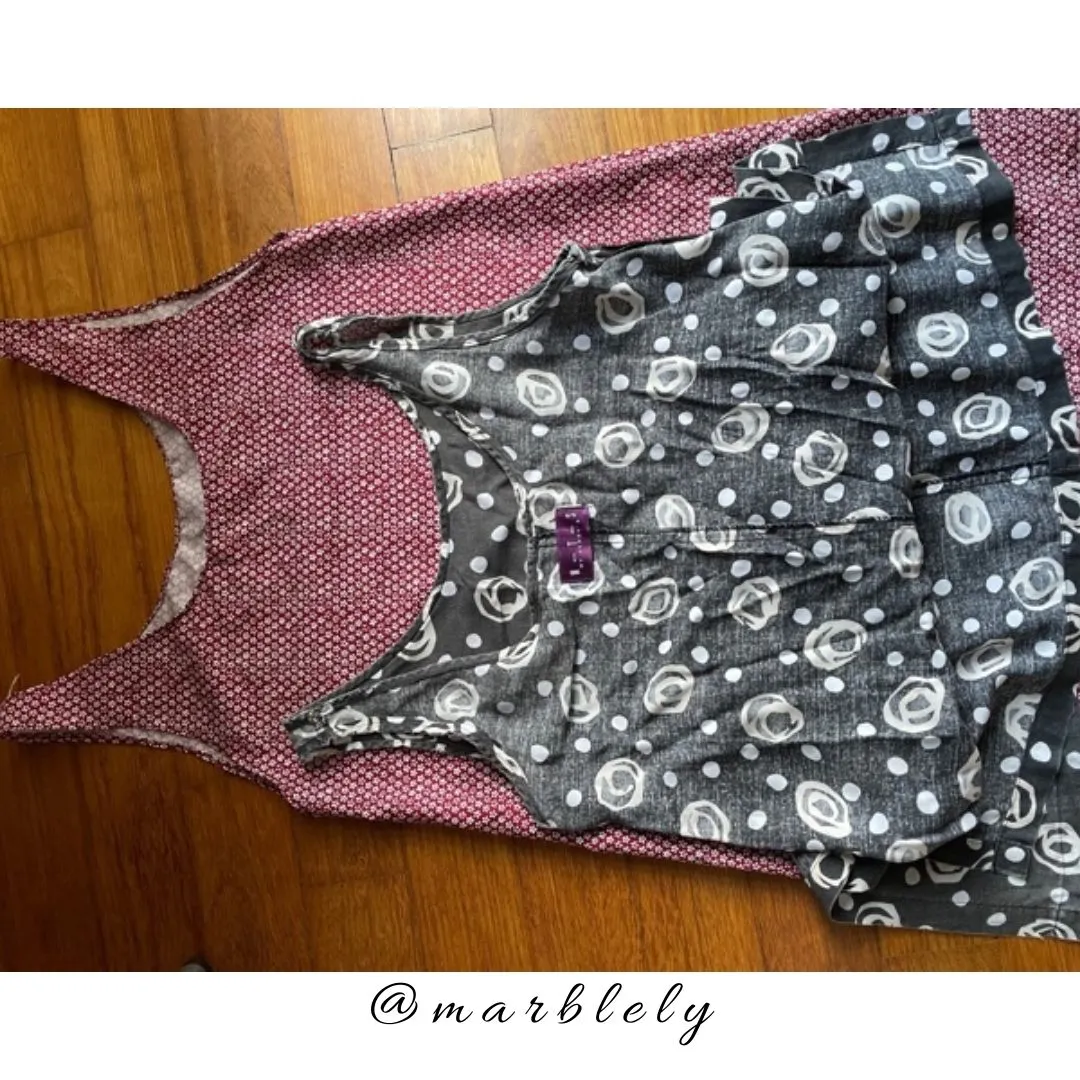
See, mom has an old sleeveless blouse, one that she loved wearing until the cloth grew thin and it started tearing at the edges. She still wore it but one day, it ripped at the back of the center. She knew it was time to say goodbye. But instead of bidding farewell to it, she passed me the blouse instead, asking that I replicate it. The keyword was "replicate".
I was hesitant at first and it took me a long while to get started. I have sewed something similar for her, a summer dress but that did not involve a full cut out shoulder hole. For the summer dress, I added two strips of ribbon or lace for the shoulder holes which was a simpler adventure.
I always have this thing that I might end up wasting the fabric because I have cut wrongly or sew wrongly. It needed a mental push and I pushed one day, after seeing Nike's tagline to "Just Do It!" on my t-shirt.
Mom's old blouse was comfy. It also has a split at the bottom. I forgot to factor that part in. Comfy and split... hmmm... can I achieve that?
But the most challenging part was the neck and shoulder lines. My Archilles' heel when it comes to any needlework is anything curvy. The original blouse did not have any piping which I liked, or so I thought. My idea was just to double fold narrowly and sew along the edges, that should do it, right? Ermmm... maybe.
I laid the fabric flat on the floor, with mom's old blouse on top of the fabric and cut out the fabric, adding about 1 inch of a seam allowance all around. This was me, winging it. Mom said to do just that and in my head, I believed that it was possible too.

First part was easy, my plan after cutting out the fabric was to sew the top. Two short lines and that was it. A happy, happy start.
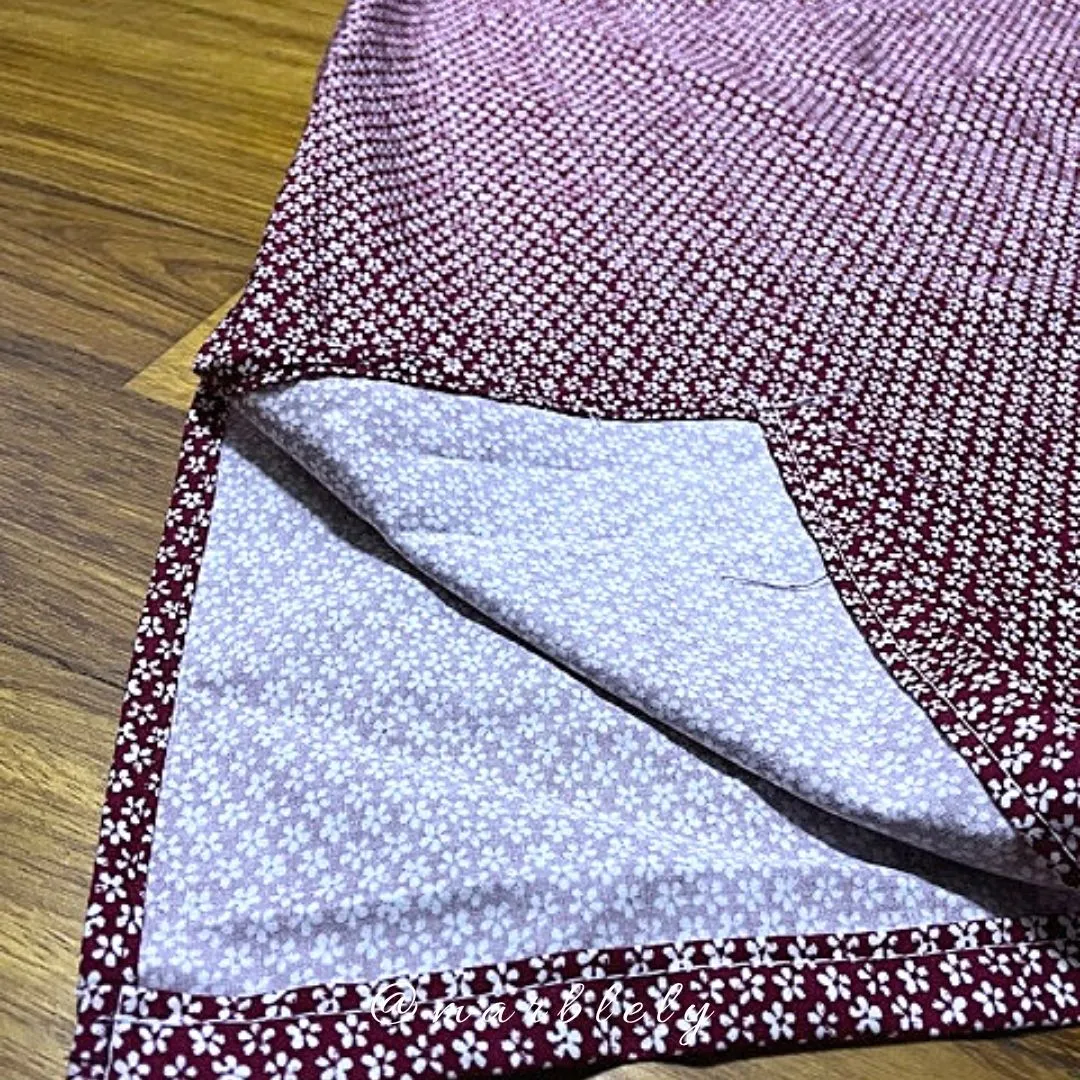
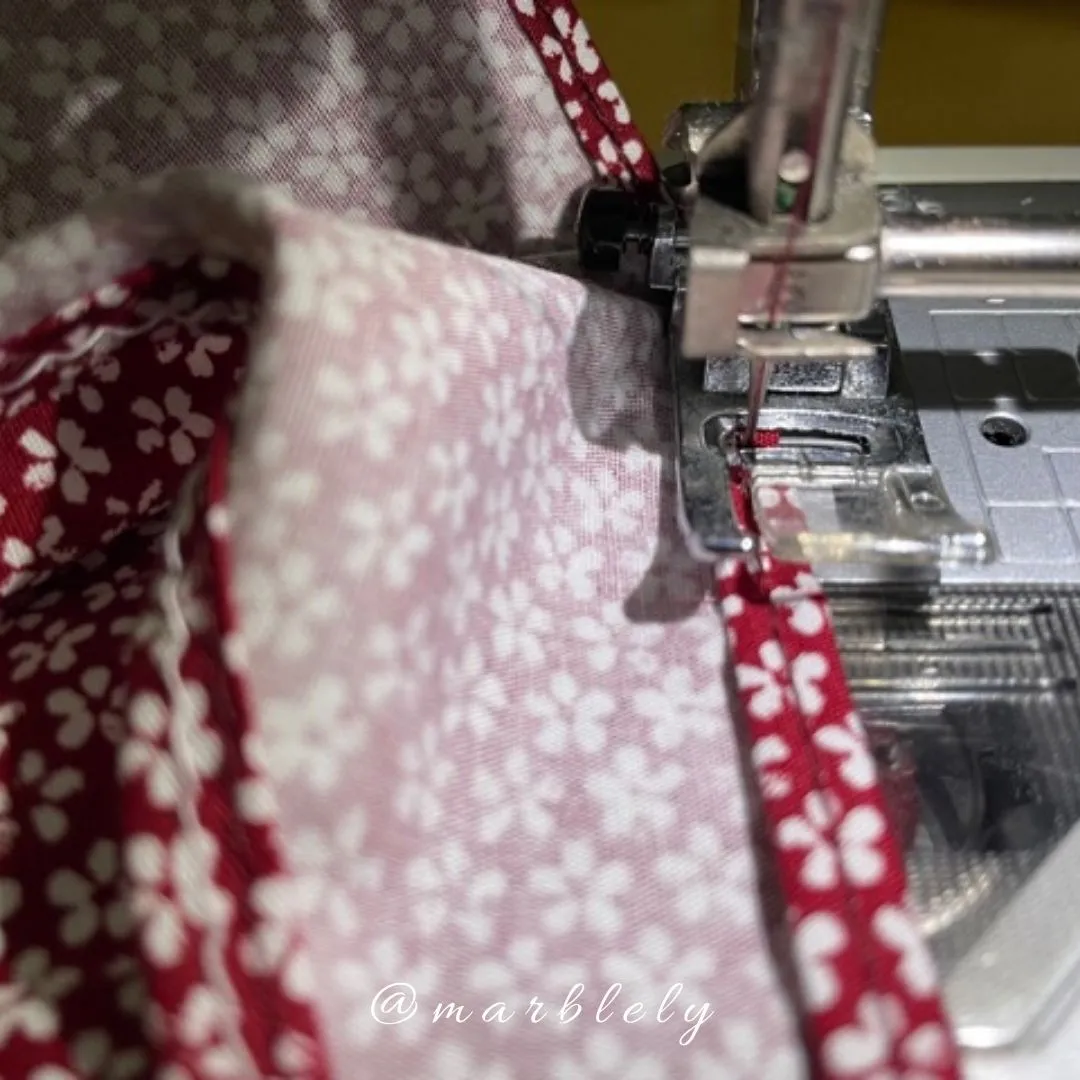
Then, it was sewing the sides and hemming the bottom. Easy peasy. All straight lines, all was good. All my favourite parts so far because the blouse still looked good. For the sides, I decided to do french seams for the fun of it. Hide the edges to prevent fraying. Oh, I almost forgot about the split and I managed to add that in. So far, so good.
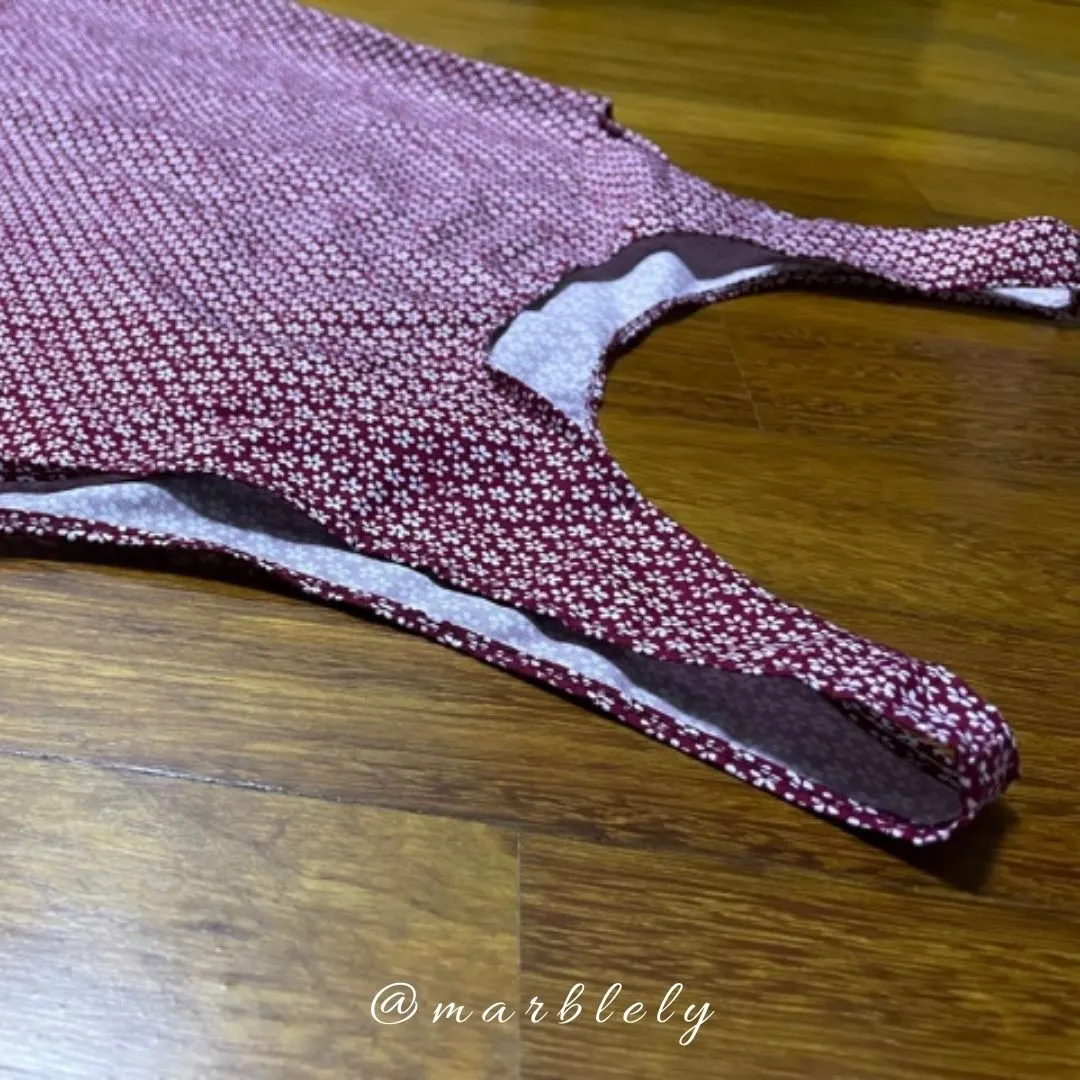
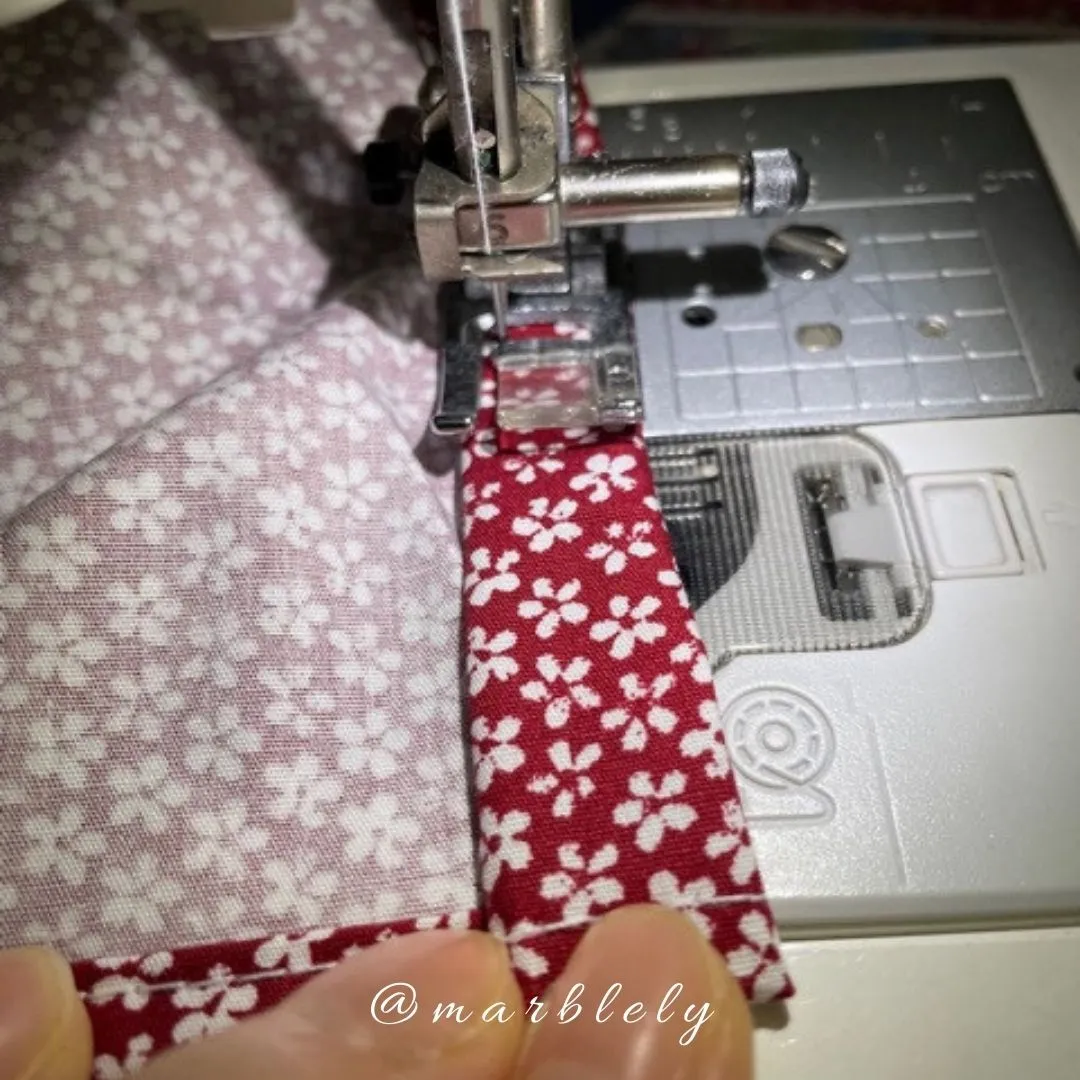
Then, I was ready for the tricky part. The curves. The plan was to first fold once, sew slowly and then fold again and continue to sew slowly.
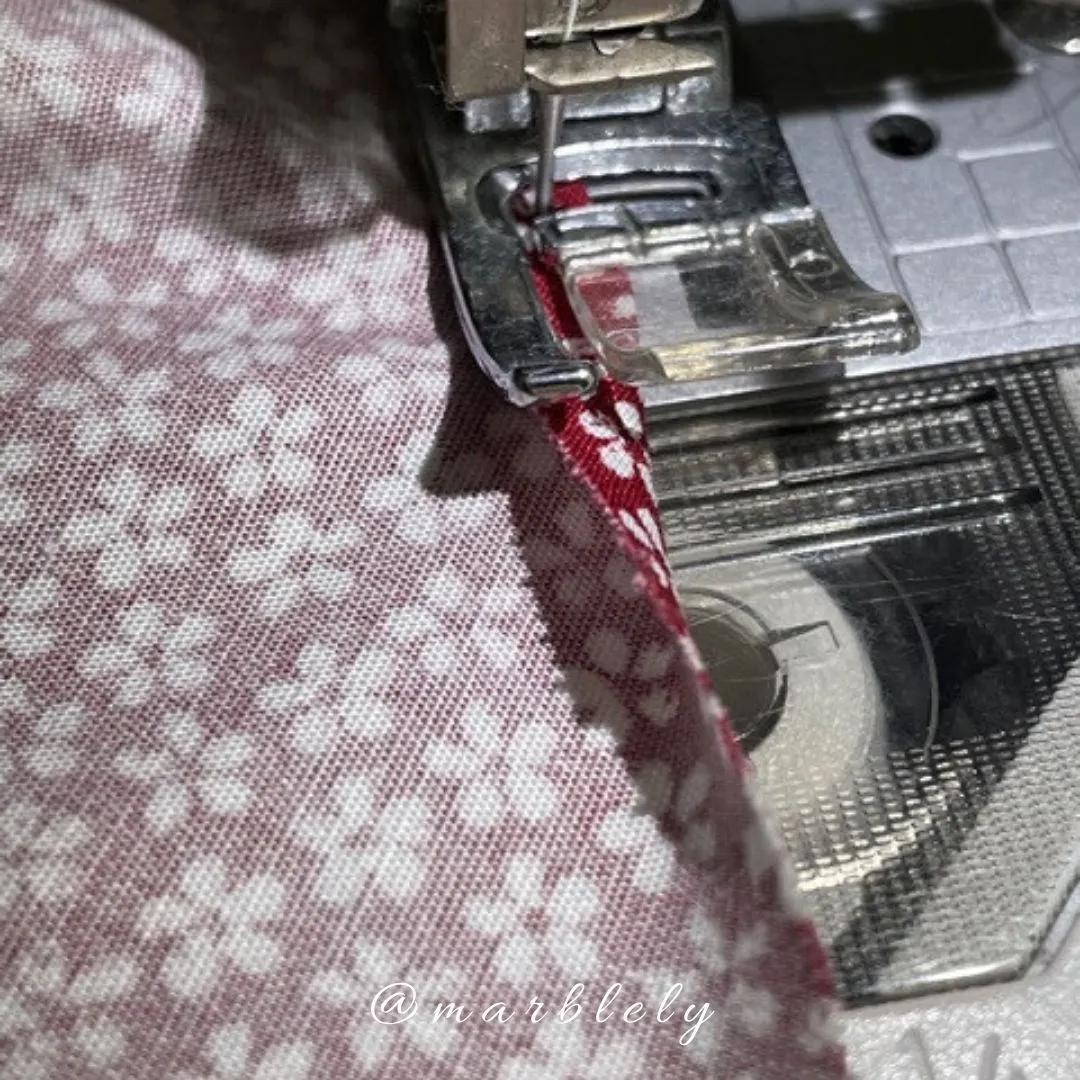
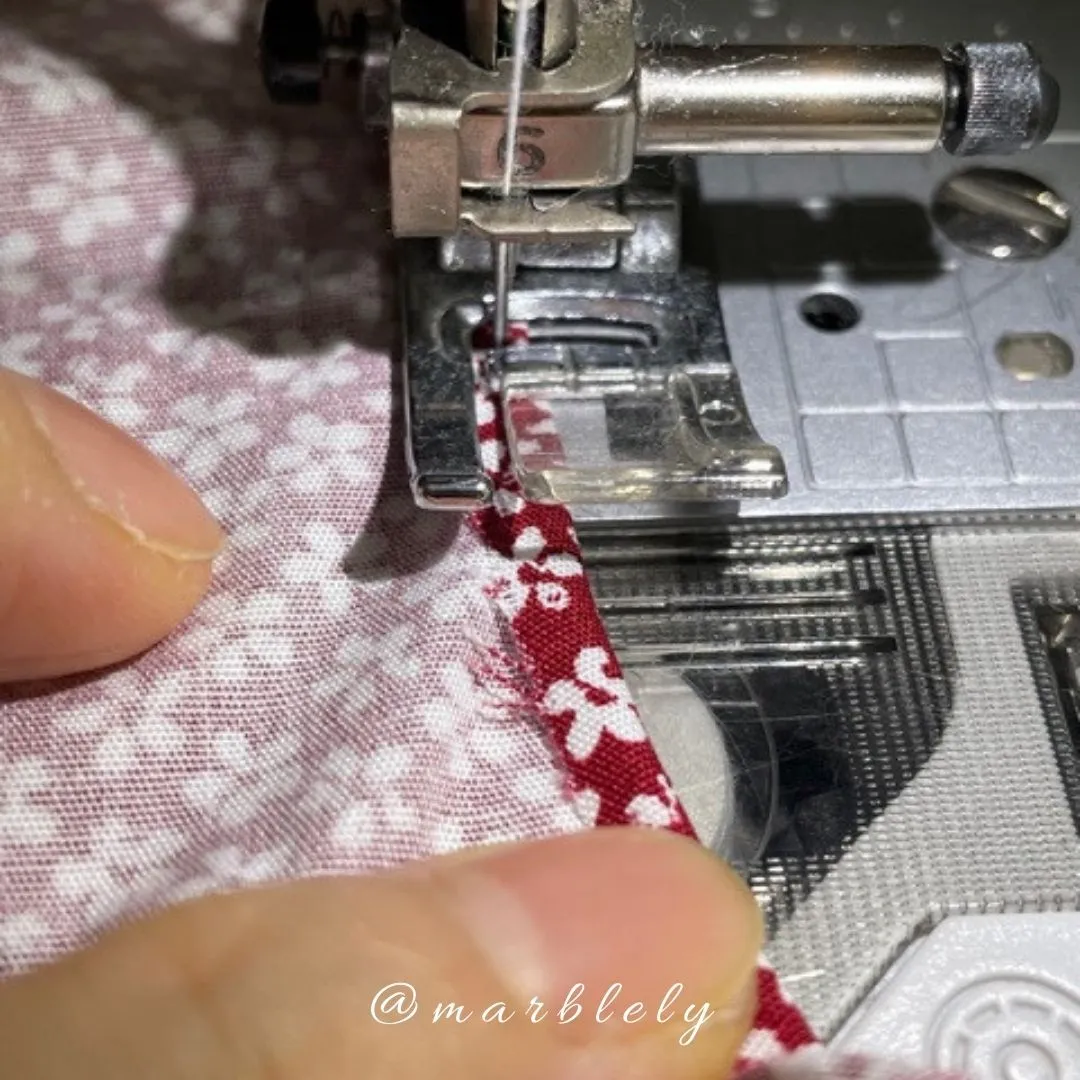
The first fold seemed to work but the curves started to curve a wee bit too much.
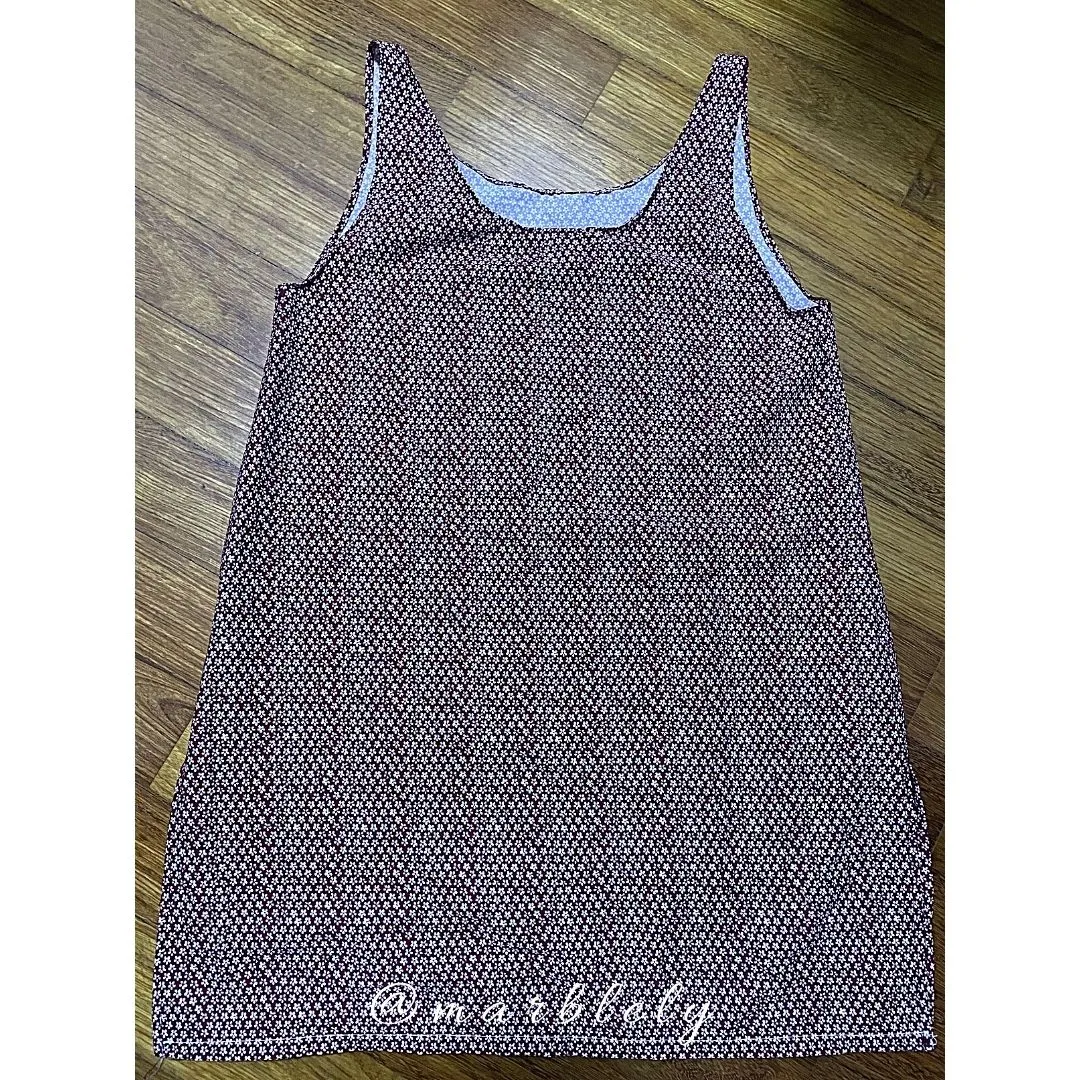
After it was all done, I looked at it and felt the blouse was too small. It didn't look as spacious and comfy as mom's blouse and I felt the sides were small too. The shoulder lines too looked small. Darn. French seam was a bad idea. I forgot it would take up more fabric than what I have added at the sides and the blouse has shrunk because of it.
I thought long and hard before I finally decided to rip open the french seams and sew just normal seam, hoping that it would add another inch to the sides.

It took some painstakingly hour to rip open the side seams using my faithful seam ripper. Aaahh... what would I do without it? There were a couple of times, I just wanted to rip them open by pulling the fabric apart but luckily I didn't. Patience, my dear, patience.

I resewed the sides and I think it looked slightly bigger, just very slightly. I packed it into a bag, closed my eyes and passed it to my mom. I told her that she might not be able to fit but I tried :D
~ ~ ~ 🧵🧶💗🧶🧵 ~ ~ ~
Here's wishing everyone a good week and take care!
~ ~ ~ 🧵🧶💗🧶🧵 ~ ~ ~
#NeedleWorkMonday and #NeedleWork
💗 Our Motto: Support & Inspire 💗
If you love any craft that uses needles, come and join the fun with us here every Monday! You can also join us every other day at #NeedleWork.
Take a look at the FAQ to learn more!


Remember to subscribe to the NeedleWorkMonday community!
Read here to learn how!