In my last post, outlining the steps involved with identifying and taping Sugar Maple trees were explained in detail. If you missed this post and maybe interested in making maple syrup, here is the link.
@thebigsweed/the-great-outdoors-maple-syrup-2021
In this post, I will explain the rest of the process involved in producing 100% pure maple syrup.
There is much to do before bottling your syrup, including preparing for the boil, storage of the sap, collecting the sap, boiling the sap, and filtering out the sugar sands.
There are a few reasons why your supply of sap may dwindle before it ever reaches the boil phase.
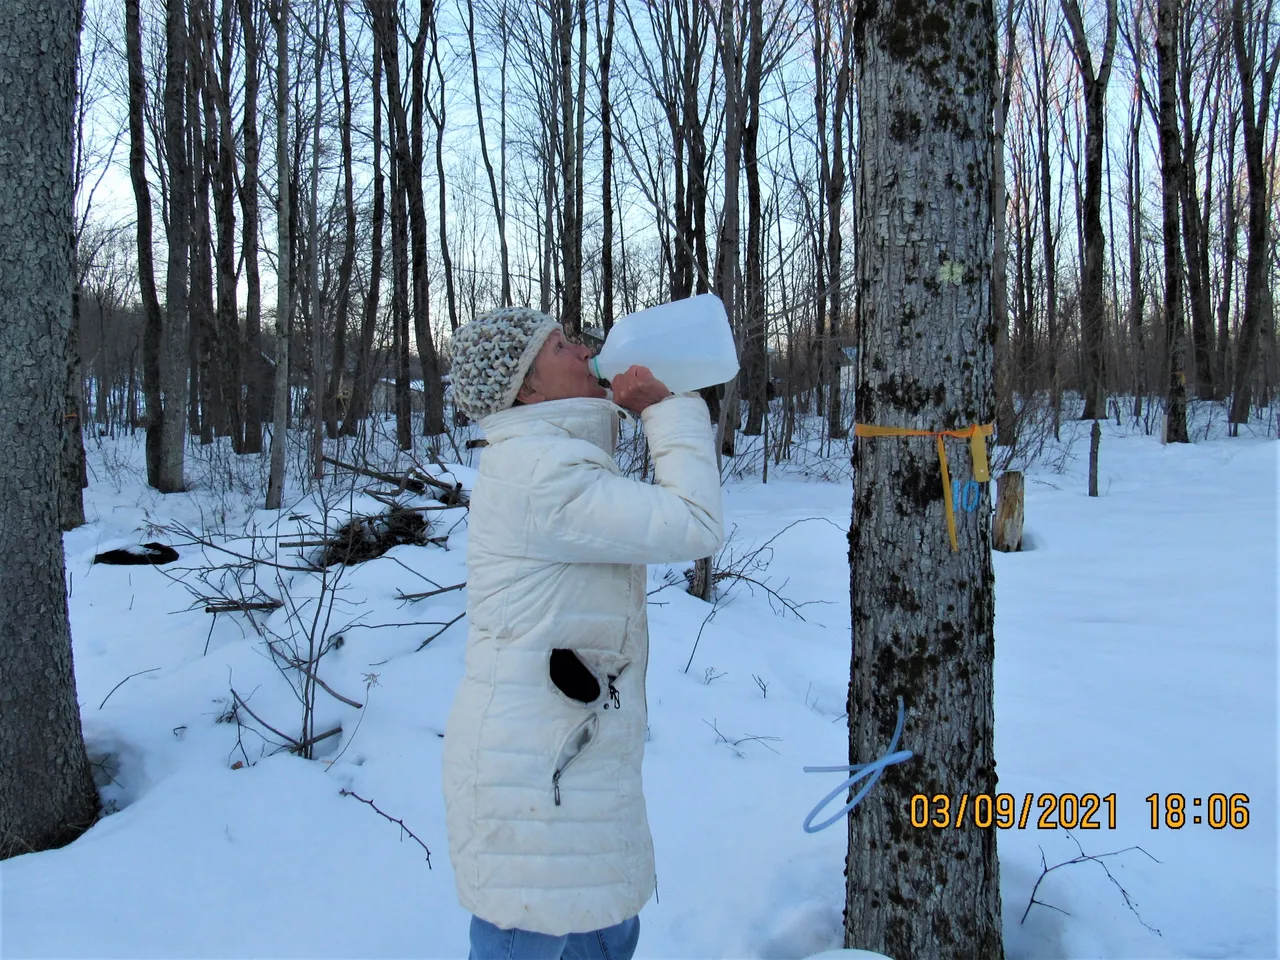
Here is one reason, @farm-mom chugging it down like she hadn't had a drink of water in weeks while lost in the Sahara Desert.😁
Well, it's hard to blame her for gulping down gallons of the stuff.
It is very tasty and has numerous health benefits.
The sap undergoes various natural processes that blend it with many of the nutrients stored in the tree. This action produces a drink that can help you to maintain good health and alleviate some health issues you may be experiencing.
It is rich in sucrose and an excellent source of minerals, amino acids, phenolic and organic compounds.
It also contains minerals such as potassium, zinc, manganese, and calcium, all of which are necessary for healthy bones.
Studies have shown that maple sap is a source of Abscisic Acid which helps to regulate
blood pressure.Maple water is a source of 24 antioxidants.
Studies have shown that it reduces the side effects of Chemo Therapy.
Maple water contains magnesium that helps to promote bone health.
Maple water can be very beneficial for treating rheumatic pains.
It's a great Source of Electrolytes.
Maple water can aid in rejuvenating the skin cells and enhances the skin texture.
Maple sap can also lessen the risk of a hangover. Now that is something that would have come in handy in my younger years.
Many of us are always looking for a #naturalmedecine to address health issues. Maple sap seems to fit the bill for many of the things that reduce our quality of life.
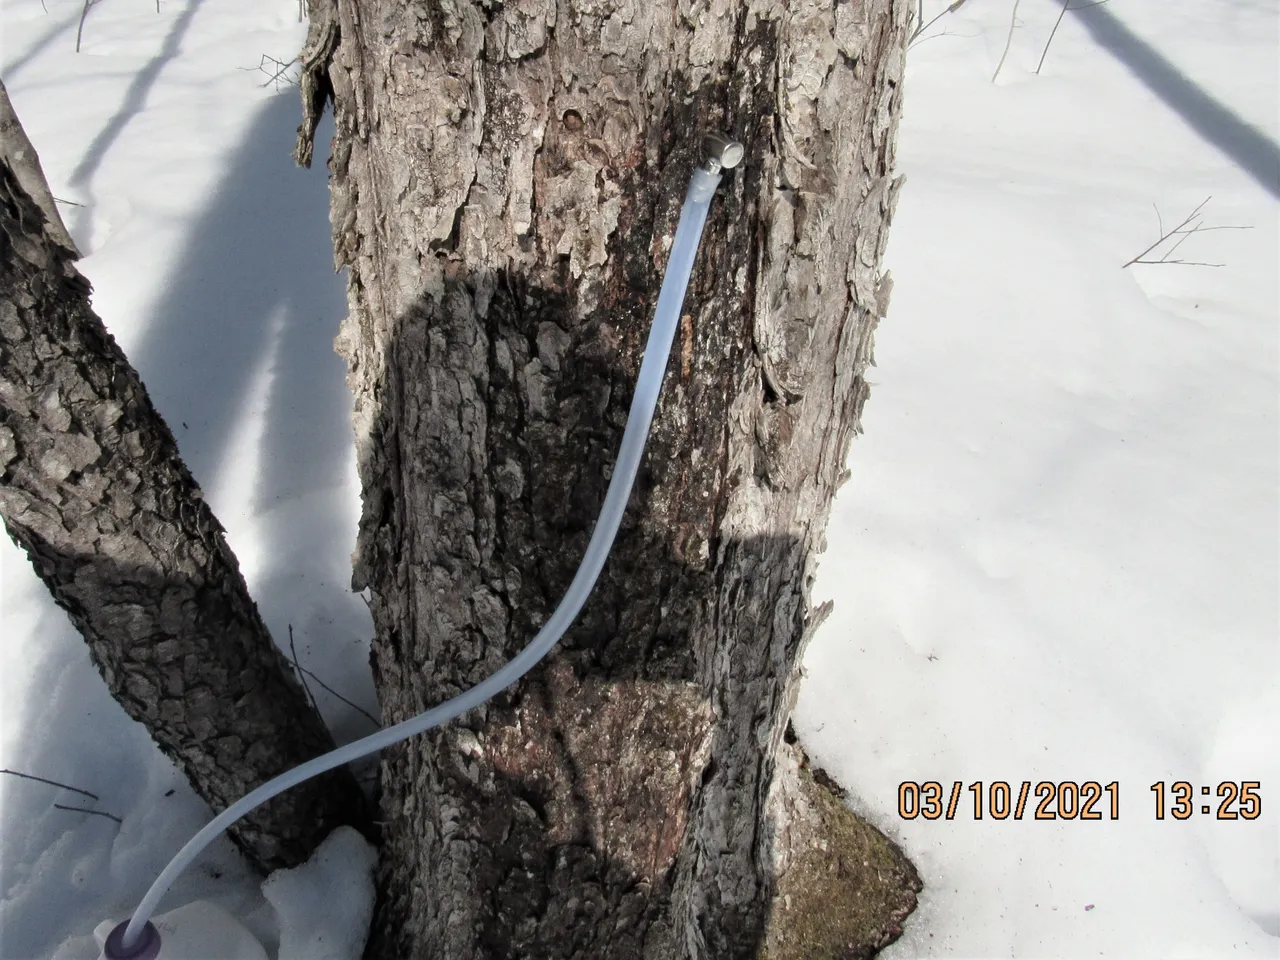
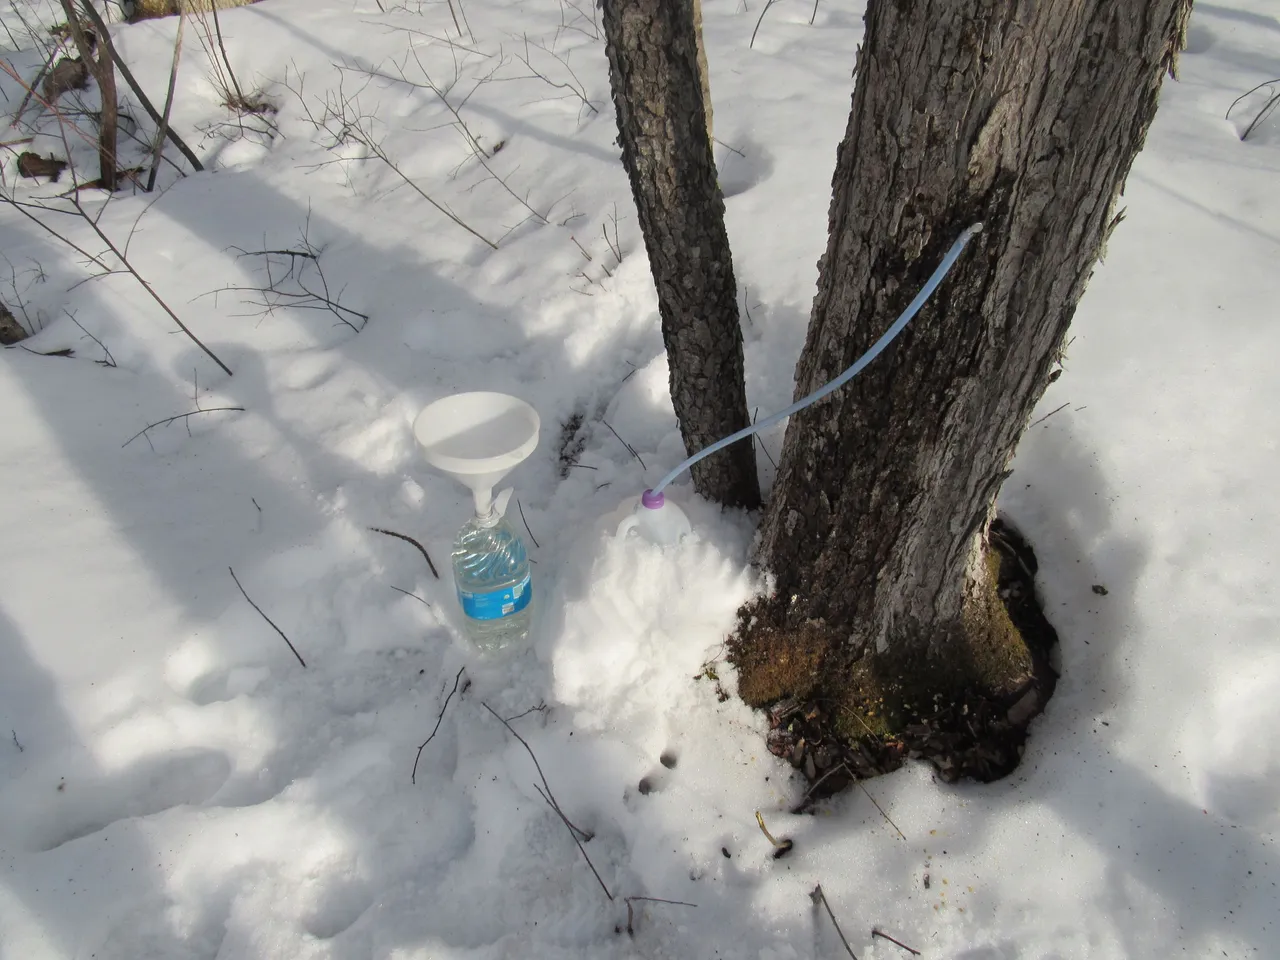
In this picture, you can see that the bark around the area where the tap has been placed is much darker than the rest of the tree.
This is a sure sign that the tap is leaking. After taping the trees, it's a good idea to check all of the taps the next day. For this problem, there is a simple fix, just burry the tap a little deeper into the tree with a hammer.
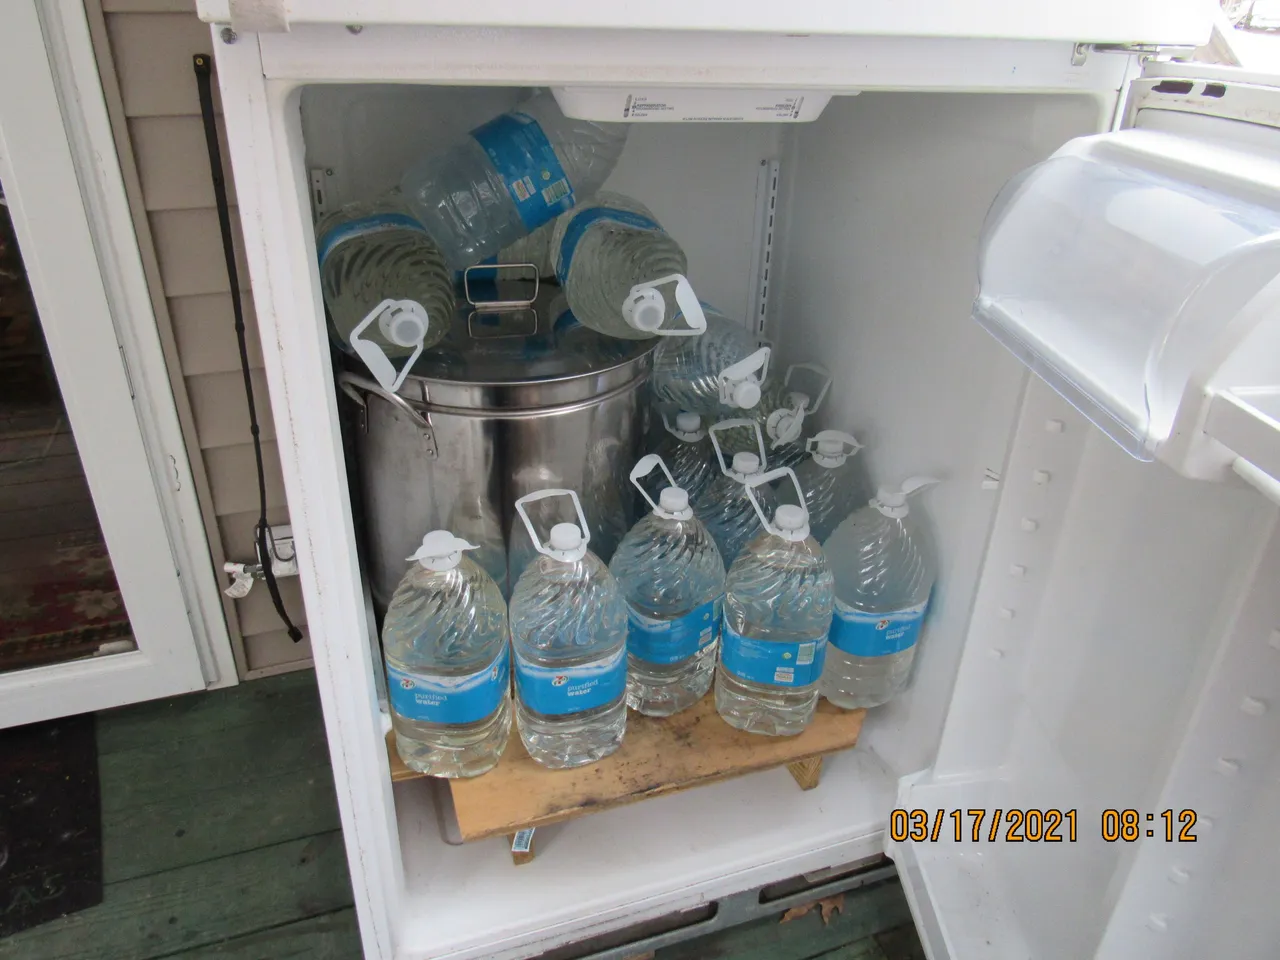
Maple sap is like any other food source, it has a shelf life.
By keeping the sap refrigerated it will stay viable for up to eight days.

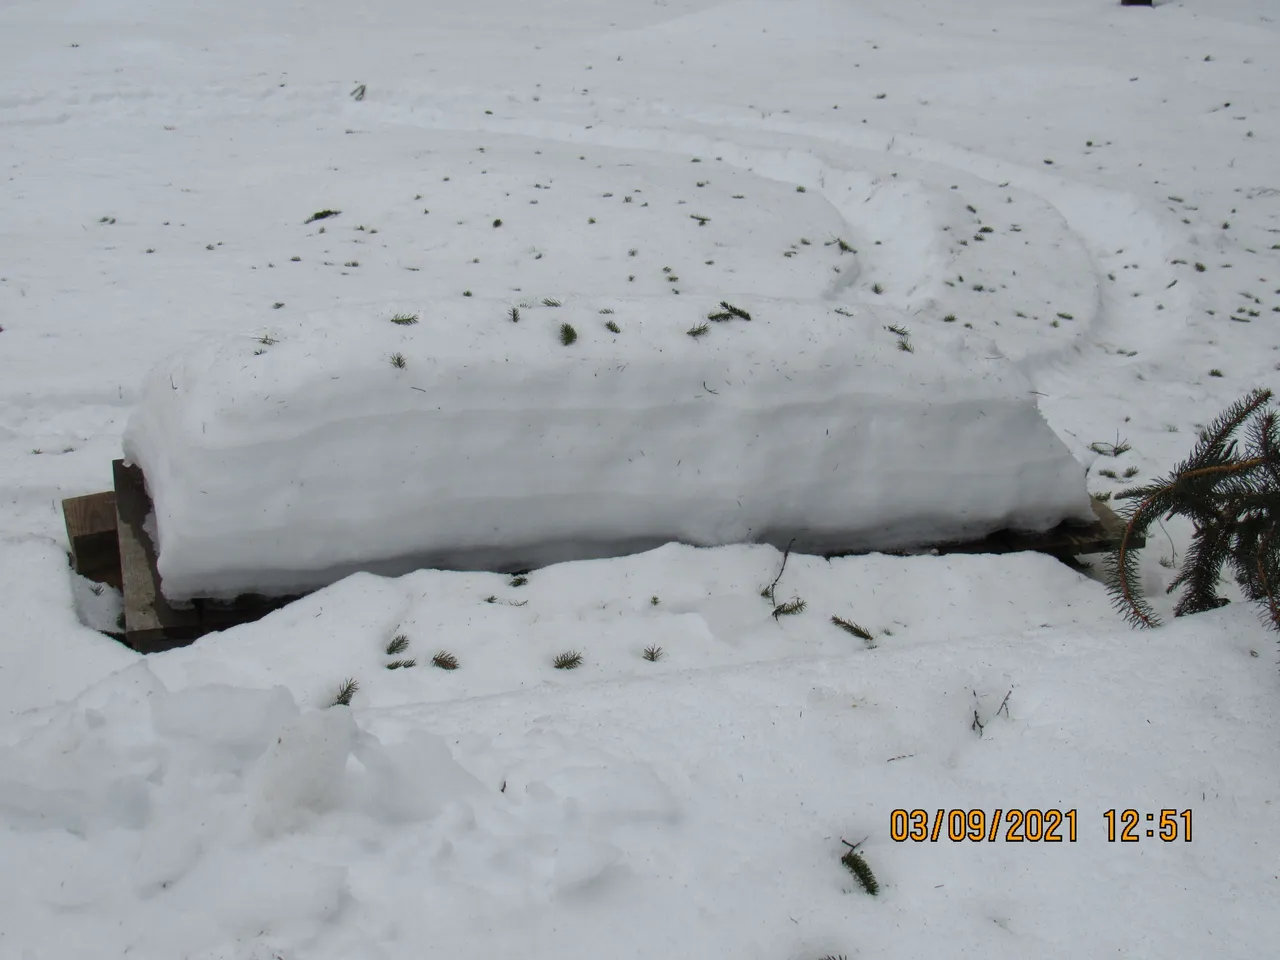
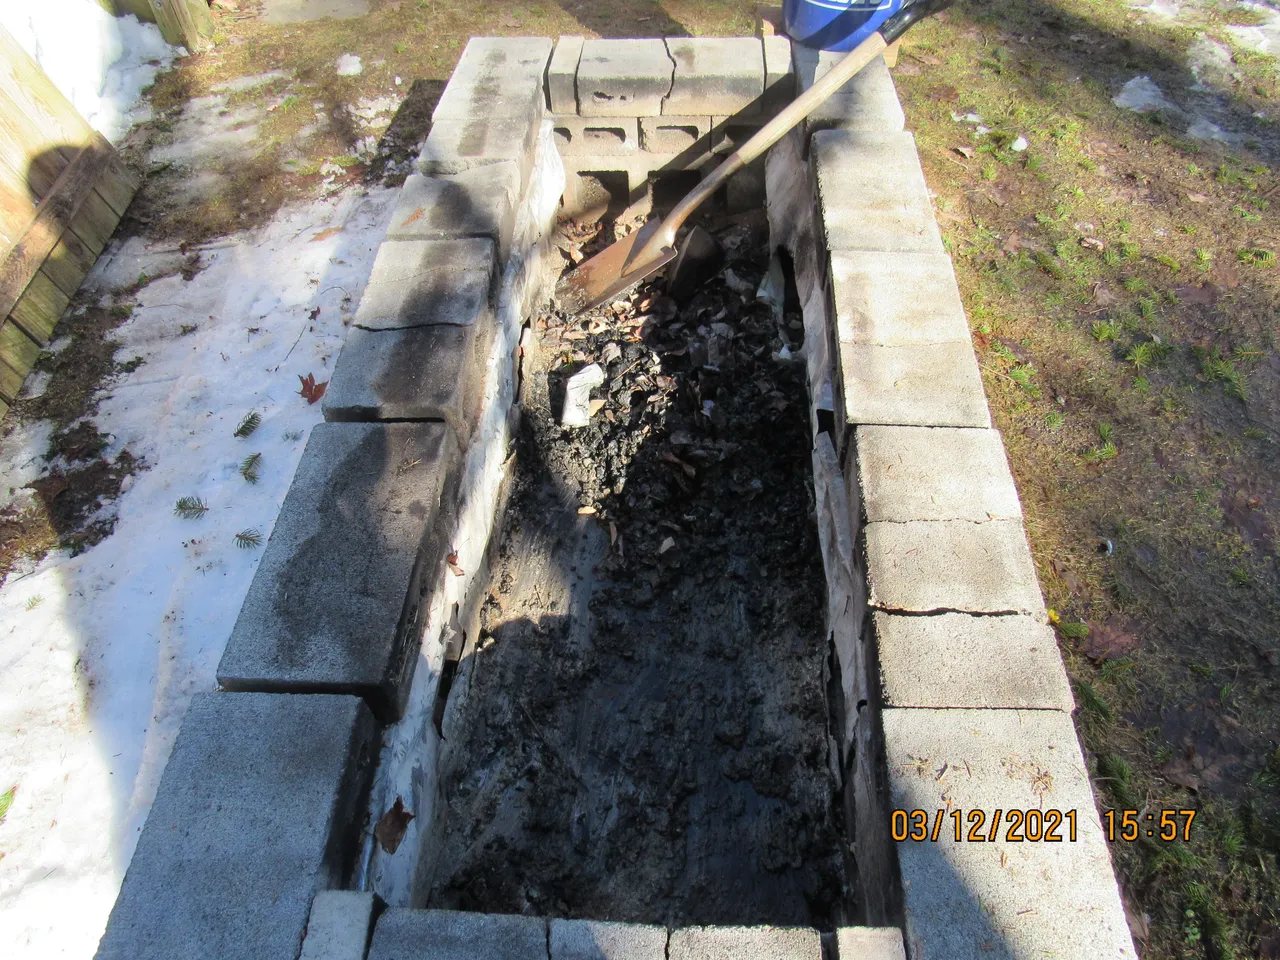
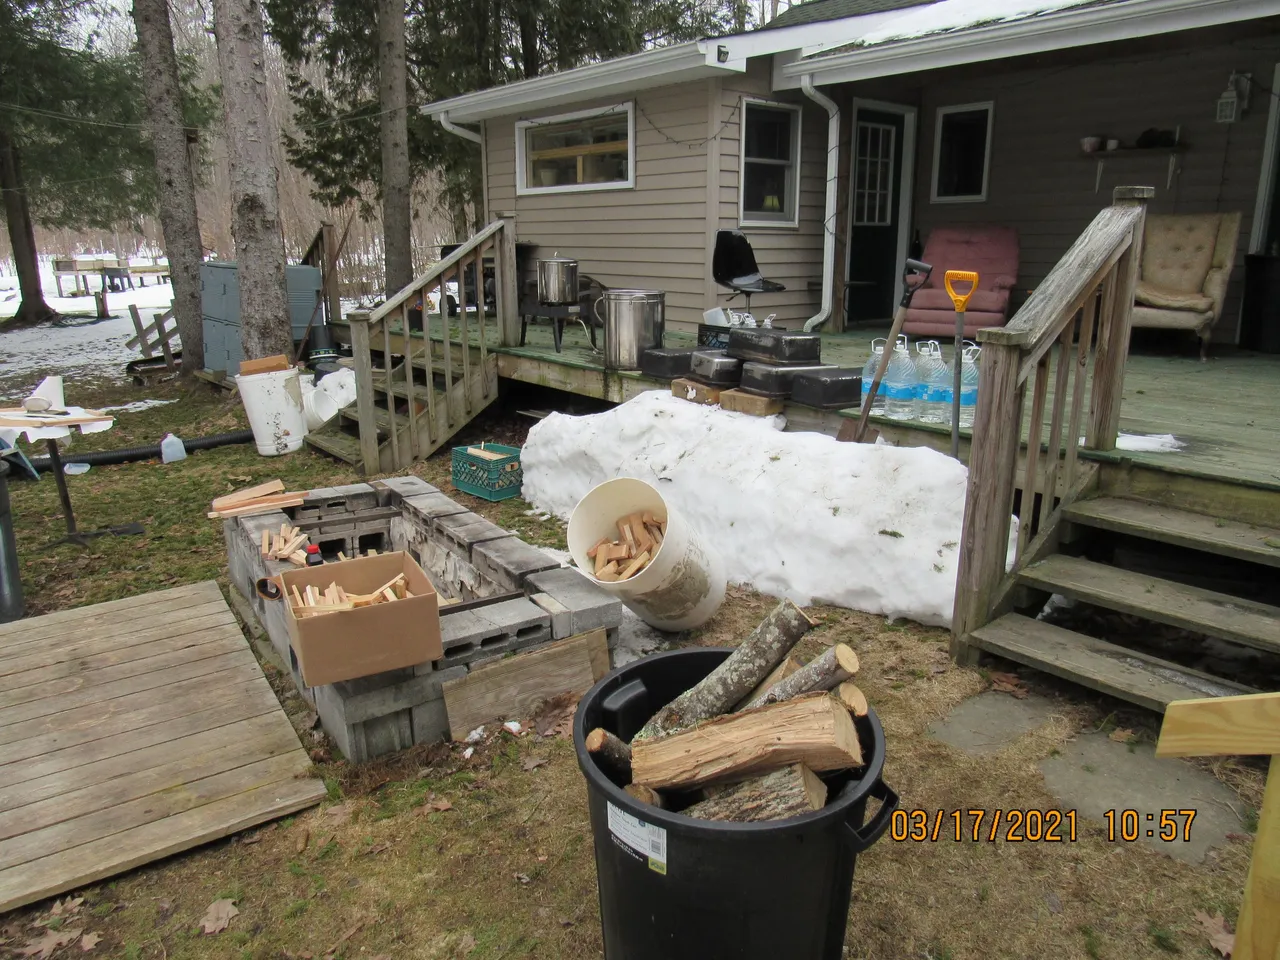
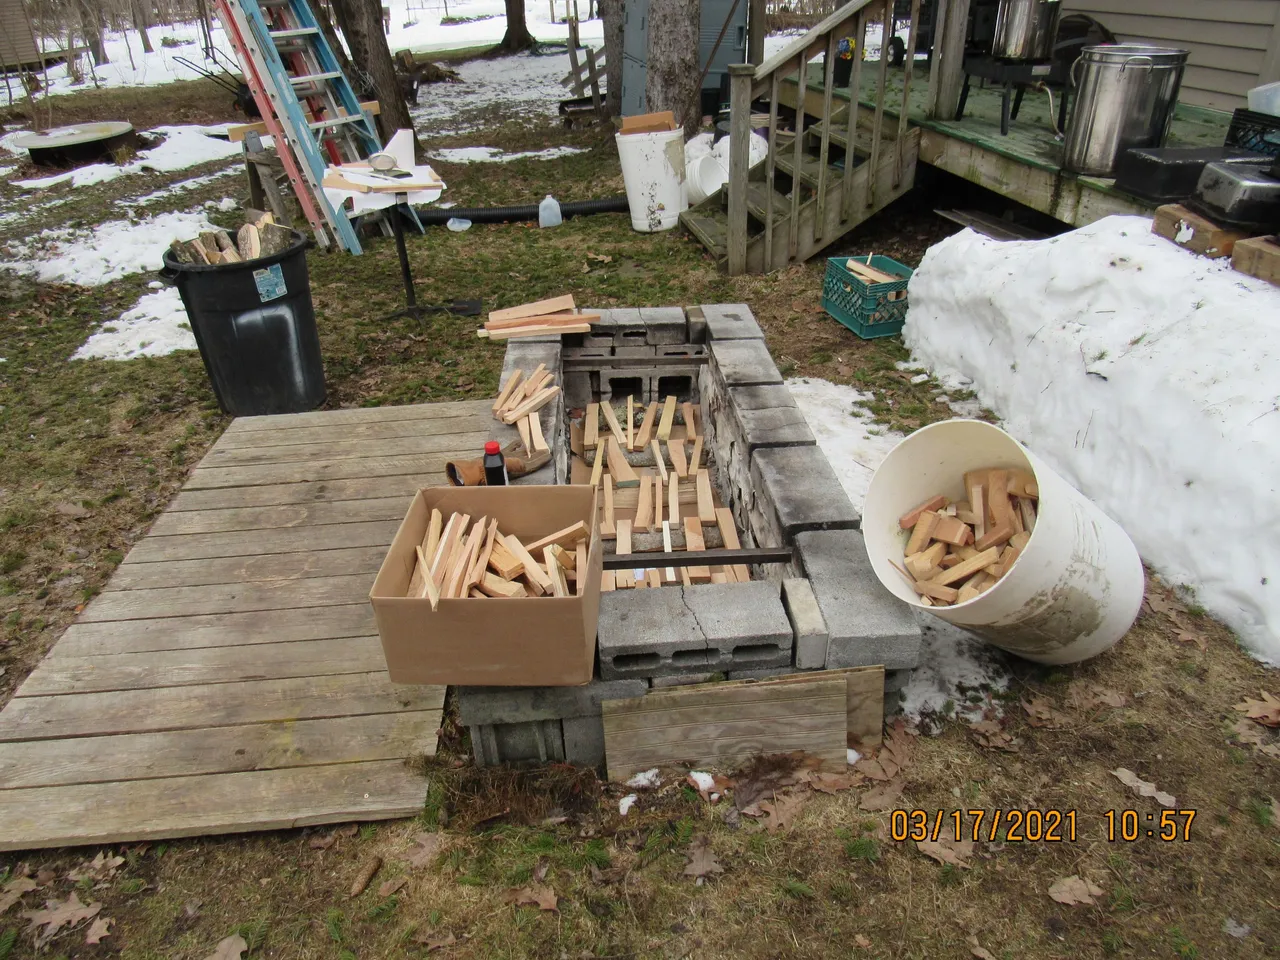
I constructed a fire pit that is a permanent fixture for boiling the sap. In the four years we have been making maple syrup there has never been this much snow left on the ground. Exposing the fire pit will require a little more work hobbitizing than usual.
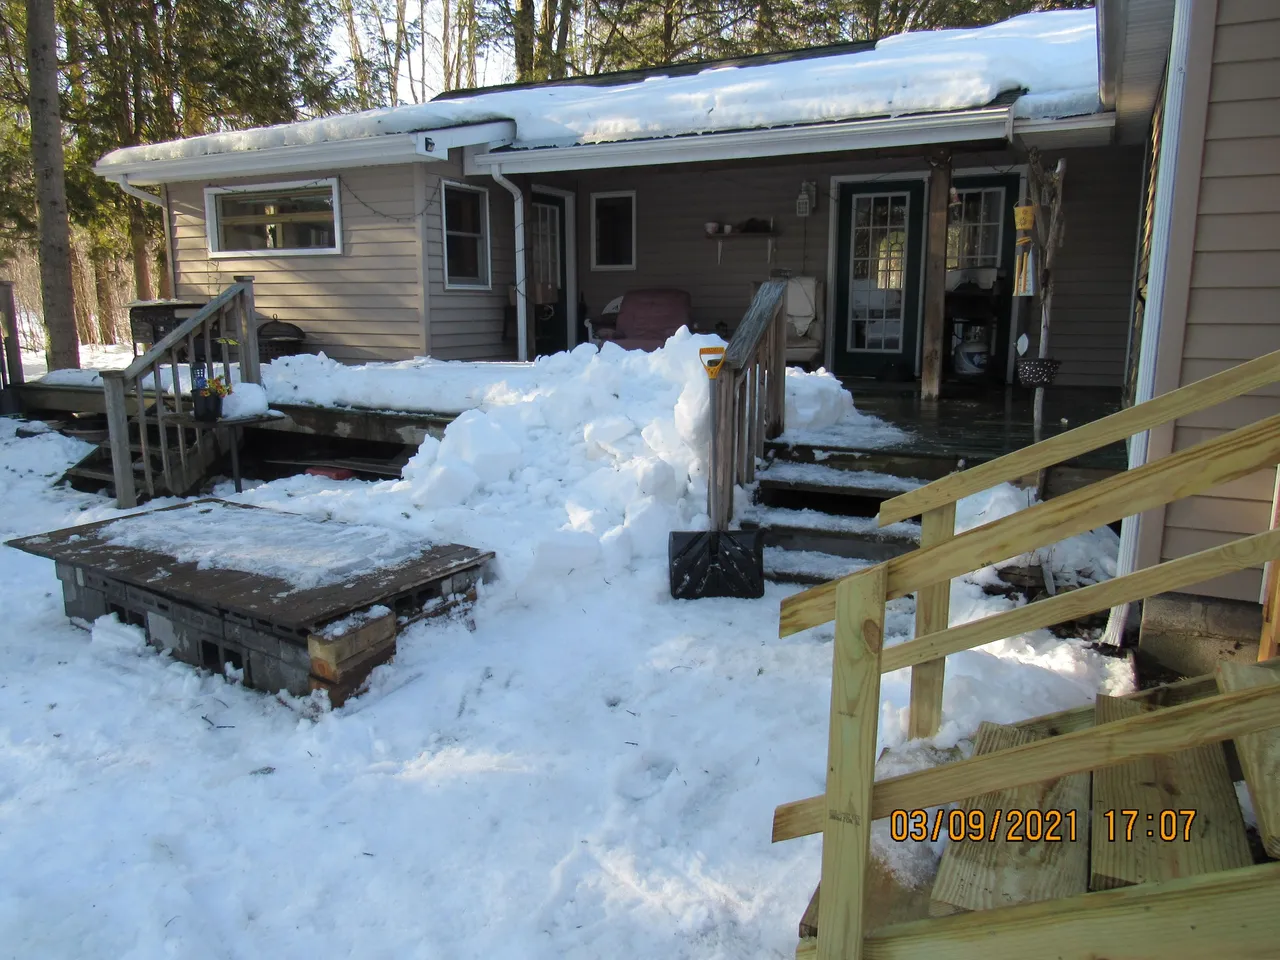
After a few hours, with a lunch break in the middle, the fire pit is coming into view.
After the initial snow removal, the temperatures climbed into the low sixties for a few days and dried up the area around the fire pit.
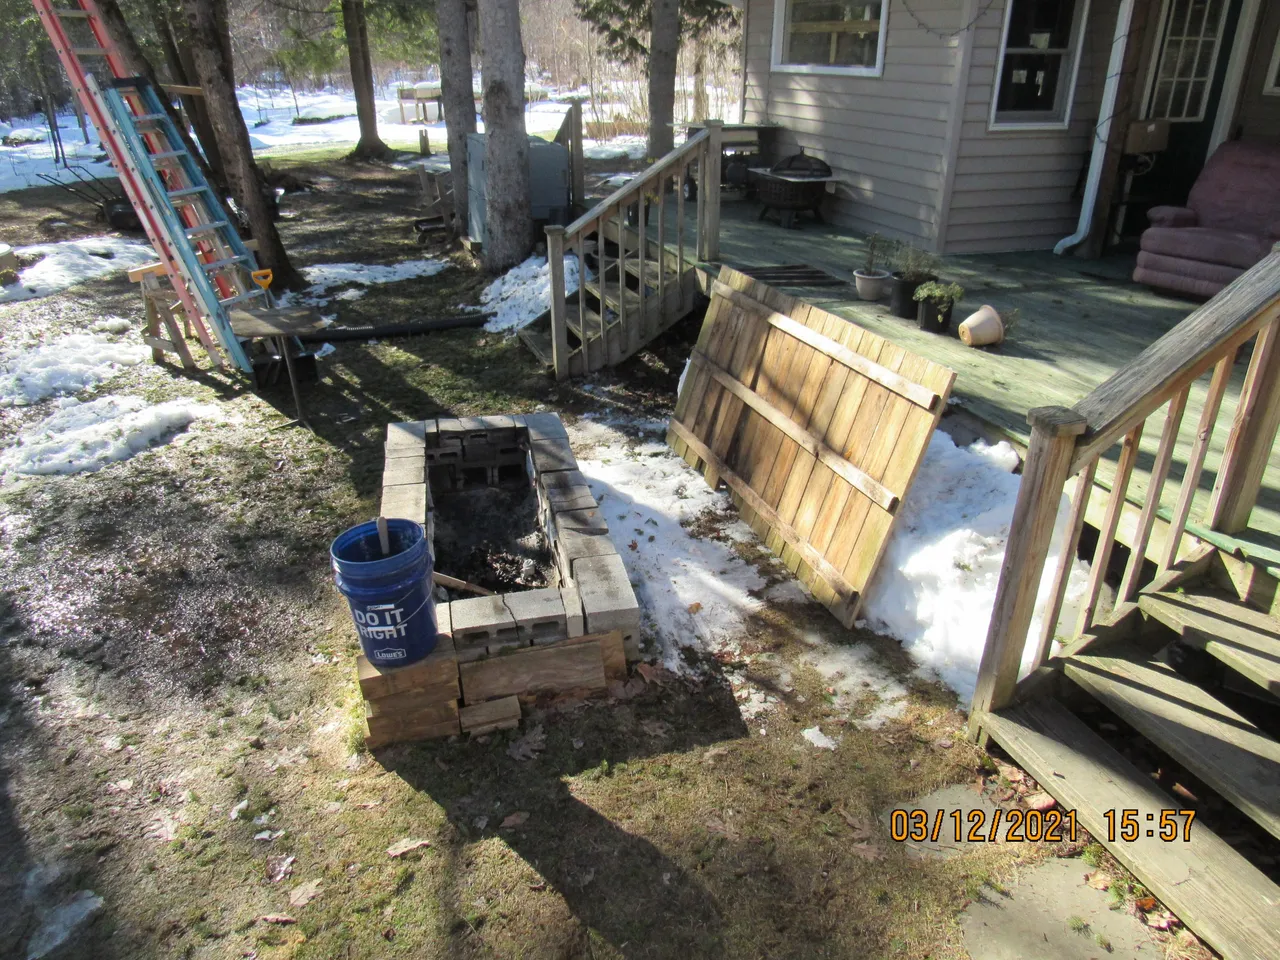
A couple of spackle buckets full of the remnants from last year's fires and we were looking much better than just a few days ago.
Maple sap relies on a combination of weather conditions throughout the year. A summer of adequate rain and moderate temperatures followed by a winter that produces a generous amount of snow that blankets the roots of the tree for protection are the ideal conditions.
This year we can check all of those boxes and expect to collect lots of sap.
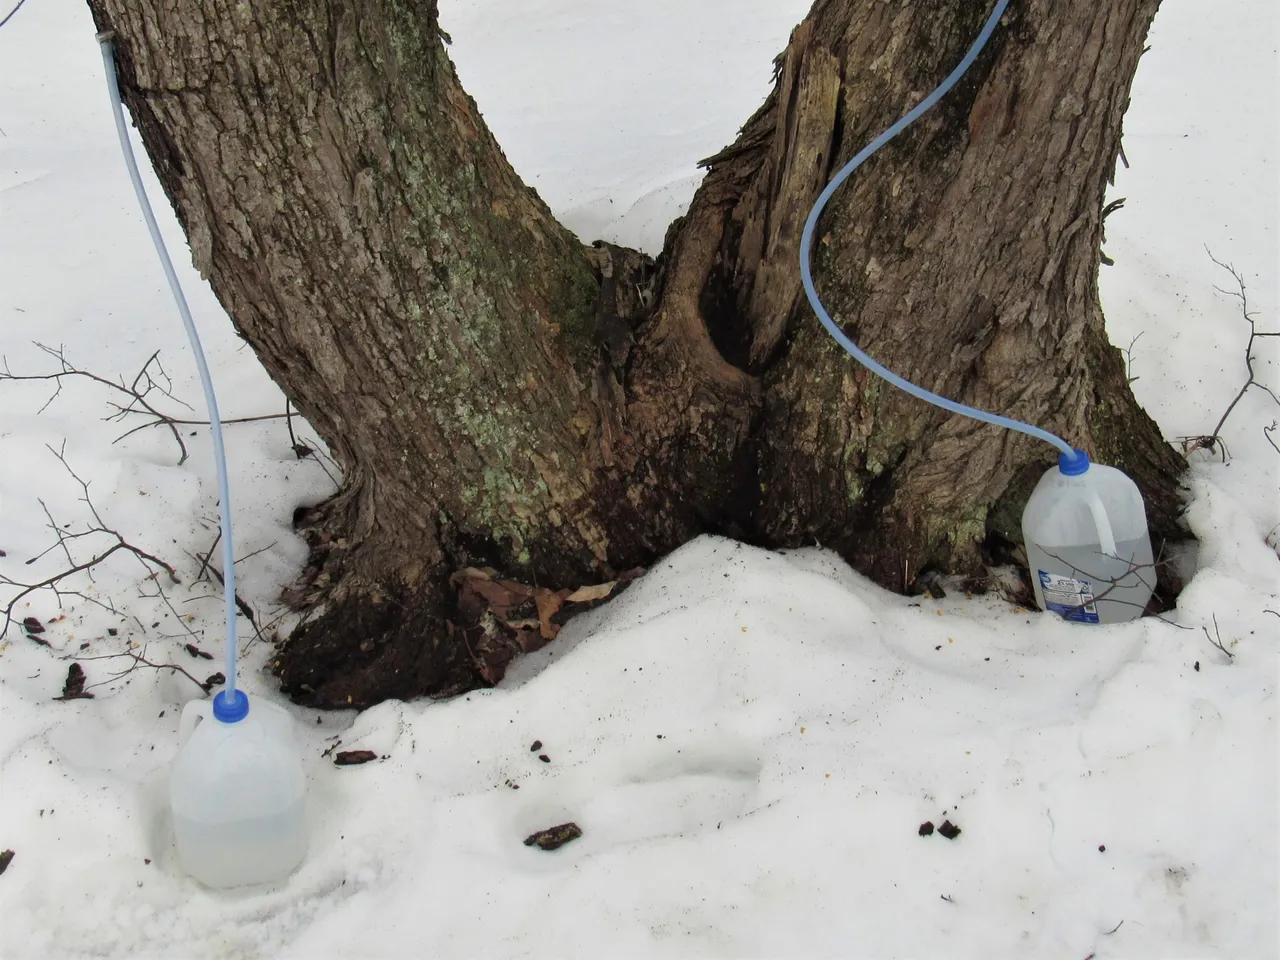
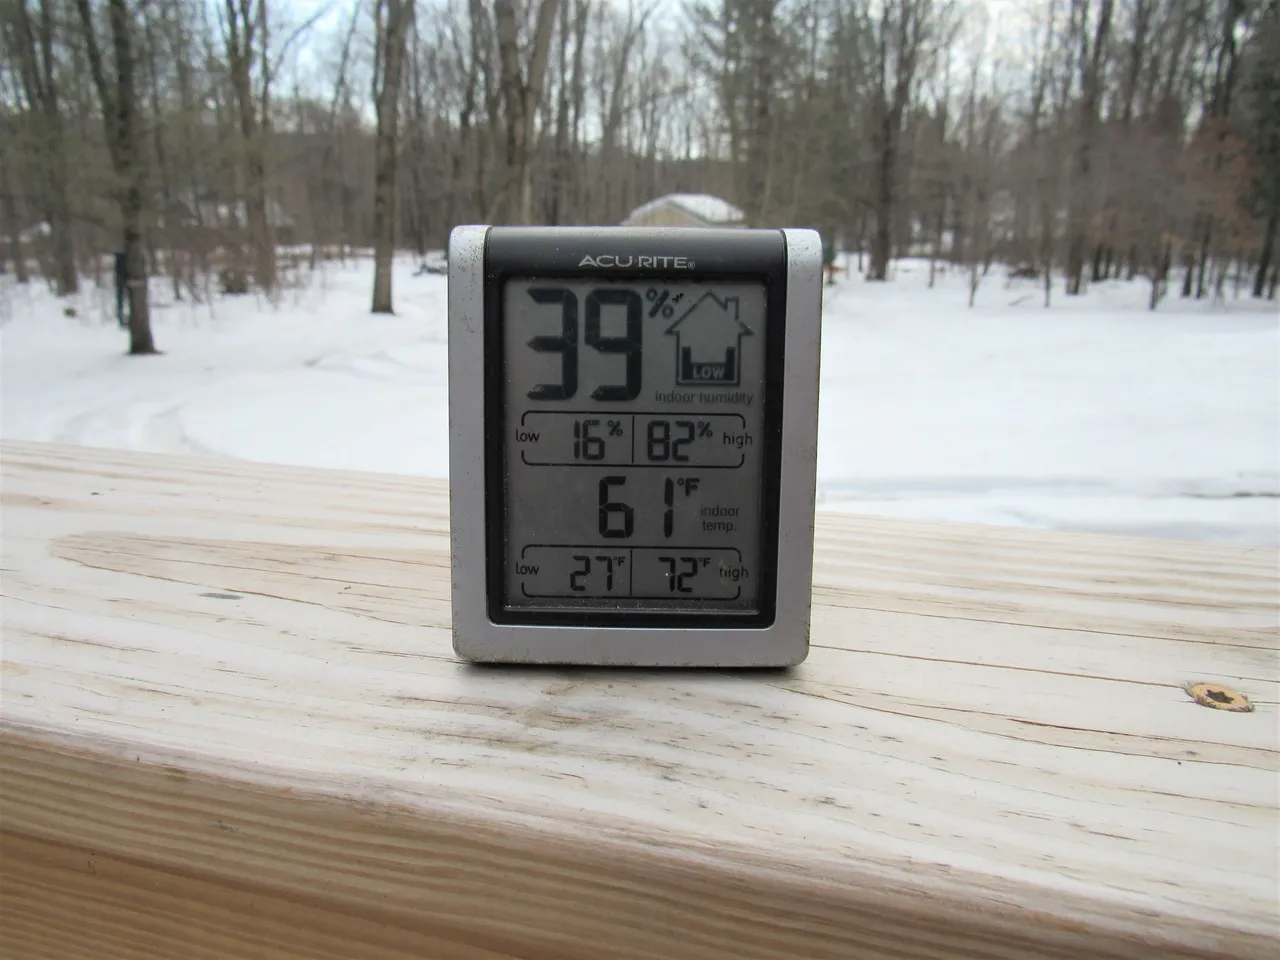
All of the conditions throughout the year can be perfect, but the flow of sap now depends on the daily weather. When temperatures rise above freezing, positive pressure develops in the tree. This pressure causes the sap to flow out of the tree through the tap hole. When temperatures fall below freezing, negative pressure (suction) develops, drawing water into the tree through the roots. These constant temperature changes from below freezing to warmer daytime temperatures replenish the sap in the tree.
With a nighttime temp of 27°F and 61°F daytime temp, the stage is set for some serious drip, drip, drip, drip, drip.
Over the next four days, the weather was perfect 50% of the time.
The sap run on the 12th of march,
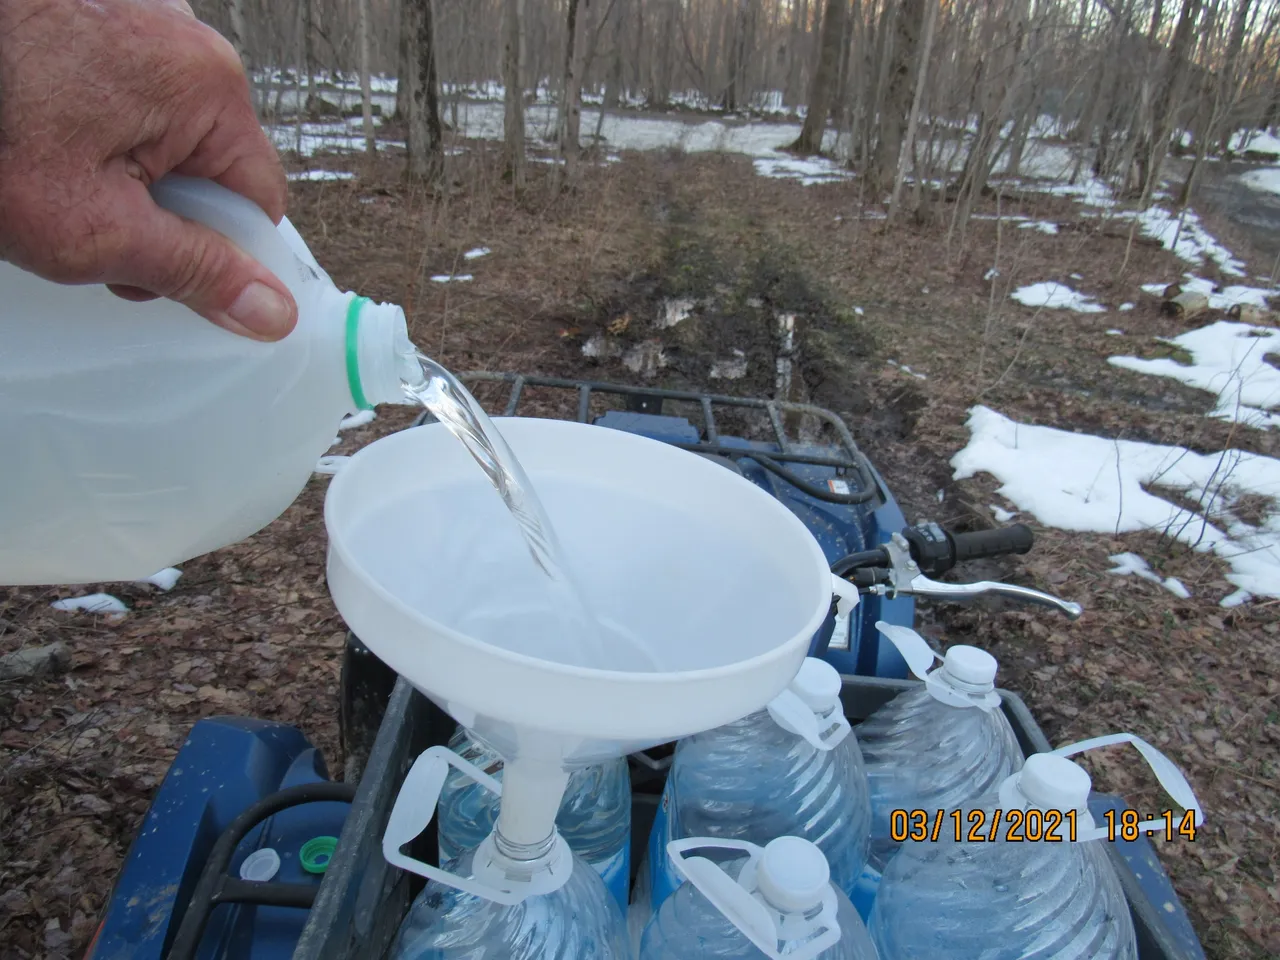
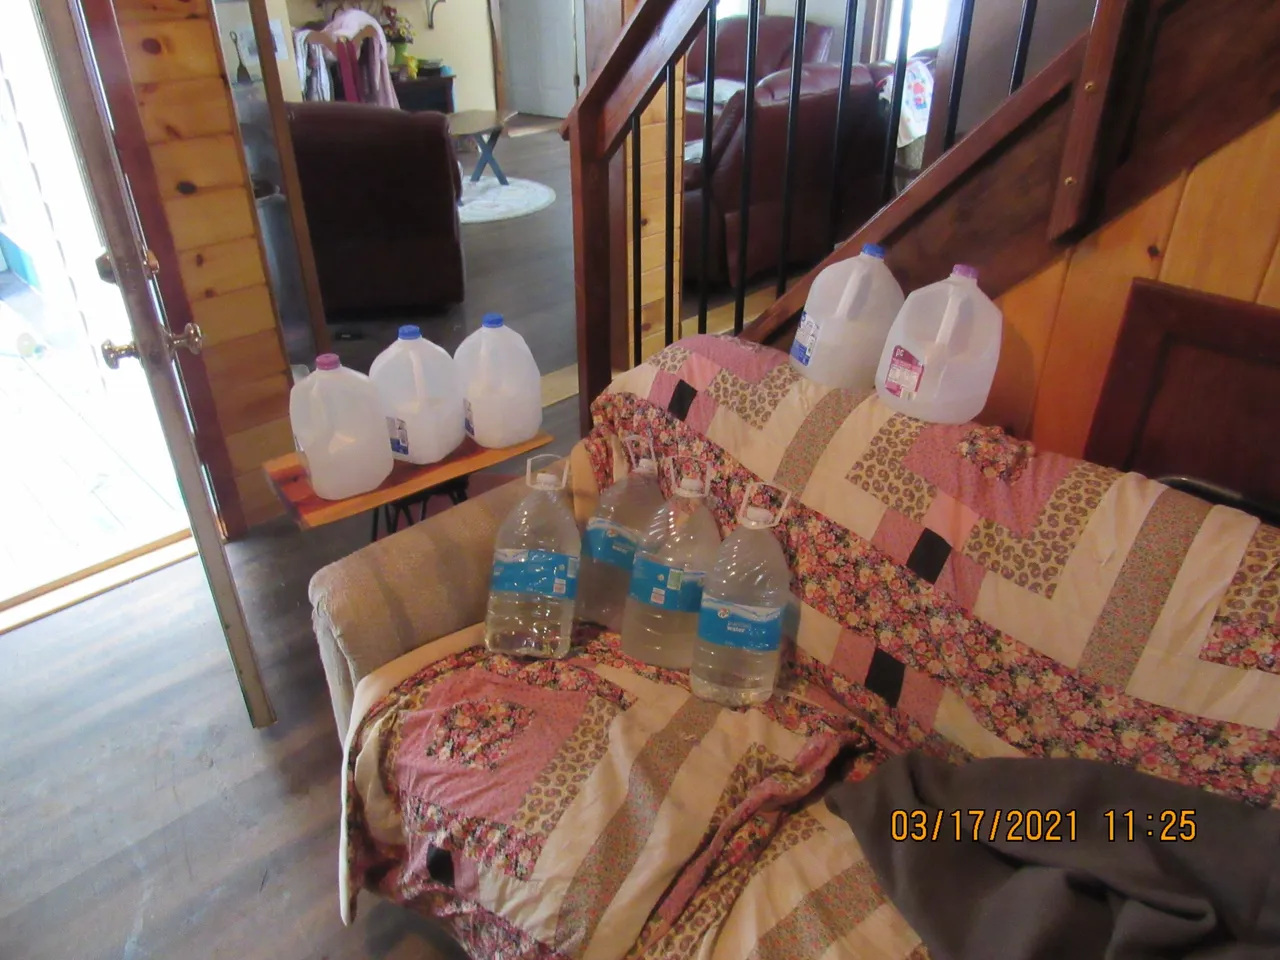
and the sap we collected on the morning of the 17th of March provided us with 40 gallons of sugar water.
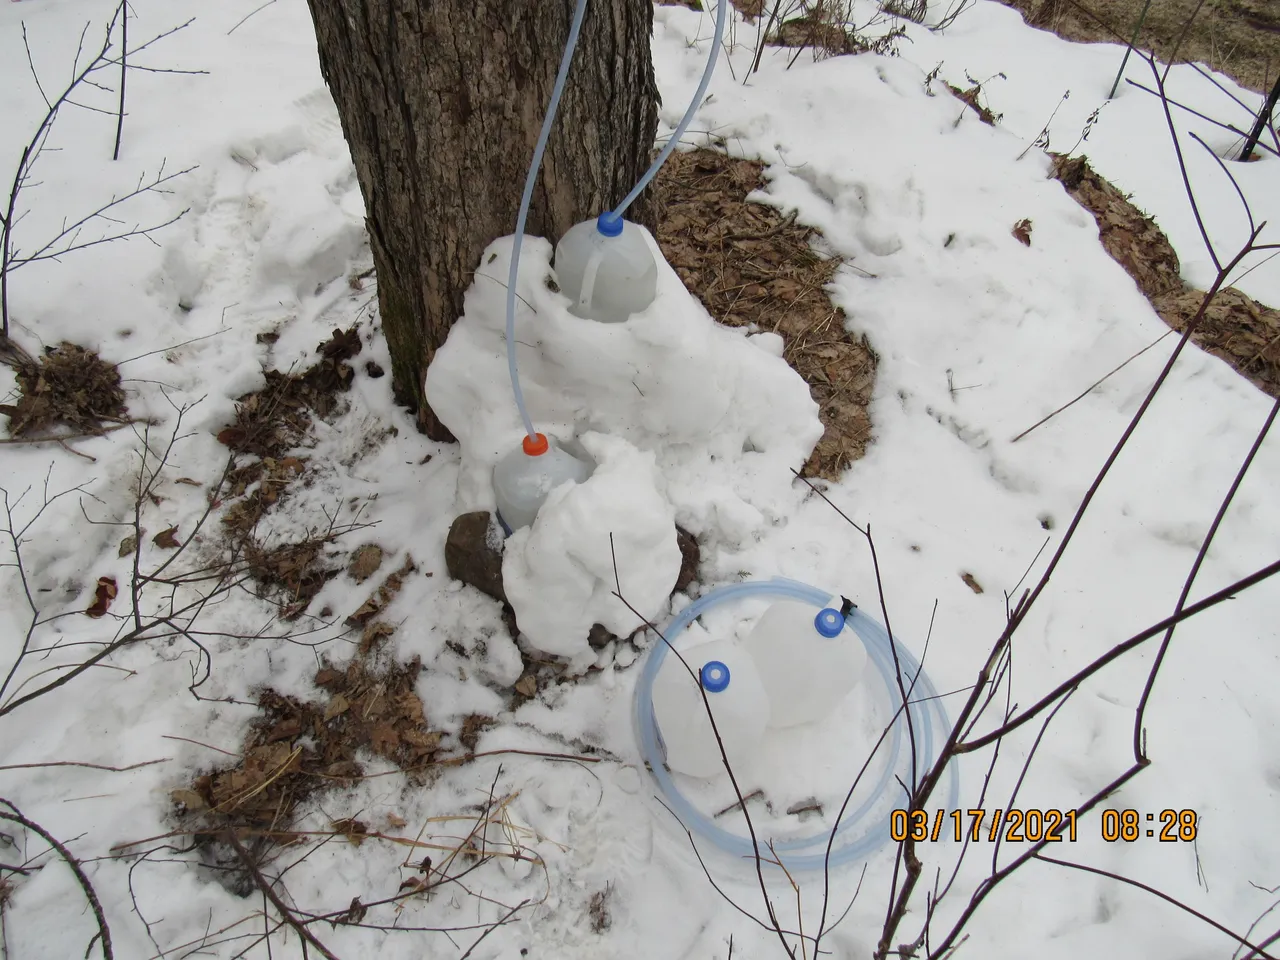
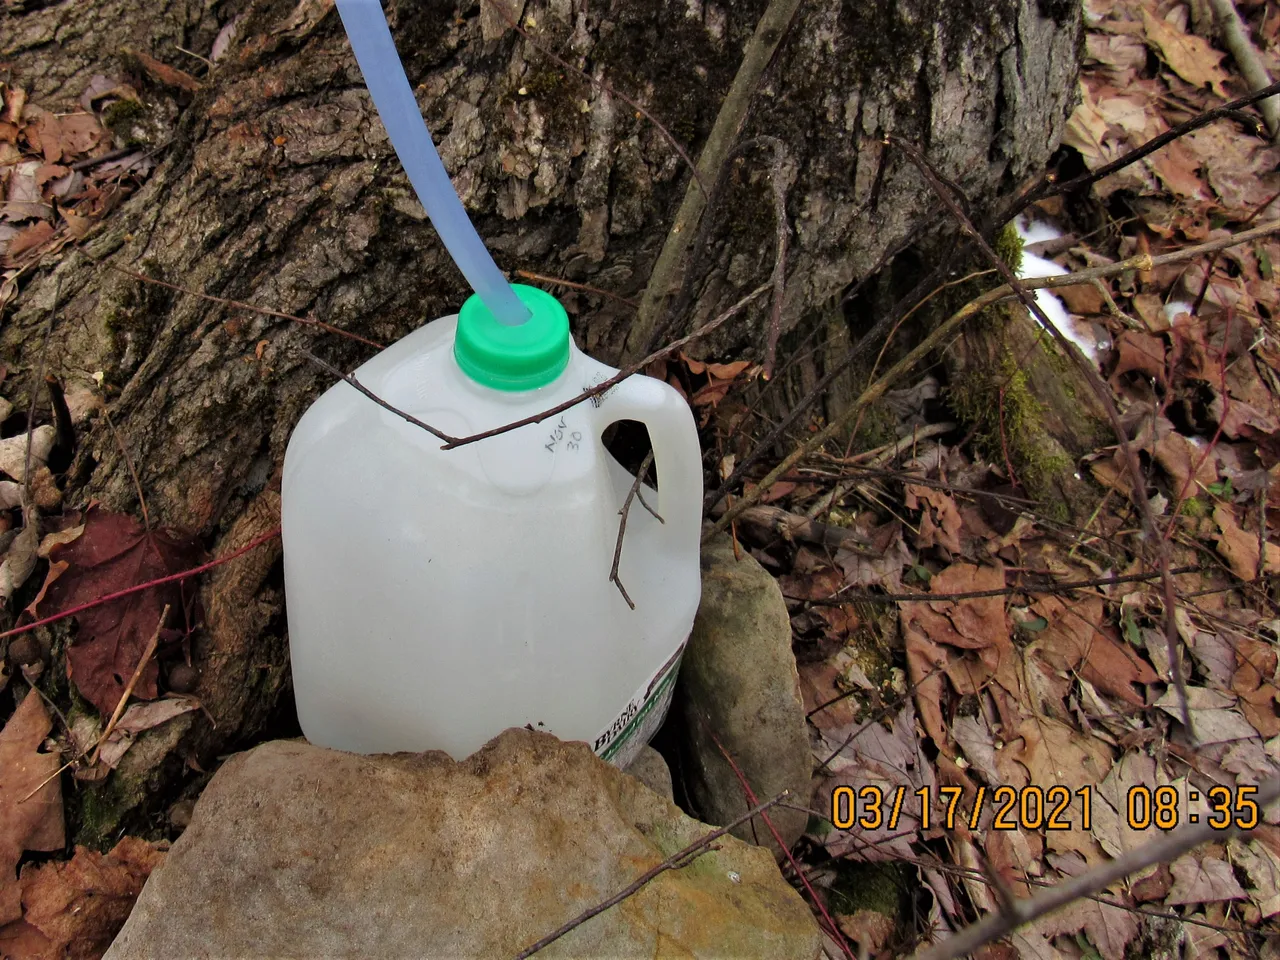
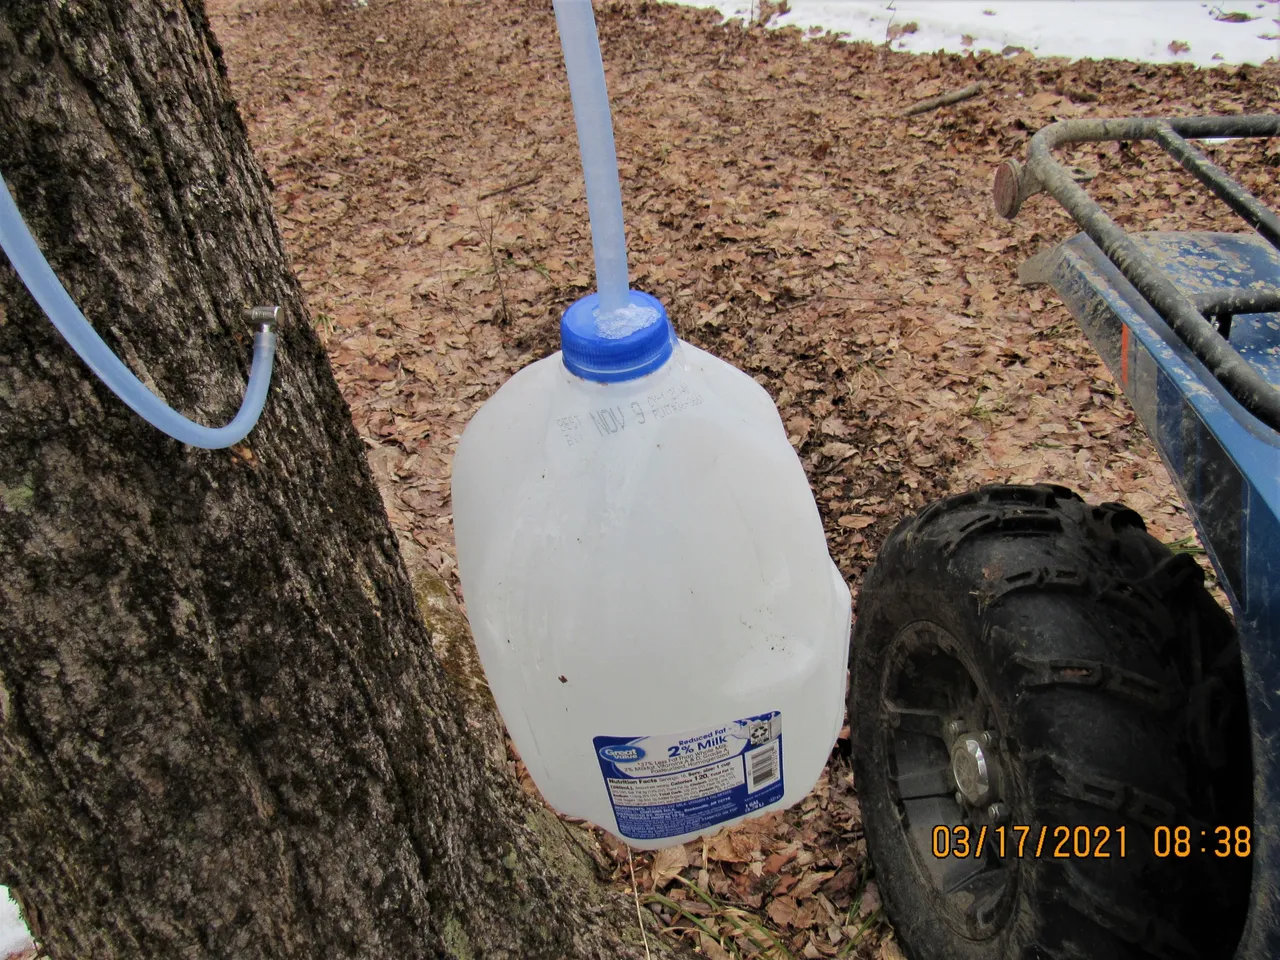
@edprivate asked if the sap would freeze and our answer was yes. With the temperature falling into the twenties the night before, several jugs were pretty much frozen. Here is a gallon jug that is full to capacity, frozen, and suspended in the air by the frozen tube.
It's always nice to collect as much sap as possible in a seven-day period. The amount of time it takes to boil and bottle 20 gallons is almost the same amount of time as it would take to boil and bottle 50 gallons.
The cook time is a little longer, but the same amount of preparation time is still necessary.
Here are some of the frozen containers, melting in front of the fire.
The most important factor in getting a good boil is a good fire.
The fire needs to be equally hot from one end of the fire pit to the other.
It usually takes between 45 minutes and an hour for the flames to subside.
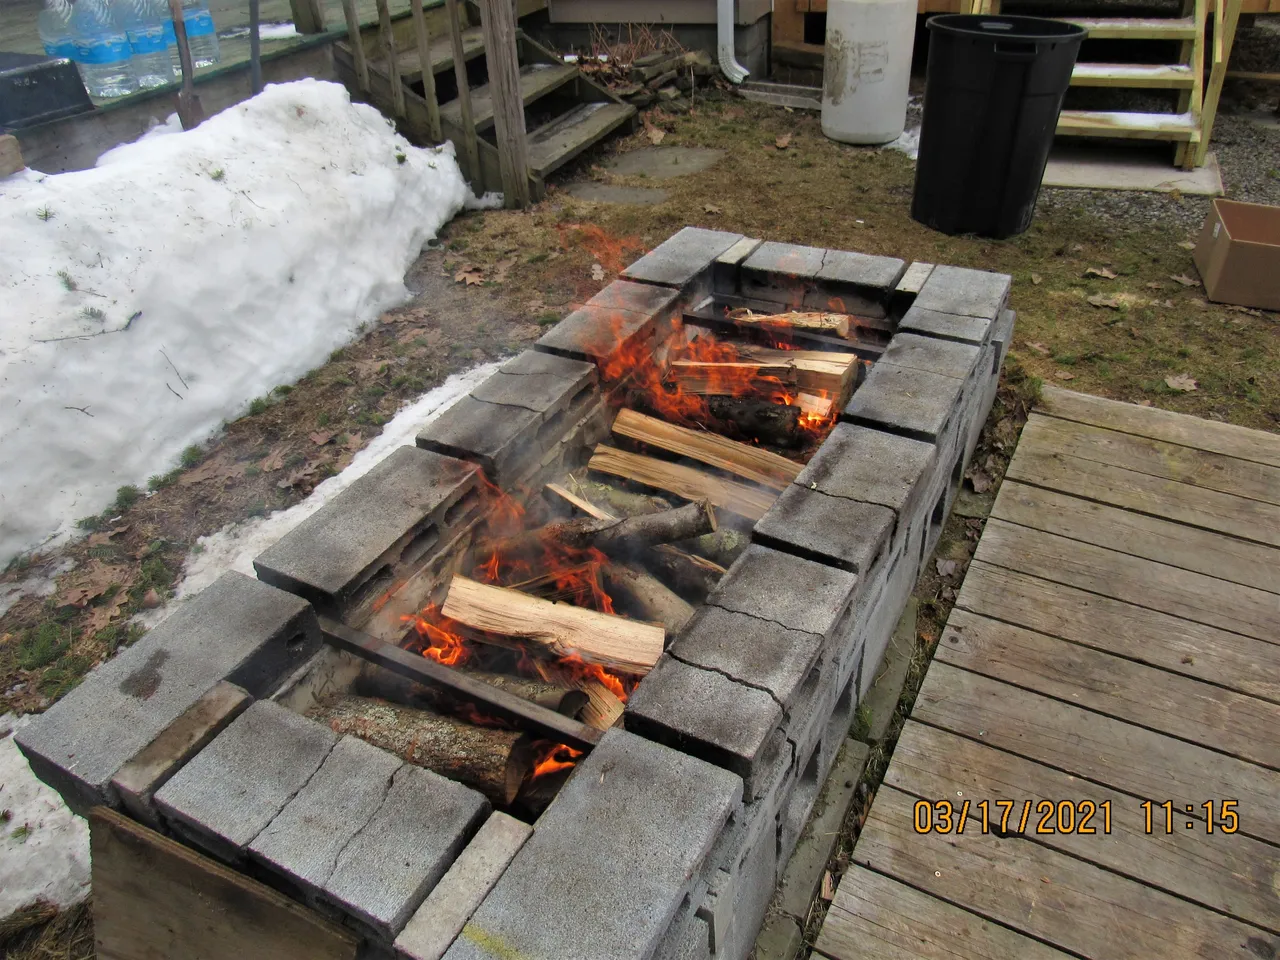
At this point, you're almost ready to place your 1st pan on the fire!
In designing this fire pit, I built it to fit the size of the cooking pans I purchased. Each pan can hold about 4 gallons of sap. Your fire pit can be built to accommodate what it is that you will be boiling in.
The only advice I would give you on any design you come up with would be to keep the depth of the pit around 16 inches or less. This will save you a lot of wood and a lot of time. The heat of the fire needs to be dancing off of the pan. A fire pit greater than 16 inches in depth is going to require constant feeding to maintain the temperature necessary to vigorously boil the sap.
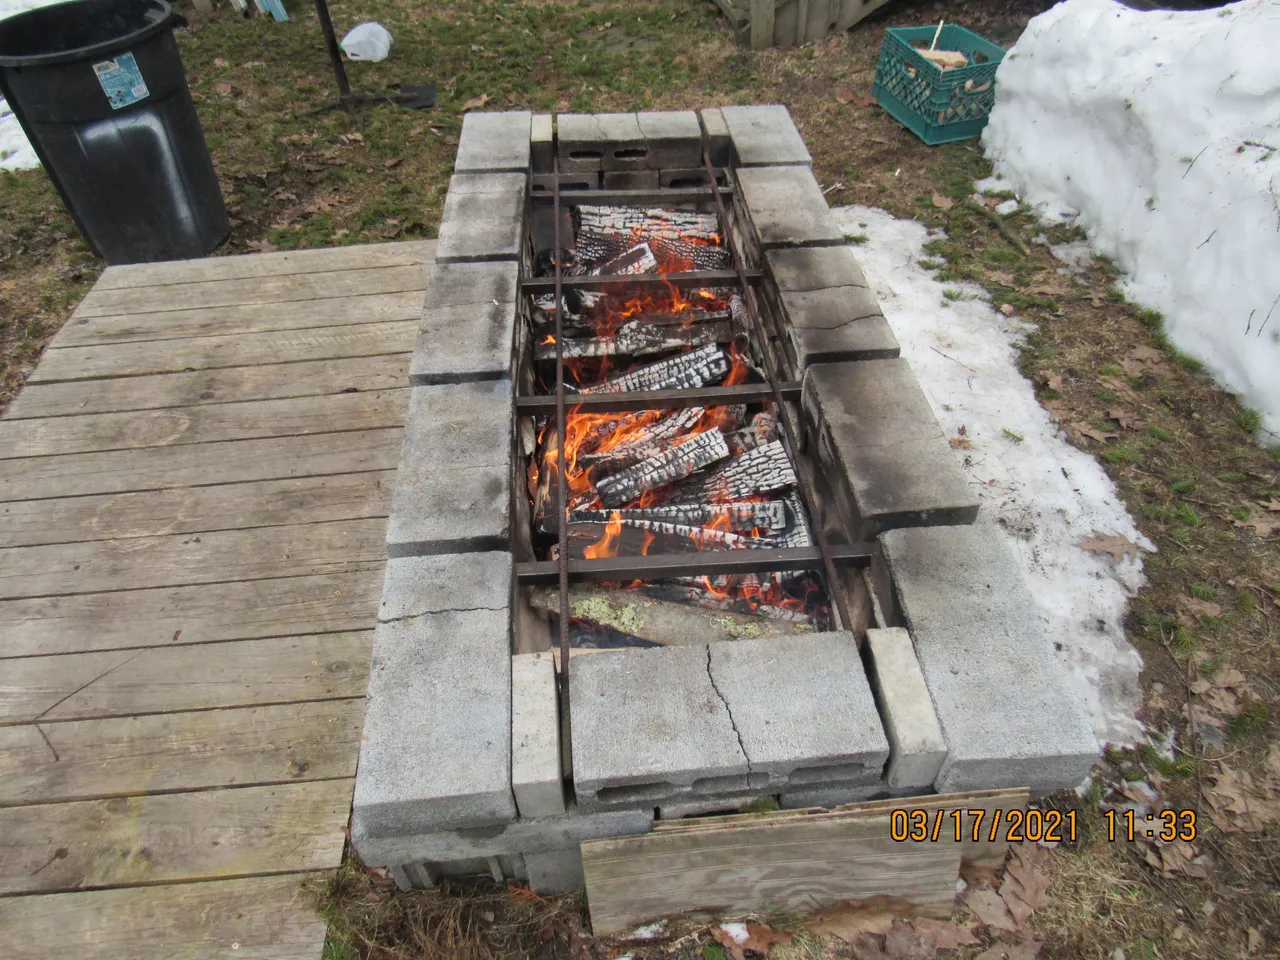
The grating you see in this picture is nothing more than #repurposed steel table legs and some 3/4 inch rebar. Again, this design works for the size of our pans, you may come up with something different.
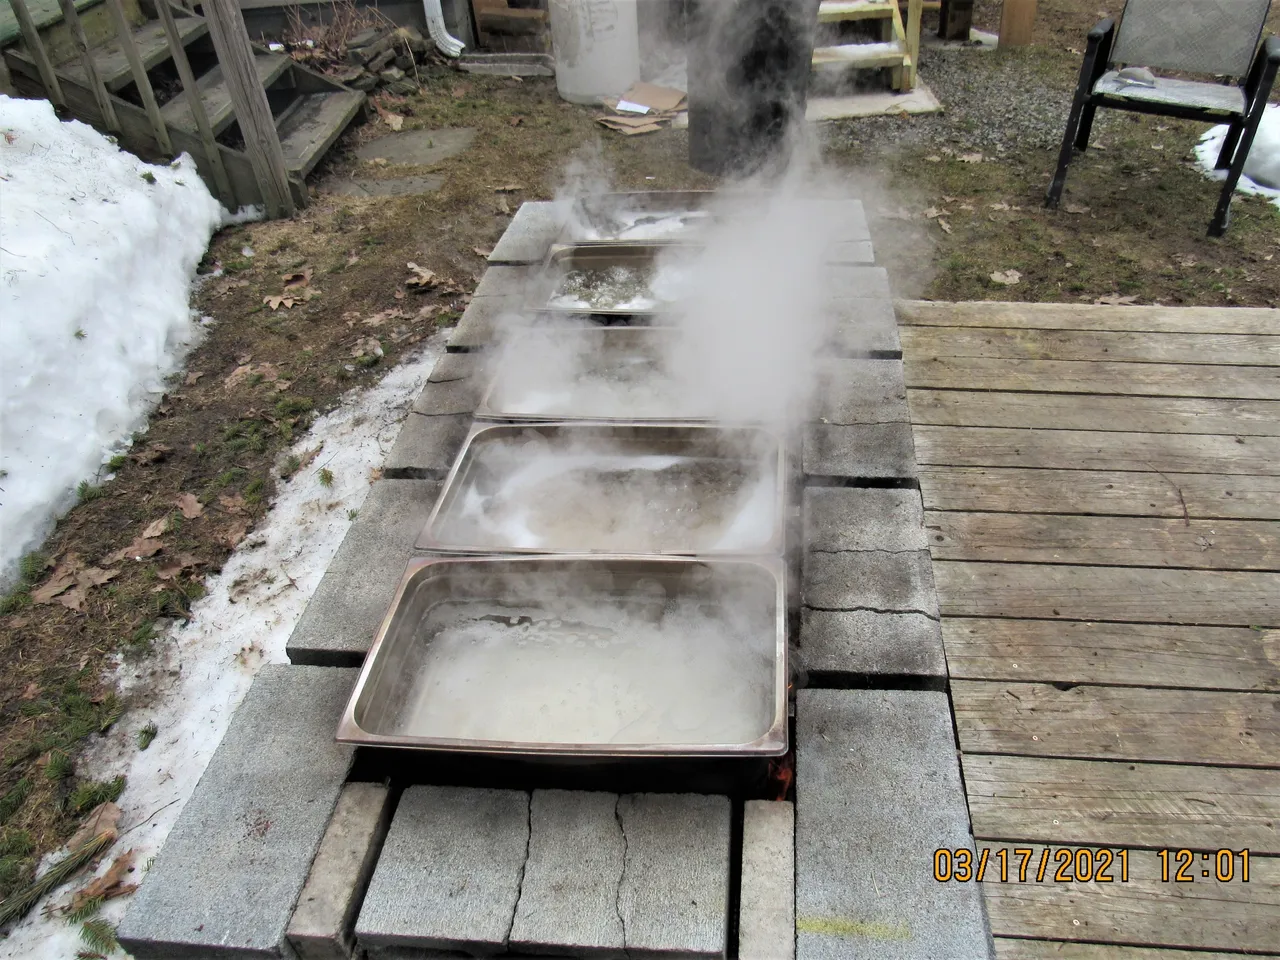
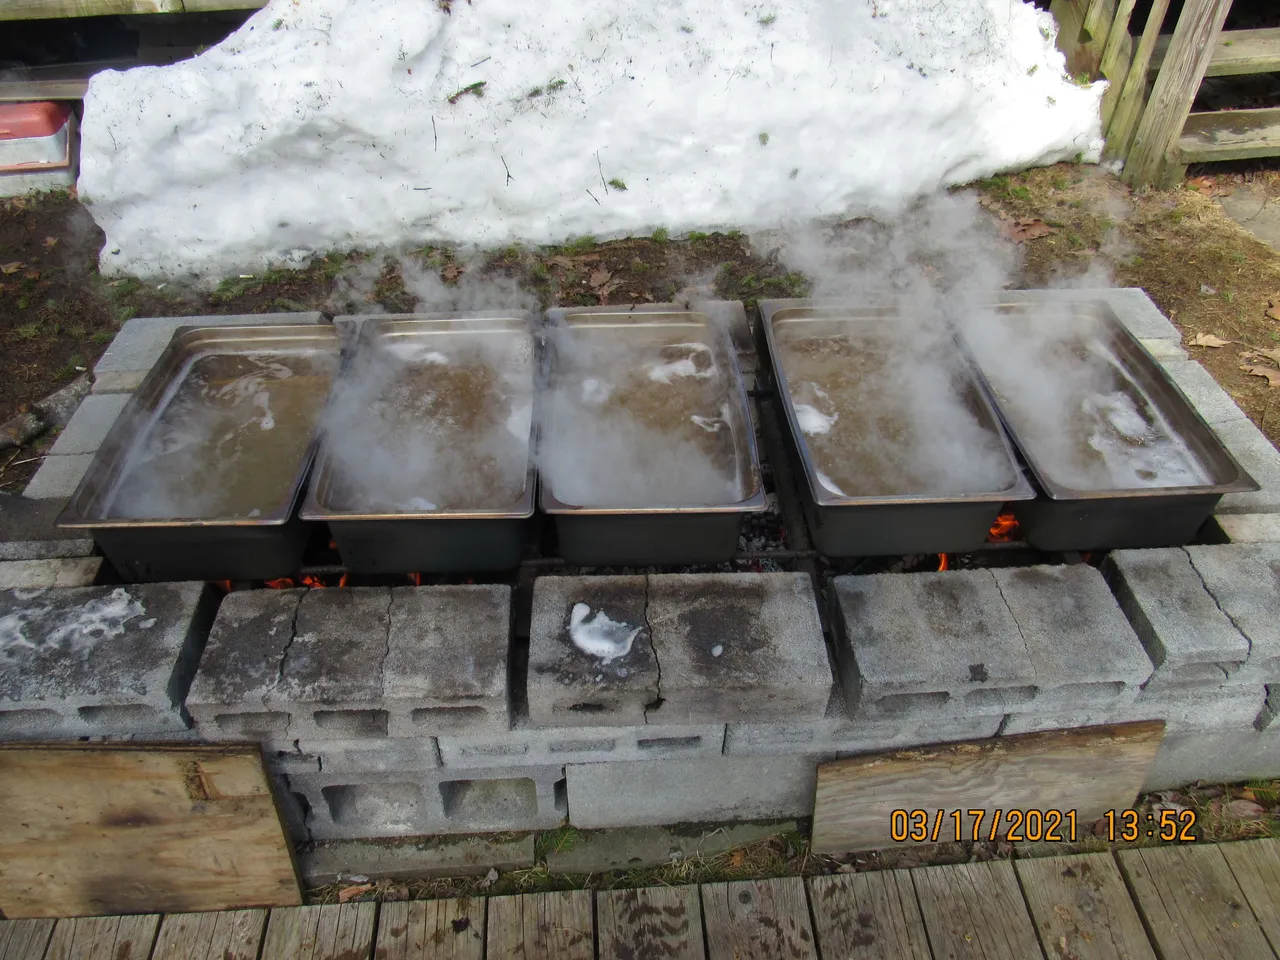
With all 5 pans boiling away I can already taste, smell, and visualize a stack of pancakes a mile high drenched in #homemade maple syrup and a few fresh links of venison sausage bathed in one of #Mothernature's liquid delights.
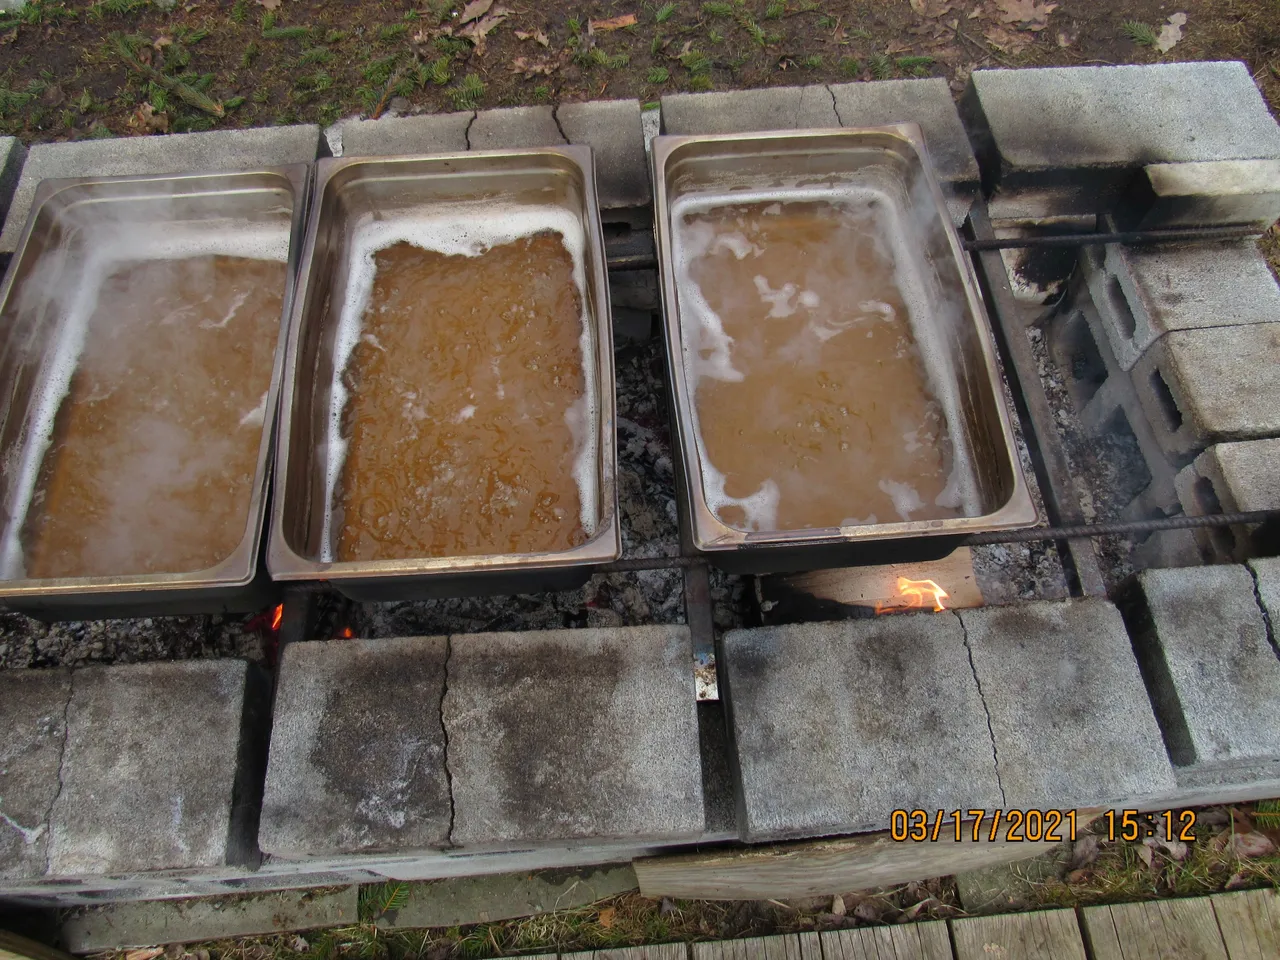
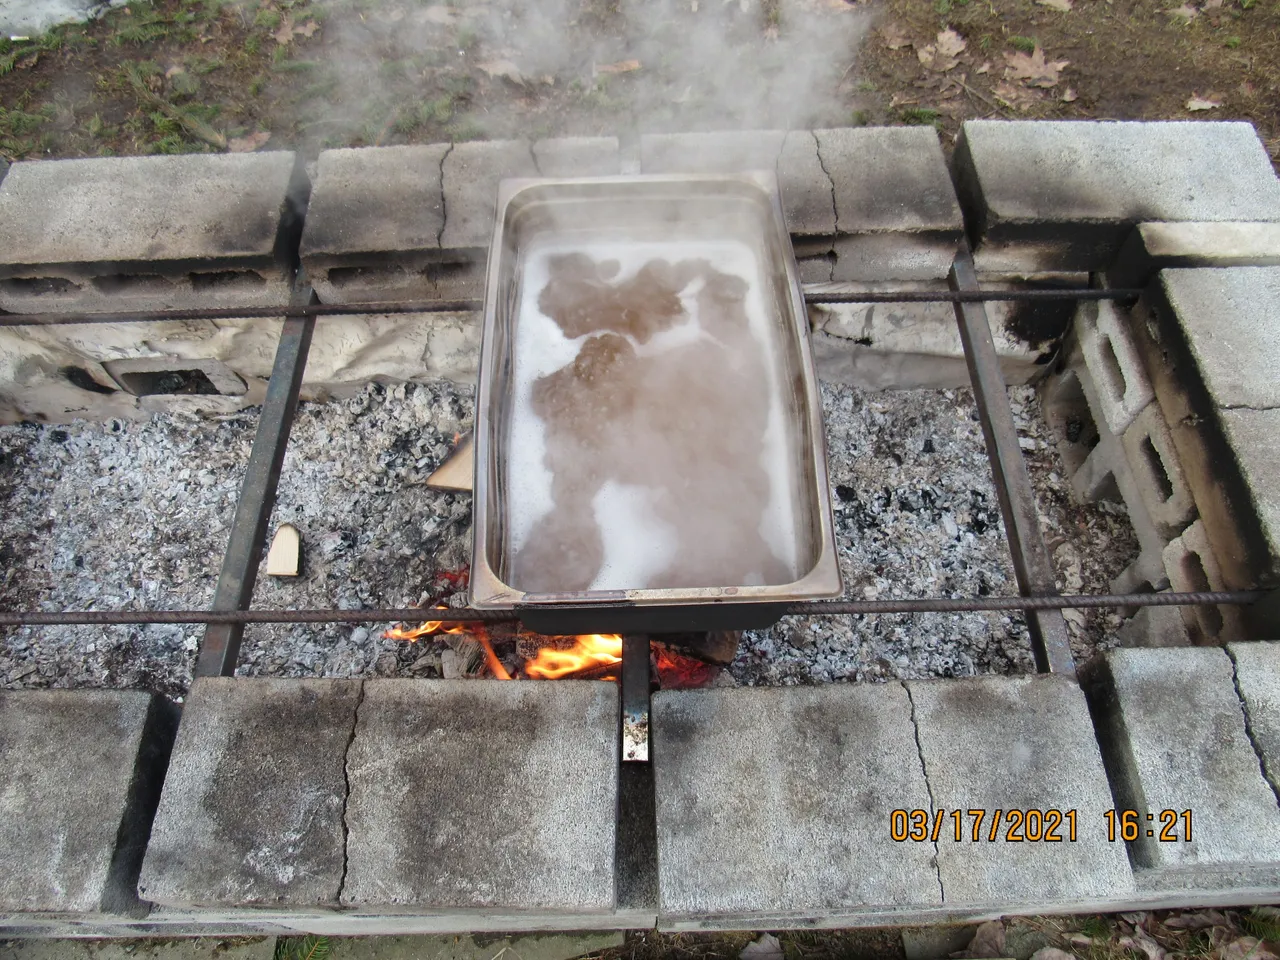
What is pictured here is the foam that is produced while boiling down the sap. The brown color is the residue called sugar sands. Maple sap supplies the tree with food. The sap contains lots of water (97/98%), sugar, and other natural minerals. During boiling, evaporation occurs and along with the sugar, those minerals become concentrated. Filtering removes the majority of these minerals, and much of the sugar sand can be removed during the boil.
The sap will be filtered an additional three times before bottling.
Any remnants of sugar sand will give the syrup a strange taste and the syrup you produce will be cloudy. 😥

We can boil about 20 gallons at a time in our pans. As the water evaporates during the boil, additional sap is added to the pan. It is critical that when you add new sap to the boiling pan, you don't halt the boiling process. Heating the sap before adding it to your pans, allows you to add a greater volume of sap at a time, without interrupting the boil.
In this picture, you get a good view of the long side of the fire pit. You can see that I turned a few of the concrete blocks on their edge so that the holes in the blocks would face the outside of the pit.
These openings allow you to draft the fire as needed and gives you a leg up in maintaining a hot even fire.
The scraps of plywood are used to open and close these ports.
With a full head of steam, literally, maintained for the past three hours or so, we're already down to just three pans.
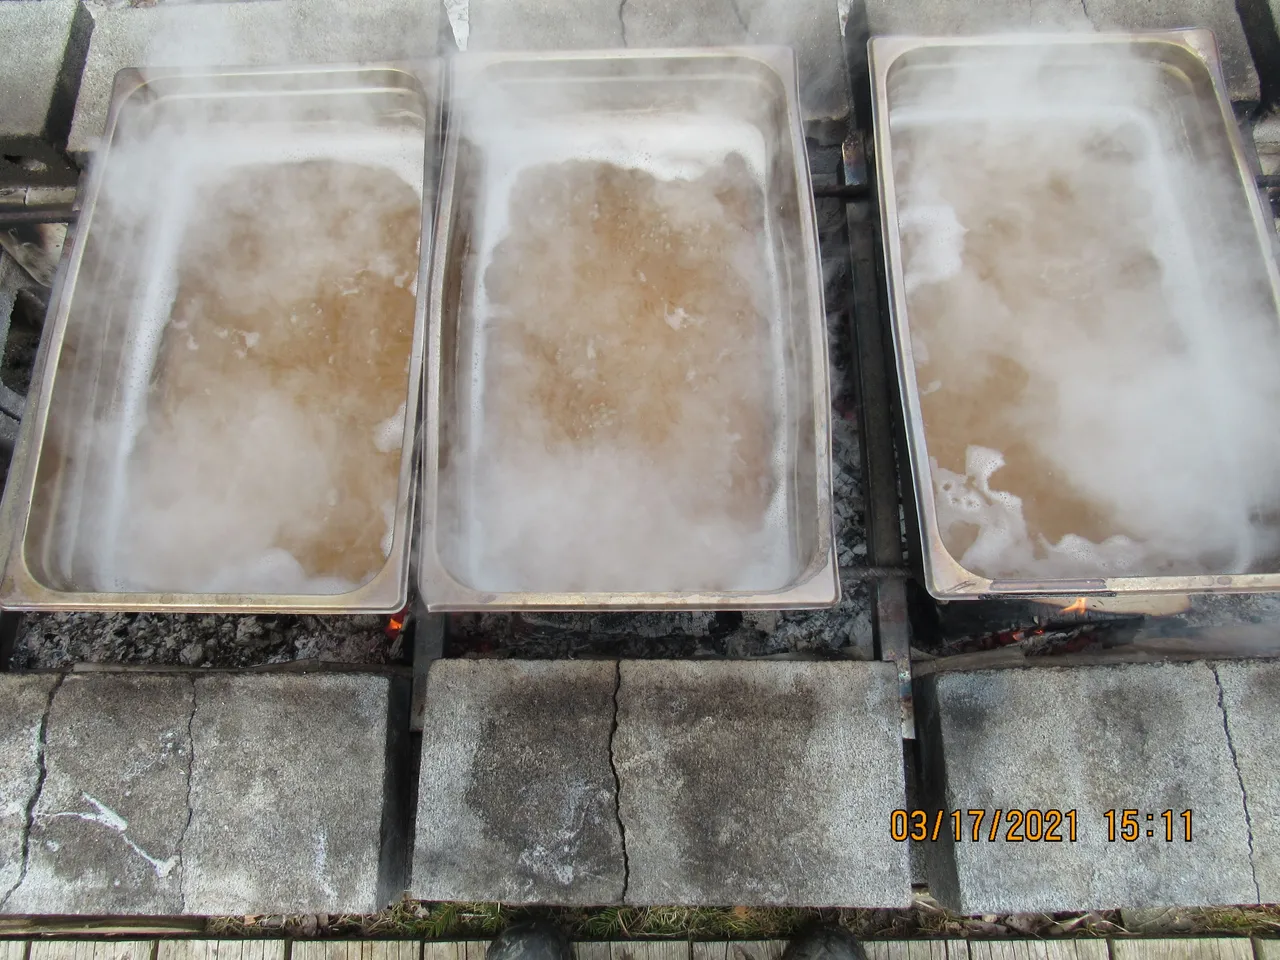
It looks like there are about six gallons left in the three pans.
That's what will happen with a good fire, 40 gallons of sap down to 6 gallons in around 3 hours.
The very first time we made maple syrup, it took us over 6 hours to boil down 15 gallons, up to this same point in the process.
It's starting to look a lot like syrup. 😁
Almost time to take it off of the fire pit.
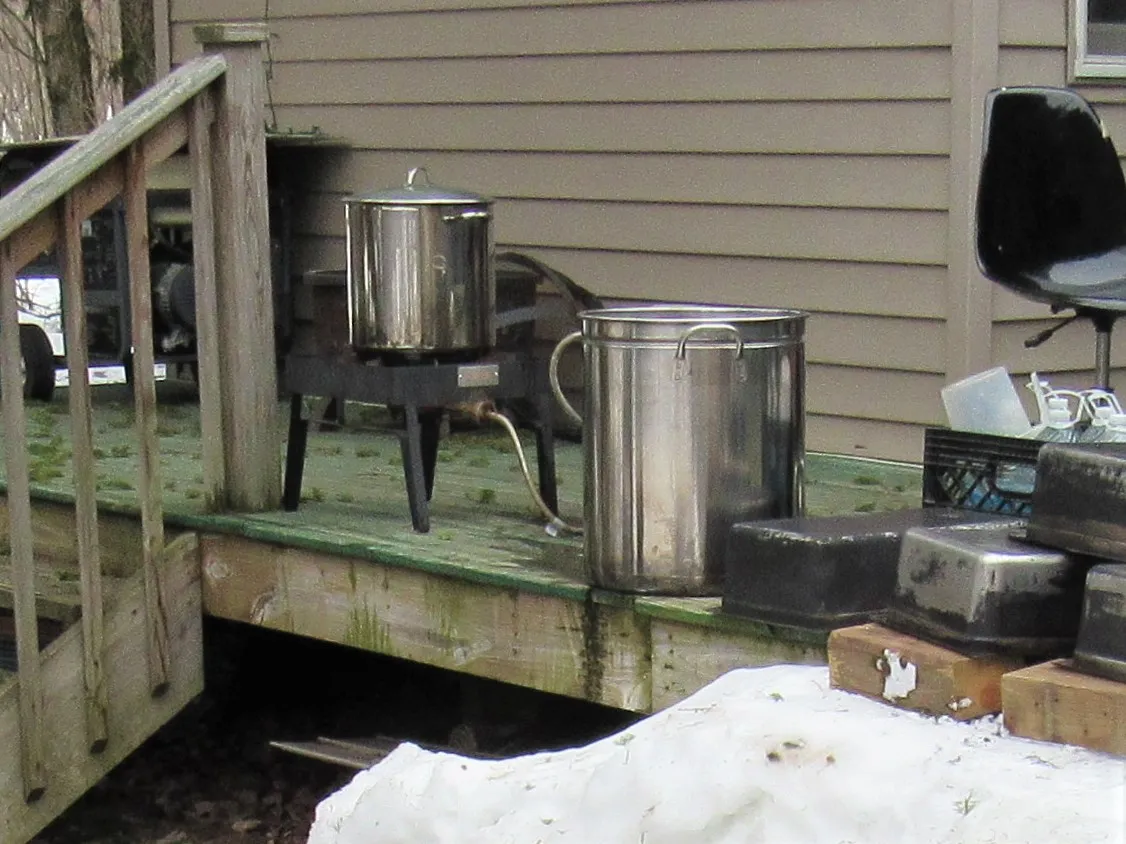
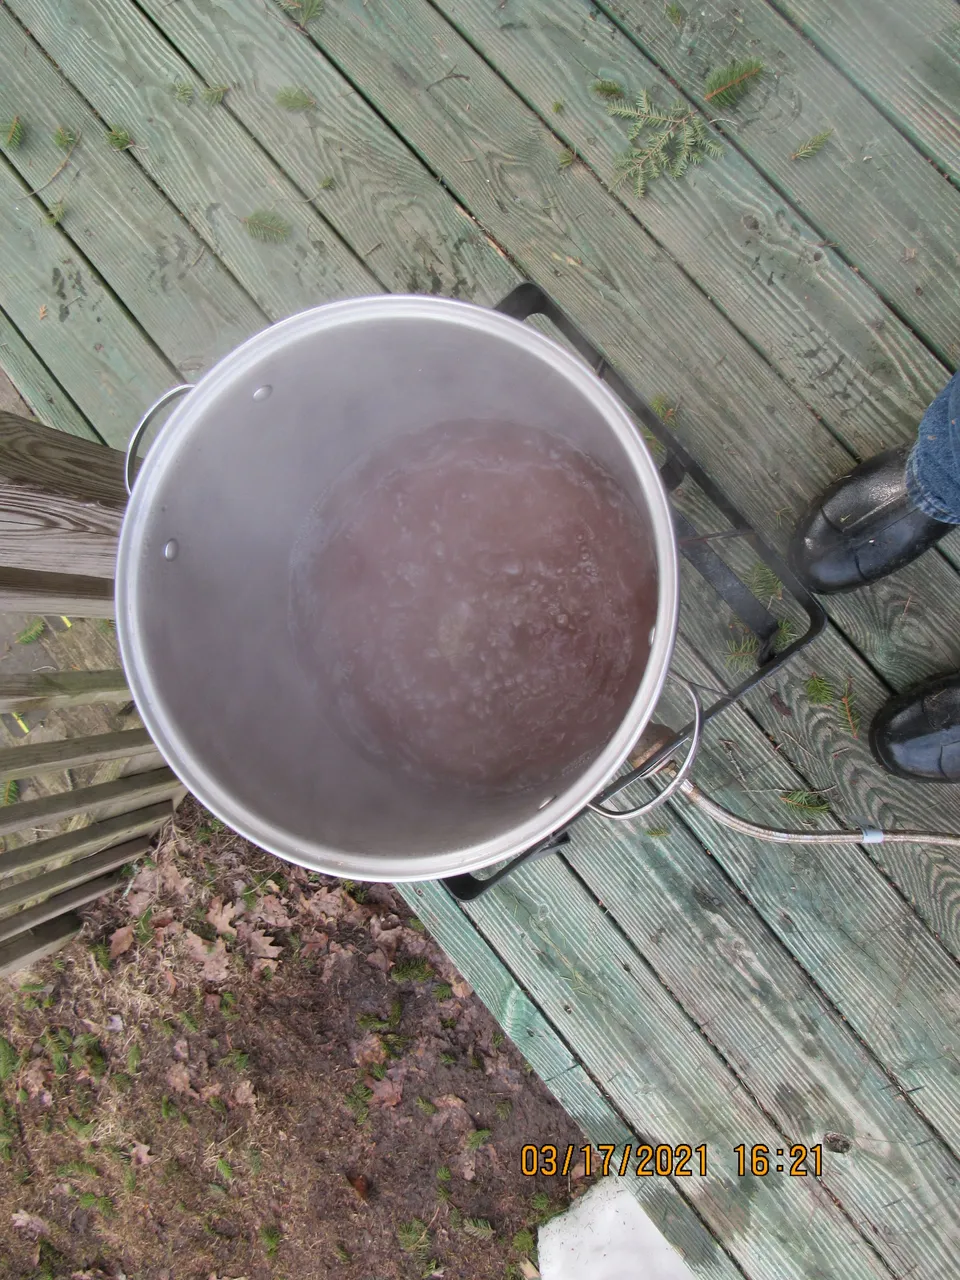
We've poured the remainder of the sap into a smaller pan and will do the next stage of the boil over the outside burner. We do this because the liquid is now very sensitive to heat. By cooking it on the burner we have greater control over the temperature of the fire.
Only once did we ever have a boil over. If this happens you lose precious sap and you'll have a very sticky mess on your hands surroundings.
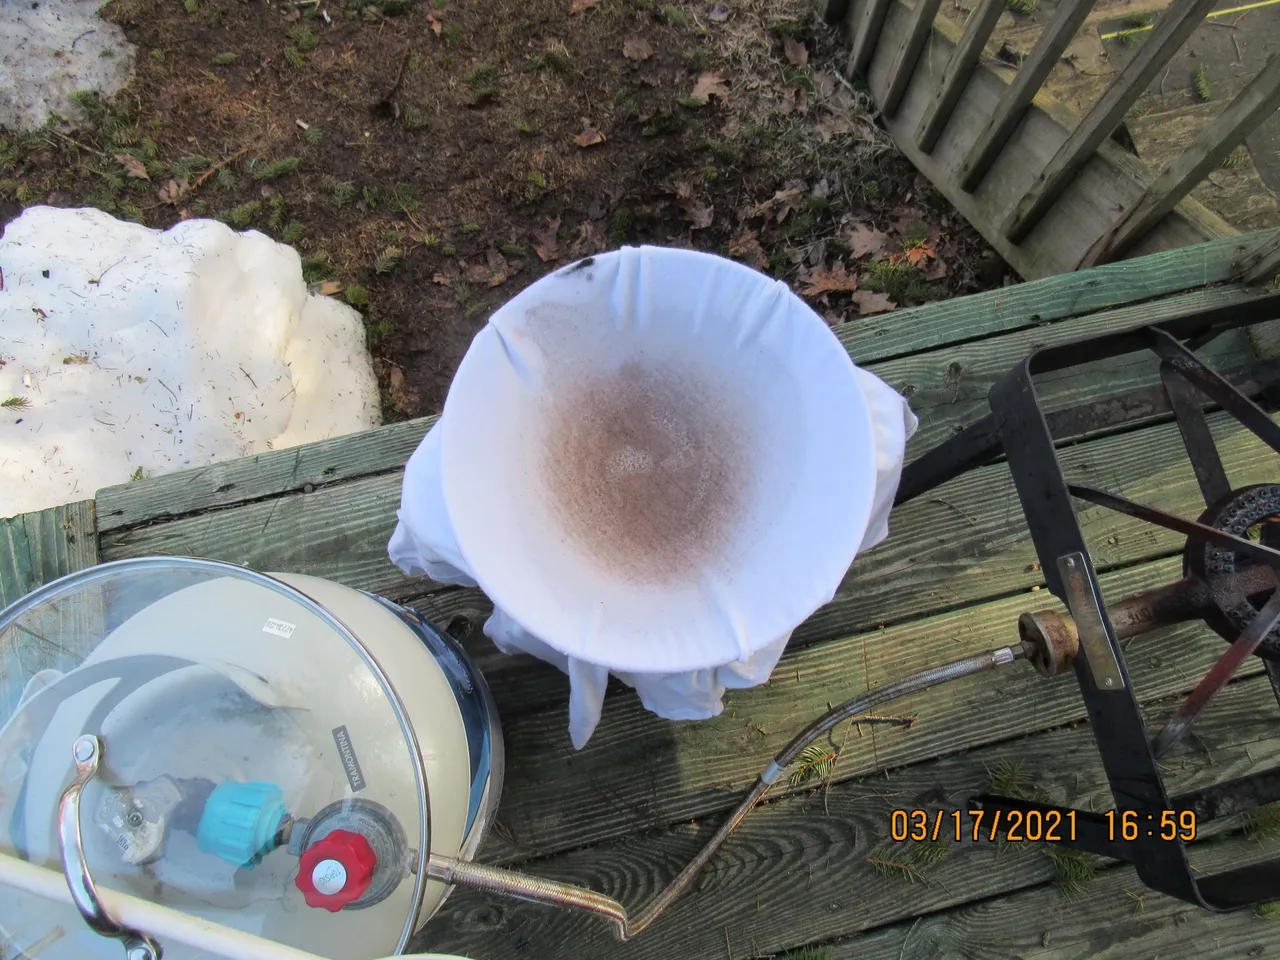
I had mentioned earlier that the sap would be filtered three more times before botteling. When we poured the sap into the pan in the picture above we also filtered it in the same way as you see here.
Oops, forgot to take a pic of that.
A white cotton t-shirt does the trick here.
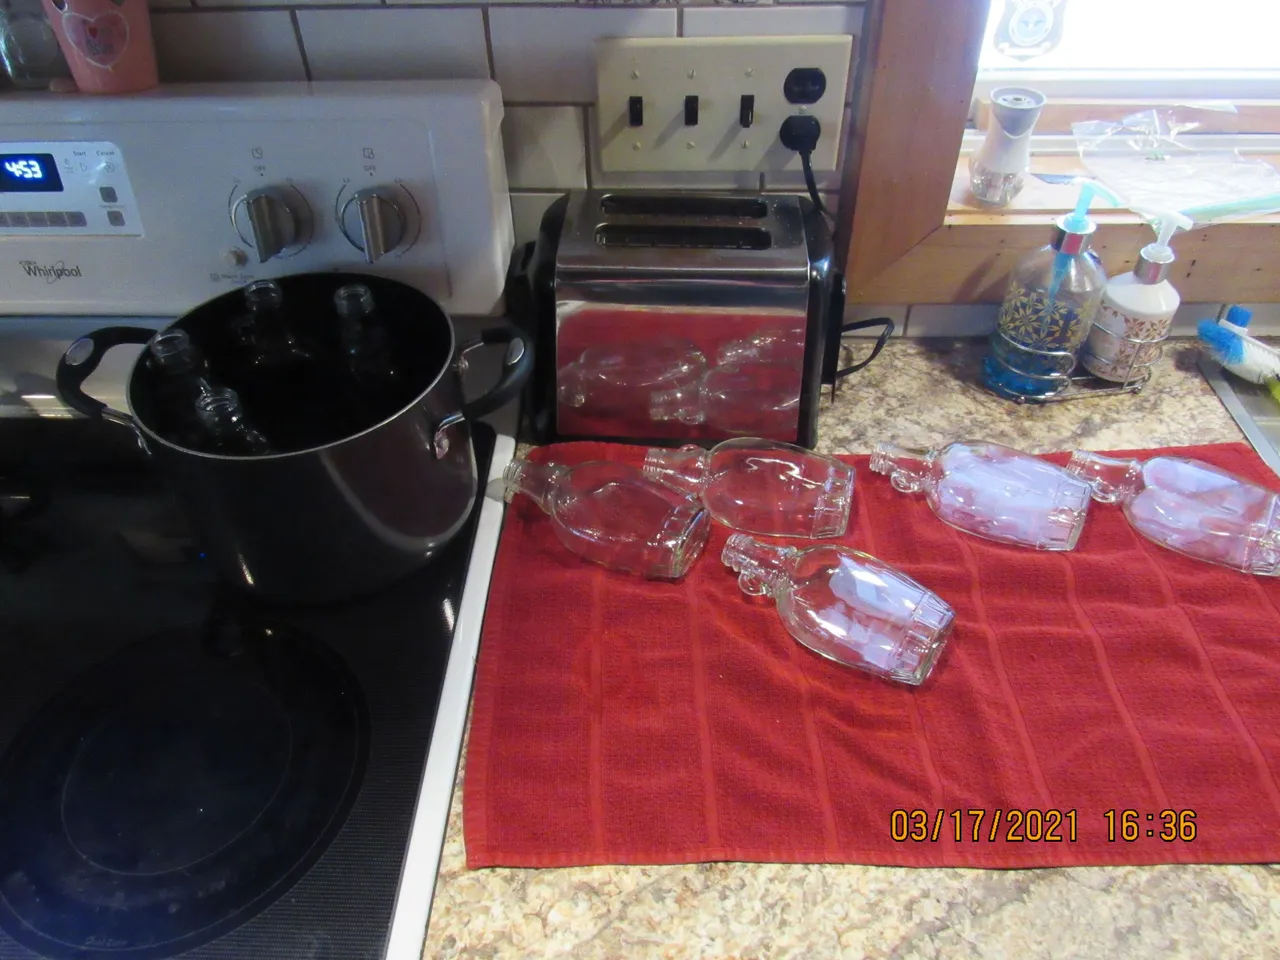
If bottled correctly, the finished product, 100% Pure Maple Syrup will keep for over a year if stored in a dark cool place. As is the case with storing any food product, the container needs to be sterile.
Boiling the bottles and lids will help to ensure your syrup will be around for a year's worth of good eating.
The first two years we made syrup, we used coffee filters to remove any of the remaining sugar sands. Filtering the syrup for the last time before bottling, in this fashion was painful.
It would take forever.
This sugarmaking filter kit solved the problem. We can now filter the final batch in a few minutes using this system.
The right tool for the right job is a must.
Using this filtering system has improved the quality of our syrup twofold.
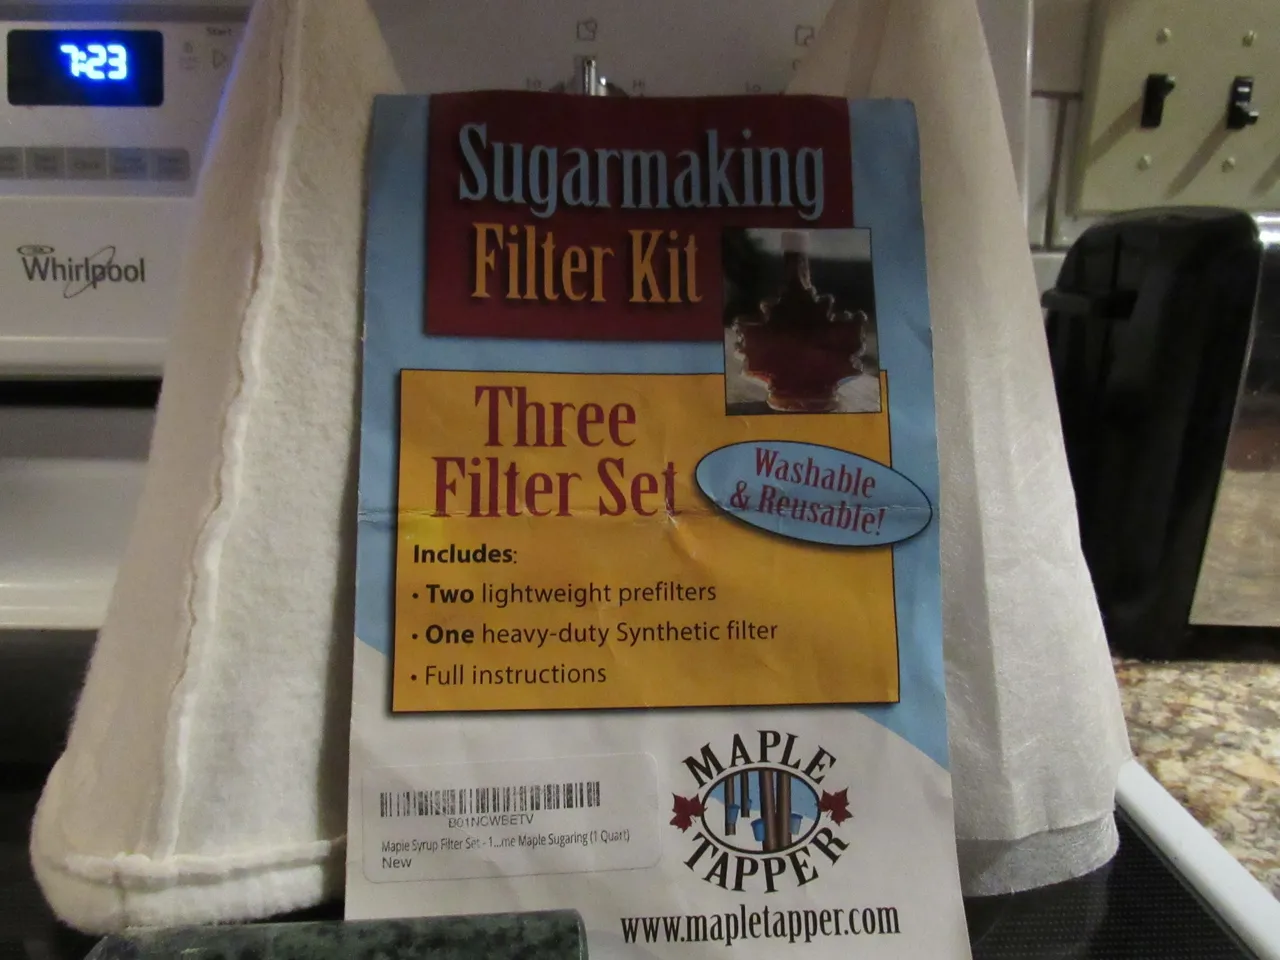
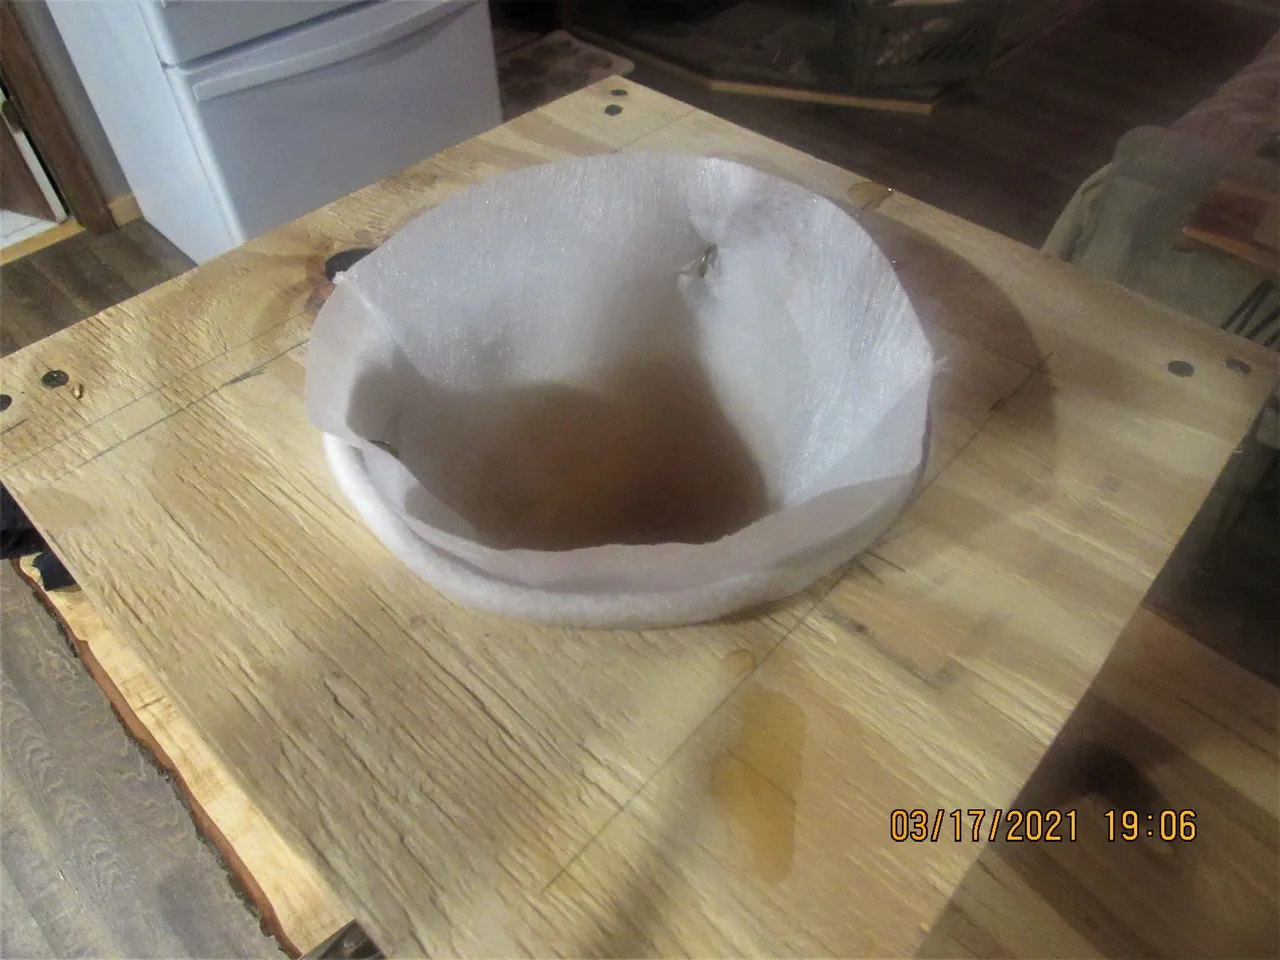
In this picture, you can see both of the lightweight filters, the prefilter, and the cotton filter.
They both clean up very easily by using a little dish soap and hot water.
I built the wooden stand for the filter and designed it around the filter itself and the pot I was going to use to catch the final product.
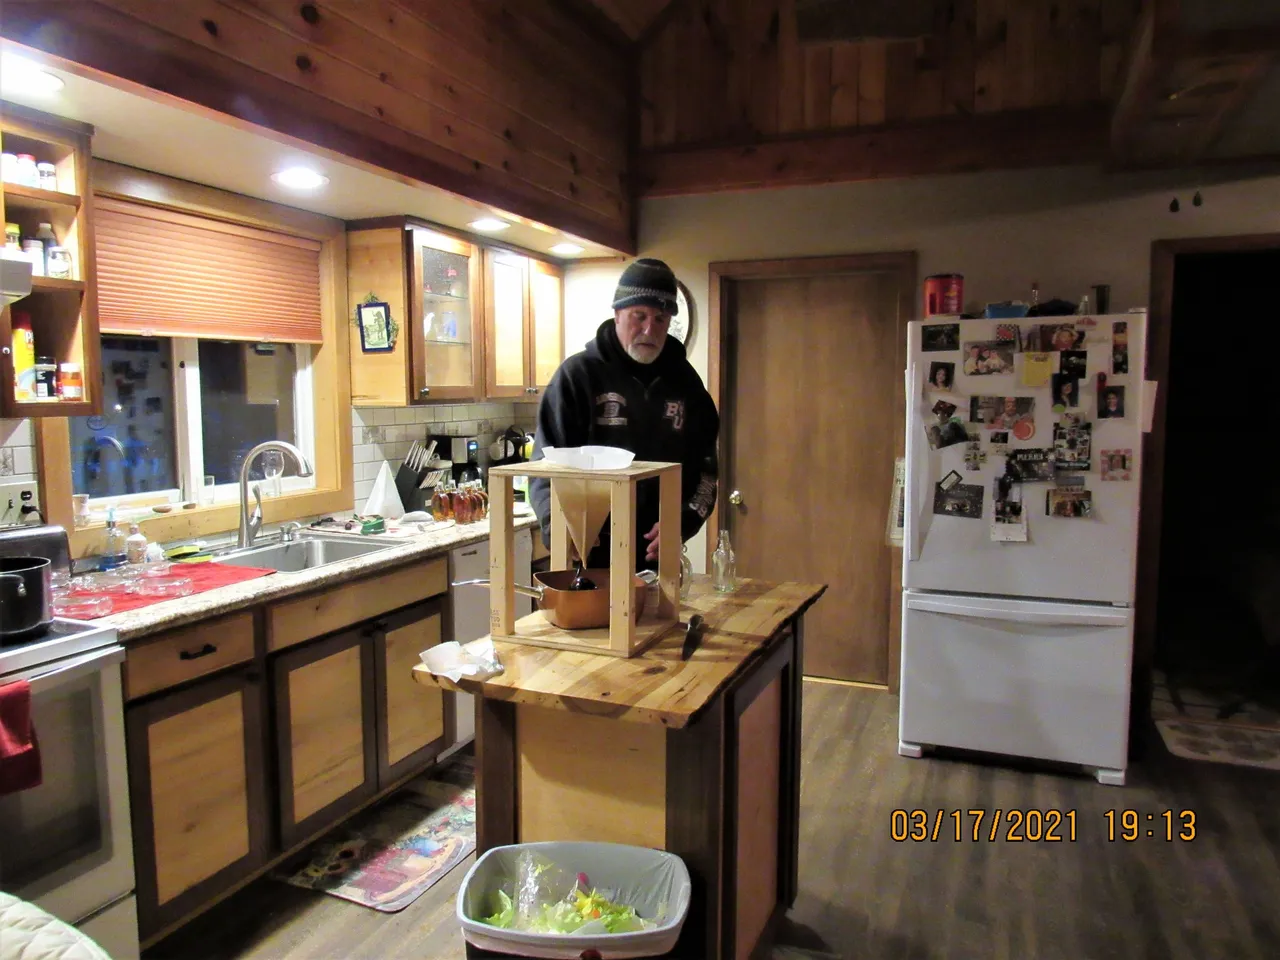
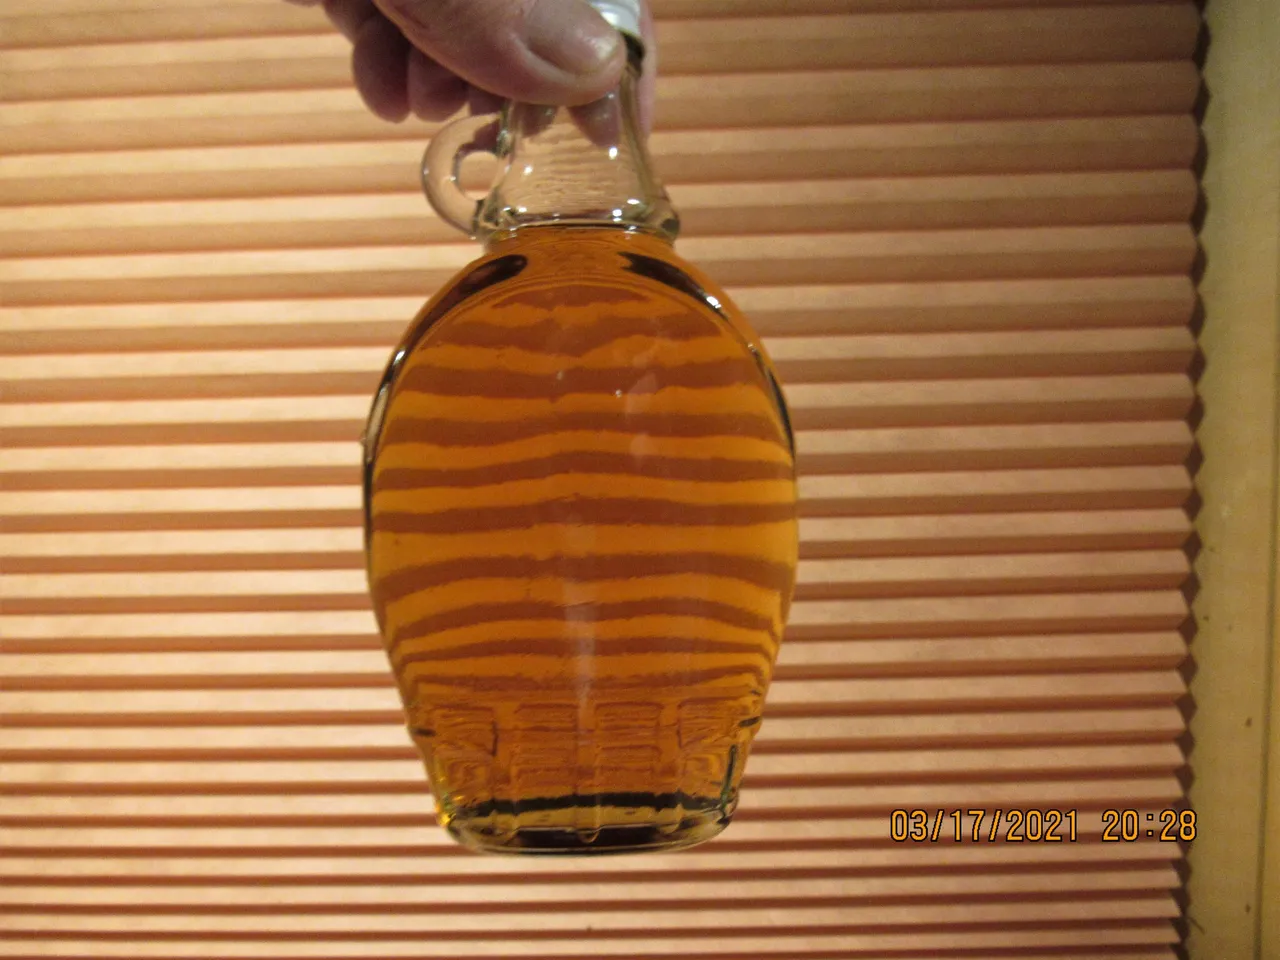
The clarity of the syrup depends so much on removing all of the sugar sands and filtering the syrup at different stages will give you crystal clear maple syrup.
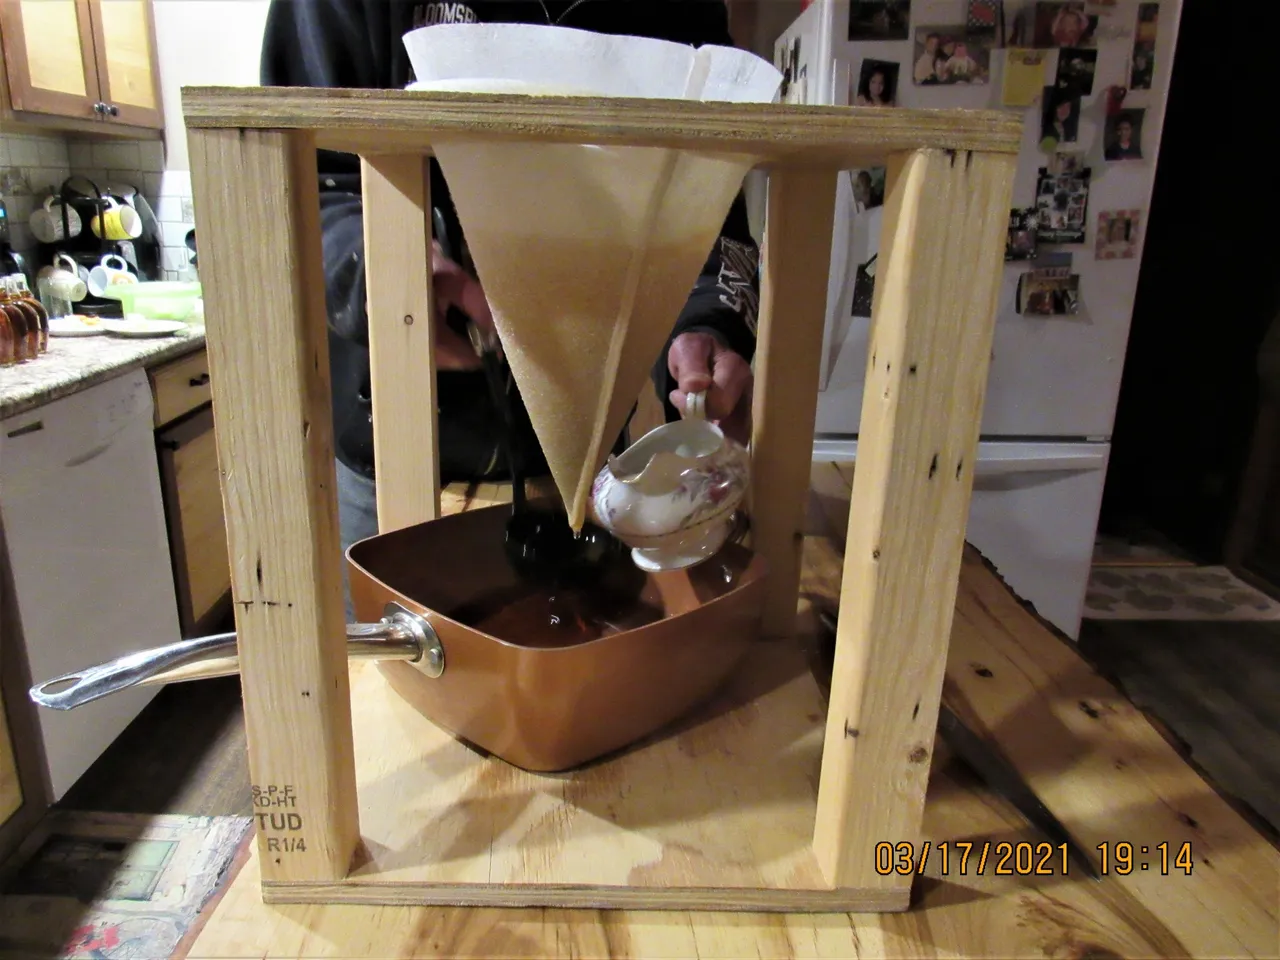
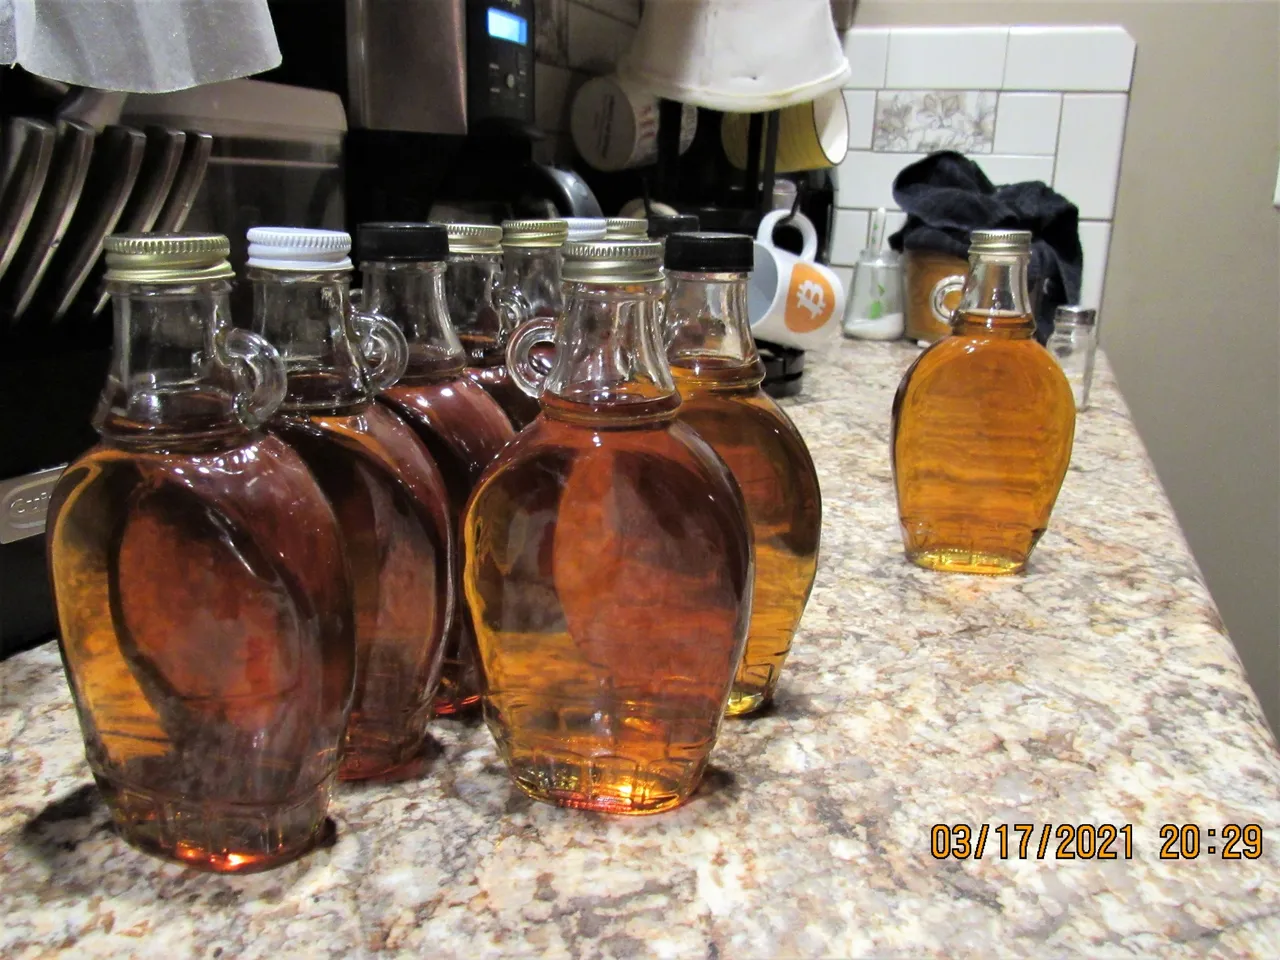
Having boiled 40 gallons of maple sap, at the ratio of 50/1 I was expecting to get 12 bottles of syrup, but only ended up with 11. The reason for this is that every time you filter the syrup, some of it is lost in the process.
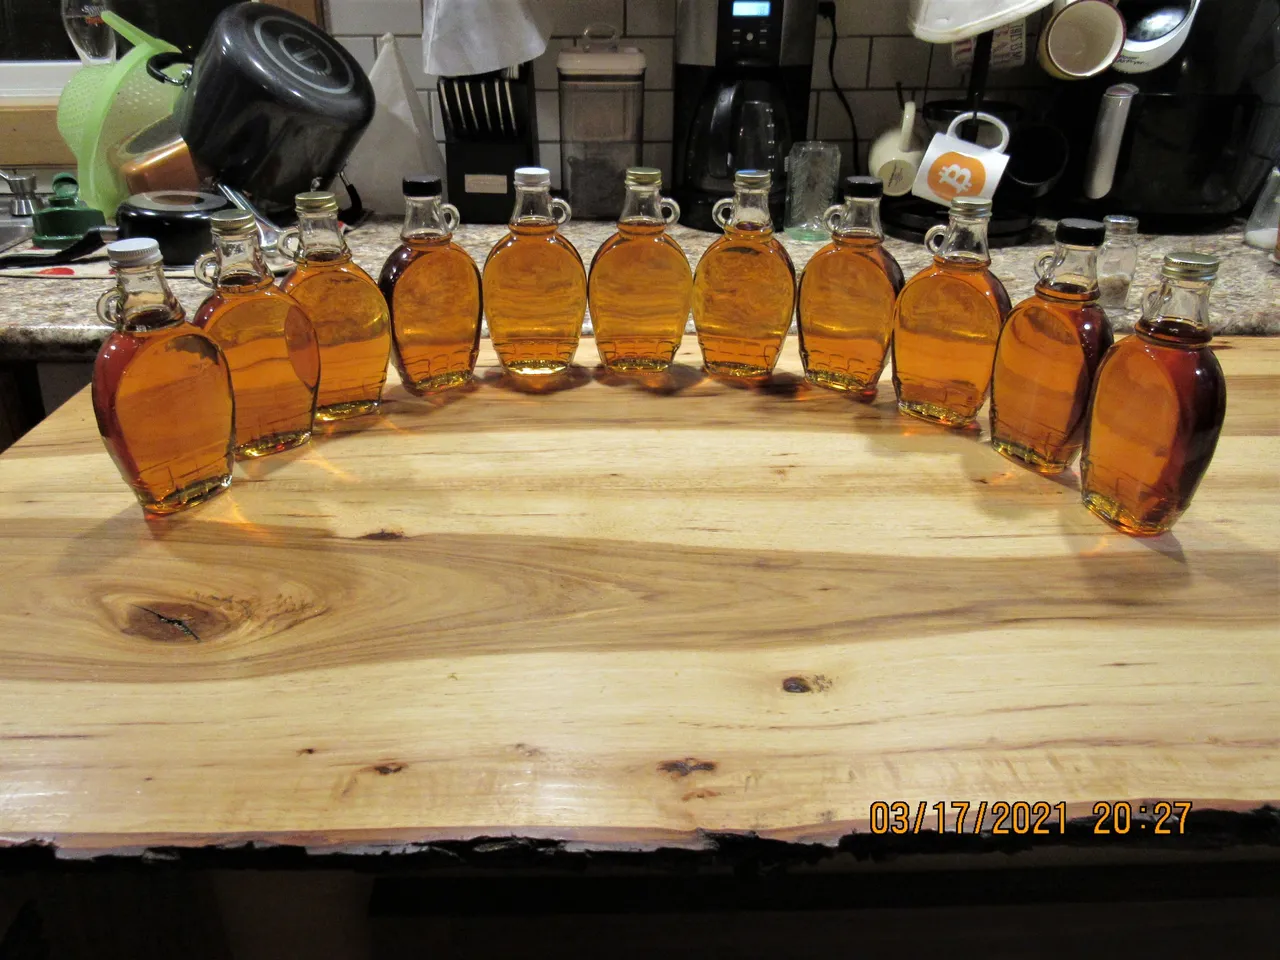
It doesn't get any better than this.
I hope you found this post enjoyable and just maybe you will give it a try.