I have been doing BBQ for a long time but smokers are new to me. I find the start up process of this great food cooker unique compared to dealing with gas grills most of my life. It takes a little longer to get started but once going its just as good. Having a charcoal grill and or smoker on hand is a good idea if you ever need a backup cooking source. Luckily I have always had the gas needed to cook, but if you are away from the grid charcoal is a tried and true solution to cooking without gas.
I bought a smoker about a year ago and have been having alot of fun cooking all sorts of things on it. Today I will be cooking a duck, but this post is more about how to start the actual smoker rather than cooking on it.
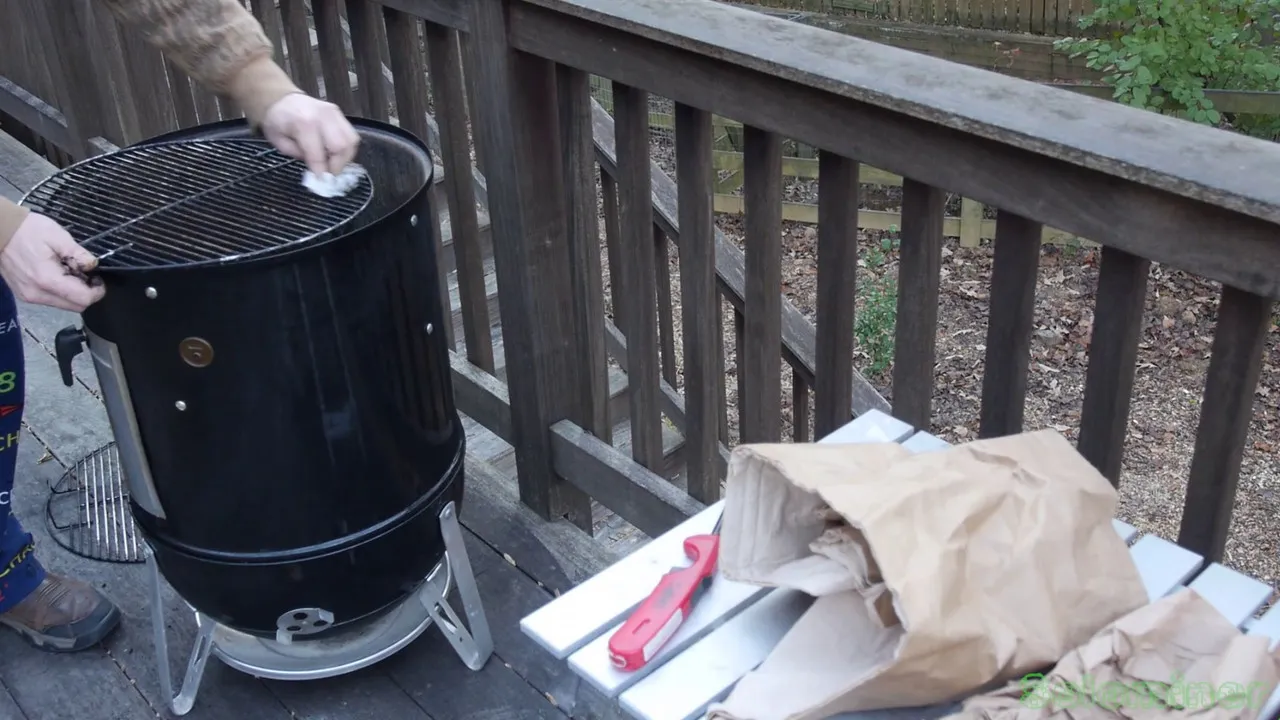
My cleaning starts shortly after it cools, I need to dump out the water inside otherwise it will mold. The water is important to help regulate the smoker temperature and it catches the drippings. That will be quite important for the duck I am cooking on it.
Once the water is removed, the grills are cleaned I then check on the spent coals below. Sometimes you can get 3-5 cooking before you need to clean. This happened to be one of those times the coal catch needed to be cleaned out.
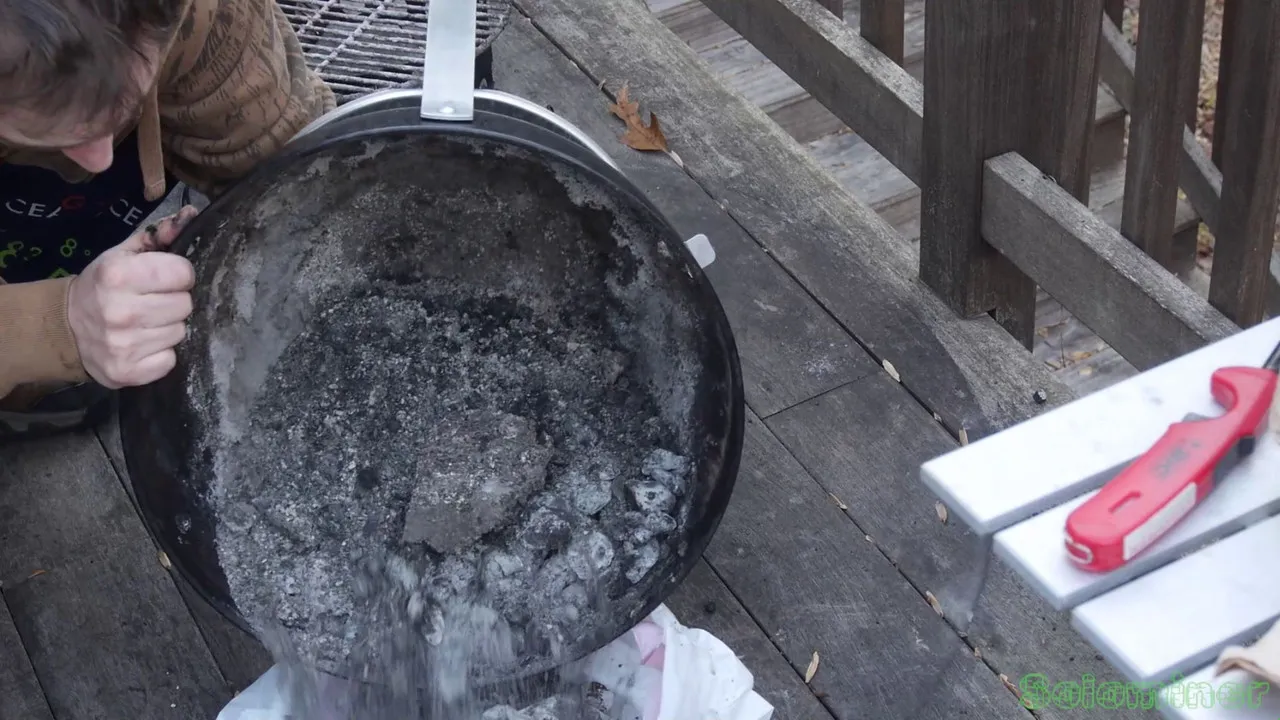
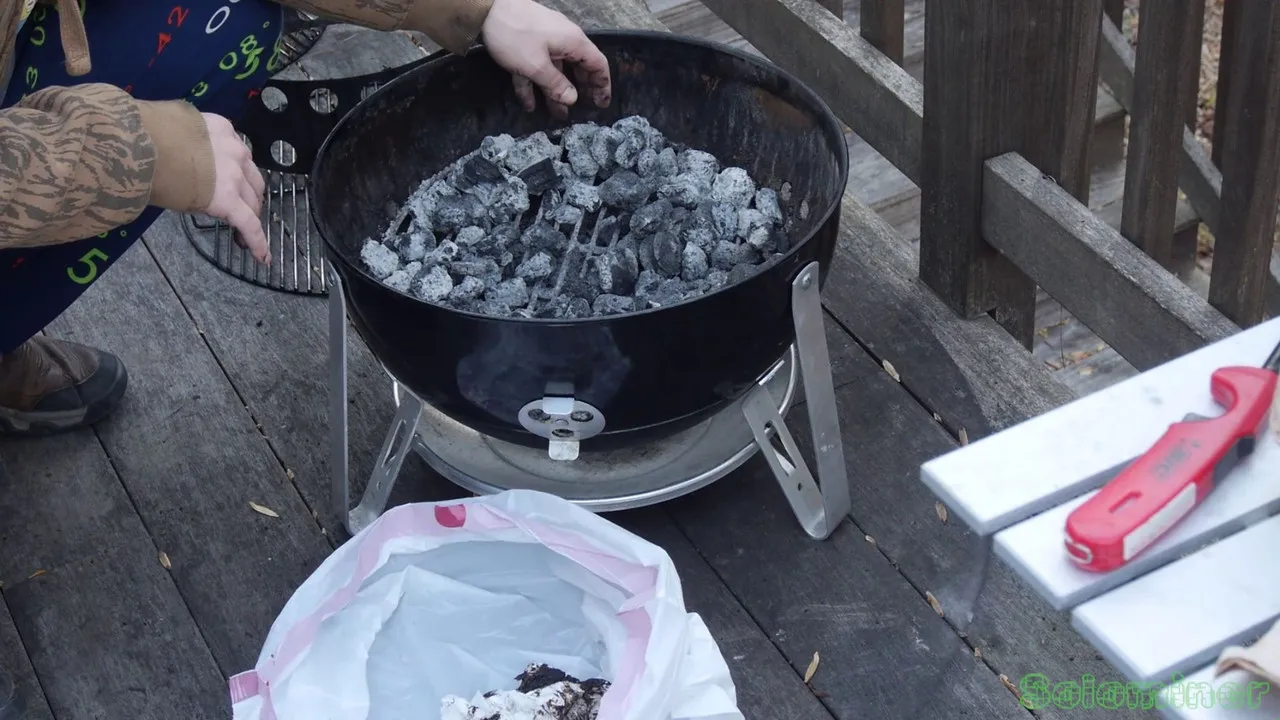
It can be quite messy, but I do my best to get the cold spent charcoal out into a bag. This can only be one when the coals are completely cool. Otherwise they would melt right through your bag.. lol
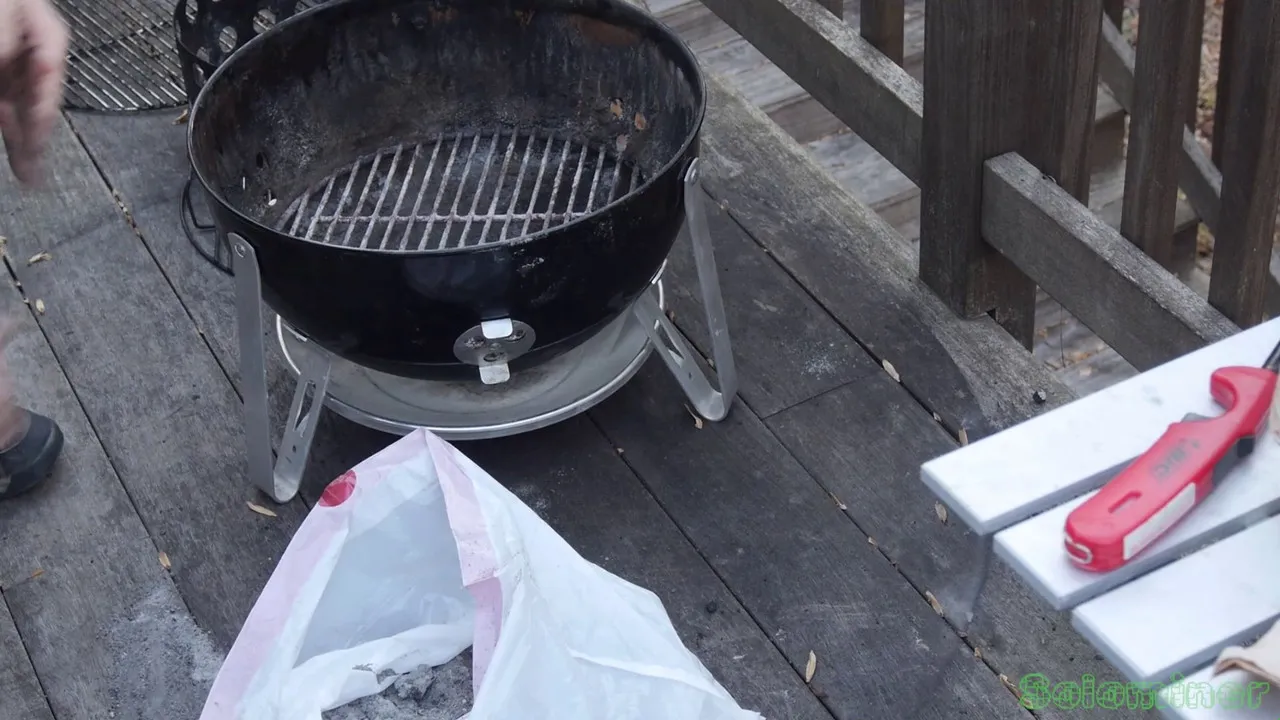
Once removed the smoker is ready to have its coal catcher back in its place.
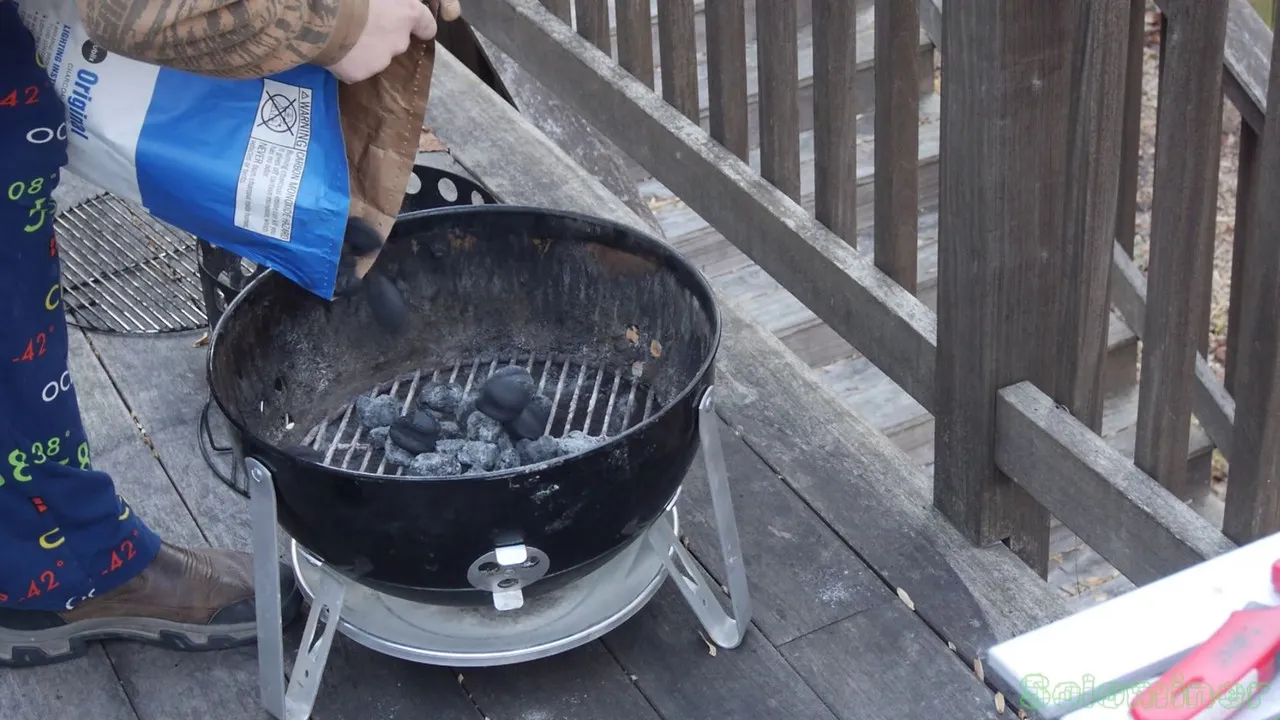
I add fresh charcoal, and keep a couple that I found while pouring out that were still good. You dont want to add too many, as we are going to add more with the charcoal chimney starter.
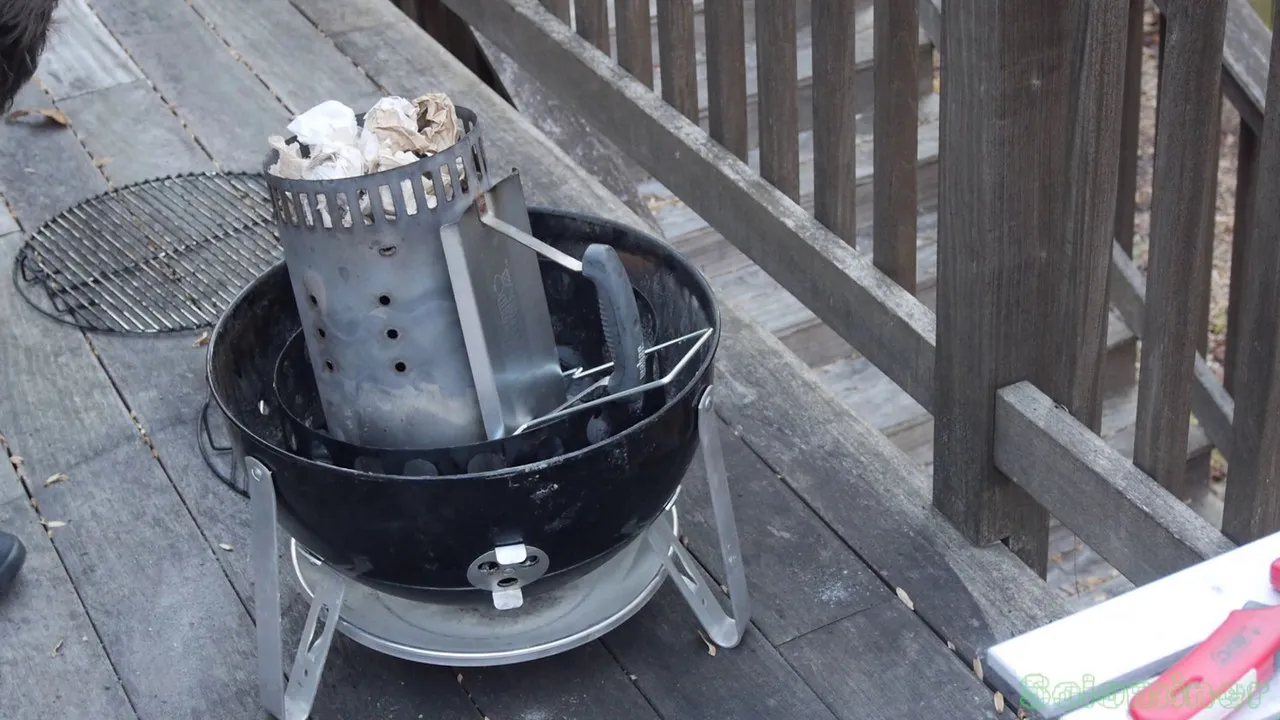
Collecting unbleached paper packing materials I use them to start the chimney. I ball them up and pack them inside the bottom.
Once full of fuel to light I add the charcoal.
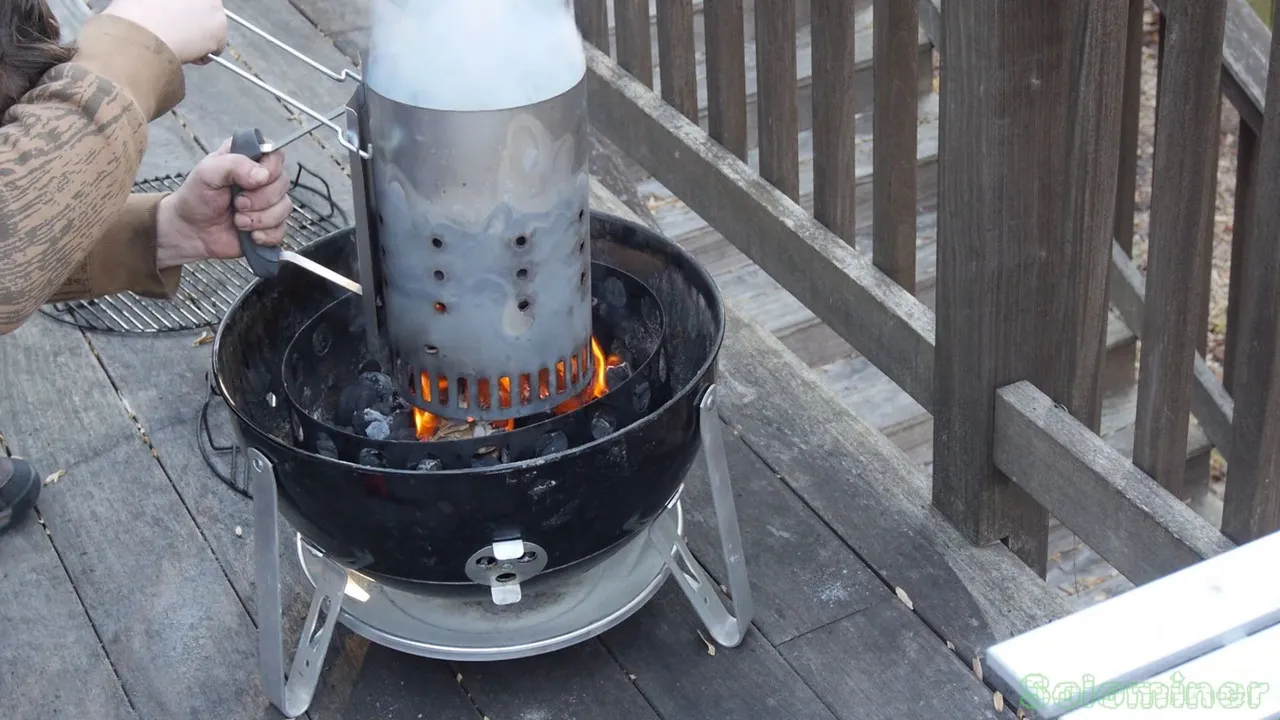
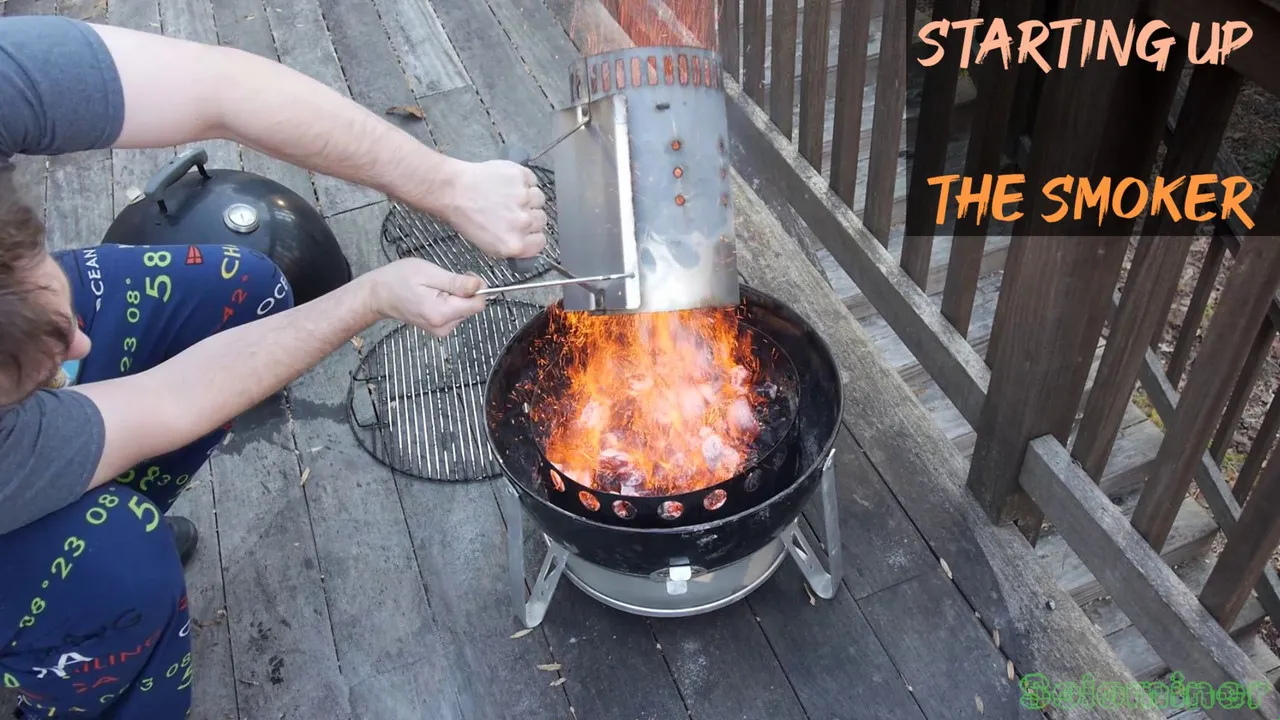
Lighting is a bit tricky, if you add too much paper it tends to burn slow and not hot enough. But if you add too little the charcoals will not catch fast enough. I find holding the chimney up slightly helps to get a nice strong fire flowing through that sustains long enough to light the coals.
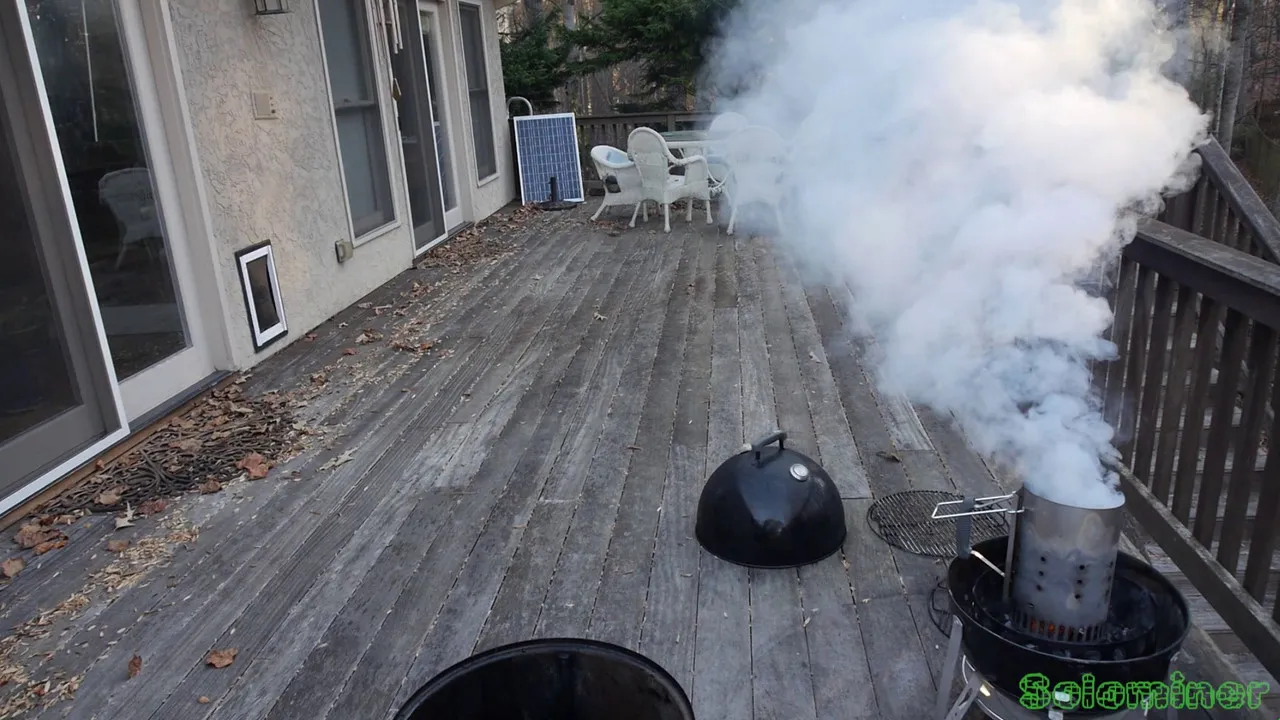
As the smoker gets hot, lots of smoke is produced. I left my video camera recording so you can see how long it smokes before burning clean.
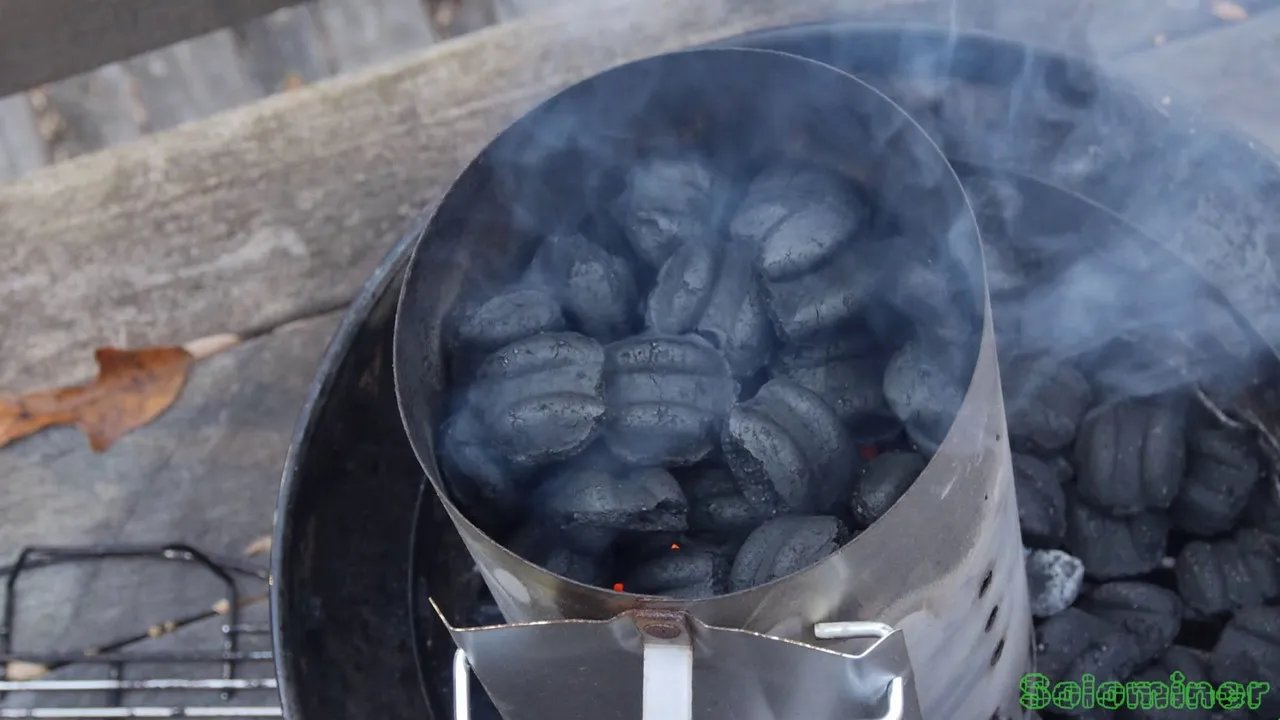
After about 10-15 minutes the coals are getting real hot in the chimney. They are almost ready to pour into the smoker, though you want them to turn white first. Seeing ash build up means the coals are ready.

Fire will start to come out the tip of the chimney, this is the coals at the bottom being lit but the top ones are not quite there.

I can start to see the edges of the coals on top turning white.

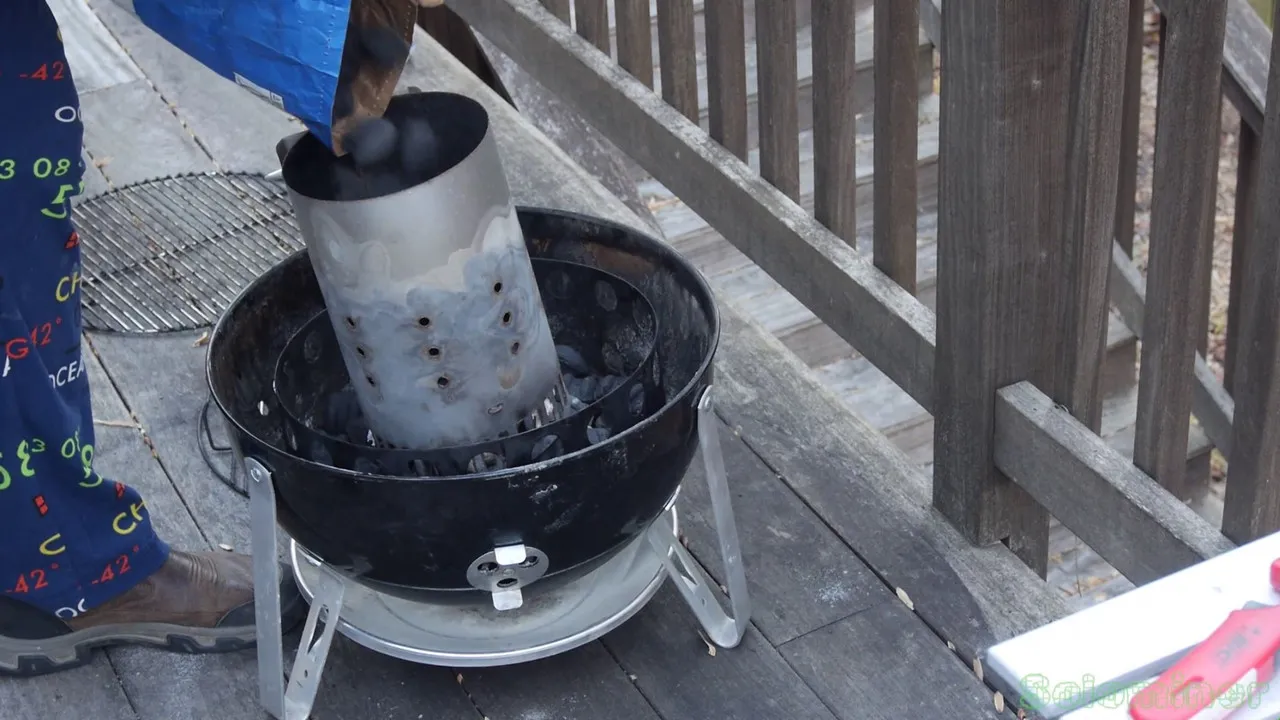
After waiting awhile I get ready to pour, I could have waited longer but I just went ahead and poured them once they all looked caught.
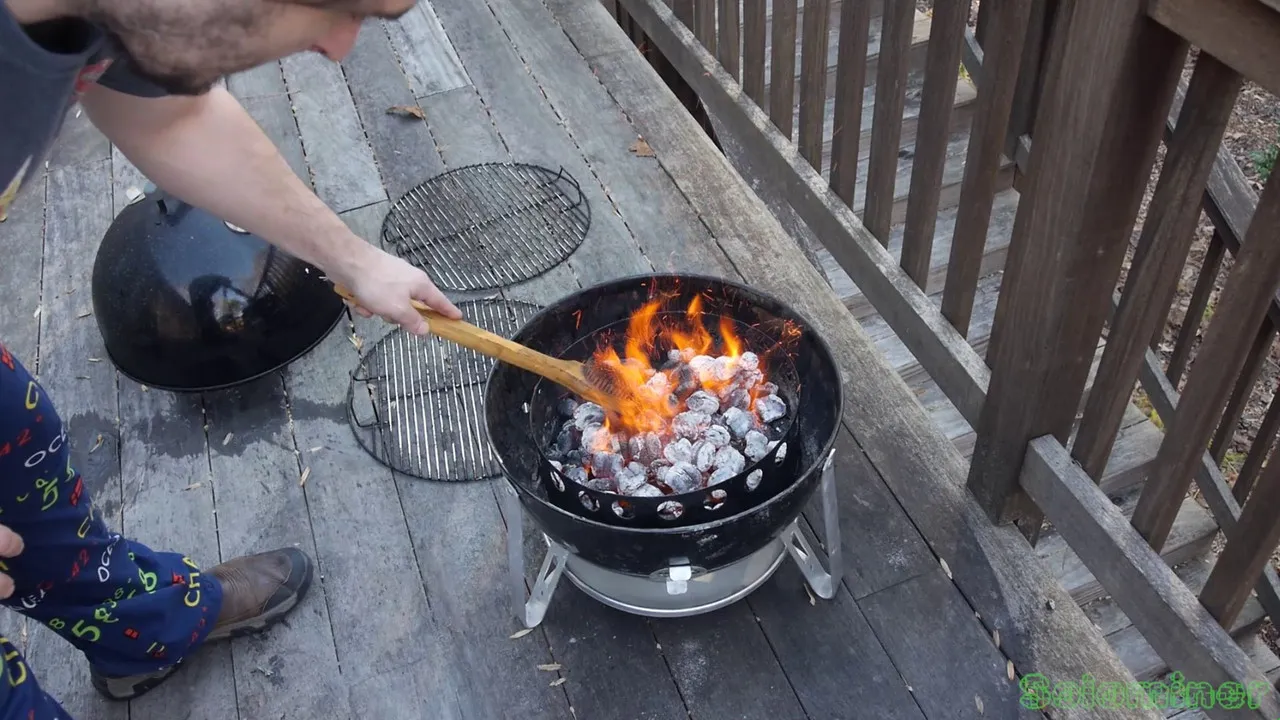
Once poured in you can really see the ash build up, it was hard to see them in the chimney. I use my brush to smooth out the pile of hot coals.
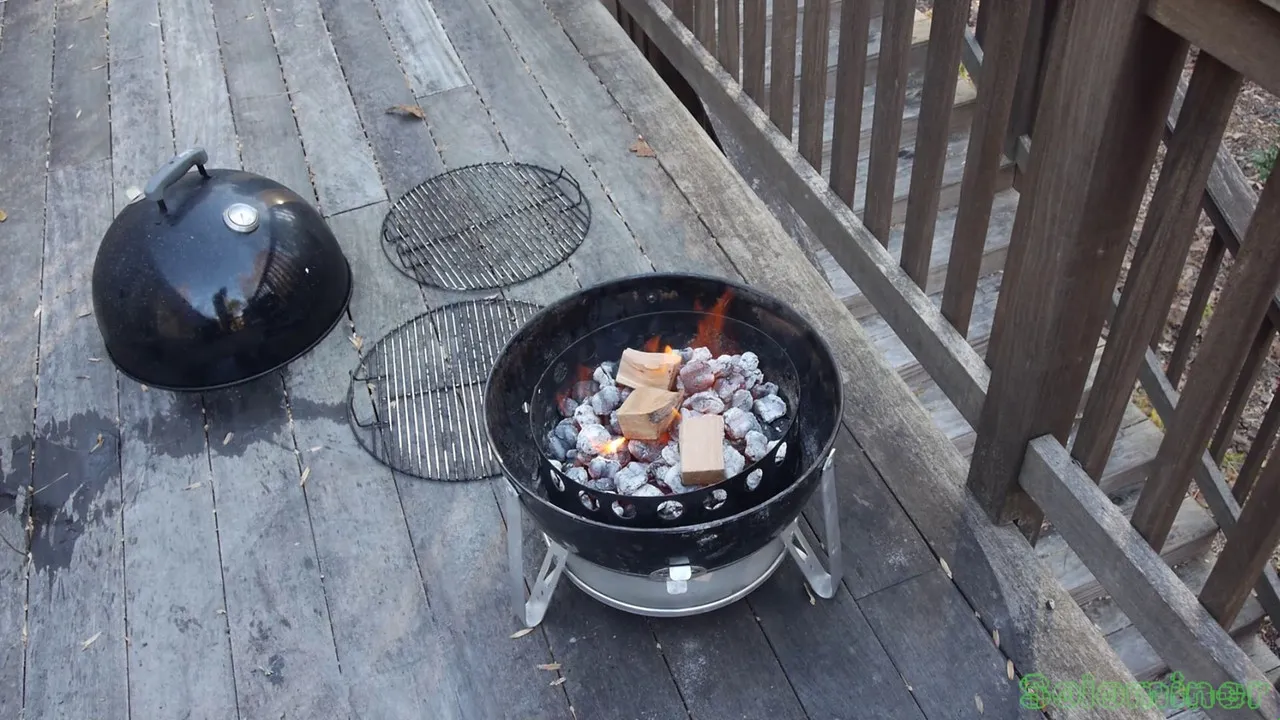
Now I add my wood to the smoker, this time I used cherry. But you can use all kinds, like apple, hickory, mesquite, oak and many others. Each adding their own flavor profile to the food you are cooking.

We place the top back on and add the grates.
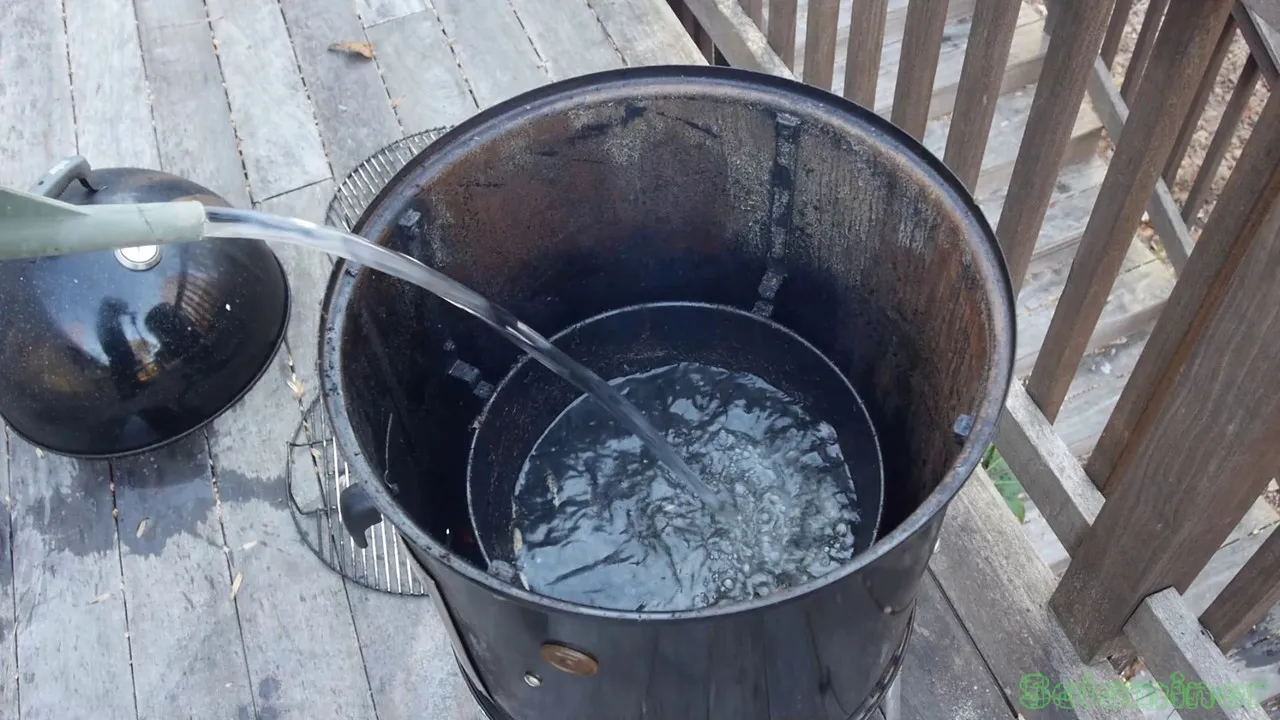
Also add water, as its hard to fill up before placing it all together due to its weight.

I place the Duck on, and try to keep my eyes from getting too much smoke in them. I always smells like the smoker after doing this.. haha
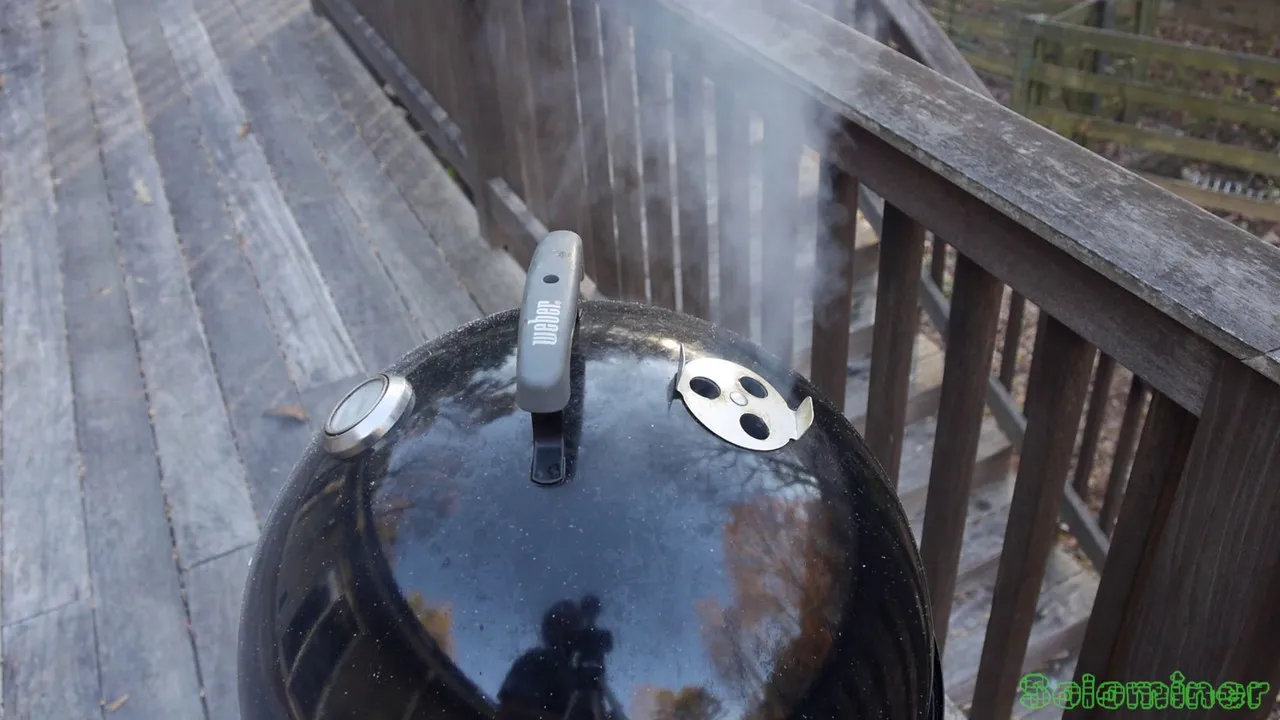
With the dome in place we are ready to walk away.

It is fun just watching the smoke escape from the holes, and sure makes the area smell good too.
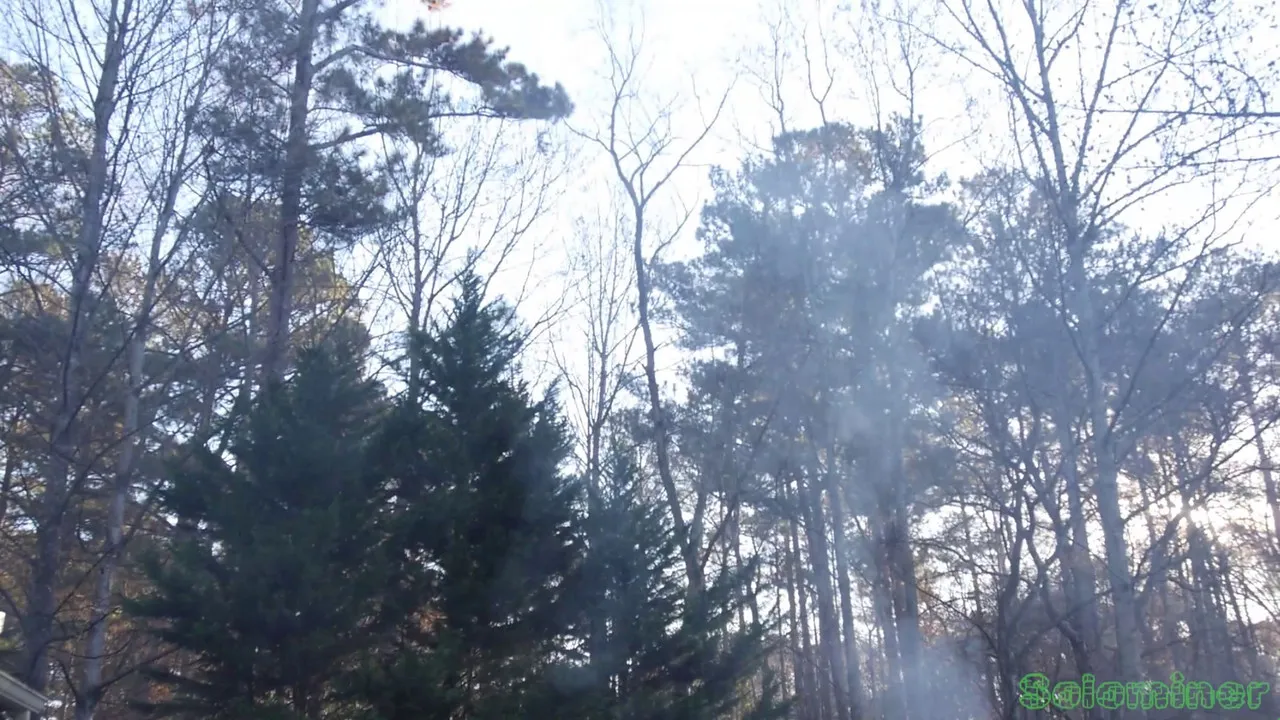
Looking up, lots of smoke is coming off but it will slow down once the wood starts burning better. I find I have to add wood every hour or so. But sometimes I just add it in the beginning, so whatever works better.