Hello, dear friends, and happy Monday!
I hope your weekend was good and you have managed to get some rest after the working days!
I have decided to show you what I have prepared for my lovely husband (ex-boyfriend as I also call him) for the anniversary of our wedding.
Yes, we are newlyweds and yes, this is just a 2-month anniversary but I do want to create this tradition in our new family to celebrate those in some way. It is not necessary every time to go to fancy hotels, on expensive trips, or dine in a restaurant but some small gestures I believe can also be cute and show how much we care for each other.
And this month, I decided to prep some homemade pizza for us with some of our favorite ingredients. I will be sharing this recipe with you but don't forget it is not exclusive, as you can substitute or put some of your favorite toppings as well.
For the ingredients, I would skip mentioning sizes and amounts since everyone can decide on their own how much of what they prefer to put on top of their pizza!
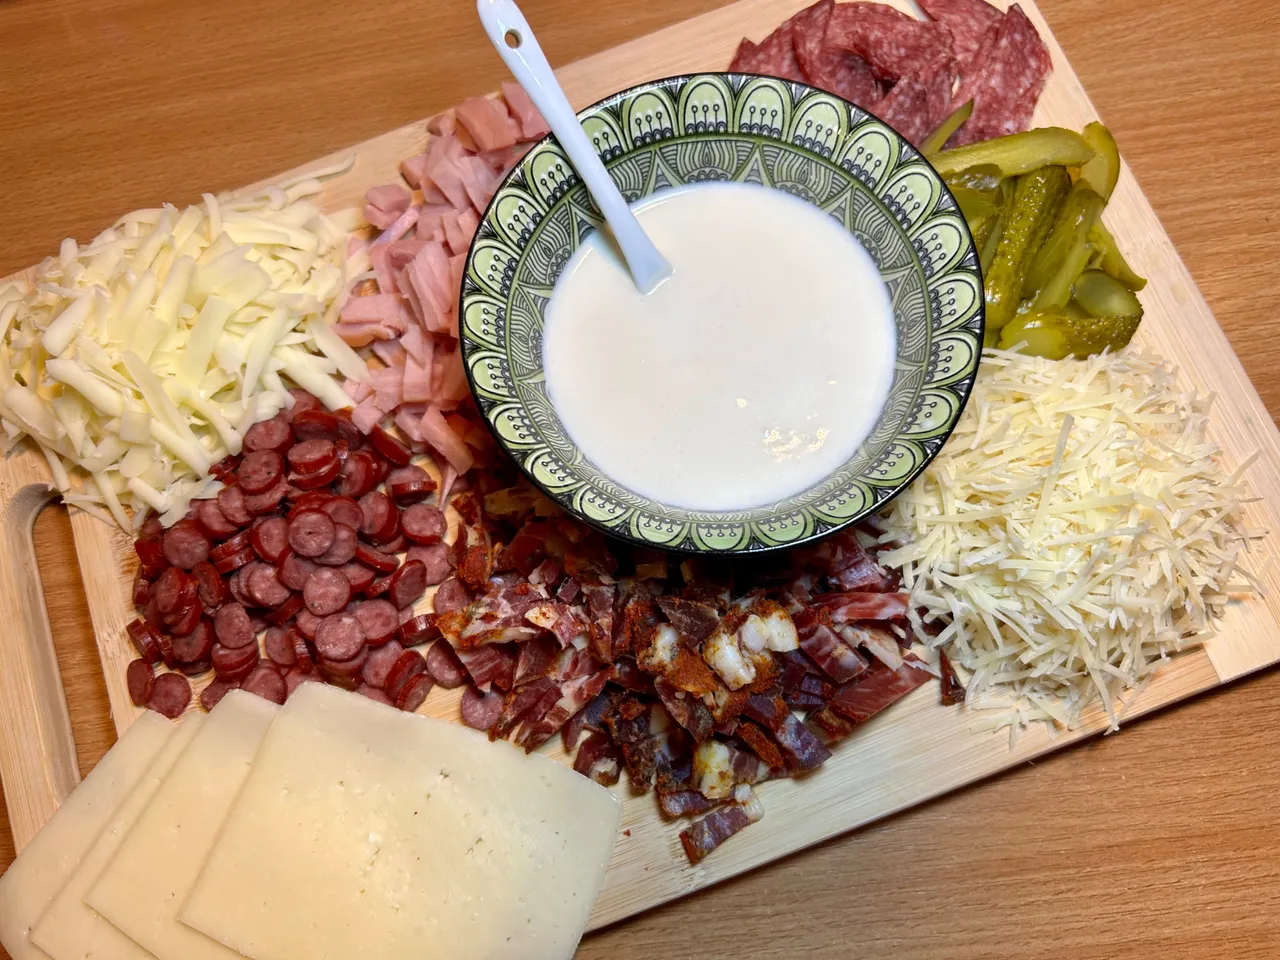
INGREDIENTS:
- Tilsit cheese
- Parmesan cheese (AKA "parmigiano reggiano")
- Turkish yellow cheese (AKA "kasar peynir")
- Dill pickles (baby size)
- Pork ham
- Beef stick
- Dried pork tenderloin
- German Westphalian salami
FOR THE CREAM SAUCE:
- 3 tbsp. Mascarpone (lactose-free)
- 4 tbsp. Whole Milk (lactose-free)
STEP 1: Prepare the dough
I had so little time that I didn't manage to film that part of the process.
I will be posting sometime soon another recipe for homemade pizza dough.
Of course, it is not mandatory to make your own dough - you can just buy one from the store. After all, some of these new-time inventions are actually helpful and in this case, you are going to save a lot of time.
STEP 2: Make the sauce
Most of the time I would prepare tomato sauce but this time I have decided to prepare a cream sauce (white) because of the ingredients we've had at home. I am going lactose-free for the last 2 years and here in Bulgaria is not that easy to find a wide range of lactose-free products (I just don't like consuming only plant-based products). Because of the baby and my pregnancy, I am trying to incorporate step-by-step regular milk products but I still have a long way to go.
So last week I managed to find some lactose-free mascarpone and therefore - our creamy pizza sauce.
I have decided to mix some of the mascarpone with a couple of tablespoons of whole milk and heat them up together on the stove. Then you should stir well until the mixture becomes homogenous and take it away from the stove to cool down.
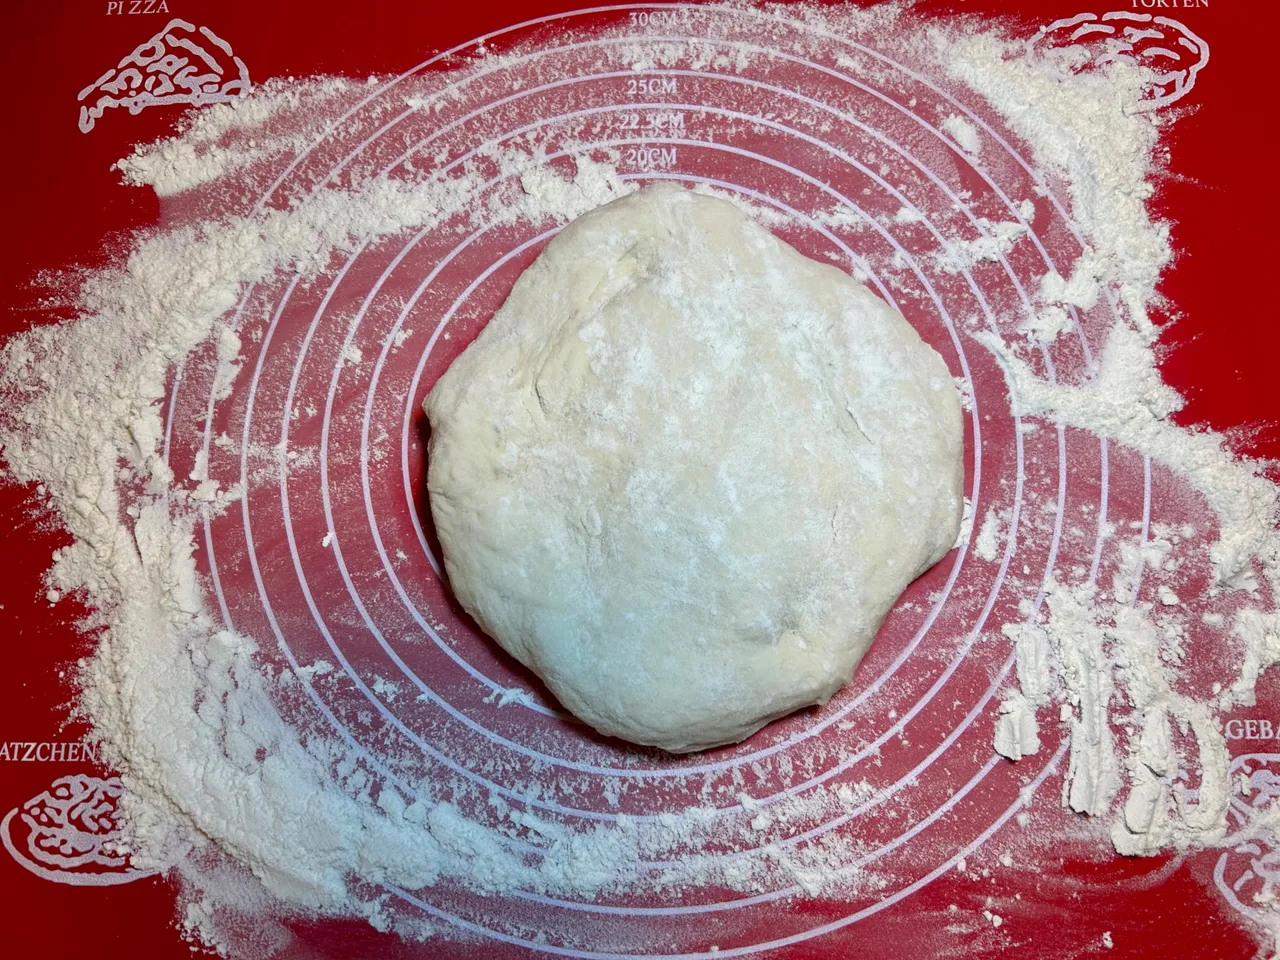
STEP 3: Roll out the dough
Grab your dough and put it on a floured surface or use a silicone baking mat if you have one, or just do both to be 100% sure that you are creating a non-stick surface.
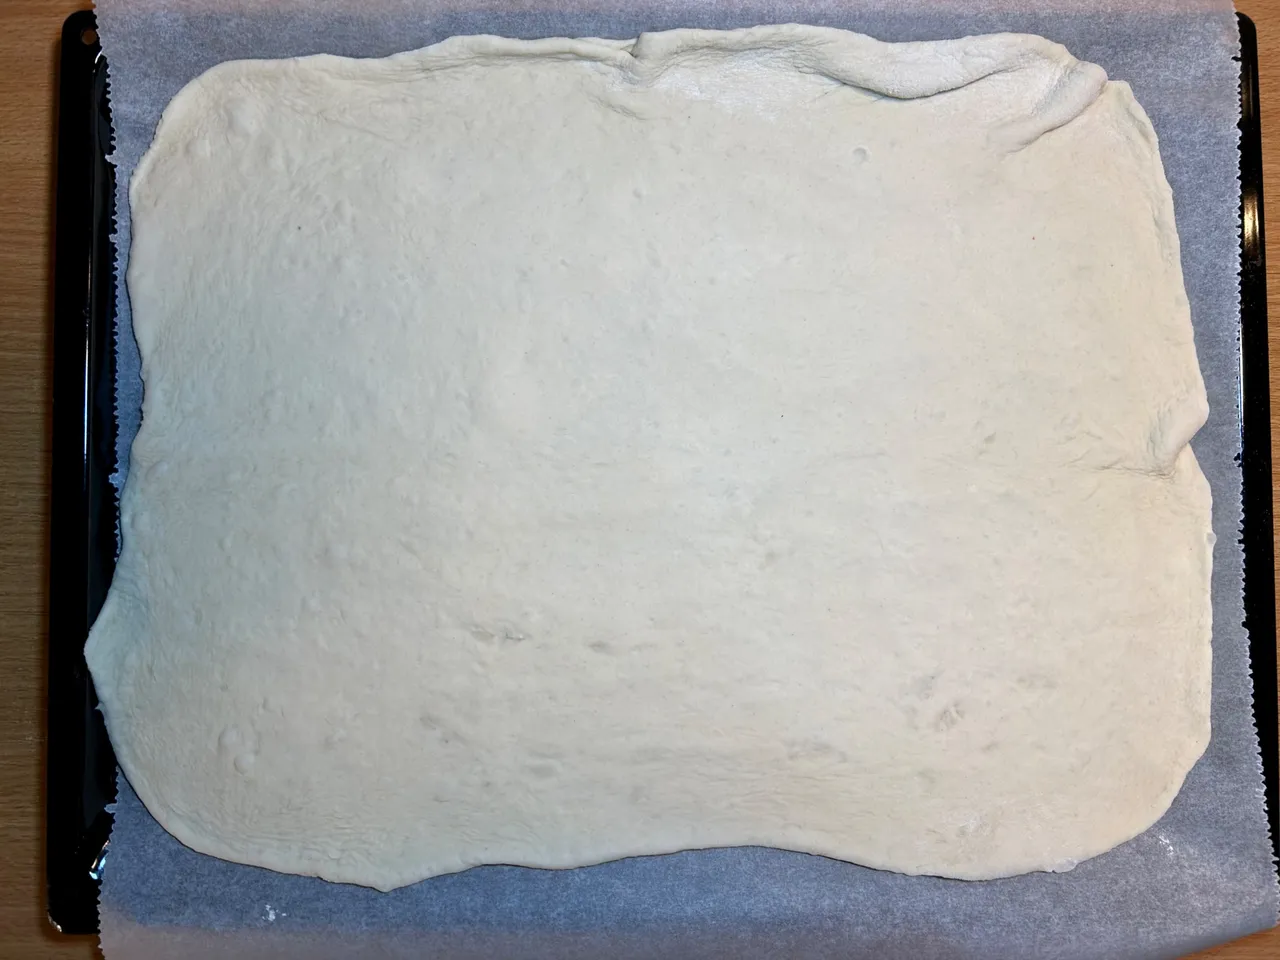
Roll it out into large rounds with a rolling pin to fit your tray. It is important for the dough to be thin - it will rise a bit in the oven and you also achieve that crispy Italian pizza style.
Then place it onto your baking tray and use baking paper or oil the tray before.
STEP 4: Top your pizza and bake it
For this step, I have decided to show you the order I am using to prepare my pizza. I try to follow the standard pizza arrangement which is the crust, the sauce, the cheese, and then the toppings.
So, start by spreading your sauce. While you roll out your dough and slice the ingredients, your sauce should be suitable to use and at room temperature.
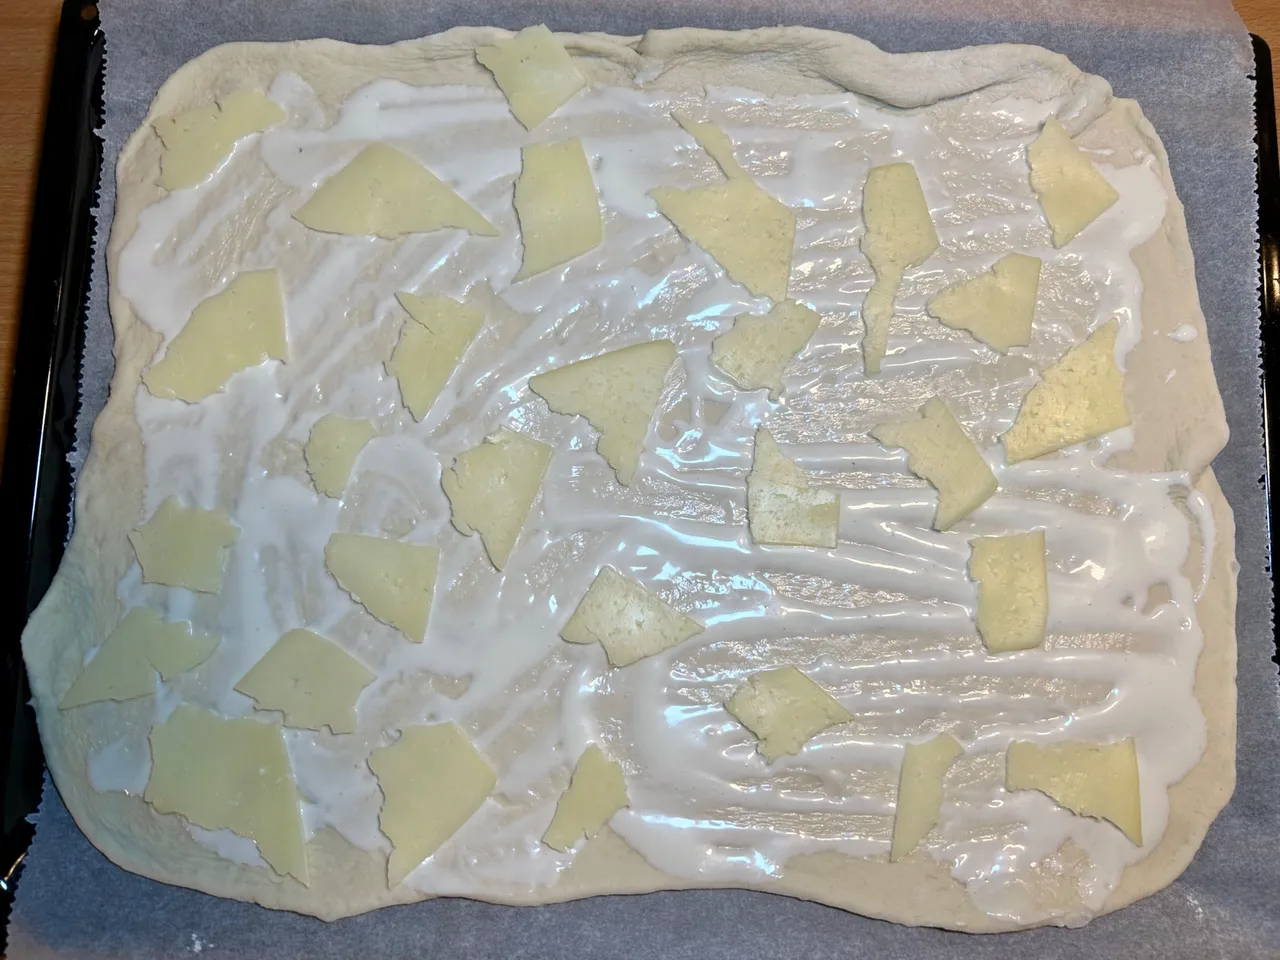
Pour the sauce on top of the dough layer and smoothly even it out with the back of a spoon.
This will prevent having too soggy or too dry places on your pizza.

After that add the Tilsit cheese. Here in Bulgaria we usually buy that cheese pre-sliced so you can just separate it into smaller pieces by hand and spread it evenly onto the dough layer.
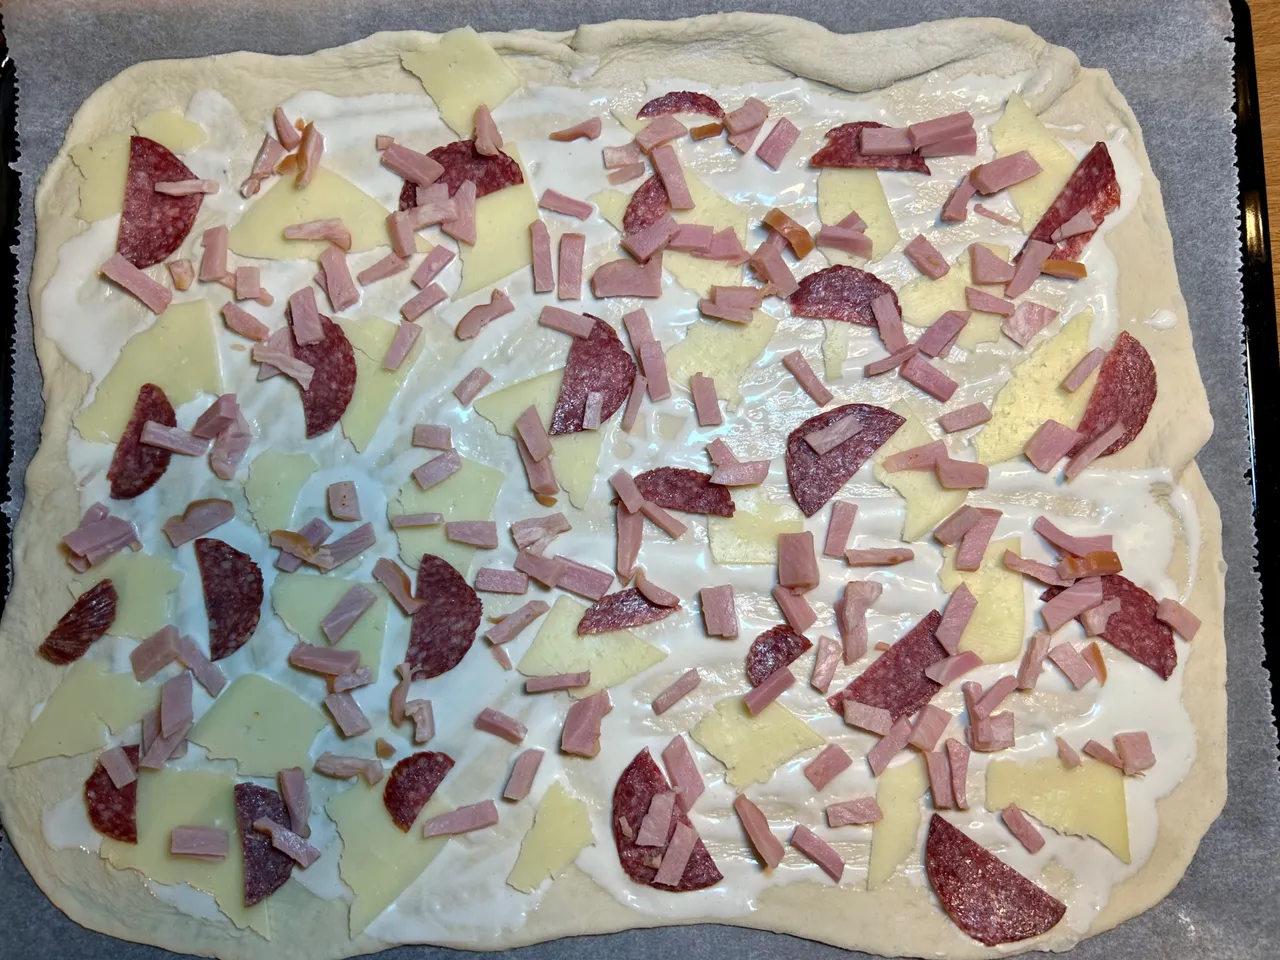
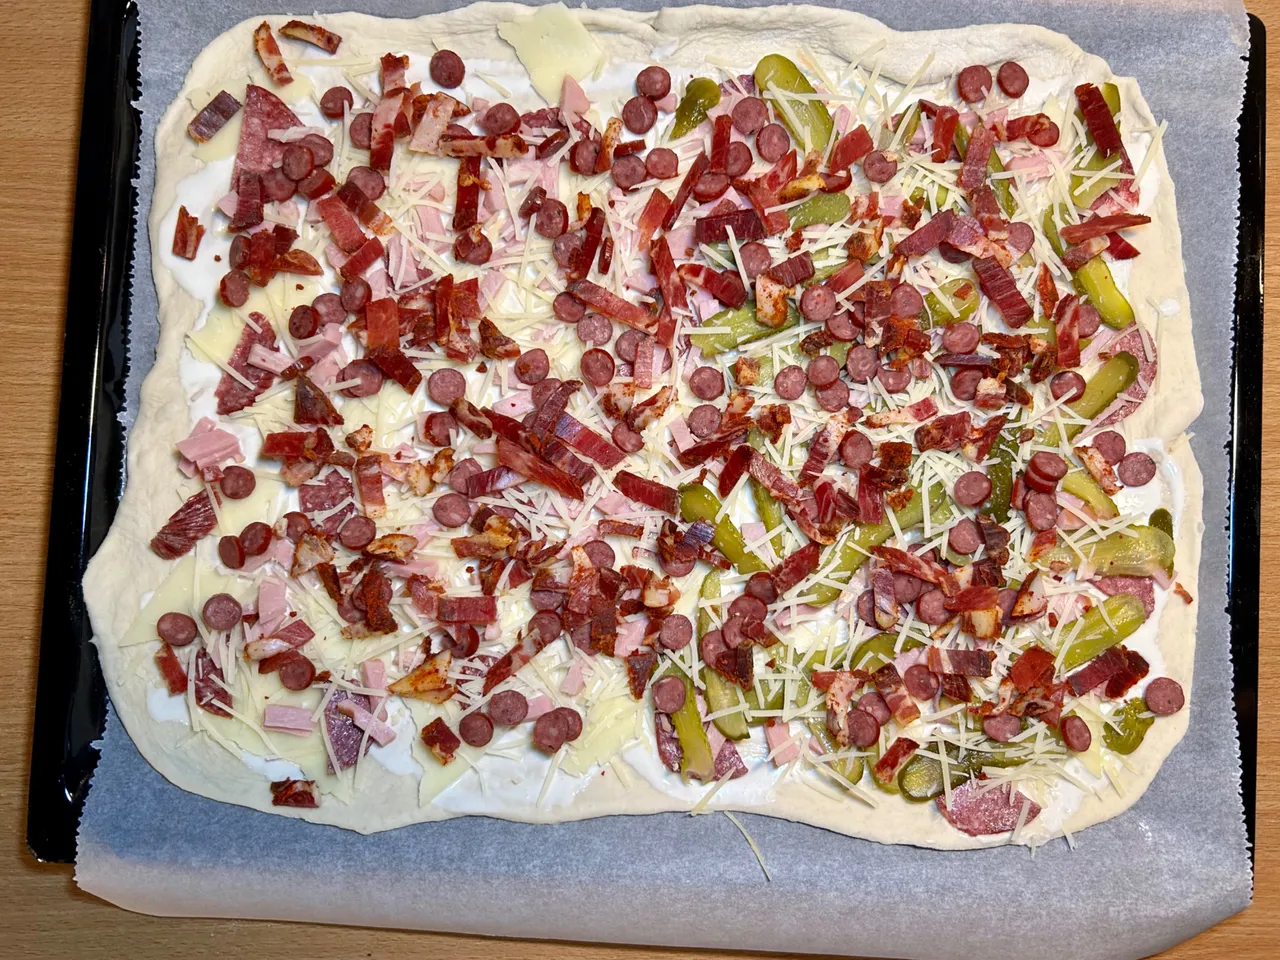
Then, add the pork ham and the German Westphalian salami. These are going under a heat treatment before they are sold so this is why they can be at the bottom part of the topping.
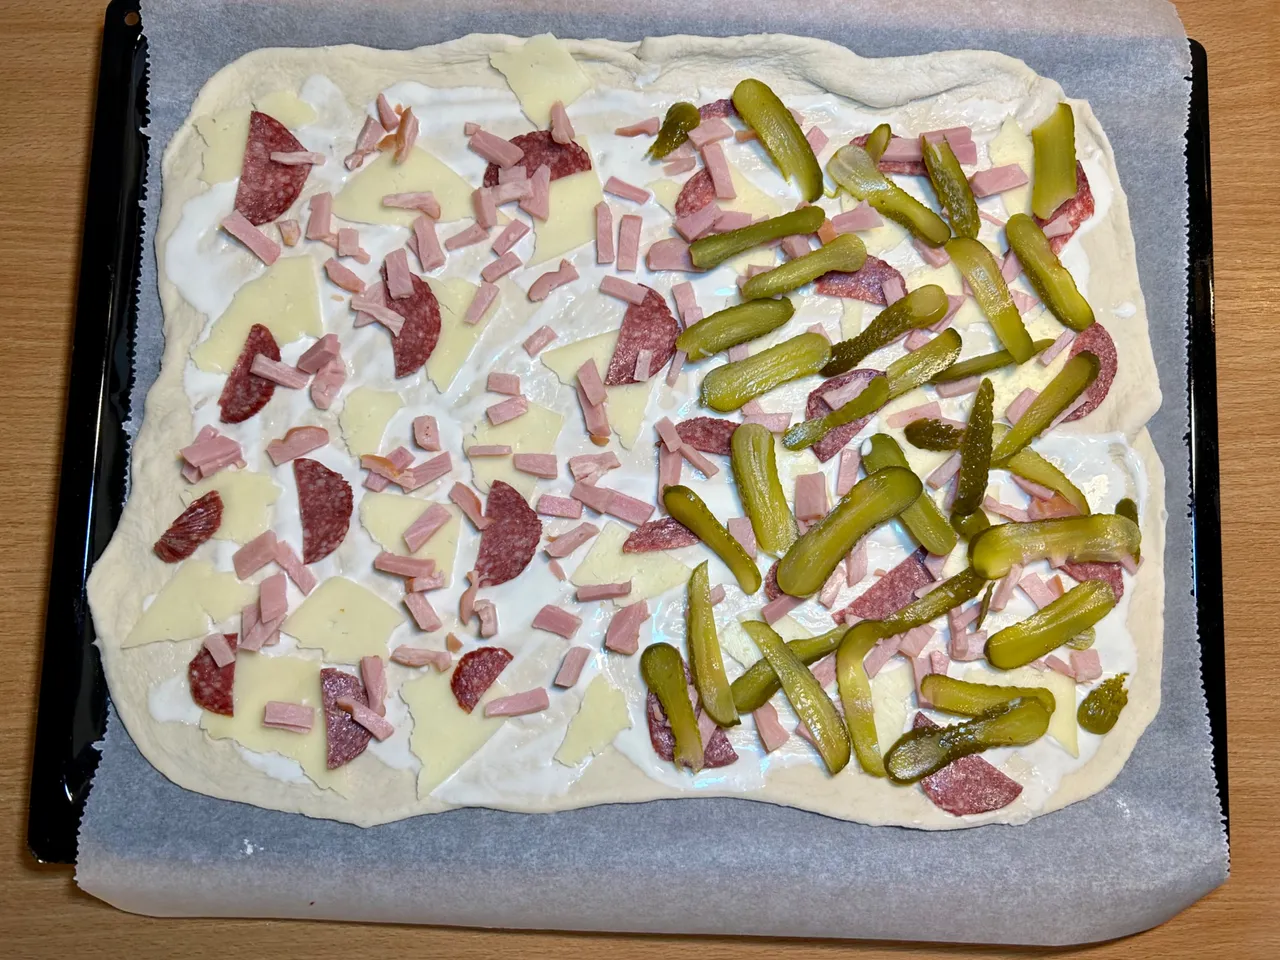
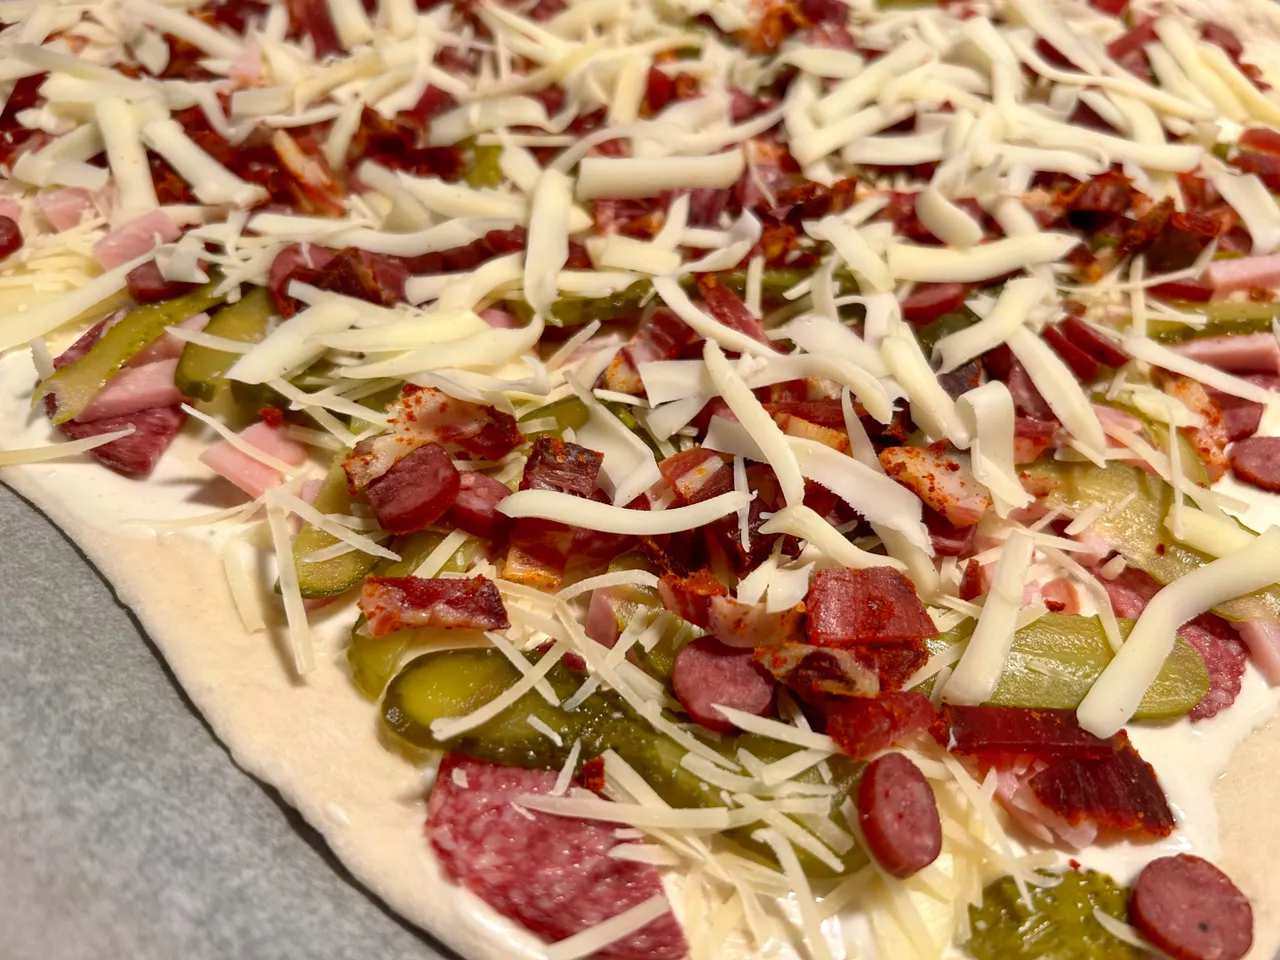
After that, add the baby-sized dill pickles. I slice them very thin but keep their length because I believe this way you can taste their flavor and consistency way better than when they're chopped.
Also, I have decided to spread them only on half of the pizza so we can have variety.
Spread the parmesan cheese - grated into small pieces. I prefer this level of grating because "parmigiano reggiano" is strong and rich in taste and I prefer to not overdo it.
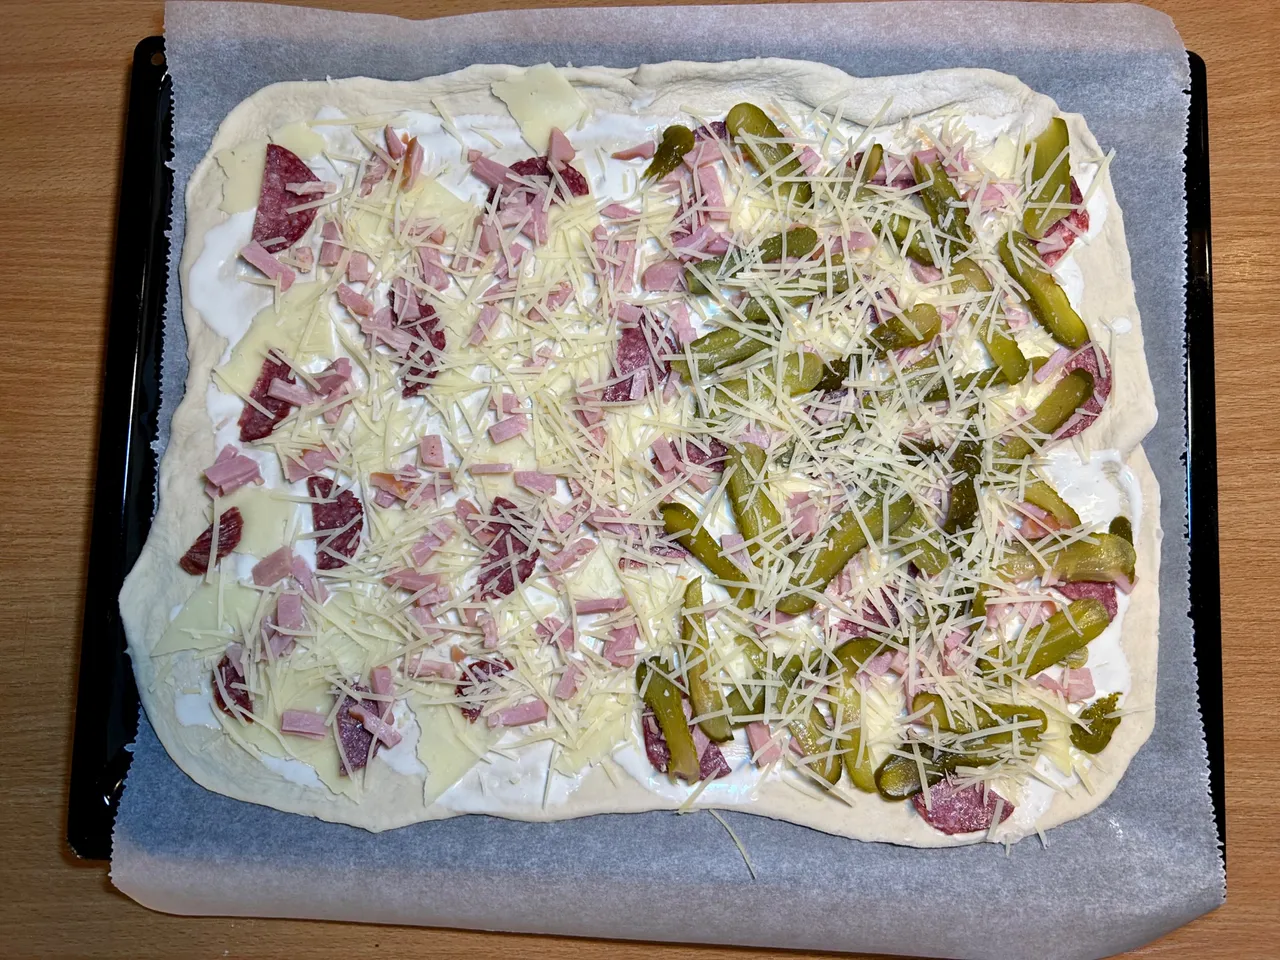
Then, I add the beef stick and the dried pork tenderloin - chopped into very small pieces. These two are not going under any heat treatment before they are sold so therefore we place them higher and are some of the last toppings. In the standard pizza arrangement, you should put raw ingredients on top because they need the most heat.
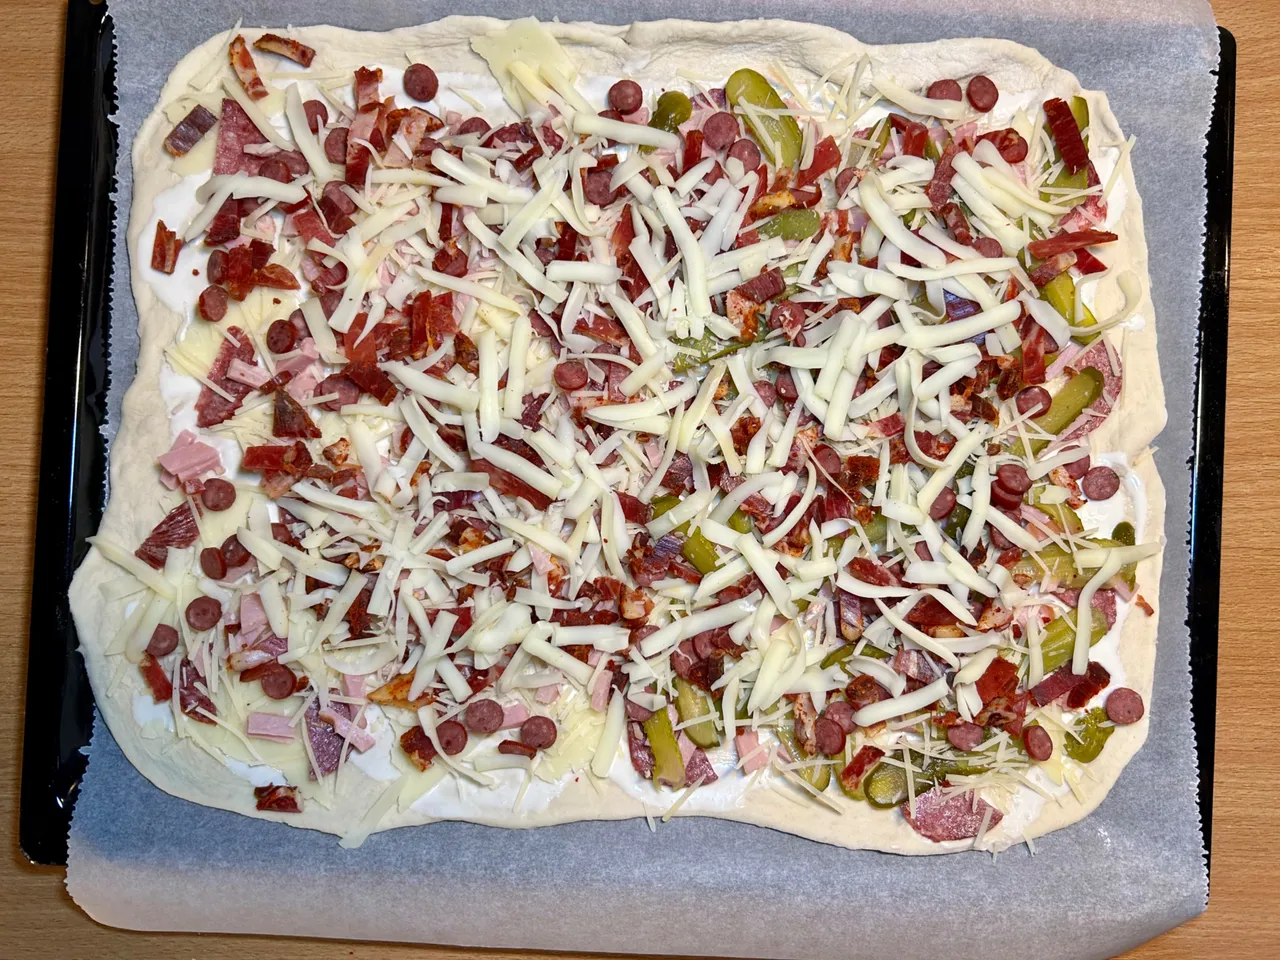
And finally, I top everything with Turkish yellow cheese instead of regular mozzarella. This yellow cheese has a really nice mozzarella-like consistency but is not considered fresh and is less creamy.
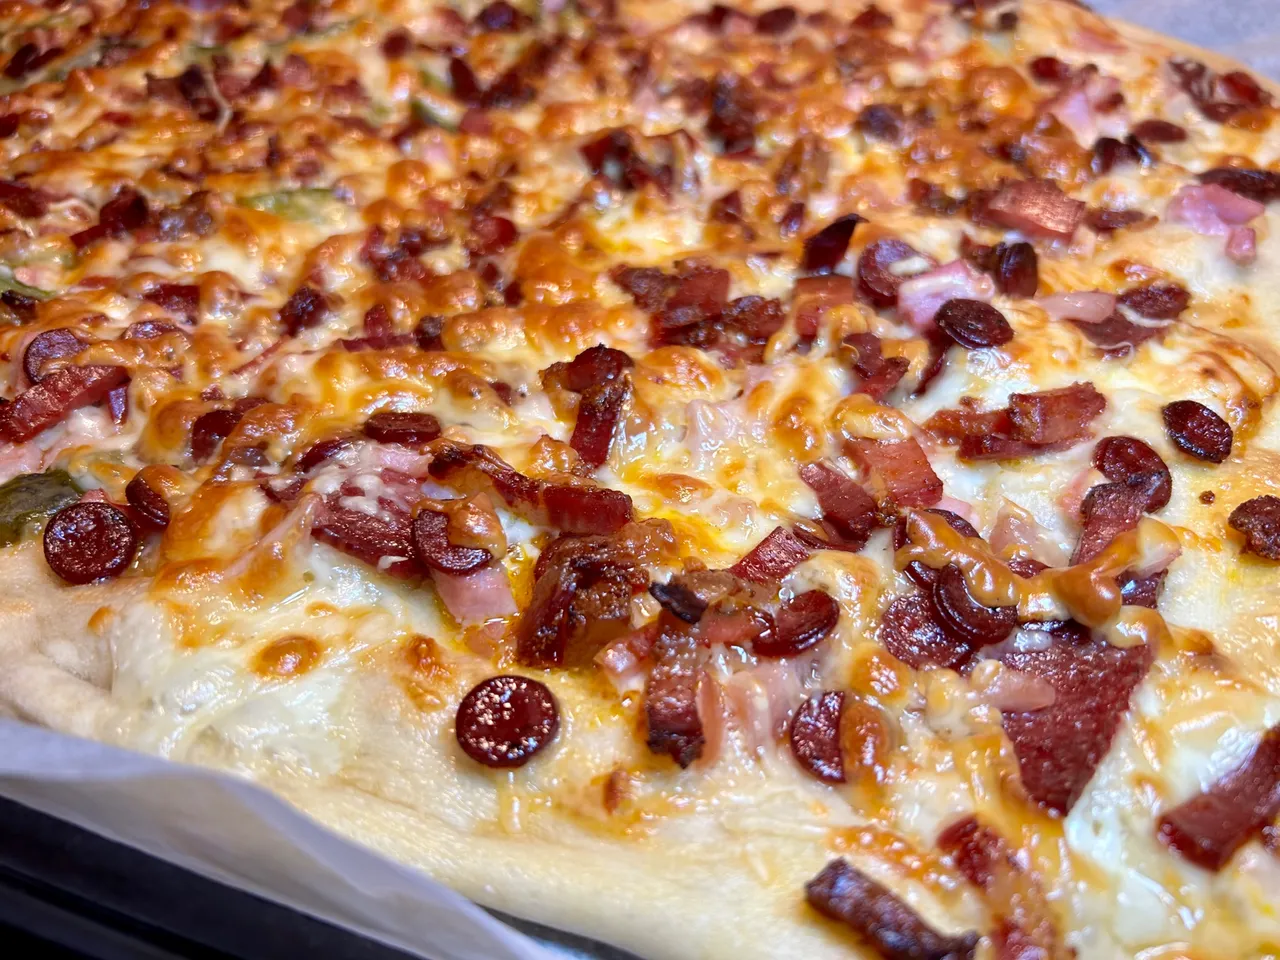
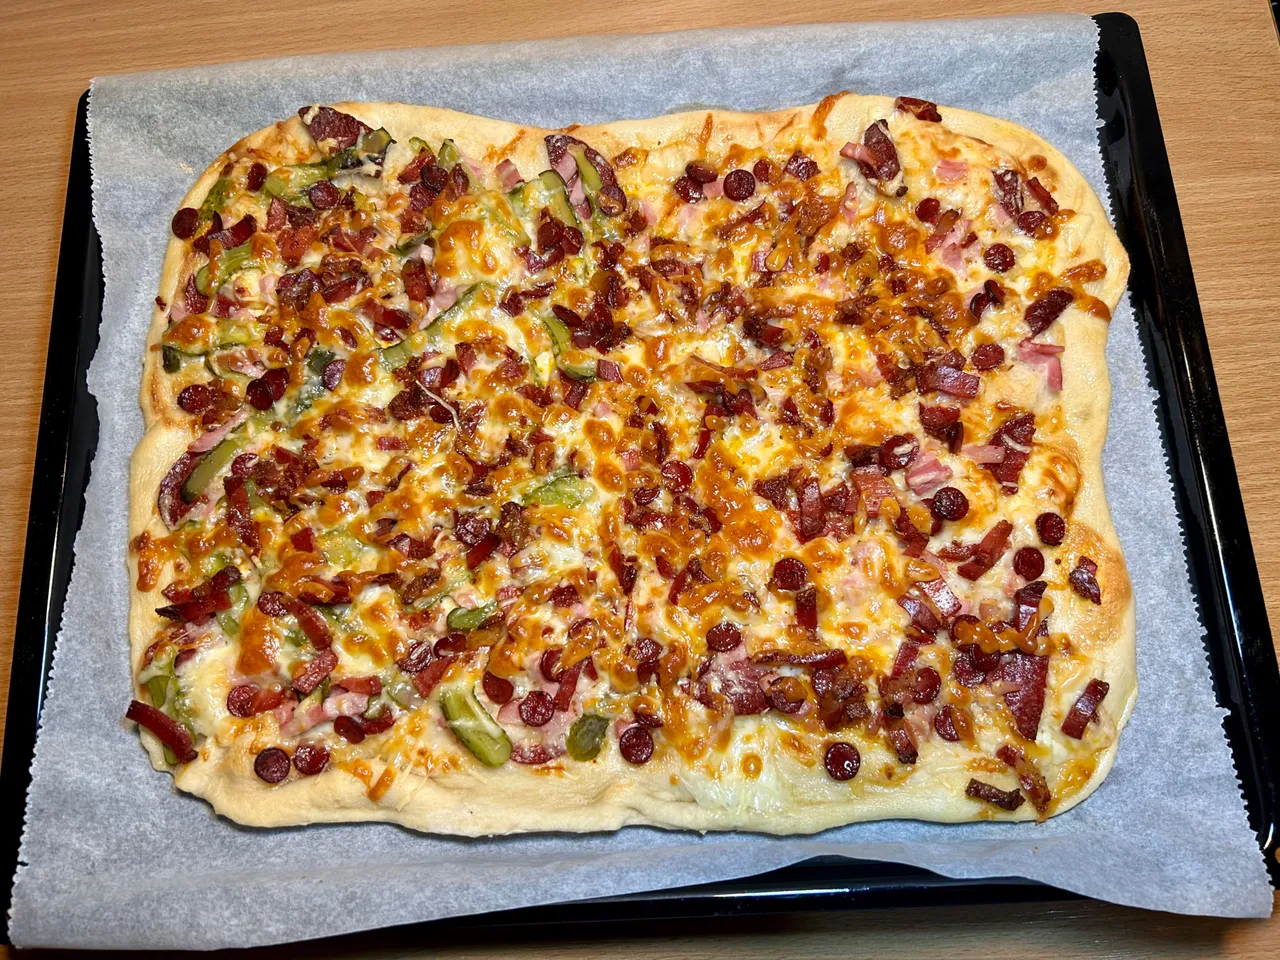
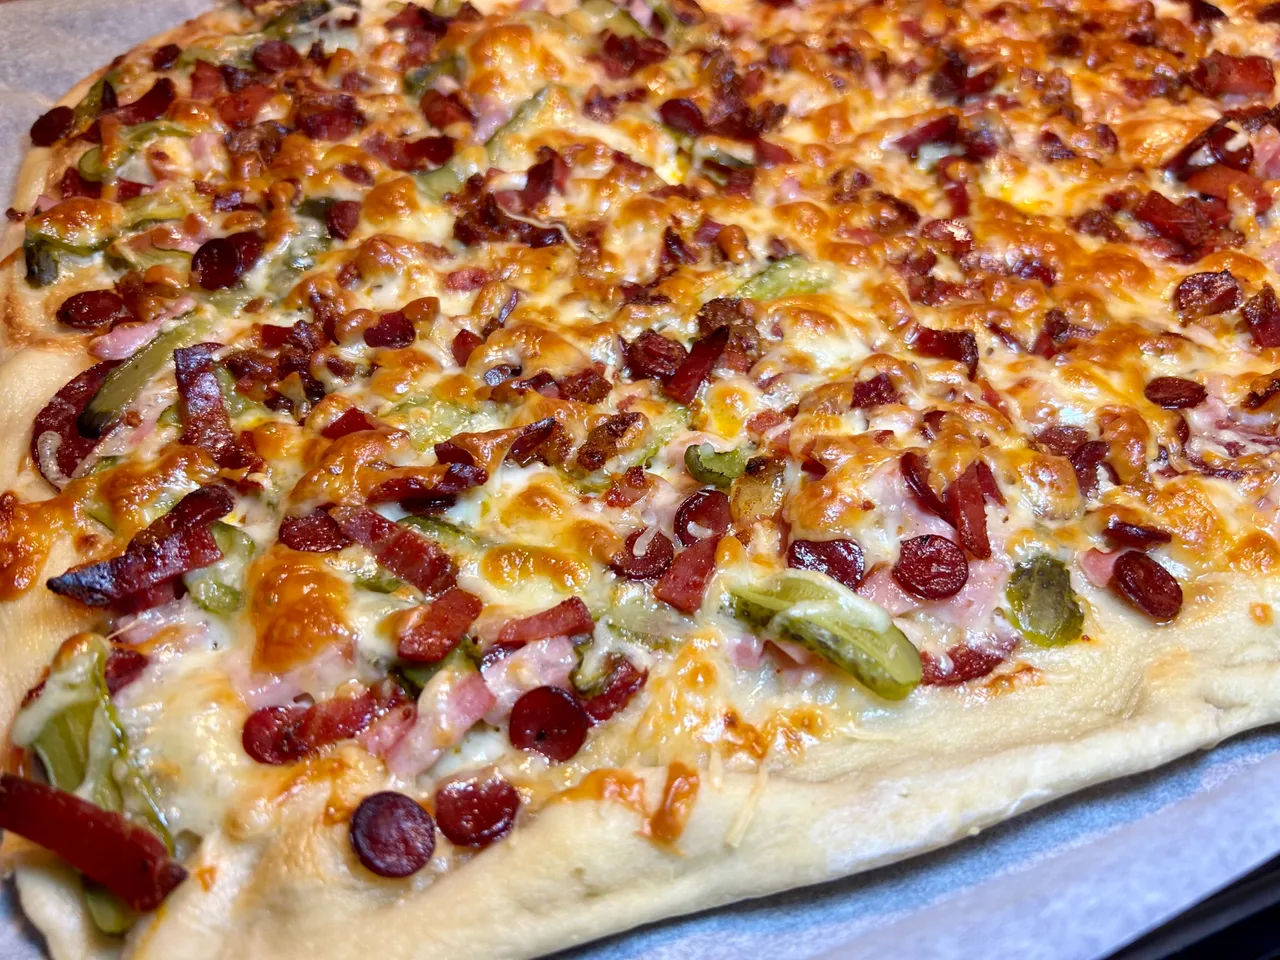
Bake in a preheated oven for about 8-12 minutes until it becomes crisp - around 200 - 220 C.
Your pizza should look mouthwatering and smell tasty AF.
If you have enjoyed today's recipe, please let me know. And I will be happy to hear some feedback if you decide to prepare it at home. The ingredients I chose are a bit extra-ordinary, even maybe hard to find but I promise you that the final result will totally be worth it!
I wish you all to have a lovely and successful week ahead!
Stay tasty,
Chef Kate