I am a bad sourdough caretaker. I don't carefully follow any of the online advice about precise measurements and feeding schedules. I know I should, but I also know I simply won't, regardless of my intentions. It's just not an established part of my routine. I don't really have a routine in the first place, so this starter just needs to cope. It gets fed when I remember, I wing it with the proportions, and I use it when I need it, not when it's ideal.
When I went to check on my starter last night, it had overflowed the quart jar it calls home following the last feeding. Oops! Time to bake. I moved some of the starter to a new jar, mixed some dough to raise overnight, and set the original jar in the kitchen sink to soak.
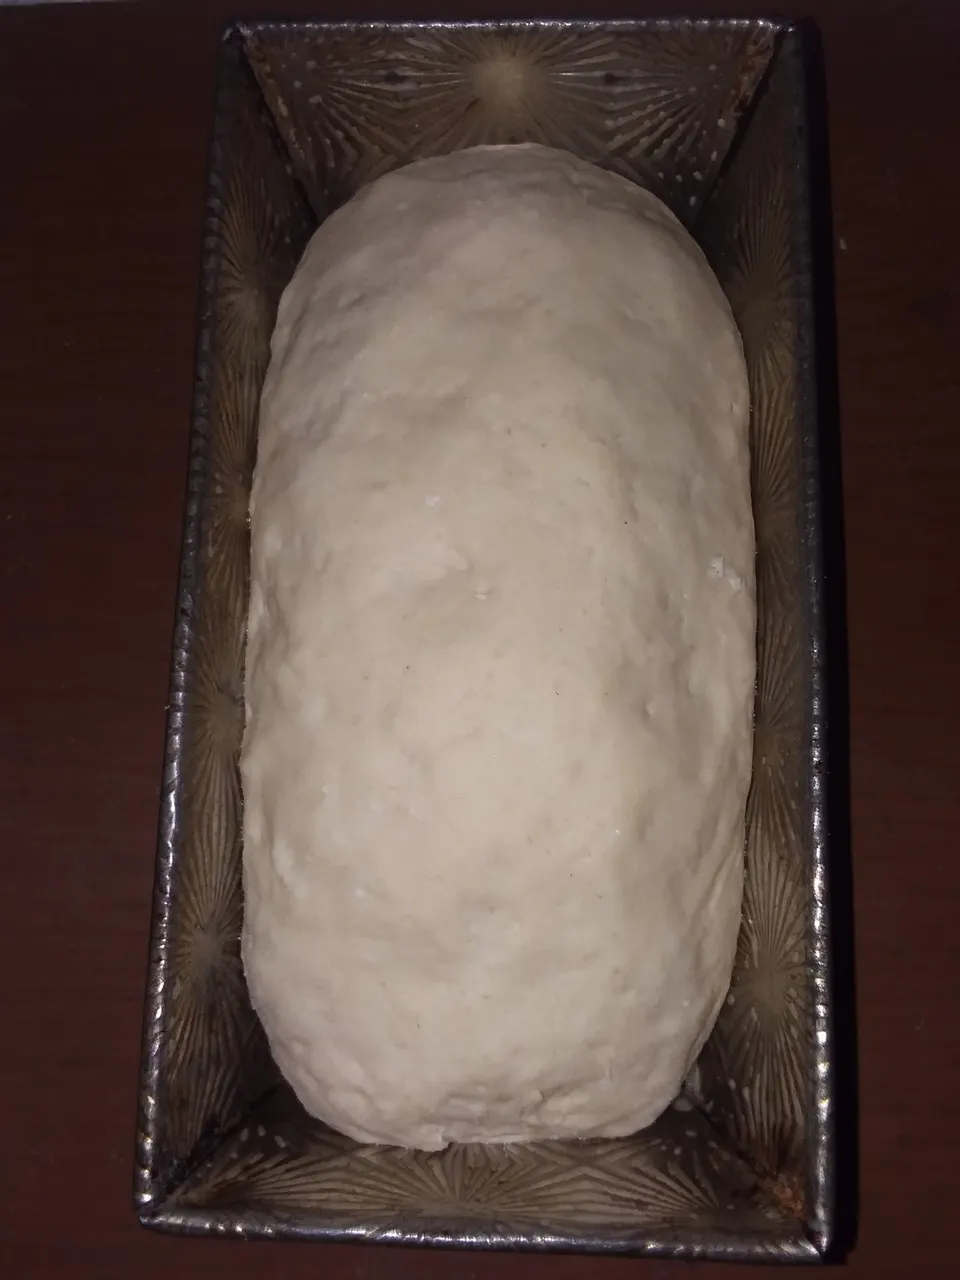
Today is a federal holiday, so I have time for dabbling. No measurements here, it's all by feel. I kneaded flour and a pinch of salt into the dough until it felt like a consistency I could work with, and then had another go at making pretzels. I also took about half of the dough and formed it into a cylinder I could fit in a small loaf pan.
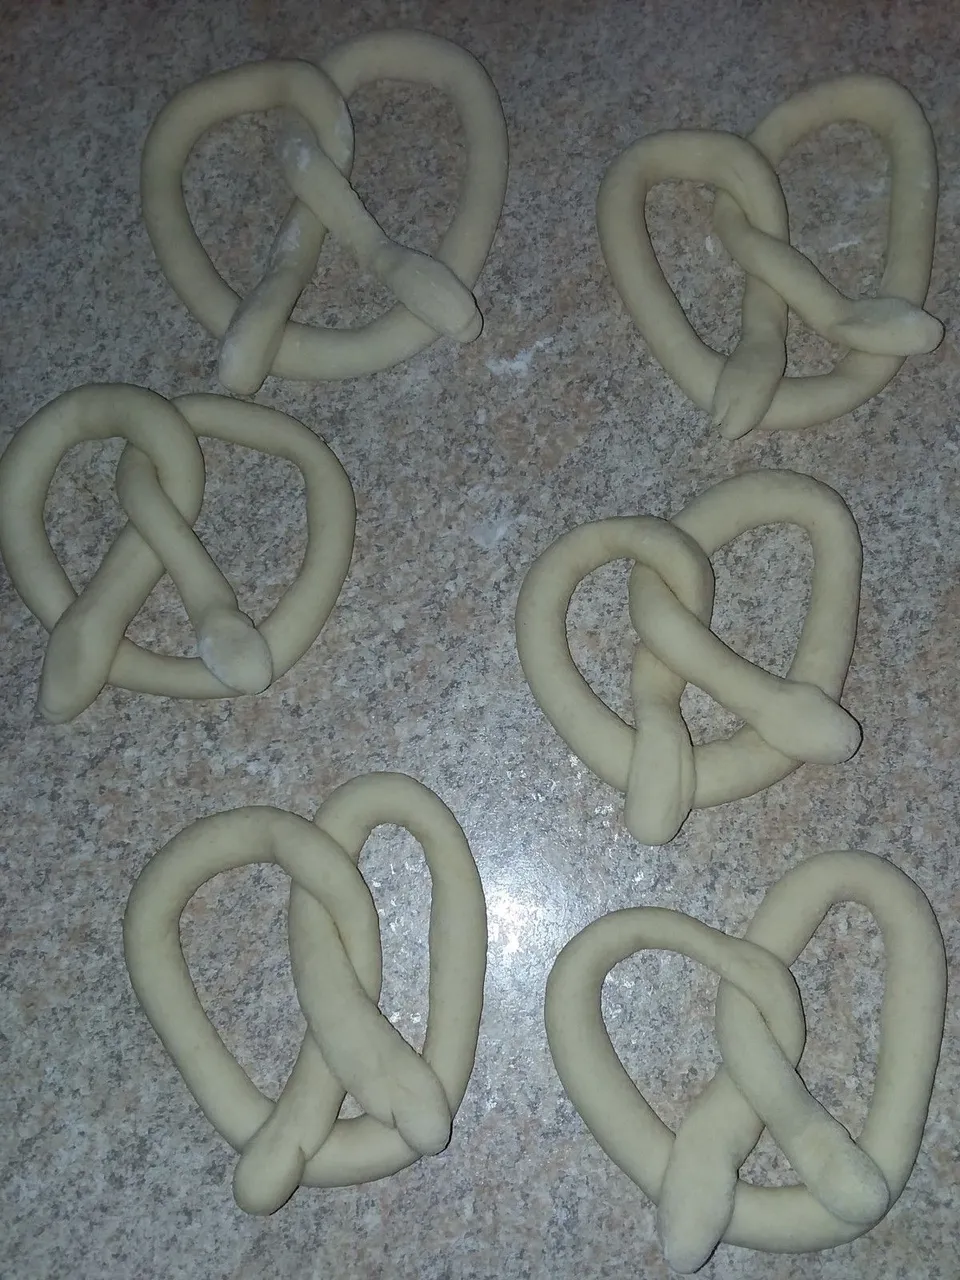
My pretzel knots are getting better. The loaf pan was placed down by the fire under a cloth to proof while I shaped the knots, boiled the pretzels in baking soda water, and heated the oven. After each pretzel had time to boil until it floated, I placed it on a greased baking sheet, added the next pretzel to the bath, and sprinkled coarse salt on the finished pretzel. I baked them at 425°F for 15 minutes, and then shut off the oven since prior experience tells me sourdough takes a long time to proof, and it would be some time before the loaf was ready.
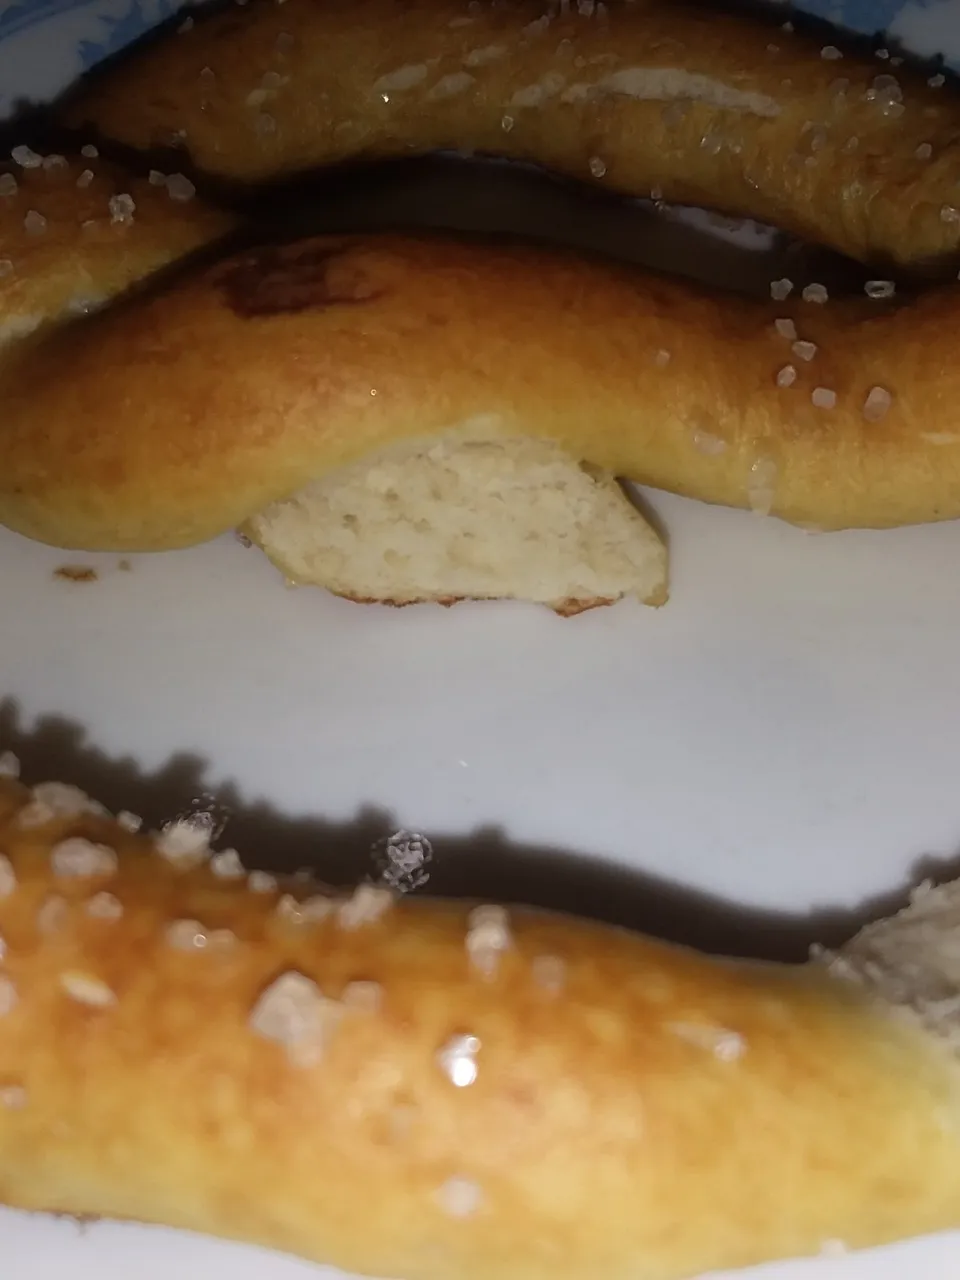
The result was a lot closer to a proper brown crust, and a nice chewy texture inside with that classic sourdough consistency. I don't know whether it comes through properly in my makeshift cell phone food photography, but here's my result:
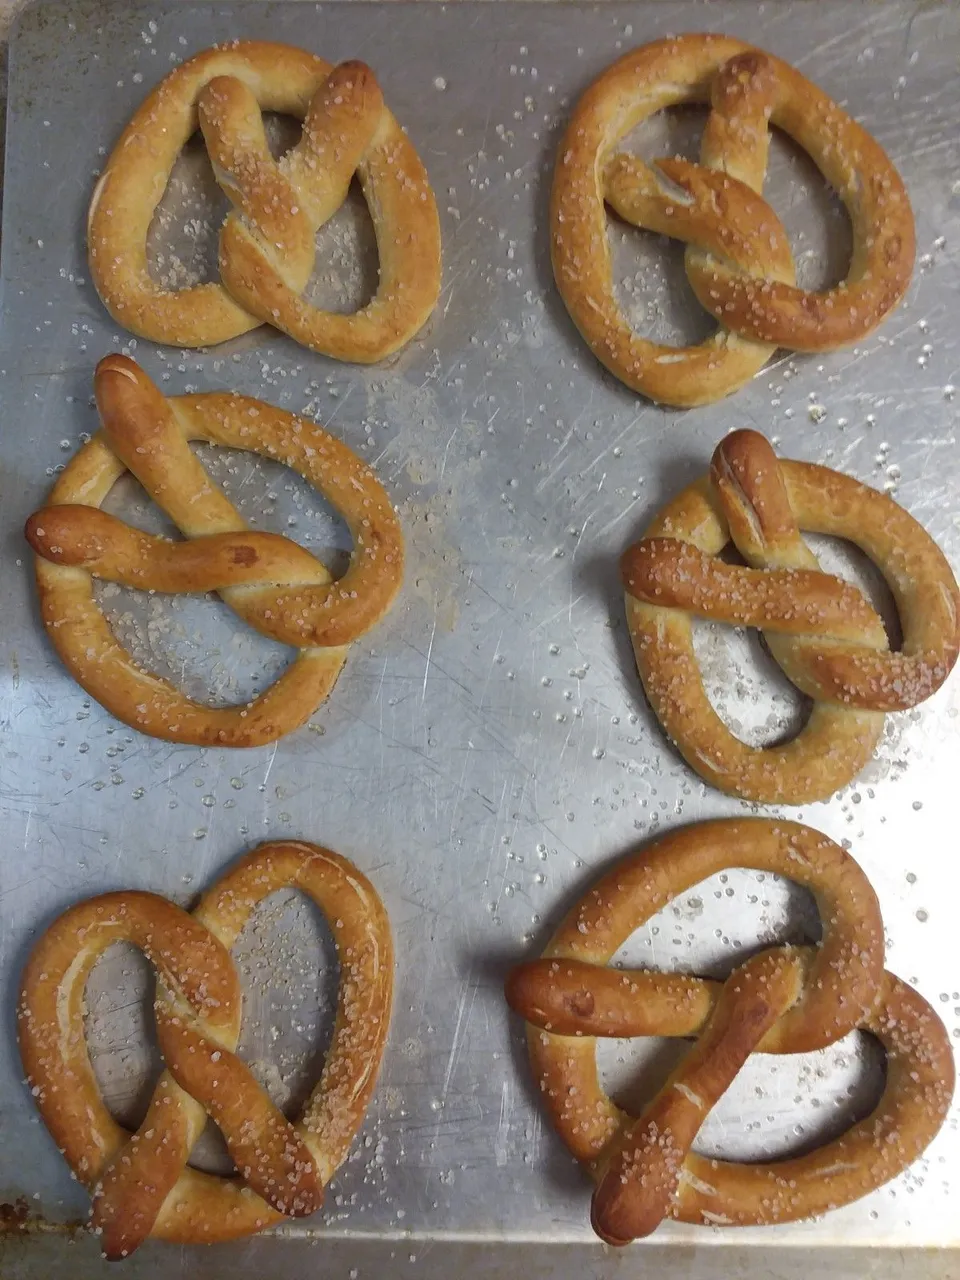
The pretzels vanished almost immediately, so that was definitely a win.
As for the loaf of bread, it took at least an hour and a half to proof, but once it raised to a nice loaf shape, I preheated the oven to 350°F, slit the top with a knife, and baked it for about 35 minutes. The Mother Thing's homemade bread usually takes longer, but this was a smaller-than-usual loaf, and past experience shows I need to check sourdough products before I would check a standard quick yeast bread. I did test by tapping the loaf to see whether it sounded hollow, and it seemed OK...

It probably needed another 5 minutes, but it's not too bad. It's not doughy, but not quite done. Running a slice through the toaster would both make superb toast, and ensure it's properly baked at the center. I wouldn't bother cutting the top of the loaf in the future since it doesn't expand as aggressively as quick yeast bread, and even that doesn't really need it beyond the aesthetics.
All told, I'm still considering it a success because I learned more, and might be ready to prep a larger batch of dough for full-sized loaves at some point in the future.
