How to make your own homemade biltong!
Biltong is a staple food in most South African homes. Either people make their own at home, or they buy it at the store, but most people in South Africa consume vast amounts of biltong. (Some people compare it to jerky, but it is totally not the same.)
If you have never had this snack, it will change your life I am sure about it. And it is very simple, easy and a fun project you can do over the weekend. The results are insanely good if you follow these simple and easy steps.
Step One: Prepare the Meat
In South Africa, we can buy "biltong cuts". These are silverside cuts usually, but I have made biltong from various cuts, from sirloin to chuck roast. There is no part you could not make biltong from, so there are no excuses that you could not find the right cut. But it helps if you can find a butcher that can cut it in these cuts for you.
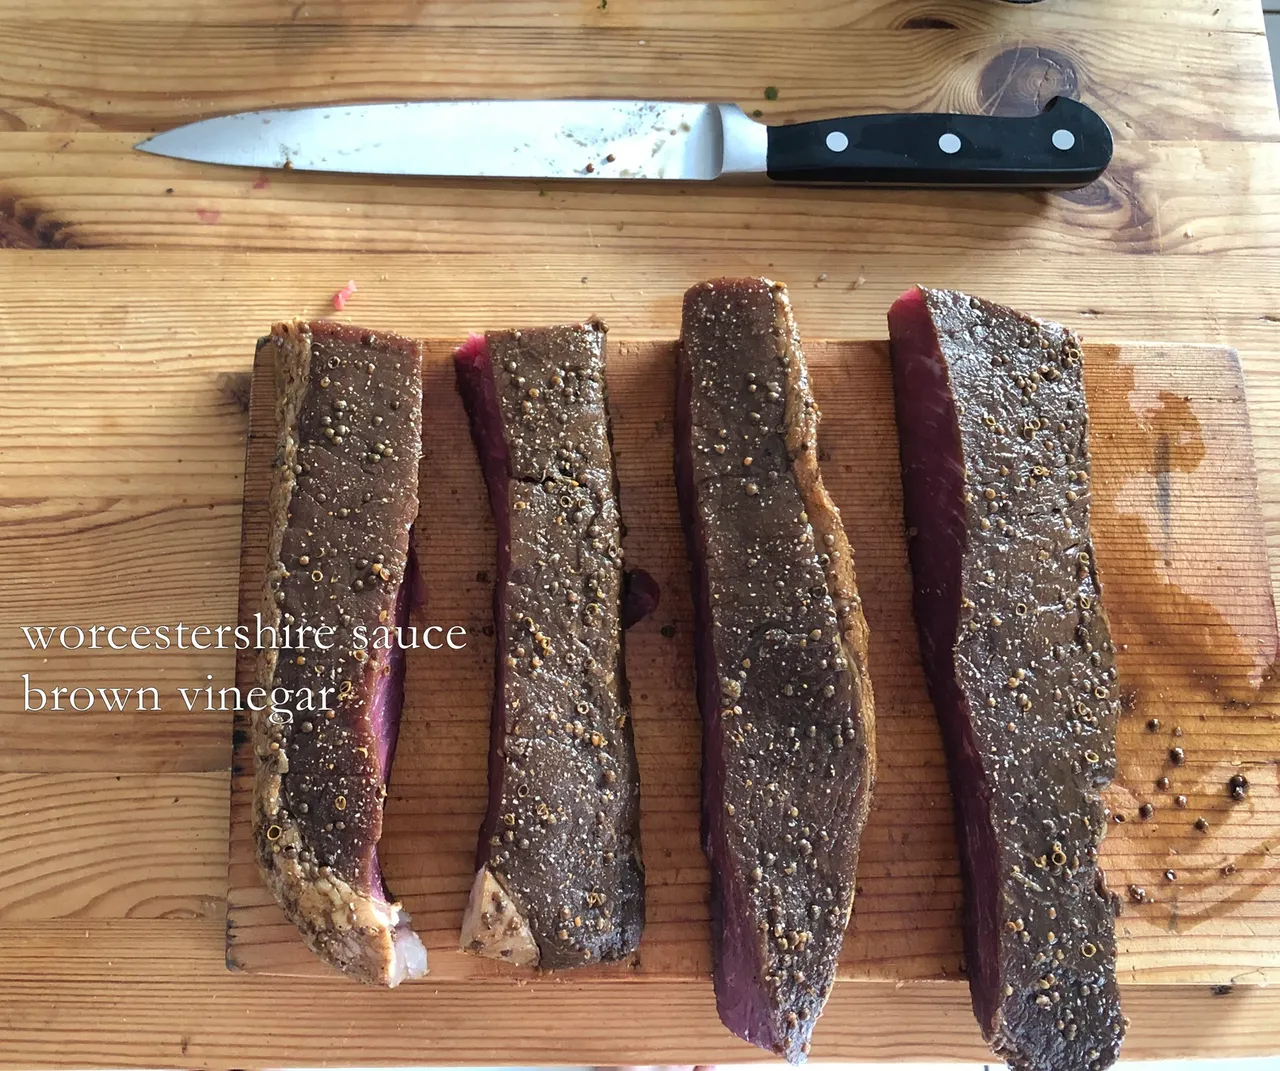
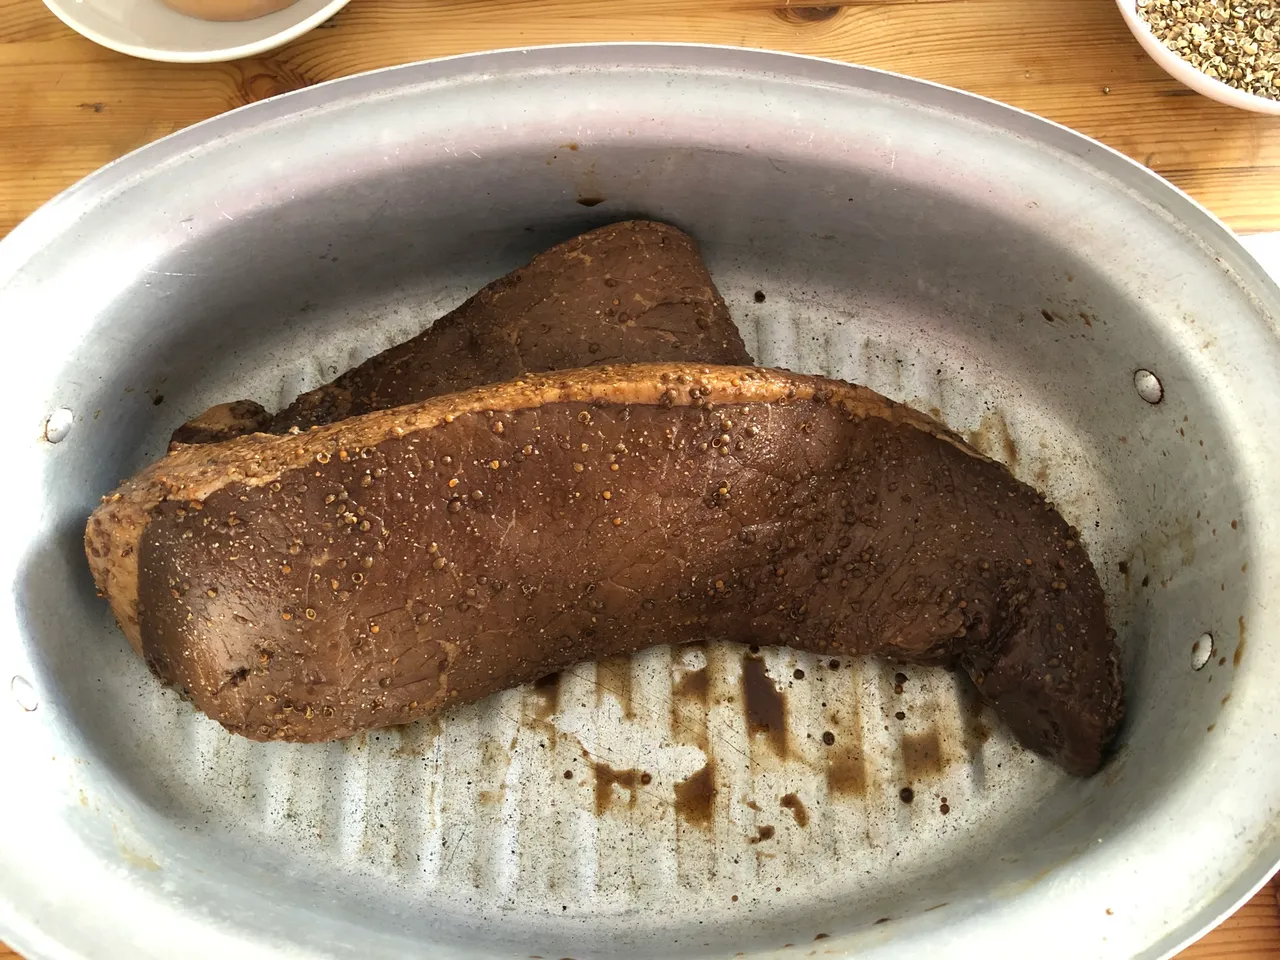
So the traditional recipe is simple. Place your desired cut in a dish which can hold the juices. "Marinate" the meat for 30-45 min in a mixture of Worcestershire sauce and brown vinegar (this is the traditional recipe, but you could do soya sauce and any other type of vinegar). The vinegar is important to kill any unwanted things to grow, and it gives it the most delicious flavour. So DO NOT SKIP THIS STEP. The more vinegar, the better. Leave it in the vinegar mix for up to an hour but not longer.
Step Two: Pepper and Coirnader Mix
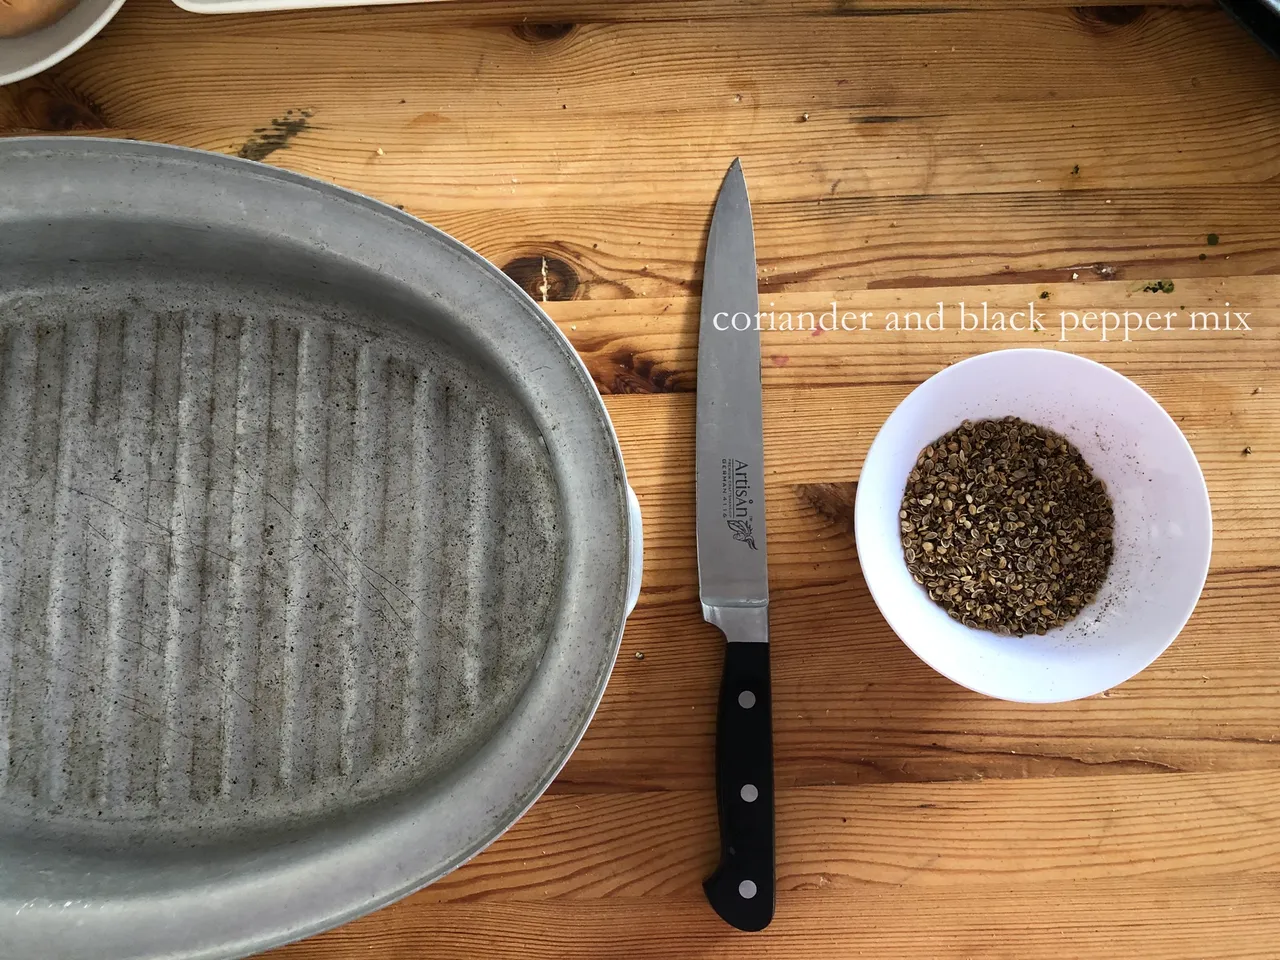
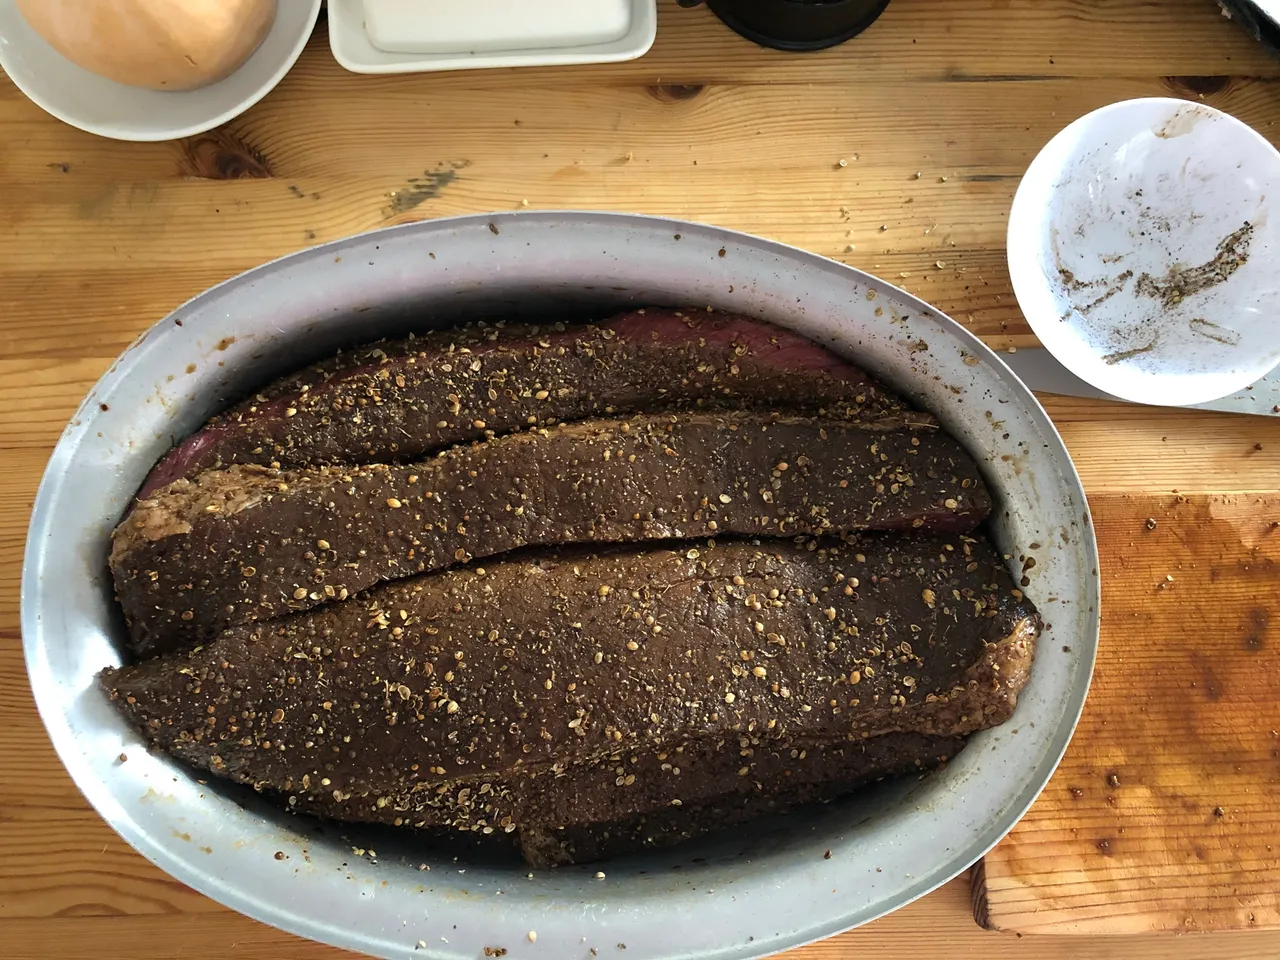
When the meat is done and well marinated, proceed into a new vessel. Here you need to make the distinct spice rub: pepper and coriander mix. This is as traditional as you can get. Nothing more, nothing less. (I think you can add salt as well.) The pepper also helps with keeping away flies (or so I read). Rub the mix over all the meat and then your biltong is ready to be hung and dried!
Step Three: Hang and Dry
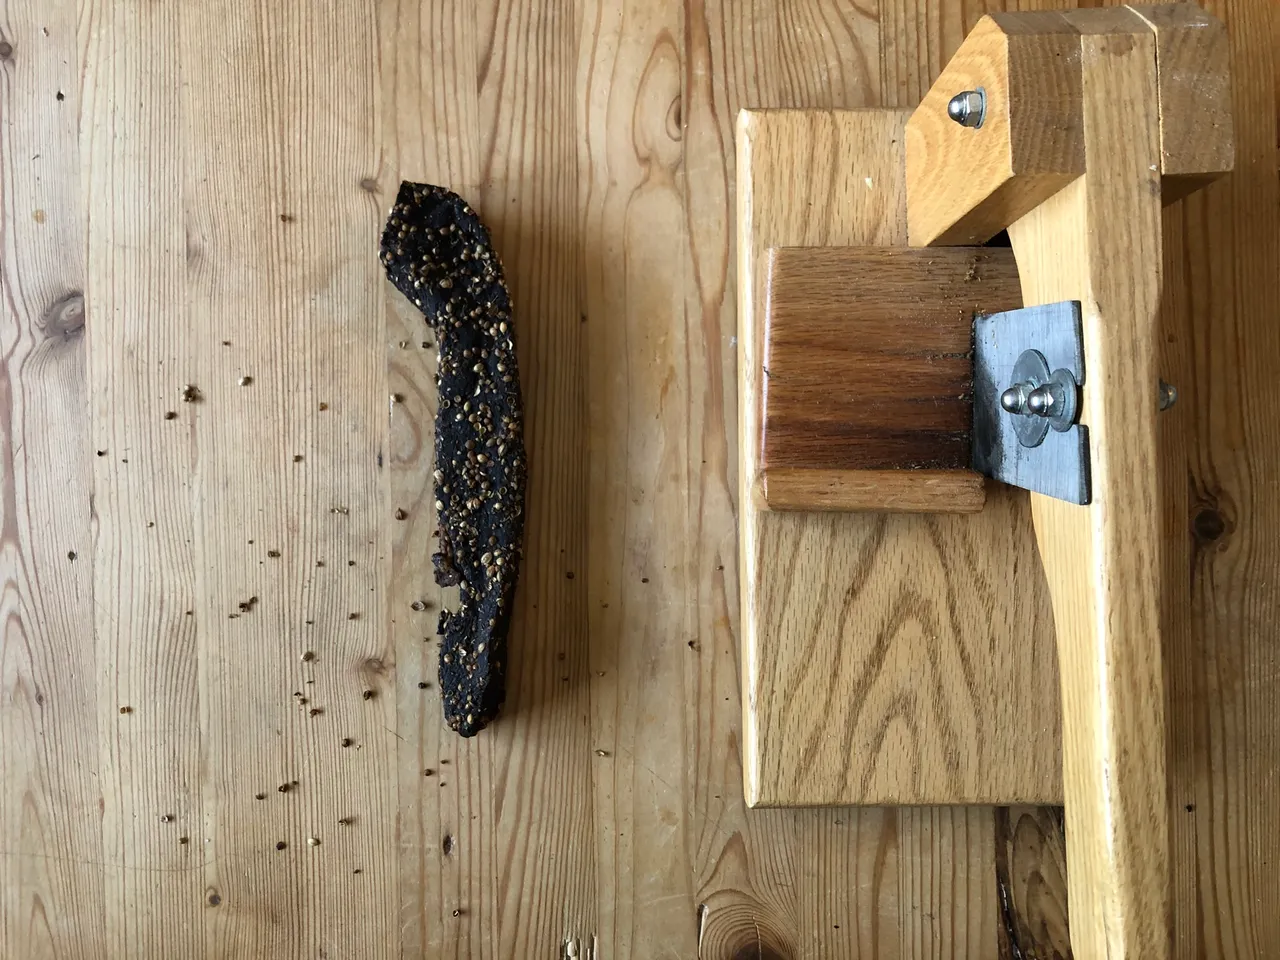
The last step is to hang your biltong. It is very important to find a dry-ish space to do this. The easiest solution to this problem is to find a cheap fan. My setup is really basic and so cheap to make. You can buy biltong makers or things like that, but the easiest set-up is to find a place to hang the biltong and let the fan do its magic. In less than a week you will have biltong!

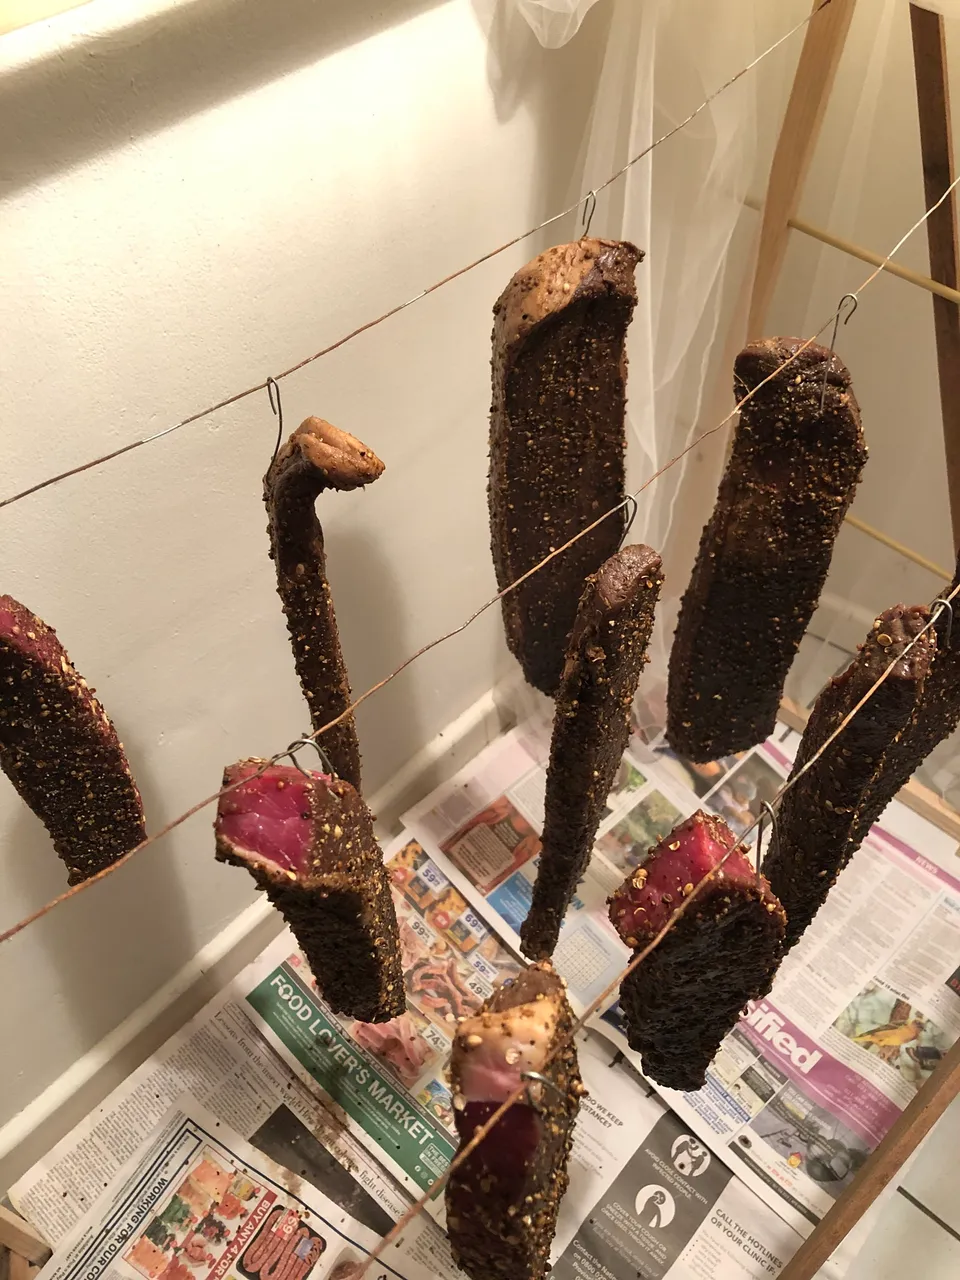
I use self-made hooks from wire, but you preferable want the plastic ones. I have not yet got to it to buy the plastic ones. (Just a warning, these cheap wire tends to rust which is not the most ideal if you leave it on too long.)
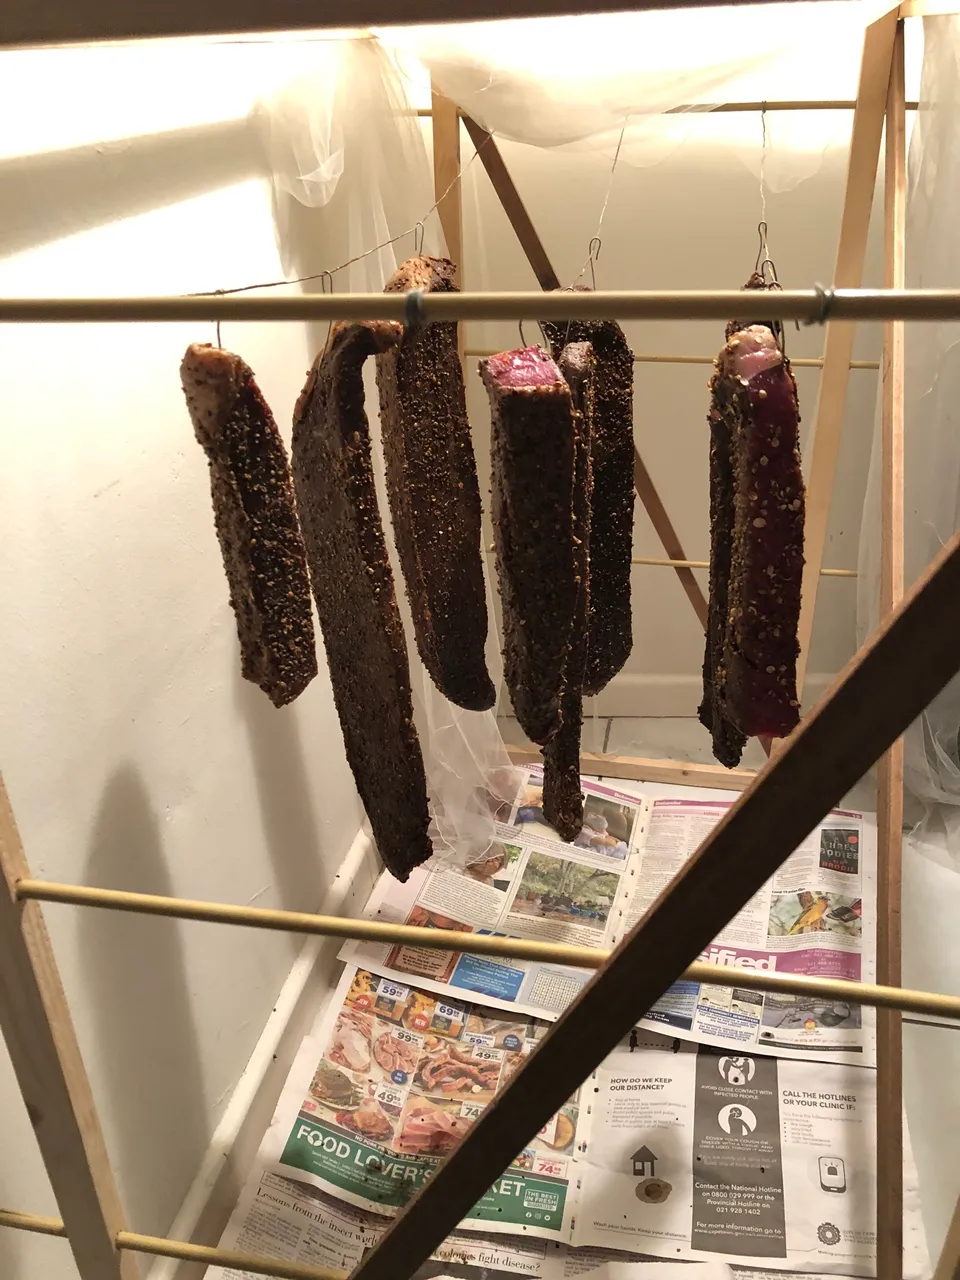
Space them so that they don't touch each other!
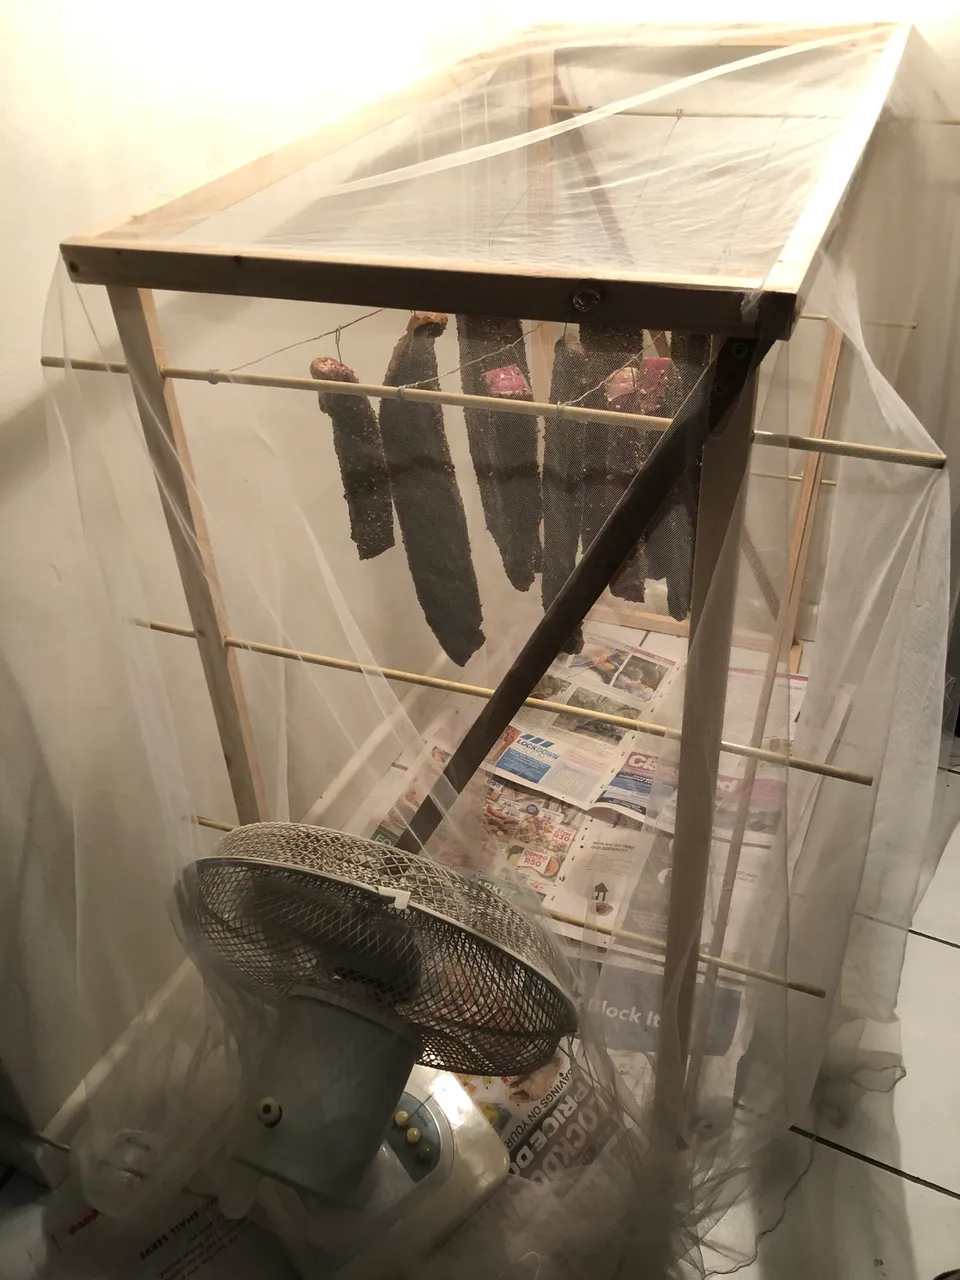
Here you can see my crude and cheap setup, but it works and that is all that counts in my opinion.
Step Four: Wait about a week
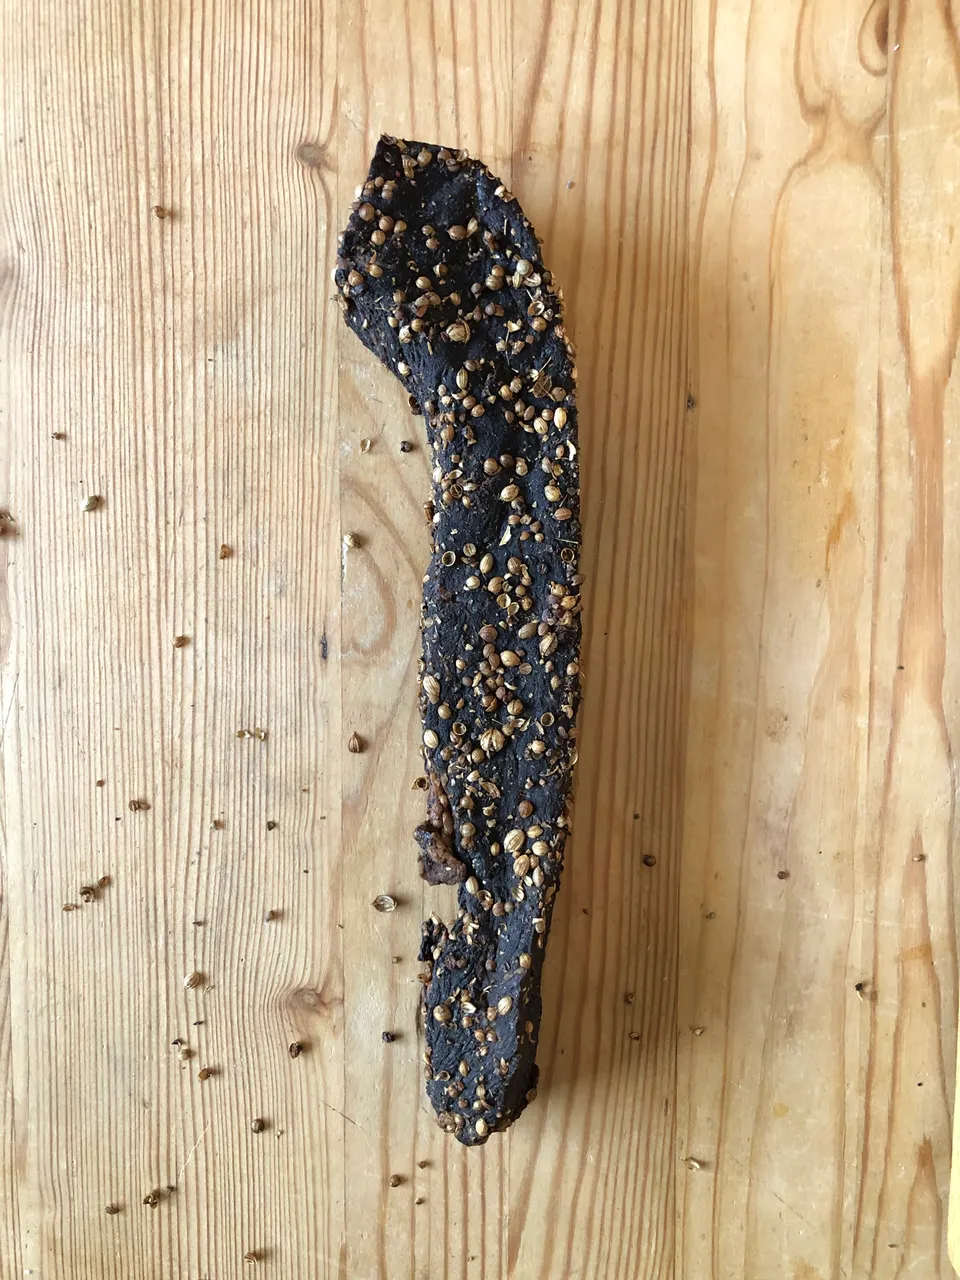
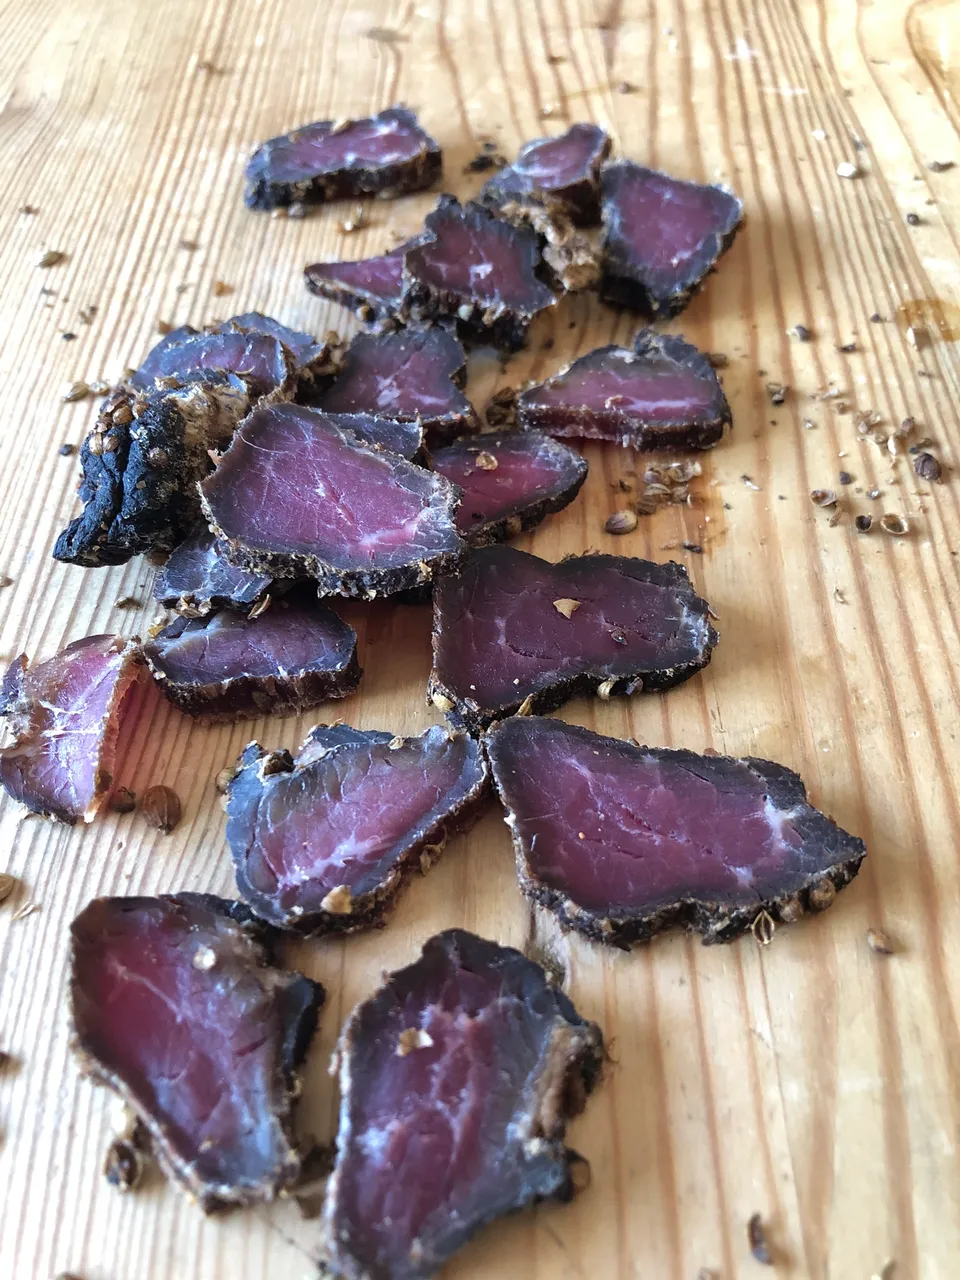
Depending on how you would like it, leave it to hang in the fan's wind for a week. If you have thick pieces like those in my photos, a week will yield relatively wet biltong as you can see in the final images. We prefer it wet and super dry, so we always eat some of the biltong "too early". But if you find some smaller pieces it can be ready in three days.
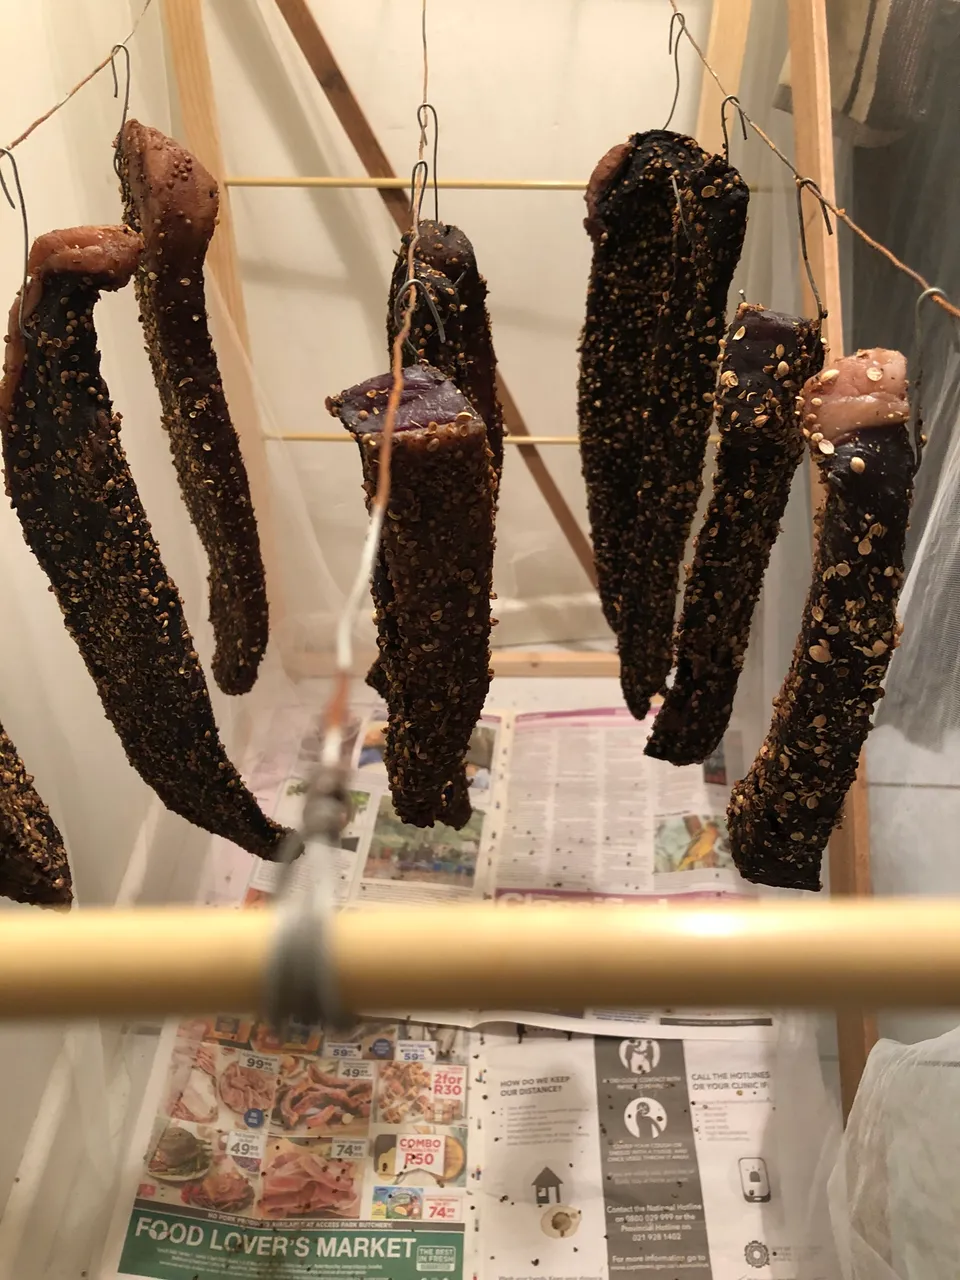
You can see the drastic difference after a week. The whole house is smelling of biltong!
Step Five: Cut it and enjoy!
The final step is to cut it up and to enjoy it. Be aware that when you start you will not be likely to stop anytime soon! It is really addictive, but I think a healthy alternative to any other snacks. And it is versatile: you can put it in a salad or on pizza or use it in carbonara! But enjoy it, that is the most important part! Please try this and I would love to hear your biltong experience!