I had a very brief discussion with @akipponn about sourdough bread and brioche. I felt that a super soft brioche would be the real challenge for me and my sourdough.
Never before had I baked a brioche. I hadn't even tasted a brioche before. So to be honest, I'm not sure if I did OK or not. But it was good. I used a recipe I found online here as I had no experience on brioche before.
This is a bit low-butter compared to the traditional brioche, but it's buttery enough for me The recipe is in Finnish, but I'll write it down here, with minor adjustments:
150g active sourdough starter from wheat
900g high quality wheat flour (or 800g wheat and 100g spelt like in original recipe)
180 grams eggs
80g honey
80g butter in cubes
15g salt
550g milk (not cold but room temp.)
This is for 3 baking trays (1,3 liters each) OR you can make buns or regular breads with this.
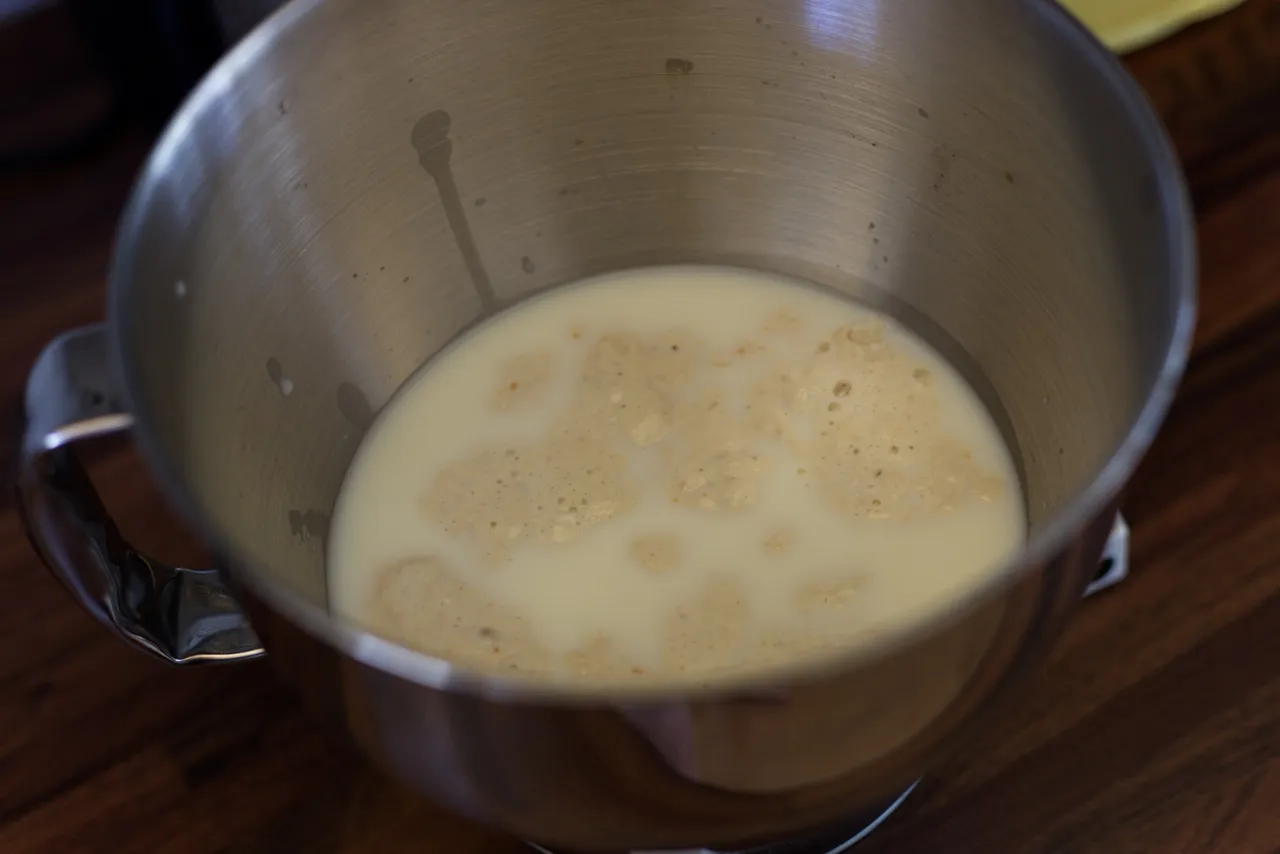
Mix the sourdough starter in the milk. If the sourdough starter is active, it should float. This is also a handy trick to see if your wheat starter is active enough, as it floats. You can use a non-floating starter too, but this is a popular trick to test your starter.
If it floats, then you should bake.
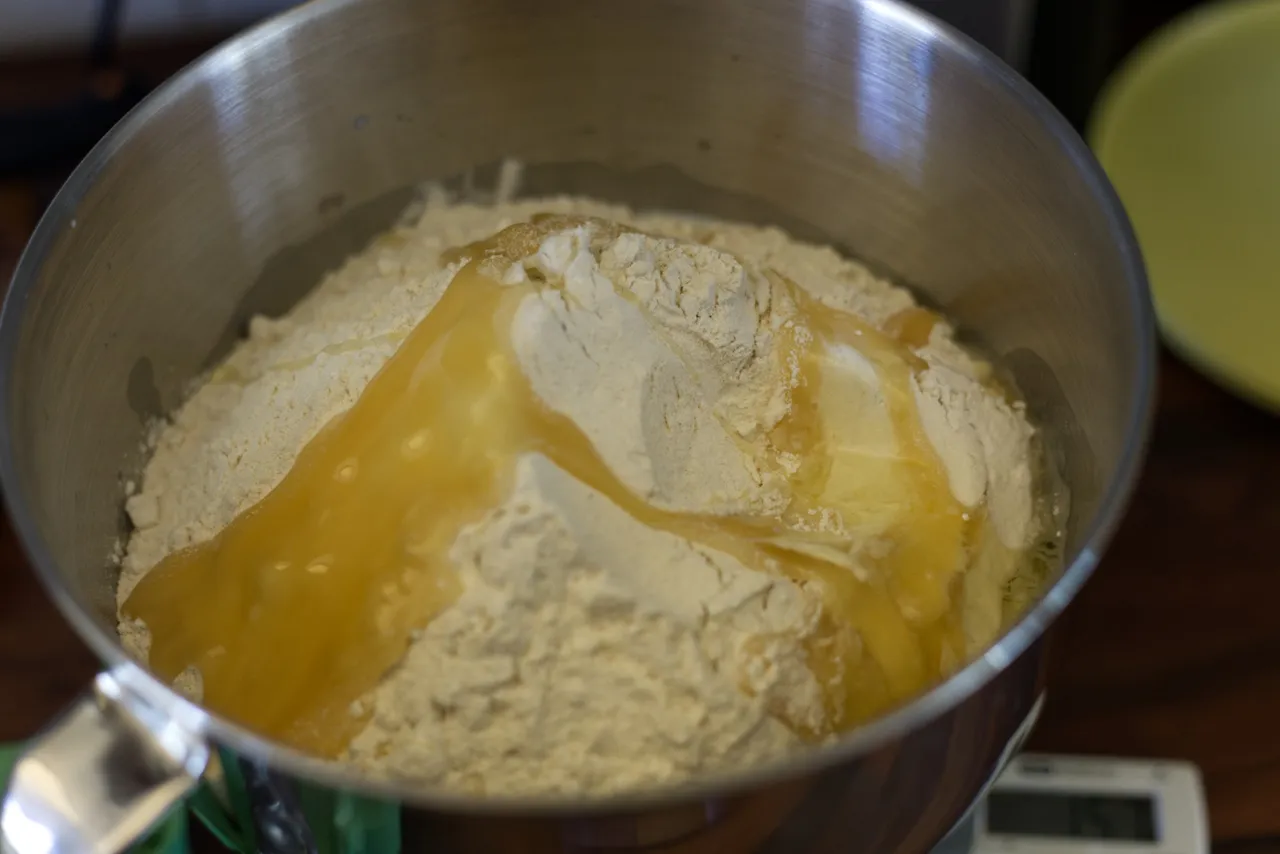
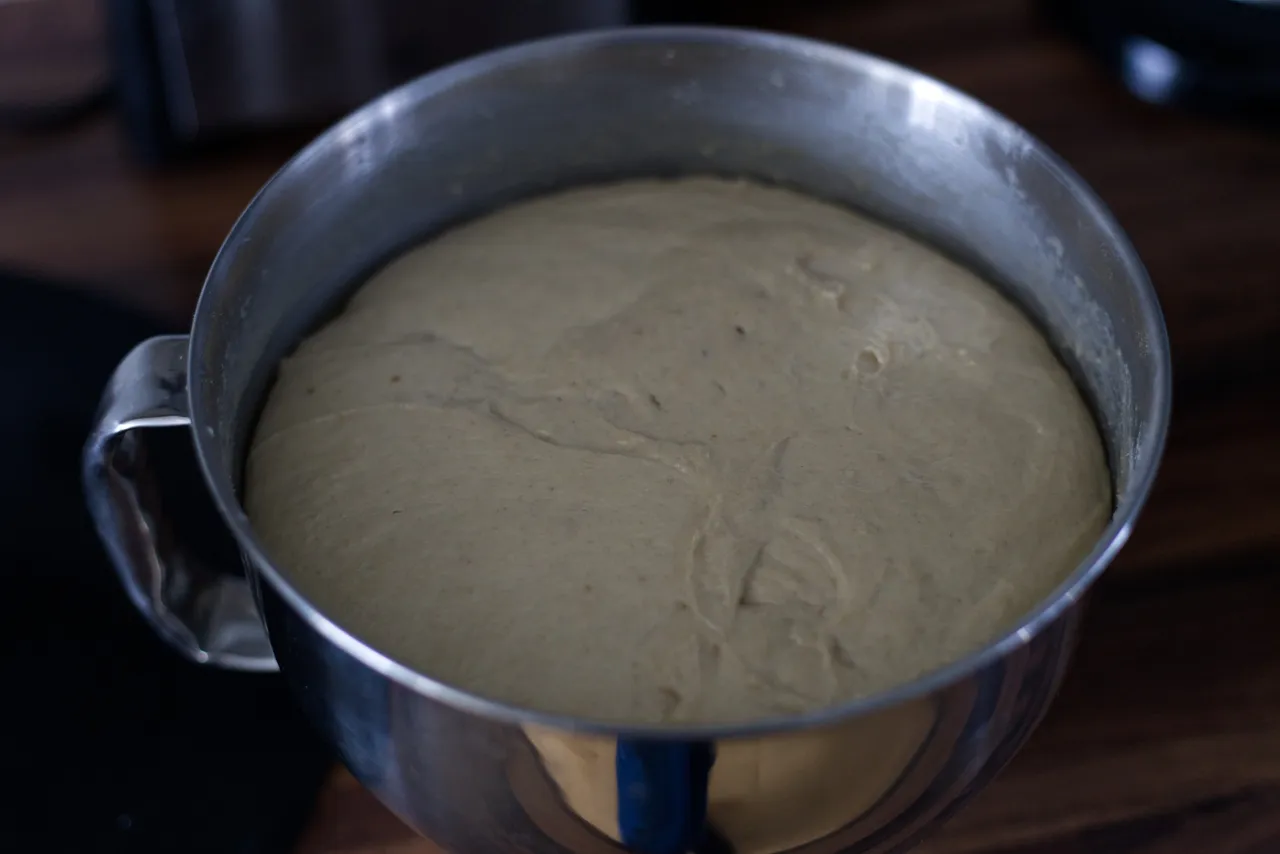
Add ALL the remaining ingredients, except for the salt and the butter. You can see how beautiful my honey volcano is?
Mm'm. Delicious.
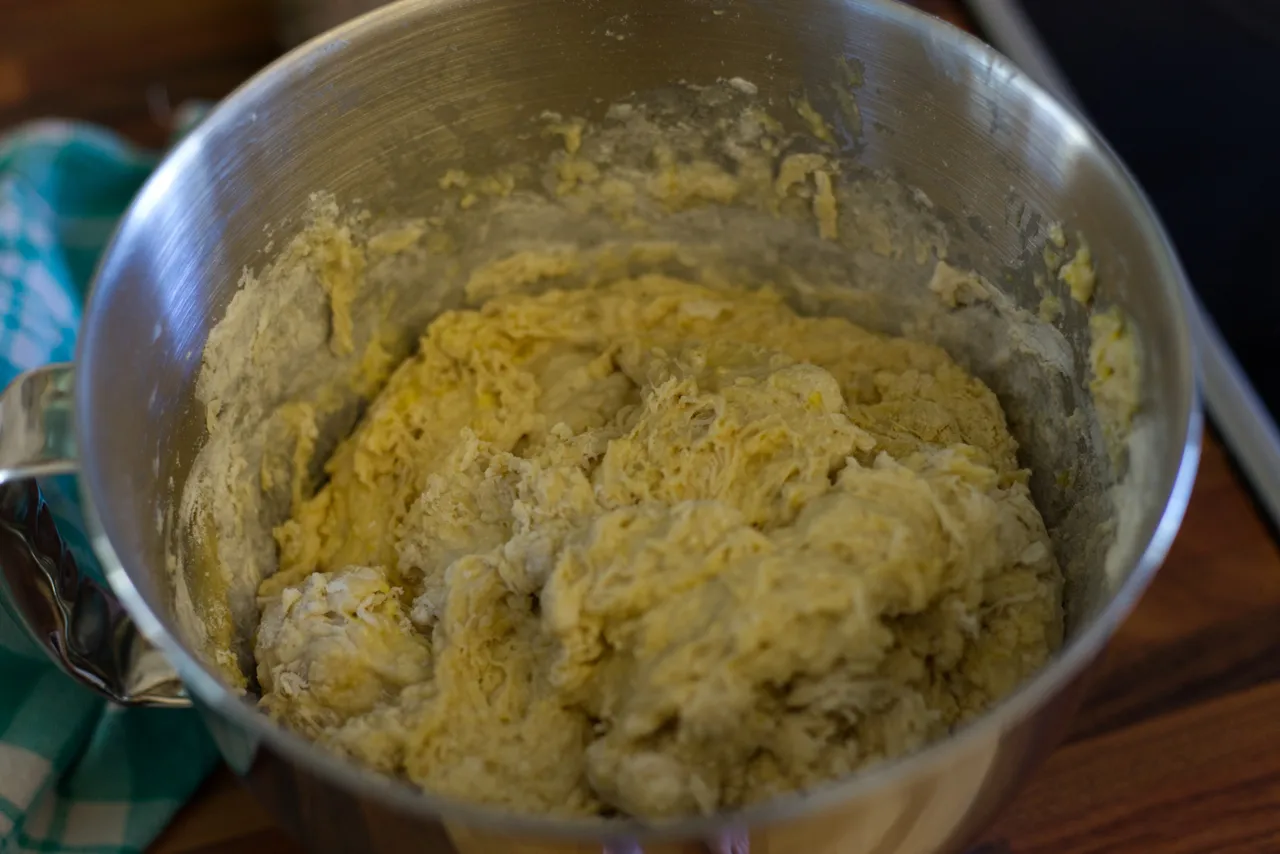
Do a quick mix, only to get everything nicely together. At this point you don't knead, but leave the dough for a 30 minute autolysis, so just cover it up and leave it be for a while.
The autolysis time can be a bit shorter, but shouldn't be less than 15 minutes.
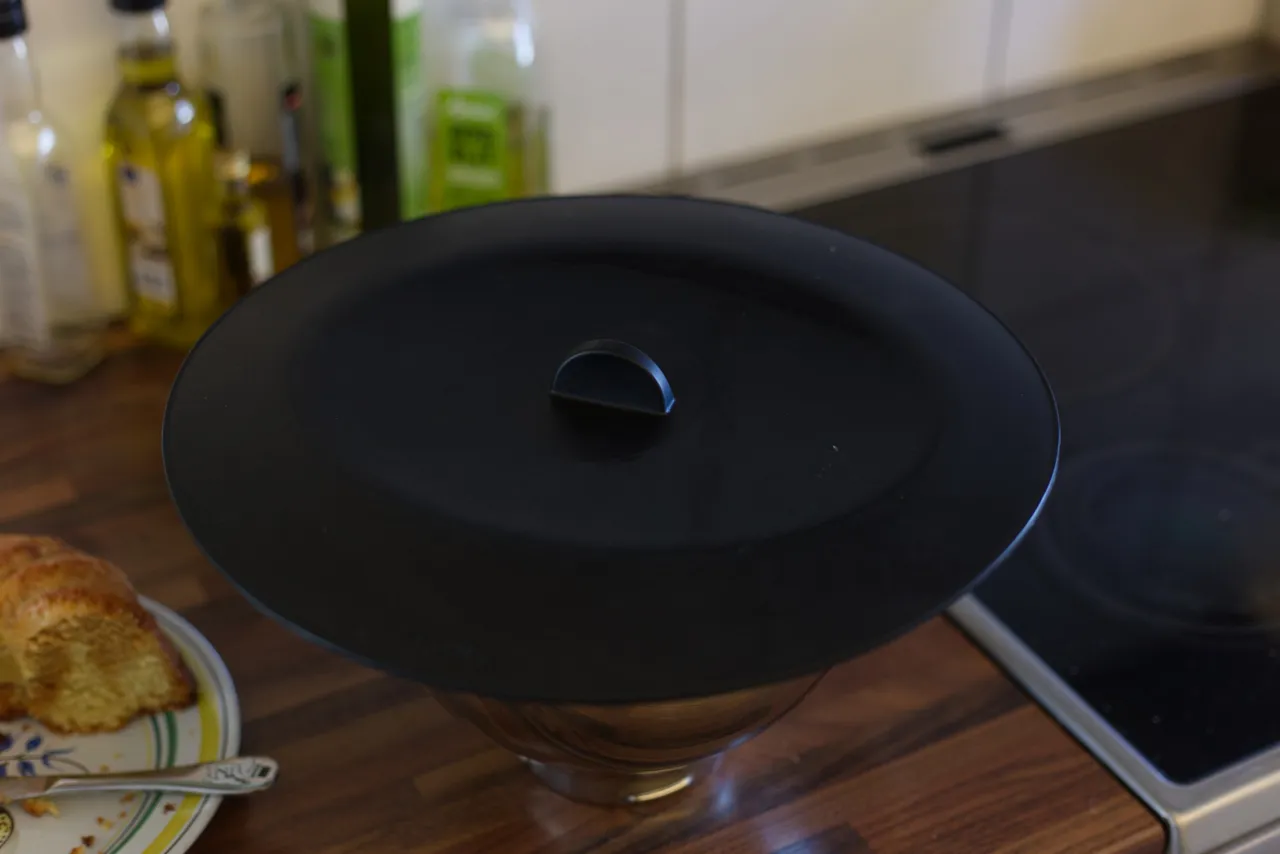
I'm using a silicone lid to cover the dough.
If you are using a hard lid which is snapped to the bowl, it can pop and fly off when the dough is rising. That's why I prefer a soft lid.
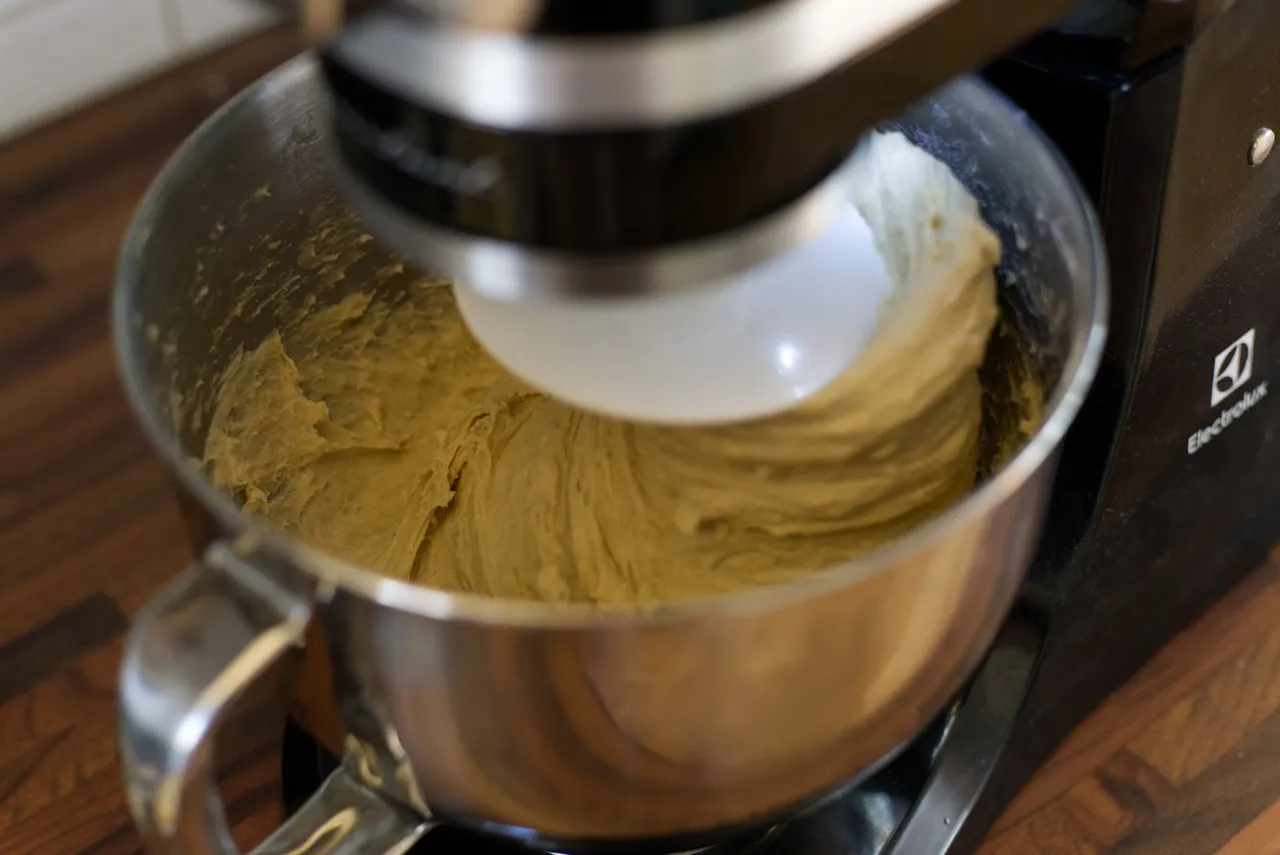
After the autolysis, it's time to knead! I recommend using a machine for the best results.
Knead the dough for 5 minutes on a low speed. No salt and butter yet.
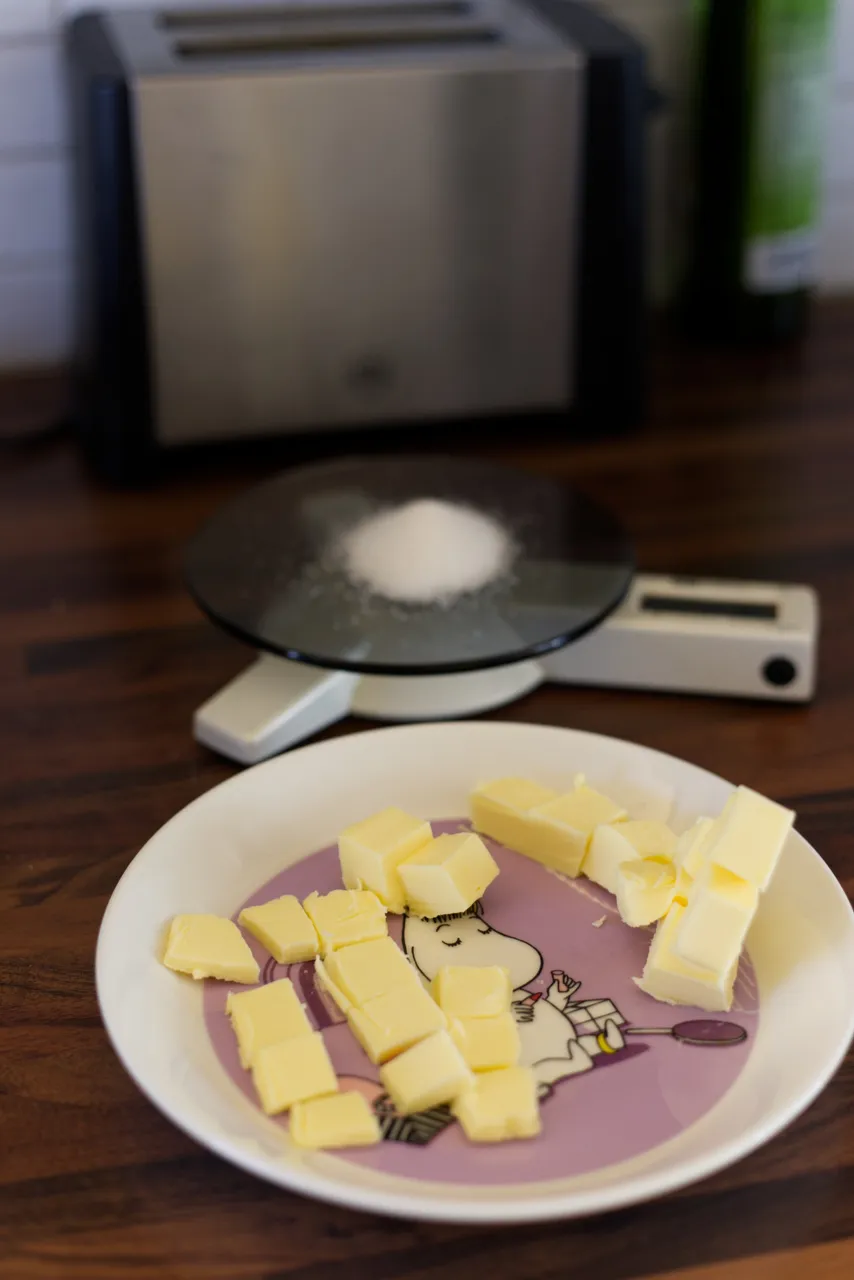
This is a perfect opportunity to measure the salt and get the butter cubed. The snork maiden handles her beauty on the inside and the outside, as she seems content with the huge load of butter.
Always trust the Moomins and their friends.
After the 5 minutes of mixing, add the salt and continue kneading with the machine! Now you can knead until the dough starts to get off from the sides of the bowl.
I needed to write this with big text so you will not miss this.
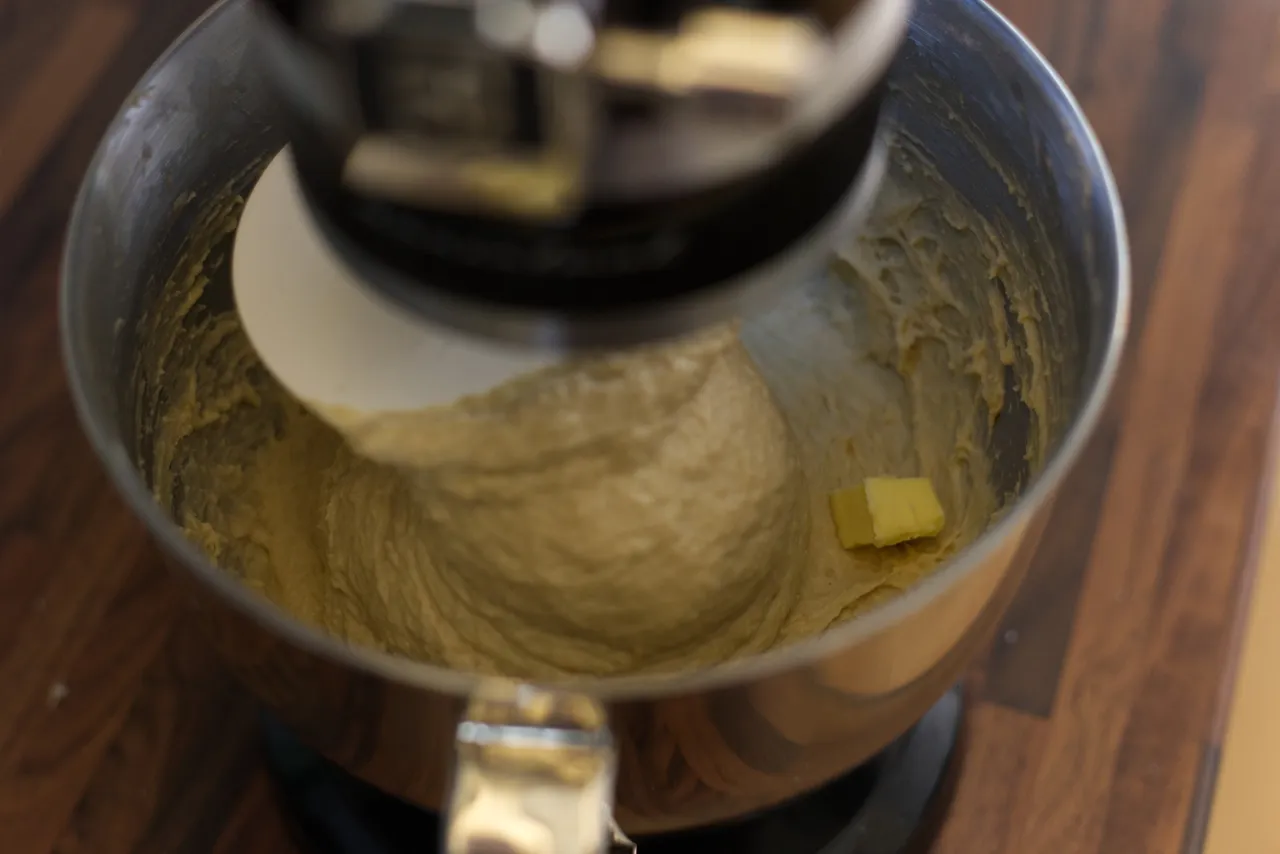
After you've handled the salt-kneading, we're almost ready. Now you should slowly add butter in the dough while kneading. You should add 1 piece at time and wait for the previous butter cube to disappear into the dough before adding the next one.
I might have added them a bit faster than that, but you should do as you're told, not like how I do it.
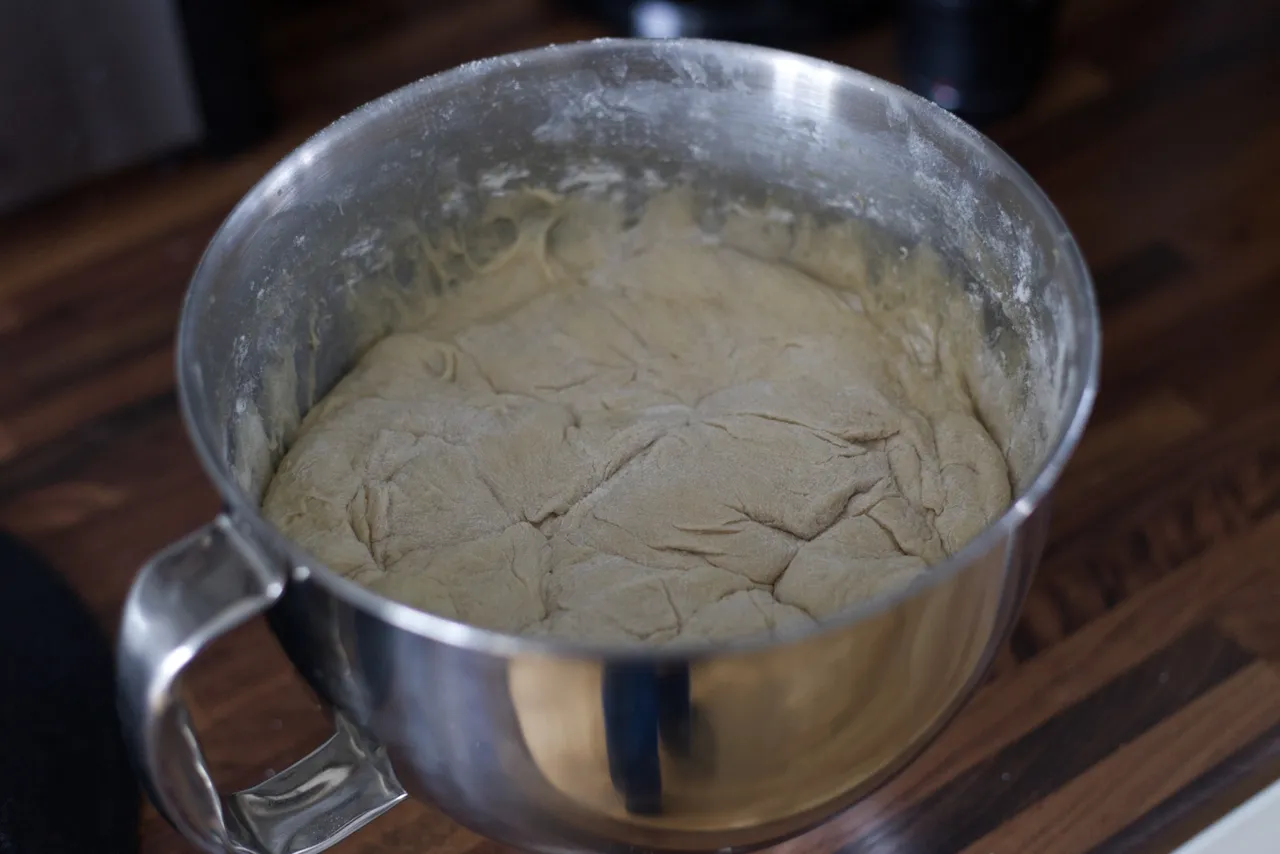
After all butter has been added to the dough, keep on kneading until the dough starts to be very strong and doesn't stick on your hands anymore. This should be possible with high quality flour with enough gluten.
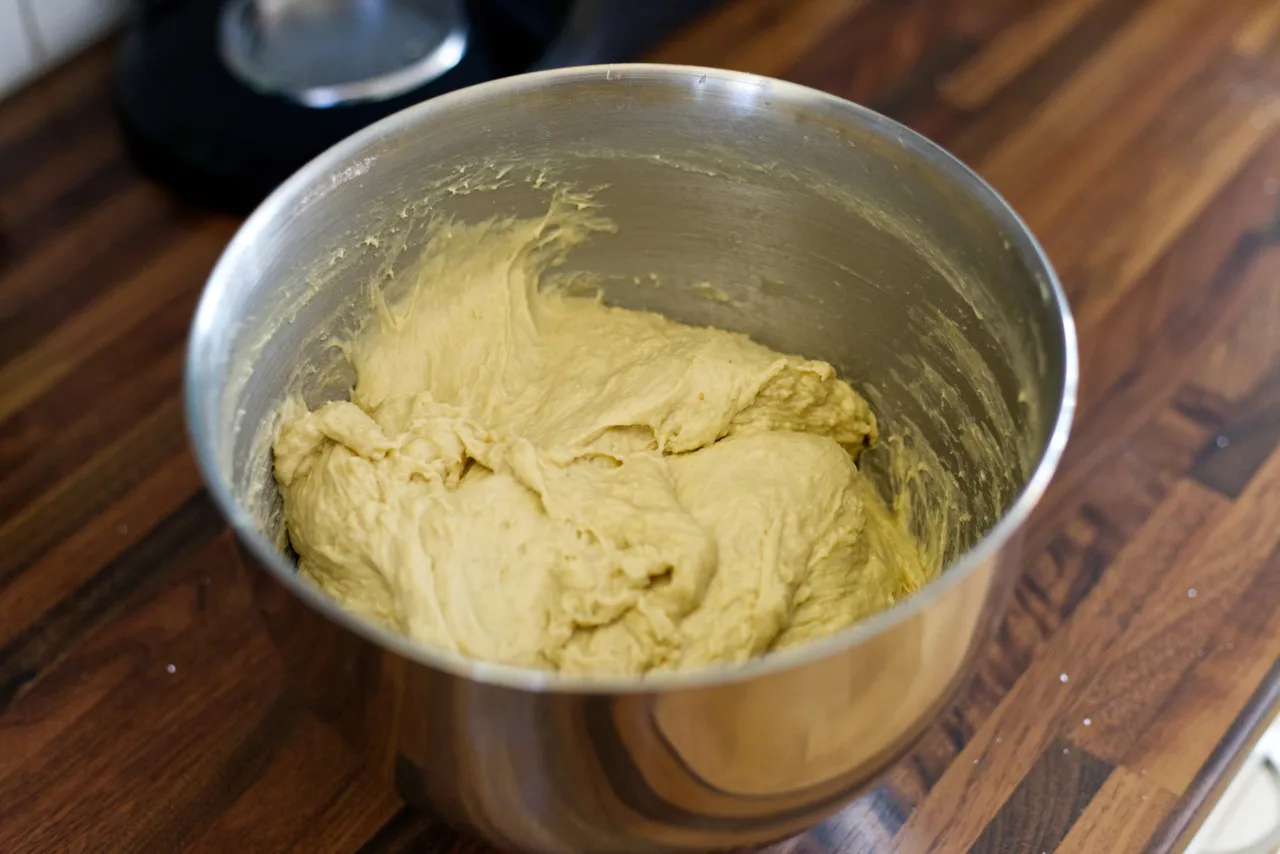
This is the dough after the kneading.
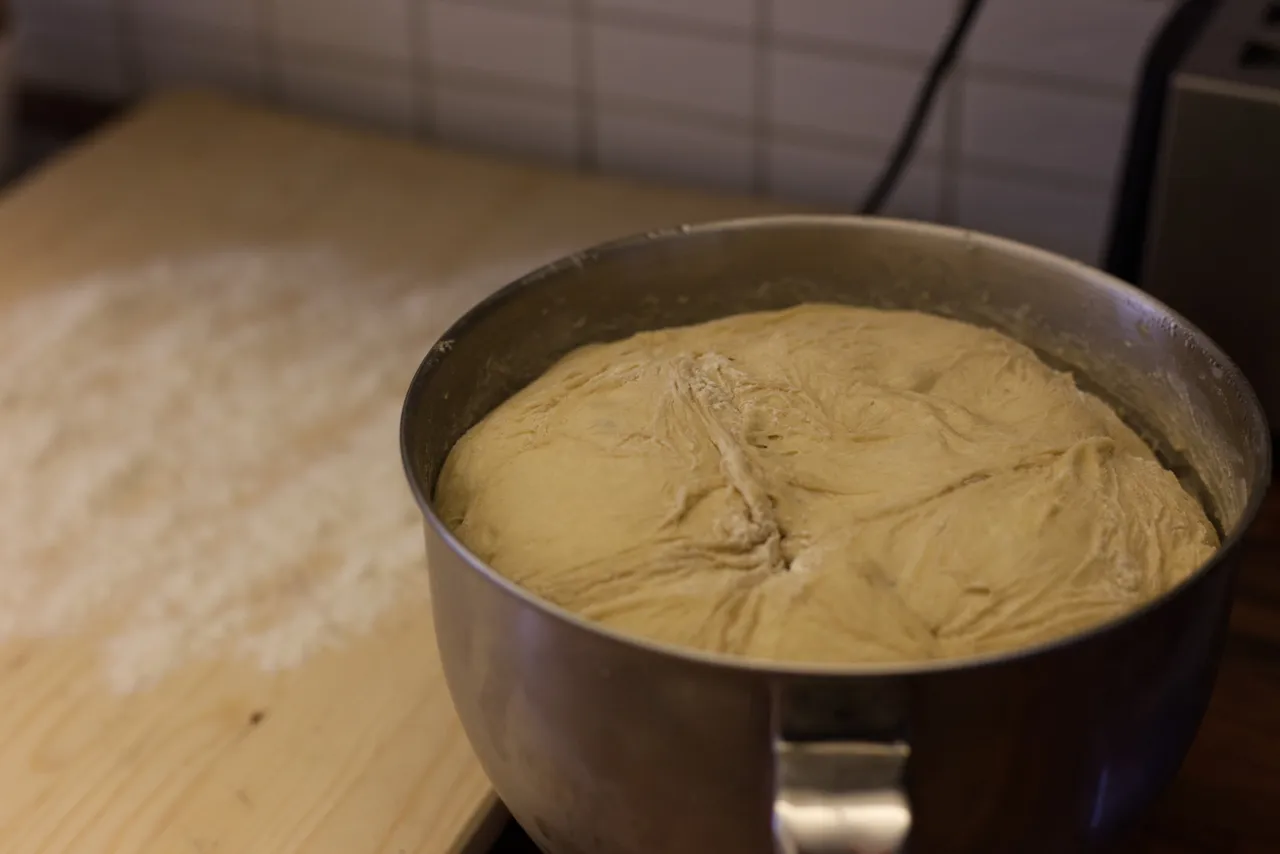
Time to cover the dough again and let it rise for approx. 3-5 hours.
After the 4 hour rest, my dough had risen this much.
The next step is to press the dough down with your hand and lift it to the fridge to rest/rise there overnight.
Just push the dough down with your hand, you can use your fist or your palm, but I didn't need to do anything else but to softly push it down for a while. You can see the difference when comparing this and the previous photo.
The next day
The dough rose in the fridge too, but it looks super good. I put a bit flour on my baking board but that wasn't actually needed! The dough is super firm and didn't stick on the board or my hands. Don't waste flours, don't use them! Unless your dough is sticky.
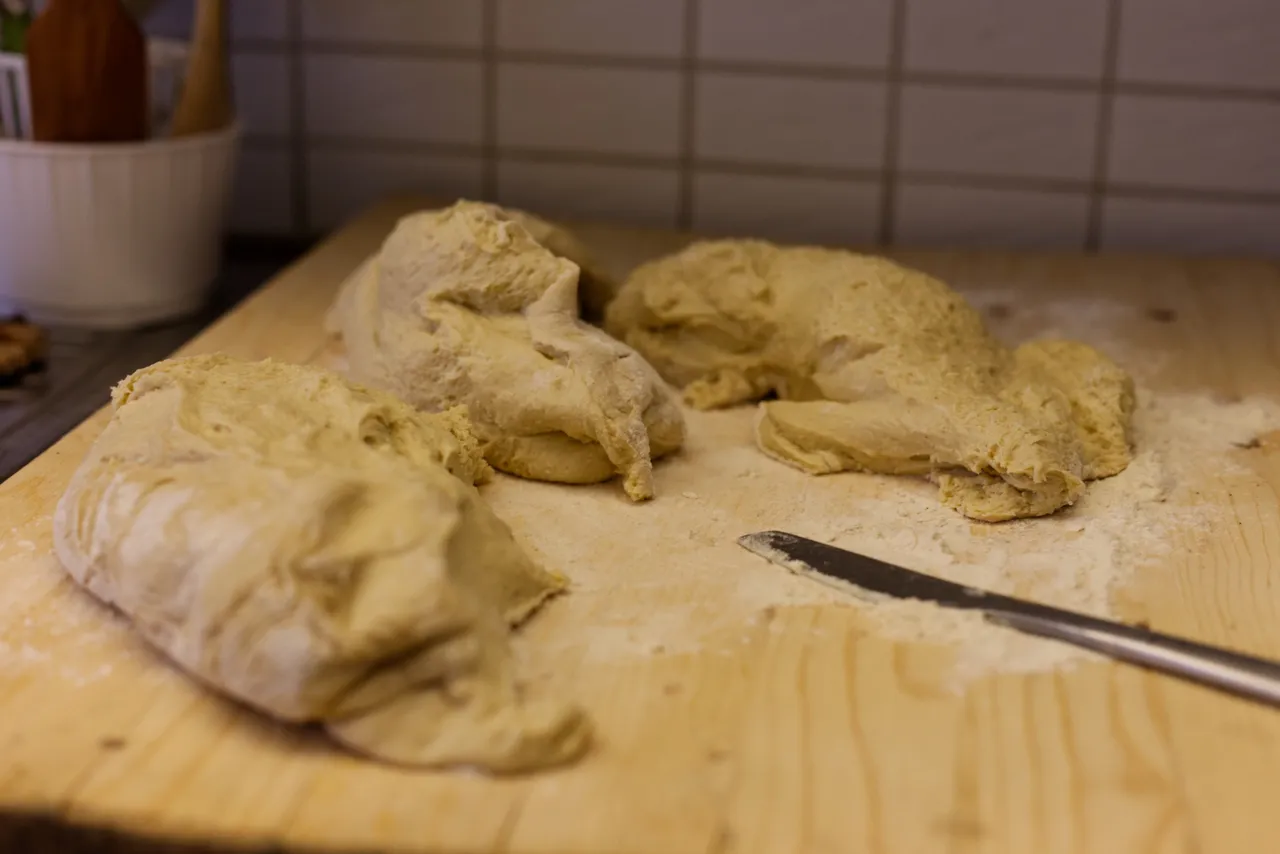
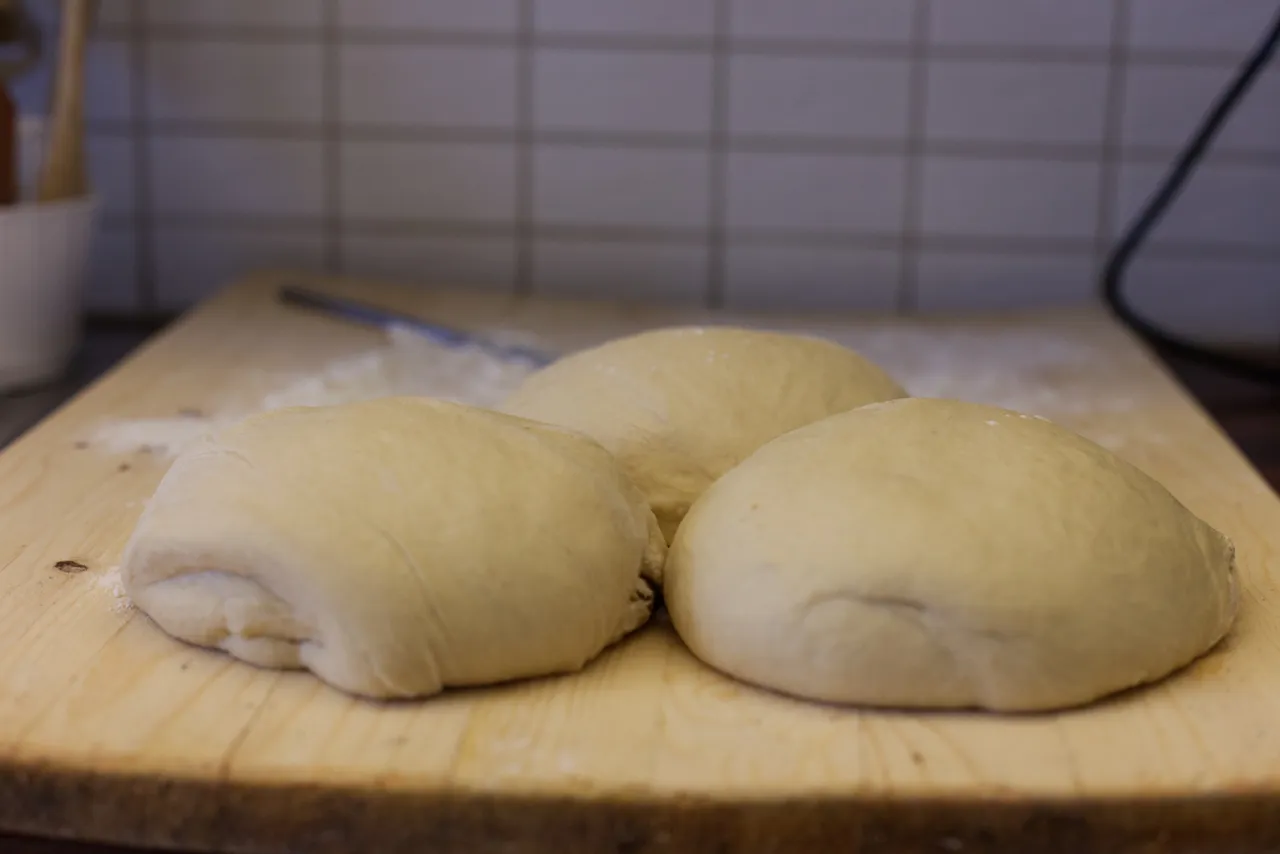
I cut the dough in 3 pieces, as I'm going to bake 3 breads.

Just softly roll them into 3 bad boys balls.
JESUS CHRIST MAN I CAN SEE YOUR BALLS!
Cover them up!
And let them rest for an hour.
I had to move the baking board a bit and that's why my balls moved a bit.
But this is after 1 hour. The balls have swollen up and are looking super tasty.
Now you can either braid the dough OR bake them into standard breads. The braiding is done by cutting a ball in half and rolling the ball-halves into two long strands, which are braided as 4 strands (because each long strand is turned into U -shape).
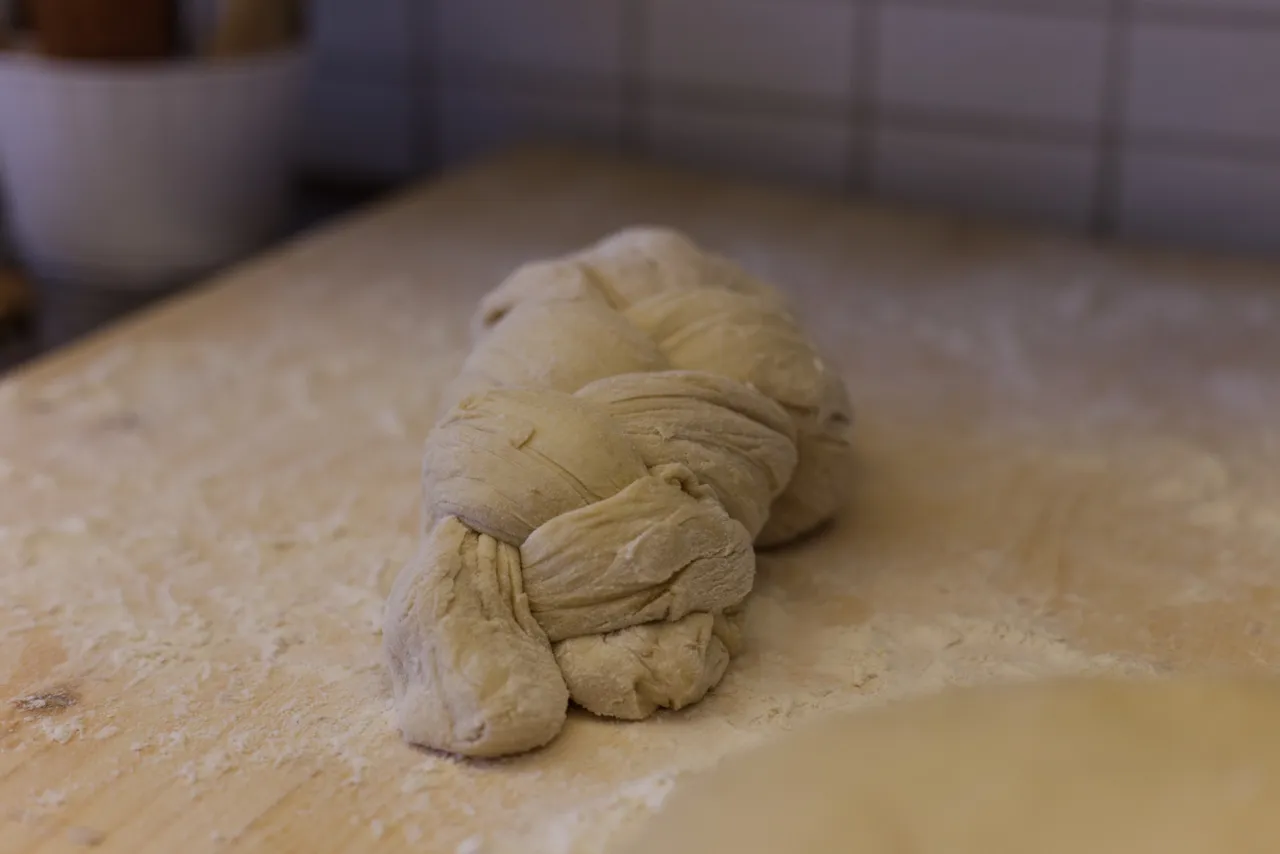
I realized that I can do only braid with 3 strands, not with 4. This was all I got after 20 minutes of working.
It kind of fell apart when I was ready, so I made a real bad braid after this.
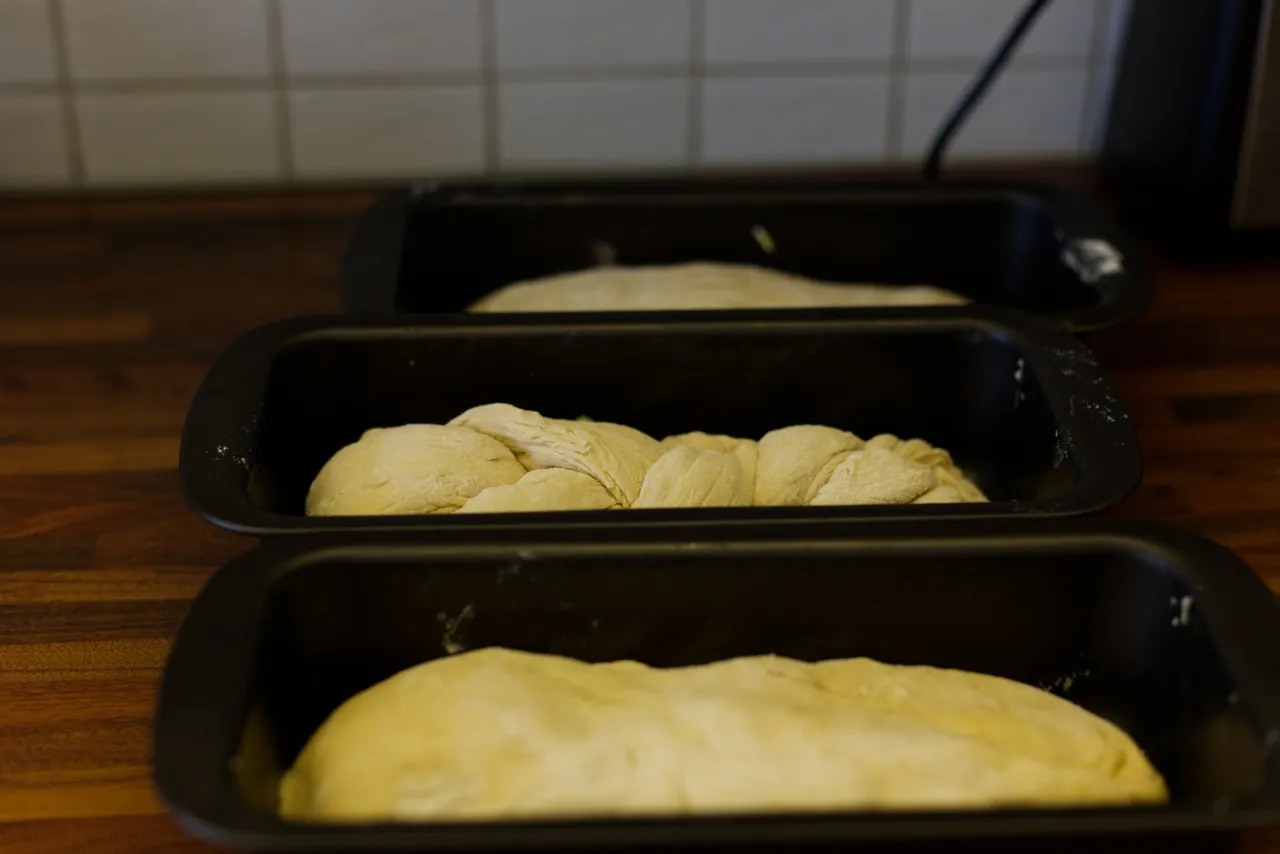
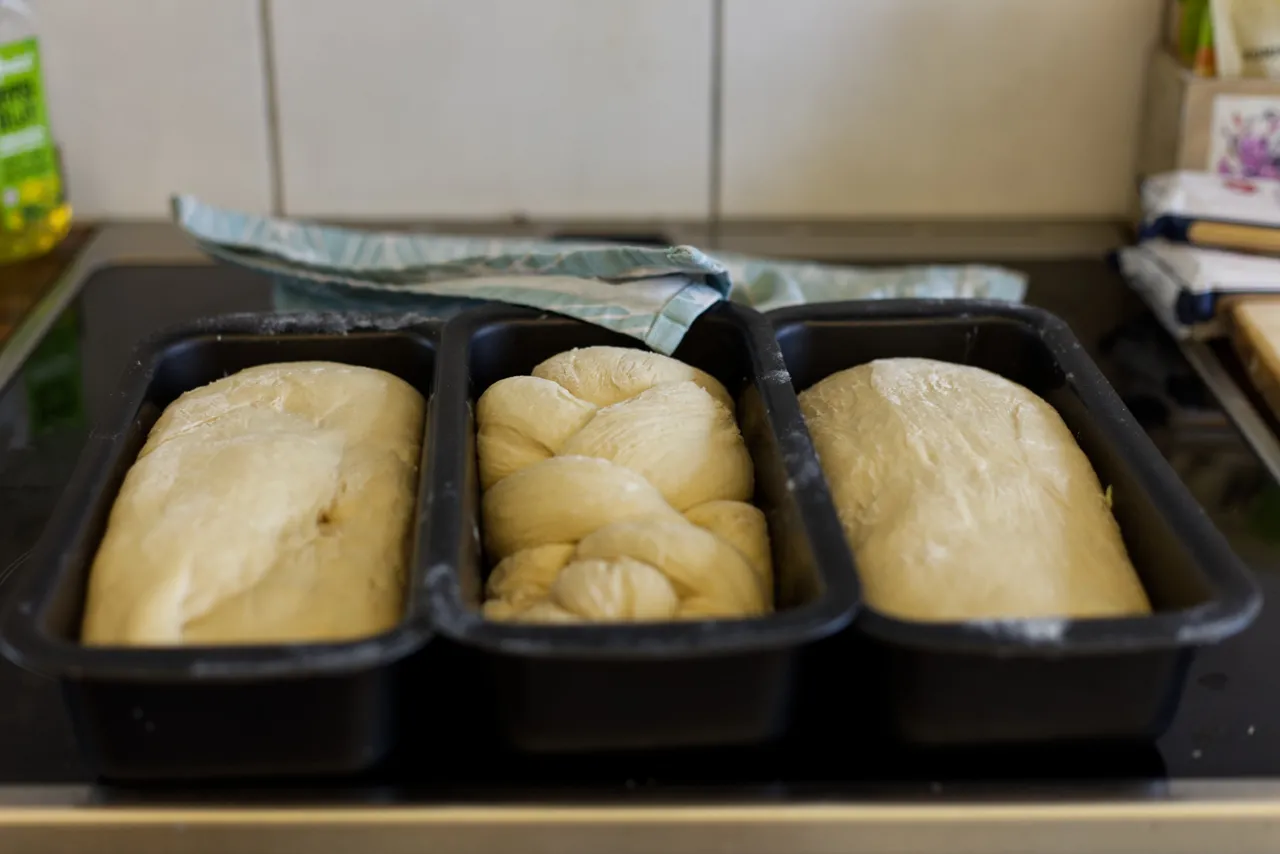
The braided bread and two non-braided breads are added to baking trays WHICH SHOULD BE OILED/BUTTERED! This is to make sure the bread will not stick to the tray.
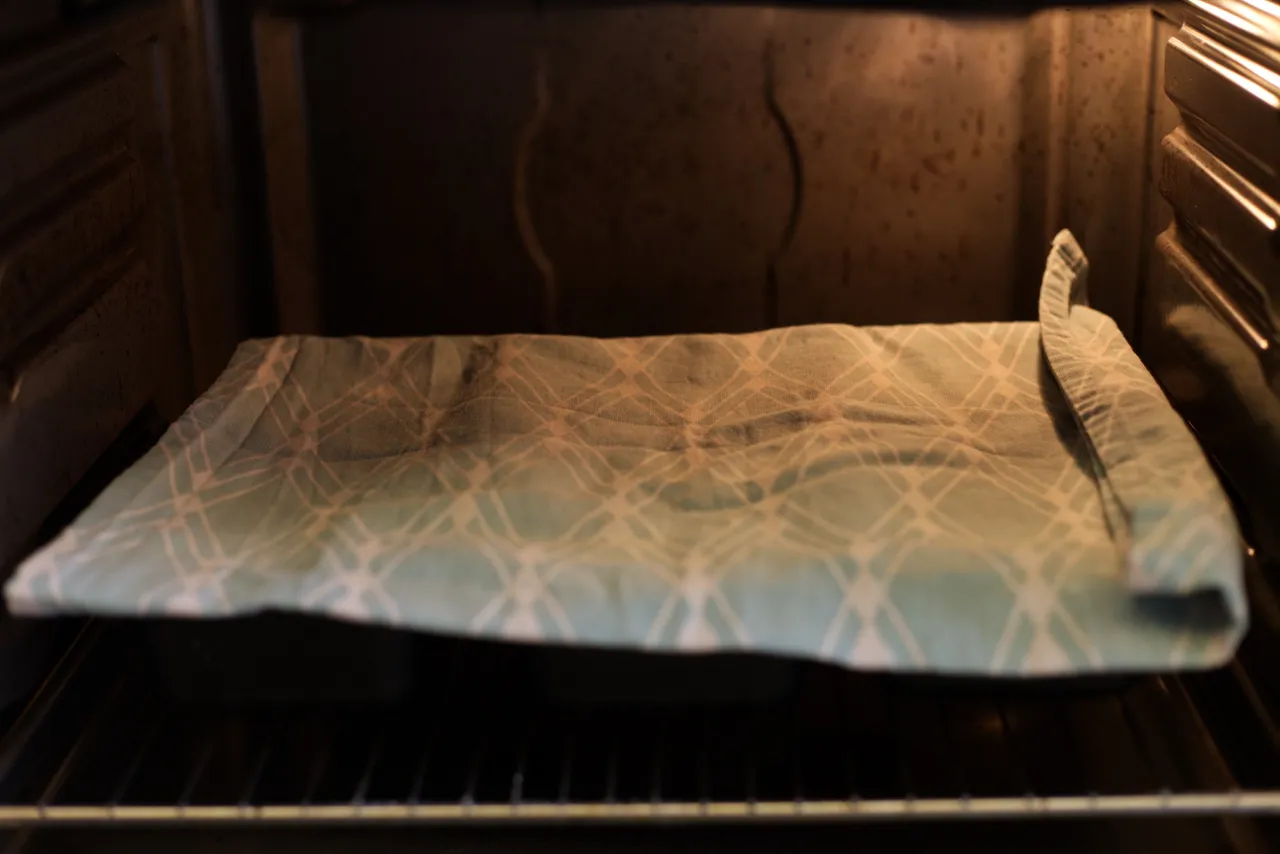
Cover the doughs and put them in a warm spot. I put them in our oven which had the light on. The oven light gives a little bit of warmth but won't warm the dough too much.
Now these should rise for a minimum of 3 hours. It can take longer, but the it's important that you let it rise as much as possible. Until it's almost falling down from the tray.
After 2 hours of rising, I took a peek on what they look like. At this stage, we'll also stroke them with some egg.
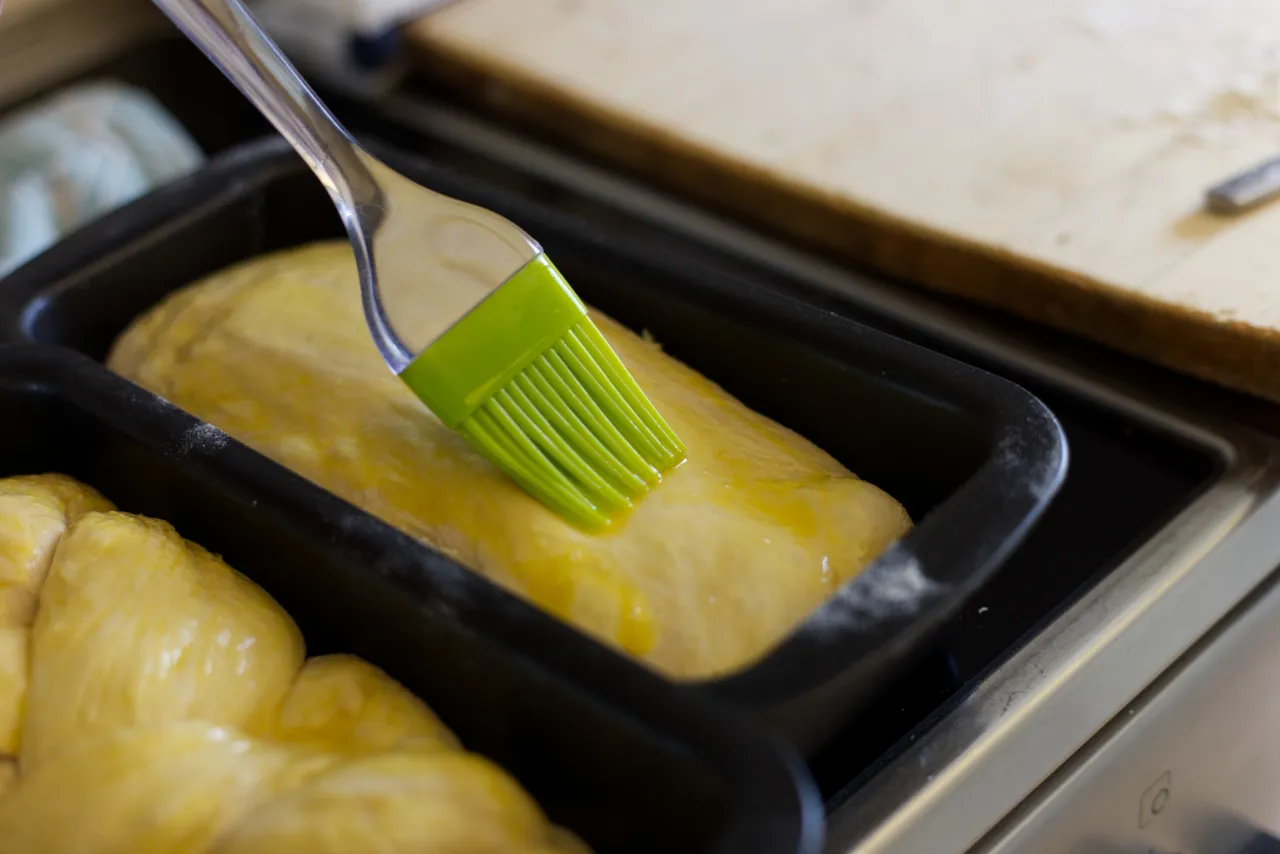
This will give the bread a nice finish and will prevent the dough from drying up. At least that's what it said in the recipe.
Then put them back to the oven and rise.
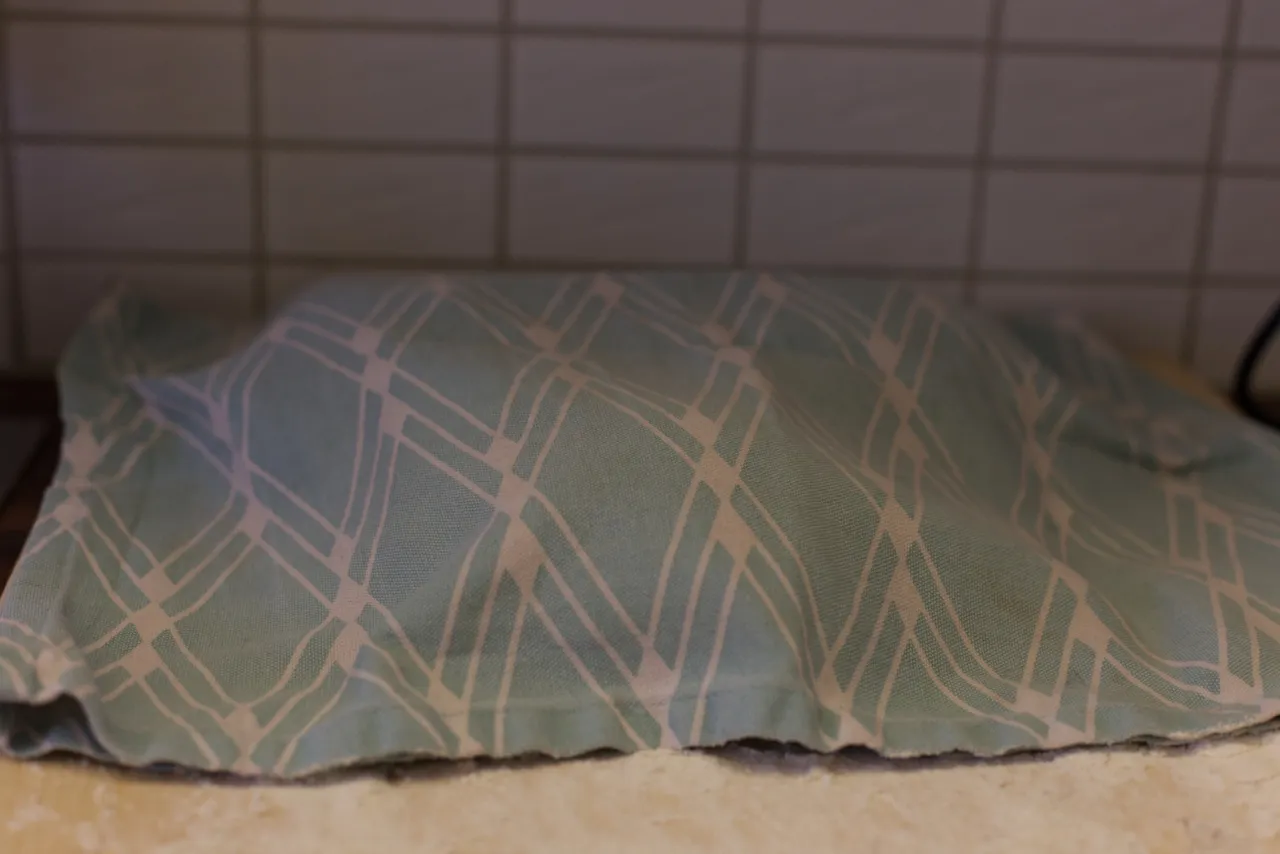
At this stage, you might want to get rid of the cloth covering the dough! I left mine on, but it got stuck in the dough.
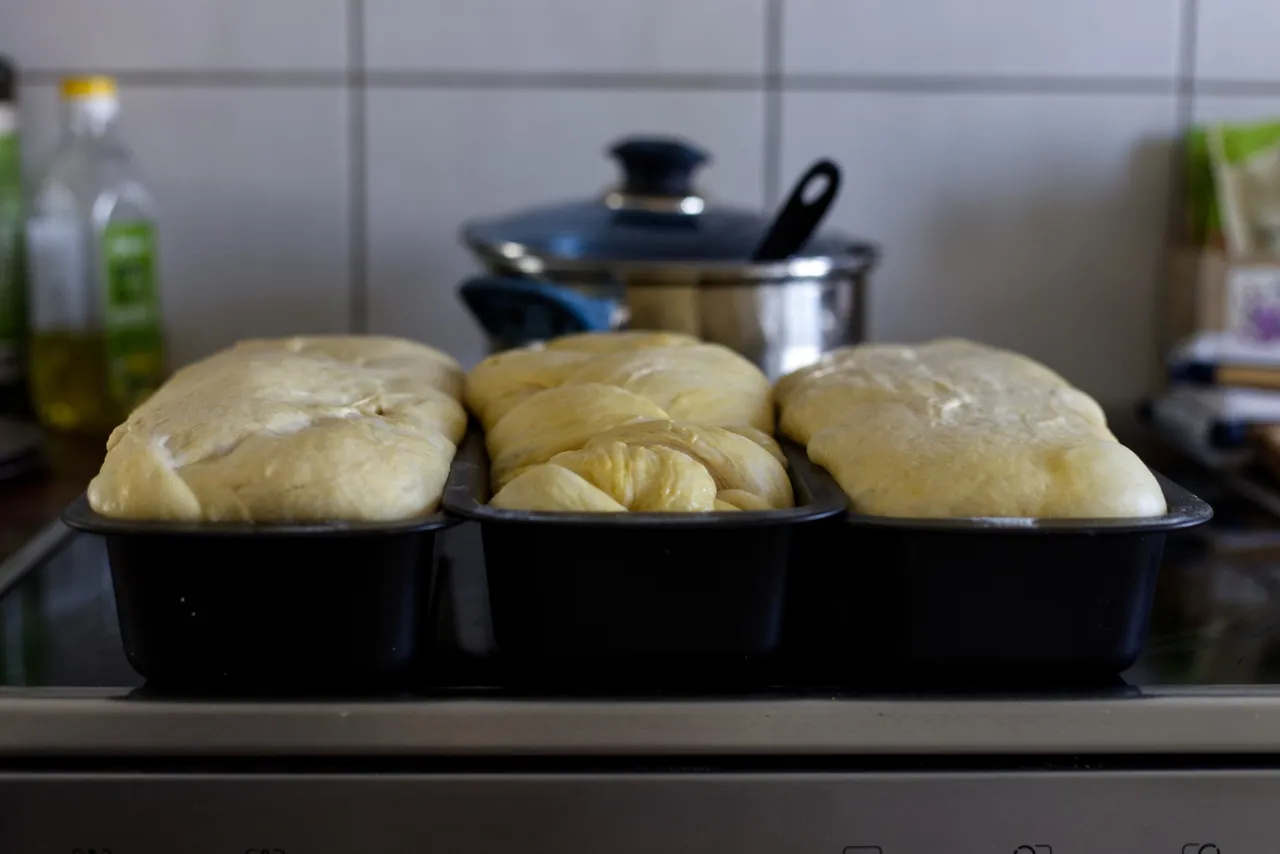
After 2 more hours of rising, the doughs look like this. They're ready to be baked. Put the oven to 200 degrees Celsius and wait for the oven to warm up.
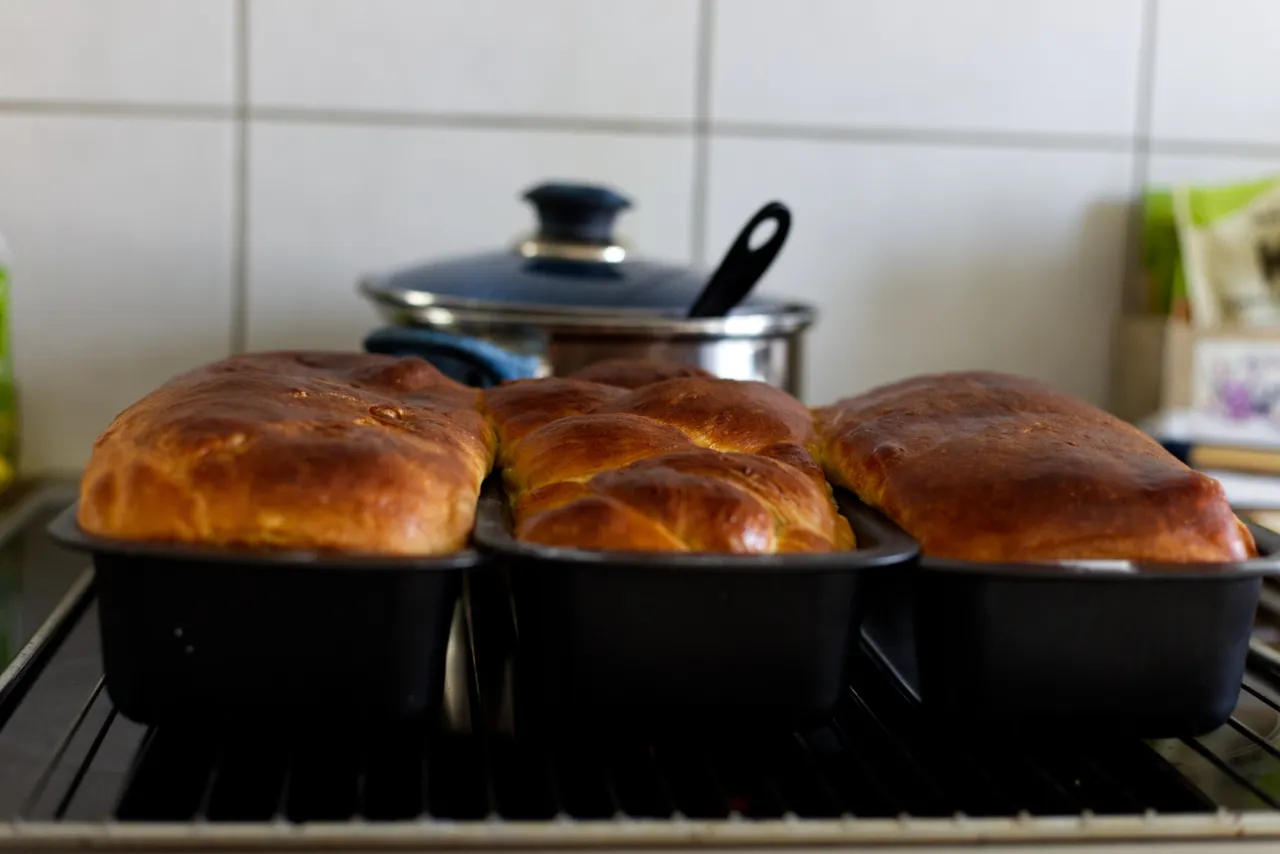
Bake the bread for approx. 25 minutes, put it close to the bottom of the oven so it will not get burnt too easily. As there's a sugar in the dough (because of honey) and egg on the top, it'll get brown real quick.
Every oven is a bit different, so you might get different results.
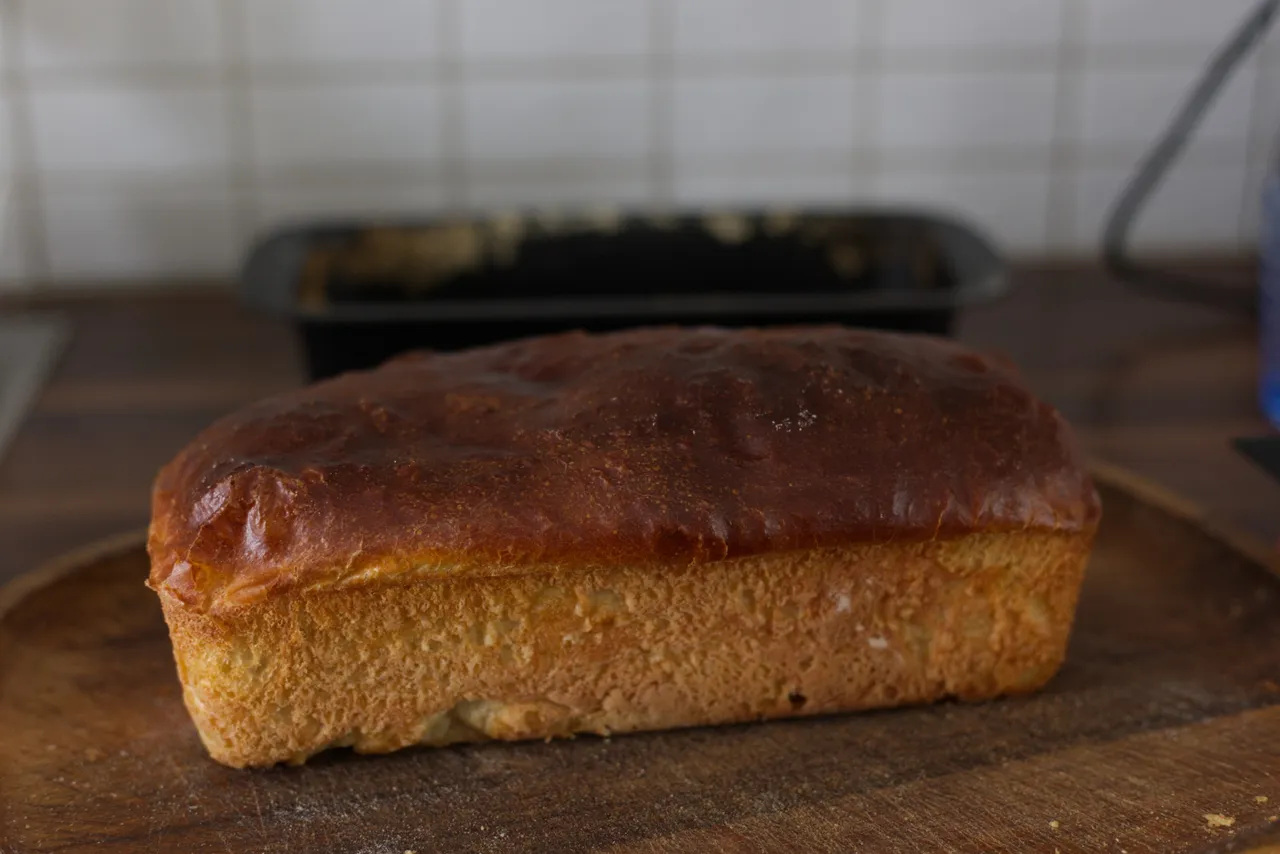
Let the bread cool down a bit in the tray and them remove them. If you try to remove them instantly, the bread might "collapse" a bit, especially if it's stuck in the tray.
But remove the bread carefully and admire the results.
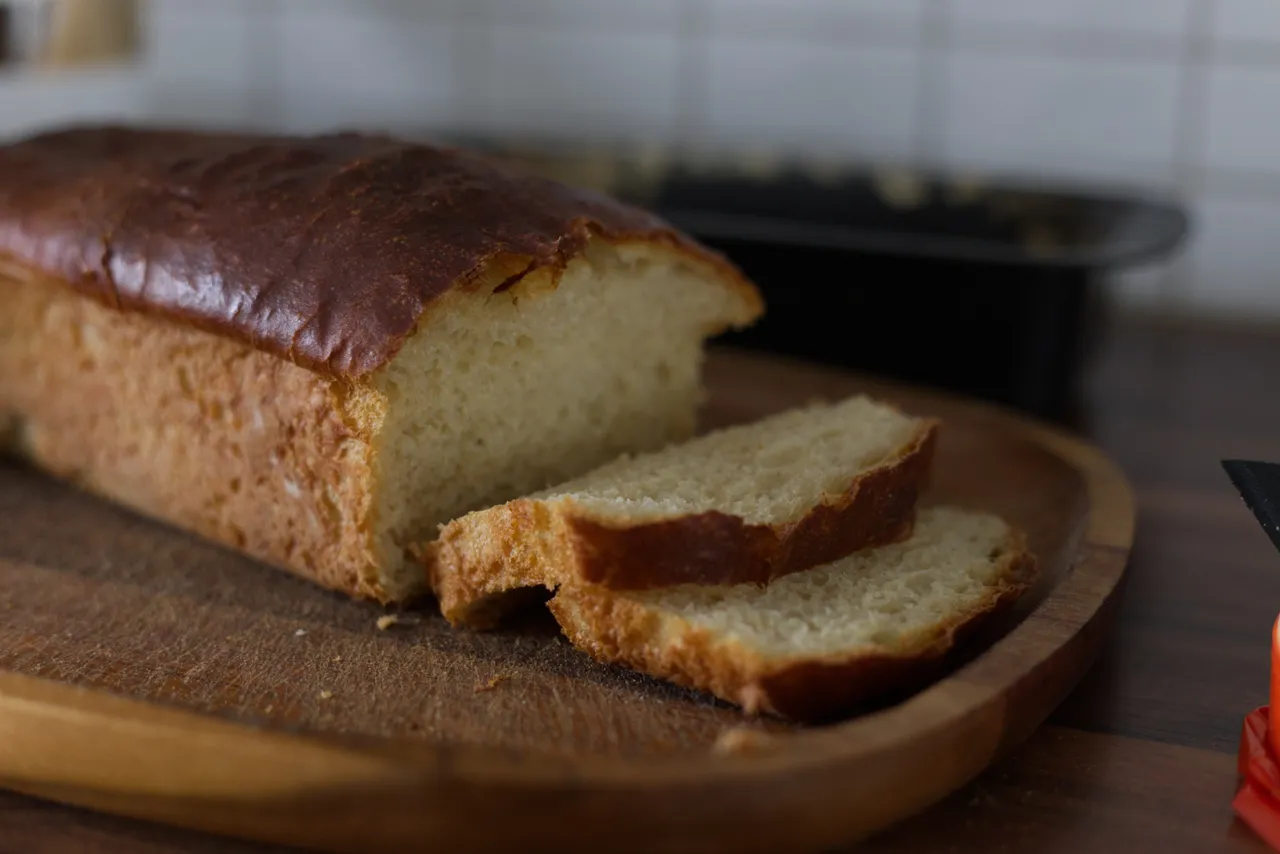
If you're successful as I am, you have created a super-soft and tasty bread. For some reason, the honey and butter does wonders to the bread.
5/5 I can recommend the recipe.