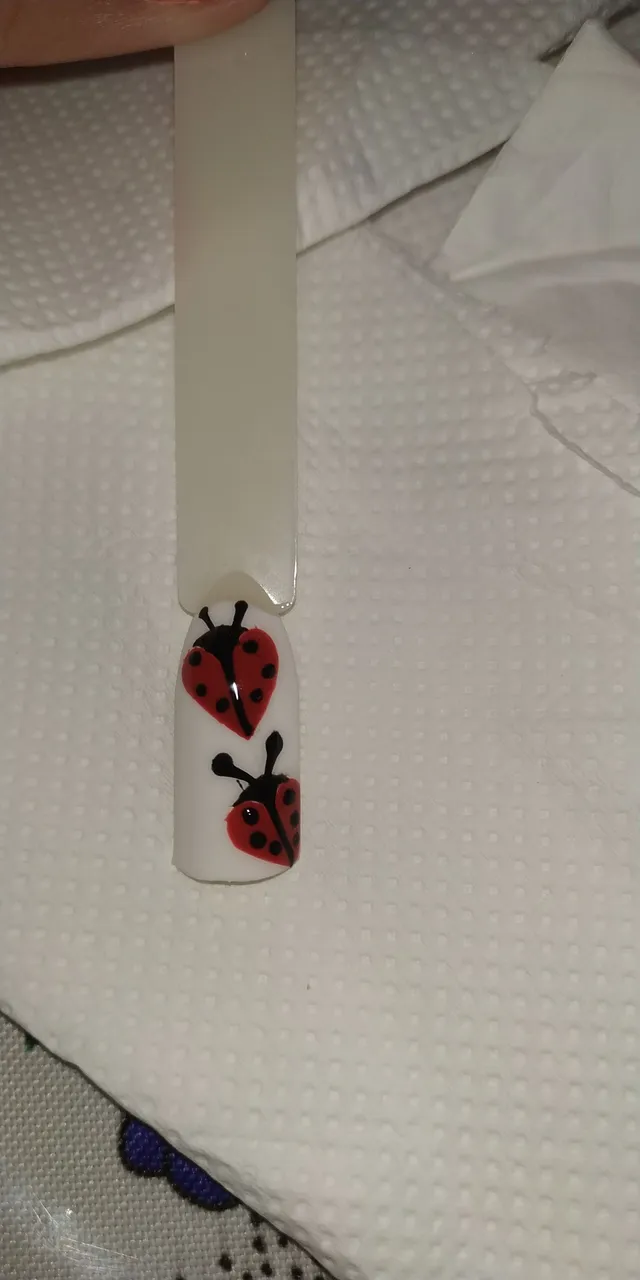
I tried for the first time to create a ladybug on nails.
It isn't the best ladybug but at least i tried. I had to watch a video first to guide me.
If you would like to show you how i did this ladybug nail design, please keep reading.
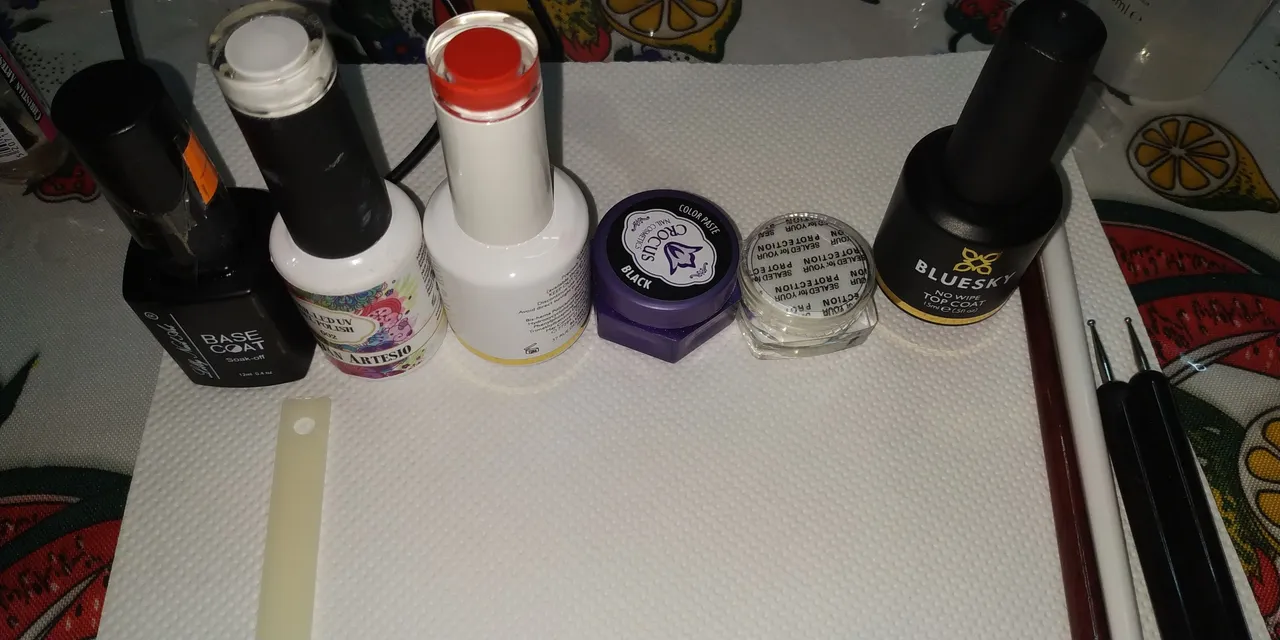
Products that i used:
- base coat/non wipe top coat
- white gel polish
- red gel polish
- black paste
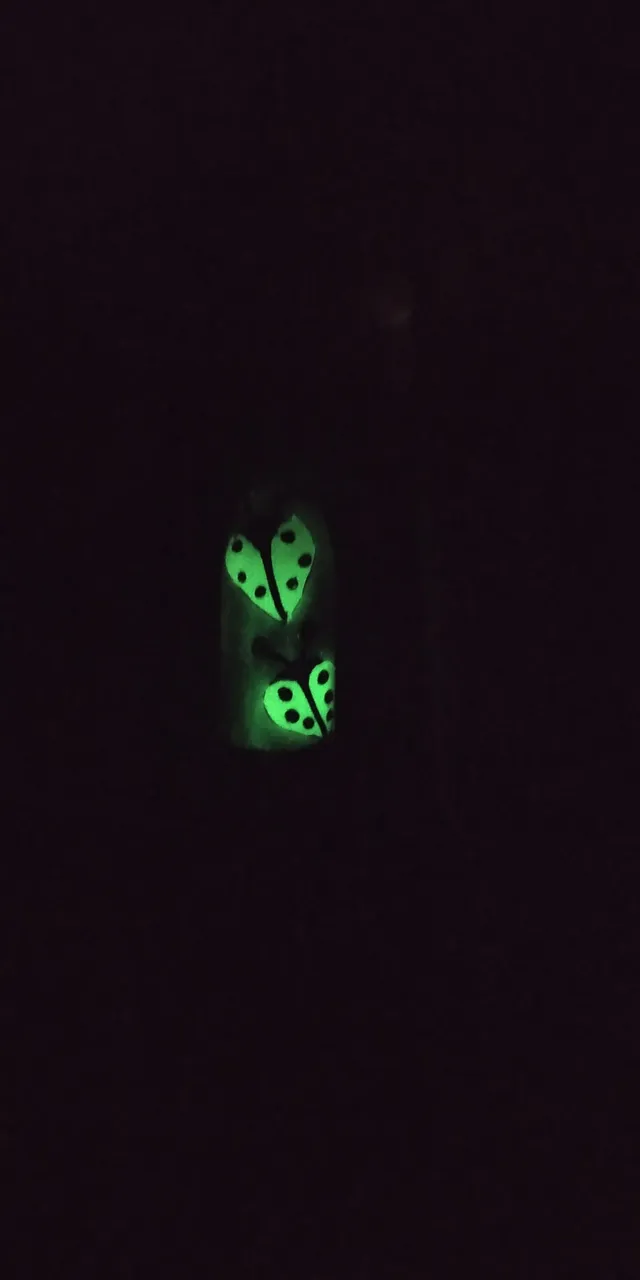
- glow in the dark powder
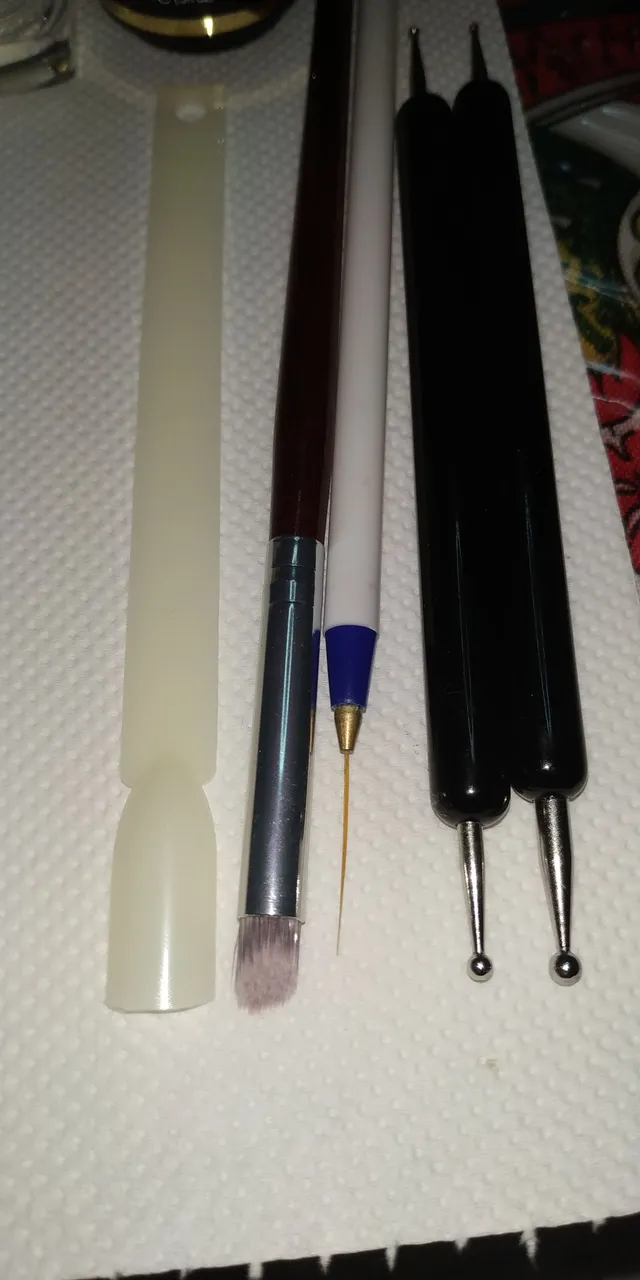
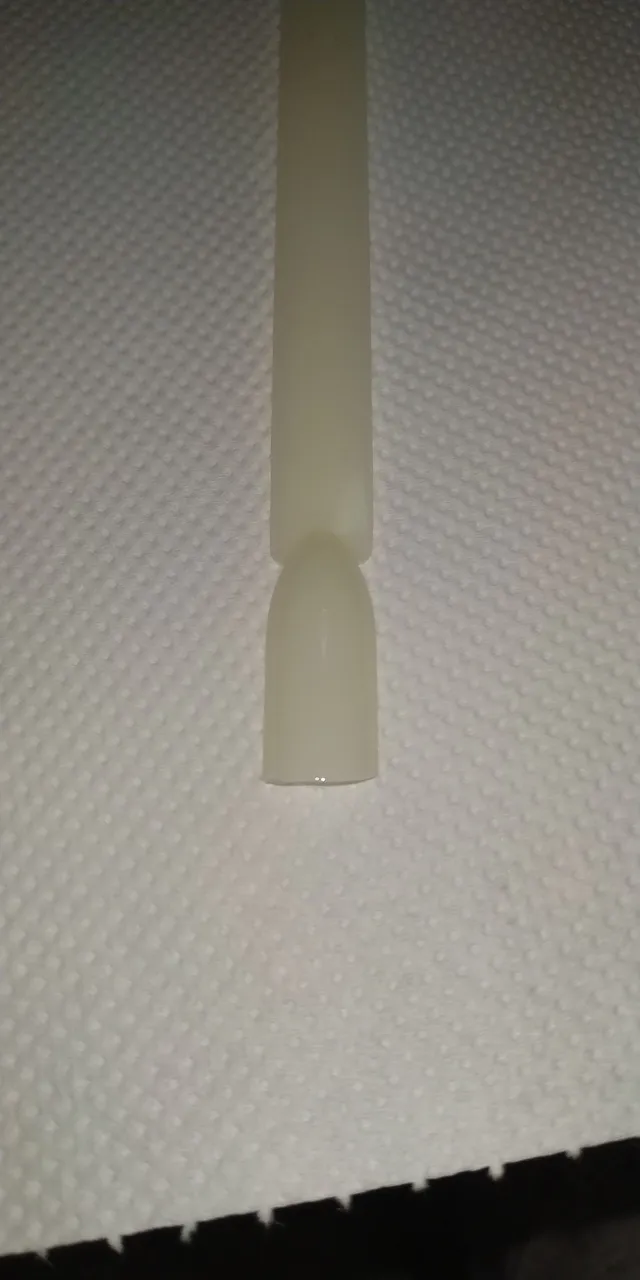
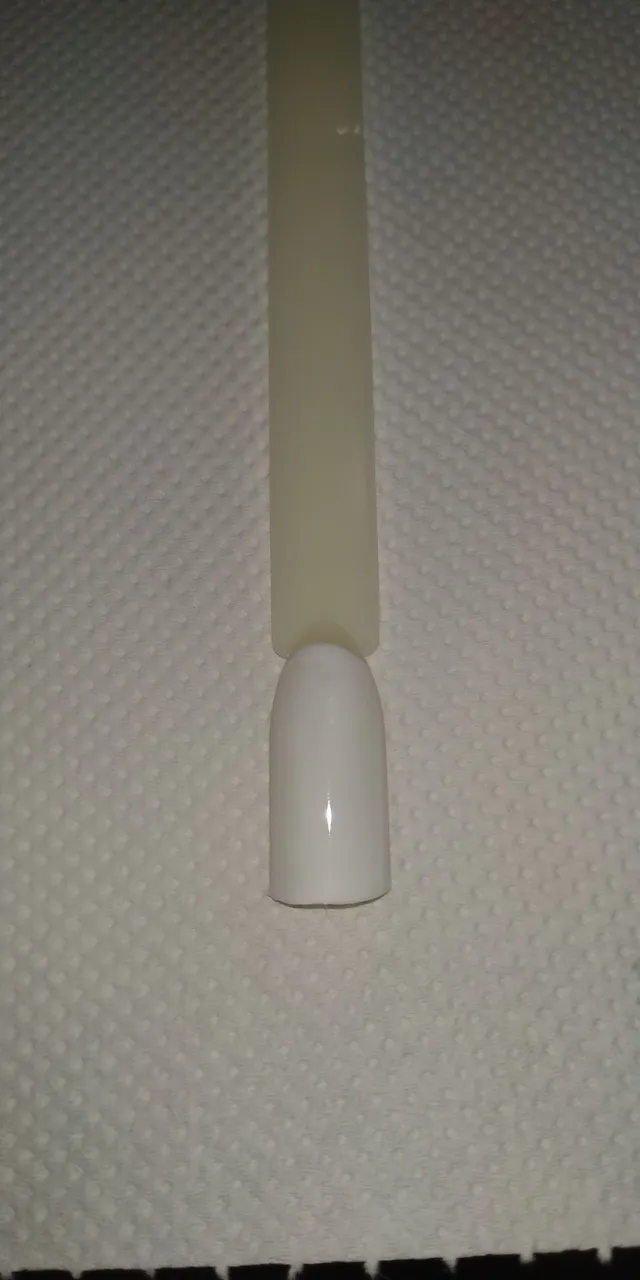
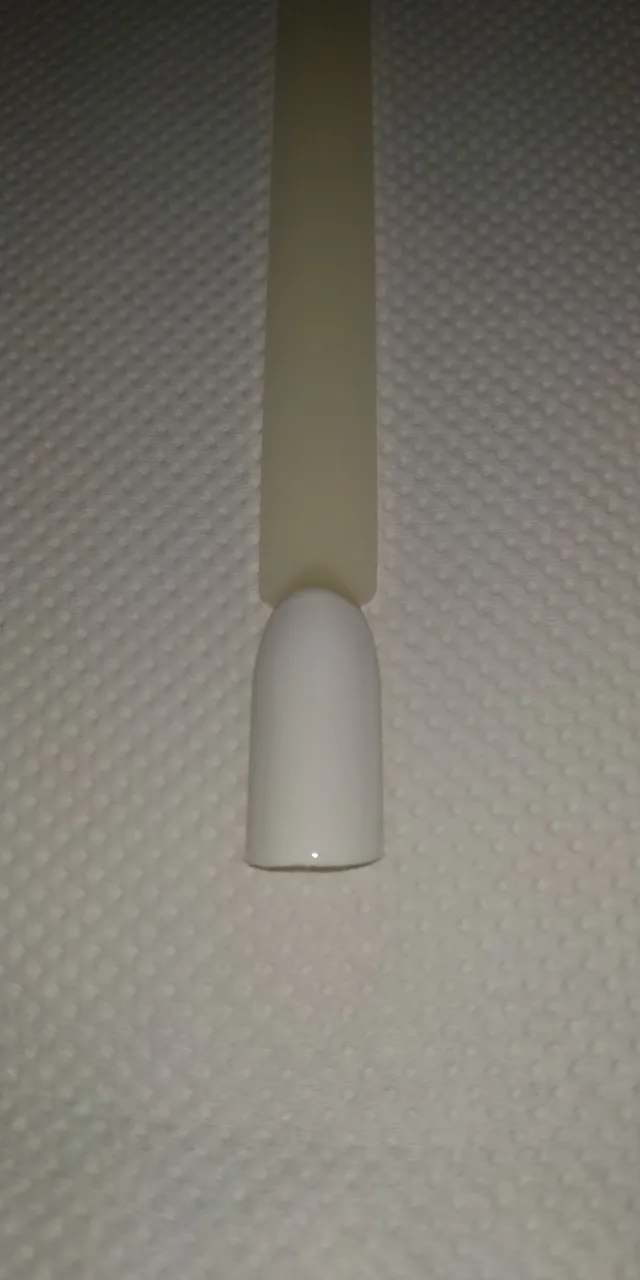
- a tip
- a brush to apply the powder
- a liner brush
- 2 different sizes of dotting tools
- a palette for mixing colours in case you need it
First i applied the base coat.
Then one layer of the white gel polish.
And a second layer is required.
I have a specific red colour gel polish which is to orange. Ladybugs are pure red so i had to create that shade.
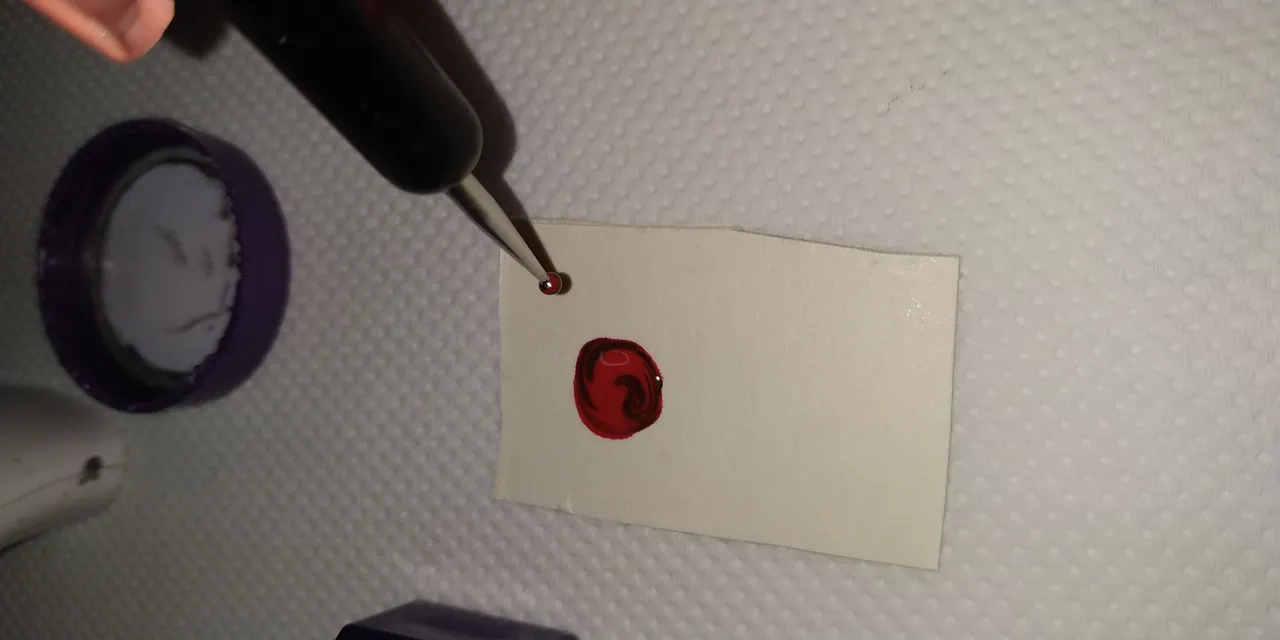
On my palette i put just a little black paste with my liner brush.
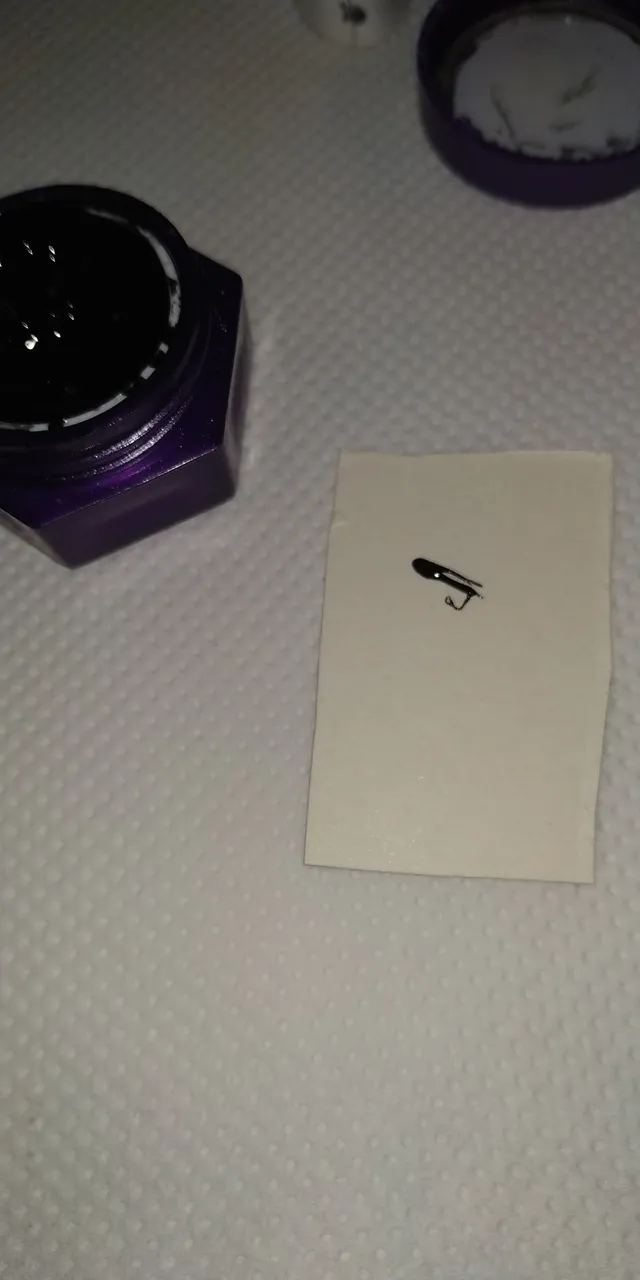
Then i put a drop of the red gel polish.

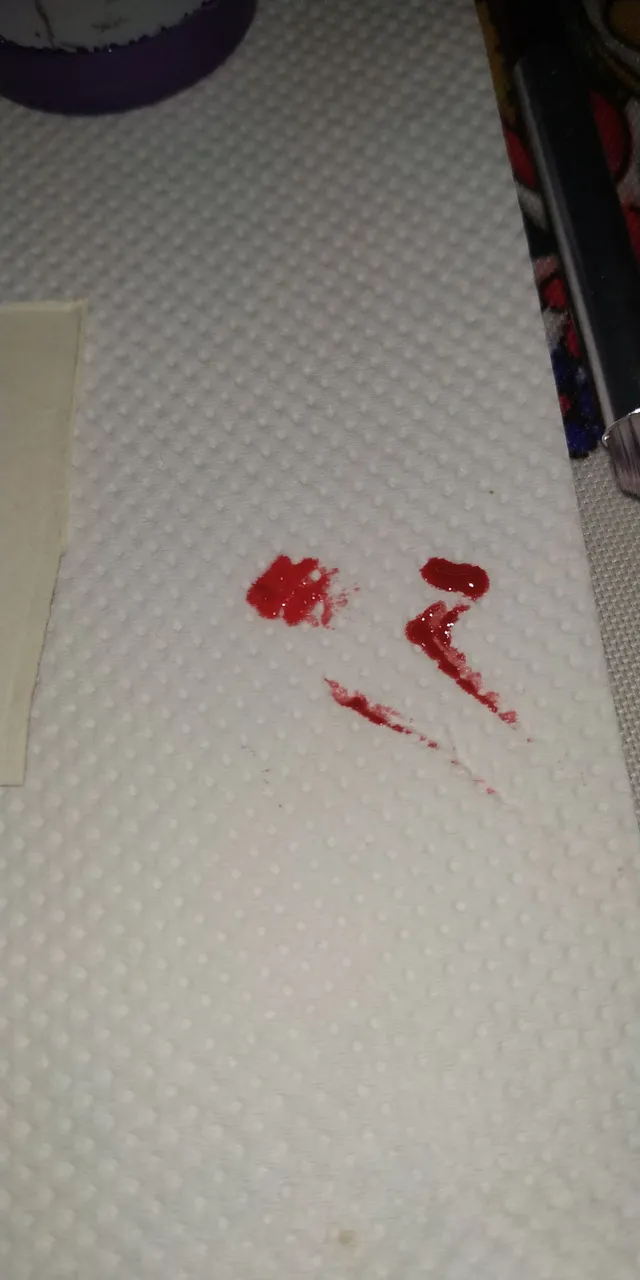
I cleaned the liner brush to have it clean and ready for the design.
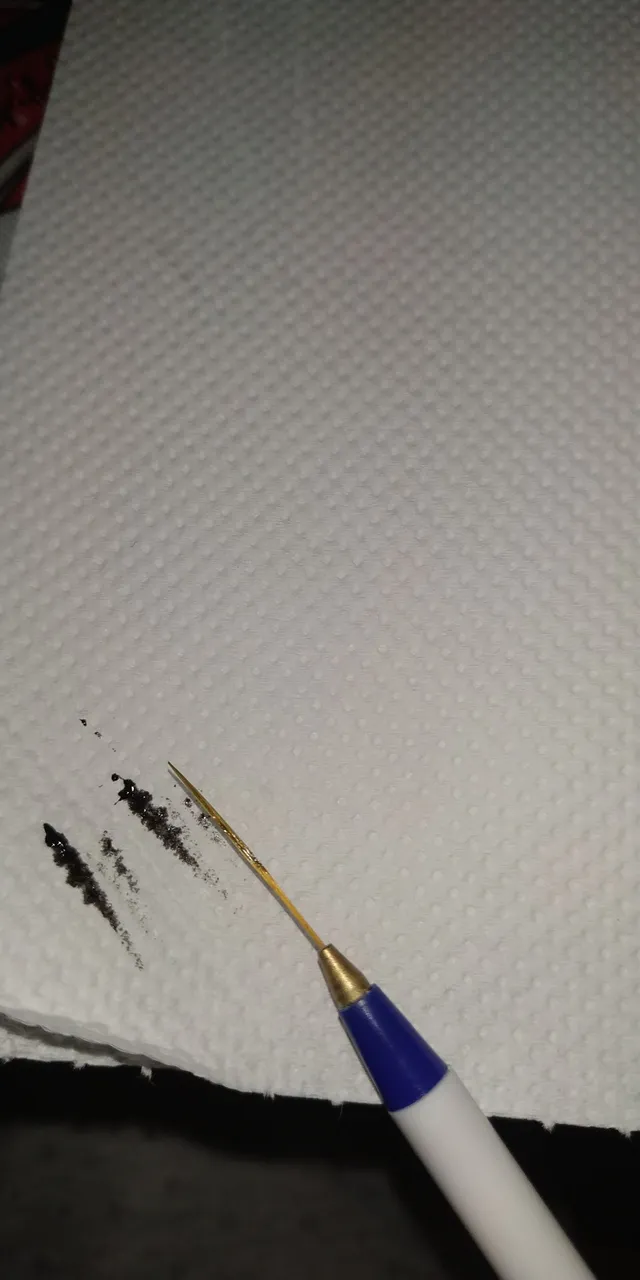
With the dotting tool i mixed the colours until the result is what i wanted to be.
In this case it was still dark so i had to put some more red.
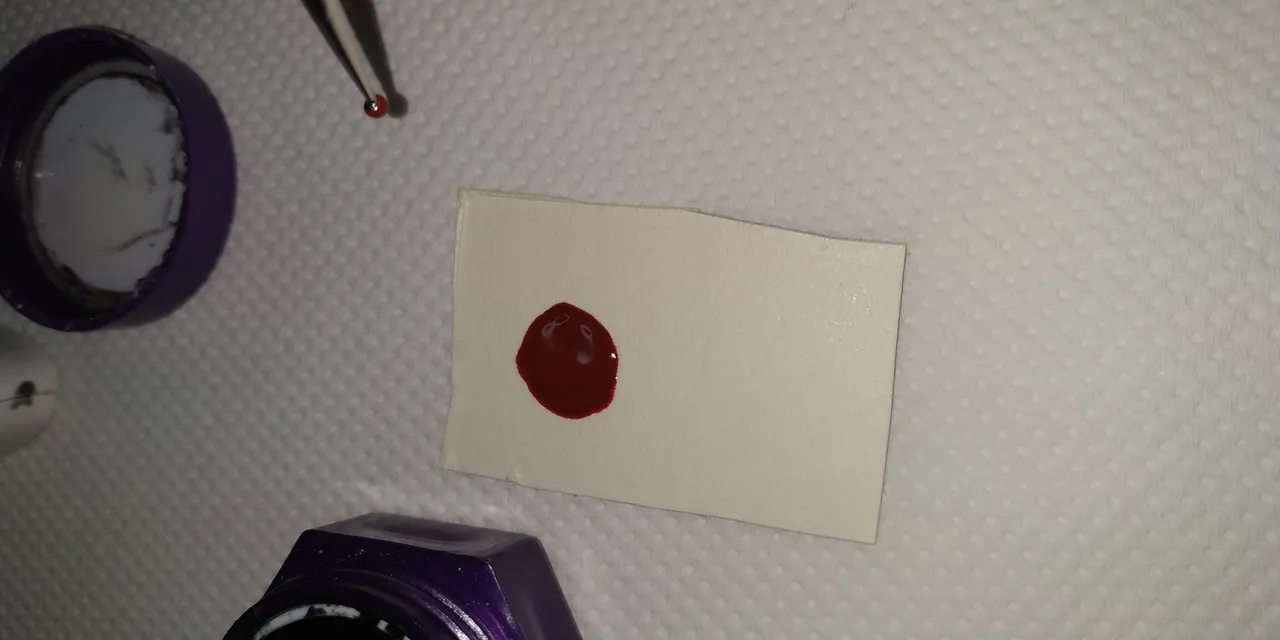
It's better of using just a little of the products everytime and just keep adding them than put too much and waste them in the end.
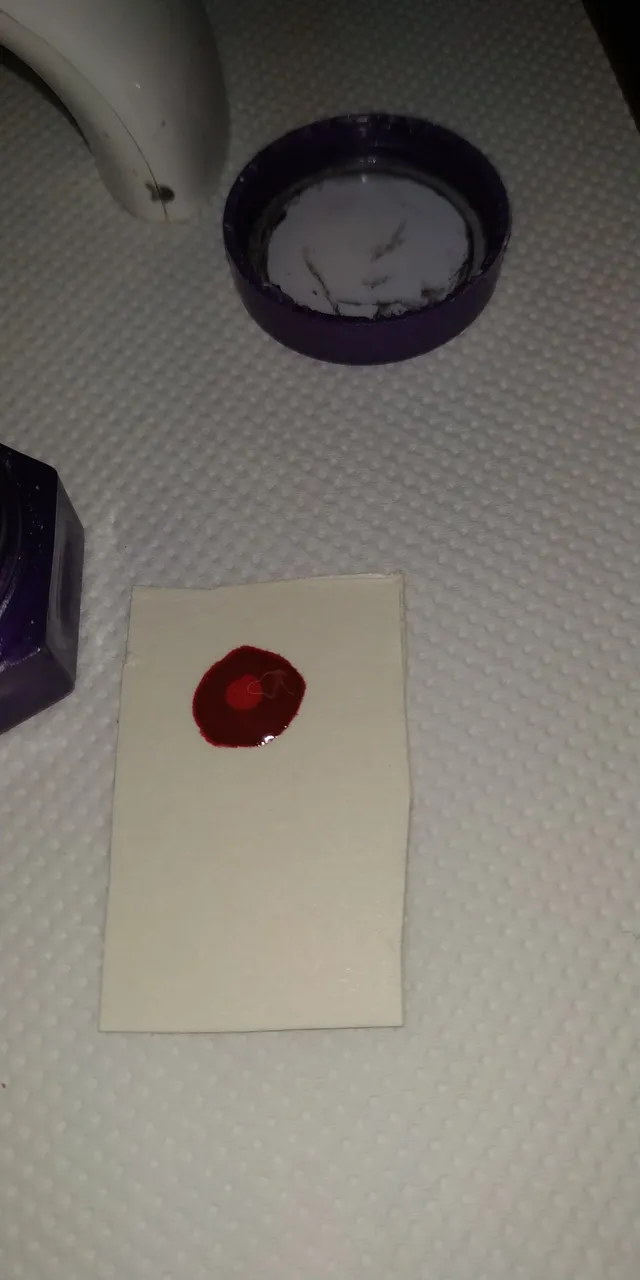
This how the red gel polish is and how much darker i wanted to be.
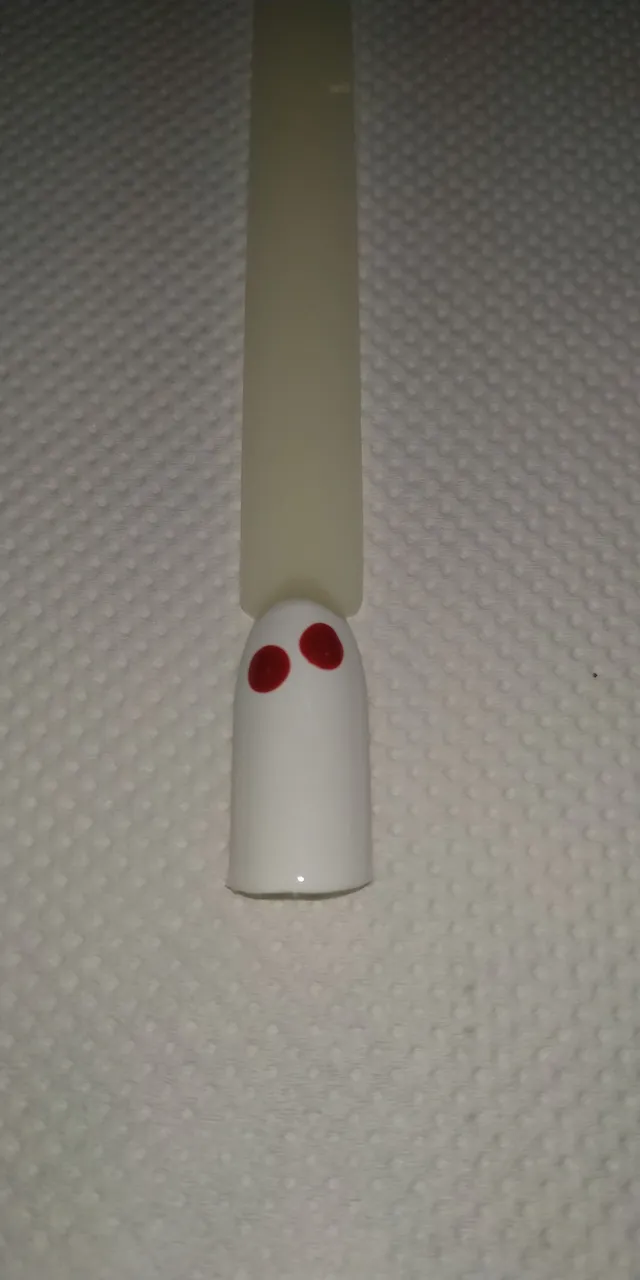
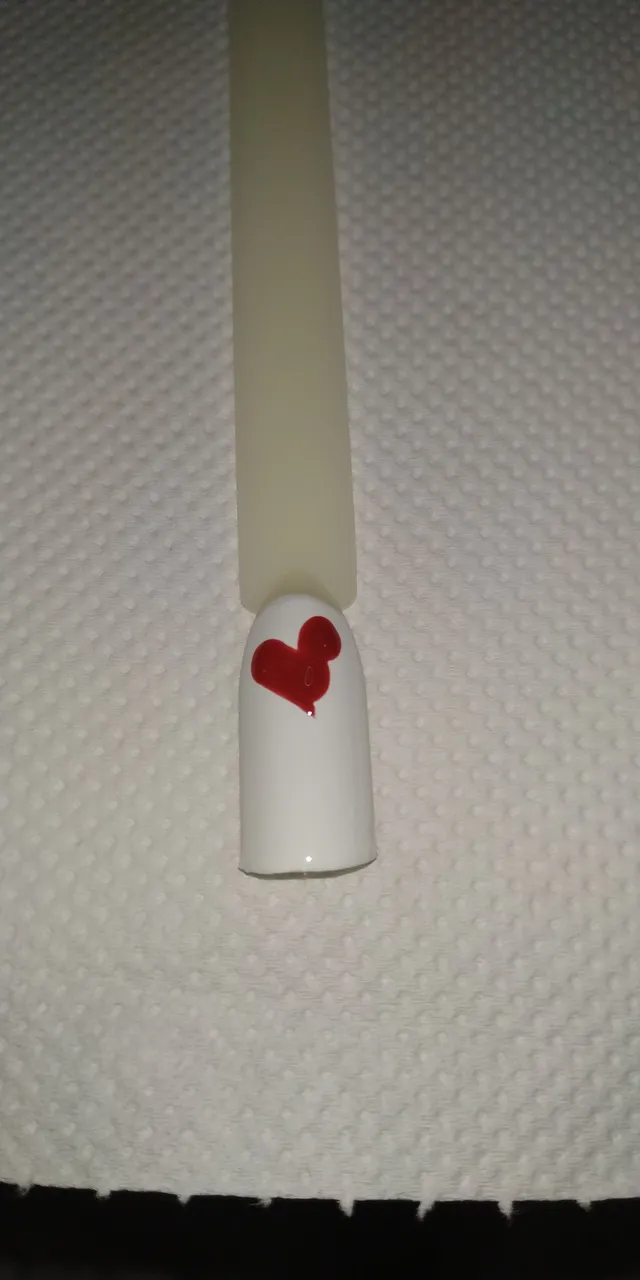
Then i created two dots. You can use whatever size you like of dotting tool, but have in mind that you'll need to do some smaller dots inside of the design.
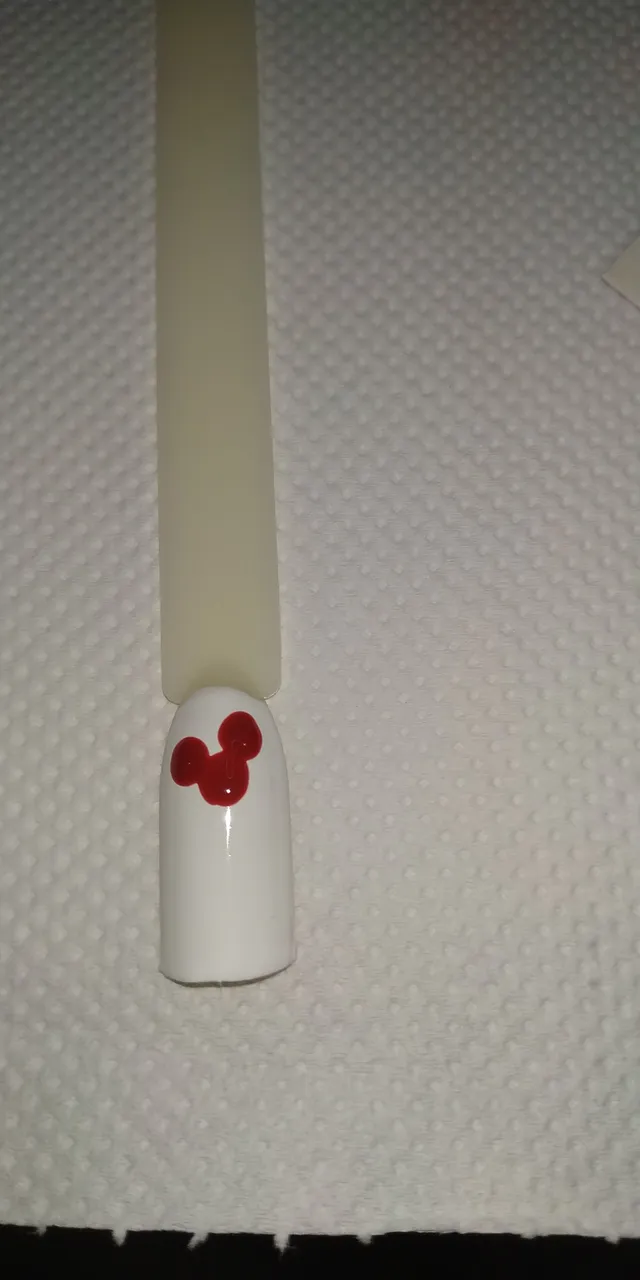
Then i did and a third one. It looks like Mickey Mouse.
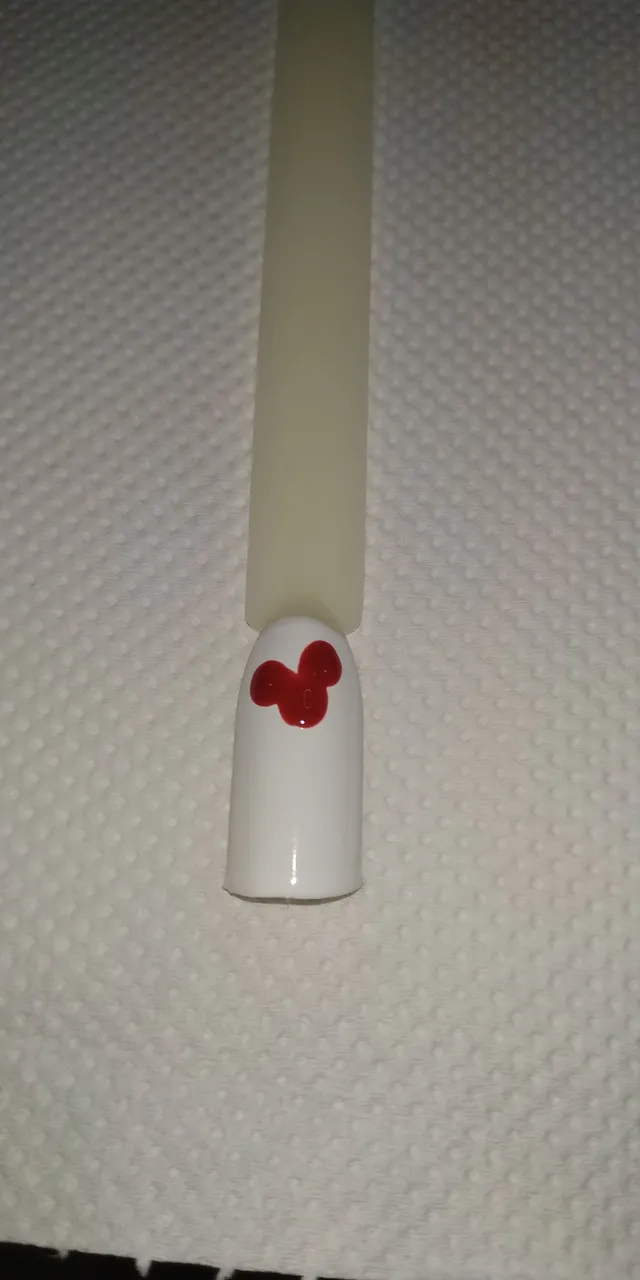
Then i tried to connect all of the dots.
Then i did a thin line as outline.
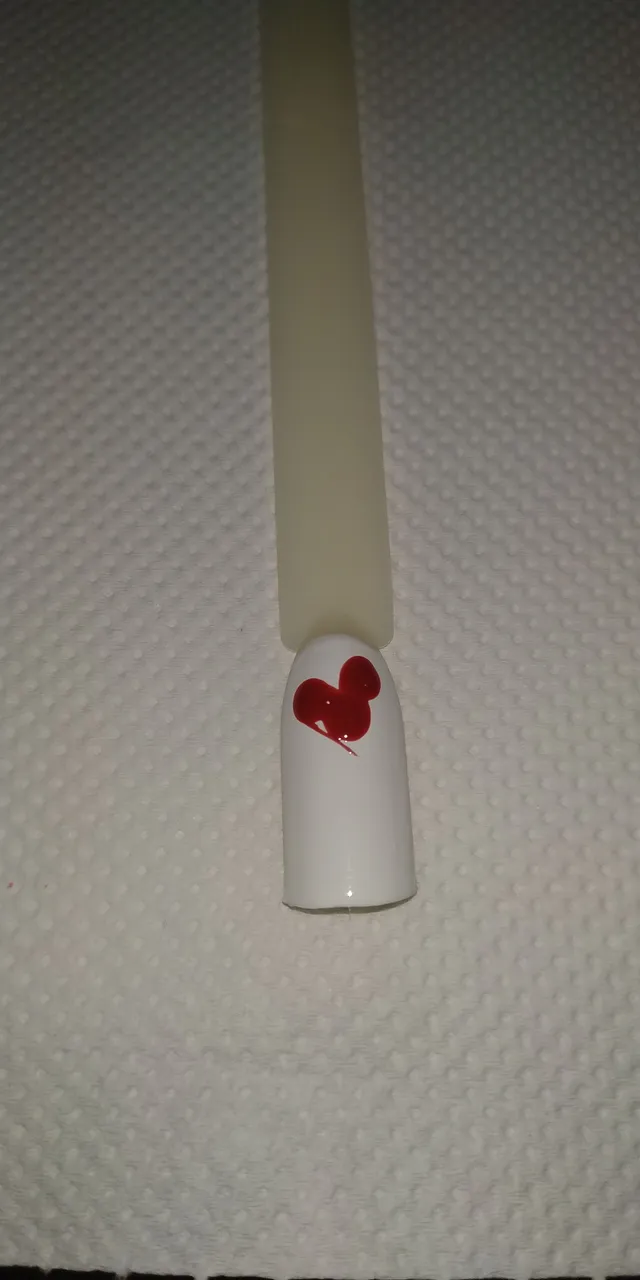
And i filled that side.
Then i did the same steps to the right side.
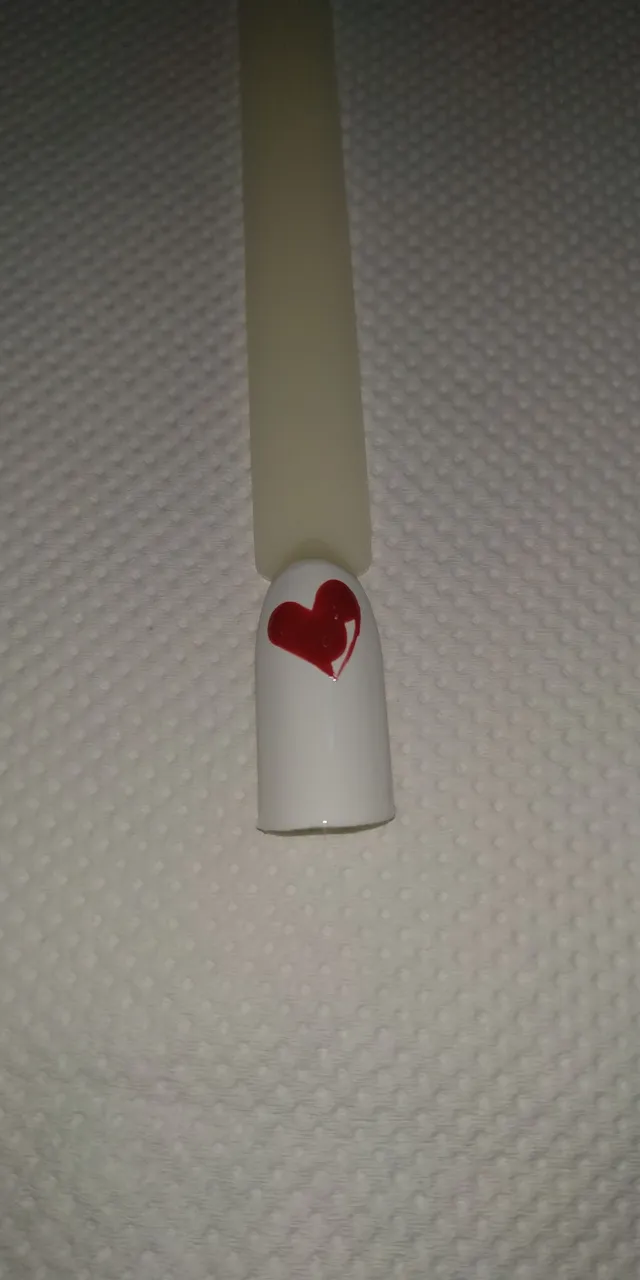
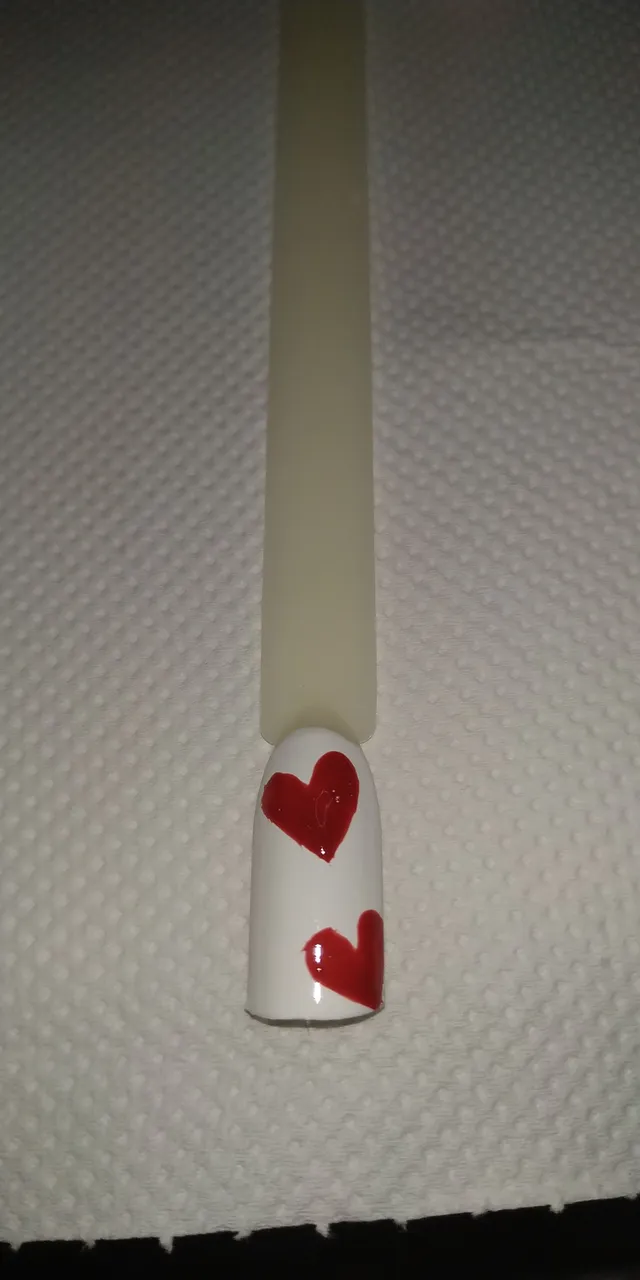
As you can see this a heart.
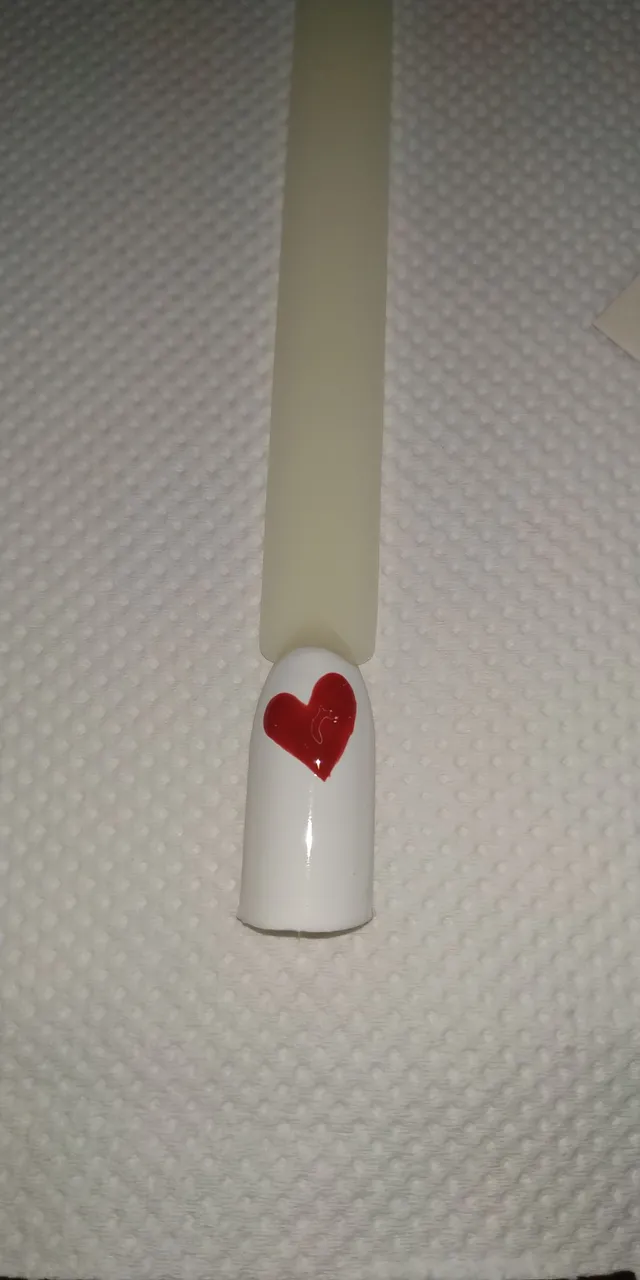
I tried to fix the shape before i put it in the LED lamp to cure it.
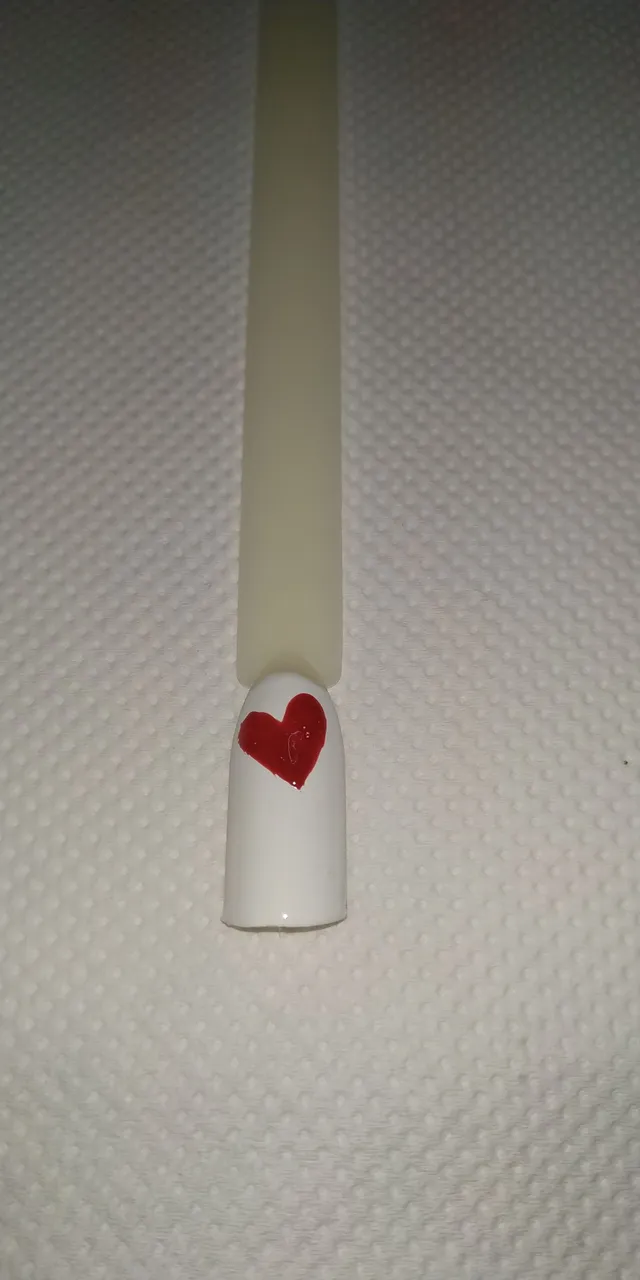
Then i did and a second one.
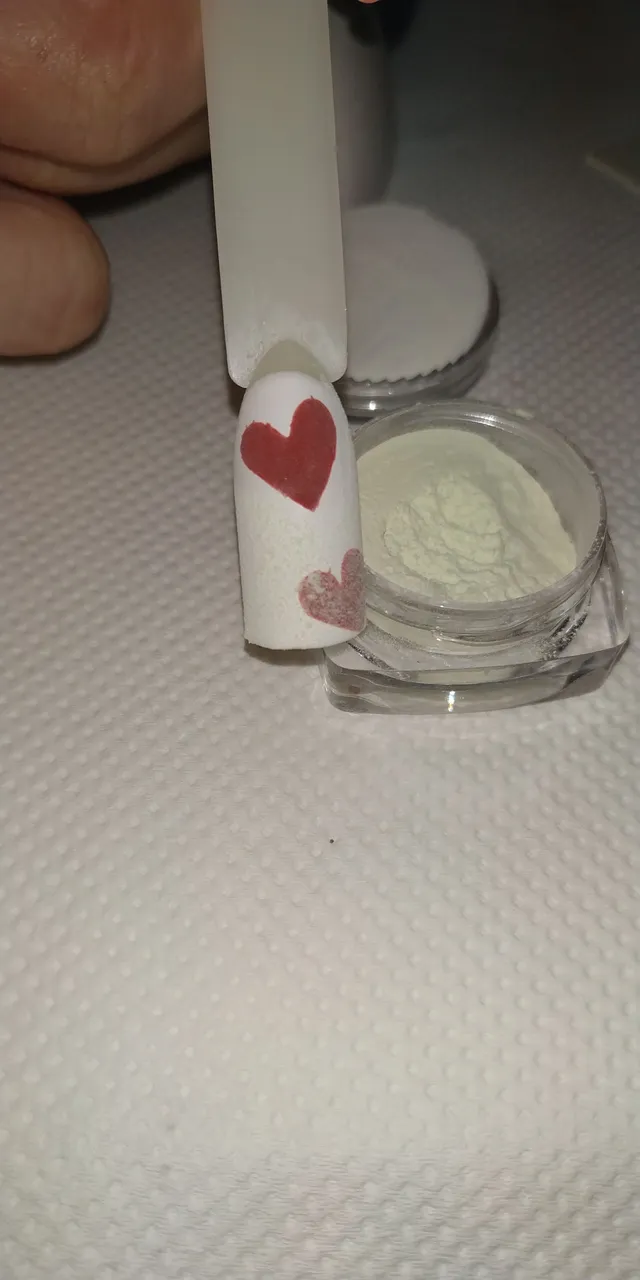
On top of the sticking layer of the red gel polish i applied the glow in the dark powder with a brush.
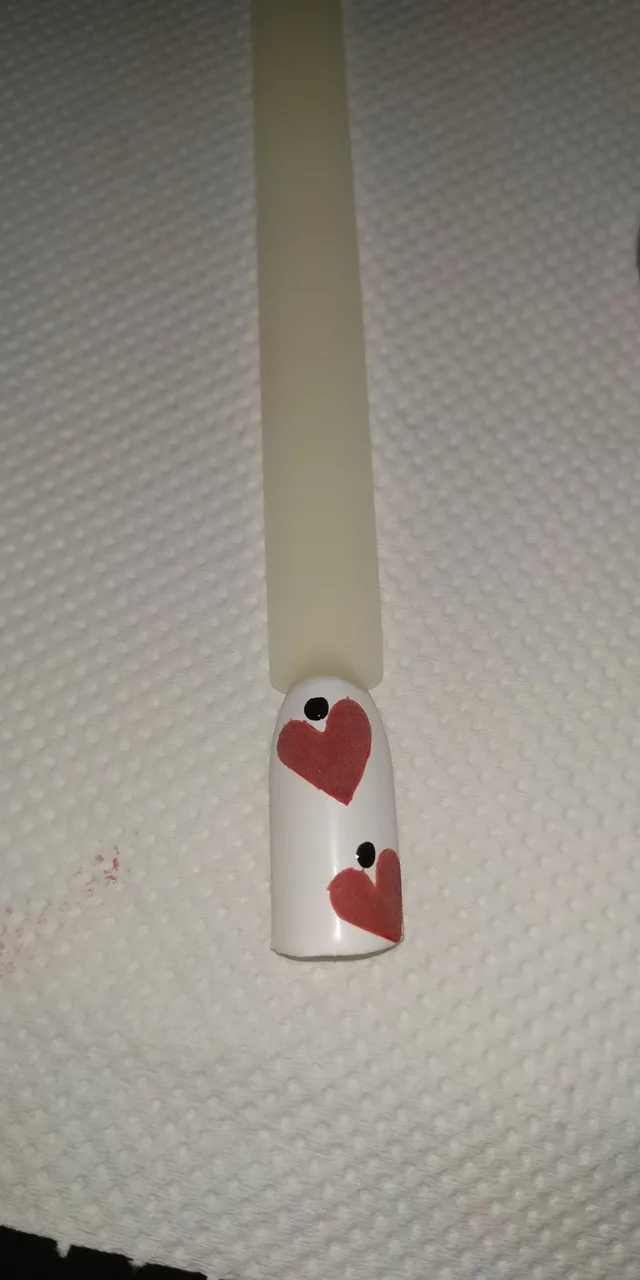
Then i did just a simple dot on top of each heart.
Before i cure it i did something like a triangle on top of each heart.
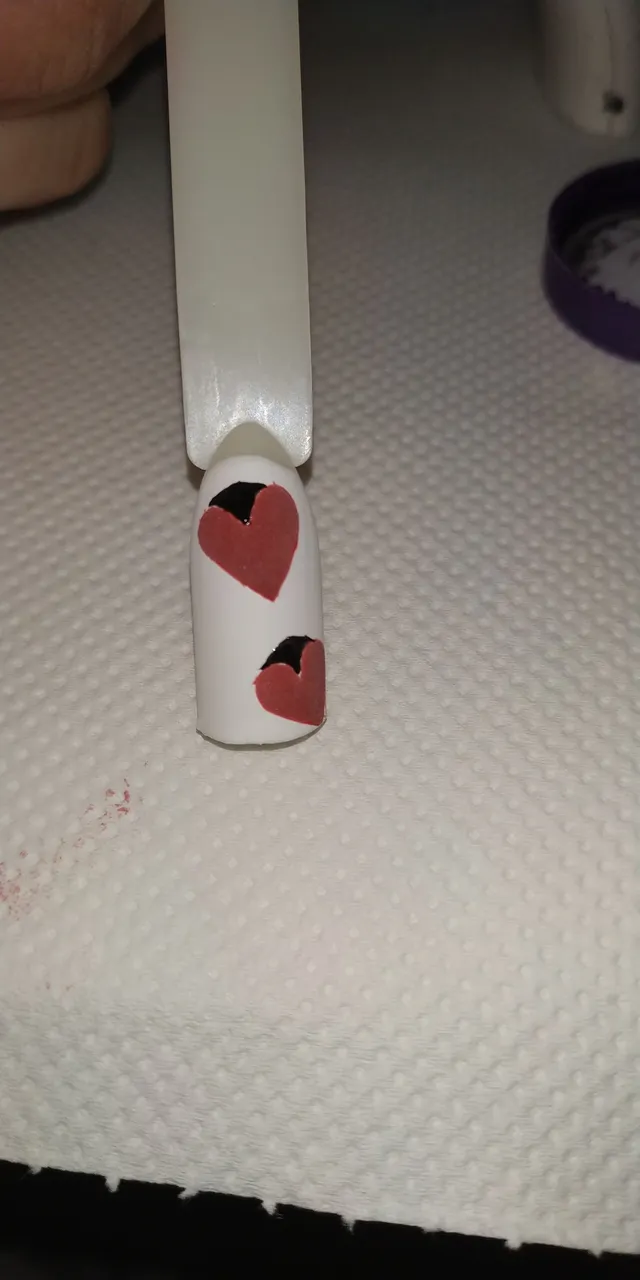
And then i did a line in the center on each heart and i cured it.

Then i did their eyes and some dots because ladybugs have some black dots on their body.
And this is how it looks like in the dark.
Photos by @georgia11