Español
Internet, ese gran invento que nos ha permitido a todos estar conectados a pesar de la distancia, incluso nos permite estudiar y hasta trabajar. En nuestro caso, nos permite estar conectados a esta comunidad internacional donde podemos, entre otras cosas, compartir contenido con otros usuarios y consumir el contenido que ellos mismos crean.
El internet, como ven, es algo indispensable para que podamos estar activos en Hive, así que es algo con lo que contamos y debemos tener siempre en buen funcionamiento. Con esto en mente, quise hace una inversión en un nuevo router que me va a ayudar mucho en cuanto a la conexión.
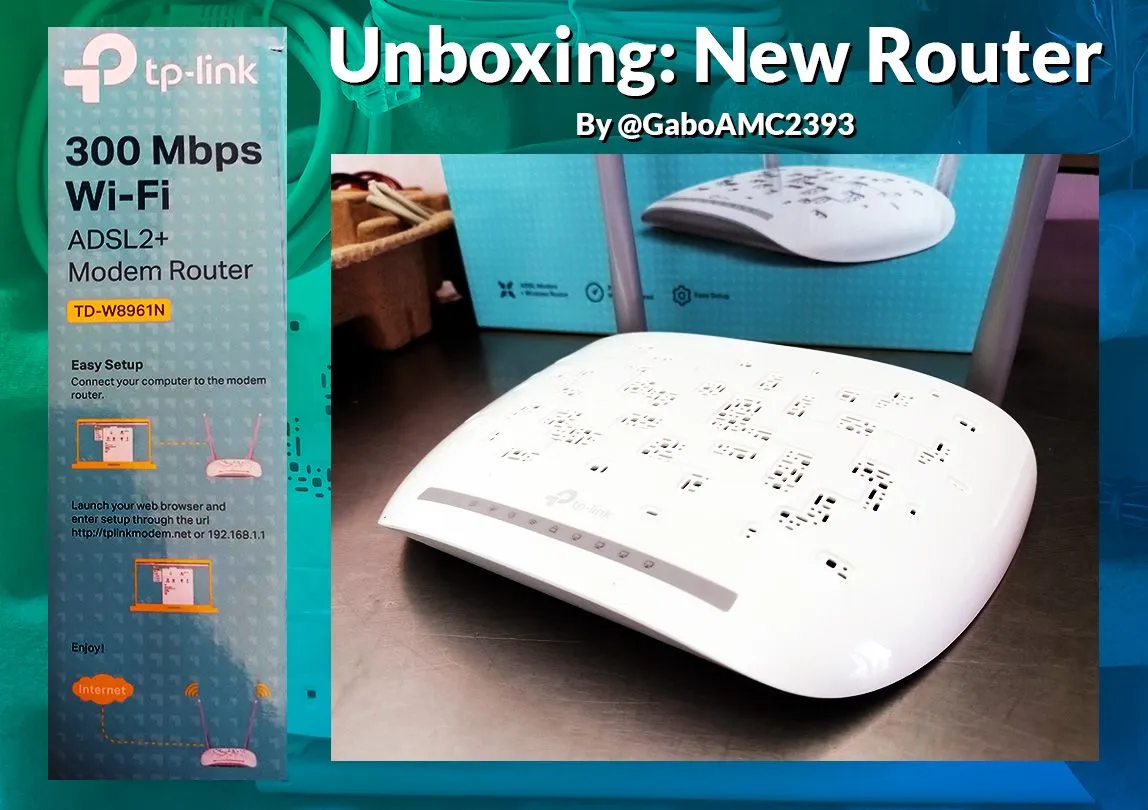
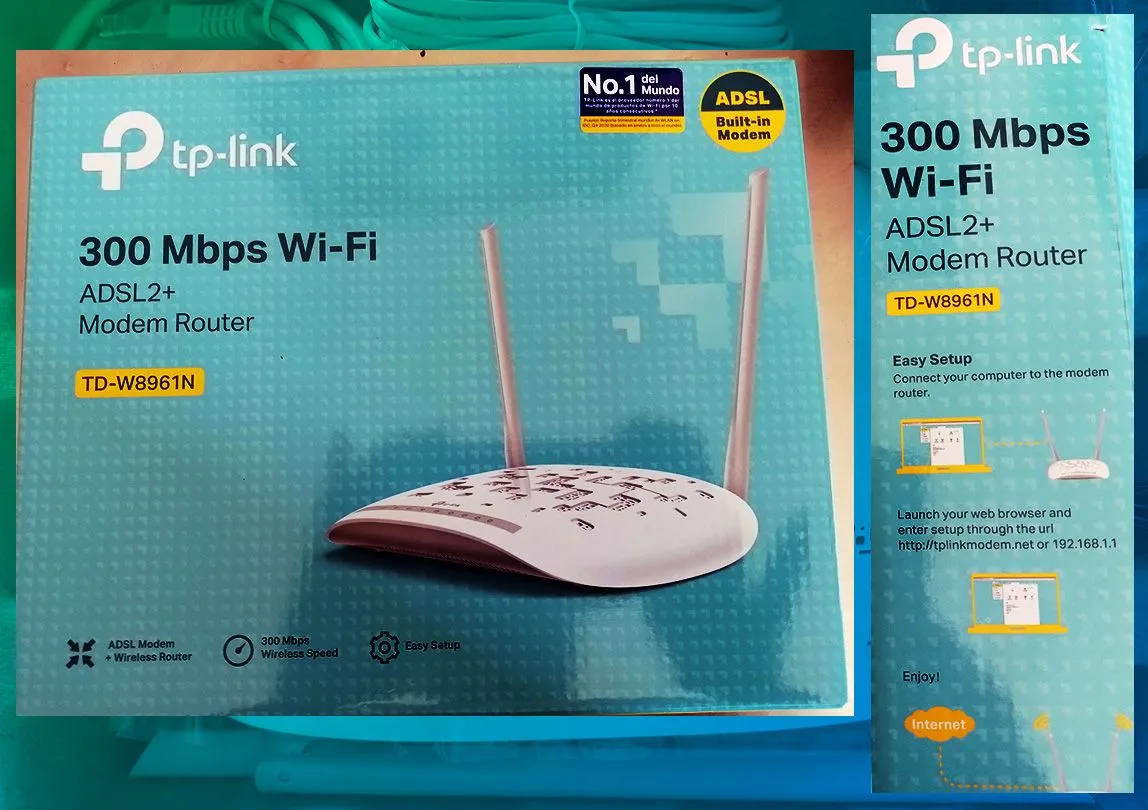
Como pueden ver, es un router tp-link. El que tenía no me ayudaba mucho porque aunque era inhalámbrico, no tenía demasiado alcance; además, este lo compré para otra compañía de internet que necesitaba la conexión ADSL, porque la otra en la que estaba no quería servir para nada; aunque esta tampoco quiere servir mucho, pero va mejor que la anterior, a ver si con las dos resuelvo.
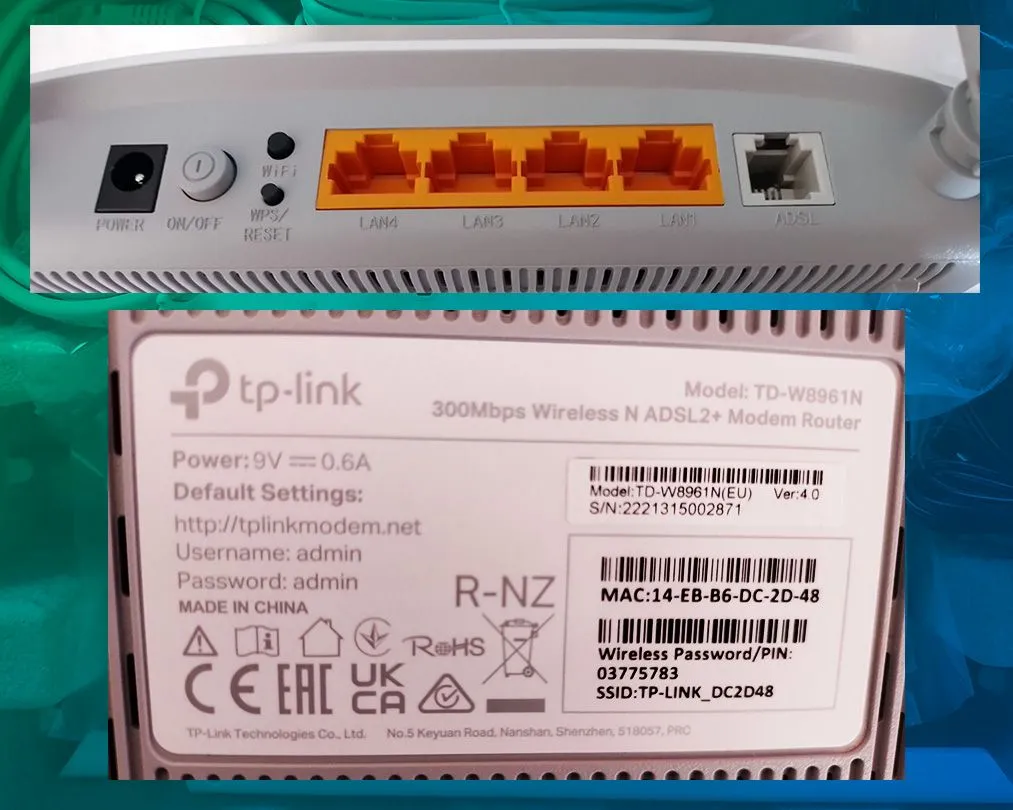
El router es un tp-link modelo TD-W8961N con dos antenas, como les dije, con ADSL y dos antenas para mayor alcance.
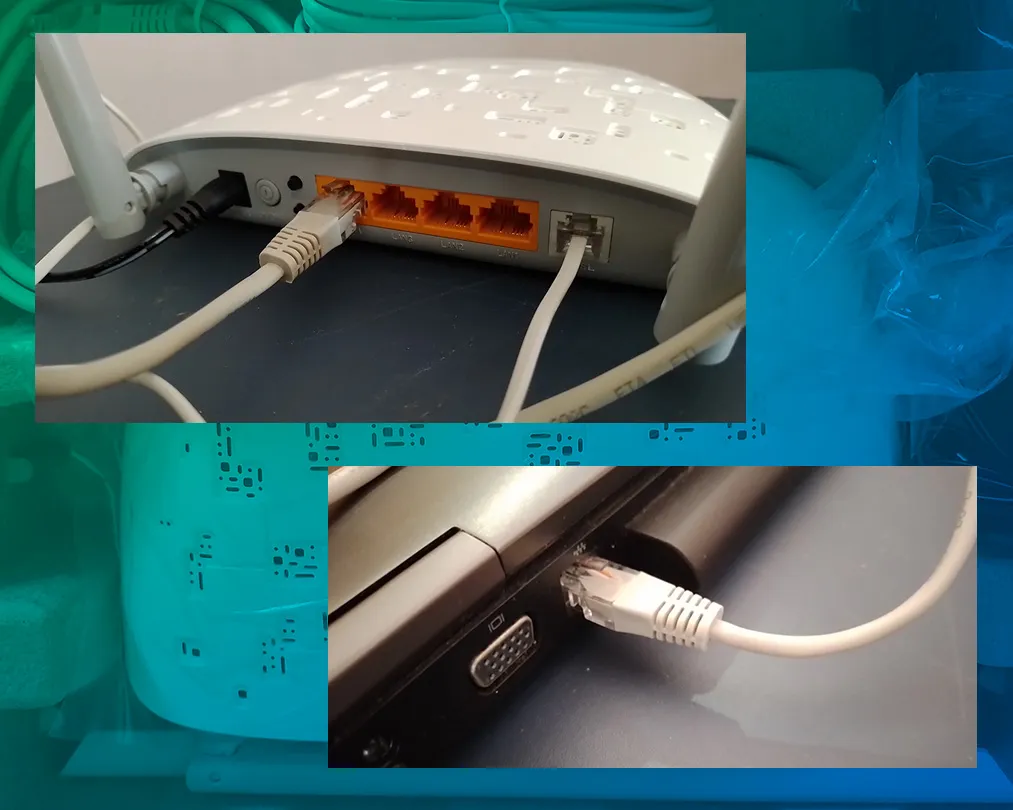
Bien, aquí está el equipo recien sacado de su caja. Está el router, dos cables para la conexión de internet y otro RJ45 para la conexión del router a la computadora; además, trae el cable de energía con su respectivo regulador.
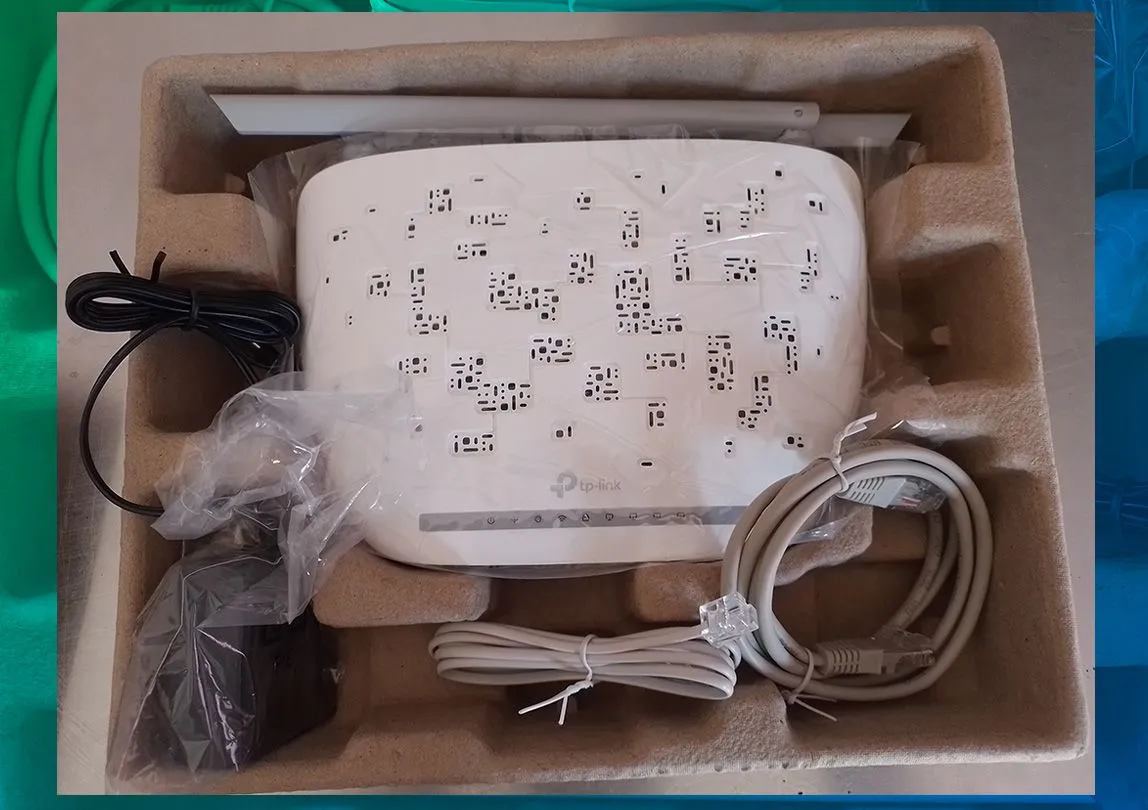
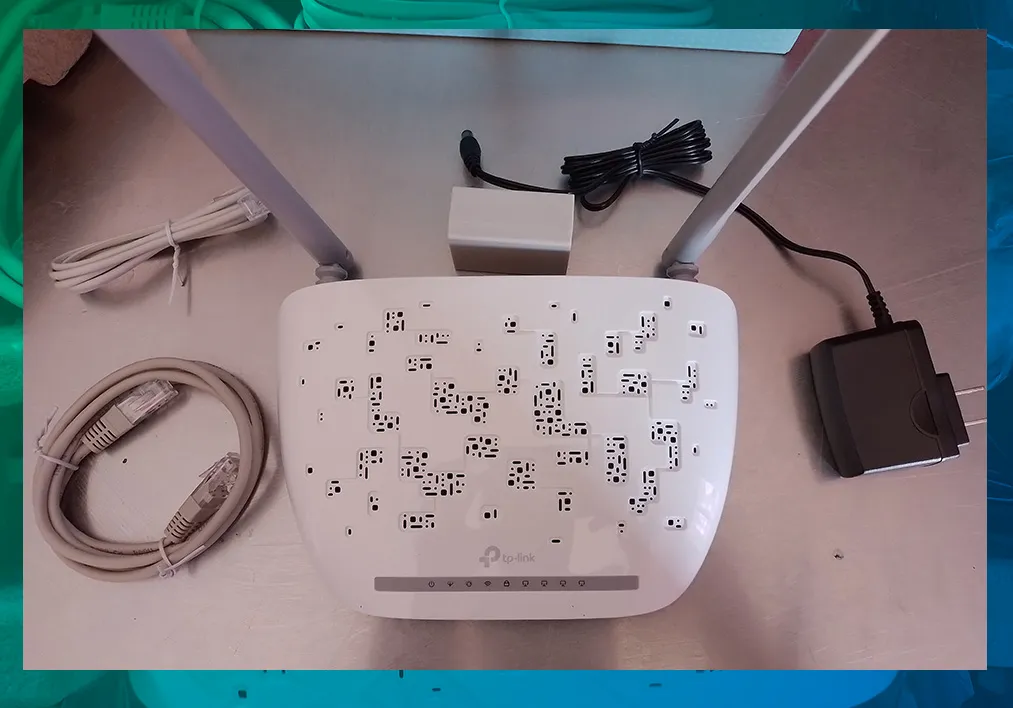

Como pueden ver ahí estan todos los conectores, el botón de encendido y en la parte de abajo la información importante sobre el modelo, la MAC y otros datos de interés.
Una vez conectado a la corriente, conecé el cable de internet y el cable a la computadora. A continuación pueden ver cómo quedó todo instalado.
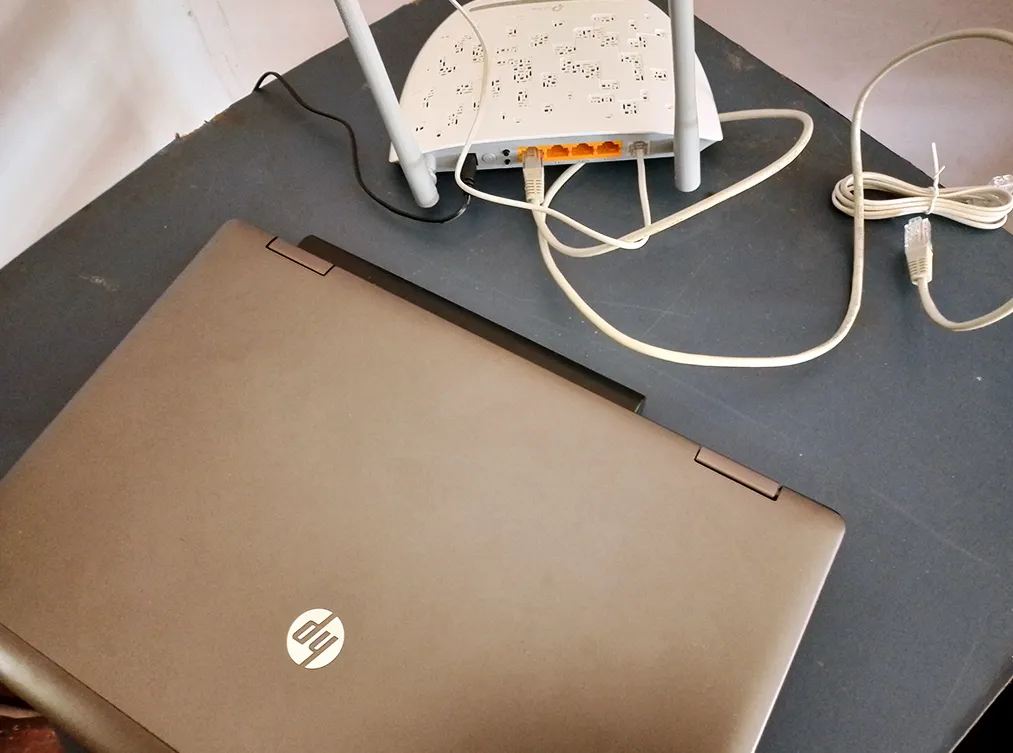
Y de esta manera quedó instalado el equipo con internet. La configuración de este router la verdad no es demasiado difícil; de hecho, les voy a explicar a continuación cómo hacerlo.
Configuración
El propio Router trae un Wizard o un asistente de instalación que te ayudará a configurar el router. En mi caso yo seguí este Wizard y la instalación y configuración del equipo se llevó a cabo sin ningún problema.
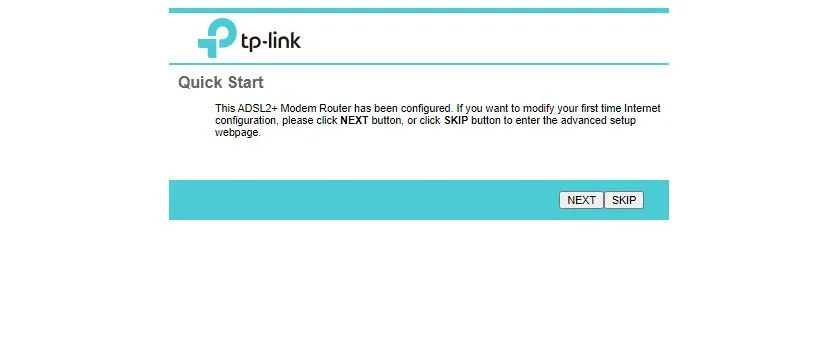
La primera pantalla que aparece es la siguiente, simplemente hay que hacer clic en "Next" para comenzar con la configuración.
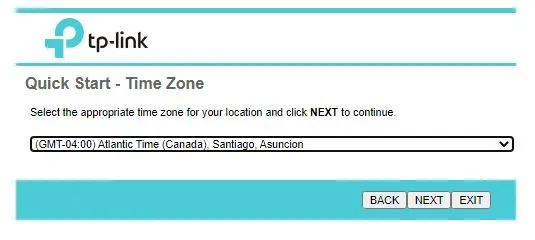
Posteriormente se debe configurar la zona horaria. Dependiendo del lugar en el que se esté, esta zona horaria obviamente va a variar.
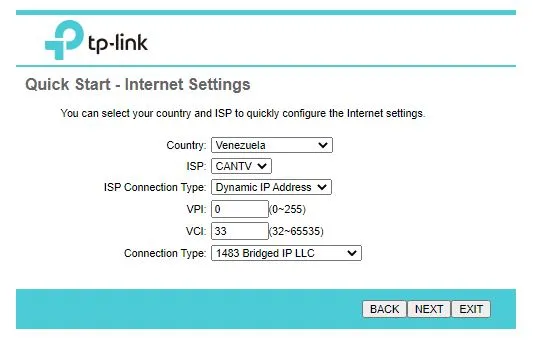
El siguiente paso es la configuración de internet. En este caso el propio Wizard colocó los parámetros adecuados para que el internet funcione correctamente.
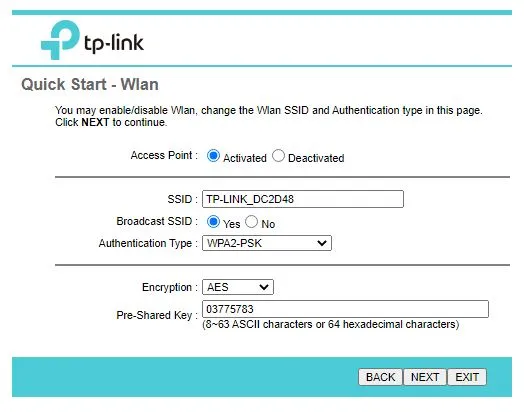
El siguiente paso tiene que ver con la configuración del punto de acceso, cambiar el nombre de la red y la contraseña que trae por defecto.
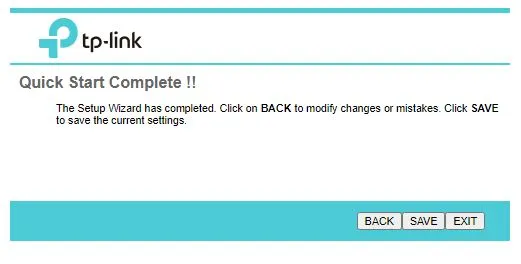
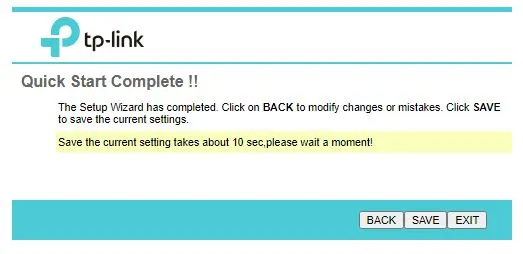
Y con esto estará lista la configuración. Tras hacer clic en "Save" debemos esperar unos cuantos segundos para terminar todo el proceso.
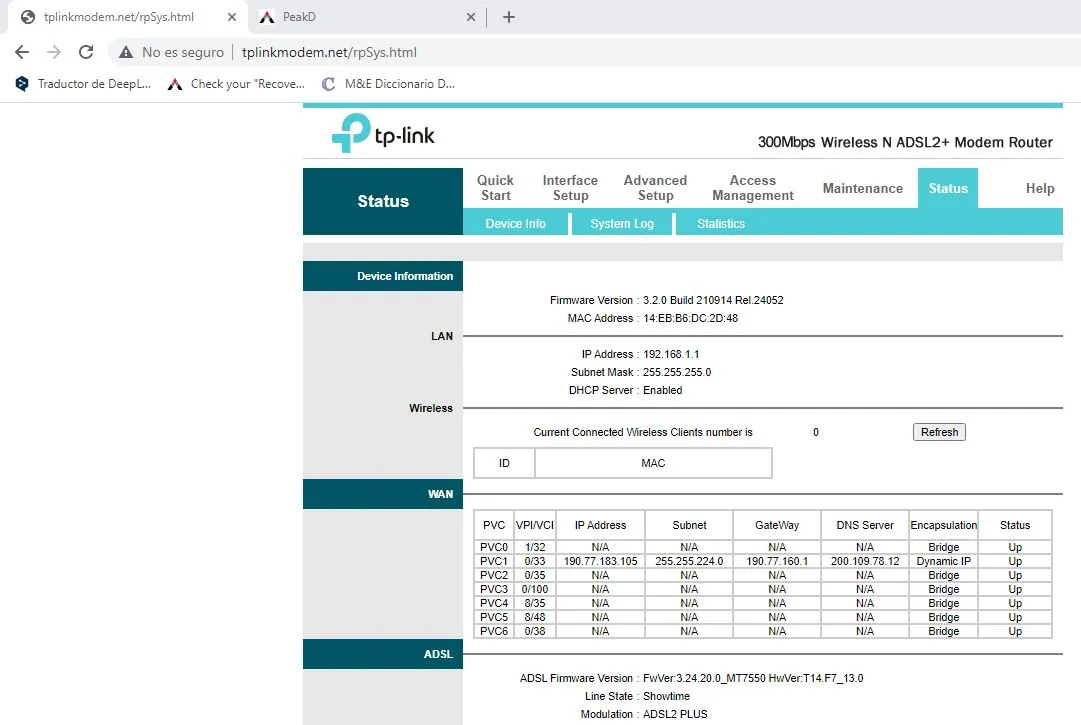
Este es un capture de la pantalla principal del router, donde están todos los menú y opciones:
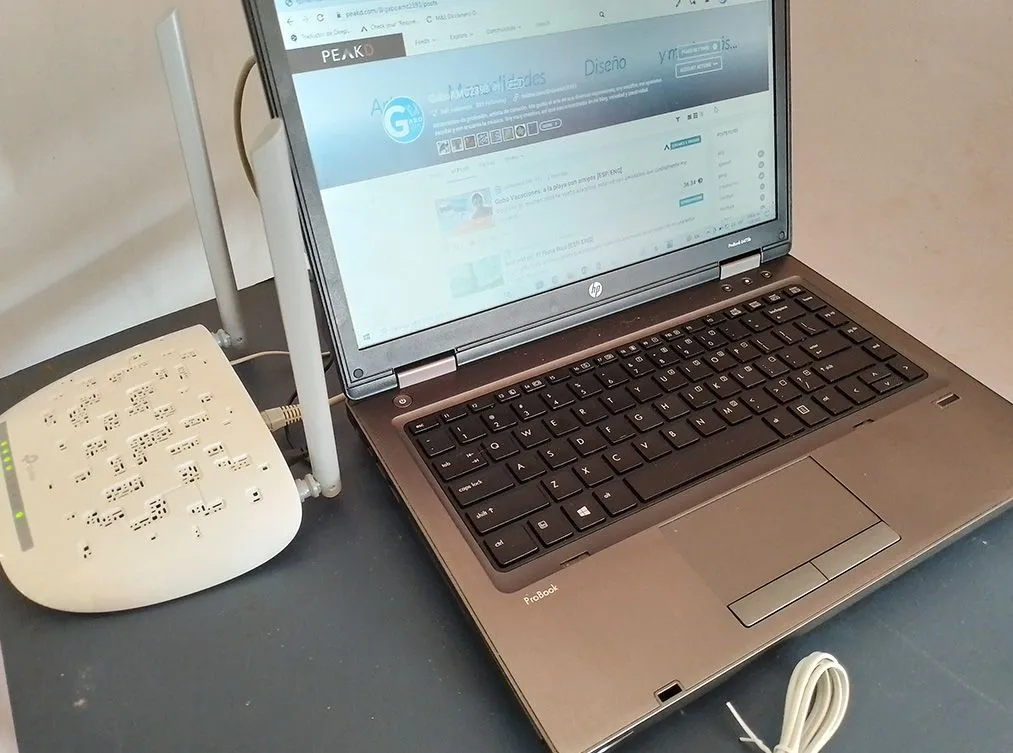
Así quedó configurado el equipo con mi laptop. Todo fundionando en perfectas condiciones, al menos del lado del router, la señal de internet proveniente de la compañía a veces no quiere colaborar pero al menos con este equipo tendré mejor alcance.
Bien amigos, esto ha sido todo por ahora. Espero que mi publicación les haya parecido interesante y util. Los invito a dejar sus opiniones abajo en los comentarios, como siempre estaré encantado de leerlos. Sin más que agregar, me despido entonces...
¡Hasta la próxima!
English
The Internet, that great invention that has allowed us all to be connected despite the distance, even allows us to study and even work. In our case, it allows us to be connected to this international community where we can, among other things, share content with other users and consume the content they create.
The internet, as you can see, is something indispensable for us to be active in Hive, so it is something we count on and must always have in good working order. With this in mind, I wanted to make an investment in a new router that will help me a lot in terms of connection.
As you can see, it is a tp-link router. The one I had did not help me much because although it was wireless, it did not have much range; besides, I bought this one for another internet company that needed the ADSL connection, because the other one I was with did not want to serve for anything; although this one does not want to serve much either, but it goes better than the previous one, let's see if with the two I can solve it.
The router is a tp-link model TD-W8961N with two antennas, as I said, with ADSL and two antennas for greater range.
Well, here is the equipment just out of the box. There is the router, two cables for the internet connection and another RJ45 cable for the connection of the router to the computer; it also has the power cable with its respective regulator.
As you can see there are all the connectors, the power button and at the bottom the important information about the model, the MAC and other data of interest.
Once connected to the power, I connected the internet cable and the cable to the computer. Below you can see how everything was installed.
And this is how the equipment was installed with internet. The configuration of this router is really not too difficult; in fact, I will explain below how to do it.
Configuration
The Router itself comes with a Wizard or an installation wizard that will help you configure the router. In my case I followed this Wizard and the installation and configuration of the equipment was carried out without any problem.
The first screen that appears is the following, just click on "Next" to start the configuration.
The time zone must then be configured. Depending on where you are, this time zone will obviously vary.
The next step is the internet configuration. In this case the Wizard itself set the appropriate parameters for the internet to work properly.
The next step is to configure the access point, change the network name and the default password.
And with this the configuration will be ready. After clicking on "Save" we must wait a few seconds to finish the whole process.
This is a screenshot of the main screen of the router, where all the menus and options are located:
This is how the equipment was configured with my laptop. Everything is working in perfect conditions, at least on the router side, the internet signal coming from the company sometimes doesn't want to collaborate but at least with this equipment I will have better range.
Well friends, that's all for now. I hope you found my publication interesting and useful. I invite you to leave your opinions below in the comments, as always I will be happy to read them. With nothing more to add, I'll say goodbye then....
See you next time!

Traducido con DeepL
Gabo Drawing: Little Bee
Gabo Vacaciones: a la playa con amigos
Audiorelato: El Fruto Rojo