With our son Ryan coming to the farm to give me a hand on the 3rd of July, I decided to get started before his arrival.
I planned to have the main support beams in place so that once he got here a lot of the figuring would be done and we could start framing in the walls. By getting a jump on the project I hoped to have the garage constructed before he would be leaving five days later.
When our son Ryan and his family arrived on July 3rd, he thought he would be relaxing for the remainder of the day and we would start construction on the garage the following day.
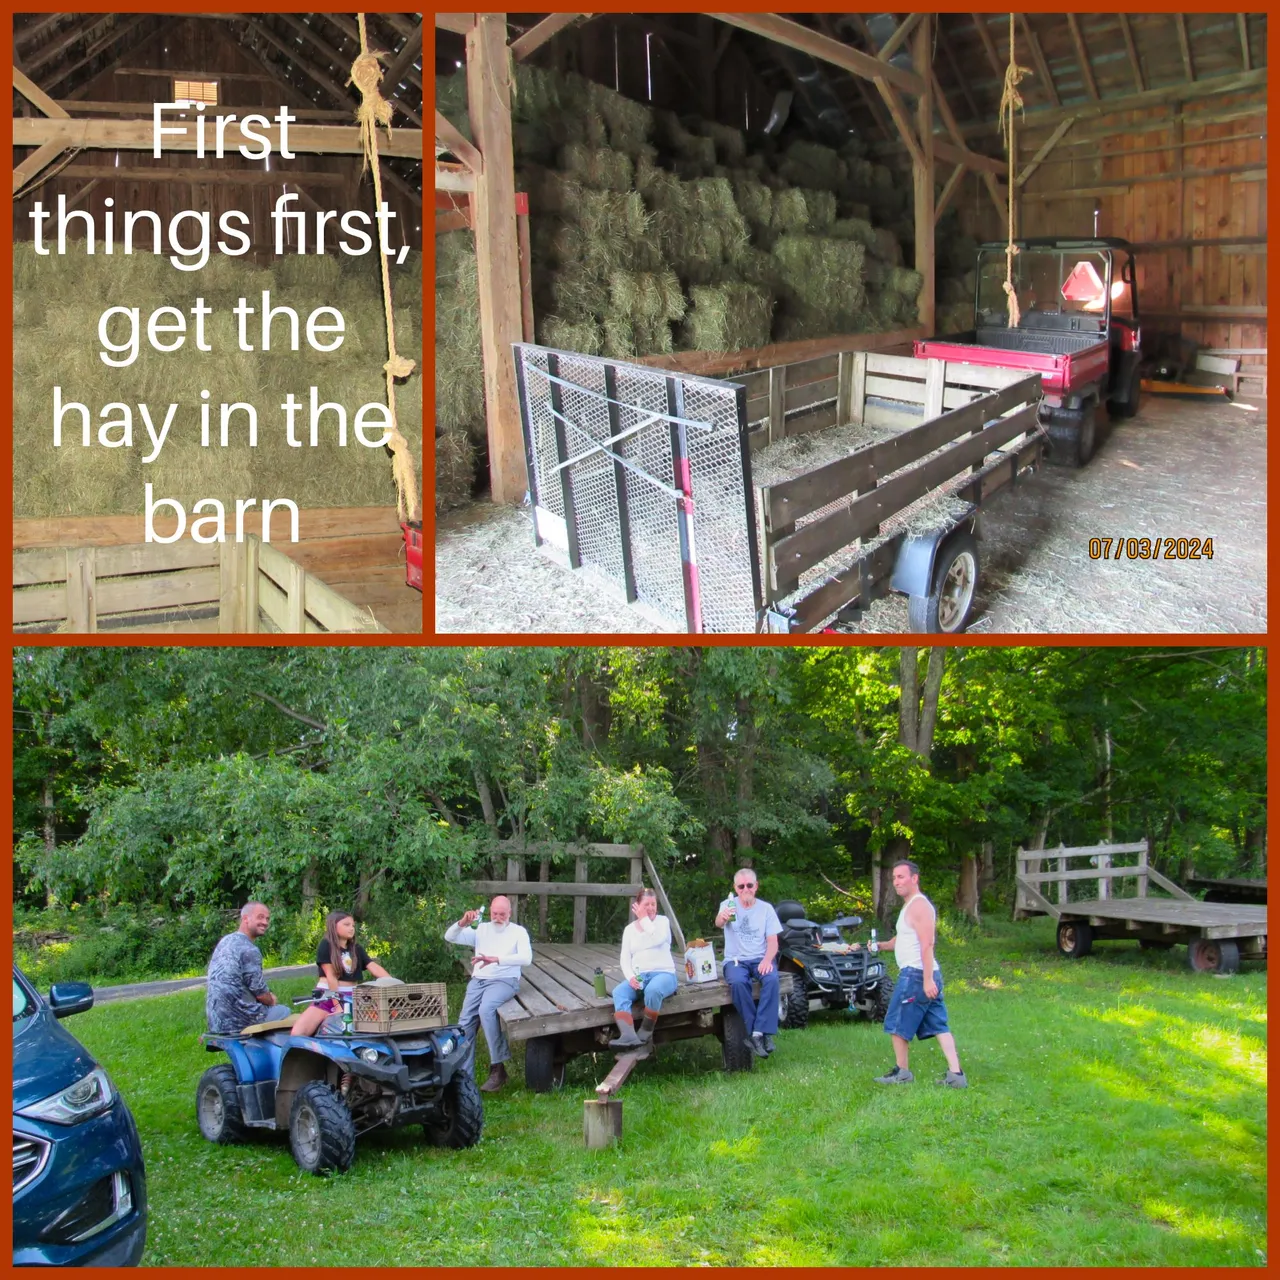
Little did he know that I would recruit him to give us a hand collecting the bails of hay, 300 of them, that were bailed earlier in the day by Robin's cousin. Whenever it's time to get the hay in the barn, I'll drop whatever I'm doing to lend her a hand. We have a wonderful relationship with Robin's cousin Lauren, helping each other out whenever some extra hands are needed.
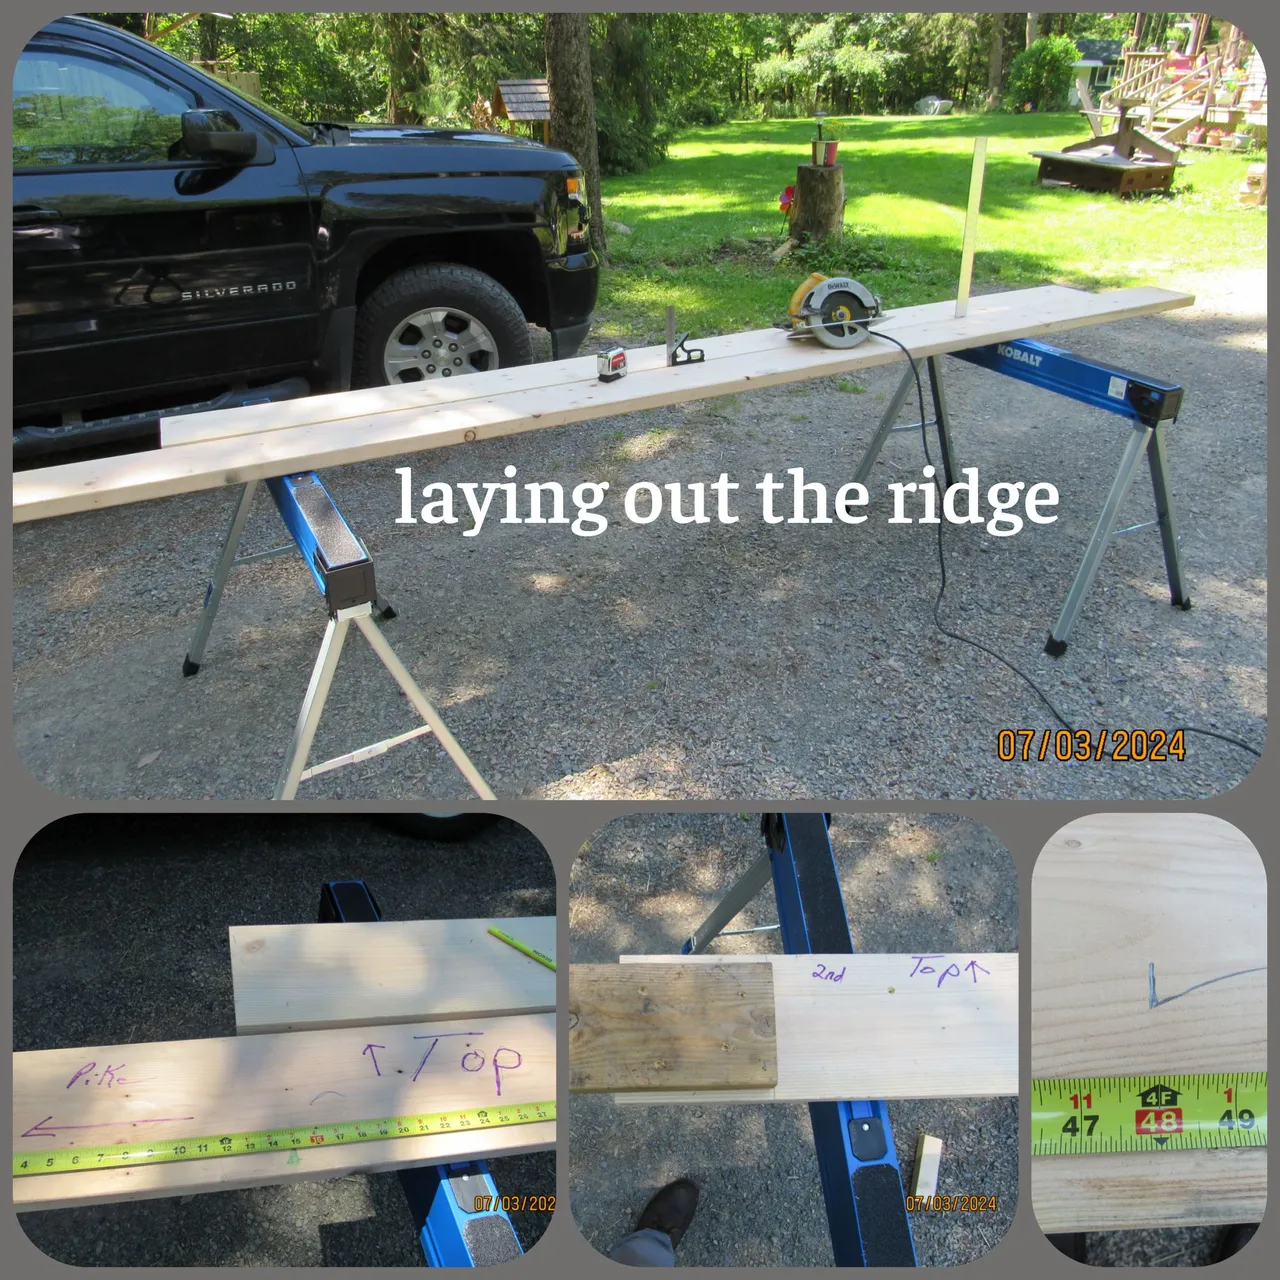
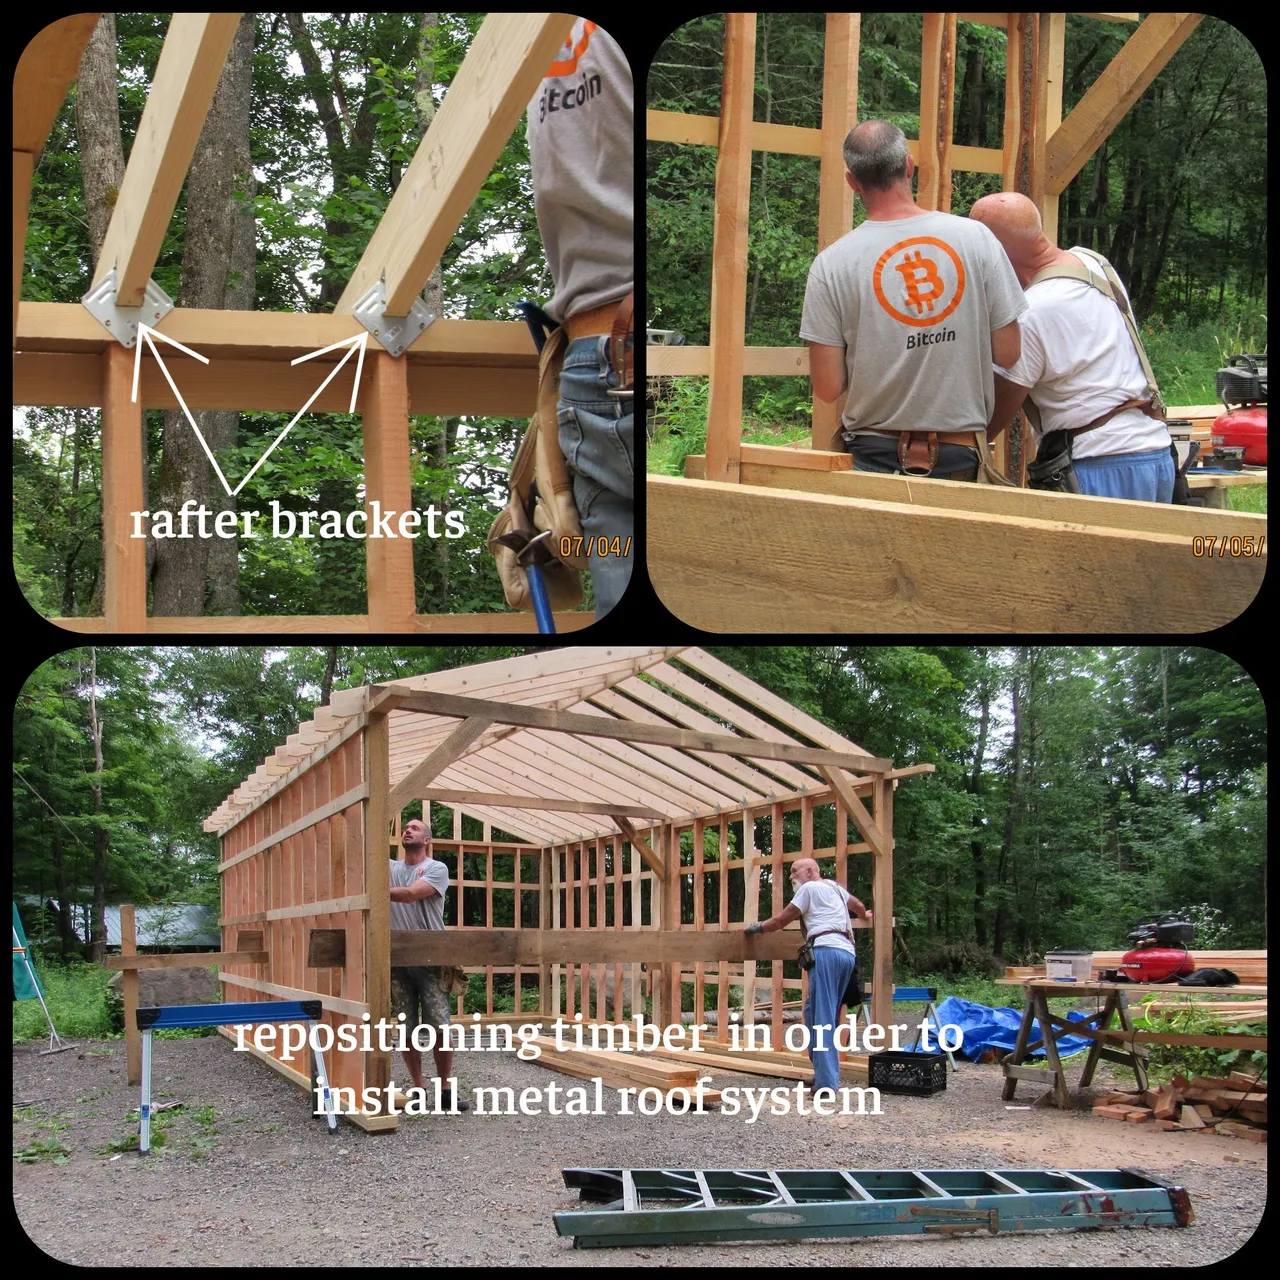
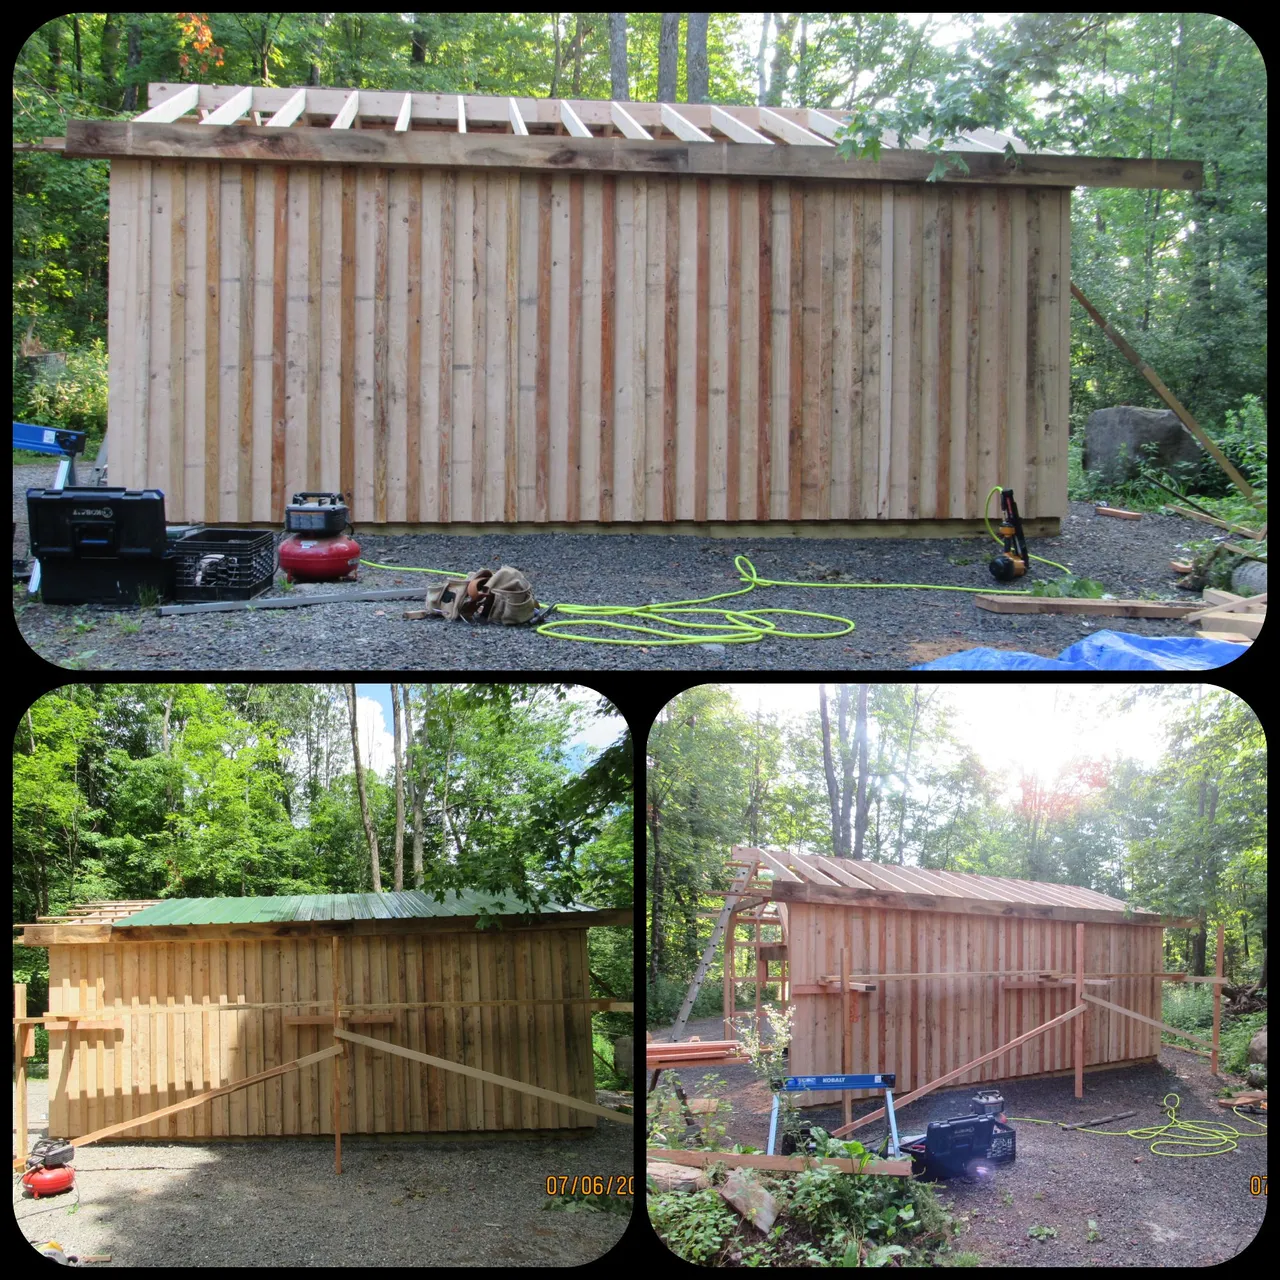
Here is some of what I had done before our son's arrival.
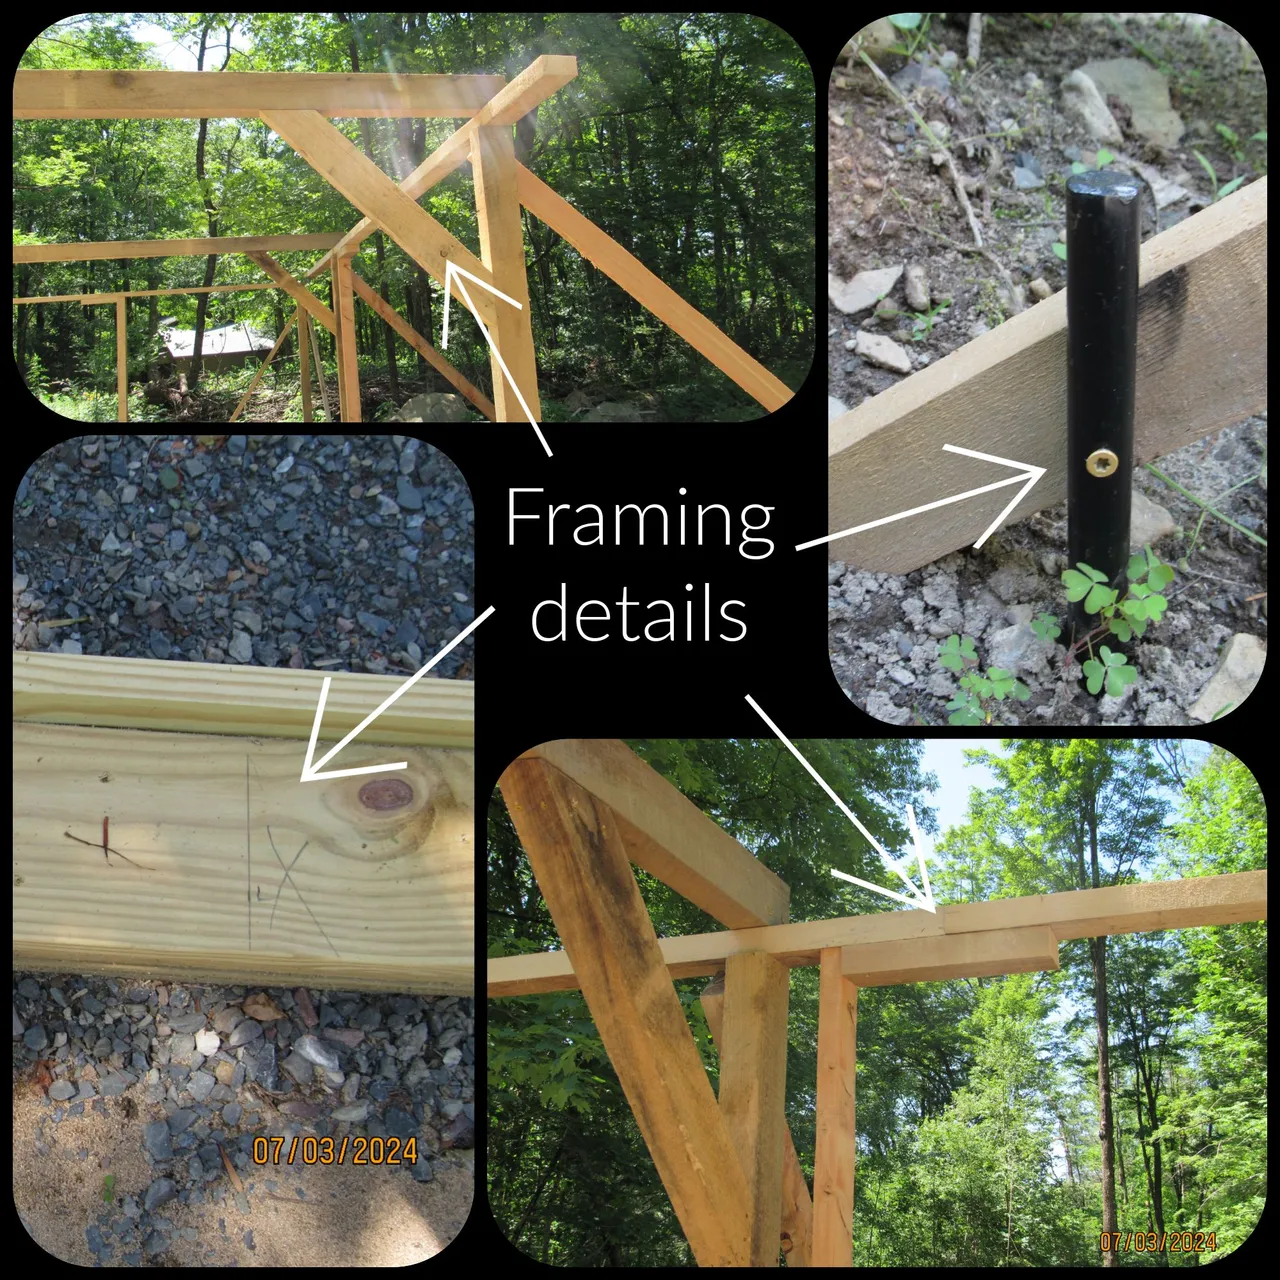
After getting the skeleton of the structure built and braced off I laid out the ridge. The ridge beam is where all of the roof rafters will land.
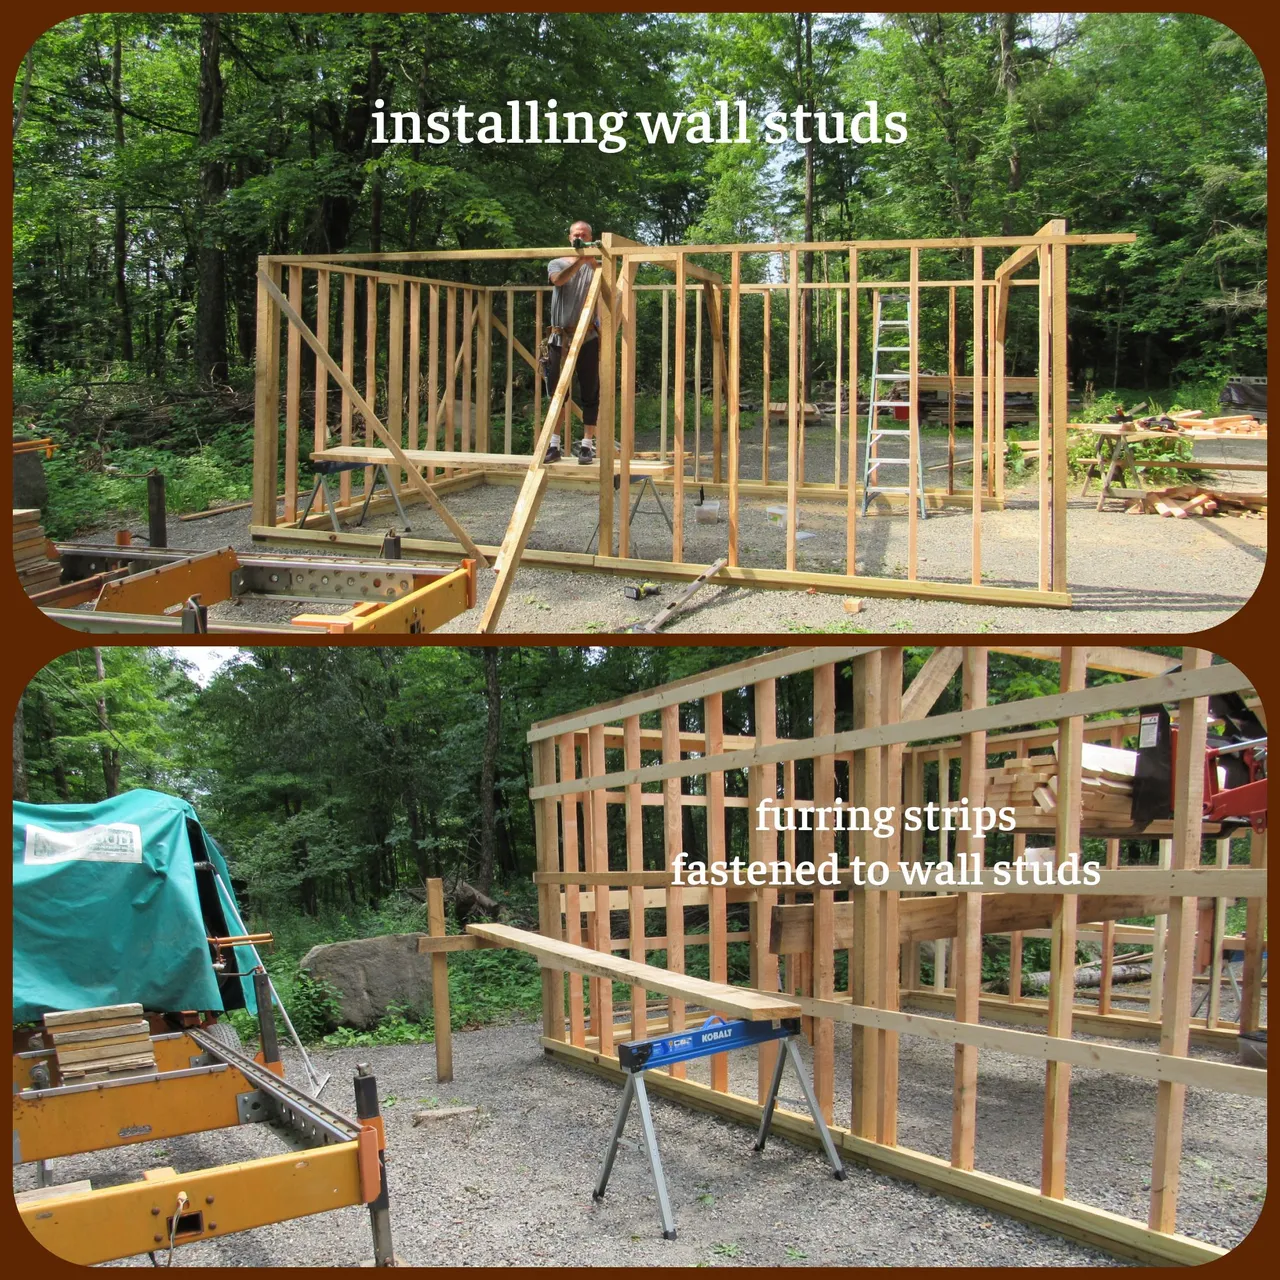
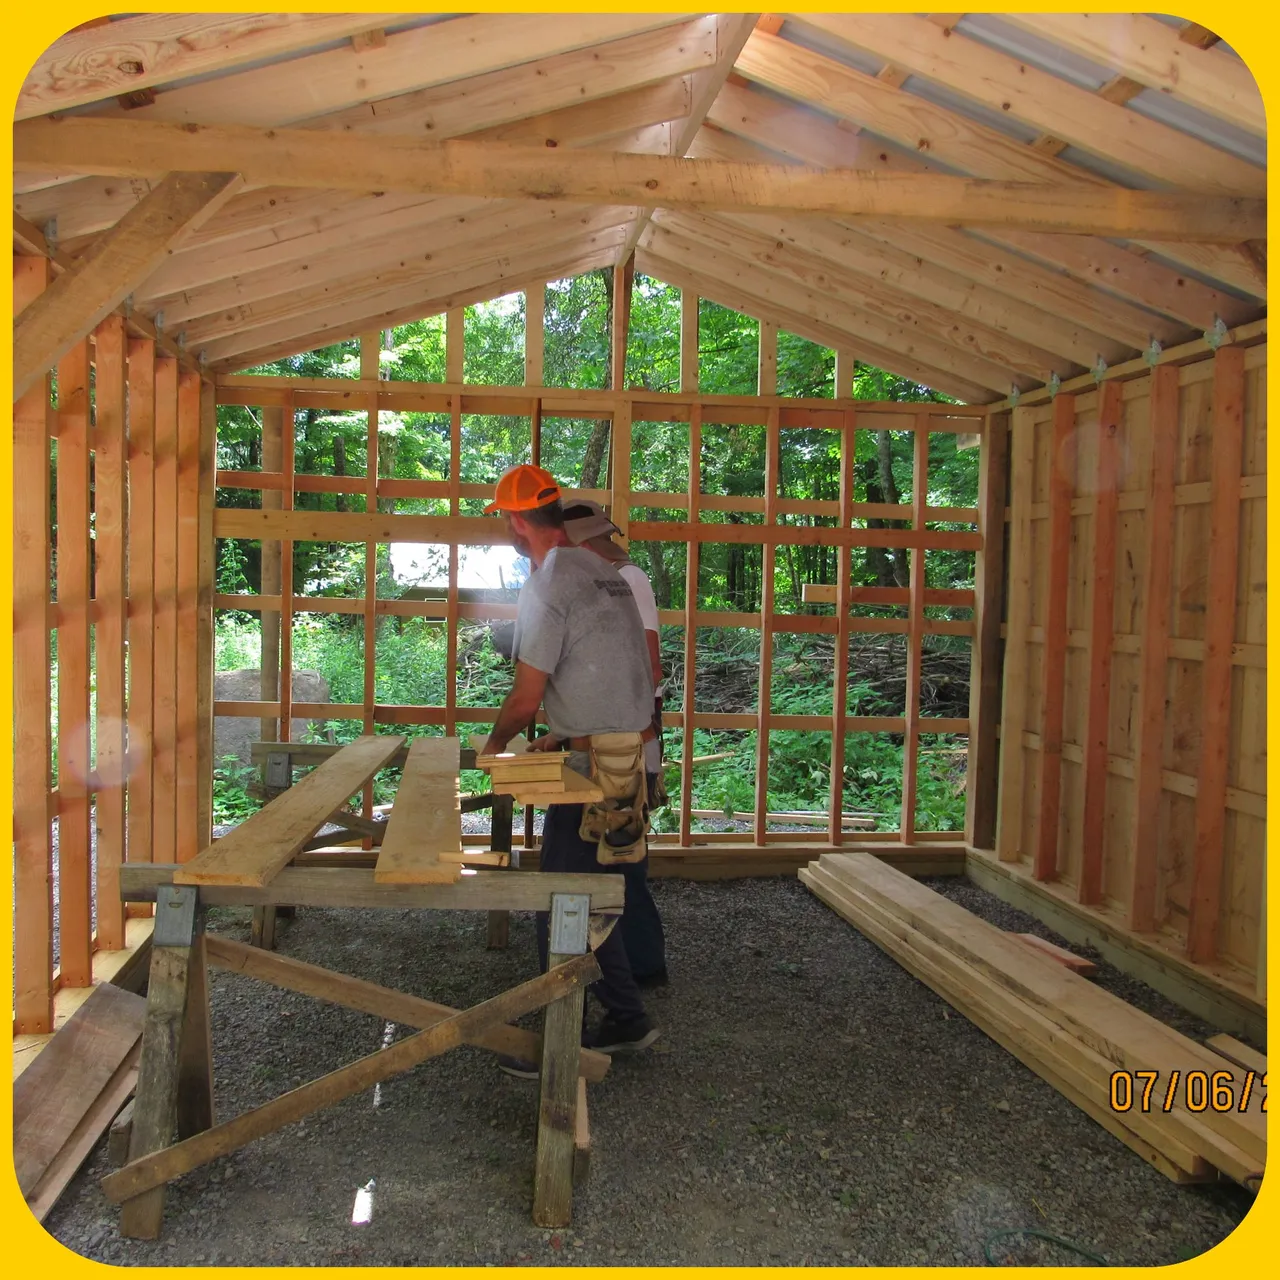
On the fourth of July, we started putting the walls together.
After framing all of the walls we cross-furred the walls with 1in x 3in wood strips. This application of thin wood secured to the walls forms a level surface that runs perpendicular to the wall studs. The siding, a board and batten system will be nailed to the cross furring.
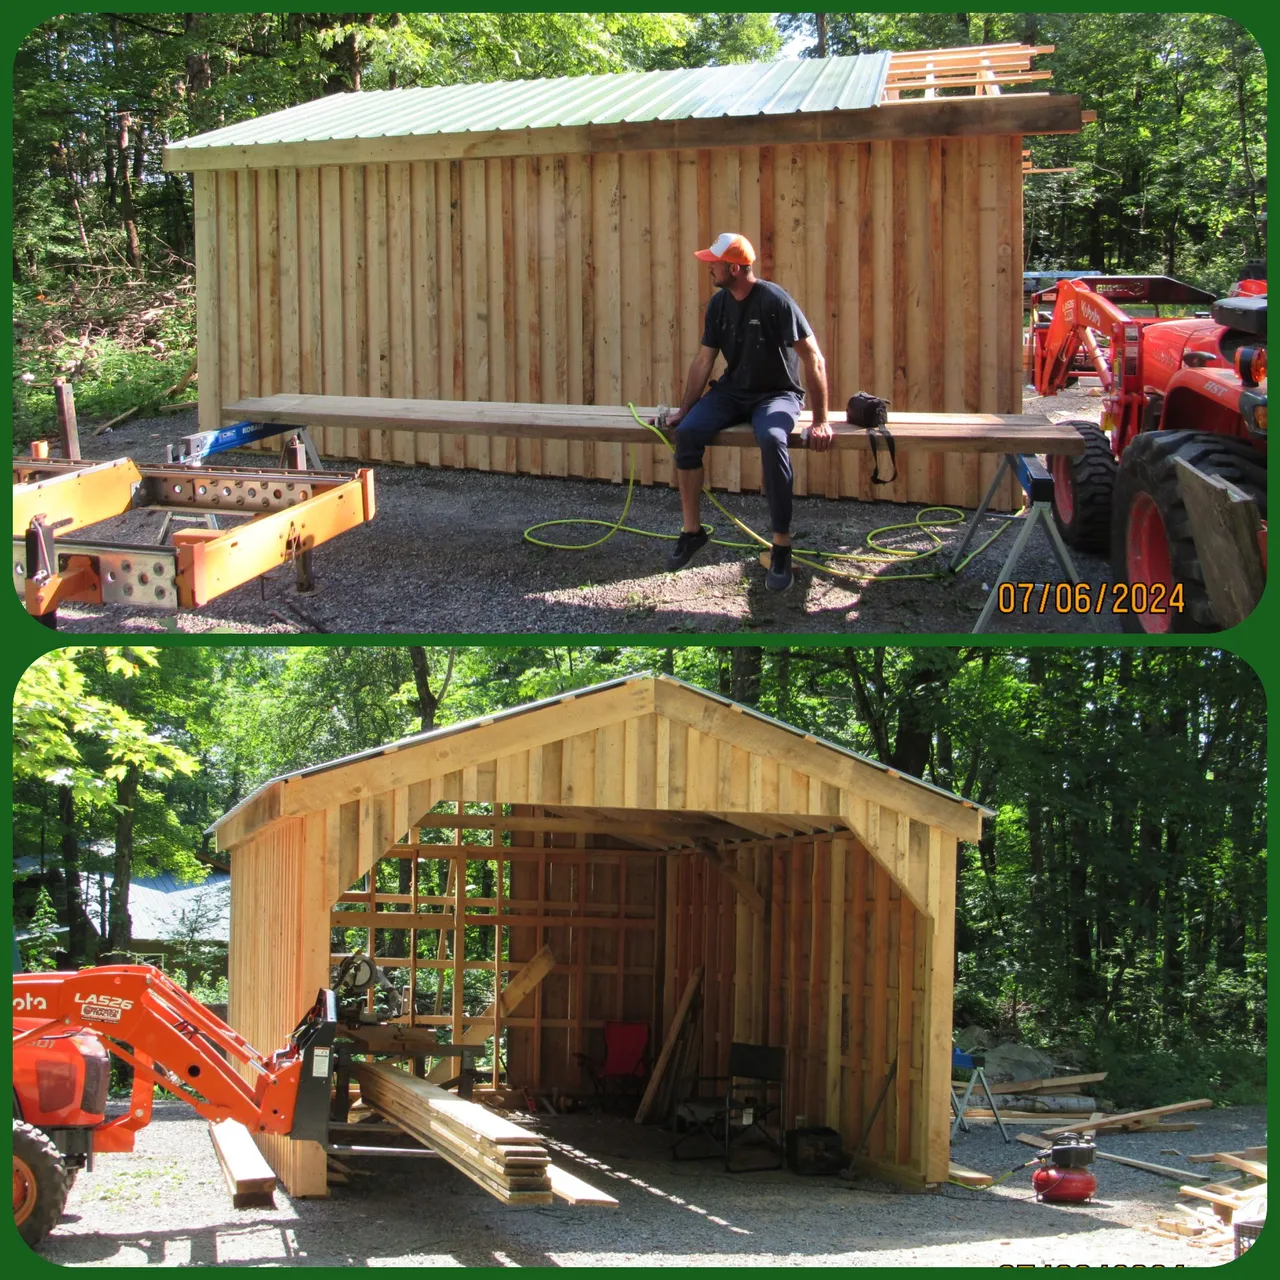
Using the tractor with the pallet forks attached saved a lot of time and sweat!
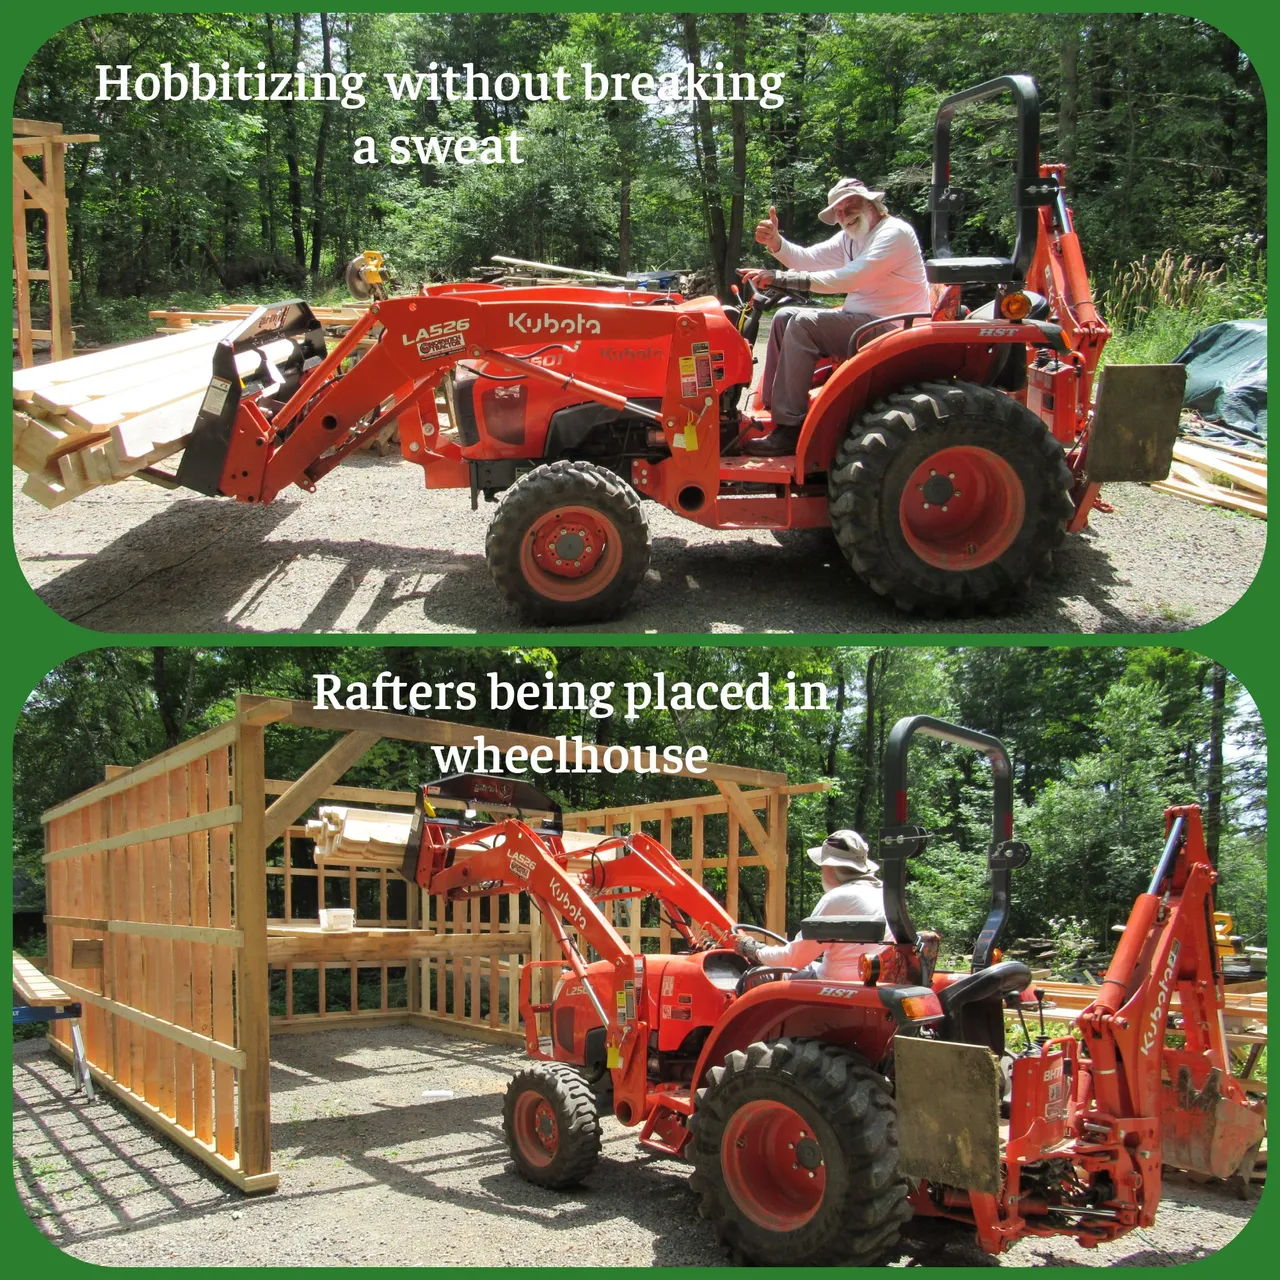
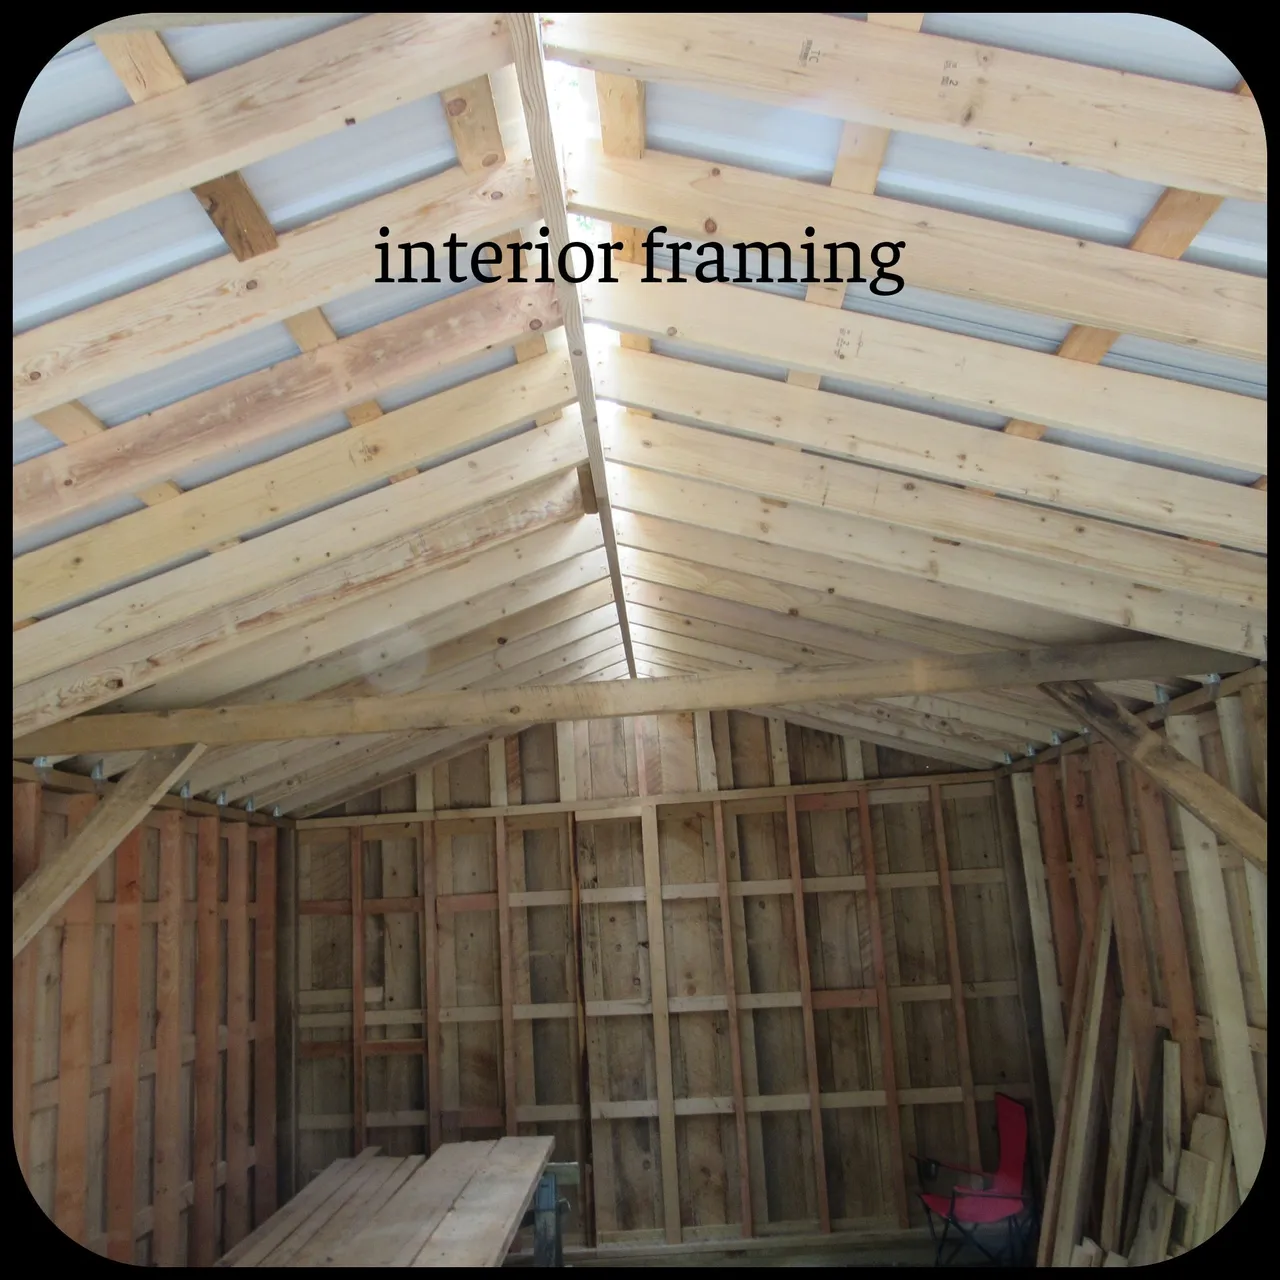
Having cut all of the rafters and laying out the ridge beam in advance worked out great.
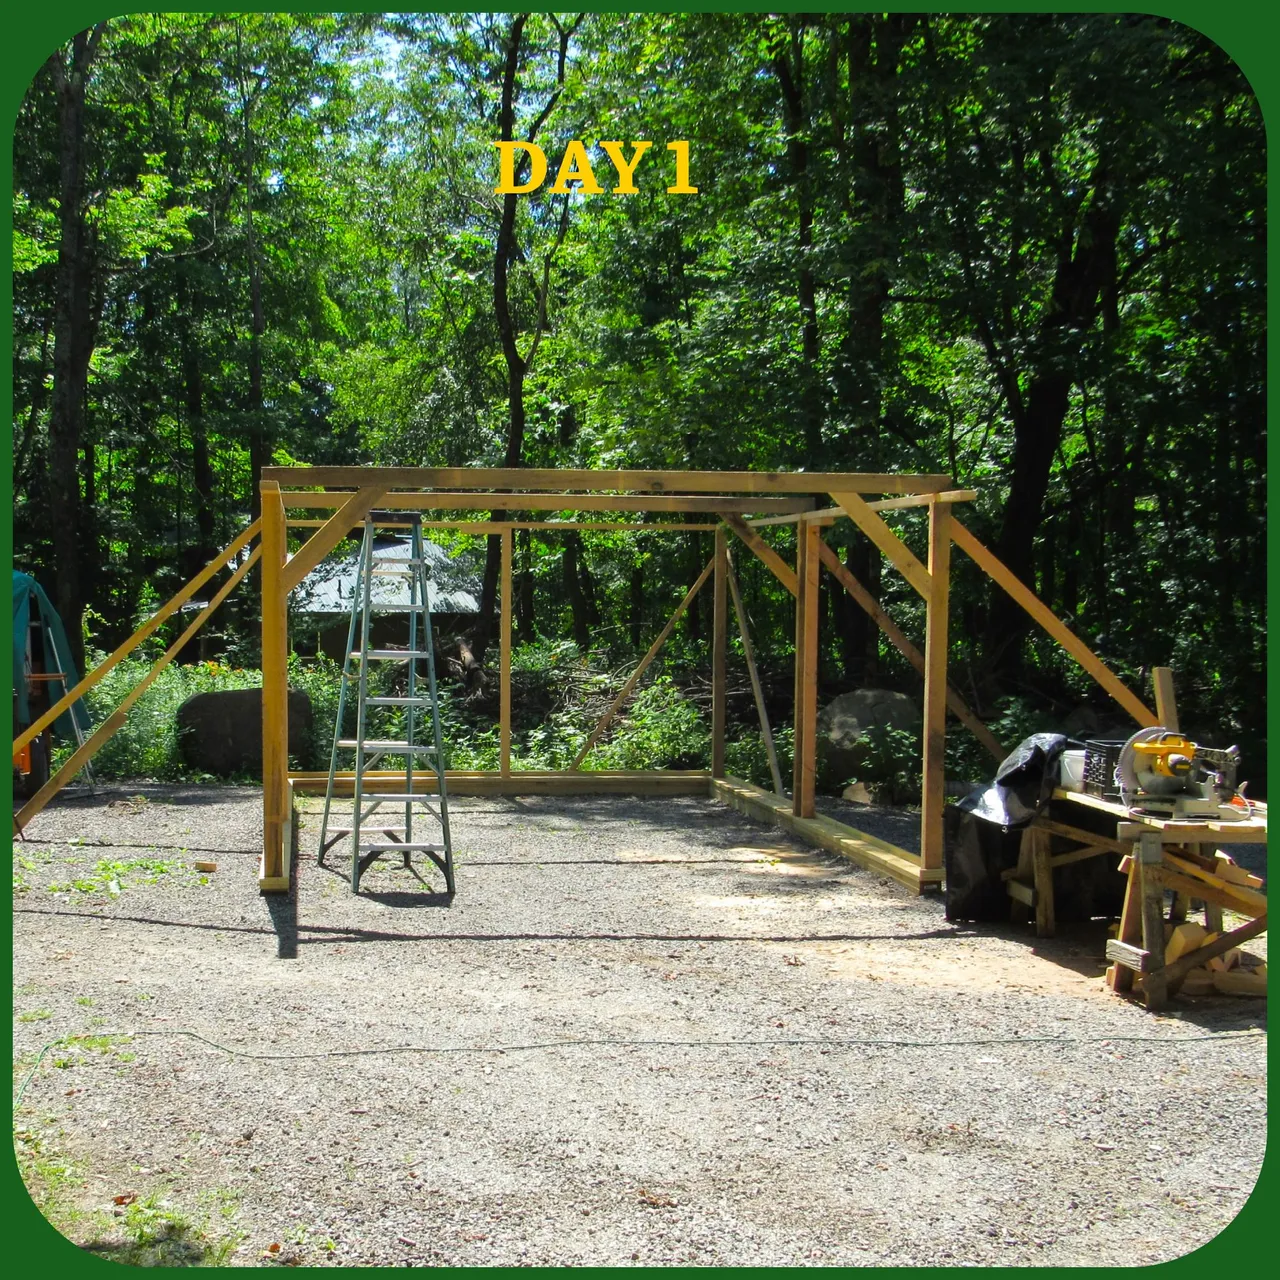
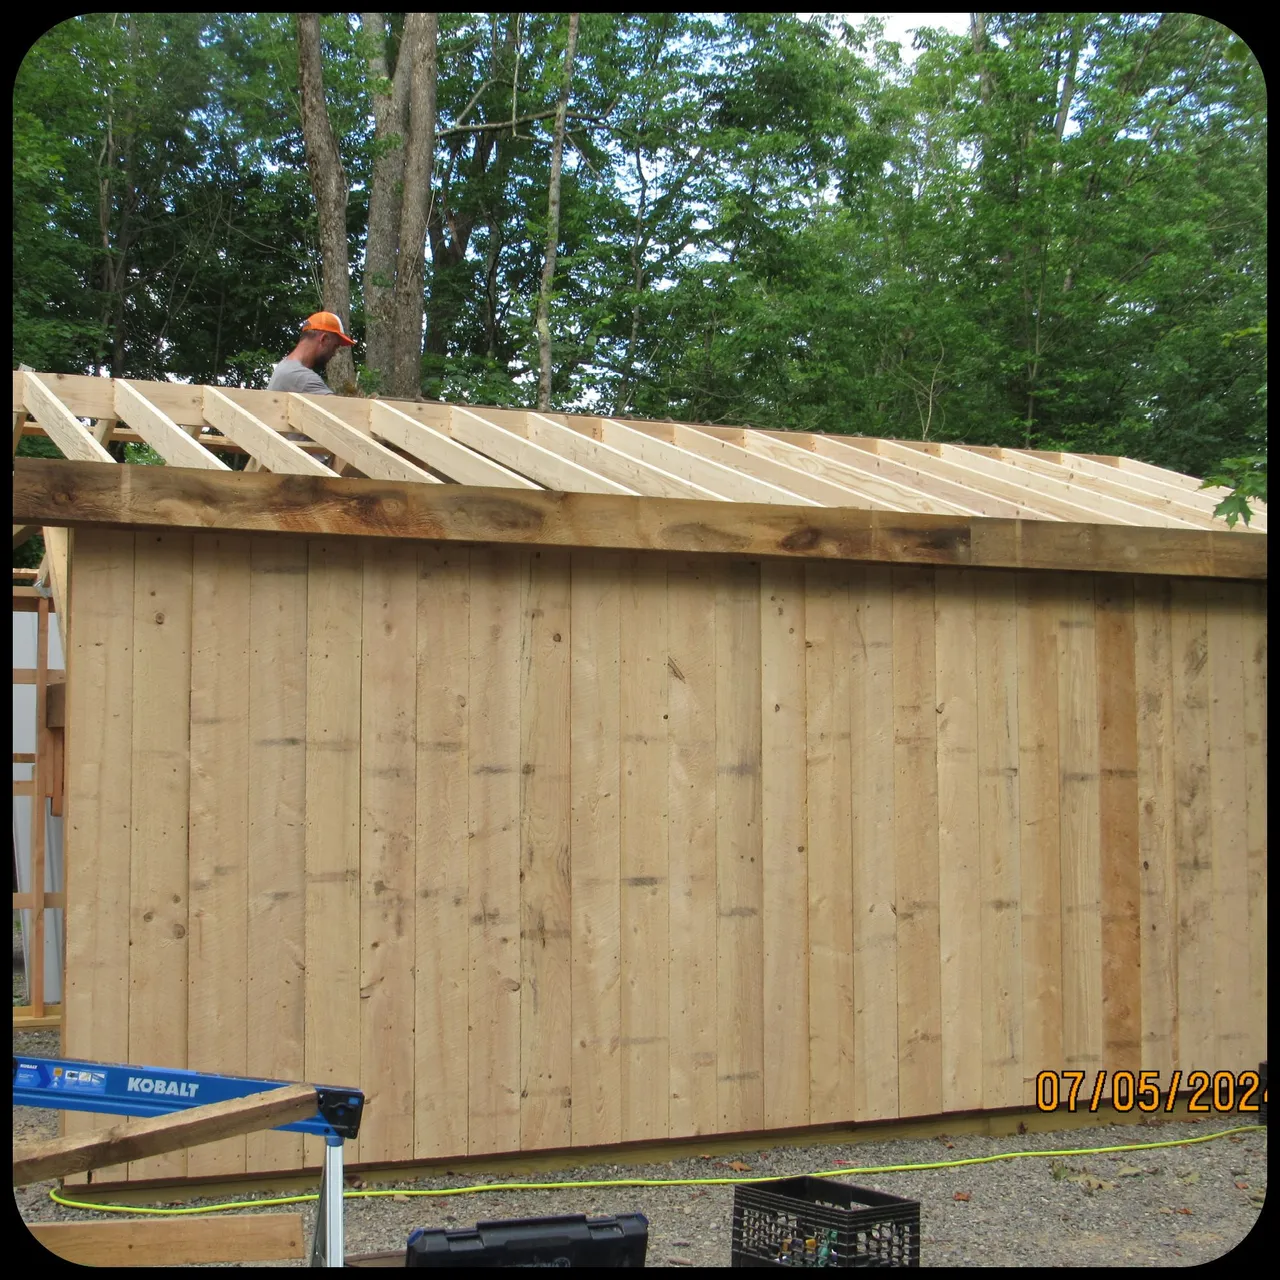
Within a few hours, we had most of the roof framed. By the end of our first day, both of us were all smiles. I was hoping to have most of the garage framed on the first day and we did.
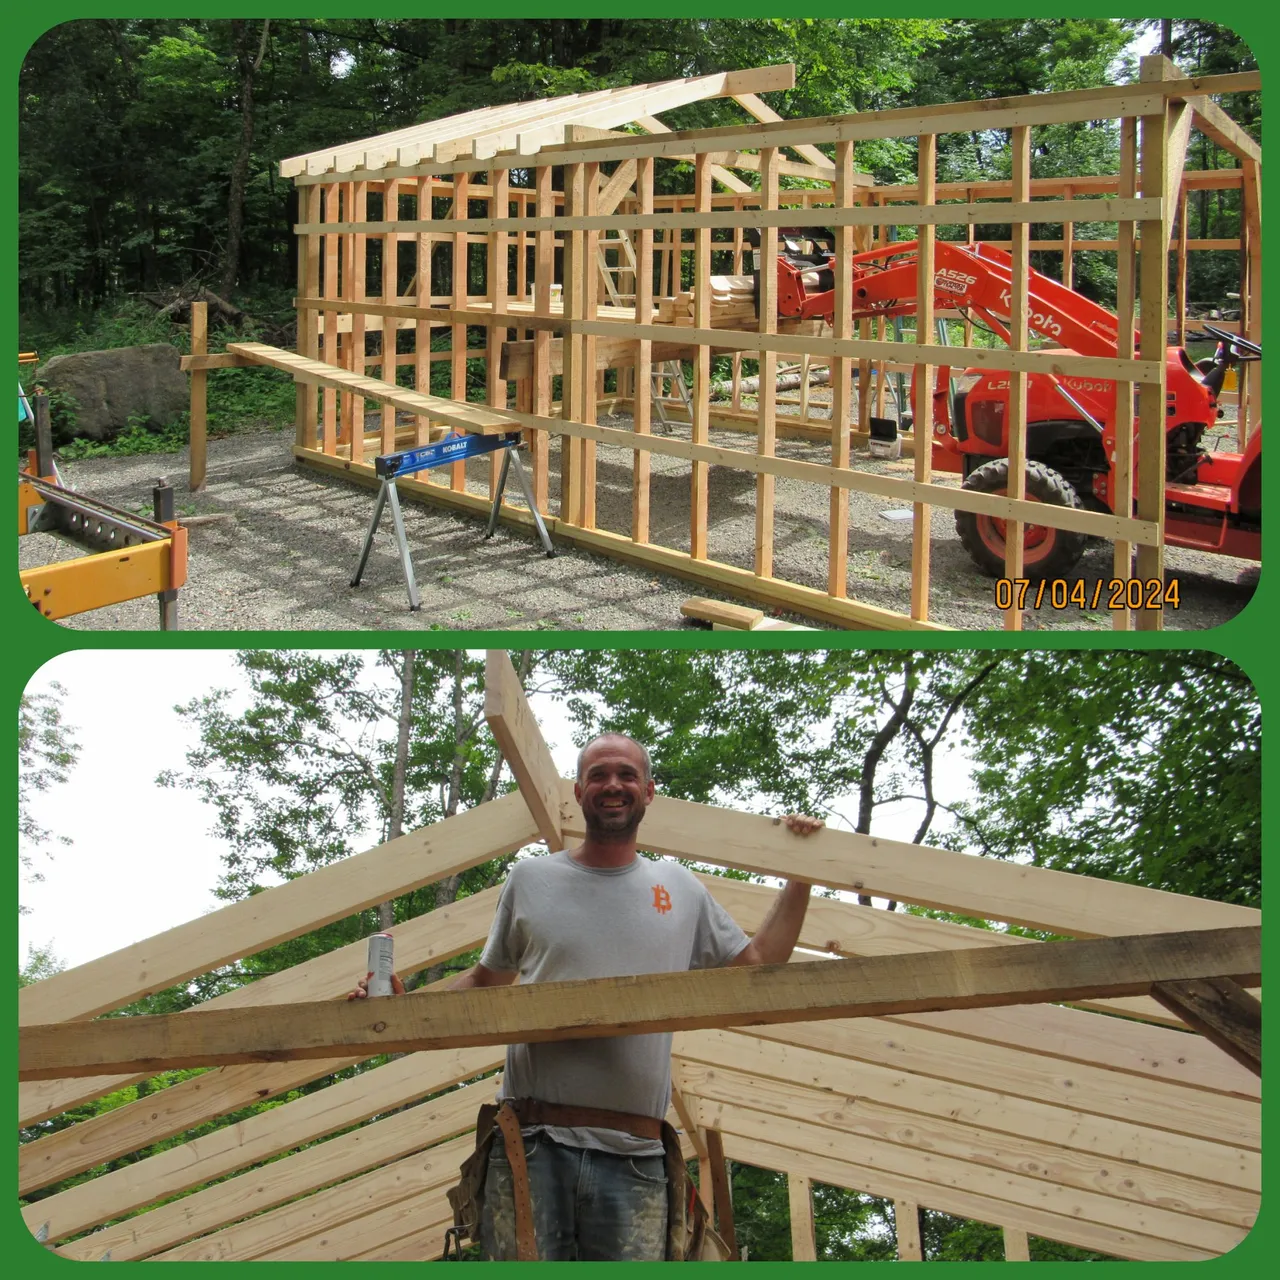
After day one, this is what the garage looked like.

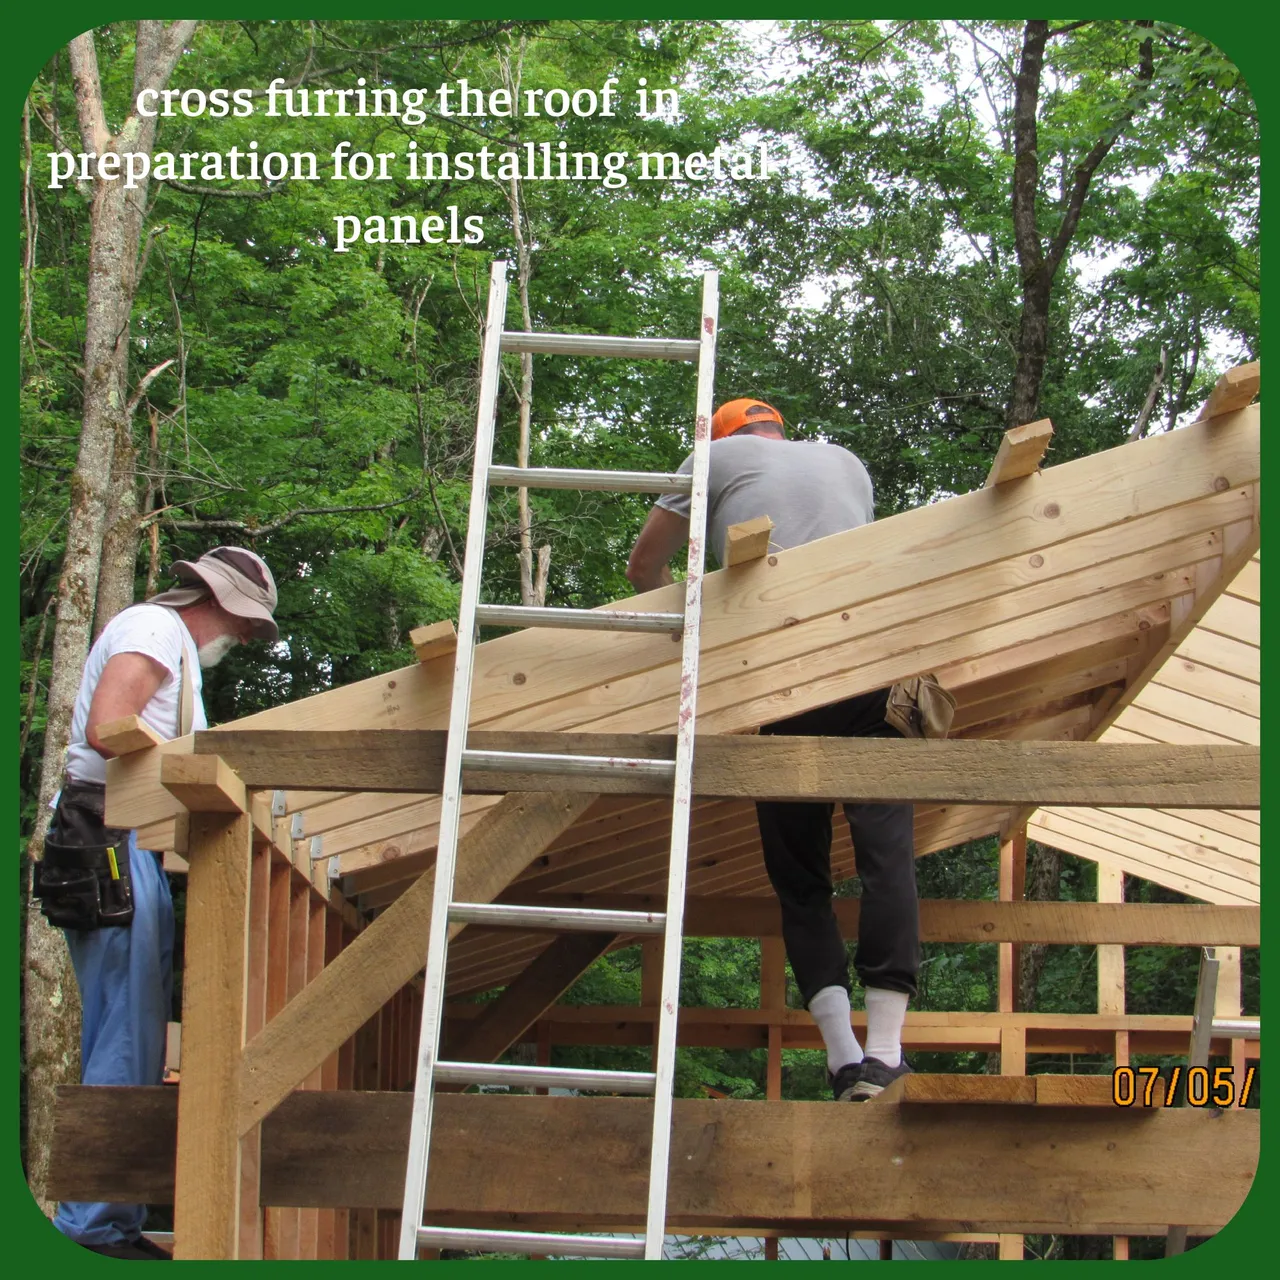
The following day we started early in the morning trying to beat the heat.
With temps predicted to be in the mid-nineties, by 6 am we had our tool belts on and started to move the scaffolding. The scaffolding needed to be moved higher to fur the roof and install the metal roofing panels.
As the old saying goes, THE MECHANIC MUST BE COMFORTABLE.
Scaffolding moves take some time, but the time you save by having everything in your wheelhouse redeemed that time 10-fold. With safety being my mantra, correctly scaffolding a job is a surefire way to reduce the risk of falling.
Before starting to install the metal roof we installed the boards on one side of the building. Placing the battens over the seams between each board would be done later.
@fam-mom tells me that this will be my last build, but I respectfully disagree.
The metal roofing system worked out great and in the future, this will be the only way I will go. Shingles are now a thing of the past. Installing the metal roofing took us just over an hour and a half per side. Using standard roof shingles would have taken us a full day to install and you're on your knees the entire time.
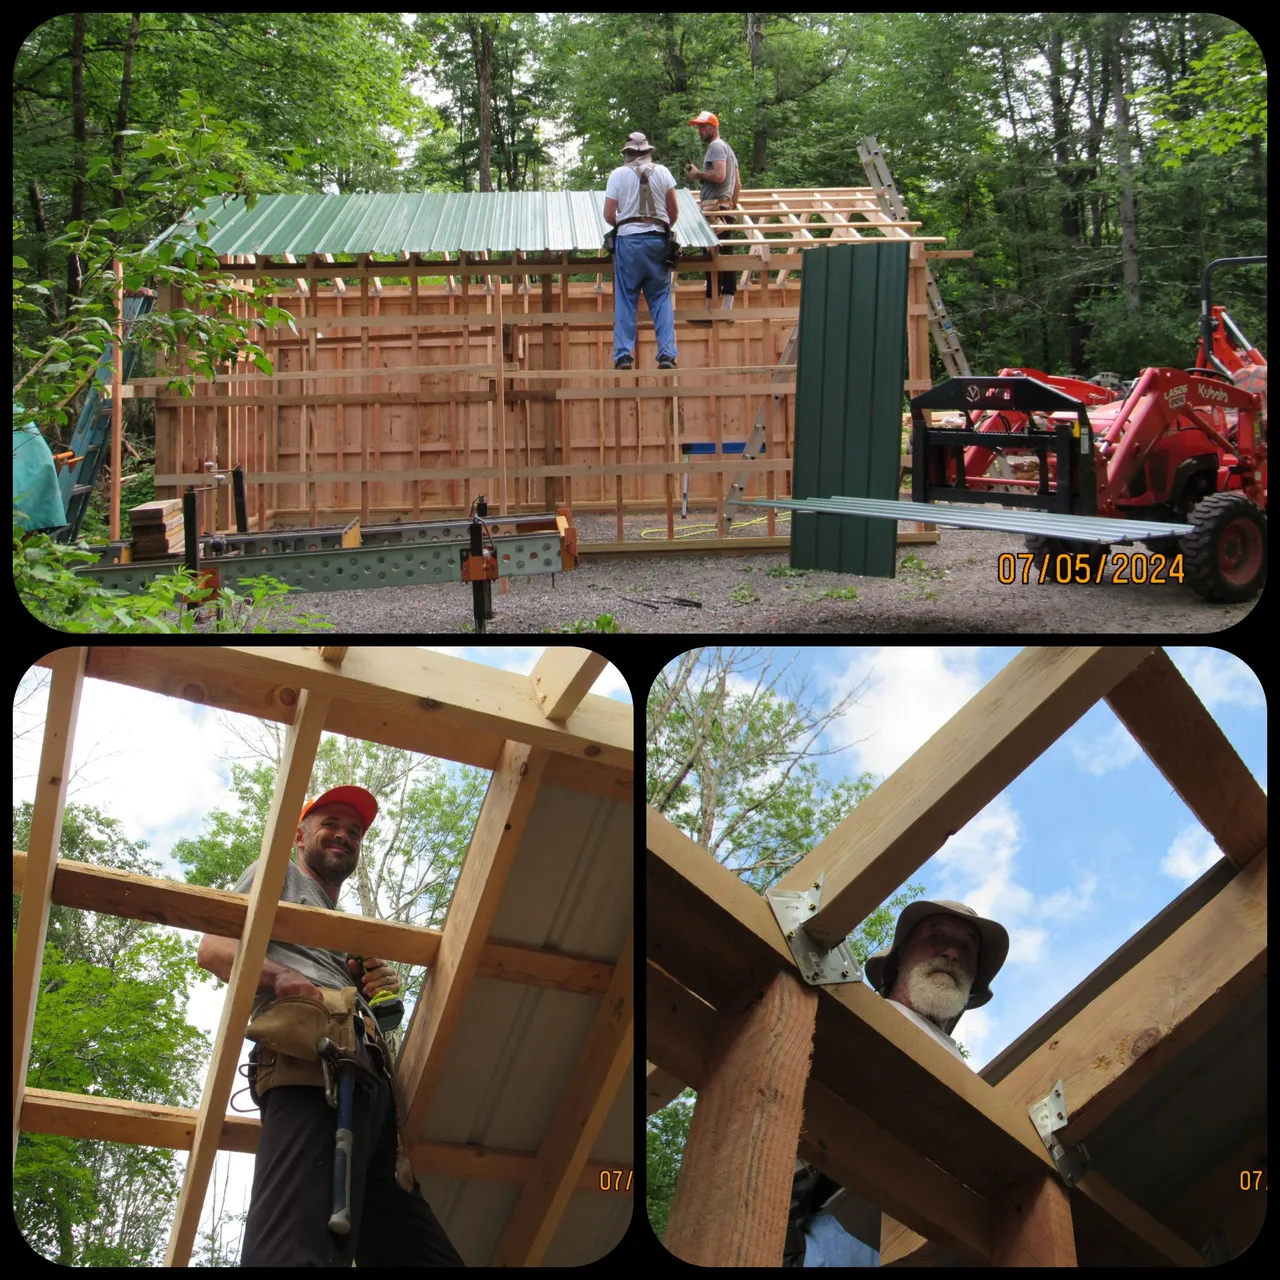
After completing one side of the roof we moved to the other side.
First, we installed the battens over the seams of the boards. Following that, we set up scaffolding to install the metal roof panels on the second side.
With the roof 90% completed it was time to load up the workbench with the boards needed to finish the siding on the remainder of the structure.
We left the last roof panel on both sides off, wanting to determine exactly where they would land. After determining where the panels would finish we installed the last two outside rafters, cut back the furring, and fascia boards.

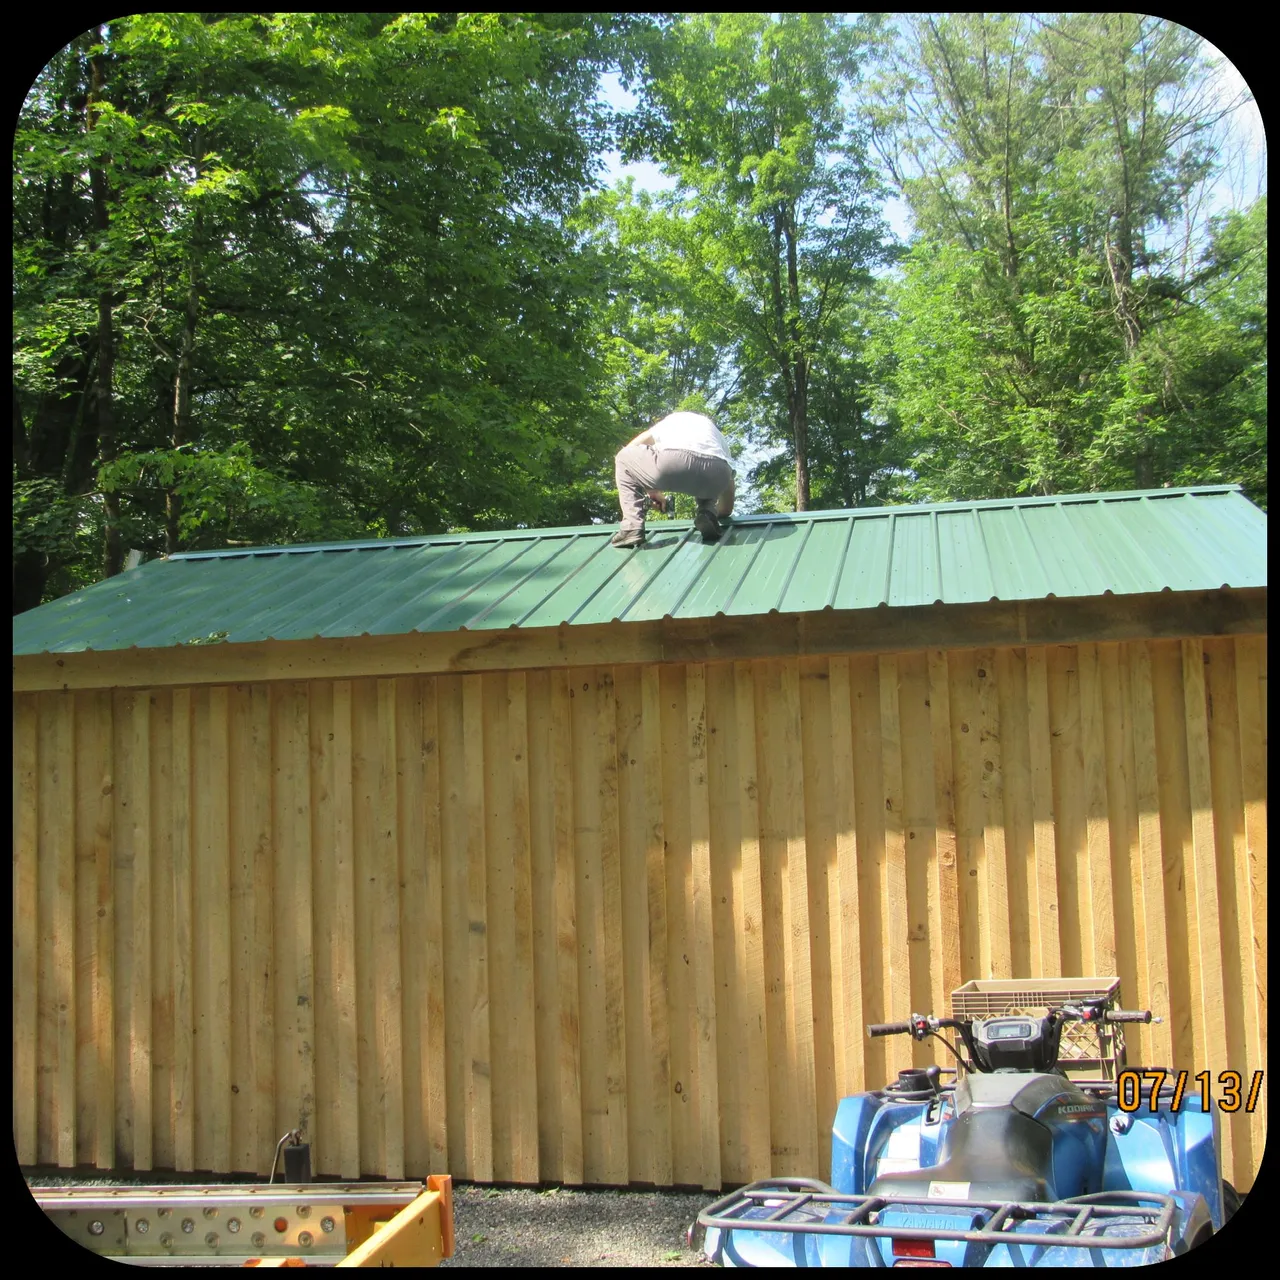
Ryan and his family returned on July 13.
This visit was spent relaxing pondside, barbecuing, playing some hoops, and just having some wonderful family time. The only hobbitizing we did during this three-day stay was to install the metal ridge cap which was on backorder and didn't arrive while Ryan was here the first go around. I had promised Robin that I wouldn't try and install the ridge cap myself as she didn't want me on the roof.