요즘 무료로 인증서를 만들어주는 Let's Encrypt 같은 서비스가 있긴 하지만,여러가지 이유로 유료 인증서를 써야 하는 경우가 있다.
그런 경우 상대적으로 저렴한 Namecheap 에서 인증서를 구입할 수 있는데, 과정이 만만치가 않다.
( 돈주고 하는건데도 편리하지 않다는 게... )
우선 구입 과정은 각자 알아서 하고 (...)
CSR을 만드는 과정부터 보자.
( https://www.namecheap.com/support/knowledgebase/article.aspx/9852/0/csrgoogle 참고 )
harrisonjung@cloudturing-2017-05-18:~/cert/dreamyoungs.com$ openssl req -new -newkey rsa:2048 -nodes -keyout server.key -out server.csr
Generating a 2048 bit RSA private key
.........................+++
.......................................................................................................................................................+++
writing new private key to 'server.key'
-----
You are about to be asked to enter information that will be incorporated
into your certificate request.
What you are about to enter is what is called a Distinguished Name or a DN.
There are quite a few fields but you can leave some blank
For some fields there will be a default value,
If you enter '.', the field will be left blank.
-----
Country Name (2 letter code) [AU]:KR
State or Province Name (full name) [Some-State]:SEOUL
Locality Name (eg, city) []:MAPOGU
Organization Name (eg, company) [Internet Widgits Pty Ltd]:Dreamyoungs,Inc.
Organizational Unit Name (eg, section) []:Web
Common Name (e.g. server FQDN or YOUR name) []:dreamyoungs.com
Email Address []:hello@dreamyoungs.com

Please enter the following 'extra' attributes
to be sent with your certificate request
A challenge password []:
An optional company name []:Dreamyoungs,Inc.
위와 같이 하면 server.key 와 server.csr 의 두개의 파일이 생성된다.
( server.key는 당장 쓰지 않는데 굉장히 중요한 파일이다. 이거 몰라서 1시간 고생했다. )
우선 csr 파일을 가져다가 namecheap에 업로드를 한다.
이메일을 선택하고 나면 다음과 같은 화면을 볼 수 있다.
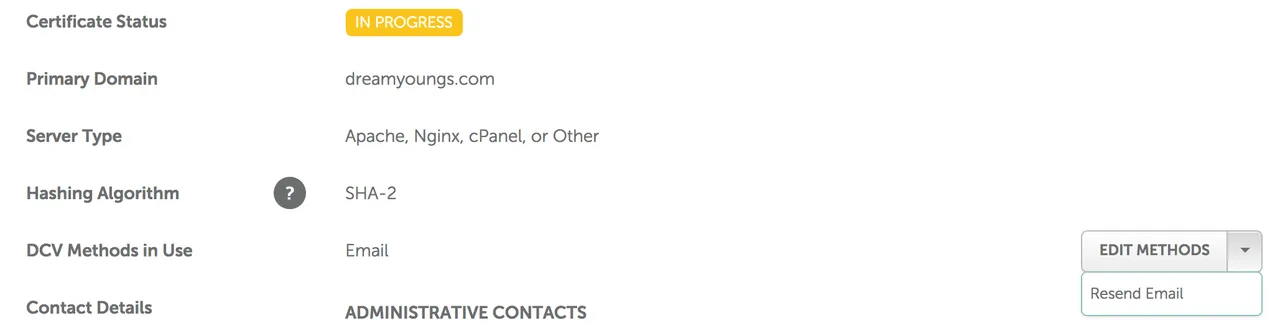
이메일함을 확인하면 이메일이 하나 와 있고, 컨펌을 하면 다음과 같은 화면을 볼 수 있다.
컨펌을 하고 나면 이메일이 오는데 그 이메일에 있는 첨부파일을 열어보자.
2개의 파일이 있다. 잘 보관한다.
다음으로 구글의 Cloud Network 로 가서 인증서를 생성을 해야 한다.
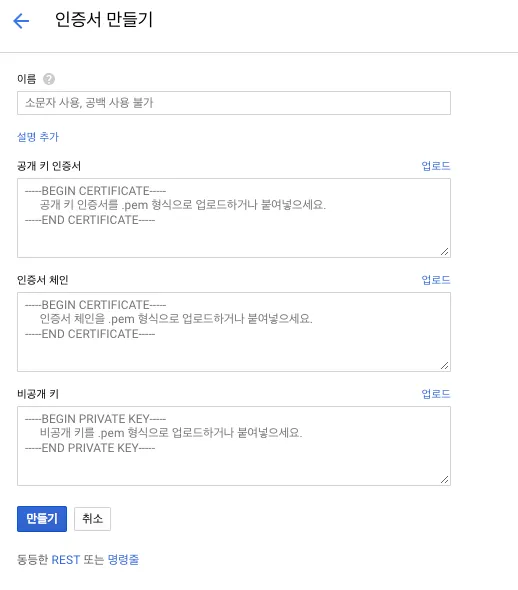
위의 화면을 가면 순서대로 입력을 해야 하는데, 먼저 맨위의 공개 키 인증서에는 crt 파일을 업로드 한다.
다음으로 인증서 체인은 CA-bundle 에 있는 내용을 입력하고, 마지막으로 비공개키에는 앞에서 만든 server.key 의 내용을 업로드 하면 된다.
이렇게 해서 잘 적용되었나를 확인해 보면 되는데, 적용을 한뒤에 다음 사이트 ( https://decoder.link/sslchecker ) 를 통해서 확인을 해보면 된다.
- 이상하게 이메일이 아닌 사이트에 가서 다운로드를 받은걸로 하면 잘 안된다. 이유가 뭘까..