Hello friends, today I bring you an excellent homemade recipe that is very easy to make and even the materials are easy to get, taking advantage of the beginning of this great adventure. I want to emphasize that I am a chef apprentice and I have always tried to improve the great ones existing recipes putting my touch of personal perfection, I hope you like it…
NOTE: Currently I do not have a camera that gives me a great resolution for photography but I hope you can appreciate the photos exposed in this post taken by: My cell phone - Amgoo Am 523.
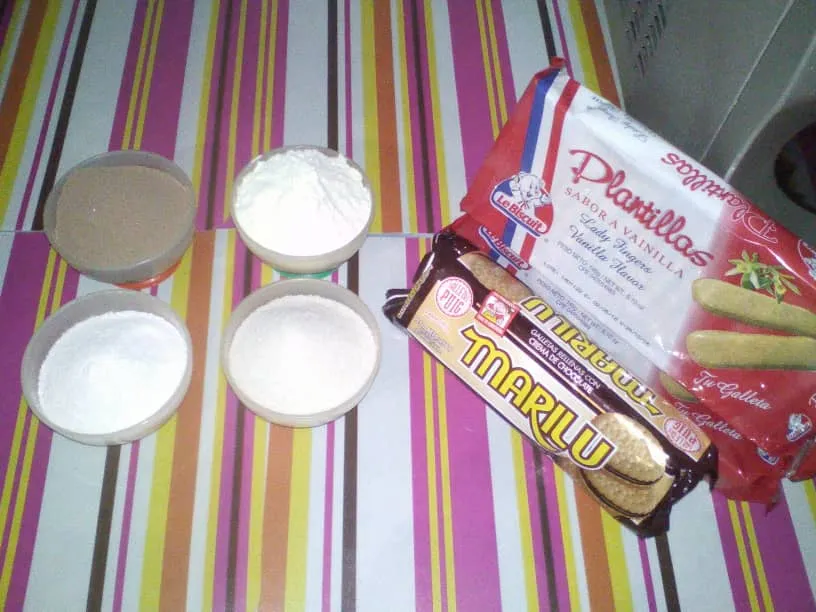
INGREDIENTS
- 150 gr of chocolate pudding.
- 150gr of strawberry pudding.
- 300gr of complete milk.
- Templates or cookies maría or of your preference.
- Bowl or container for 20cm cake (in this case)
NOTE READ: Usually the pudding already has sugar but if it is preferred it can be added:
- ½ can of condensed milk in both pudding preparation, in this case strawberry and chocolate
- Or if you do not have them, you can use only one tablespoon of sugar in both.
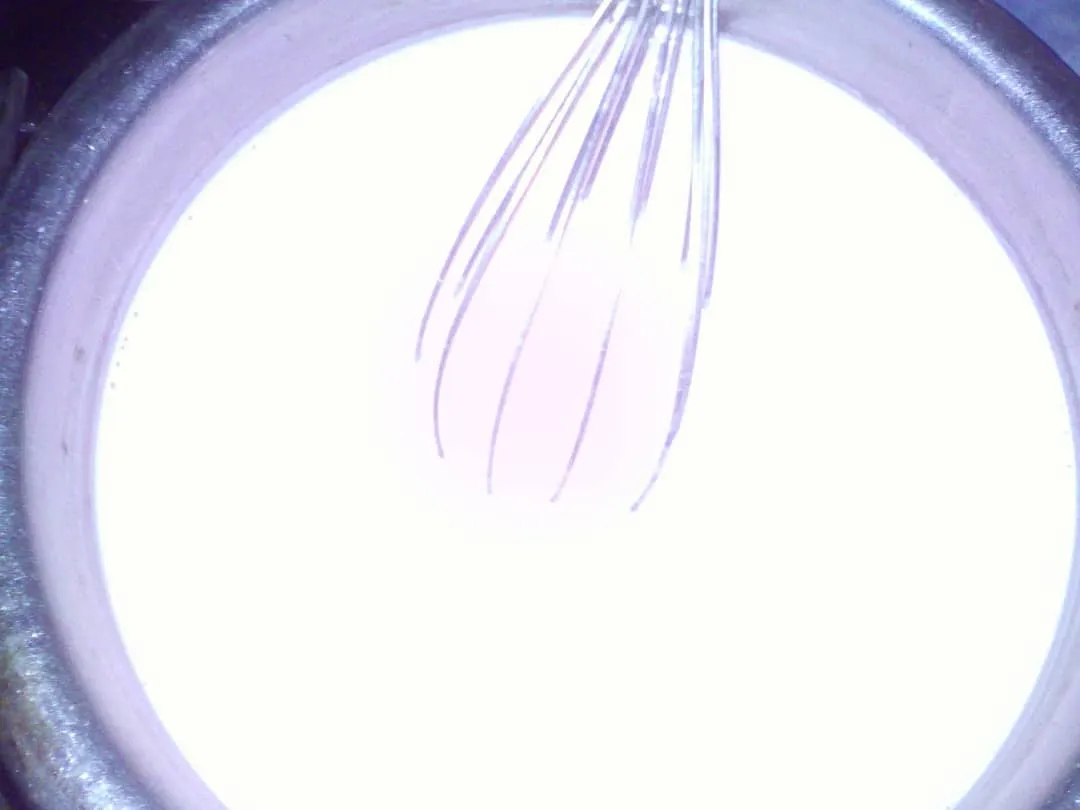
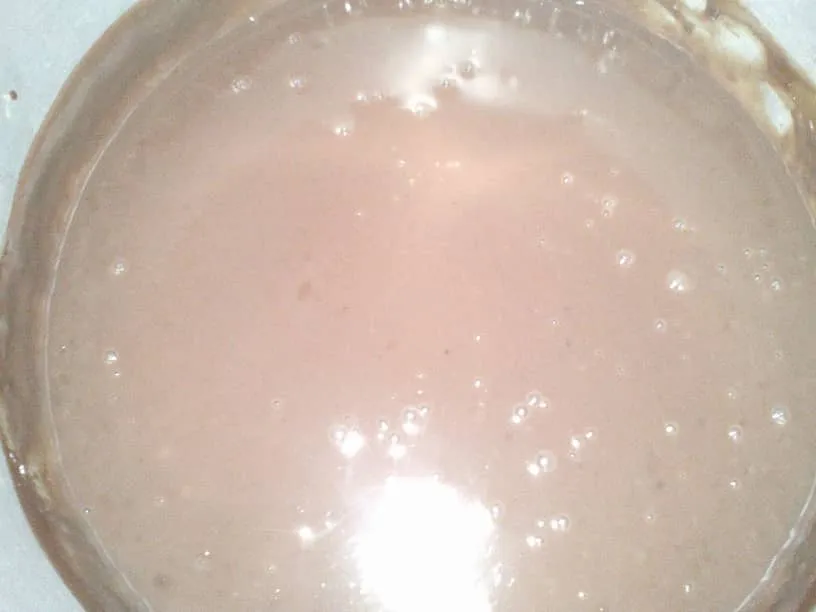
Step 1: in a container with ½ liter of water beat 150 gr of whole milk and then boil over low heat, when it is at its point add 150gr of strawberry pudding or chocolate according to your preference and the amount of optional sugar you want. Then move until the mixture becomes dense, let stand 10 minutes before adding it to the container.

NOTE:
It is important not to stop moving the mixture so that the pudding does not get air and no lumps are formed.
For those who want to add condensed milk can add it when it is almost ready the preparation, this will make the return to mix is creamy and at an excellent point.
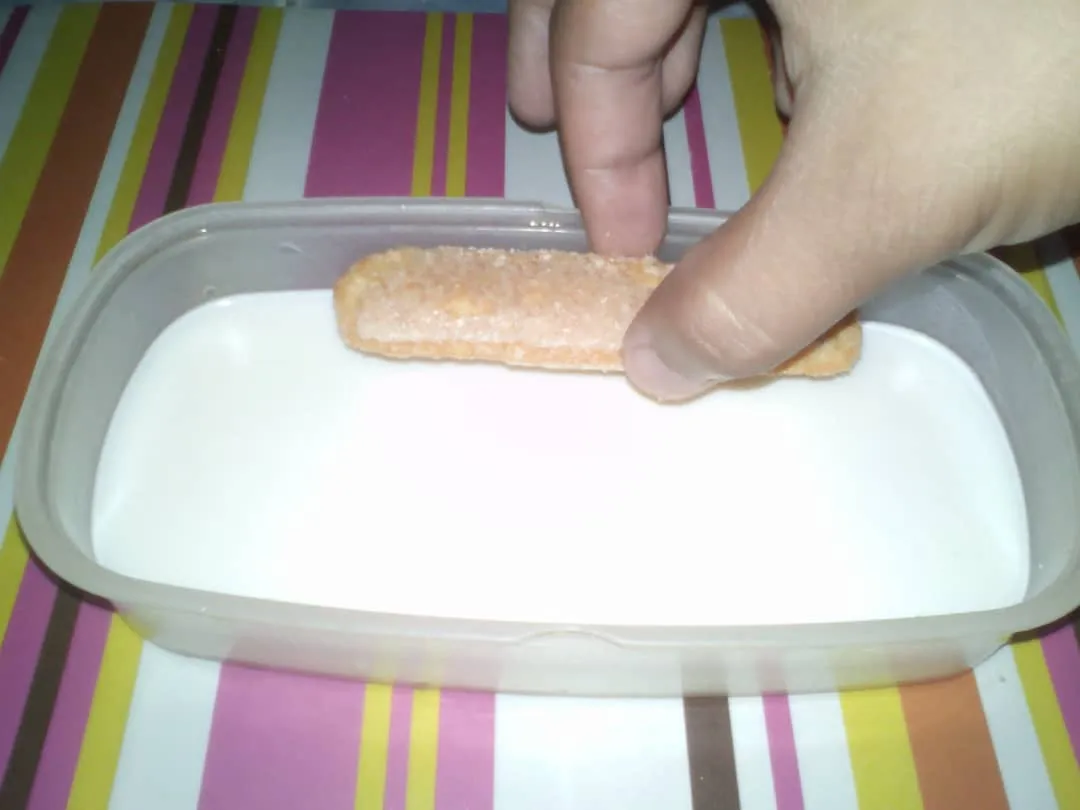
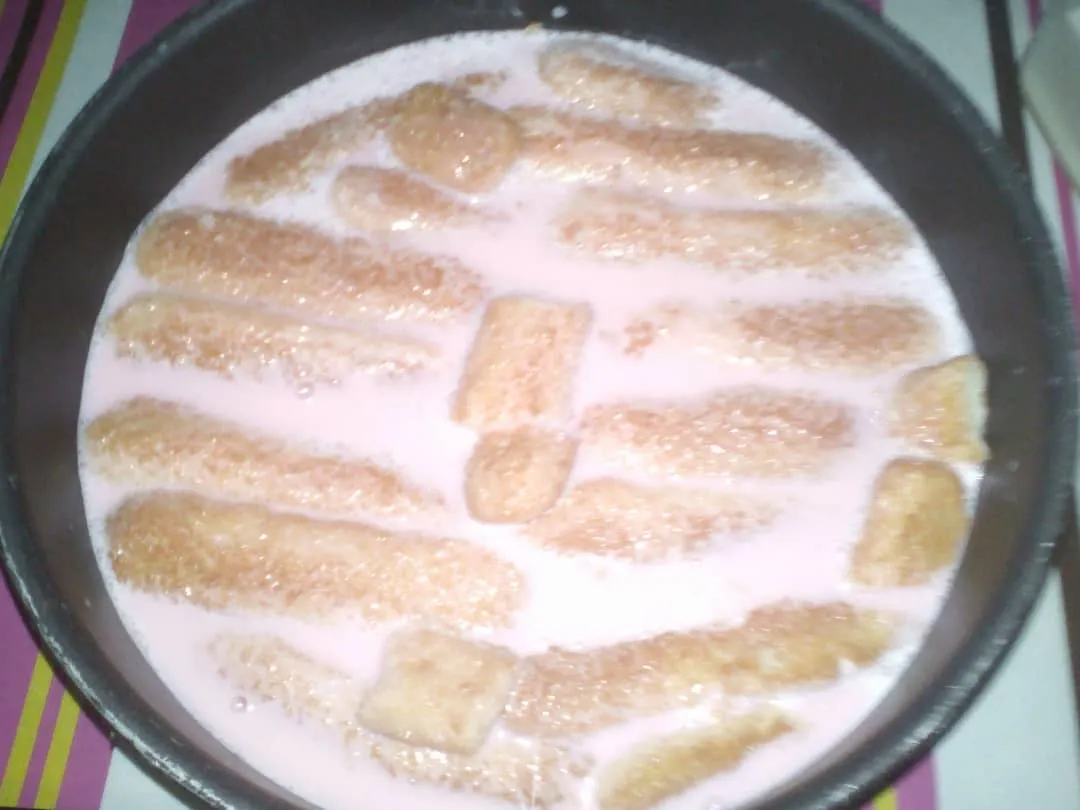
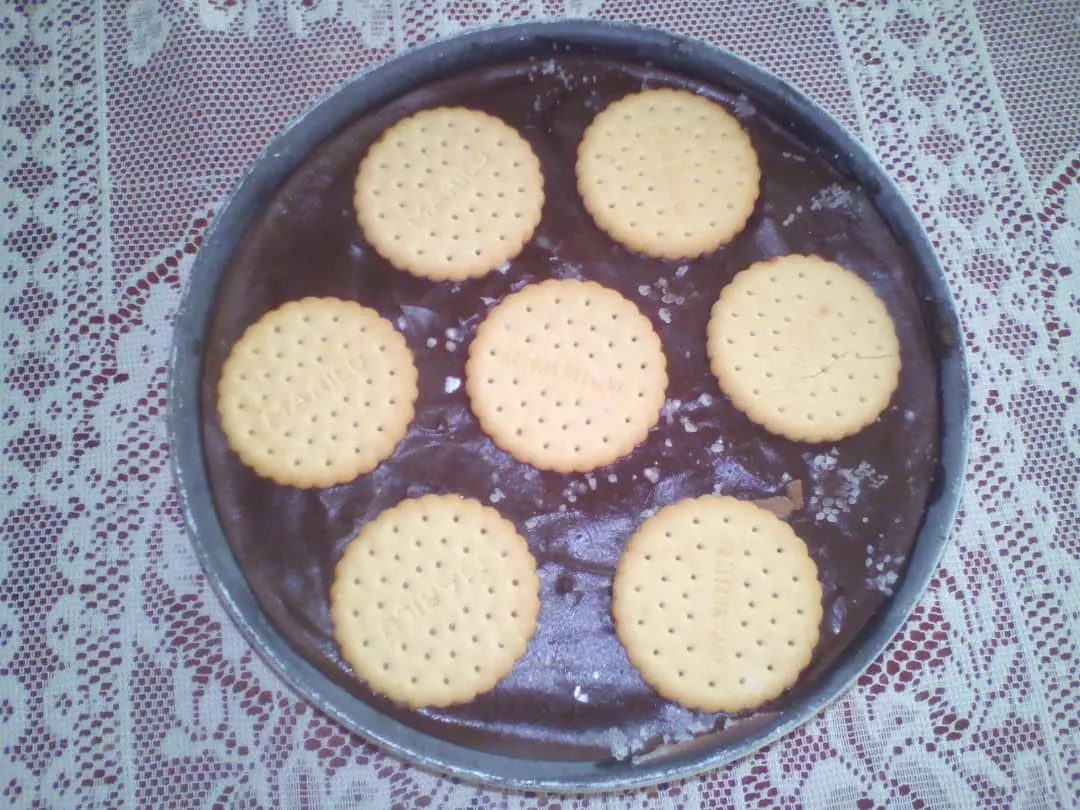
Step 2: To place in the bowl or cake container the templates or cookies of your choice it is necessary that they go through a milk bath so they do not remain hard in the finish, then after 10 minutes the pudding can be added to cover the template or cookies of your choice.
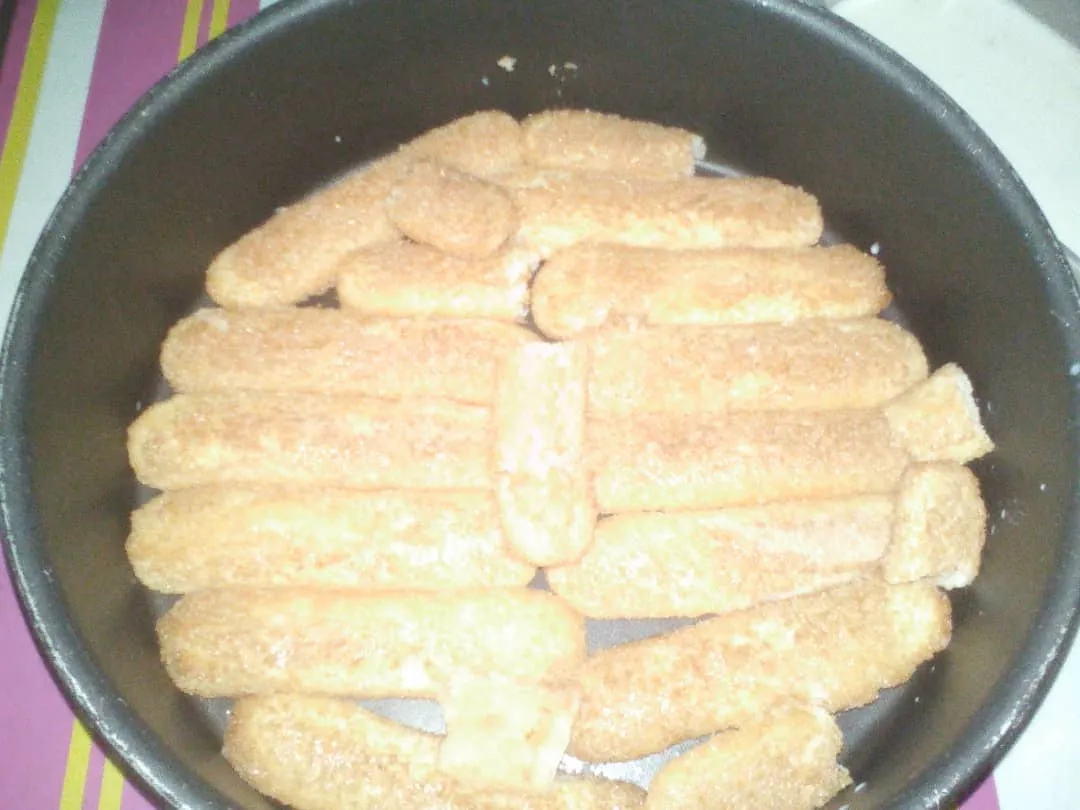
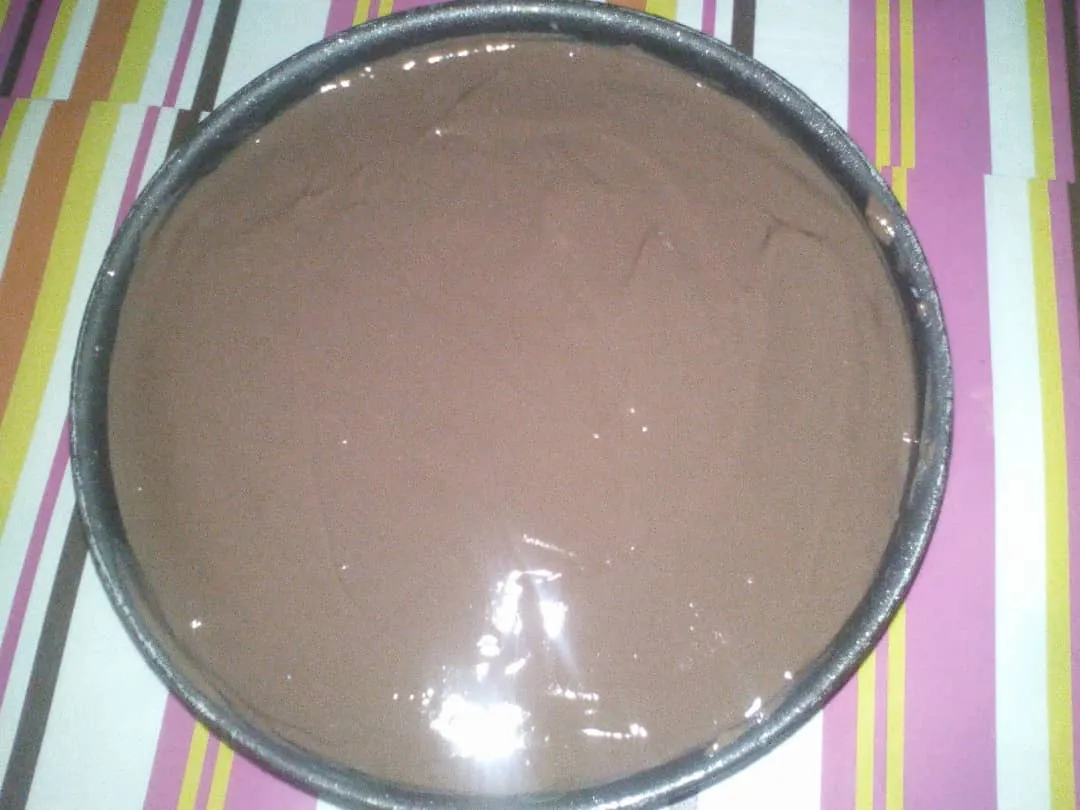
Step 3: To join both mixtures and remain visible and not a disaster is necessary to have at hand a sheet of gelatin to simply put it in layer mode and continue our finish but in this case by not having this tool we will use the freezer to place our first pudding mix for 30 to 1 hour depending on the cooling power of yours.
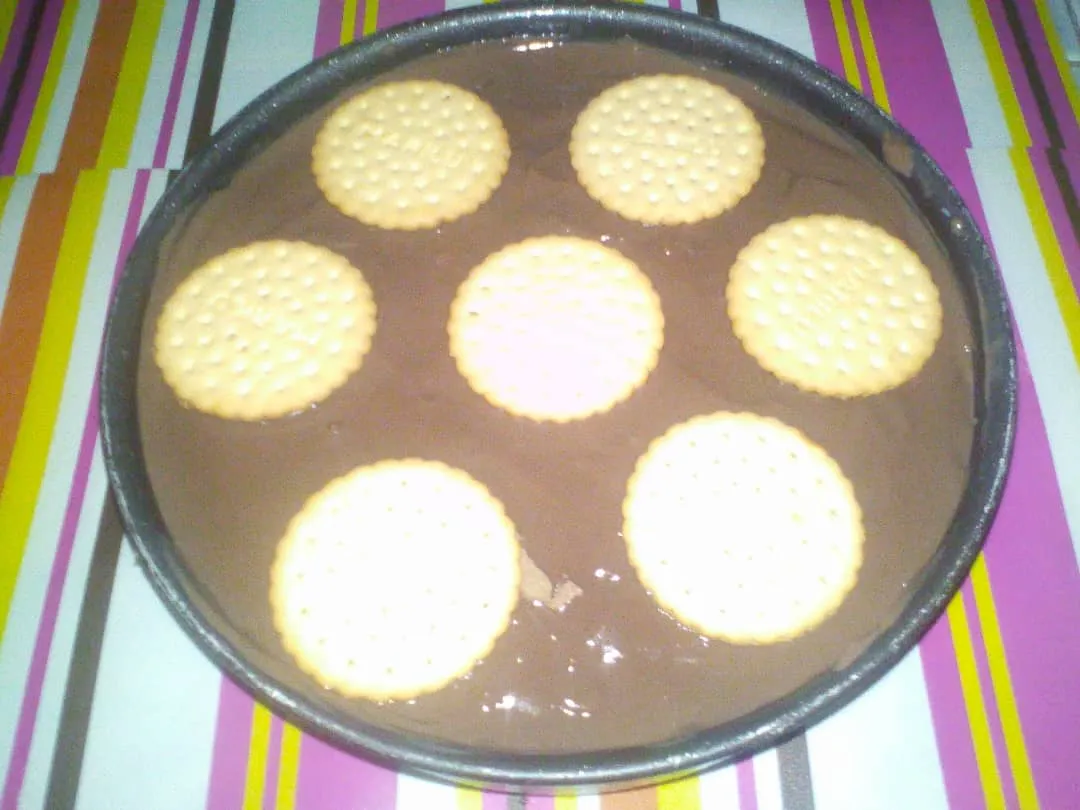
Step 4: Mainly it is the same so you can guide yourself again from step 1 and 2 to finish the second mix and then do the next process and leave it in the freezer for 10 hours or 1 whole day.
Step 5: For decoration you can use your imagination, in my case I used chocolate cookies to keep them on par with the chocolate pudding, but to give you a great idea you can use rains of chocolates or colors, decorate it with chantilly cream or ingeniártelas with striking designs that manage to make your cake the center of attraction of the eyes.
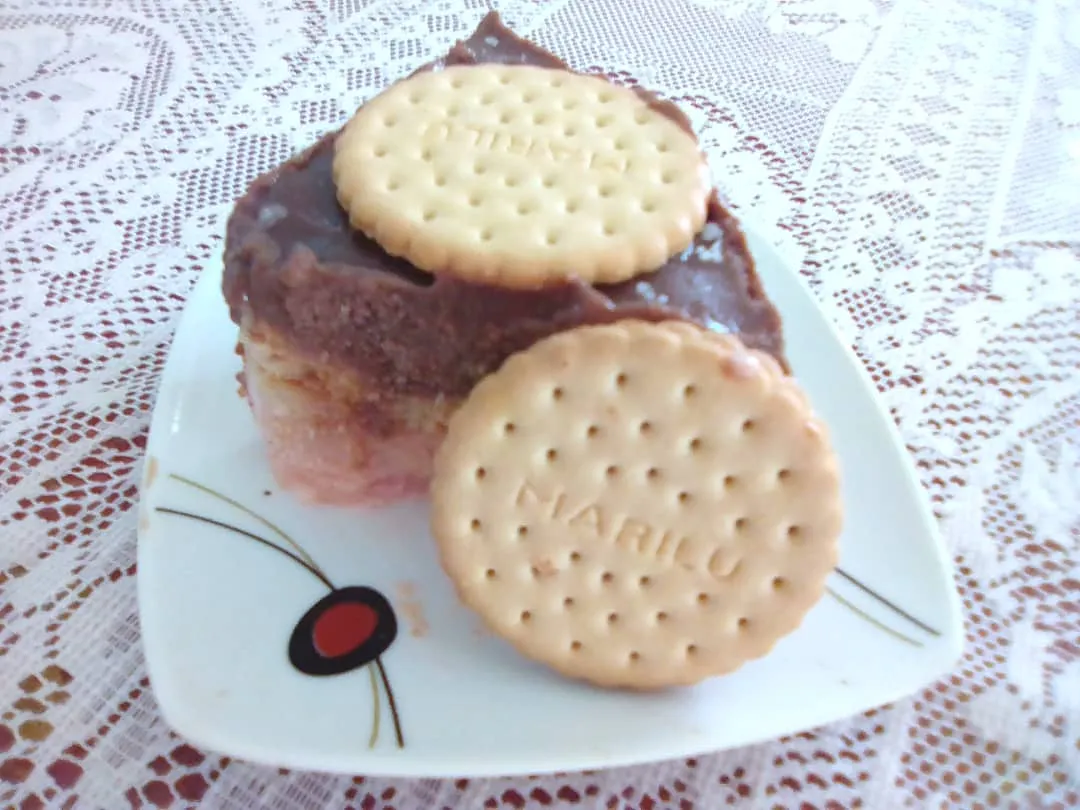
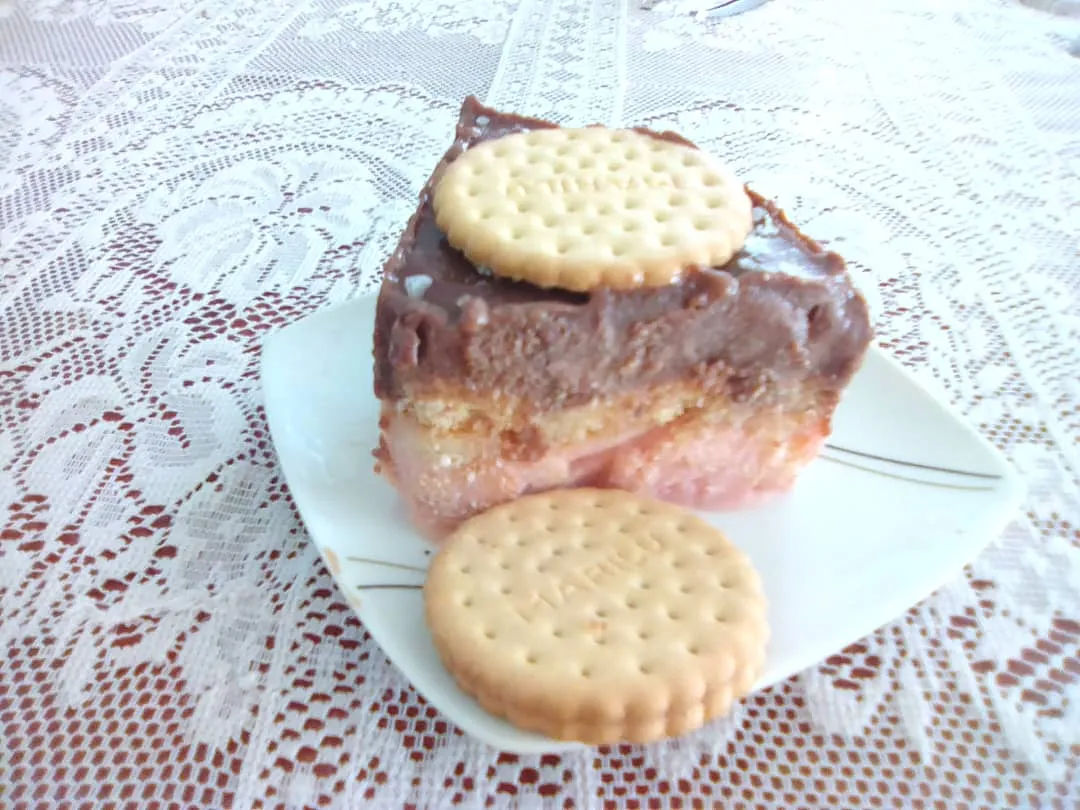
Now contemplate its final finish
If you liked my post do not forget to give me your support to continue making this type post :)