In today’s Non Vegetarian Thali, I am going to share the Andhra Mutton Curry that is cooked in our family. I am sure the Mutton Masala paste that I shared a couple of days back, made it interesting enough to see how the gravy was made. In fact, in my previous posts on the authentic mutton gravy that was prepared in my in-laws’ place, I realized now that it’s a different recipe. so I got geared up with the camera and warned my SIL and her husband, who was the chief chef of the day, that I might as well be underfoot for the entire period. I was always told that my bil makes the non veg dishes very well and I was eager to capture them for the blog. My SIL was in charge of grinding the masala for him while I was busy clicking away every small step. In fact, I got so busy that I called in Konda to help me jot down the recipe. She so happily obliged, in fact, refused to leave after a while. I had to literally force her out, else we were so cramped.
PS: This post features uncooked meat pictures, please skip if you are not used to seeing them.
When it comes to the traditional non vegetarian dishes that are made in Andhra, it is bound to be spicy and delicious. I am not sure how much of a chilli powder I would have added for the amount of meat used for this gravy, but I was shell shocked seeing the chilli powder that went.
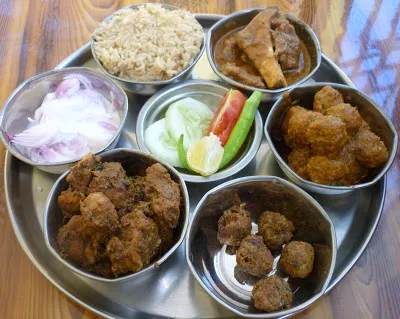
The menu that was decided was to make Mutton Kura, Chicken Roast, Fried Keema Balls, Keema Gravy (Keema Kofta curry), Masala Annam etc. I know I was just tired writing down the different methods they followed on the way. Both of them were very humble and kept saying the masala used were all the same for all dishes. Well, I know that though it’s true, few things were added or removed, which surely made a lot of difference to the end dish.
For the Keema Varieties, hubby dear’s aunt was in charge. He used to say so much about her dish, that he finally requested her to show me by cooking it. So I was again fixed to a spot trying to capture every single move of her. Will write more on this in the Keema Kofta post that will follow.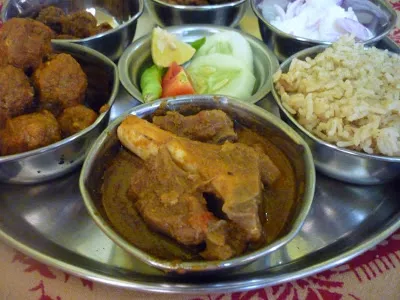
Step by Step Picture Recipe
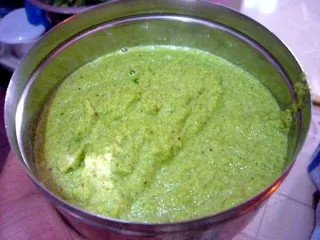
Ground Masala paste / Mutton Masala paste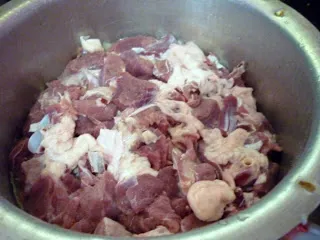
Wash and drain the mutton pieces until to be used.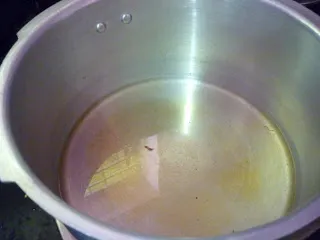
Heat about 4 -5 tsp of oil in a pressure cooker
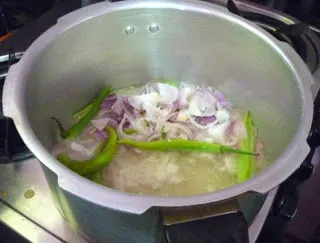
Add onion julienne, green chillies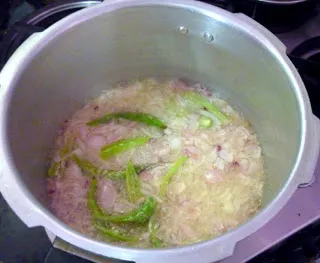
Saute till the onions are turning brown
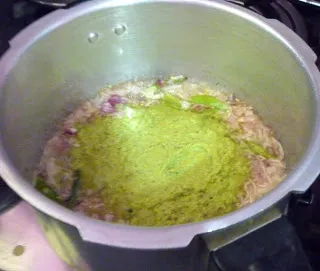
Add the mutton masala paste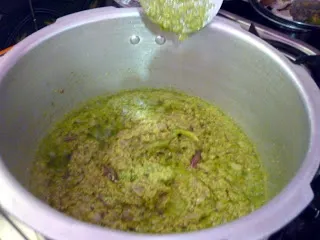
Saute till done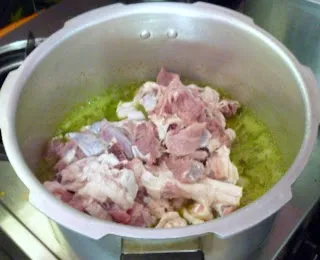
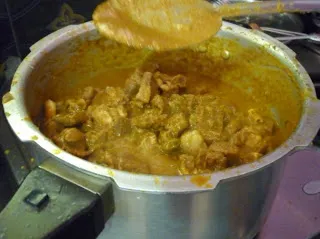
Next, add the drained mutton pieces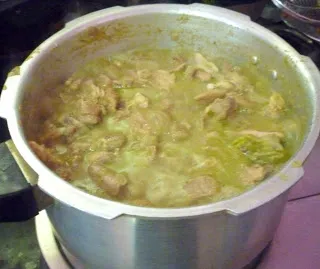
Cook on high flame and at this time you will start seeing water coming out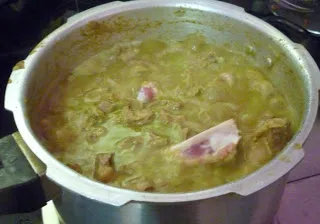
This is after 5 mins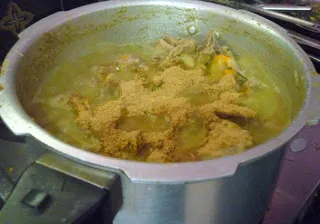
Add coriander powder, turmeric powder
Chilli powder and salt
Mix everything well and continue cooking on high flame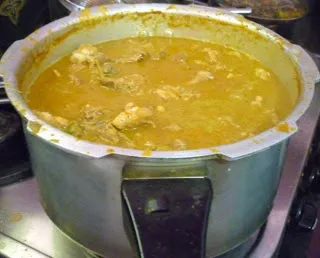
Add about 2 cups of water and bring to boil.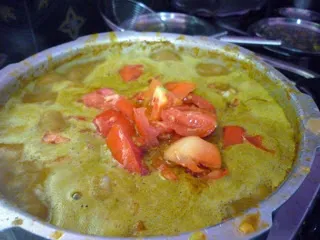
Add chopped tomatoes and cover with lid. Pressure cook till done.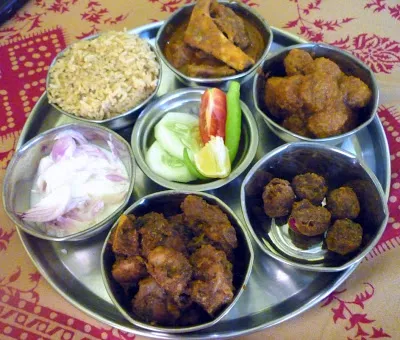
Mutton Kura | Mamsam Curry...yimeee
Ingredients Needed:
1 Kg Mutton
2 cups Mutton Masala
3 medium Onions
5 medium Green Chillies
7 tsp Coriander Powder
8 tsp Red Chilli Powder
A Pinch Turmeric powder
Salt to taste
5 tsp Cooking Oil
How to make the Mutton Kura
Wash and cut the mutton into small size pieces. Keep it on a colander for it to drain completely.
Heat oil in a pressure cooker, add onion julienne, slit green chilies and saute well.
When the onions start browning, add the Mutton Masala and cook till the masala is cooked well.
Next add the drained mutton pieces and mix everything well.
Bring to boil, you will find the mutton leaving a lot of water, it should almost evaporate.
After about 10 mins or so, add coriander powder, chilli powder, salt, turmeric and mix well.
Add 1 -2 cups of water and cover with lid. Pressure cook till done.
Notes:
Since it’s mutton it normally takes about 10 whistles depending on your cooker.
All the masala were added to the ground mutton masala and nothing else was added.
Check for other Mutton Dishes