Habedere,
in this update I want to show the last steps and the finished project.
If you missed the 2nd part:
https://steemit.com/woodworking/@theguymasamato/project-my-own-x-carve-dust-control-system-main-parts
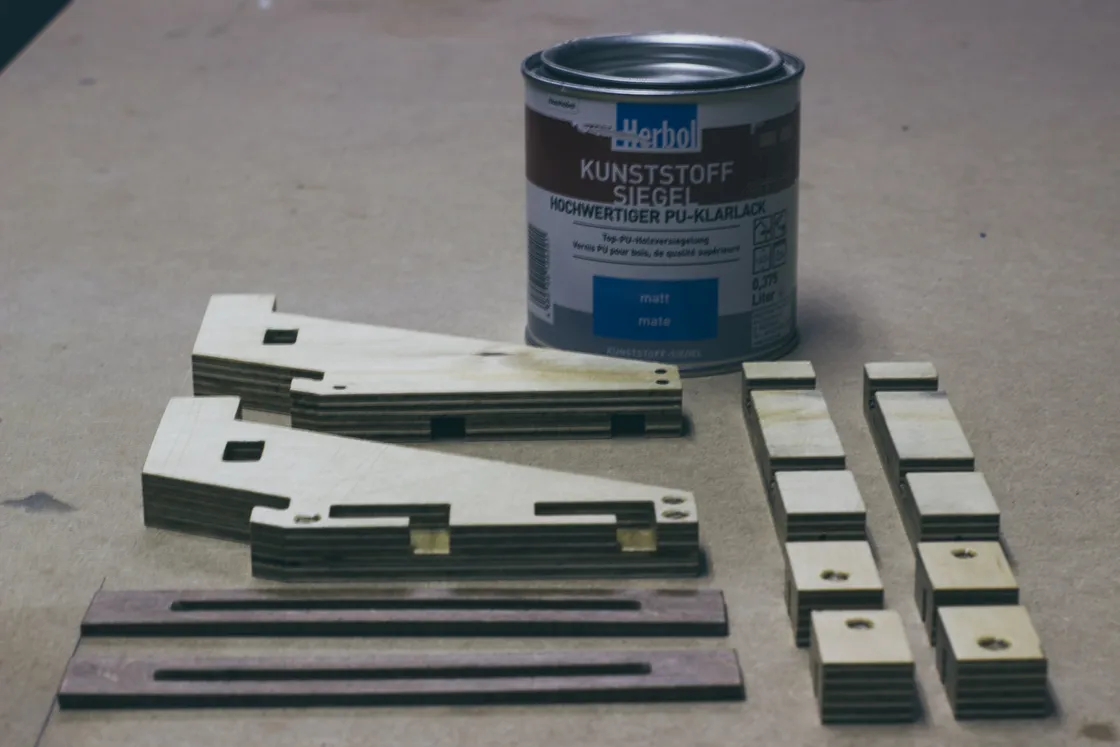
The next step in this project was to paint all parts.
But before I could start I had to do some preparation work.
Sanding with 150 grain size and
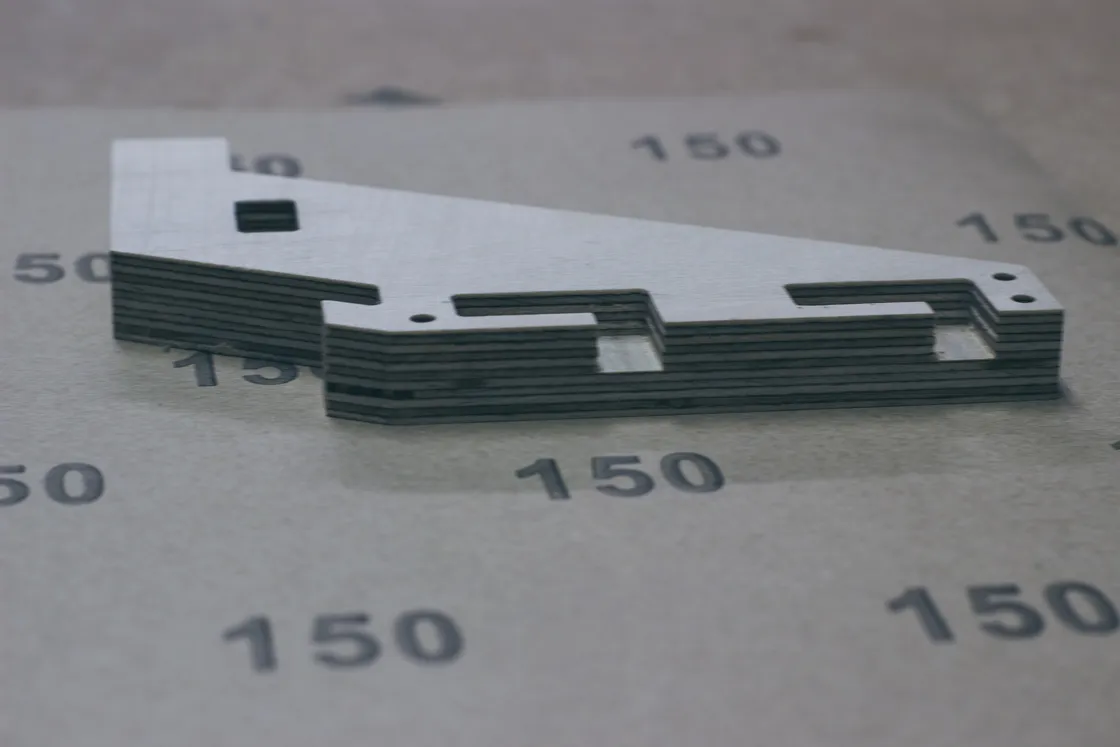
sealing all parts to protect them against the water during the wet sanding process.
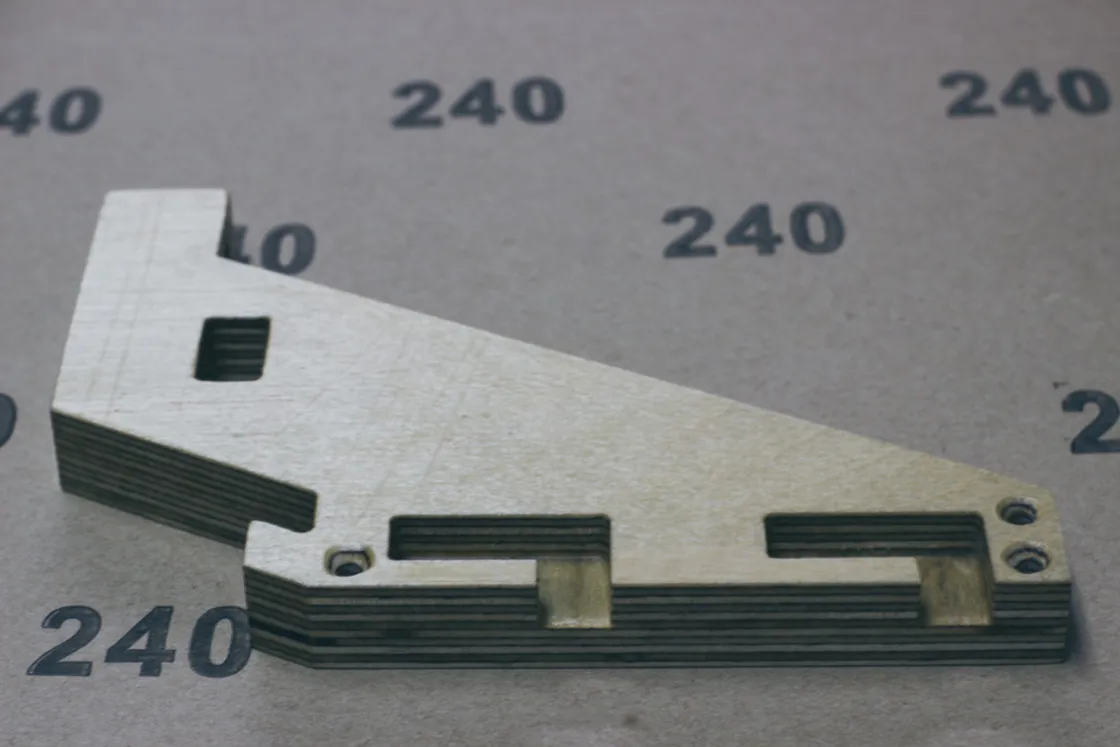
After that I sanded all parts very carefully with 240 grain size.
I'm a very big fan of Montana Cans.
https://www.montana-cans.com/
Not that typical diy/woodworking product.
It has its roots in graffiti and creative artists, but for my it fits perfect to my projects. And the big advantage is that all products are from one manufacturer.
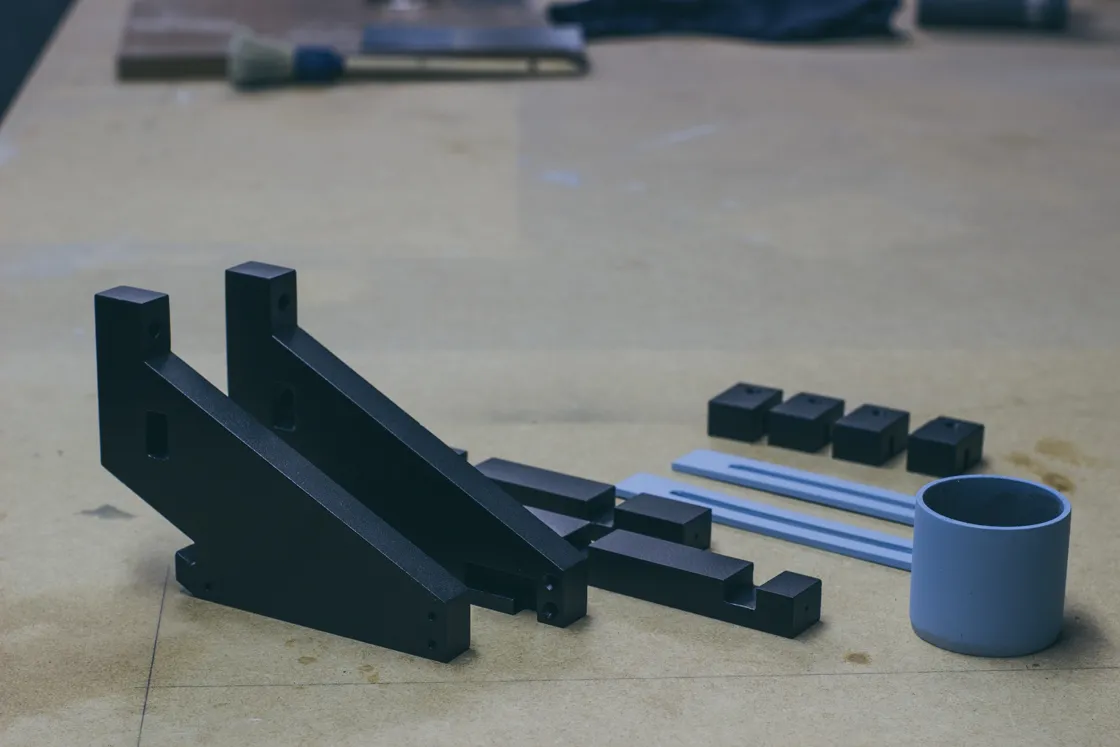
So here you can see all cans that I used.
Primer, texture coating, black and light blue color and a varnish.

Between the different layers I used two grain sizes (400/600) for sanding.

This was the result.
After that I mounted all parts together.
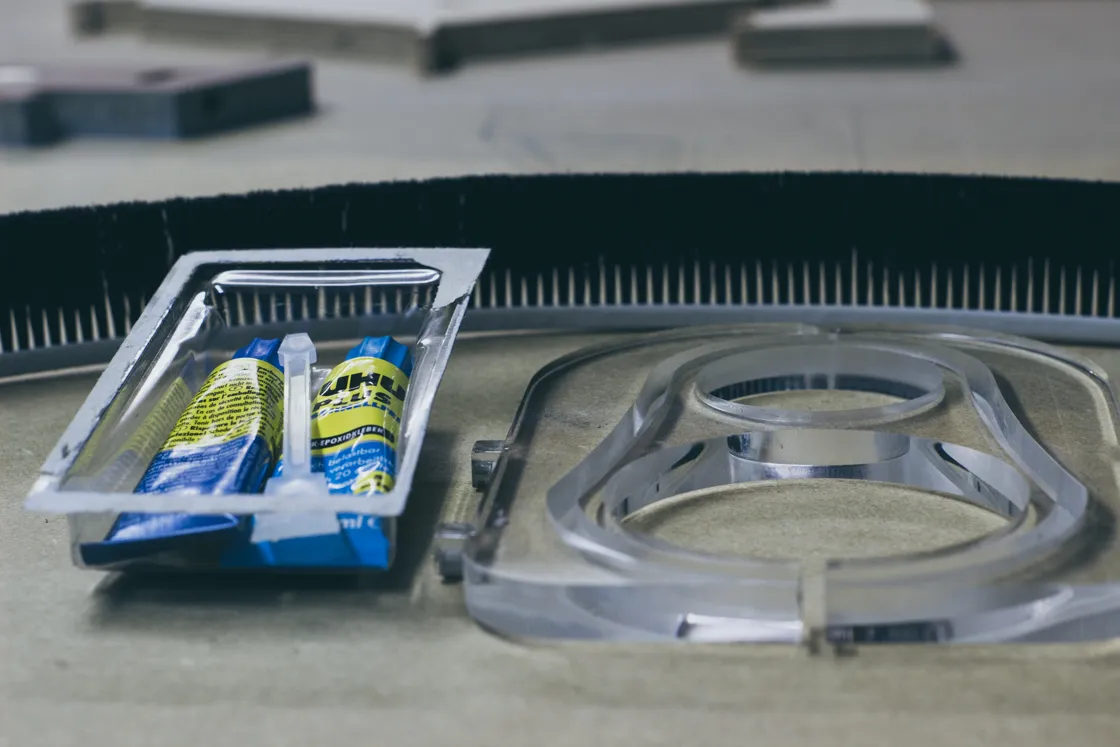
Magnets in the dust shoe mounts and
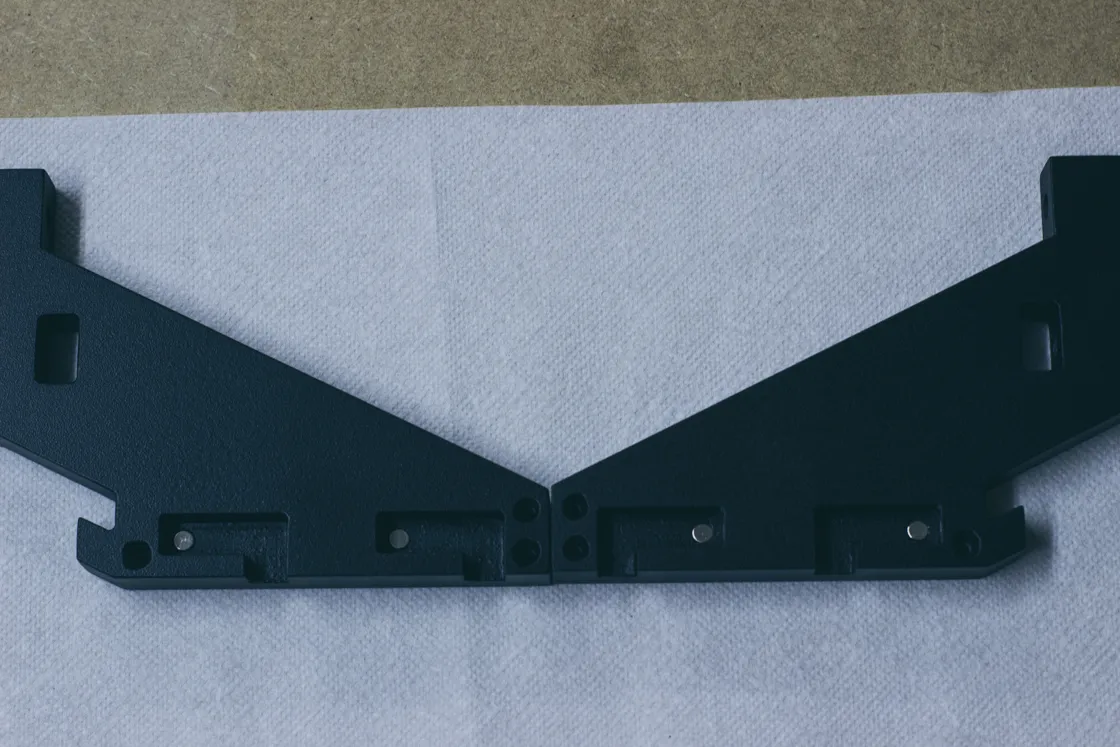
using epoxy to glue in the magnets and the brush strips to the dust shoe.
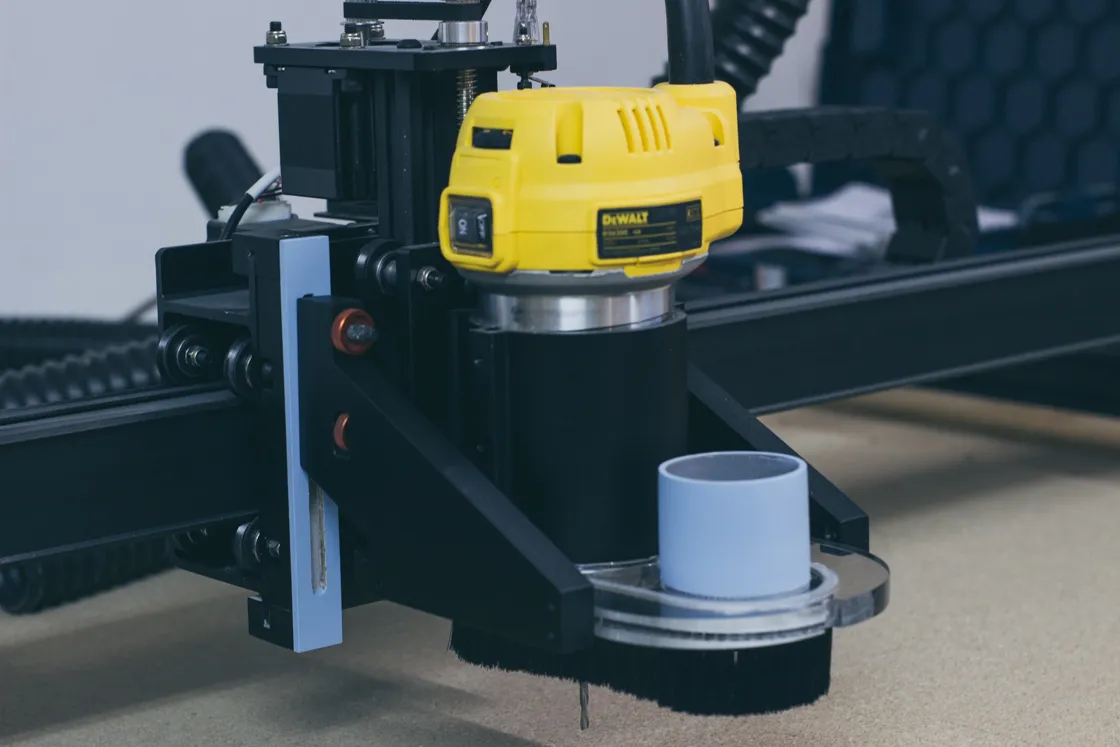
This is my dust shoe.

Here the final result and
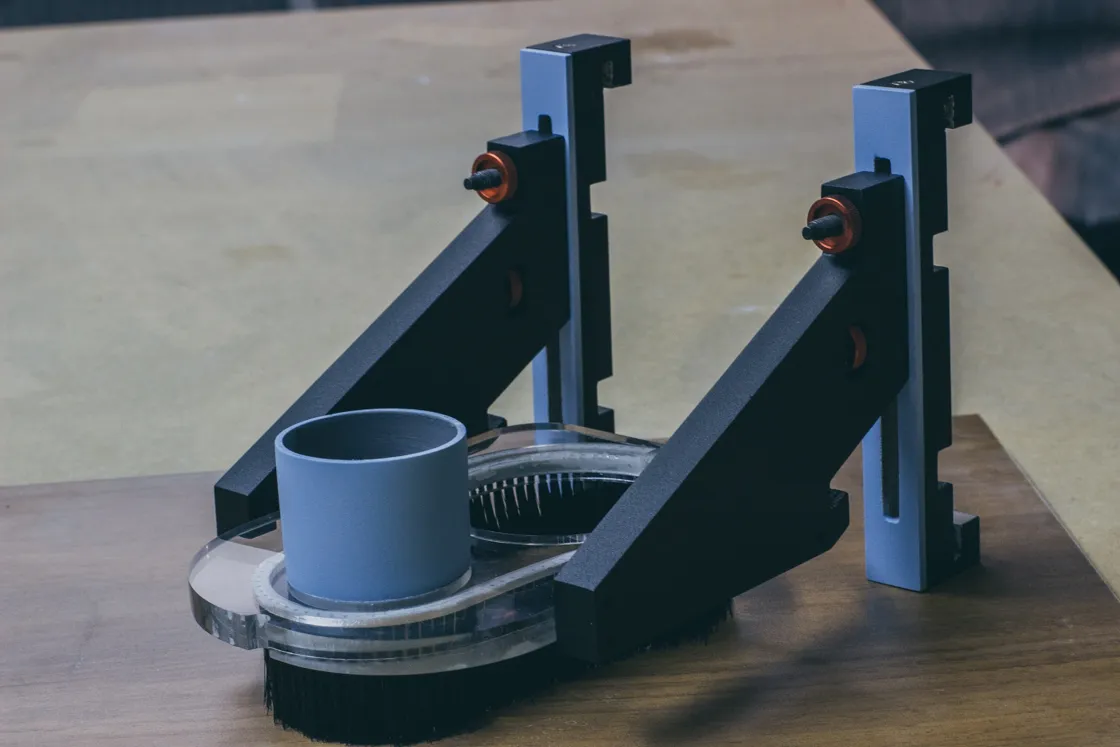
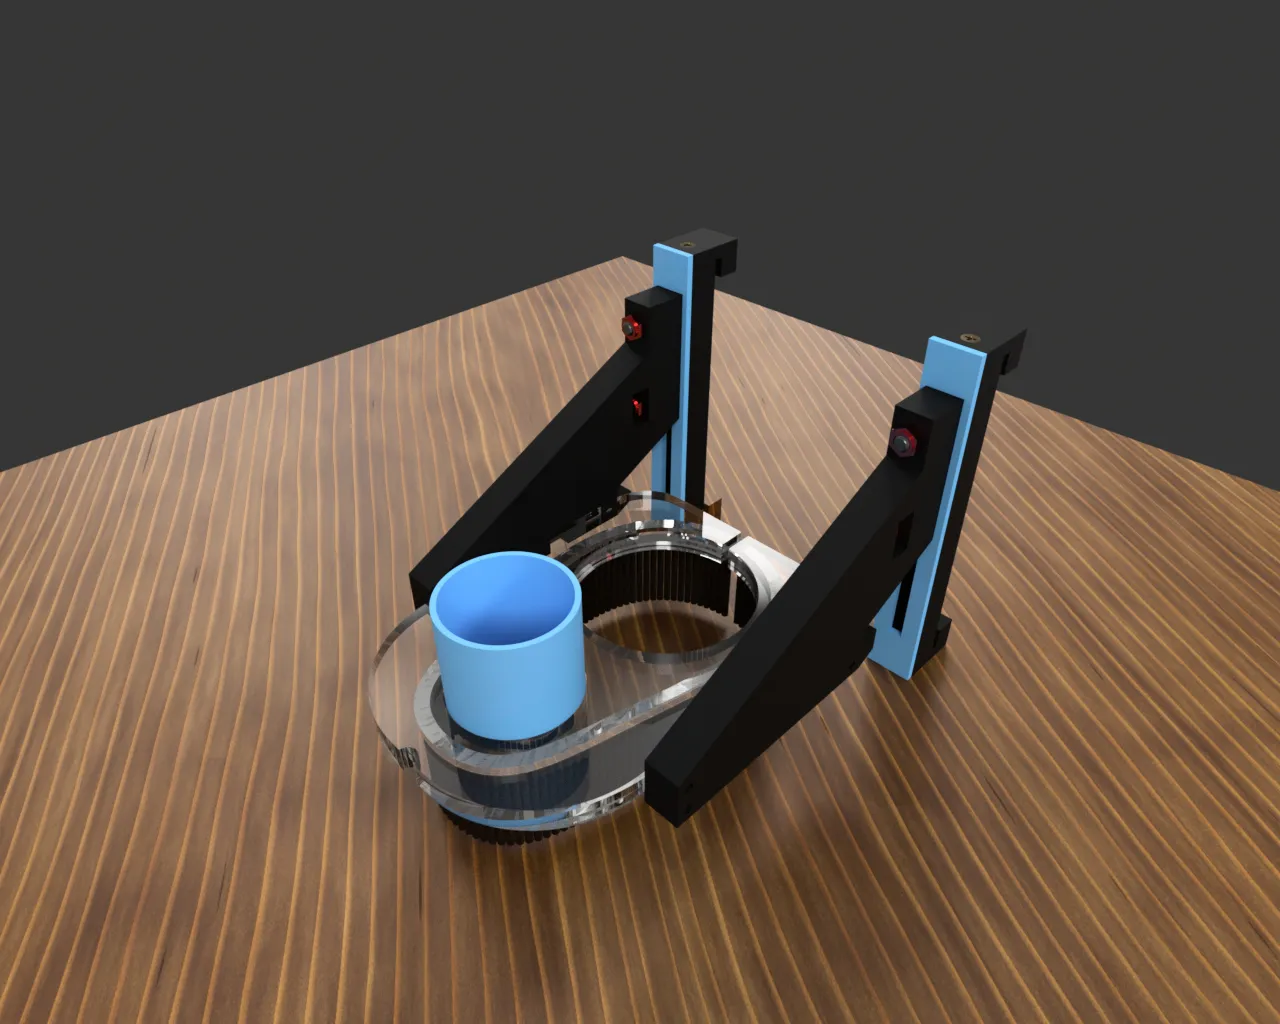
compared to my render.
And here mounted on the machine.
I've created some animations for you, that you see even more details.

And also a short video on dtube with the dust system in action.

Conclusion
It was a really nice project. Not to big not to small with different materials and tools.
I'm happy with the result. As you can see in the video, I'm not dust free, but the dust is in a small area not all over the place as before.
There is also a problem with the rail system, as you can see on the photos. I forgot to calculate the thickness of the different color layers. So it’s not an smooth movement anymore and the colors layers are flaking off.
That sucks.
To cut a long story short, there will be (in a few weeks) a dust control system 2.0.
Thx for following, liking and commenting on my first project.
Servus and see you with the next project.
