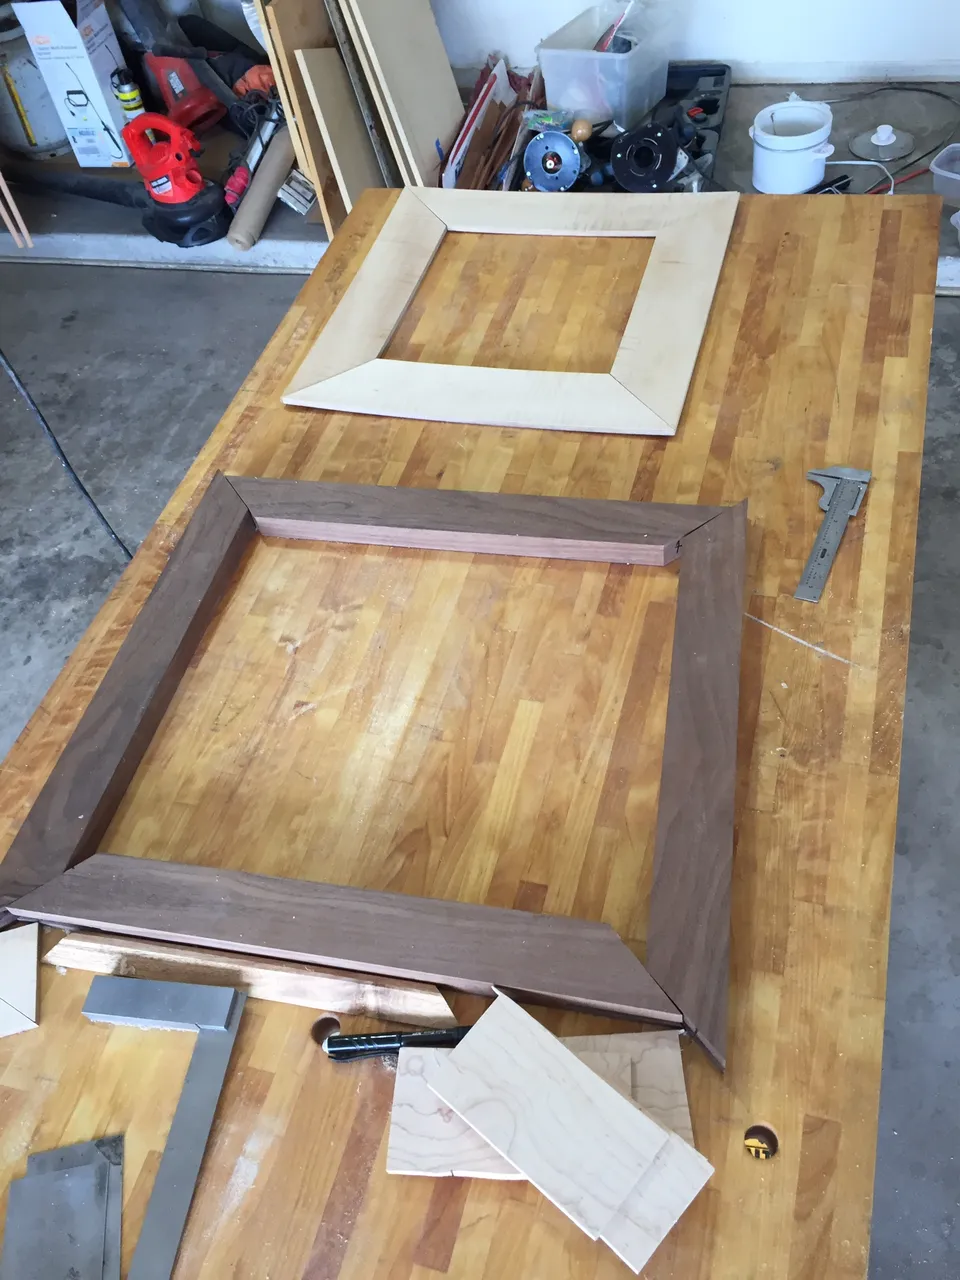
I plan most of my projects in a way that forces me to practice the different joinery techniques that I want to learn.
My focus here is on miters which are obviously handy for picture frames.
The print here is by Nicole Gustafsson, and is shown with permission.

I started with some walnut left over from a bedframe I made.
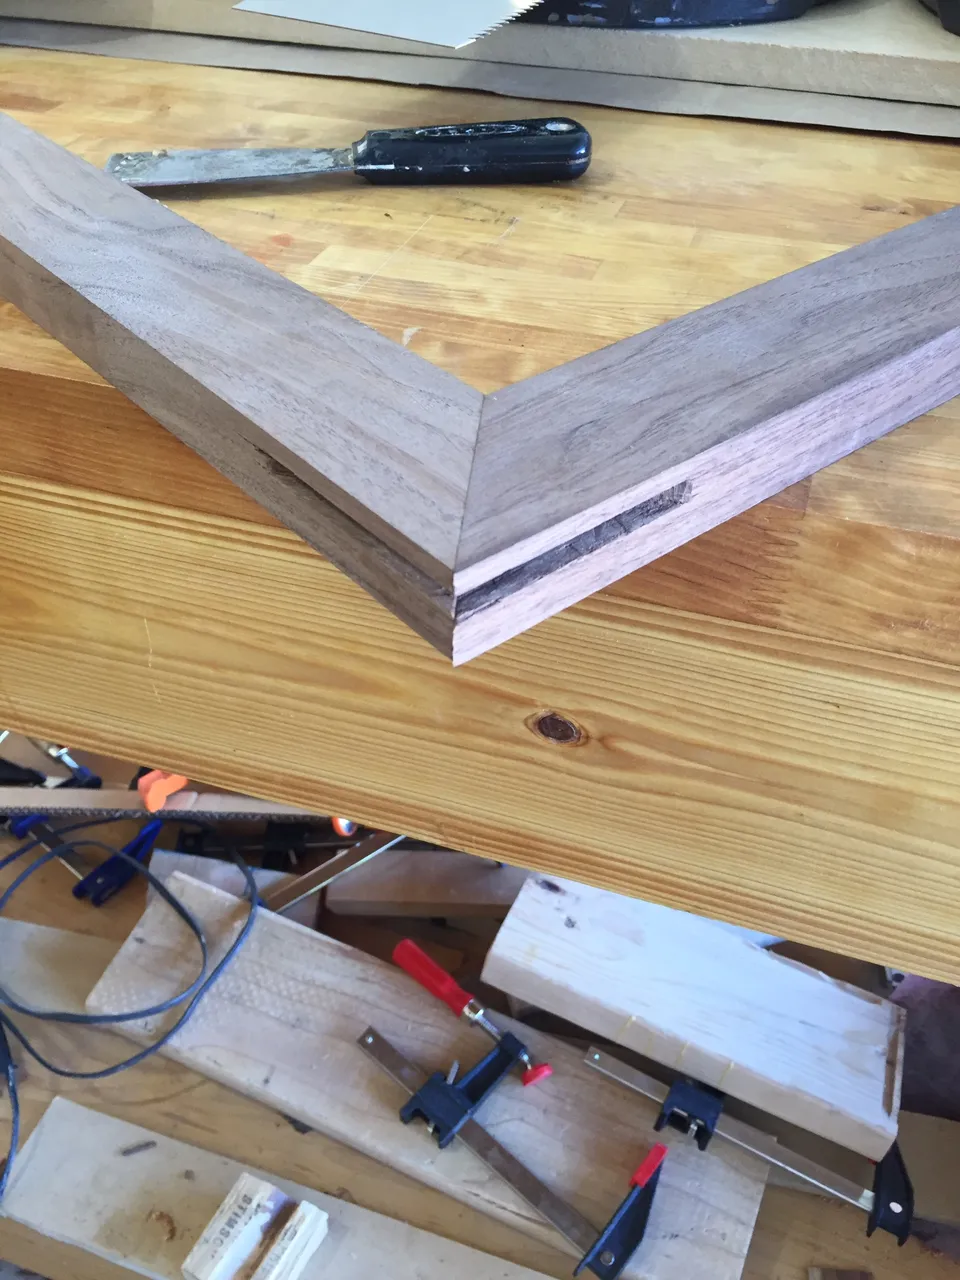
I decided I would use splines, so I have marked the saw lines here.
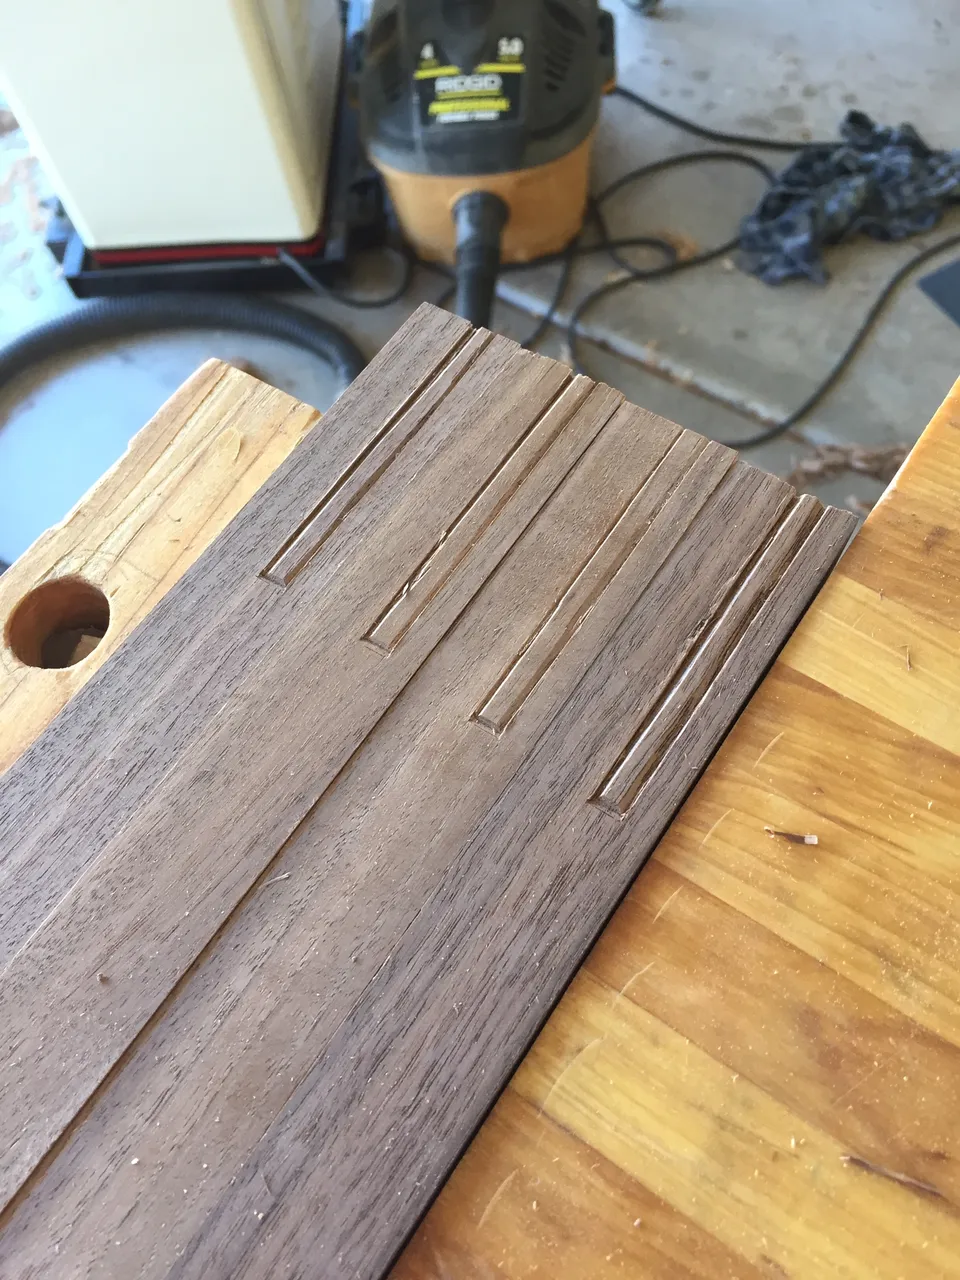
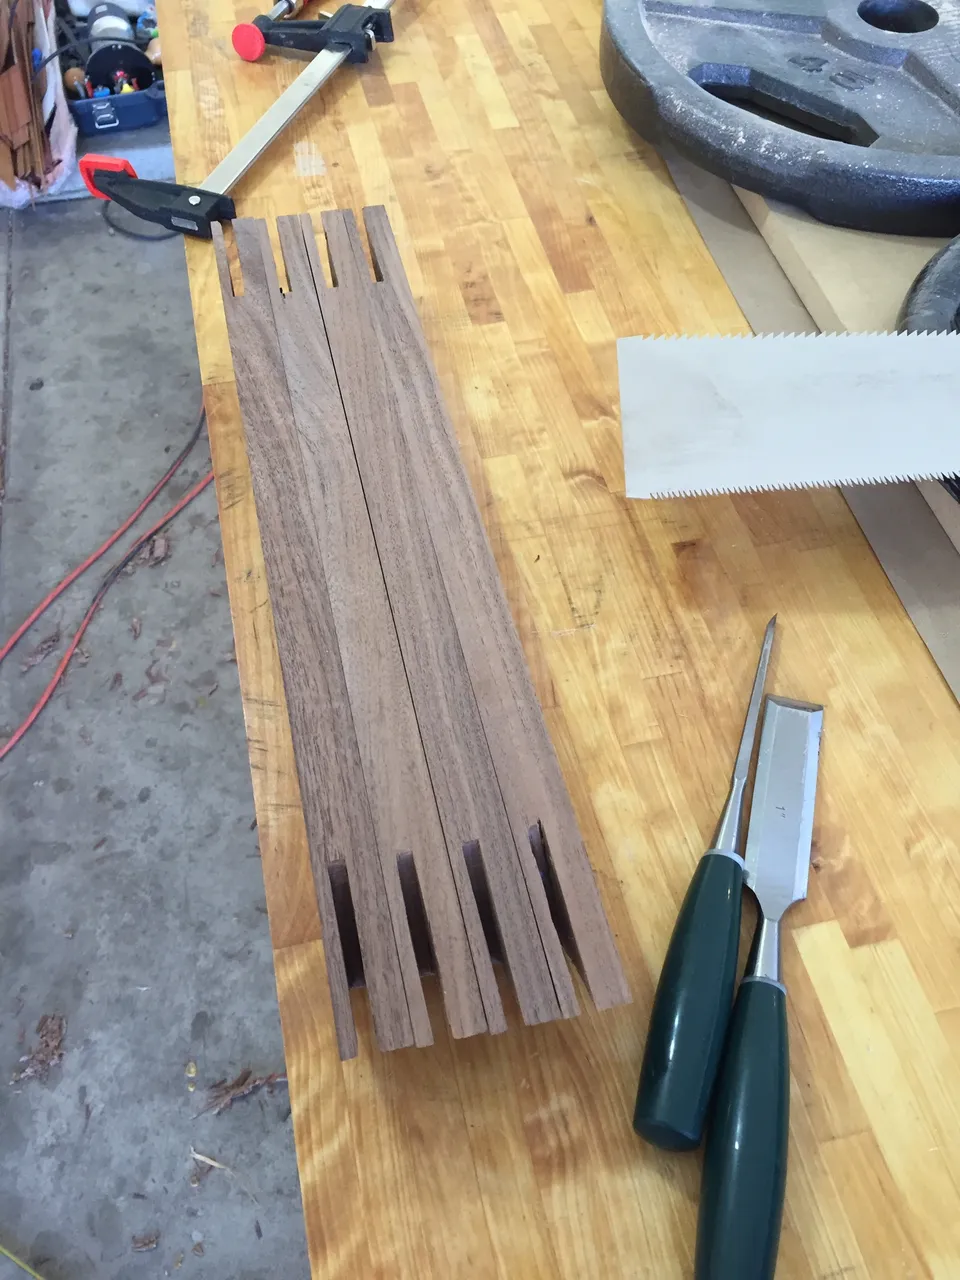
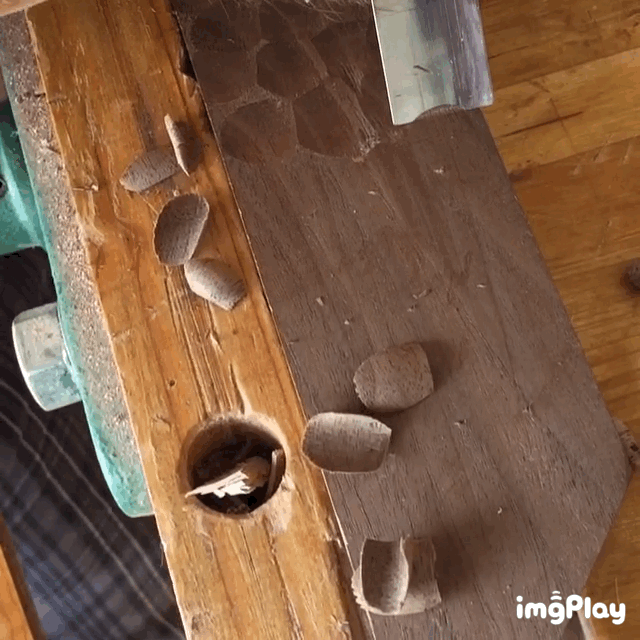
Once all the spline grooves are cut,
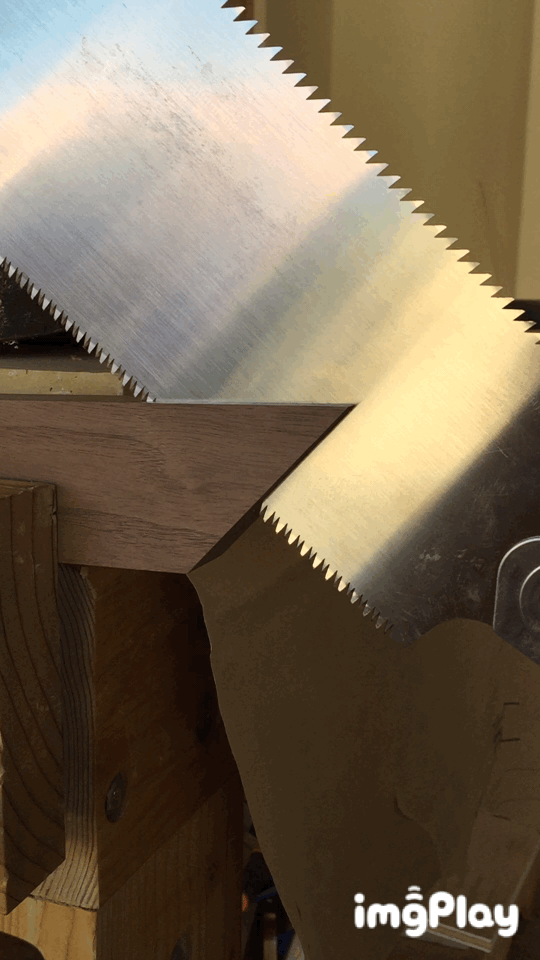
I can line up the miter,
And glue in the spline.
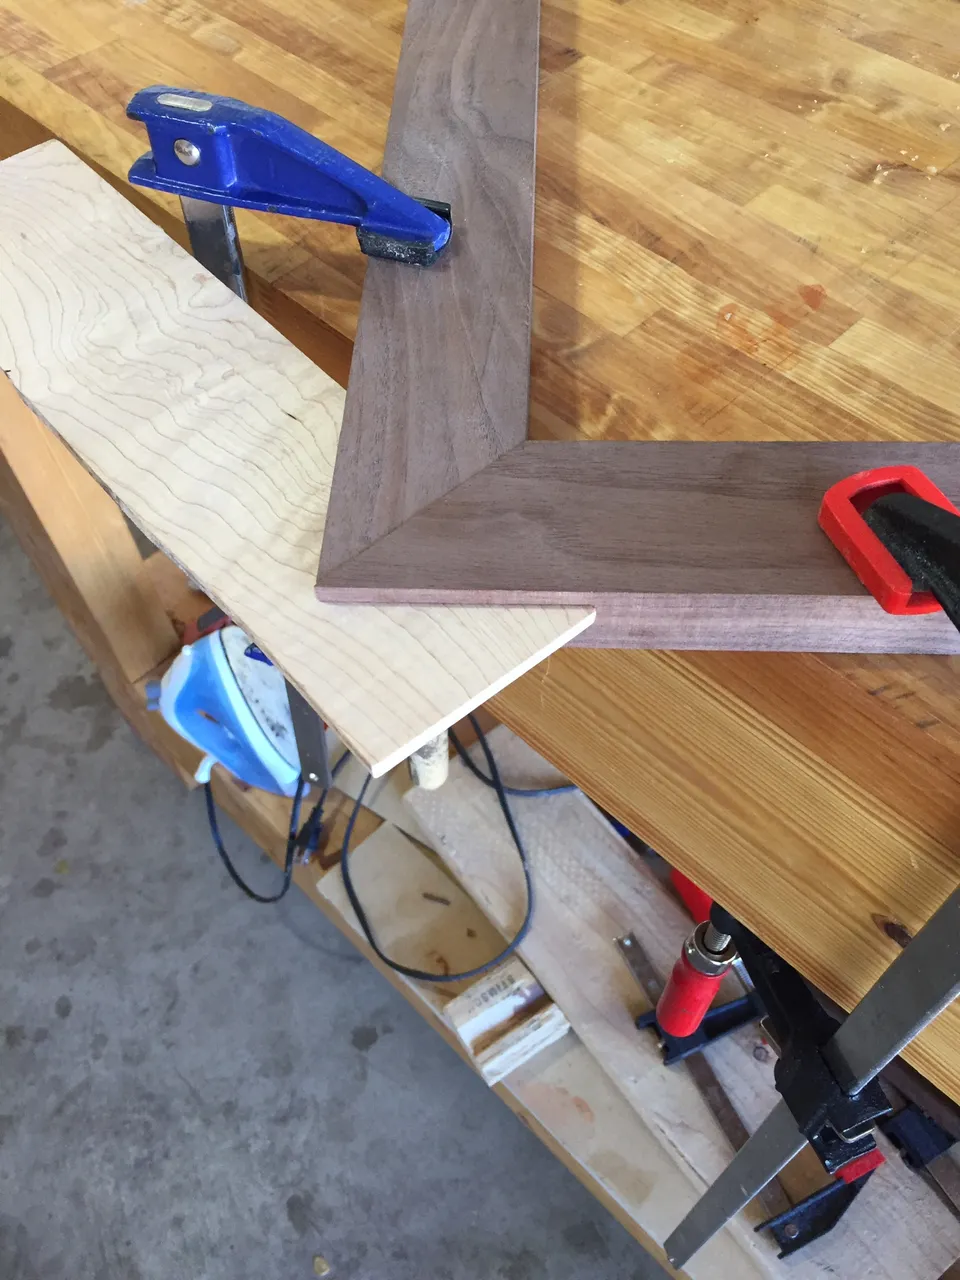
Only, something went inexplicably, horribly wrong. The splines lined up but the grooves that I cut in the back for the frame mat and glass were somehow on the wrong side.
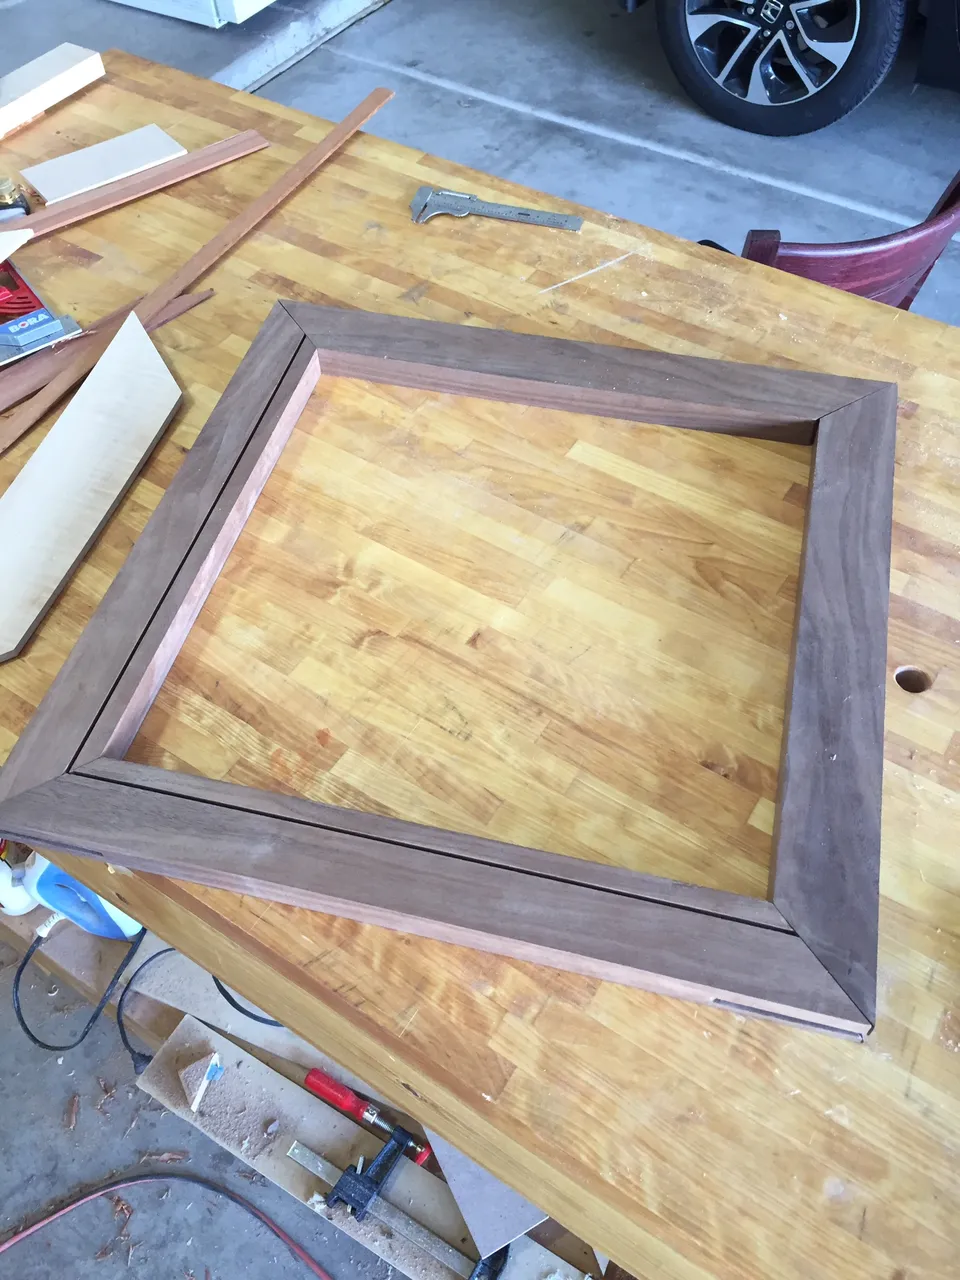
So I ended up making the splines twice as wide.
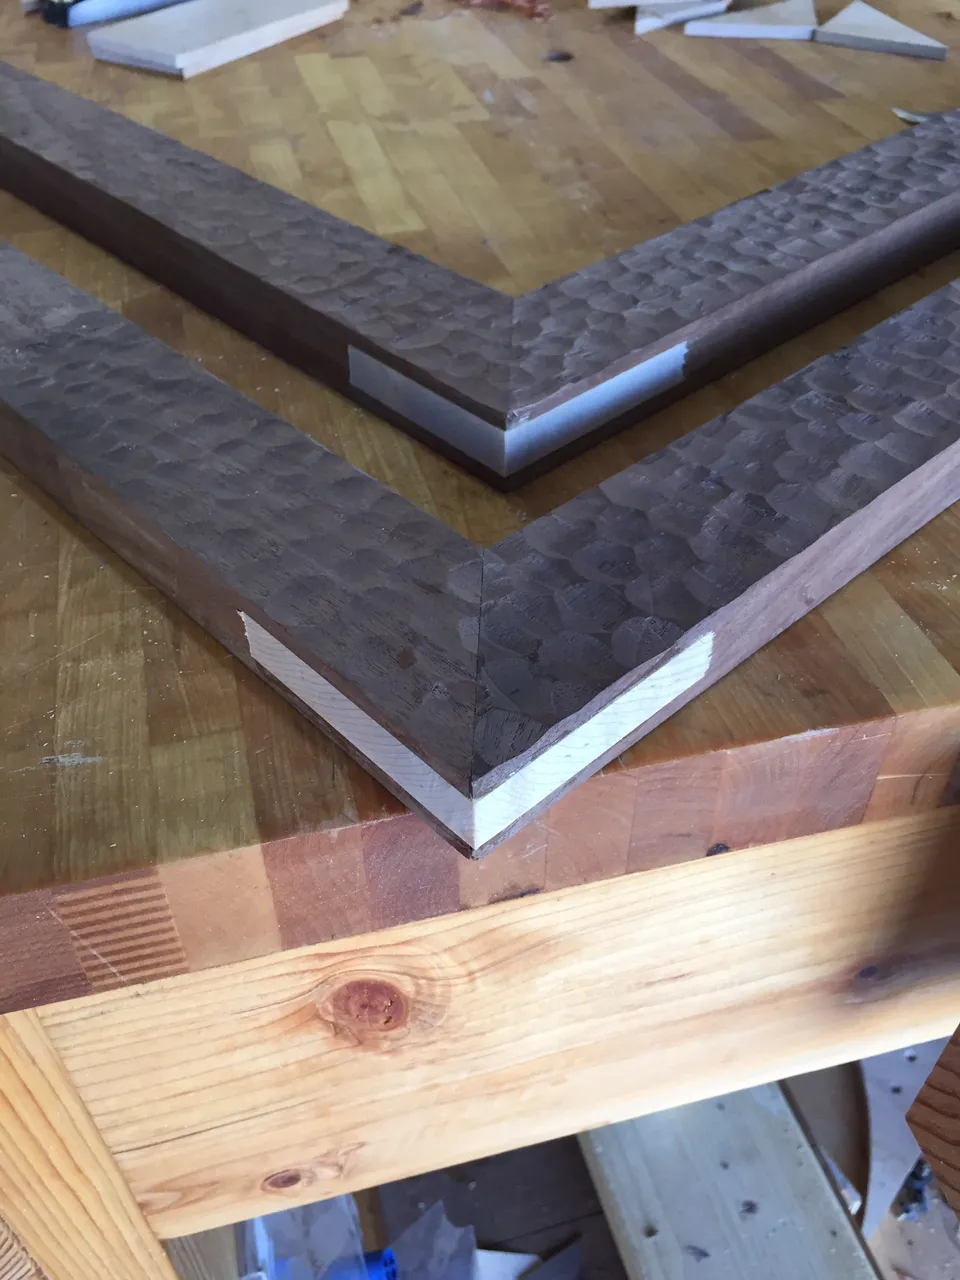
For Part 2, adding some texture.
To see all the upcoming posts, follow along at #woodworking.