This year for a final project at my University architecture class I made a Bauhaus Chess set with guidance from a friend who is a experienced woodworker (He also made a set, teaching me as we went along, I made all my own cuts though). Below you'll find a walkthrough on the steps that I went through in creating my piece. Enjoy :)

Materials Used: 2'x9"x2" Maple Block, 2'x9"x2" Walnut block
First, I had to take the wood working workshops that my University offers for free to the students interesting in using the tools. After a couple hours of classes I was certified on the table, miter, band, and scroll saw. Although most of the cuts in the end would be exclusively on the table saw.
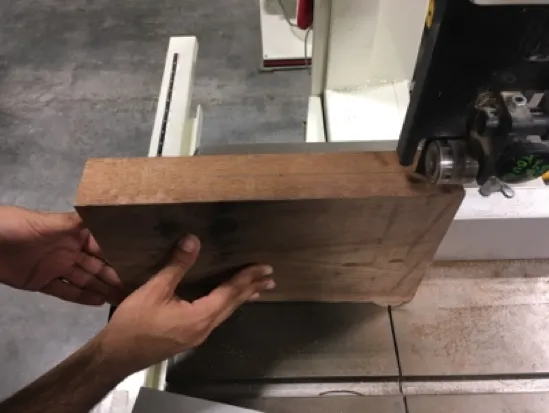
After the classes, I purchased the wood above and began the project. Both woods were cut and planed down to make a good even surface for use with the table saw.

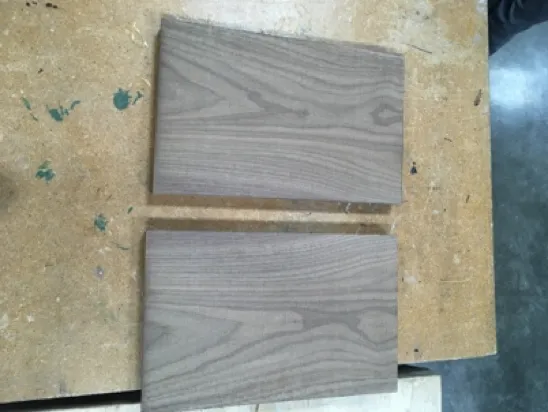
These planks were then cut into strips that would be glued together to make the board.
After the glue dried, I planed the wood again to get a smooth surface on both sides and then I cut the board horizontally and flipped each piece to create the final checkerboard patterns.


These new strips were glued and the final board was now one piece. The wood was a little more fragile than it was before, and my mentor suggested we use a sander to finish the surfaces as it was softer on the wood.
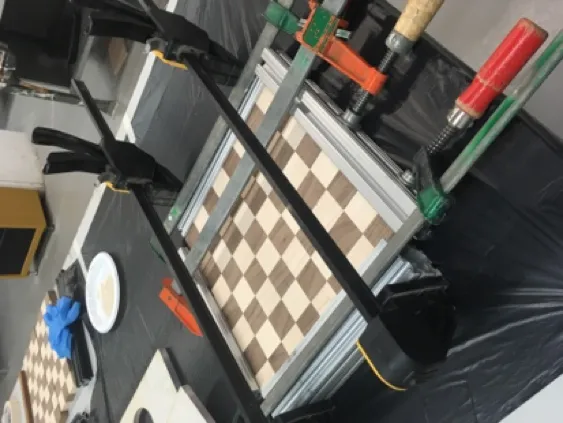
After sanding, the board was now complete and ready for oil finishing.
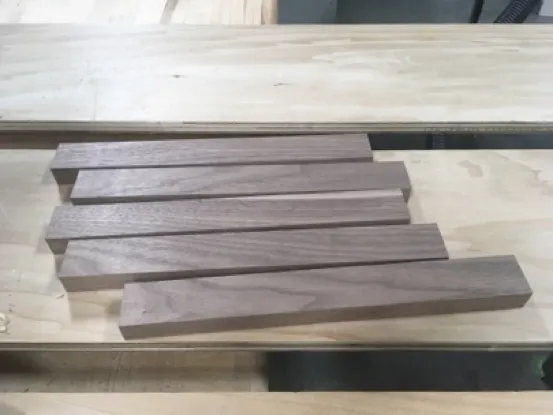
 Now it was time for the pieces. I had been contemplating the best way to go about cutting them, and give credit to my friend/mentor for finding a solution. This led to me using the table saw to complete the majority of the difficult cuts of the angled pieces.
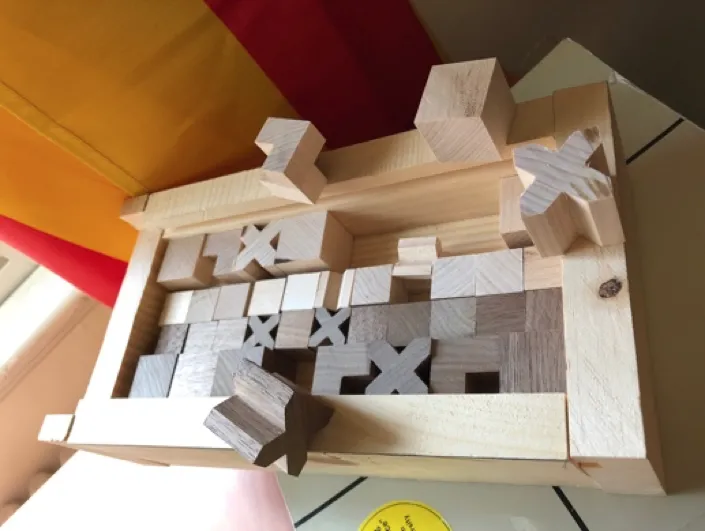
After the time I spent with the table saw while making my board, it was a much simpler task creating the pieces. Many repetitive and precise cuts later they were finished.
And with that, the only thing left was to apply finishing onto the whole set.


I hope you enjoyed the project.. I am sorry that I did not capture every step in photos, something which I will keep in mind next project.