How to make wooden rings..?
Part 1: https://steemit.com/woodworking/@eibemmchen/how-to-make-wooden-rings-now-available-in-bad-en
There it is. What recently looked like Barney Rubble's cartwheel still worked its way out as a pretty particle.
"This way will not be easy..." Up to this picture it was more manual work than I expected. In order to get the ring around evenly on all sides, it is important to alternately grind, look and feel. The finale is still coming and I would like to give due recognition in a final part.
What happened until now...
After I professionally (coughed) marked the wood, the scroll saw may run again to roughly everything that is so angular to remove, because the less I have to grind.
At this point already a small Eibemmchen tip:
If the piece of wood drilled into it has a slightly conical shape, it is great to think about sawing it too, because otherwise a very ungrateful shape will emerge, which somehow has to be repaired with great difficulty.
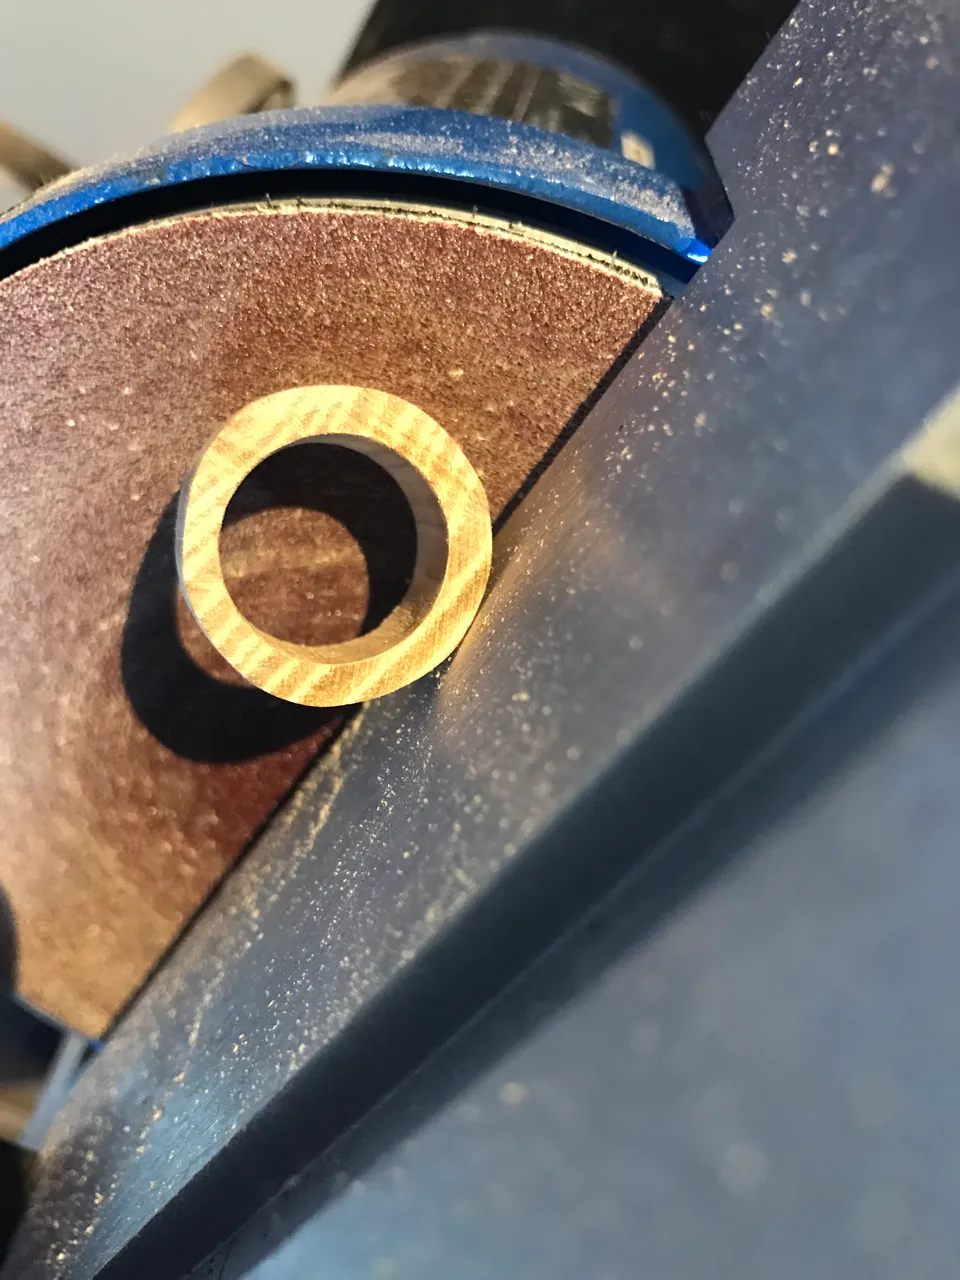
Grind, grind and - grind again...
After sawing, it goes to the grinder, with which I get a reasonably curved-round shape. Armed with 80s sandpaper, this machine really makes the job a lot easier. By the way, you can wonderfully see my mistake here, as I had not thought when sawing that the piece of wood is slightly conical (* cough). As a result, one side became thinner than the other (and you have not seen the back yet, at the just hung a good millimeter). But since a lot of material had to go down, I was able to iron it out in the end. I was very happy about it, because until then my heart and soul are in the ring.
By the way, speaking of heart...
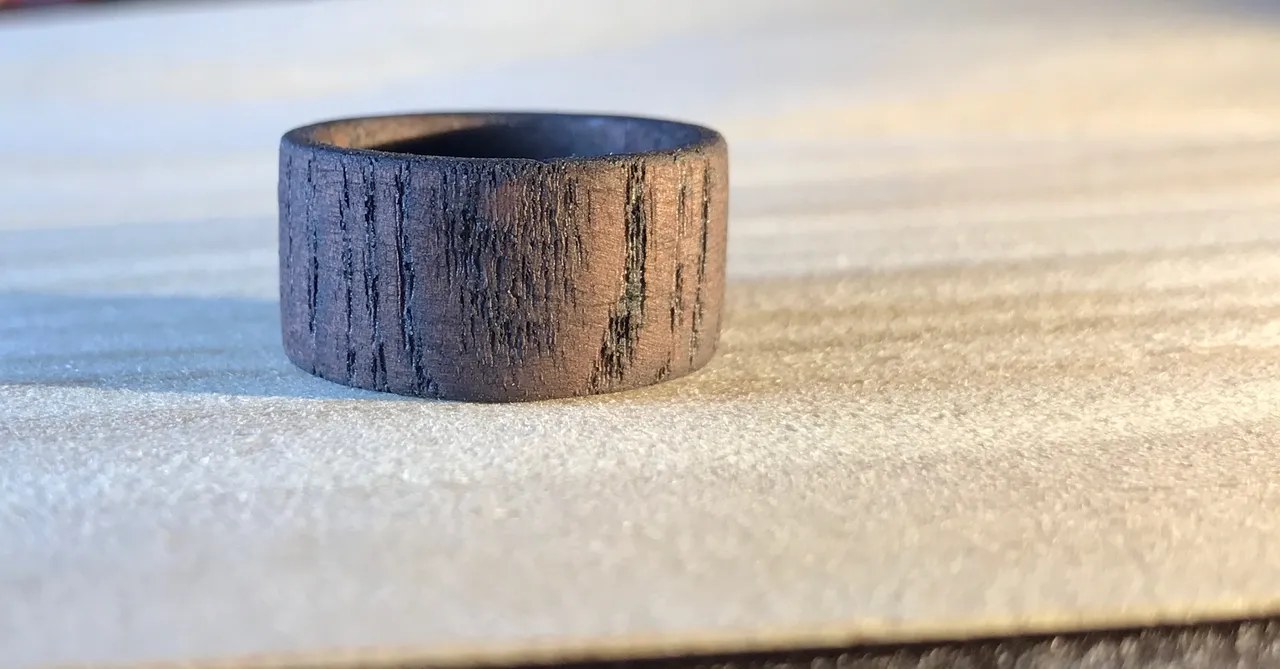
A little workshop romance is also part of this and may not be missing in my work of course. I hope you like my pictures and explain the individual steps as well as possible. Here is the ring as good as finished. With a lot of fingertip feel all around the same level and the edges already rounded. Well, I do not have much experience with wood and the poor ash tree was a bit shy. But I did not want to subject her to boredom right from the start, and I was informed how to lure the ash out of the reserve a bit.
The stain creates stimuli (ok in german it rhymes, sorry)
Look! ..! The ash still conjures up a smile in my face. Through the stain, the grain of the wood is very beautiful. However, she still looks a little "dry". So I give her what she wants: a layer of linseed oil and see what the ash tree can do ..! There are still 1-2 layers of it and depending on how the final result then looks like, I may still decide to grow. First, see how many layers of varnish the wood needs, until Ash says it has enough. Thirsty thing: D

I hope you enjoyed it so far and you are as excited about the finale as I am. Incidentally, I'm always happy about tips from professionals - so just let me know ..! : D
Love,
Eibemmchen