Windows 10 has some pretty cool new features! along with its new Linux ported tools there is a built-in OpenSSH client server.
Currently Windows 10 OpenSSH is still in beta, but it works pretty good. What is great about this built in feature is that you don't need to use any more third party SSH clients!
I will try to illustrate the best way I have found to install and enable the Windows 10 OpenSSH feature. Before I start make sure you are at a point in your computer where you can do a reboot as we will have to perform a reboot later in the following steps:
Step 1.
Click Windows Start Menu, type option in the search field. A window will open called the Manage Optional Features:

Step 2.
Click on the Add a feature. from here you will see a list of features, look for OpenSSH & OpenSSH (beta)
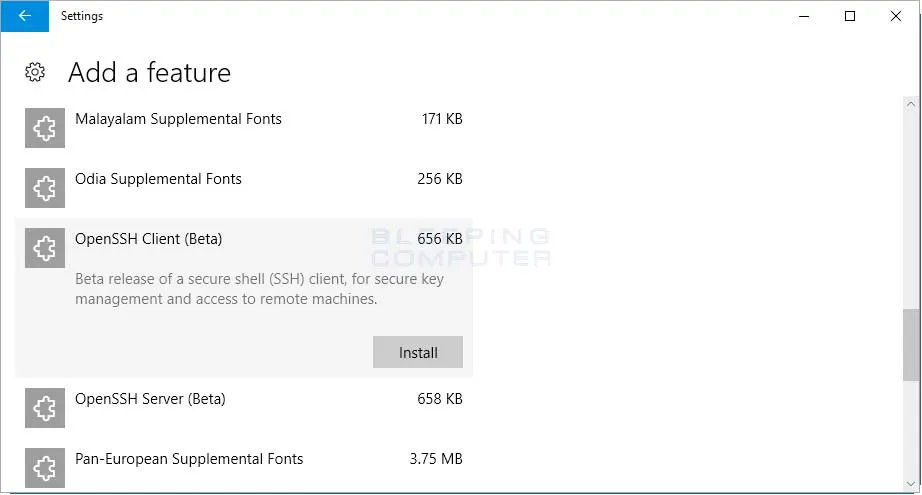
Step 3.
Now install the OpenSSH add-on features, your selection will disappear from the list after you select install.
OpenSSH is now installed:

Important
Here is the crucial part, make sure you are at a stopping point on your computer where you can perform a reboot.
Go ahead and reboot to complete the install.
Your OpenSSH is now completely installed!
You can use your command prompt and type ssh hit enter
You will see a list of arguments.
Wallah! you can now connect to servers remotely if you need to. If you want to test your OpenSSH there is a testing server online where you can test out your new feature!