Introduction
Hi, dev's what's up?
In this blog post, you'll learn how to set up your Unity project for developing with the Gear VR. Since many online tutorials are outdated or incomplete, this one should help you out post-2018.
Obviously, first and foremost you'll need Unity. The second step is to get your phone ready for debugging. As we just covered these steps in our last blog post about the Unity setup for Google Cardboard, have a quick look!
1. Setting up Unity for Gear VR
Due to the awesomeness of Unity, we don't need any additional integration for it to work with VR. You'll only need to download the Oculus Utilities which you find here, import the package into your project and get started right away.
Let's do another step by step list:
- Open Unity and create a new project.
- Import the Oculus Utilities you just downloaded by double-clicking the Unity package.
- Since the GearVR runs on your Samsung phone which also happens to be an Android phone switch the build platform from Standalone to Android.
- In the same Build Settings, you also find the Player Settings. In the Player Settings, you want to find XR Settings on the very bottom, enable Virtual Reality Supported and then select Oculus after you clicked at the little +.
- Set the minimum API level to Android 4.4 'Kit Kat' (API level 19) or higher.
- Set Color Space to Gamma and disable GPU Skinning
2. Download and integrate the OSIG File
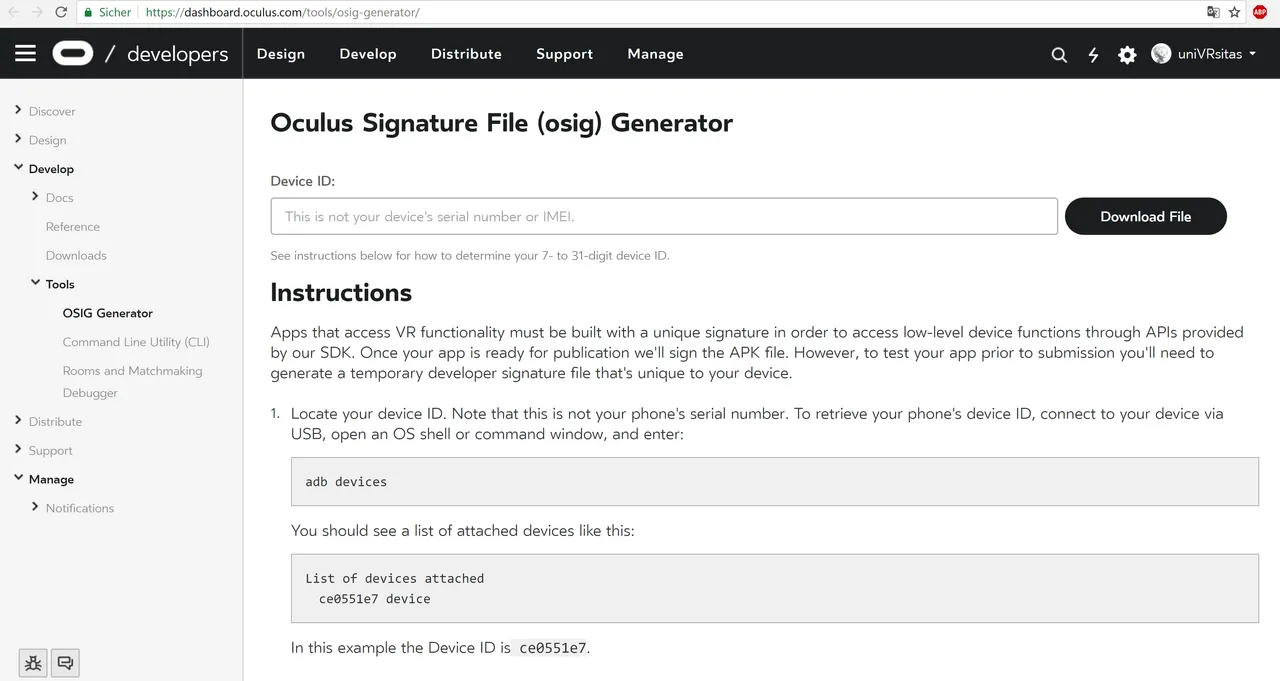
You need to download something called OSIG file which is (unfortunately) necessary for building Gear VR apps. But with some tricks, it's super fast and easy.
You need your Android device ID. There are multiple ways to find it out. Here is the official Oculus guide (which is quite a bummer, to be honest).
If you are a simple man or woman and like your life uncomplicated you want to follow the easy way to get your device ID:
Download the app called 'Device ID' from the Android store. Open it and voilá you have your device ID which you'll use in just a minute.
Go here, insert your Device ID and download the generated OSIG file.
After you have downloaded the OSIG File, you have to put it to a very specific location in your Unity project
/YourProjectDirectory/Assets/Plugins/Android/assets/.
If the directories don't exist create them. Don't ignore this step otherwise; your app won't work - something we don't want to risk, right?
Final Words
Now you have everything to get started. You can test your app by plugging in your device with USB-Debugging enabled and then hitting Build and Run in the Build Settings.
As always, if you have any questions or remarks let me know: dinesh@univrsitas.com
Cheers