YES, YOU CAN DO THIS!!!
Watch these videos and learn how to replace the clutch on you car.
This may sound like a job for the garage, but believe me when I tell you that this is an easy job.
It just takes planning, a few basic tools and perseverance.
Oh... And of coarse you will certainly need a cuppa... Or 2, or 3, or 4.
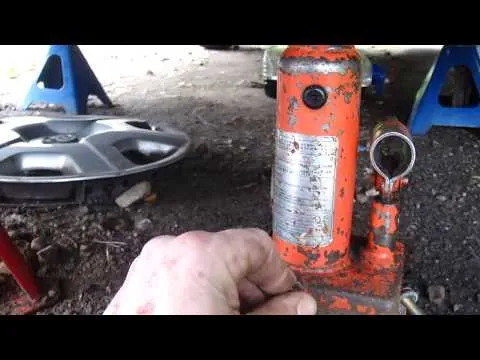
Whilst doing this job I have listed all the tools you will need. Other than 1 small bottle-jack and 3 axle stands, you won't be needing any other serious kit. A bag of spanners, some screwdrivers, a decent socket set(1/2 inch & 1/4 inch drive), a few metal bars and a bit of common sense ;)
This job, depending on which car you own, will cost you anywhere between £400 - £4000!
So these tutorials could be well worth holding on to.
Most domestic cars are made from the same mould. No matter what model or make you have, it will still be a very similar task to the one in this video. The only real differences you are likely to come across will be listed below and instructions will be provided.
As this is one of the larger jobs to be tackled whilst maintaining your "whip". I have made it a little easier and have broken the tutorial up into a few parts. This should help you keep to a more methodical way of working and break the job up, so you can take you time with it...
This job has a industry time of 6-hrs, so plan your day(s) around natural stopping points.
OK, lets get cracking, shall we? Now remember to play safe, we don't want any silly injuries and I take no responsibility for any loss to life and limbs. You take this job on at you own risk.
Good luck! And don't hesitate to contact me for any further advice
Part 1
Session 1 - Preparing the job. Tool list. Safety. Dismantling the passenger side wheel station.
(Here is the vid that explains how to remove brake caliper)
Session 2 - Removing Driveshafts. What to remove from the top of the gearbox.
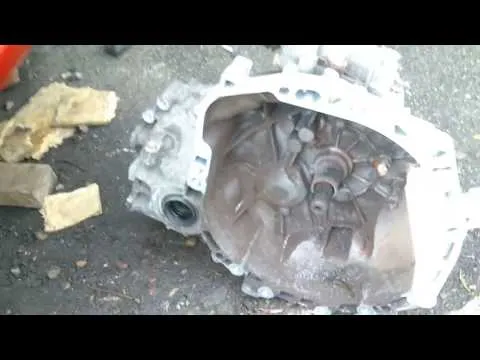
Session 3(rudely interrupted by the battery) - How to remove drivers side driveshaft and how to remove the gearbox completely.
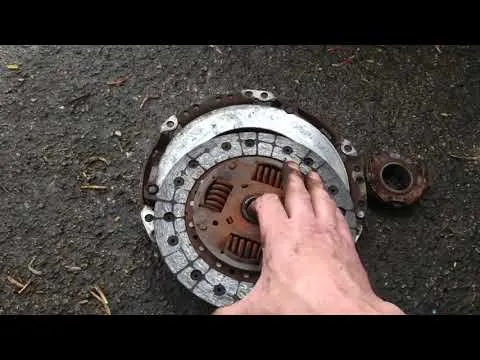
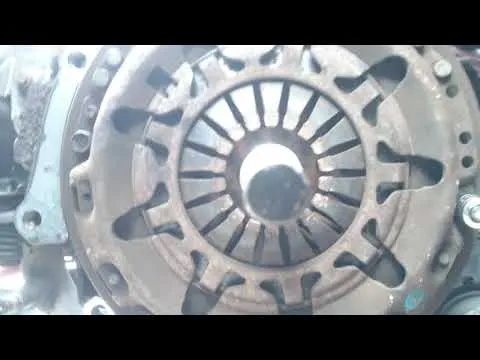
In the next videos, you will hear some very handy tips and also find out exactly how your gearbox and clutch work.
Session 4 - Aligning your clutch plates (Rudely interrupted again!)
Here is a link to buy a clutch alignment tool
Session 5 - Last part of day 1 - Time for a beer!
Various problems you may encounter on different models and makes. Please read.
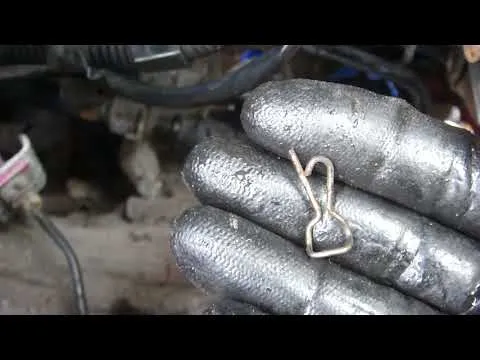
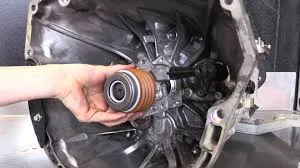
INTERNAL SLAVE-CYLINDERS AND SUBFRAMES
(BE VERY CAREFUL NOT TO DAMAGE THE THREADS ON THESE UNIONS!!!)

WARNING - I have had 2 or 3 occasions when the bolts to this CSC had locked solid, due to being fitted with stud-lock when it was built. Sometimes these bolts snap and that can cause a massive headache and I mean MASSIVE...
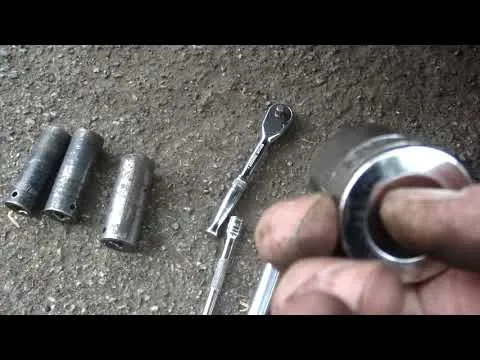
I suggest making sure you have a tight fit with the sockets you use and maybe even a little heat. You can buy a gas-blower from Halfords for around £15 and if you heat the metal around where the stud will be(Not the head of the bolt) you may find that helps release the bolt a lot easier.
WARNING - Gear boxes are made of aluminium and the metal will start to melt at a much lower temperature! Be very careful not to heat for to long! Warm the metal at first and then try to remove stubborn bolt. If it is still stuck-fast, then warm it a little more. You are heating the metal in the hope it expands and breaks the bold inside the threads. Aluminum has a tendency to react with steel and this makes this all to common a problem with such vehicles. Still I would say that the majority of CSC's come out with no problems at all.
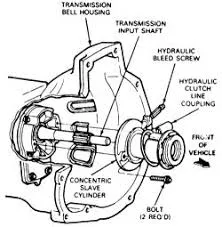
FINAL WARNING - You must NEVER squeeze a new CSC, as this can upset the seals inside.
After installation and you have connected your fluid system back together, you will have to "Bleed the clutch". This can be done easily and I will leave a link to show you the process. It takes no more than 20 minutes.
link to Eezibleed from Screwfix
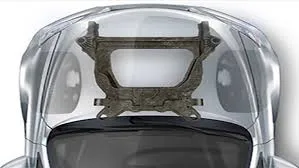
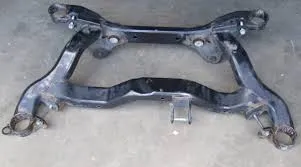
Sub-frames
Other than that, you now know how to change the clutch on any vehicle you ever have! What a bonus, eh?!!
Now some vehicle have gearboxes that are a bit bigger than this one. Nevertheless, if you have a sturdy Trolley-jack, you can easily accomplish your task.
I hope this has helped you all out and please come back for part 2 and see how we refit the gearbox.
As the rest of the process is exactly the same, but in reverse, it will only be a short video. I will show you how you position yourself and the box to guide it into place. After this I will do a short video to show you the vehicle in its fully working state. Other than that, I will bid you all a good-evening and see you tomorrow.
Go on, you can clock-off now, thanks for coming.

https://smartsteem.com?r=article61


Video and picture sourced from:
CSC valve pic 1. Pic 2. Pic 3
Car sub frame
Car sub-frame 2