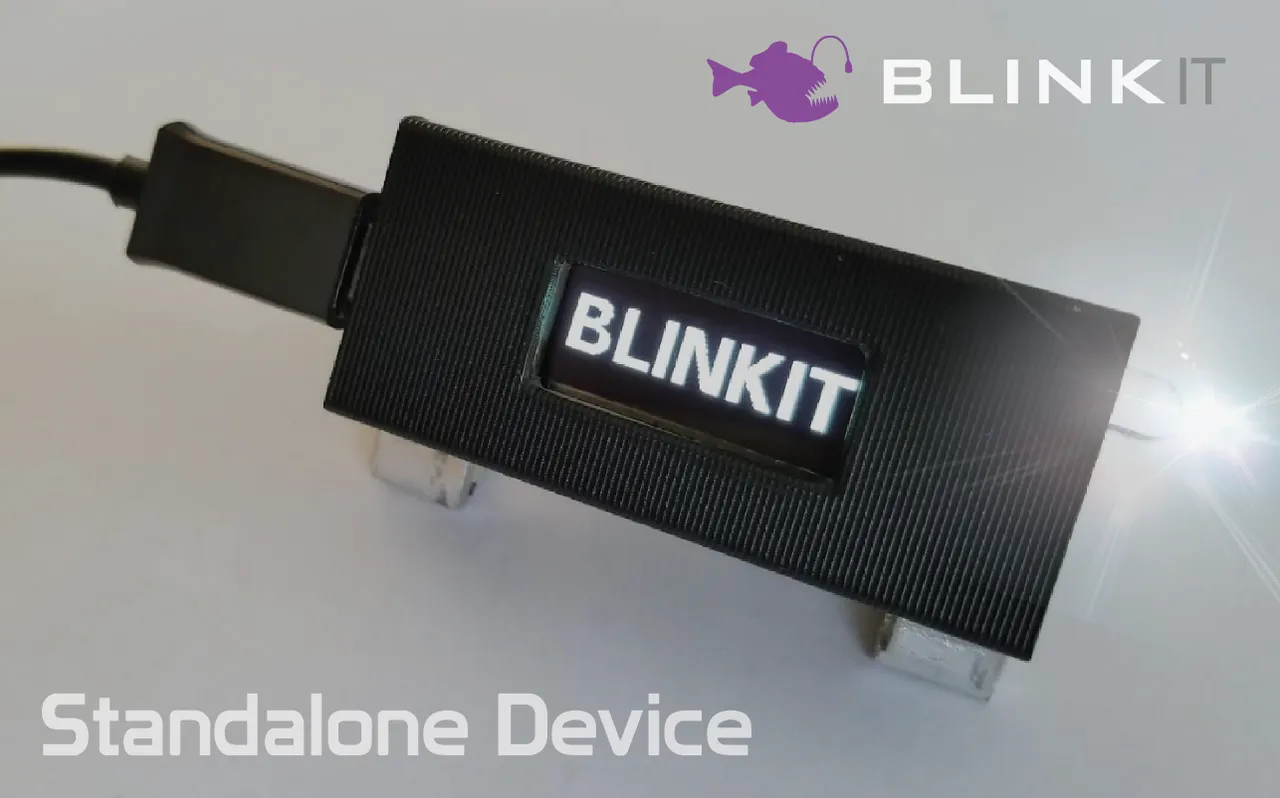
A wish for the Blinkit project for some time is, a inexpensive stand alone device that can connect to Steem by itself and can notify the user about Steem account activities such as New Upvotes, a first step for this kind of dedicated device are made and resulted in a first "proof of concept" V1.0 which is described in more detail below.
"The start of a small inexpensive Steem connected IOT device that notifies it's users with sound and light, about Steem actions such as New Upvotes!"
The used Arduino model where this first development version can run on cost around 10,- usd, and are easy to buy online, and the instruction needed to get it up and running are, and will be made as easy as possible. (beside that the boards can be bought from 3rd parties, there will also be looked into offering them pre installed as a starters kit with the board, enclosure and related components, offert to the Steem user, in exchange for Steem.
This release is compatible with the following board : "Heltec WiFi Kit 8"


Features
This first "proof of concept" version have the following features
- Connects over WiFi to the internet.
- Download and stores the number of Upvotes for a user
- Compare the downloaded Upvotes and detect new Upvotes
- Blink when New Upvotes are detected, Blinks the build in screen, and a optionally connected LED, as well a sound is triggered from the also optional to connect speaker (piezo).
"World's smallest Steem connected device!"
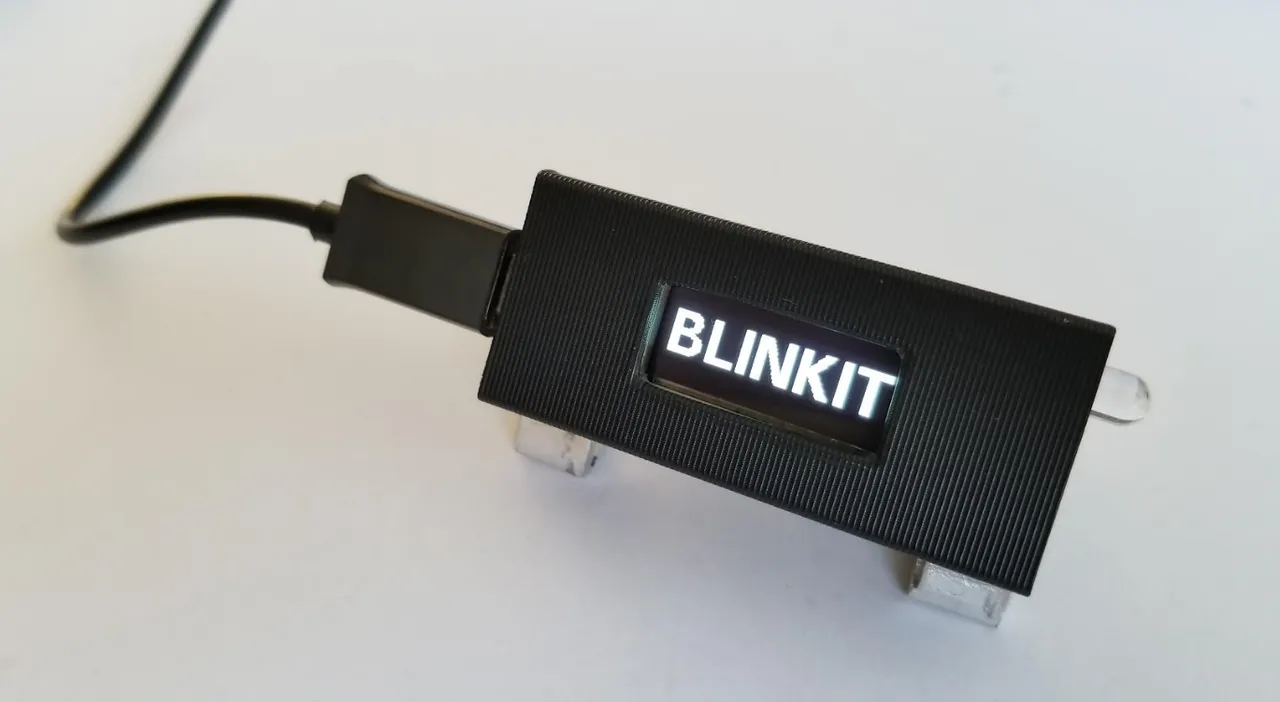
Device startup sequence
The device only needs a USB cable and USB (phone) Adaptor.
(Or any free USB port to get power from will work) When the power is connected the following screens will be presented.
First screen
- Show Blinkit splashscreen
Second screen
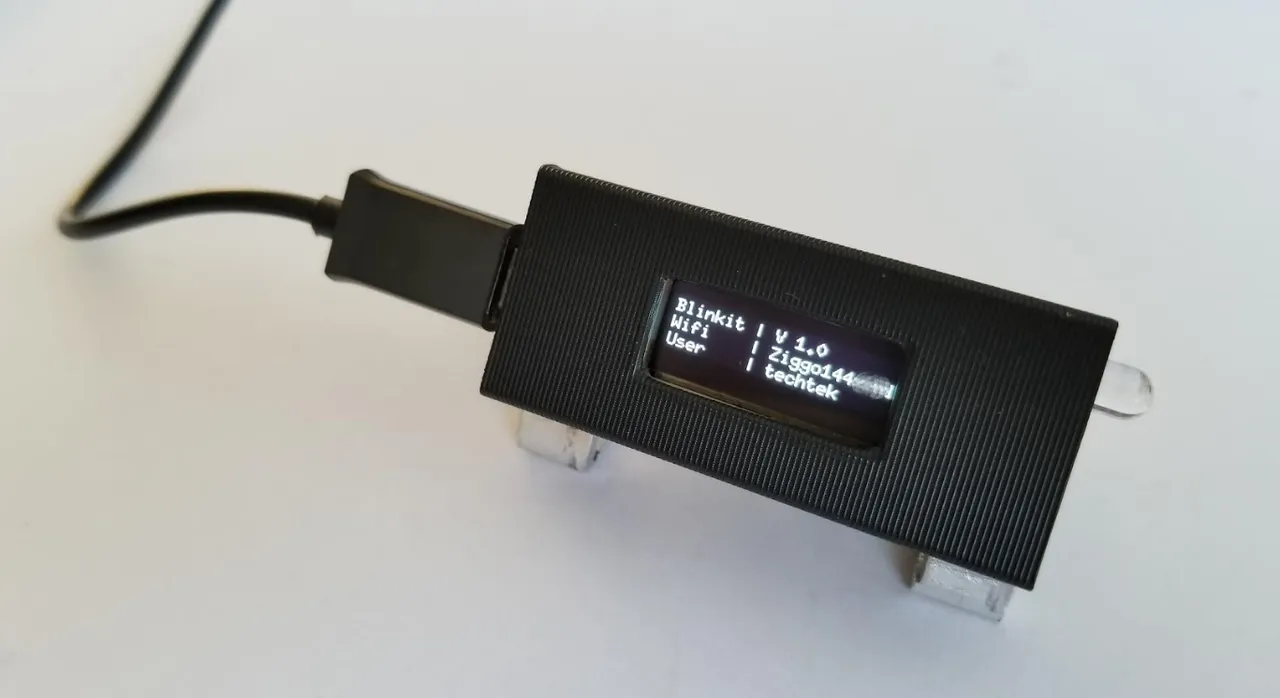
- Show the Blinkit version number
- Show the WiFi network name (ssid)
- Show the Steem Username that will be used
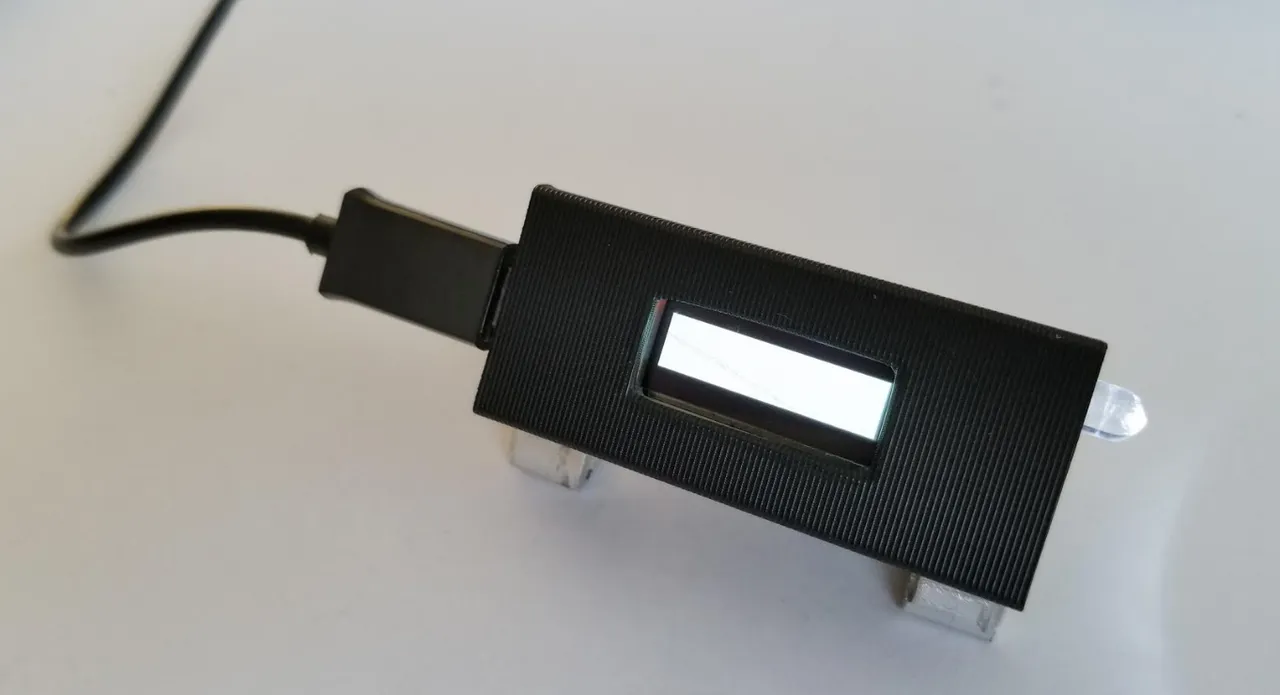
Third screen
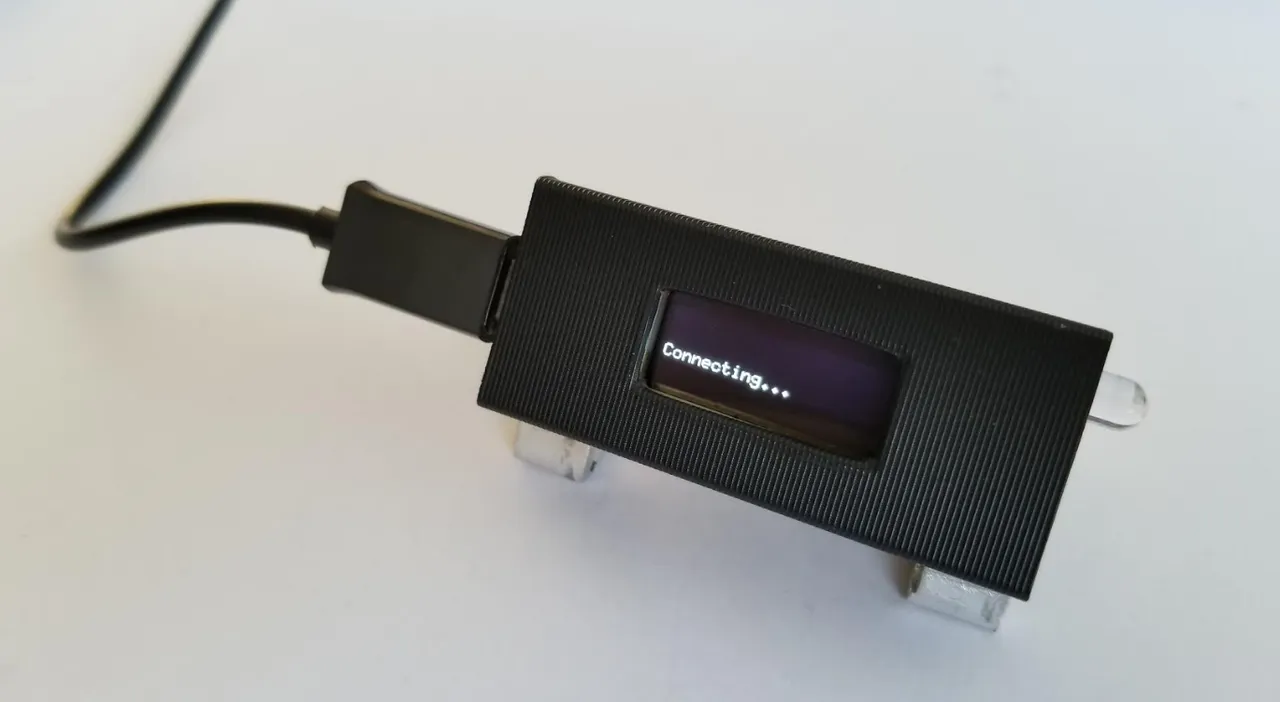
- Show the device is connecting by displaying the text: "Connecting..." (the dots are animated)
Fourth screen
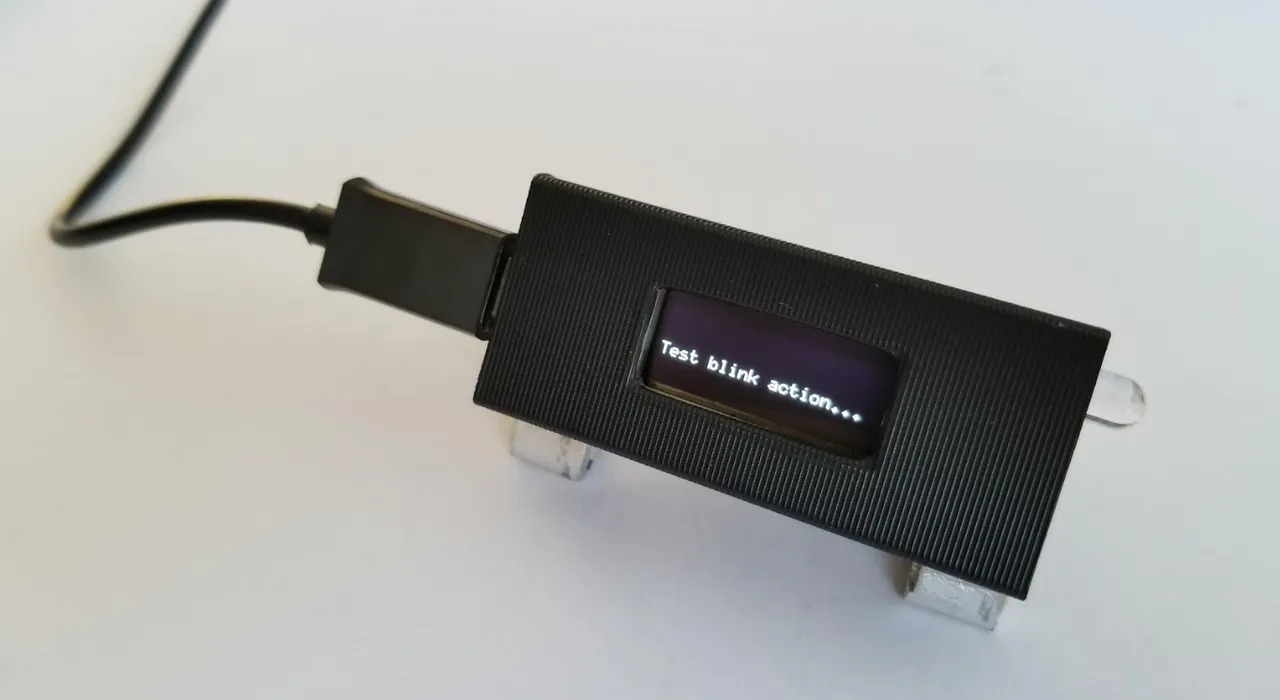
- Let the user Know the device will Test blink by displaying the text: "Test blink action..." (the dots are animated)
- When the main screen is loaded the blink action with sound and light will be tested by triggering it once.
Main screen
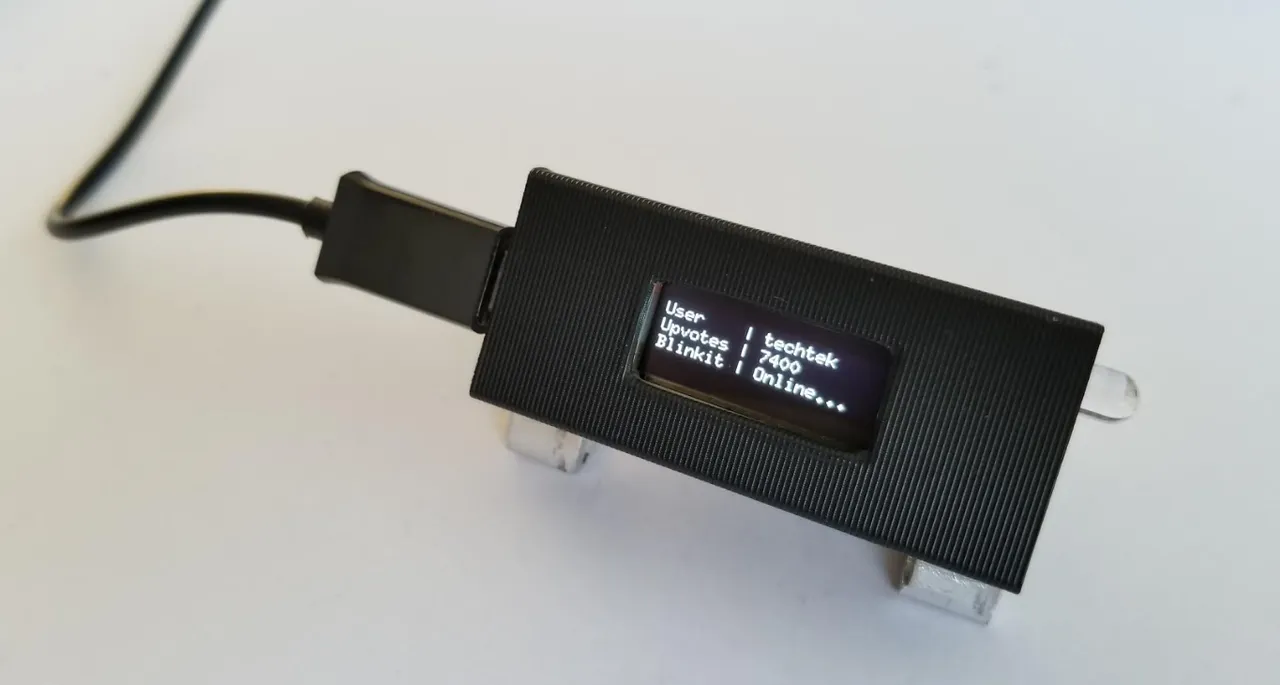
- Display the Steem username on the first line User | steemusername
- Display the users total recieved upvotes on the second line Upvotes | receivedupvotes
- Display on the third line the status Blinkit | Online...
the dots are animated, to let the user know the device is online and working and ready to Blink on newly received Upvotes.
The Device is now ready to notify when New Upvotes are received, and when received the device will Blink the Screen, Blink the LED and play a notification sound.
How is it implemented
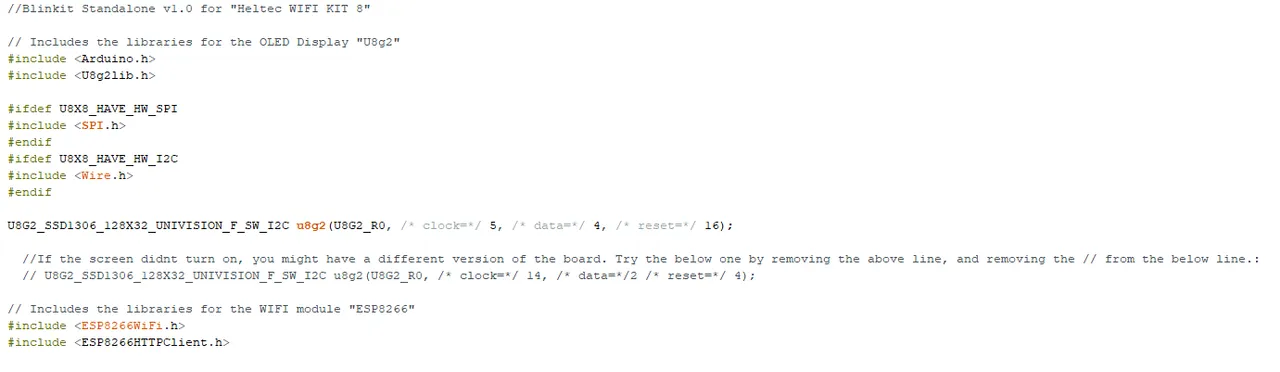
The used Arduino board for this first prototype is the Heltec "Wifi kit 8" it's easy to obtain from online sources, below is part of the code for this first stand alone version.
To make the screen and WiFi work, the related libraries needed to be imported.
The users parameters can be changed in this part of the code, this will in the future be made more user friendly.
(Probably with a web interface)

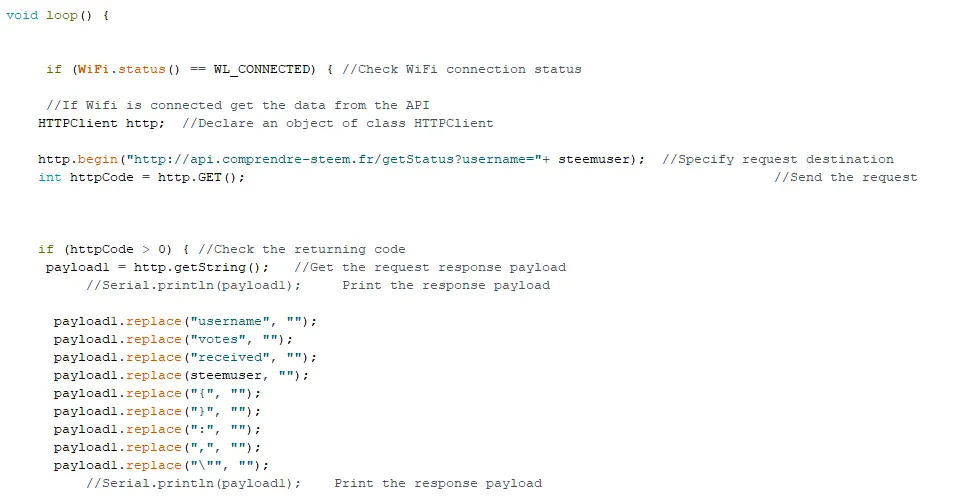
Void Loop
When WiFi is connected download, upvote data into Global variable payload1 and strip out the unwanted characters to keep only the number of recieved upvotes.
The upvote data comes from @oroger his API server, big thanks for maintaining the server.
Void Compare function
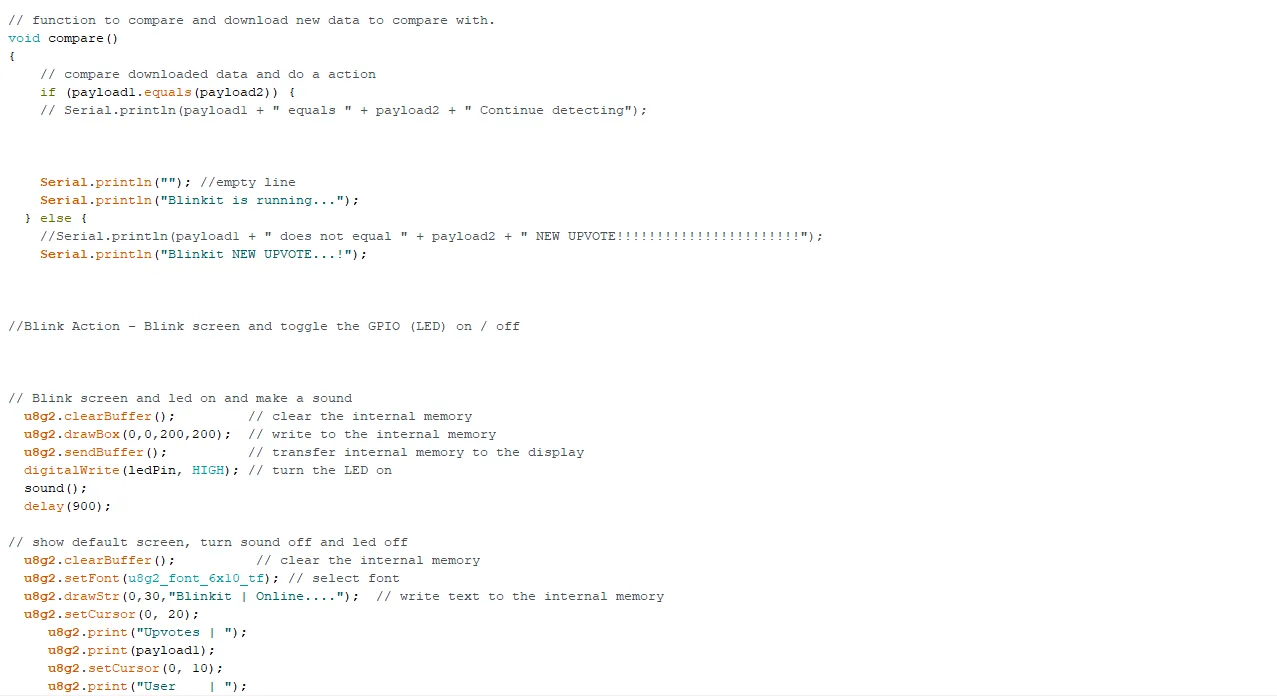
Part of the code that compares the downloaded data, this will in the first time it enters the loop result in the test blink action because the payload is still empty.
Downloads new data to compare by calling the function download2
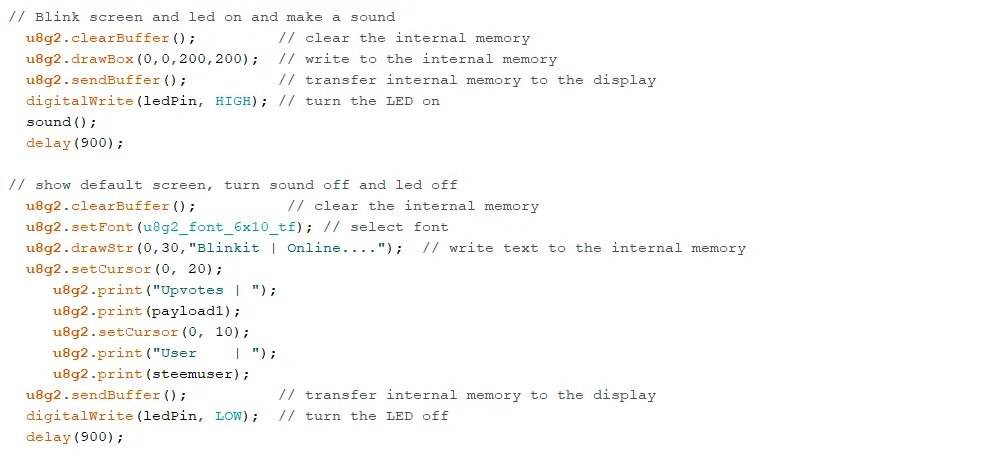
Blink action
part of the code that does the blink action
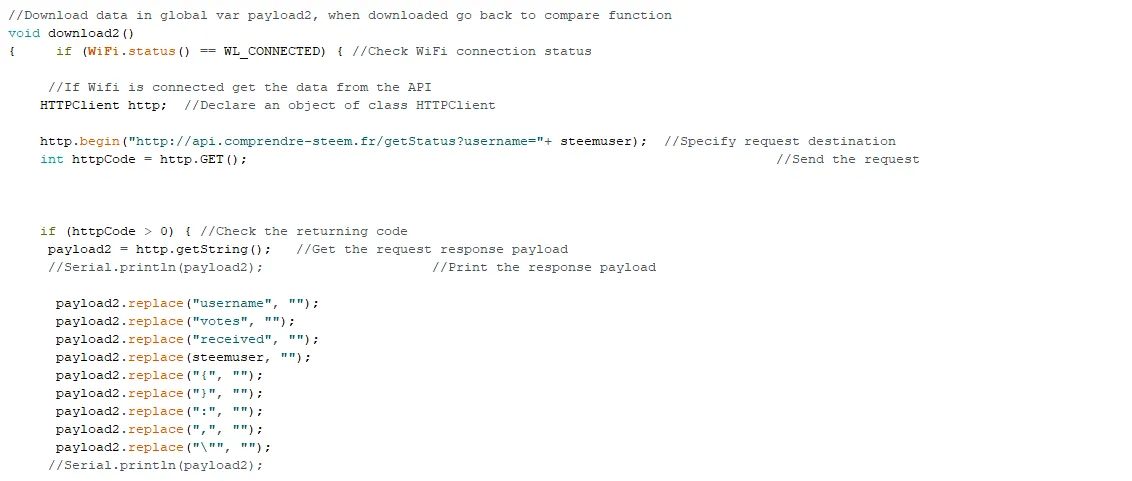
Void download2 function
When called, Downloads new data into global variable payload2 and calls the compare function again to compare the by the user recieved upvotes stored in payload1 and payload2.
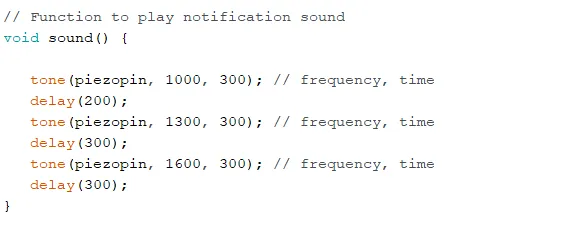
Void sound function
The notification sound, that is played over the speaker (piezo) can be set here in frequency, duration and number of beep.
(more sound effects to choose will be added)
Example of how text is written to the 0.96 inch OLED display.

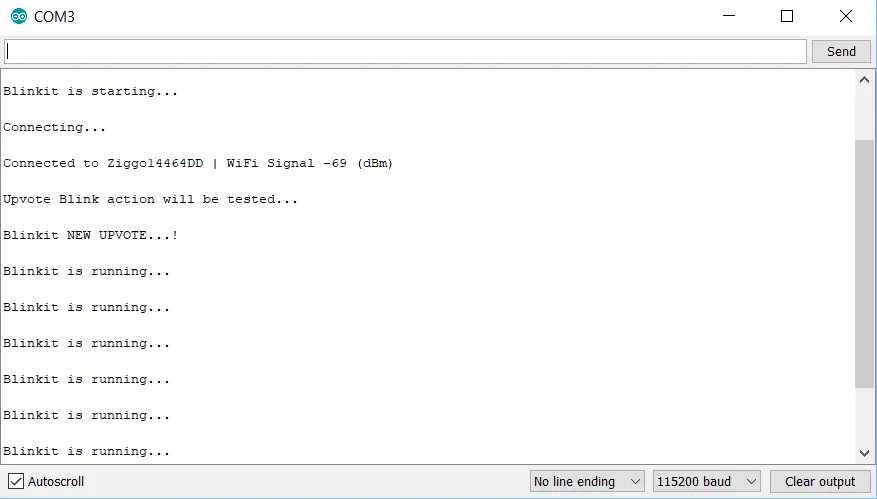
Serial monitor
In the Arduino IDE software, the serial monitor output is set to be similarly presented as the batch feedback in the Windows version of Blinkit.
The code and setup have been tested and optimized for several days, and a simple but for now effective enclosure is made for the module. (Some kind of mass produced enclosures will be searched for the eventually chosen, consumer ready board.)
Github Commit
The code for the project is commited to the Blinkit Github repository.
Blinkit | Arduino Standalone v1.0 for Heltec WiFi Kit 8
The following files are added to the repository
- arduinosketch_standalone_heltecwifikit8_v1.ino in the arduino/standalone/heltecwifikit8 folder
- readme file is added in the same folder.
Do you already want to try this development version? Get in contact on Discord and or Download it from the Blinkit Github repository: https://github.com/techtek/Blinkit and upload it to your "Heltec WiFi Kit 8", make sure you have download the required libraries, this can be done within the Arduino IDE, search for and download and install the ESP8266 and U8g2 libraries. and after that load the Blinkit arduino sketch that you can find in the Blinkit, Arduino folder under Standalone, and change the WiFi parameters to that of your WiFi network, change the Steem username to your username and upload the code to the "Heltec WiFi Kit 8" board.
Connect the LED light to GPIO 0, on the board printed as pin 03
and connect the piezo speaker to GPIO 15, on the board printed as pin 05
If you dont have this IOT board, it can be bought online and is inexpansive, "Search for "Heltec WiFi Kit 8"
Please join the Blinkit Discord server and visit the Blinkit website.
This project can also be found and funded on Fundition. and help to buy boards and parts for the team to test, do development work and helps to step by step bring the best possible stand alone Blinkit device and Blinkit software to you and all users.
Planned updates
- Further improve and optimize what is made
- Display and add other Steem related information and notifications
- Add RGB LED support
- Improve the overall ease of use.
- Add a web interface, with device status and settings.
- Get and develop / migrate to other models and brands
