Have you ever played The Sims? Well, the program that I will explain in this post will make you remember it.
Make Human has been written in C ++ and is totally free software. The base character of Makehuman is released as public domain under the Creative Commons license 0, for its use of commercial and non-commercial projects. Source
Do you want to download MakeHuman?
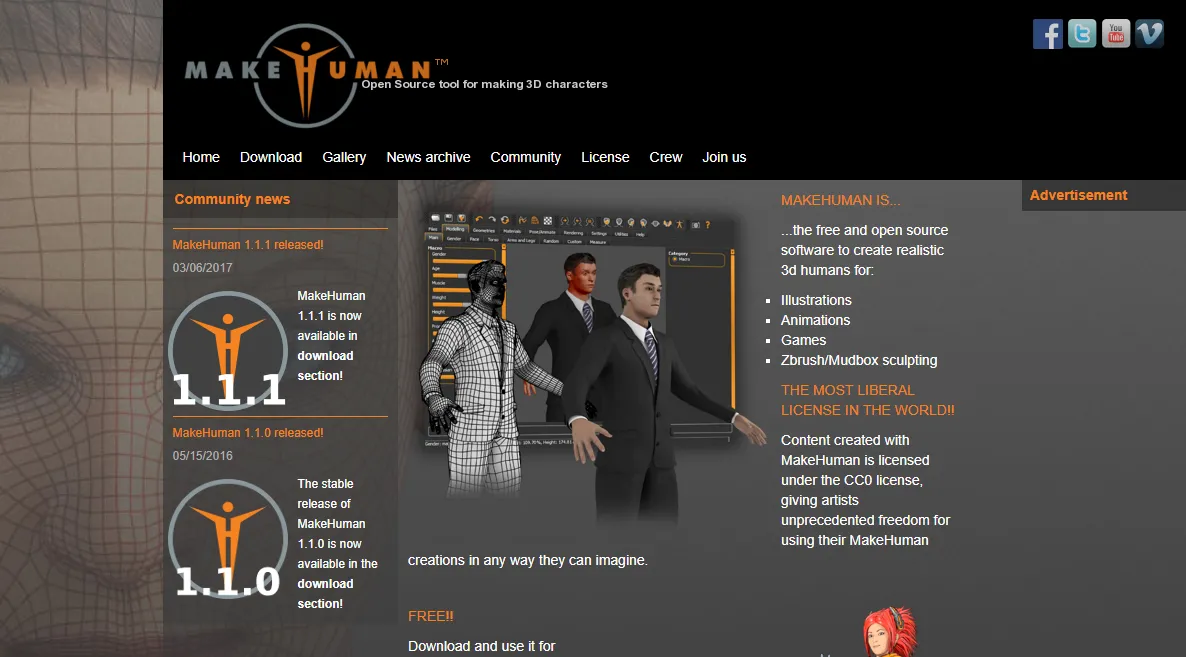
You must enter at http://www.makehuman.org/download_makehuman_111.php
Depending on your operating system, choose the download link.
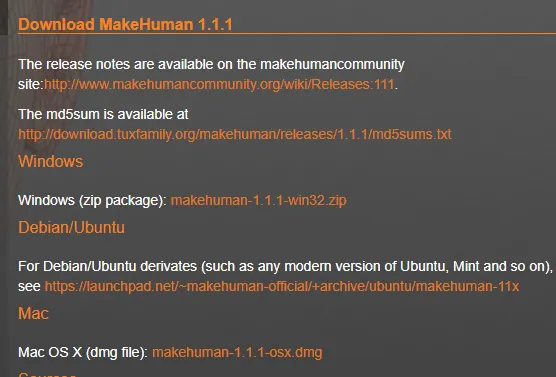
It will be downloaded in (.zip) or (.rar), just unzip the file and it is ready to be used. You can create a shortcut of the application by right clicking on the file makehuman.exe.
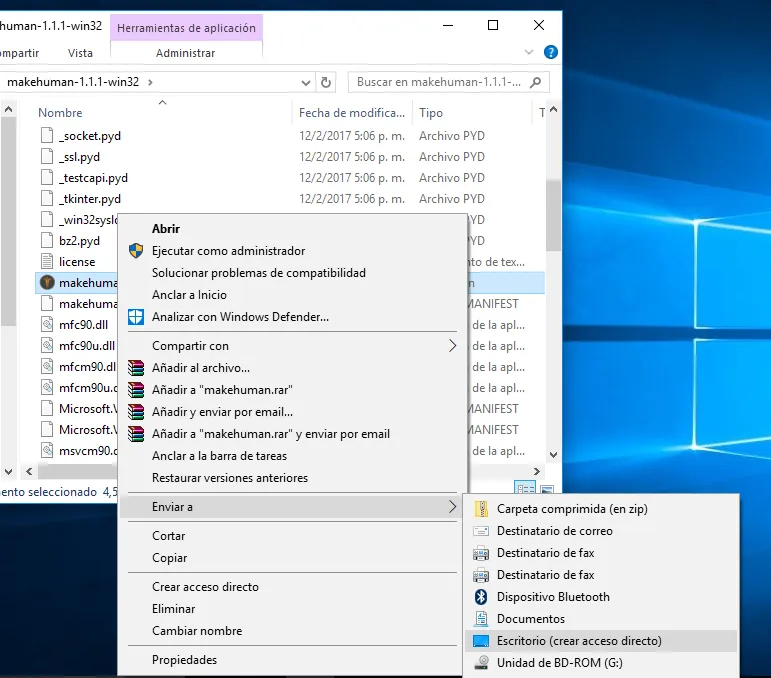
The file only weighs 317 MB.
- Run makehuman.exe
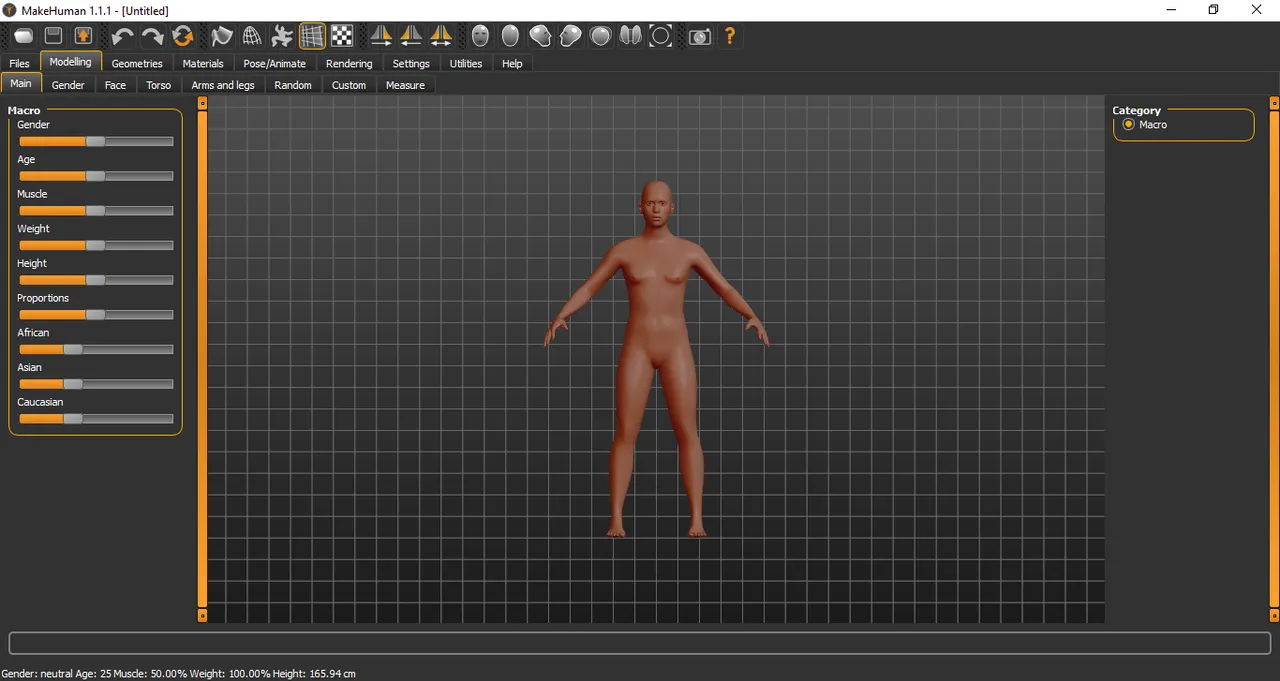
Once we open our MakeHuman, we begin to explore the program.
- Holding the right click we can zoom in the area.
- Holding the left click we can rotate.
- With the scroll we can zoom.
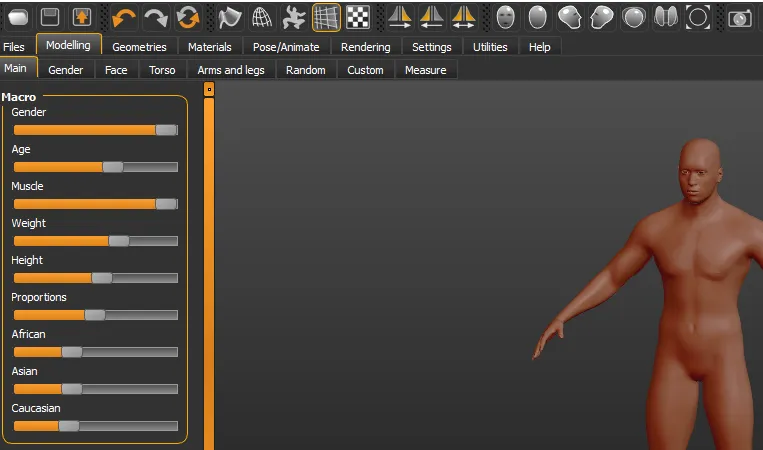
In MakeHuman, the editing options are done through a simple bar. We see the options in the Modeling tab.
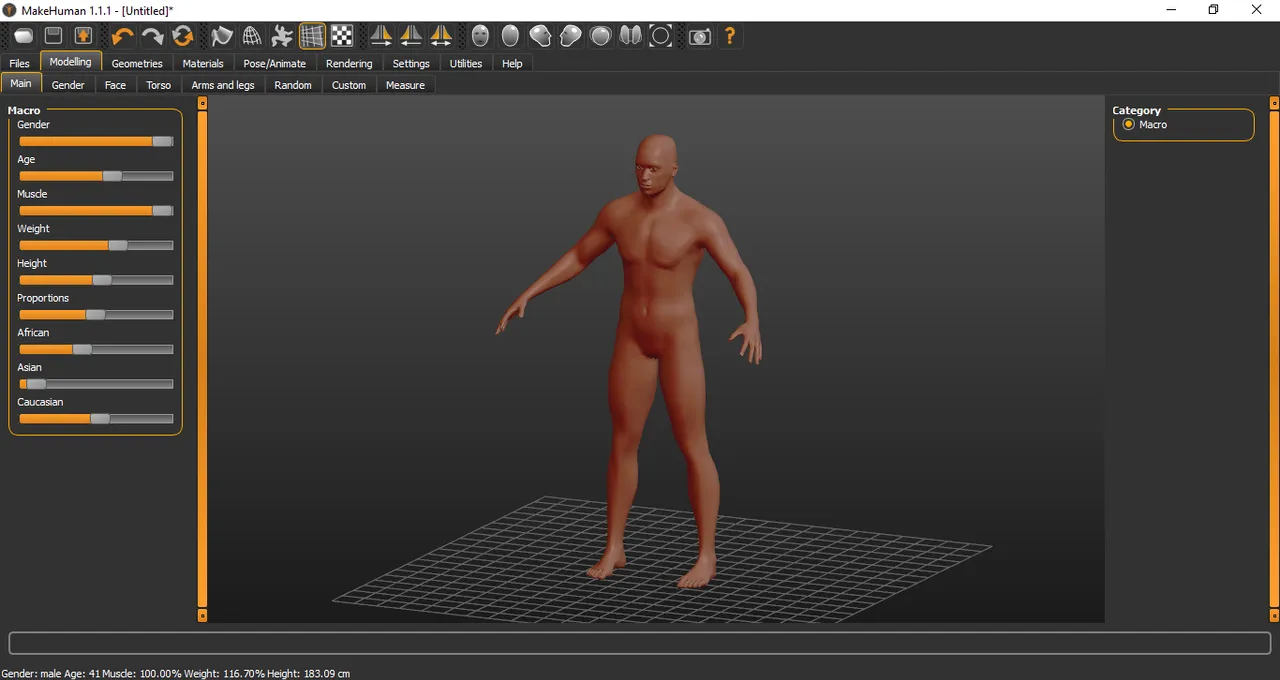
Here we can define the main features of our character. I have made a man.
At the bottom of our screen is the status bar, there we can see the description of the character.

- We go to the Gender tab, here we can define the genre even more. If it's a woman we can place breasts, and if it's a man we can put genitals. I do not recommend placing genitals, since they are not detailed in a game and can create bugs, unless the character is going to be naked.

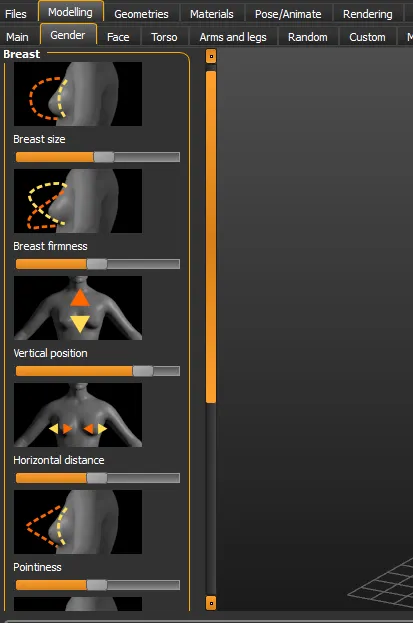

On the right side of the screen is the category section.
Let's go to the next tab Face, here we can find many editing options on the face of the character.

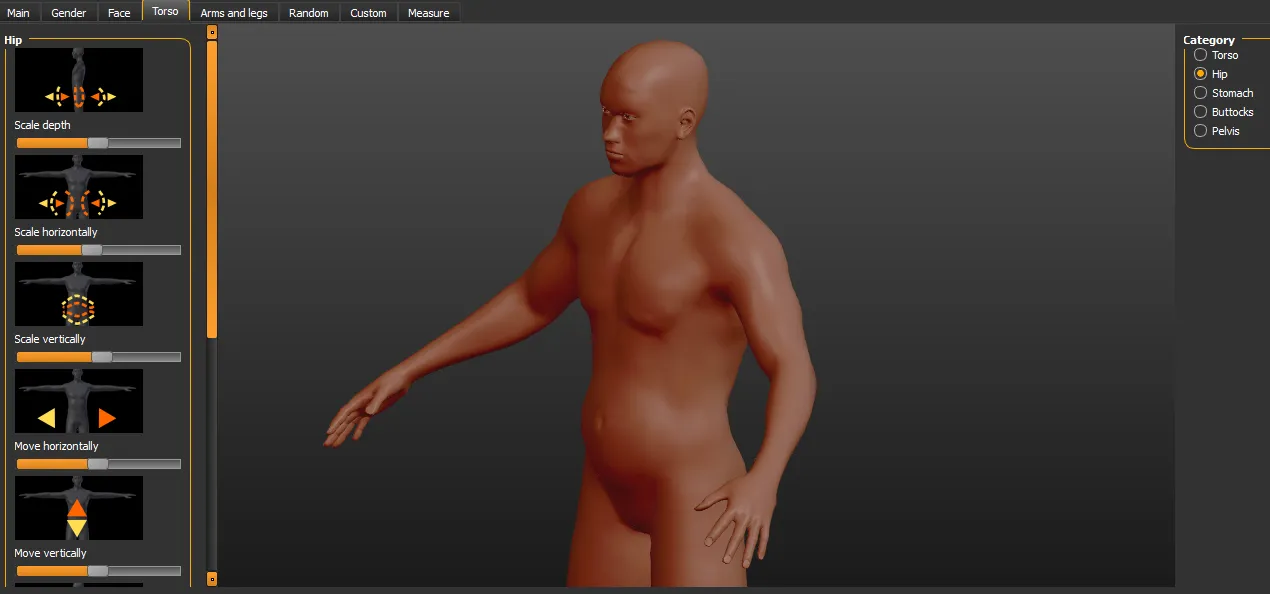
Get creative and design.In the Torso tab. We can create a bit of belly or a lot, and change other modeling options.
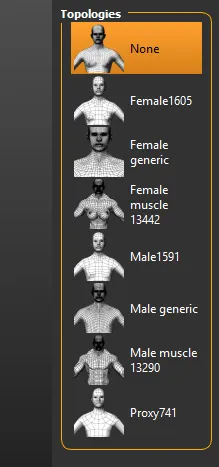
To not make this tutorial so extensive, we will go to the Geometry tab. Here, we can dress our character, put hair, eyebrows and also change the topologies.
What is topology? It is how the vertices (lines) of the character are created. Recommended to leave it in None.
- In the Materials tab, we apply materials to the character's body.
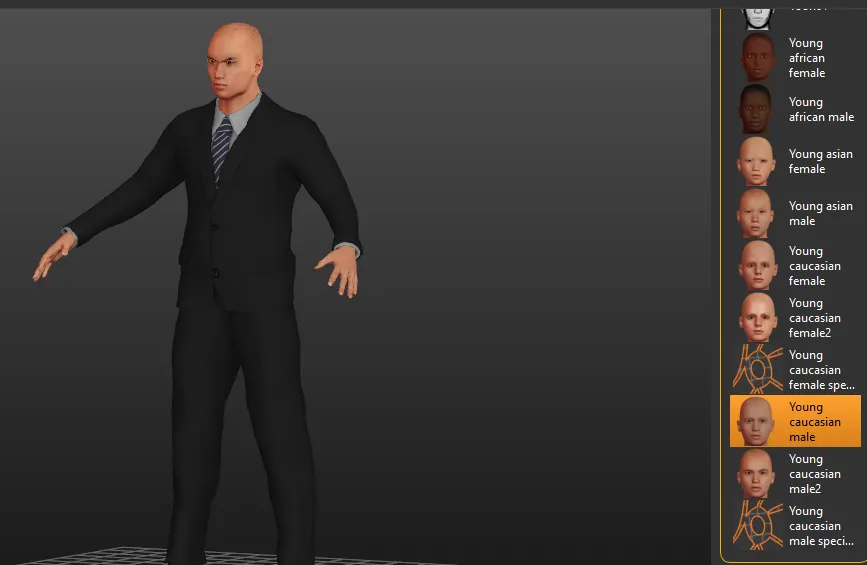
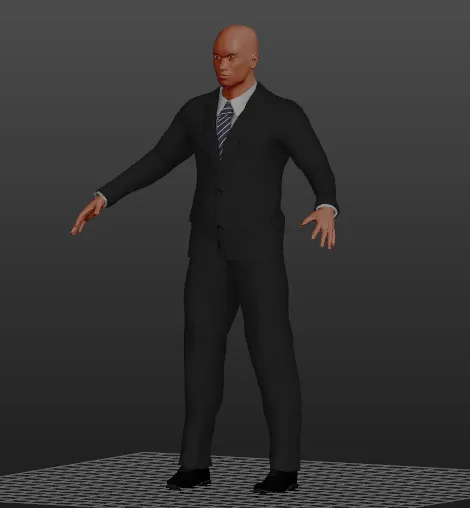
Unintentionally I created my own Agent 47. hehehe
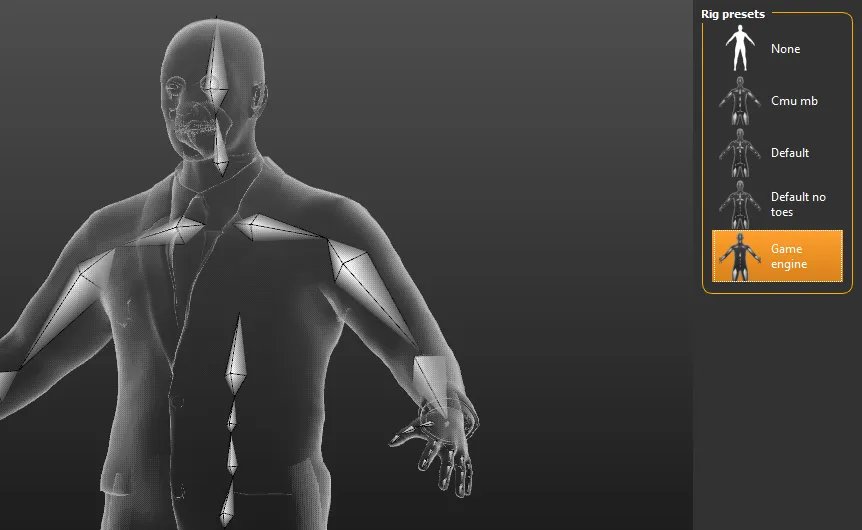
- In Pose/Animated, we place the bones to the character. This option is very important, if the character does not have bones, he can not have animation and he will remain static.
Ready our character, we must save the changes.
- In the File tab and click Save to save the project. Then click on Export
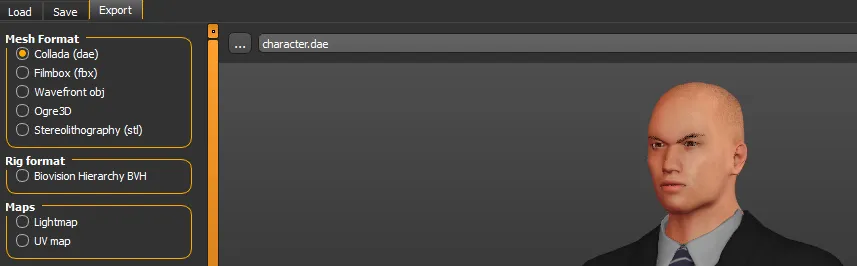
Make sure to export the file into an empty folder, I will export it in Collada format (.dae).
So we have created a character in a very simple way, in the next tutorial I will take this character to the stage that I had previously created in Unity Engine.
I will leave the file created in the following link, you can download it freely.
Character
I hope this tutorial was useful for you. See you in the next tutorial where we will apply the animation to this character and import it into Unity Engine.
Greetings friends!
Posted on Utopian.io - Rewarding Open Source Contributors