What will we learn?
- Running python on Apache
Requirements:
- Notepad+
- Linux Operating System
- HTML
- Putty or iTerm
Difficulty Level:
- Easy Level
Let's Start the Course :
Apache is an open source and free web server program. Developed by the Apache Software Foundation.
Unix , Gnu , Freebsd , Linux , Solaris , Novell NetWare , Mac Os X , Microsoft Windows , Os/2 , TPF ve eComStation runs on operating systems. Generally, new versions are distributed every month. He played a key role in the expansion and expansion of the World Wide Web.
Running Python code on Apache is very easy. We will allow it to run CGI on Apache for this.
Install a new linux server and see how we will run Apache and Python from scratch on it. I chose Ubuntu as the operating system of the server. My server is working on ip address 185.182.190.182. So I have to make SSH connection before this adrese.
ssh root@185.182.190.182
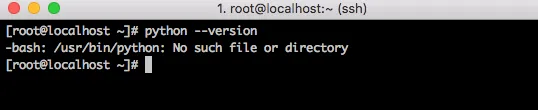
I logged in as a root user. Now let's first learn the python version that works by default on our server;
python --version
As you can see, my server is running 2.6.6 by default.

We will change the default Python version of our server to 3 because we will be doing CGI applications with python3 version. You only need to follow these steps in order.
sudo rm /usr/bin/python
Let's check the default python version again after uninstalling.
php --versiyon
Normally in our python3 version server, /usr/bin/python3 is working via this address. We also want the Python3 version to work via /usr/bin/python.
so we will run this command
sudo ln -s /usr/bin/python3 /usr/bin/python

We changed the default python version to this way. Now we will install the program called 'PIP' so that we can easily install the modules on 'Pypi' on our server.
We will make this program easily through the ubuntu software archive. For this I will update the software list first.
sudo - apt-get update
Now let's write the following command for 'PIP' setup.
sudo apt-get install python3-pip

As you can see in the picture, sometimes confirmation is required during installation.
Here we press the 'Y' key and then the 'enter' key.
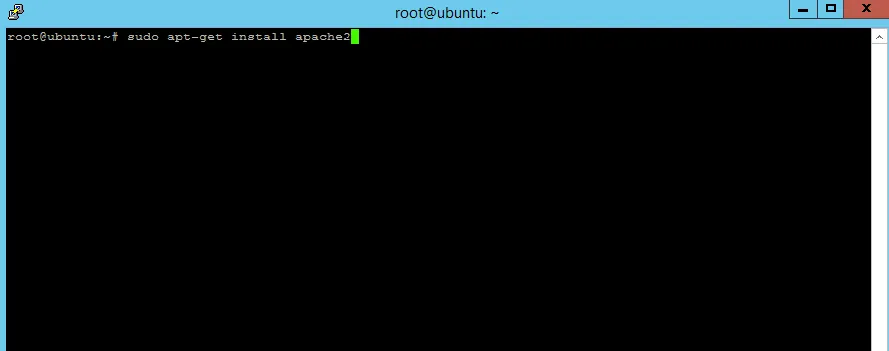
Now we can go to the apache install. We only need to write the following command for this.
sudo apt-get install apache2
Again we asked for confirmation as follows. Likewise, we go by pressing the letter 'Y'.
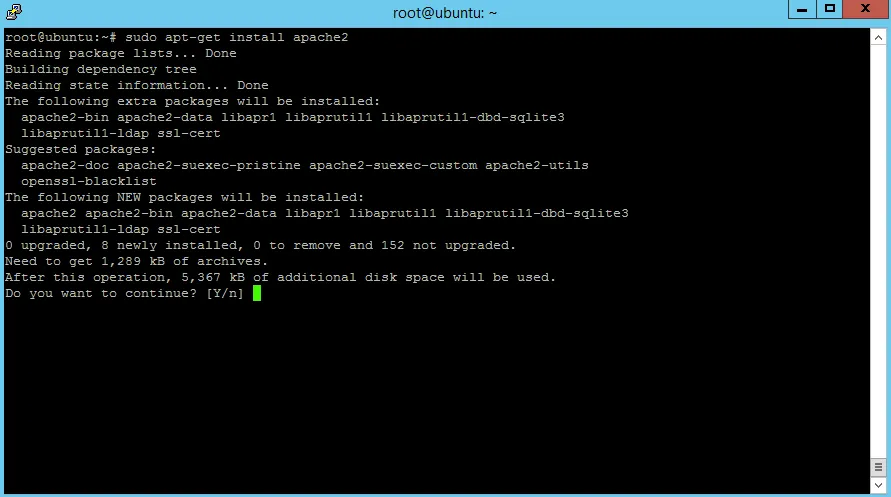
After waiting for a while, the installation will be completed.
Now, when we paste our ip address into the address line of our browser and press the 'enter' key, we will see that our server responds.

To shut down the Apache server:
service apache2 stop
To start the Apache server:
service apache2 start
Now our apache server is able to send HTML code to the browser without any problems.
We need to go to the '/var/www/html' folder to reach the page that appears in the browser or to change that page. Within this folder, a file called 'index.html' is created and this page works through the browser.
We will delete this page and replace it with our own page.
I create an 'index.html' file with the following 'HTML' codes.
<!DOCTYPE html>
<html lang="tr">
<head>
<meta charset=UTF-8">
Apache Test Sayfası
<style type="text/css">
body{
margin:0;
background #f5f5f5;
font-size: 5vw;
color:#999
text-align:center;
padding-top:20%;
}
</style>
</head>
<body>
<center>Test Page</center>
</body>
</html>

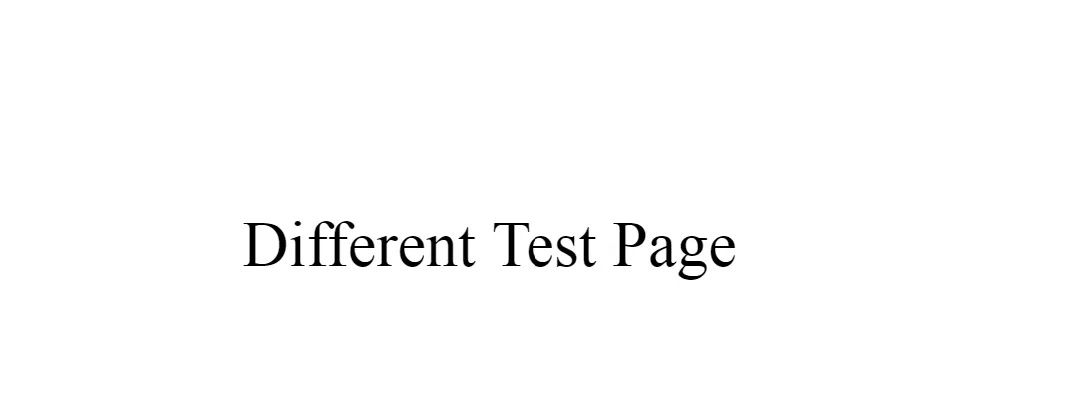
Now, without deleting this page and without touching the 'index.html' file, create another 'HTML' page and open it in the browser.
Let's name our new file 'test.html' and write the following code into it.
<!DOCTYPE html>
<html lang="tr">
<head>
<meta charset=UTF-8">
Different Test Page
<style type="text/css">
body{
margin:0;
background #f5f5f5;
font-size: 5vw;
color:#999
text-align:center;
padding-top:20%;
}
</style>
</head>
<body>
<center>Different Test Page</center>
</body>
</html>
Our Apache server is running smoothly. Until now, we always used 'HTML' codes. In order to run 'Python' code on Apache and preview it without error on our browser, we need to make some adjustments on Apache. First we need to decide which folder the 'Python' code will work in. We will authorize this folder to run 'Python'. We can authorize the 'var/www/html' folder of the 'HTML' files, but create a different folder so we can see the difference.
Create folder
sudo mkdir /var/www/content
Apache also has add-ons that can be installed and removed separately. These are called Mod. We can think of it as modules in Python. We use the a2enmod command to activate any module on Apache. That is, abbreviated apache2 enable mod. To deactivate any module, we use a2dismod command. This is short for apache2 disable mod.
Let's start making our settings to allow Python CGI.
mpm_event we are deactivating the module.
sudo a2dismod mpm_event

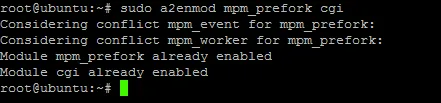
Now we are running the command to run CGI scripts via Apache:
sudo a2enmod mpm_prefork cgi
Now we will enter the apache configuration file and define the path to our new folder and give the necessary privileges to run the python files, let's open the 'Setup' file via the 'Nano' editor running on the terminal. You can also connect with 'SFTP' and make settings.
sudo nano /etc/apache2/sites-enabled/000-default.conf

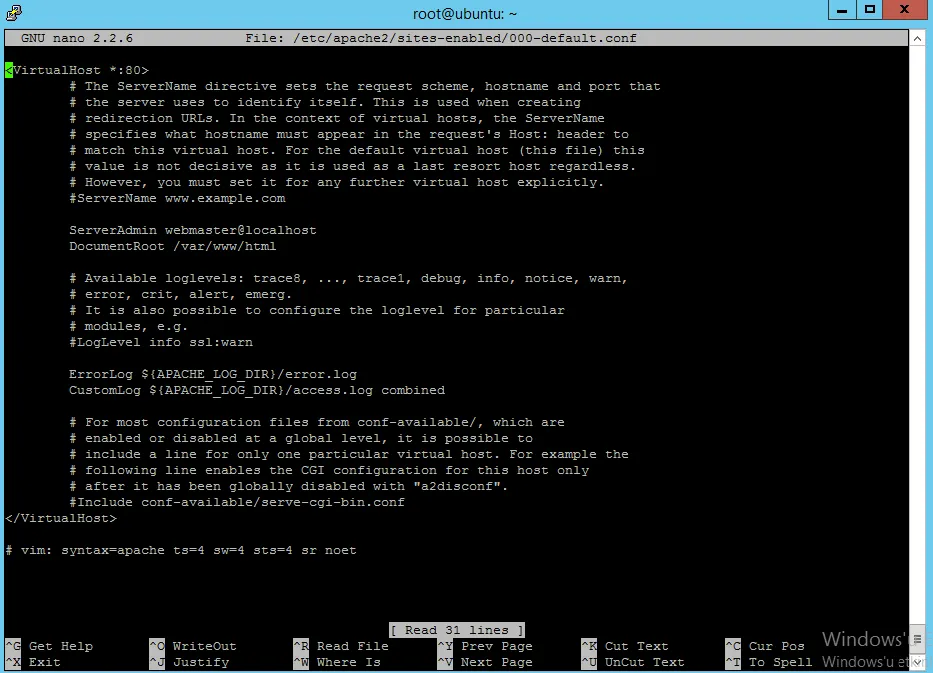
This is how my image will look. If you are entering the nano editor for the first time, it may be a bit complicated, but it is very simple to use.
Since our mouse does not work on the terminal, we skip the line using the keyboard.
If we want to find the '#' sign at the beginning of the line we can delete the lines, because these lines work like the description lines in the same Python and they do not work at all. But I will write my setting codes on them without deleting them. I need to place the following code between <VirtualHost *: 80>and < /VirtualHost> tags.
<Directory /var/www/content>
Options +ExecCGI
DirectoryIndex index.py
</Directory>
AddHandler cgi-script .py
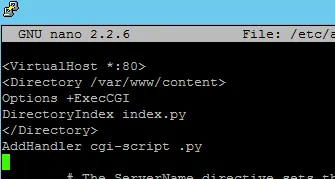
we wrote the necessary settings for '.py' files in our '/var/www/content' folder with these codes. By default we specified that our 'index.py' file will work. We also changed the setting of the 'DocumentRoot' between the description lines so we wrote the path to the folder in which python will work. You can write these codes exactly. This file is not a file we will constantly scratch. You can see the last image of our 'Nano' editor in the pictures below.

We will use the CTRL + X Shortcut to save this file.

When we press these keys, we will see a confirmation message at the bottom of the Nano editor as shown in the picture. Here, we can save the file by pressing the 'Y' key and typing 'enter'. All our steps have been completed.
In order for these settings to take effect we need to restart our Apache server. After every setup we've done on Apache, remember to restart it, or our changes may not work on the end result.
sudo service apache2 restart
Now we can test our output on the browser by creating a new Python File. When we connect to our ip address, the files in the '/var/www/content' folder will work after our new settings. If you do not type a different filename, it will open the index.py file by default.
The 'chmod' setting needs to be set to '755' in order for these files to work. We need to write '#/usr/bin/python' at the beginning of each file. In this way, we will indicate that the file will be interpreted by Python. If we do not write this, we'll probably get the error and our code will not work properly.
Let's create a simple page on our 'index.py' file and preview it through our browser.
#! /usr/bin/python
# We have specified the type of our page as 'text/html /'.
print ("Content-Type: text/html")
# After the header fields, we must always leave a line space.
print()
#======================================================
# After creating the header field
#now we can start writing our codes in the content.
#======================================================
print("""
<meta charset=UTF-8">
<title> Test Page</title>
<style type="text/css">
body{
margin:0;
background #f5f5f5;
font-size: 5vw;
color:#999
text-align:center;
padding-top:20%;
}
</style>
</head>
<body>
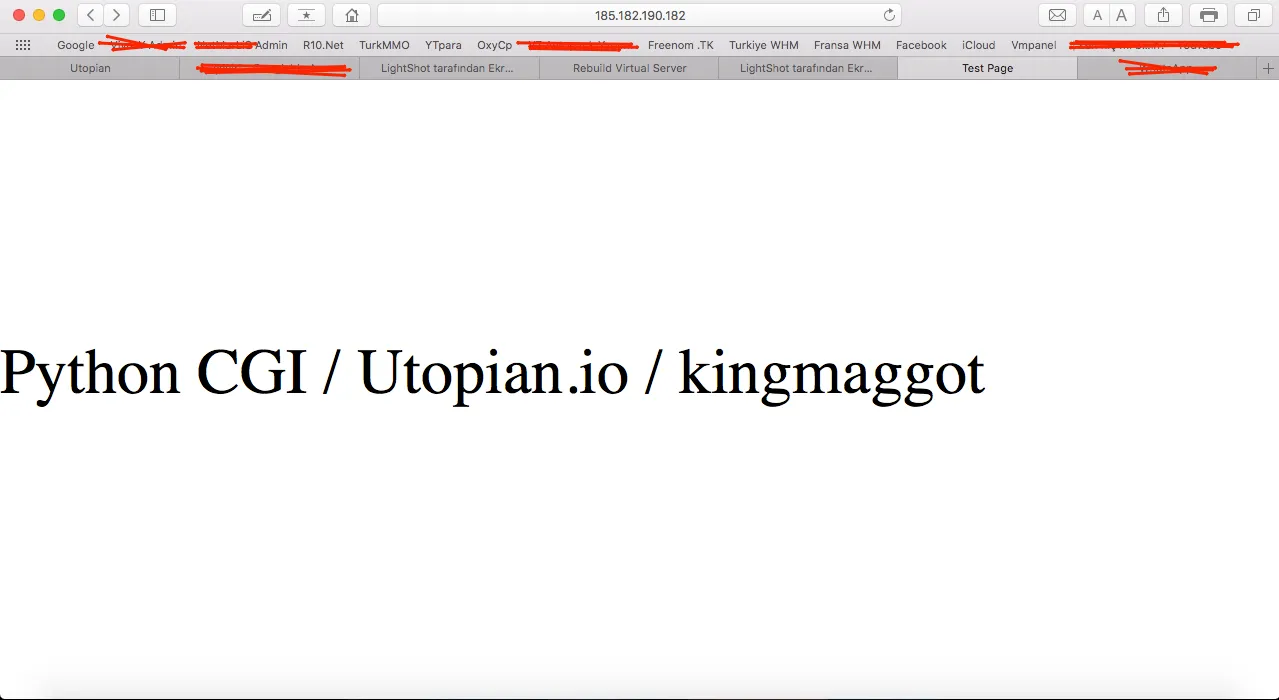
Python CGI / Utopian.io / kingmaggot
</body>
</html>
""")
When we place these codes in the 'index.py' file and then refresh the page, a page will look like the image
See you in our next writing.
Series :
1 - Running Python on Apache / Series 1 #1
Posted on Utopian.io - Rewarding Open Source Contributors