What is the Purpose of This Tutorial?
• How to create a contact form using Adobe Bracket
Requirements
• Knowledge of HTML,
• Bracket open source app, you can download it in this link http://brackets.io
Difficulty
- Basic
Tutorial Contents
Introduction
Bracket is modern, open source text editor that understands web design.it is written in JavaScript, HTML and CSS. With focused visual tools and preprocessor support, Brackets is a modern text editor that makes it easy to design in the browser. It's crafted from the ground up for web designers and front-end developers. Bracket makes a web developer's life easy. It provides many built-in functions using which you can accomplish various tasks easily and quickly.
In this tutorial am going to be using bracket text editor create a simple contact form. This is what the final page of our contact form will look like.
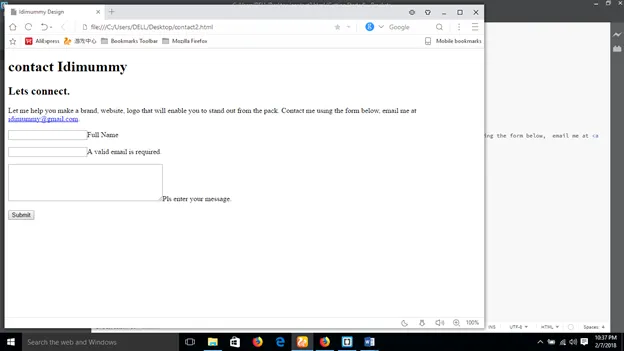
So, let's get started to practice it.
Using HTML code to create a Contact form,
To create a contact form you must first open the form tag every information needed will be captured within this tag. When a form is created, there are some element or attribute which one must be aware of, elements like the form name, the method that will be used in passing the form and the action to be taken when the submit button is clicked. This is what it looks like .
<form name="form1" method="post" action="formmail.php">
For more "real" program code, let's go into the following practice example :
<html>
<head>
<meta charset="UTF-8">
<meta name="viewport" content="width=device-width">
<title>Idimummy Design</title>
</head>
<body>
<header>
<h1>contact Idimummy</h1>
</header>
<section>
<h2>Lets connect.</h2>
<p>Let me help you make a brand, website, logo that will enable you to stand out from the pack. Contact me using the form below, email me at <a href="mailto: idimummy@gmail.com">idimummy@gmail.com</a>.p>
<form name="form1" method="post" action="formmail.php">
<span id="nameTextField">
<label for="name"></label>
<input type="text" name="name" id="name">Full Name</span>
<p><span id="emailTextField">
<label for="email"></label>
<input type="text" name="email" id="email">A valid email is required.</p>
<p><span id="messageTextArea">
<label for="message"></label>
<textarea name="message" id="message" cols="45" rows="5"></textarea>Pls enter your message.span></p>
<p>
<input type="submit" name="Submit" id="Submit" value="Submit">
</p>
</form>
</body>
</html>
In this form all we want to get is the name of the sender, the email of the sender and the message from the sender. All wrapped up and forwarded to the provided email in the action task.
Now Let’s break it down.
In the form above we working with just three elements in the form tag. The textfield, textarea and the button. Though there are other elements like checkbox, radio button, list/menu e.t.c but our focus for this contact form is just on the three listed above
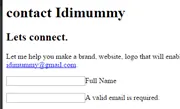
The name and email boxes are example of a “textfield” meaning that the number of text that can fit into that box is limited.
<span id="nameTextField">
<label for="name"></label>
<input type="text" name="name" id="name">Full Name</span>
<p><span id="emailTextField">
<label for="email"></label>
<input type="text" name="email" id="email">A valid email is required.</p>
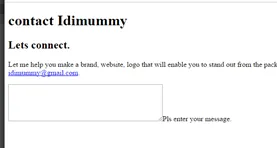
The message box is an example of a “textarea” meaning that it can accommodate more text than a “textfield”
<p><span id="messageTextArea">
<label for="message"></label>
<textarea name="message" id="message" cols="45" rows="5"></textarea>Pls enter your message.span></p>
The Submit is an example of a button. It allows the users to execute the necessary actions for the form.
<input type="submit" name="Submit" id="Submit" value="Submit">

Points to Remember
• Forms allows you to get feedbacks and necessary information.
• The use of form tag and its elements.
Curriculum
This is the first tutorial i'm contributing using Bracket.
Posted on Utopian.io - Rewarding Open Source Contributors