In every interactive application, there needs to be a medium where users affect the system by uploading their personal files and working with them. Examples include changing their profile picture, uploading pdf documents, using images in their posts, etc.
Therefore in building applications, you have to provide a means by which your users can upload files and have them stored in your server.
This is part 2 of the ASP.NET MVC5 Tutorial series. Find the previous lesson here

What Will I Learn?
- You will learn to Upload Files and store them in your server file system.
Requirements
- Visual Studio IDE (2015 or 2017 preferably)
- Browser
- Basic knowledge of Web development
Difficulty
- Intermediate
Tutorial Content
Open Visual studio
Select File->New->Project
Select ASP.NET Web Application (.NET Framework)
Create Model
All we require for this tutorial is just a simple model with just one string property, to store the path of the file. In a more complex application, the model might contain other properties which is useful to define that entity. However, we won't be going elaborate here.
public class MyFile
  {
      [DataType(DataType.Upload)]
      [Required(ErrorMessage = "Please select a file.")]
      [Display(Name = "Upload File")]
      public string file { get; set; }

  }
Add Controller Class
Right click on the controllers folder and add a new empty controller with the name "FileController".
Add a method to it with an input parameter of type "HttpPostedFileBase". This will carry in it, the file posted by the user to that http request context.
Thereafter, we want to fetch the file and store it in our solution file system.
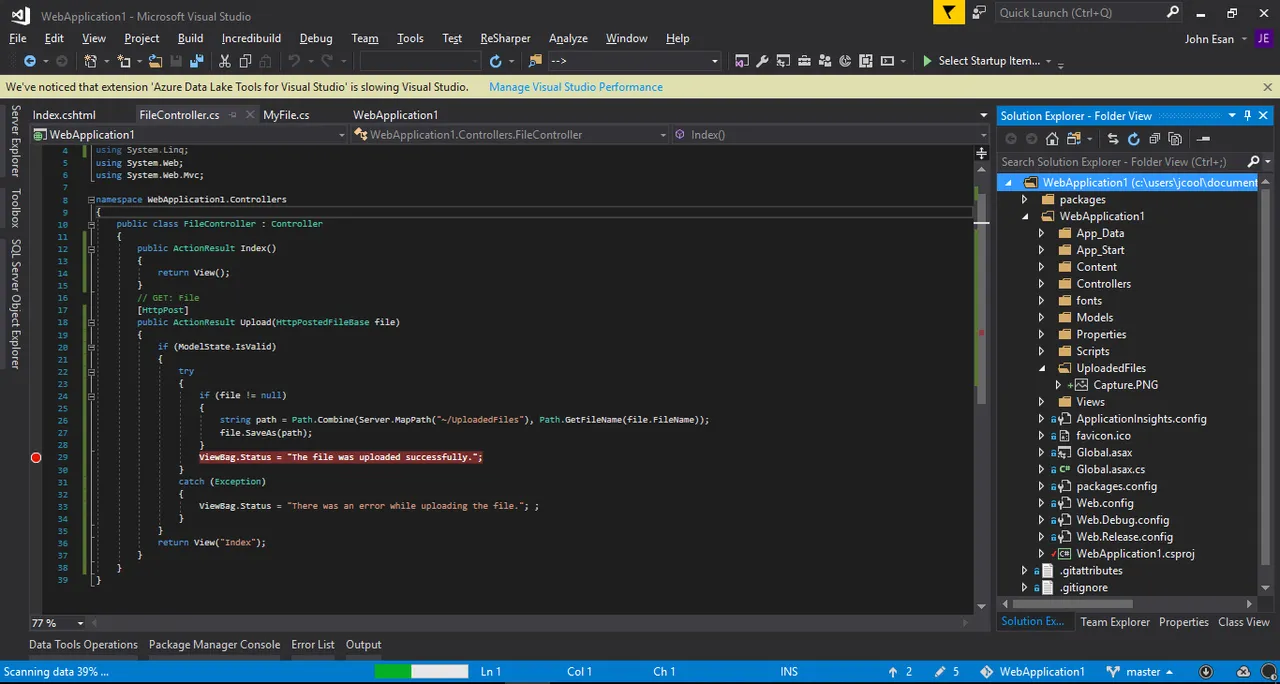
[HttpPost]
       public ActionResult Upload(HttpPostedFileBase file)
       {
           if (ModelState.IsValid)
           {
               try
               {
                   if (file != null)
                   {
                       string path = Path.Combine(Server.MapPath("~/UploadedFiles"), Path.GetFileName(file.FileName));
                       file.SaveAs(path);
                   }
                   ViewBag.Status = "The file was uploaded successfully.";
               }
               catch (Exception)
               {
                   ViewBag.Status = "There was an error while uploading the file."; ;
               }
           }
           return View("Index");
       }
Create a folder called UploadedFiles in the project to store the images
Create the View
Next we want to create a strongly typed view to accept the data from our user and send them to the controller for processing.
Right click on Views folder and click Add View, select MyFile class as the model class and create scaffolding template to create view to upload files as,

Update it with the following code
@model YourApplicationName.Models.MyFile

@{
    ViewBag.Title = "Learning to work with Files";
}

@using (Html.BeginForm("Upload", "File", FormMethod.Post, new { enctype = "multipart/form-data" }))
{
    @Html.AntiForgeryToken()

    <div class="form-horizontal">
        <hr />
        @Html.ValidationSummary(true, "", new { @class = "text-danger" })
        <div class="form-group">
            @Html.LabelFor(model => model.file, htmlAttributes: new { @class = "control-label col-md-2" })
            <div class="col-md-10">
                @Html.EditorFor(model => model.file, new { htmlAttributes = new { @class = "form-control", @type="file"} })
                @Html.ValidationMessageFor(model => model.file, "", new { @class = "text-danger" })
            </div>
        </div>

        <div class="form-group">
            <div class="col-md-offset-2 col-md-10">
                <input type="submit" value="Upload" class="btn btn-primary" />
            </div>
        </div>
        <div class="form-group">
            <div class="col-md-offset-2 col-md-10 text-success">
                @ViewBag.FileStatus
            </div>
        </div>
    </div>
}
<script src="~/Scripts/jquery-1.10.2.min.js"></script>
<script src="~/Scripts/jquery.validate.min.js"></script>
<script src="~/Scripts/jquery.validate.unobtrusive.min.js"></script>
Please edit the "YourApplicationName" on the first line, to the namespace of your project.
enctype = "multipart/form-data" in form action is neccessary in order to send files from the client to the server.*
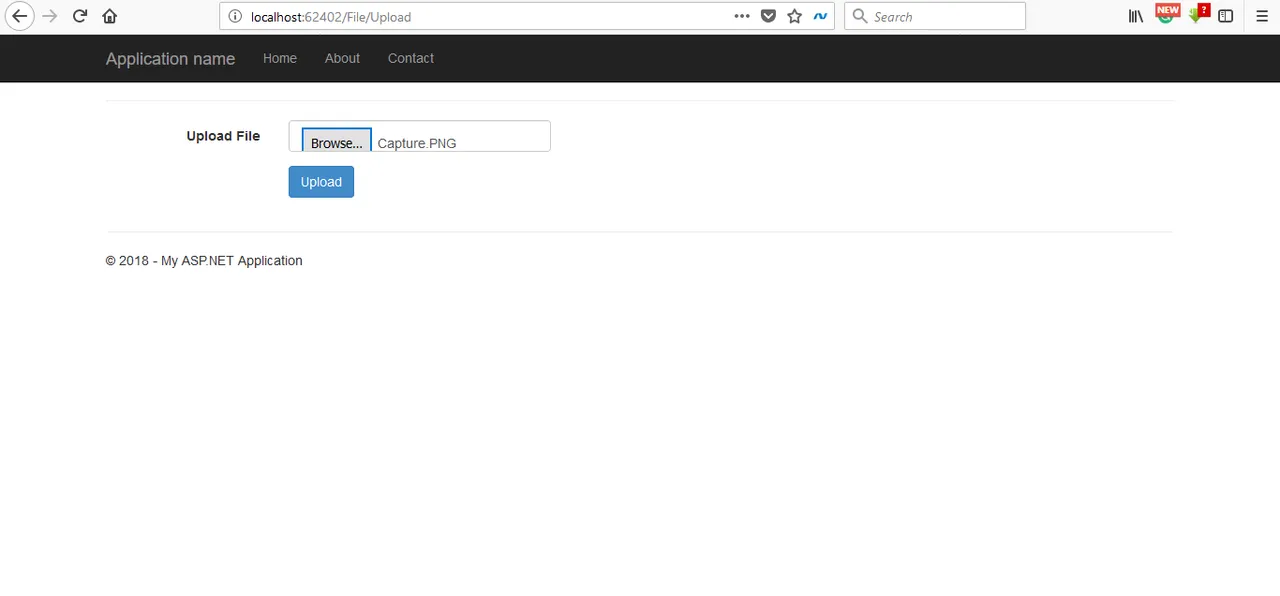
Run the application and try to upload a file. When the action is completed, check your solution explorer "UploadedFiles" folder. You should see the file you just uploaded.
As an alternative, you could as well have stored it in your database which is useful for some instances. However, the advantage of doing it this way is that, the file gets stored on your hosting file system instead of eating up memory on your database, which costs quite a lot to acquire more space.
Thank you for reading. I hope you learnt something new.
Curriculum
Older tutorials on ASP.NET MVC5 include
ASP.NET MVC5 Tutorial - Implementing Search and Filter Functionalities in your Web Application
Posted on Utopian.io - Rewarding Open Source Contributors