Repository
https://github.com/audacity/audacity
Introduction
I have made other series showing free and open source video editors before. Though those editors do a great job on editing video, to me, it feels like they lack audio editing. They do have the basics like volume control, fade in or fade out, but they lack more advanced stuff.
So whenever, and it is not frequent to me, I need to edit audio, Udacity is the software I choose.
Differently, from the video editors, Udacity is very well known and widely used! While the open source video editors I have shown on other series have a small userbase, many professionals use Udacity as their main audio editor!
Mainly for the podcast, this program is extremely powerful and filled with diverse tools. Granted, I won't ever use half of those features, but hey, it is free! It is actually mind blowing that such a big software that has so many users is completely free.
I am yet to explore in depth all the tools Audacity has, but when I need to edit multiple audio layers, cut too many pieces and equalize the audio, it works. I am by no means a professional audio editor. I know little about video editing, and even less about audio editing. But that goes to prove that you don't need to be an expert to use the software the experts use.
What is Audacity?
Audacity is a free and open source video editor. But don't let the price tag fool you. This tool is so powerful and rich in features that many professionals use them as their main audio editor. And don't let this scare you either! Though powerful enough to satisfy the savviest professionals, Udacity is still simple enough that I, a layman in audio editing, can improve my recordings and audio files a lot without thinking too much.
The name sounds like a play with words "audio"+" city", and makes it sound like the word "audacity", which means, the willingness to take bold risks. The word also has a few other bad meaning, but I don't think the developers intended us to think about that meaning, so "boldness" is a good choice.
For amateurs, this is a good choice to compliment an existing video platform. Editing the audio for my videos is actually the main use I give to this software. When I am recording a call with other peoples for a video, usually I tell them to record their voices, then I use Audacity to synchronize all the voices into an audio file. Calls usually have a very bad recording quality, but with this technique, the voices of the other participants can be crystal clear!
The same applies to podcasts or any other project that involves synchronizing multiple audio tracks. To show how simple it is, I will, first, show you how to get the program, and then how the basic workflow is.
Get Audacity
I have uninstalled the software to install again and show the process, and just now I realize the program uses just 3.5MB of space on my computer. That is awesome for such a big project. When you think of tools used by professionals you think of something huge or complex, but Audacity is simple and small, and still used by many!
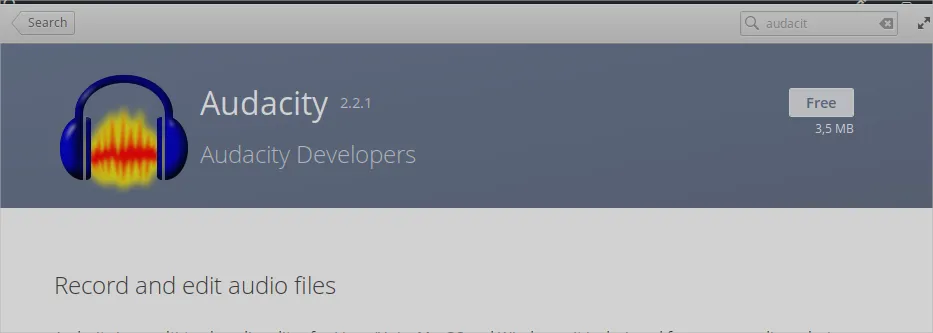
Getting Audacity is simple and easy if you use Linux and your distribution have some sort of "app store". I use Elementary OS on my main computer, so, to get Audacity, I just type on the AppCenter "Audacity" And download it:
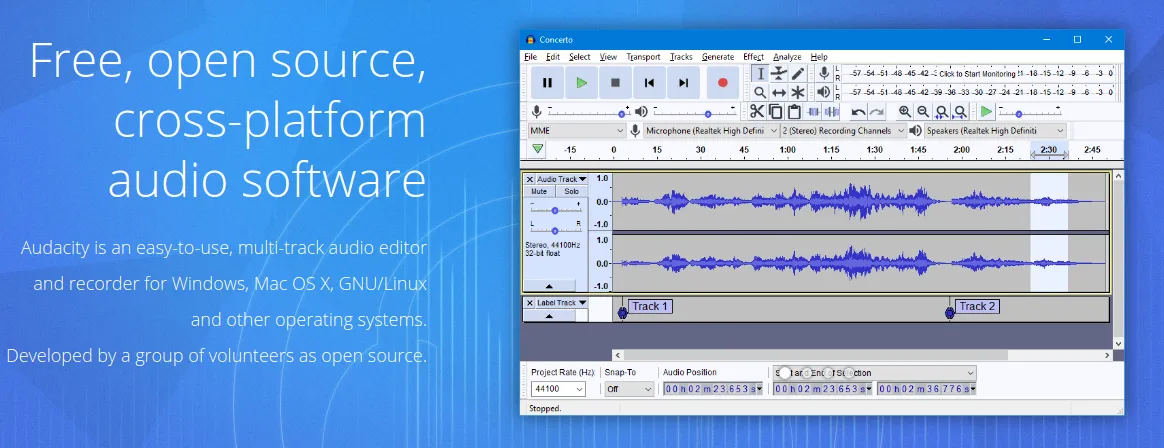
In case your Linux distribution does not have the feature to get the software with that simplicity, or you use another operating system, you can still get it from their website:
As you can see, Audacity runs on all 3 desktop operating systems. That probably has helped their project to grow as big as they are now. Being completely multi-platform is a feature that is often underrated. I have had to change my computer in emergencies, and it is not a great moment when you realize that the program you needed does not run on the new operating system you have got.
The interface
The interface might look scary at a first glance if you have never used it before. The first thing you might notice, that is only funny, is that there are no preview windows. It does not make sense to have a preview window on an audio editor, differently from a video editor. So the interface is all timeline, with lots and lots of "lanes" for you to add layers of audio.
The position of the audio in the layer does not change anything on the audio. So, the audio from the first layer and the 10th layer will all have the same configurations as default. Differently from video editing, that the first layer "hides" everything on the second, unless you make the first transparent somehow. On audio editing, that is just not a thing and all layers have the same "priority" until you change the audio setting, like volume and pitch.
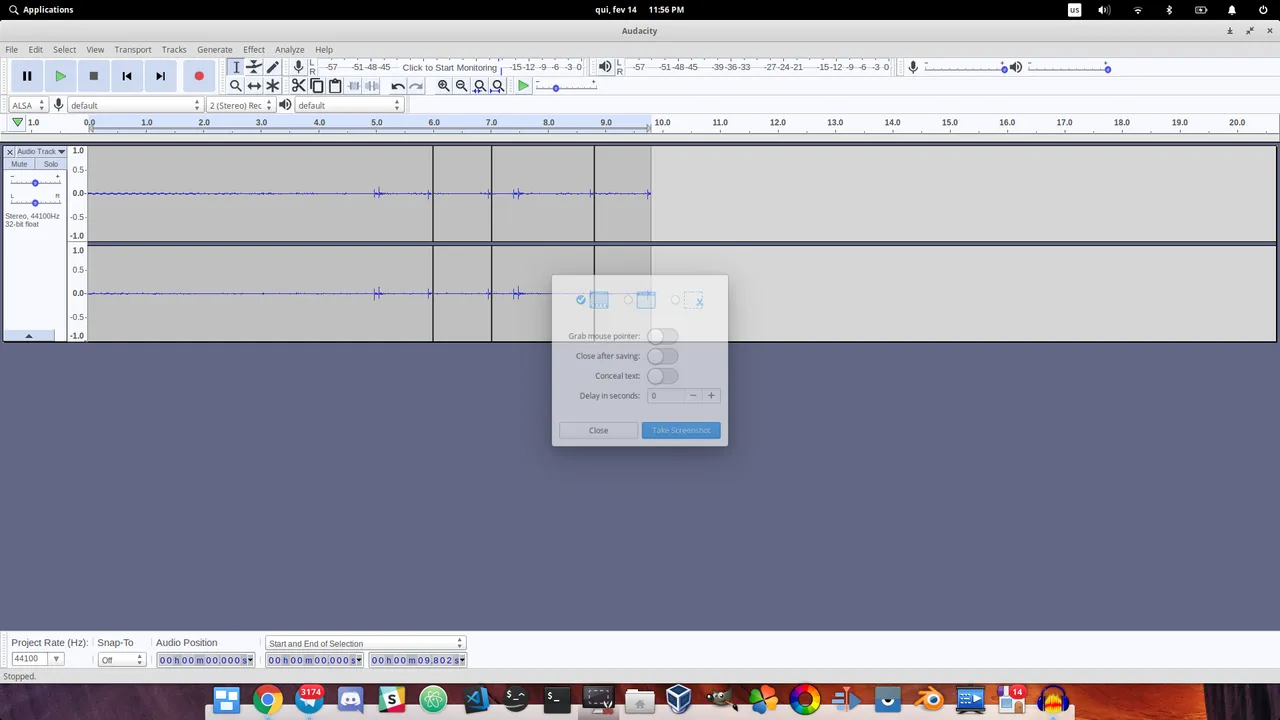
Using the record button(the red one):

I have recorded a small audio clip just to show a few tools:
And that is a layer. I won't add dozens of layers and show advanced features because I am not so proficient on the advanced things and because this is just a walkthrough, not a tutorial. So, one layer is enough.
Audio normalization is the main tool I use. And it is simple enough to do that.
What is audio normalization?
To normalize an audio track means to make the whole track sound as if it has the same volume. Imagine you have a recording where you start talking at a low volume, and as you get more excited you raise your voice. In that scenario, the listener would feel uncomfortable for having to adjust the audio settings on his side multiple times while listening to you. When you normalize, the listener does not have to do that as often because everything has around the same intensity of volume. This is a great tool for videos, podcasts, and mainly songs!
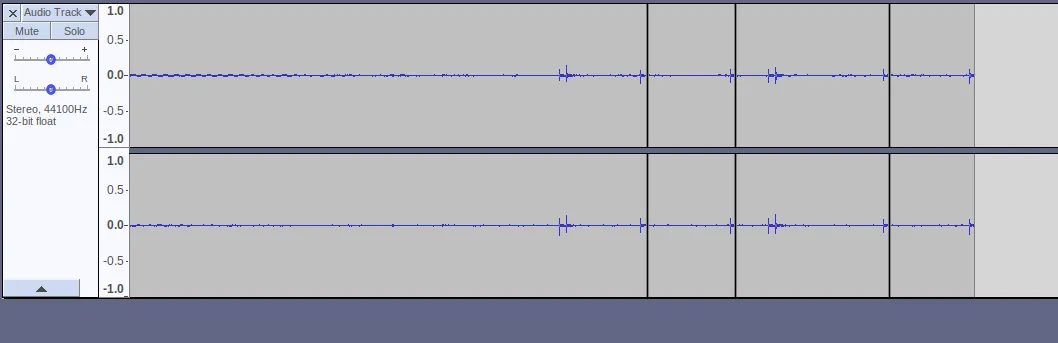
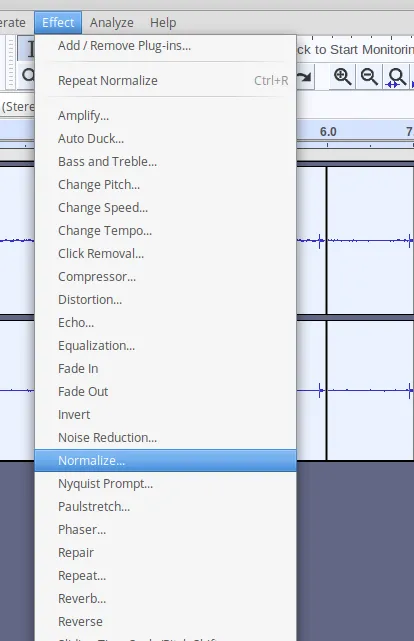
To normalize, I simply use the selector tool:

To select the whole track (click and drag through the track or ctrl+a):
And then, on the top menu bar, there it is! The normalization tool:
The second useful tool is called "truncate silence". It is a bit below the "normalize" on the effects menu, and very useful for videos and podcasts!
What it is it, it detects the silence on the audio, and automatically cut it off the track! So, if you are recording a podcast, and you are silent for 30 seconds, you can cut off and make that a half second silence! Sadly, they do not yet have a feature to automatically remove the moments when I say "hm.." "eh..." and other "thinking sounds" haha.
Last, but not least, useful editing feature I use very frequently is noise reduction:
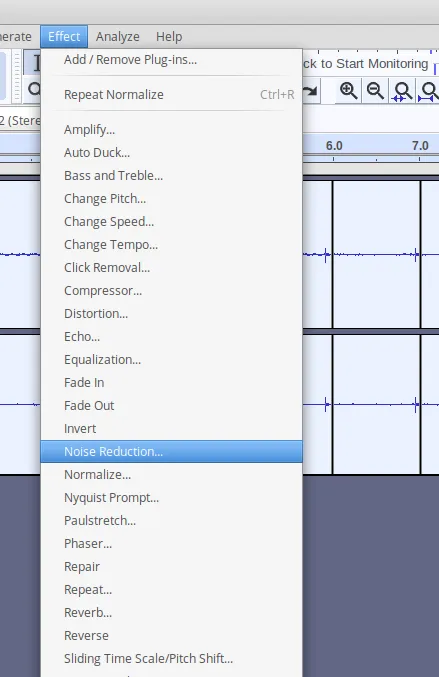
And that is a really useful one, that can make your $20 microphone sound like a $200! Cheap microphones often capture too much white noise and background noise. This tool removes that noise for you, even when you are talking!
Though, this is not simple to use. Maybe a sound engineer thinks this is simple, but it takes me a couple of trials and errors to get this right.
How it works is: You select from the audio track a part of silence, so, it is important when recording to leave at the beginning or the end a bit of silence for the noise reduction. The tool, then, detects and understands the white noise and removes it FORM THE WHOLE TRACK! Even when you talking "above" the background noise, this software makes your voice sound crystal clear! You can watch my videos on DTube to check how little white noise there is.
Of course, this tool can't replace a good microphone, but it for sure can save you a few bucks.
Useful and free
Those are the main tools I use on my "productions". There are other features that I use less often, like pitch modulation, to make my voice sounds deeper on podcasts, but they are not a tool I use that frequently. The basics are not that complicated and I could fit a small tutorial of them all on a short guide!
Keep in mind, this is a very professional and feature-rich software, if you read more in depth and see further tutorials, you can do much better!
The software is free and open source, and not just can it improve your audio and give you more flexibility than a video editor, but if you were thinking your microphone is bad and have to change it, maybe this program can save you some bucks! You'll only know by trying!
Resources
Udacity main website:
https://www.audacityteam.org/
Download page:
https://www.audacityteam.org/download/
Tutorials:
https://manual.audacityteam.org/#tutorials
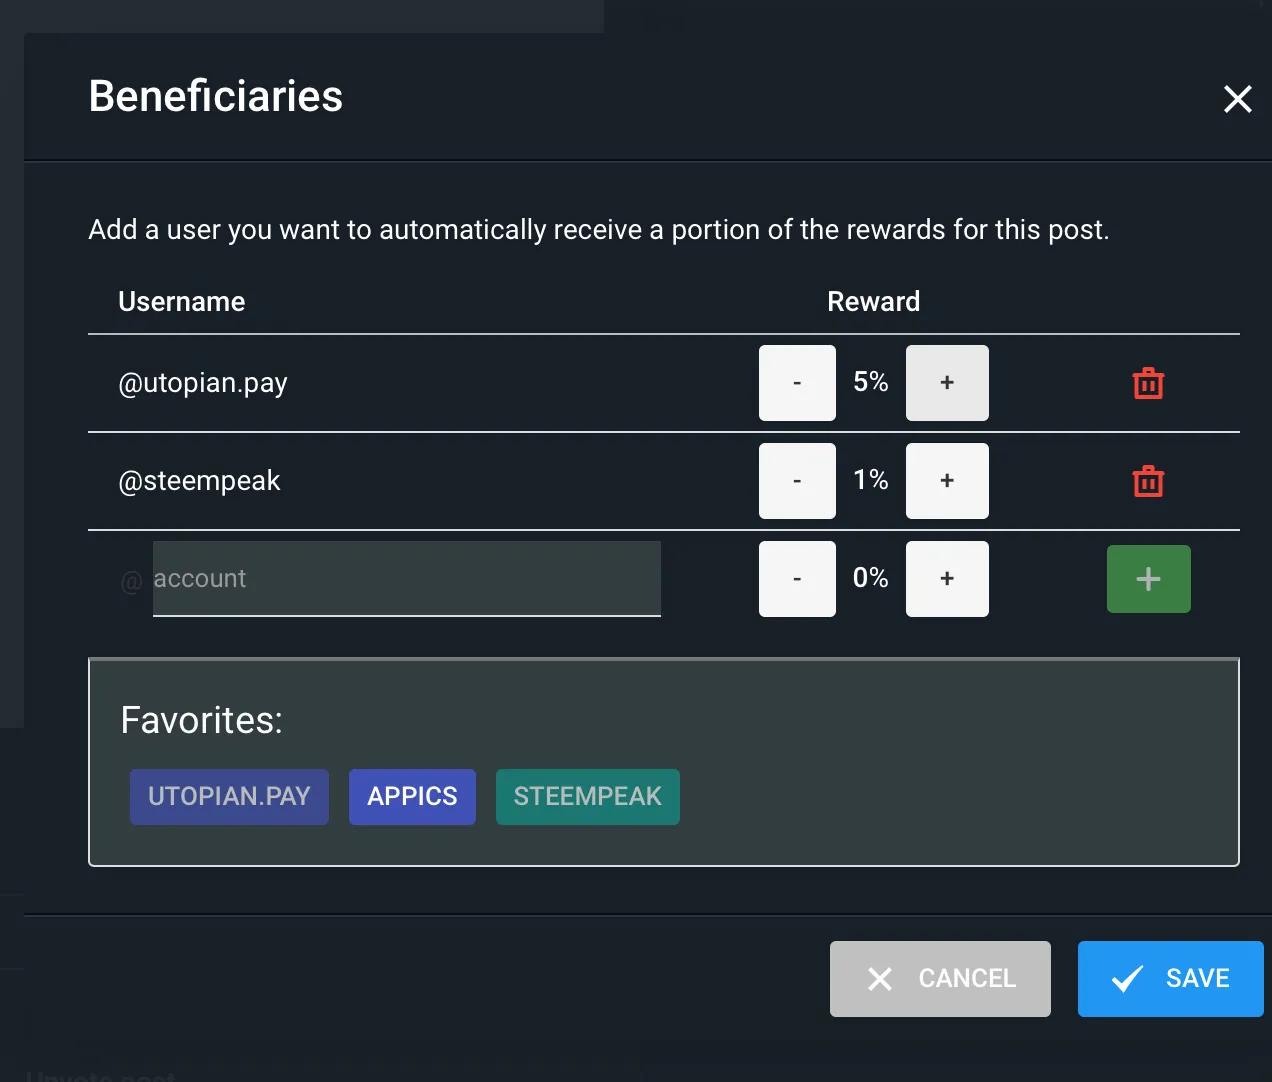
Beneficiaries
This post has as beneficiaries
- @utopian.pay with 5%
- @steempeak with 1%
using the SteemPeak beneficiary tool