
understanding
FreeNAS is an attached storage device and open-source network-attached storage (NAS) based on FreeBSD and the OpenZFS file system. It is licensed under the terms of the BSD License and runs on the x86-64 commodity hardware. FreeNAS supports Windows, OS X and Unix clients and various virtualization hosts such as XenServer and VMware using SMB, AFP, NFS, iSCSI, SSH, rsync and FTP / TFTP protocols. Advanced FreeNAS features include full disk encryption and plug-in architecture for third-party software.
background
NAS-based database storage (Network Attached Storage)
purpose and objectives
making NAS-based storage data storage
expected results
freeNAS is installed correctly and implemented according to its function
tools and materials
- pc server
- iso freeNAS download here
- laptop
- Internet connection
time period
15 minutes
implementation stage
- download first iso freeNAS
- this time I installed my freeNAS on VM on my proxmox
- upload iso file freeNASnya to proxmox
- create a new VM for freeNAS and adjust to the terms of the freeNAS specification
- path VM and boot to its freeNAS iso
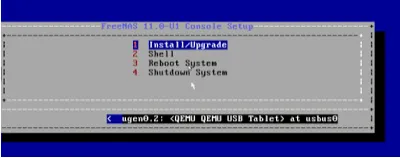
- select install / upgrade
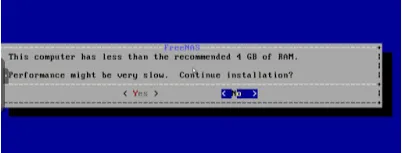
- select yes, this is out because my RAM is only 4GB so try your RAM more than 4GB if you want freeNAS
- select the disk to save its freeNAS and OK
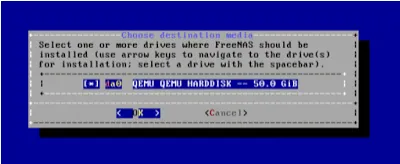
- well here, there is a warning
- this will delete all partitions and data on da0
- you can not use da0 for sharing data
IMPORTANT!!!
so that means freeNAS should have 2 storage, the first to store freeNAS itself and the second for sharing data or NAS, therefore I suggest to use flasdisk to save its freeNAS and hardisk later that will be used for database NAS.

10.give your freeNAS password
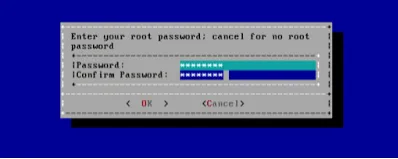
11.select boot via BIOS to boot through bios

12.wait until the installation is complete and will exit to the initial view and select the reboot system
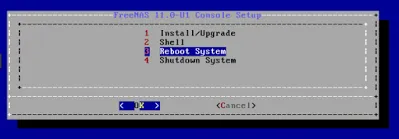
13.next select number 1 to configure network interfaces
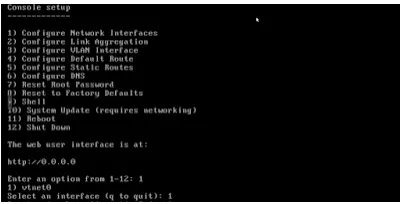
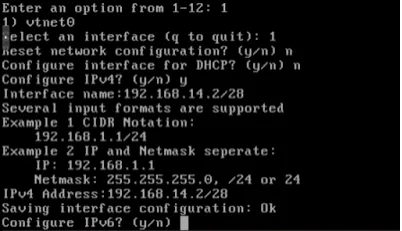
14.Reset network configuration? Select n.
Configure interface for DHCP? Select n.
Next IP address IPv4, for example: 192.168.14.2/28.
Configure for IPv6? Select n.
15.if you open your freeNAS with web browser, type your freeNAS ip

16.login to freeNAS

17.choose the keyboard language and time zone
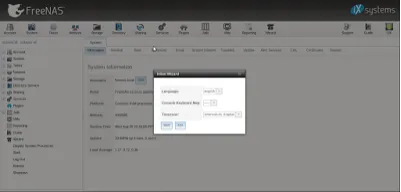
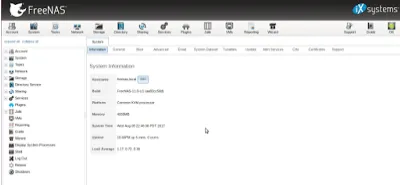
results obtained
freeNAS can be installed properly and ready to use for database storage
conclusion
NAS based data storage can use freeNAS OS or use other OS such as NAS4free, rickstor, cryptoNAS and others.
Posted on Utopian.io - Rewarding Open Source Contributors