Hello all friends, this time I want to make a tutorial how to design t-shirts using Adobe Photoshop Software. There are many versions for photoshop, but you can use whatever Photoshop you want. But in this tutorial I use Photoshop CC 2017. which is needed to create a shirt design with photoshop include:
1. T-shirt design template (also known as t-shirt mockup).
2. Logo or image to be used as t-shirt design.
If it is complete let us enter the stage
Step 1: Download T-Shirt Mockup
T-shirt mockup is an example of ready-made shirts and ready to use as a basic template in designing t-shirts.
By using mockup, you can design logo or picture for tshirt directly.
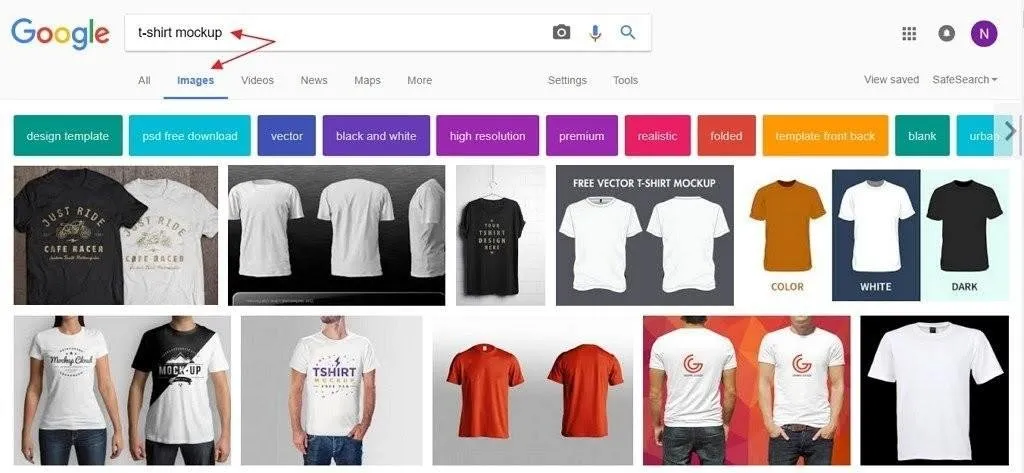
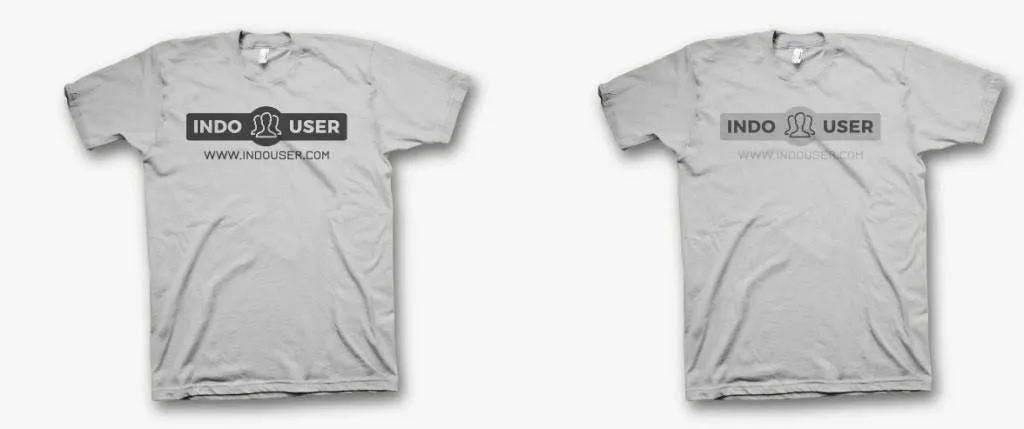
There are many websites that provide a variety of mockup t-shirts that can be downloaded for free. In the picture below I give examples of mockup that I search in google:
Choose a t-shirt design that you think is easy to customize.
click and visit the website page.
make sure the t-shirt is distributed for free so you can directly download.
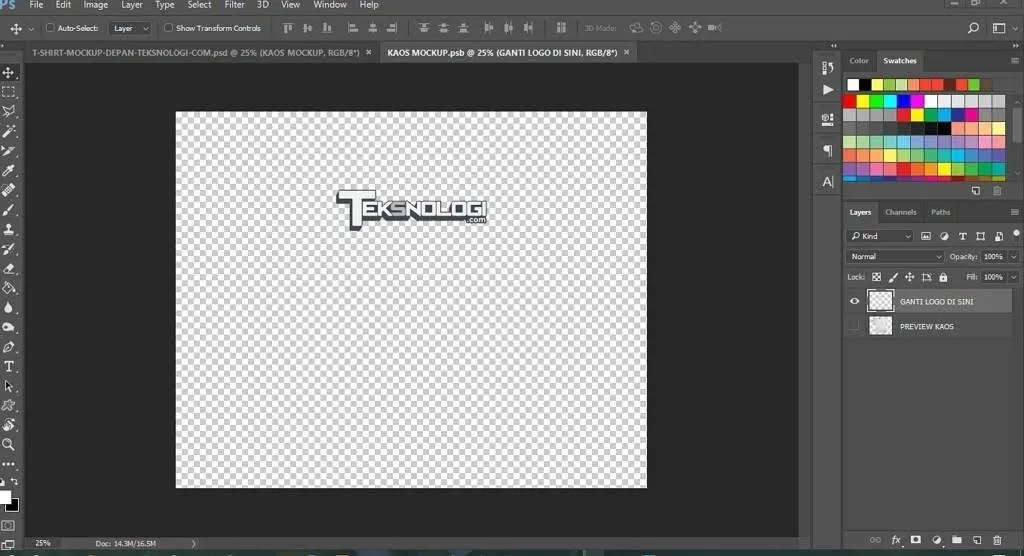
Step 2: Open Mockup File in Photoshop Once downloaded, then double click the file to open it in Adobe Photoshop.
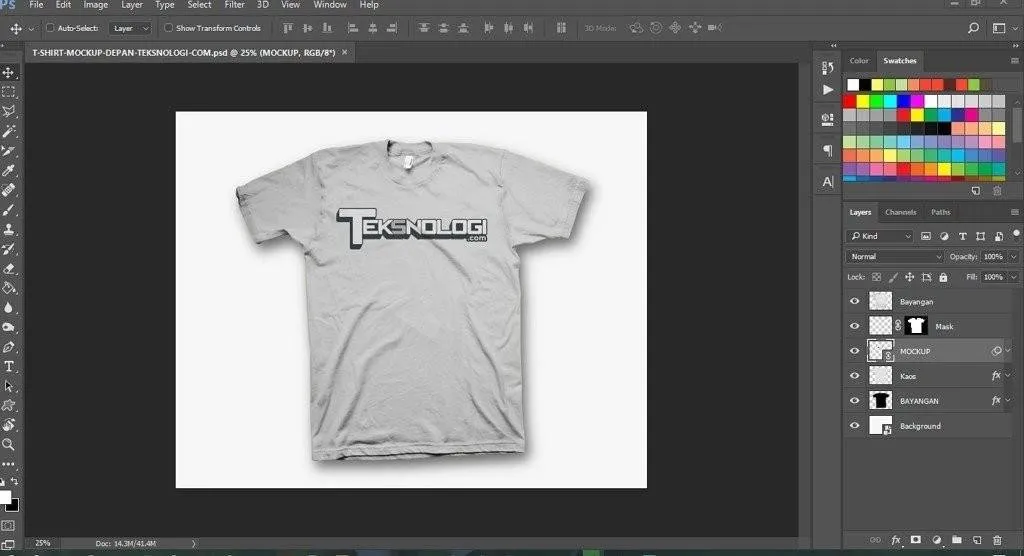
Once open, there will be a logo Teksnologi.com on the shirt. You can replace it with your own logo or image design by:
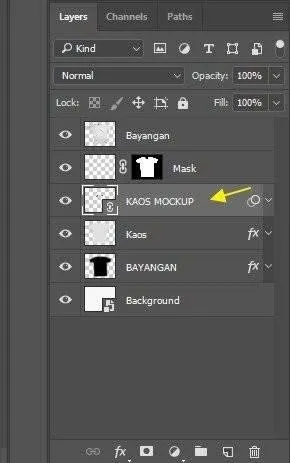
1). In the panel on the right, right-click the smart object layer named "KAOS MOCKUP".
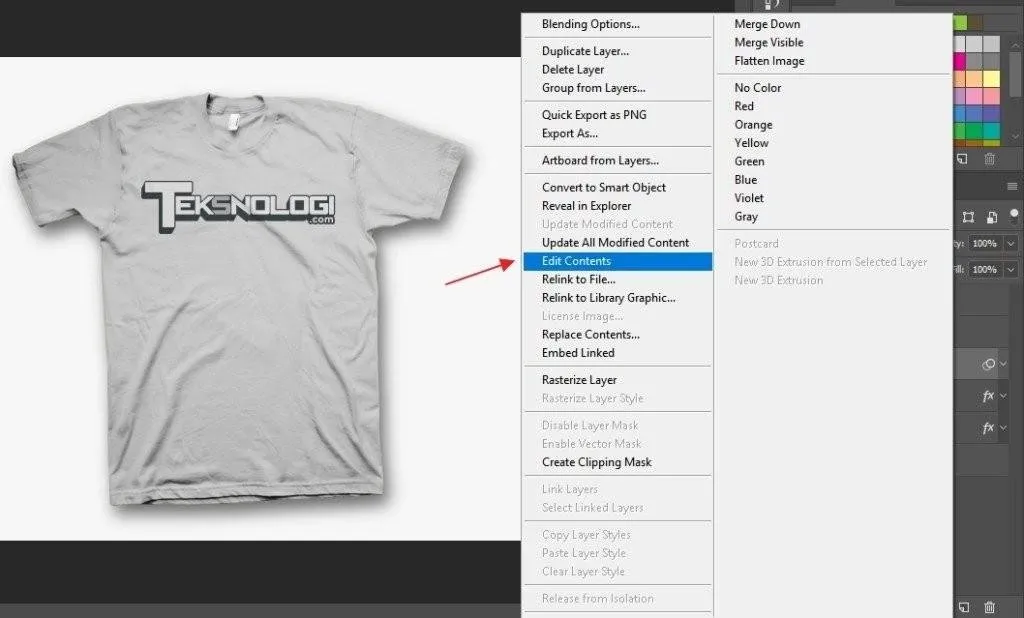
2). Next select Edit Contents.
3). It will automatically pop up a special new document tab containing logo file.
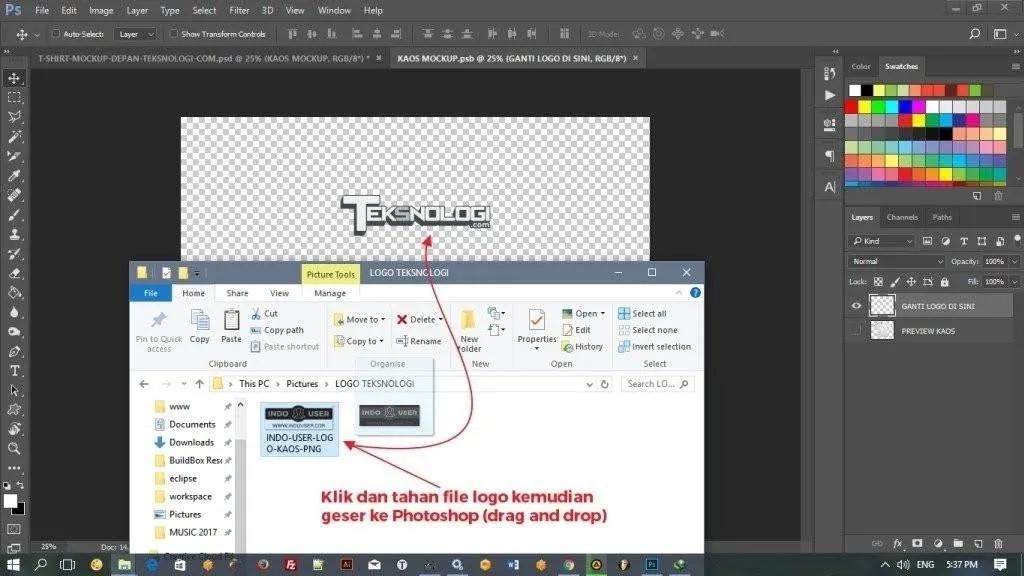
4). Please replace and remove the logo to replace it with your own picture or logo.
How: Set up your logo, open where your folder logo in located. Next drag & drop (drag your log into Photoshop app).
In the example here, we use the logo from Indouser.com.
5). After successfully moved, it will look like the following picture:
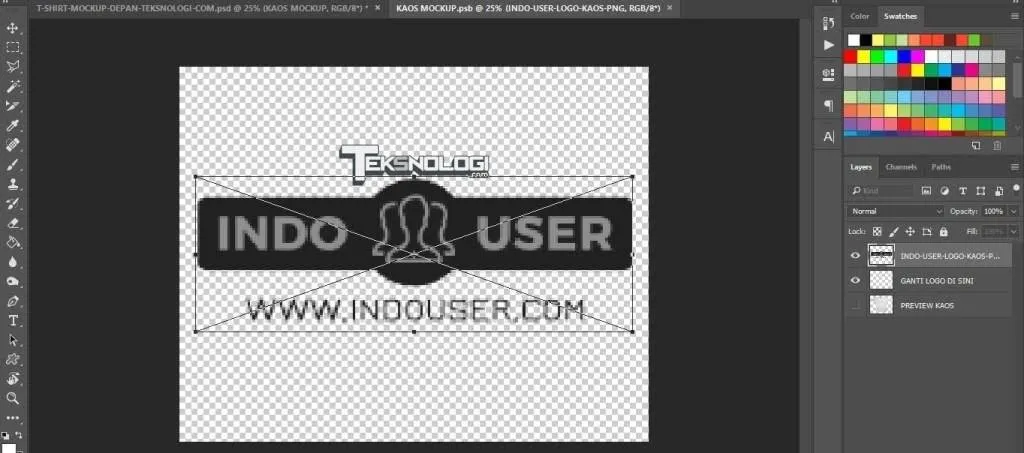
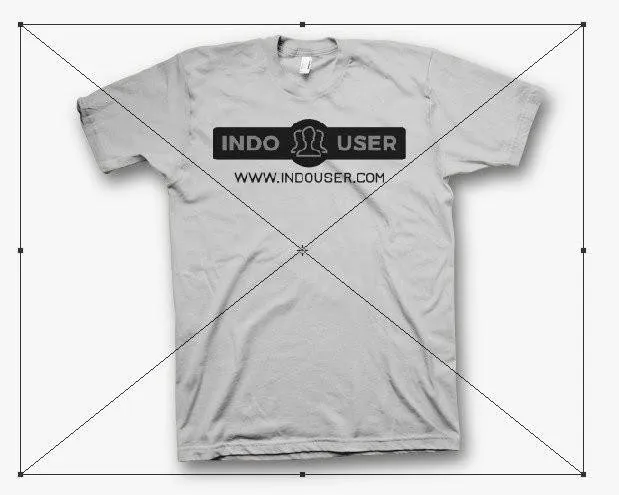
6). Customize your chosen logo in a way. slide each corner by pressing Ctrl + T on the keyboard, press and hold the SHIFT key on the keyboard while adjusting the logo to keep the logo size proportional. Place the new logo's position to fit over the previous logo.
7). After overwriting the old logo with a new one.
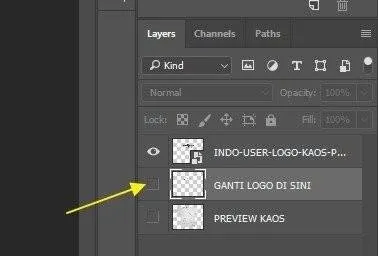
Next step, hide the previous logo by clicking on the layer named "REGISTER LOGO HERE" in the right panel, then click the eye image icon to remove or hide the layer.
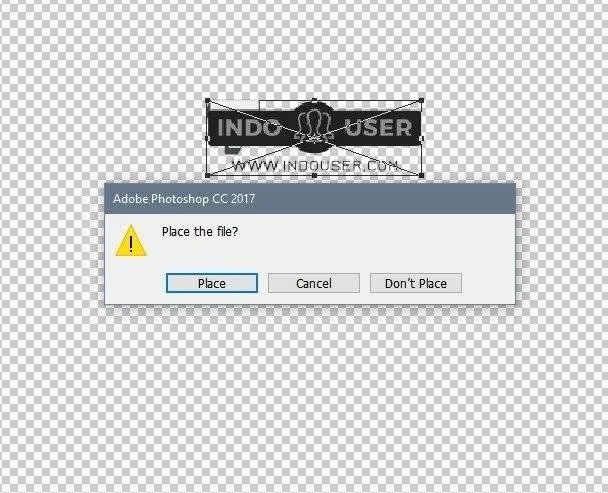
8). Next step, save the change by: click File menu> Save. Or press Ctrl + S on the keyboard.
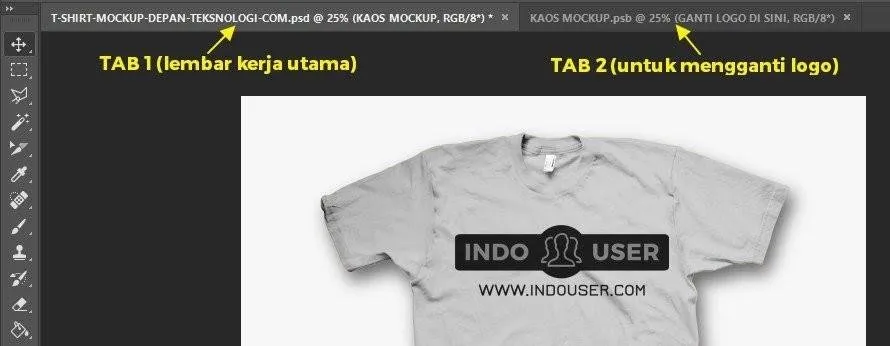
9). Next go back to the main tab to see the results of the changes. See example in picture: Please click on first Tab.
10). In the picture above, the logo you just changed could have its position look less precise to be in the middle.
Therefore, you can move it by using the move tool.
11). If the logo is too big and you want to zoom out, press the "Ctrl + T" key on the keyboard then slide each corner while holding down the SHIFT key on the keyboard until you feel the size of the logos is correct.
12). To change the color of the logo How: In the right pane, click on the "normal" option, and change to another mode until you think it is quite fit..
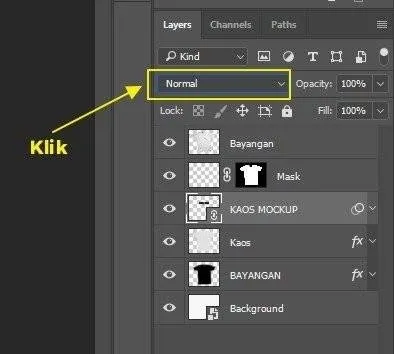
13). Here's the result when I choose "Pin Light" mode, or some other mode: Photo You can also change the opacity level of the logo from 100% to the numbers below it.
The final result
Here is the final result of tnologi shirt design teknologi.com changed to indouser.com:
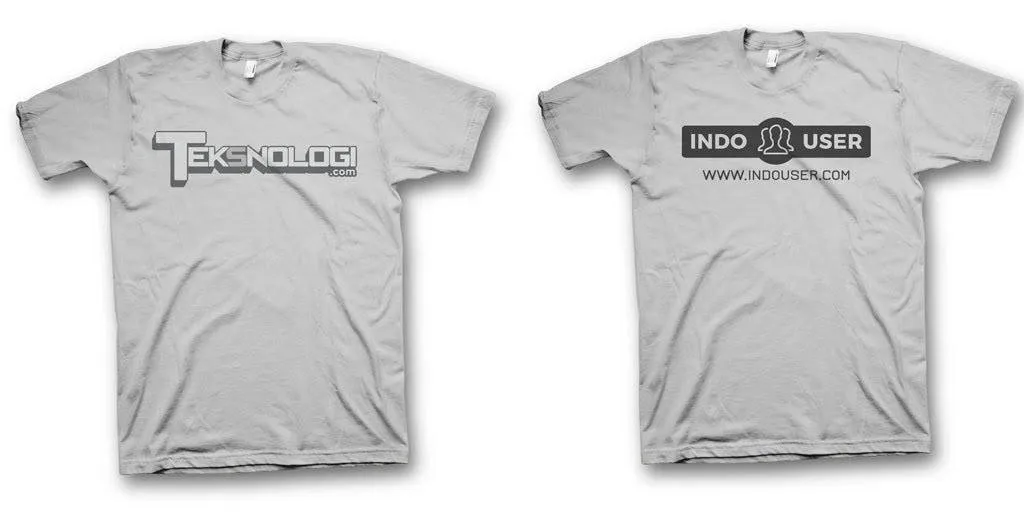
Once completed we can save and publish it for upload to the website.
Click menu File> Export> Save for Web (Legacy). Then in the preset section, specify the desired format, generally the .PNG or .JPEG format. so the file size is not too big, I recommend to choose JPEG format with the level of quality: High.
That's the tutorial from me, hopefully useful. best wishes @hendri.aceh
Posted on Utopian.io - Rewarding Open Source Contributors