Java Graphical User Interface (GUI): Creating an Utopian Calculator Using Netbeans IDE Episode 3
Hi,
I’m your Java Tutor, CurtWriter. Today, we will be rounding up the third and final part of our Utopian Calculator App.
What will I learn
- You will learn how to set up your delete/backspace button.
- You will learn how to set your mathematical operators.
- You will learn to convert your project into a .jar file.
Requirements
- A desktop computer or laptop with Windows, Mac OS, Linux or Ubuntu Os is required.
- The Java Software Development Kit (JDK) must be installed on your system
- Netbeans IDE should also be installed on your system
Difficulty
- Intermediate
Tutorial Content
In our last post, we learnt how to assign values to the JButtons. We equally worked on using our setText and getText methods together. Finally, we set up our Clear/Cancel button, as well as our ON and OFF Radio buttons.
In today’s tutorial, we will work on our backspace button, and set up our mathematical operators. Finally, we will convert our project into a jar file. Hope you are ready for some action!!
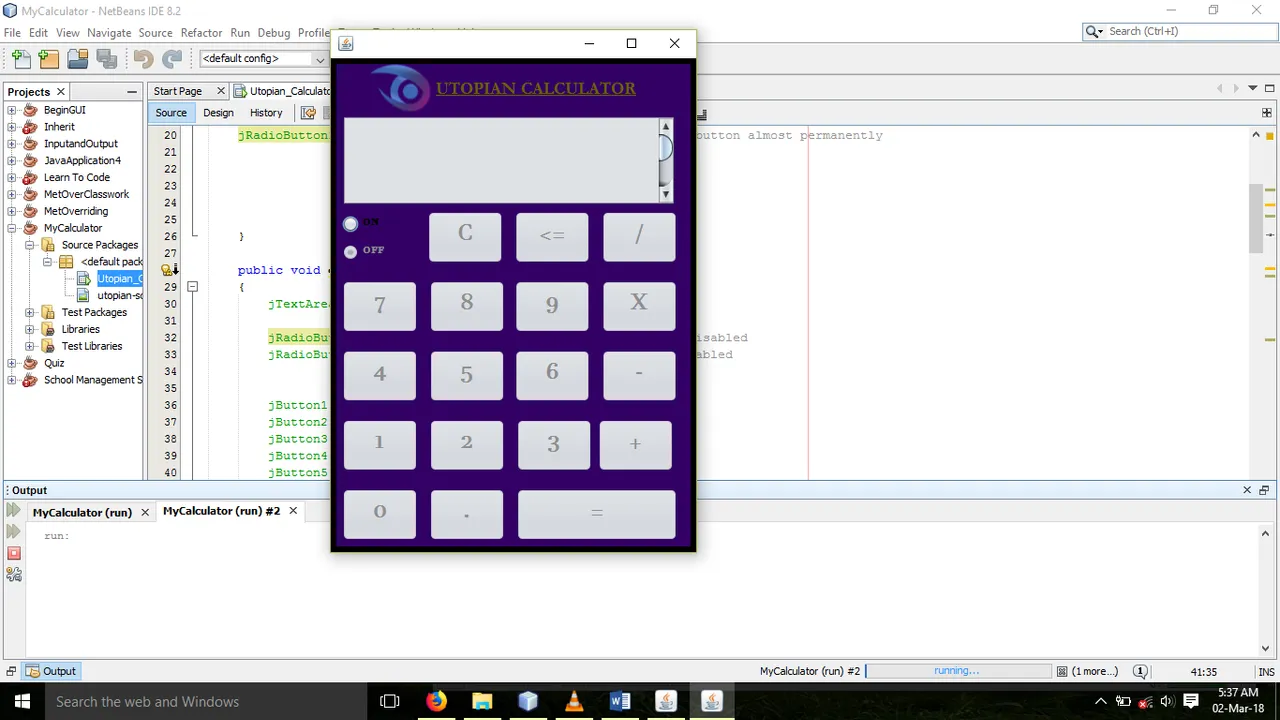
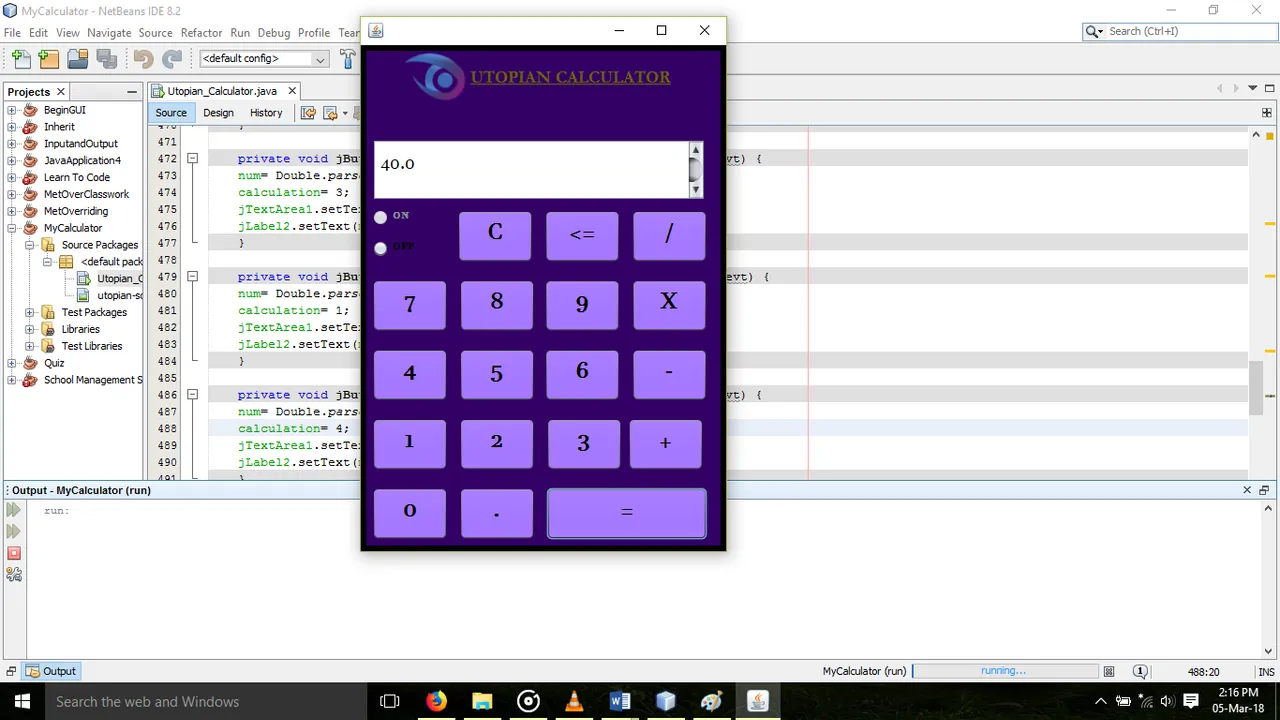
Here’s how our app looked like at the end of our last class.
Screenshot
Setting up our backspace button
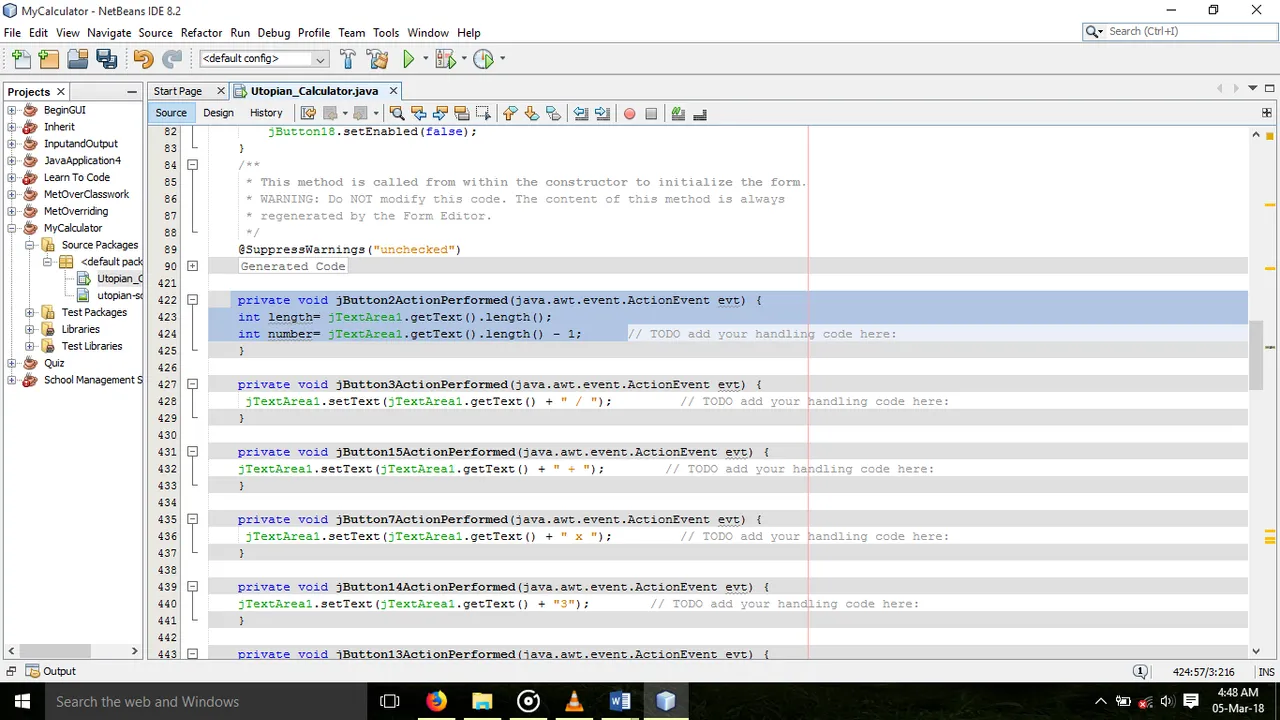
Unlike our Clear/Cancel button which deletes all the text or characters in the text area, our Backspace button should delete characters one after the other. First of all, we need to declare two integer (int) variables. See screenshot below;
Screenshot
Next, we declare a store variable with the String datatype. We will then use an If statement and after that, we implement the StringBuilder to create empty strings. Finally, we create an object of the StringBuilder. See screenshot below;
Screenshot
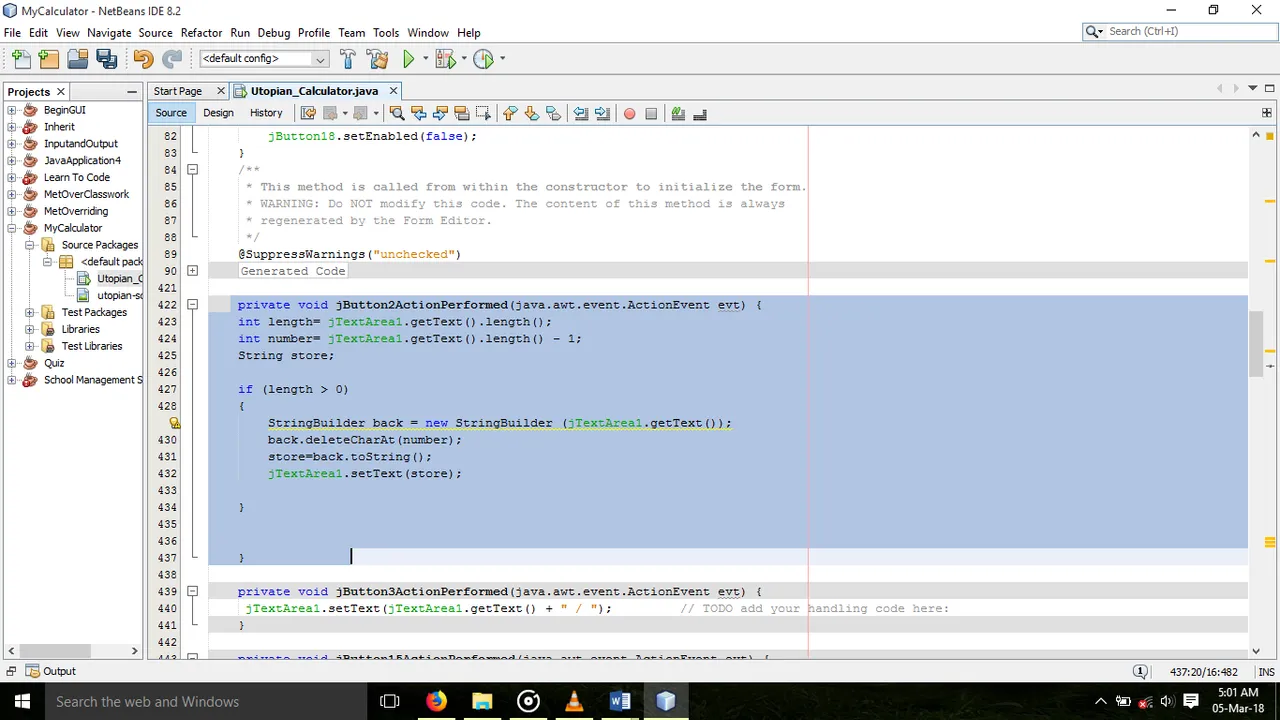
*The deletecharAt() is a method which allows us delete a single character from specific positions.
*We call the number variable we have formerly declared into the bracket of the deleteCharAt(number) because we want to delete the length of the numbers by 1.
*Finally, we convert the StringBuilder back to String with the store=back.toString(); and place the ‘store’ variable in the setText() method.
Let’s test to see if it works
Screenshot 1 – Before Deleting

Screenshot 2 – After Deleting
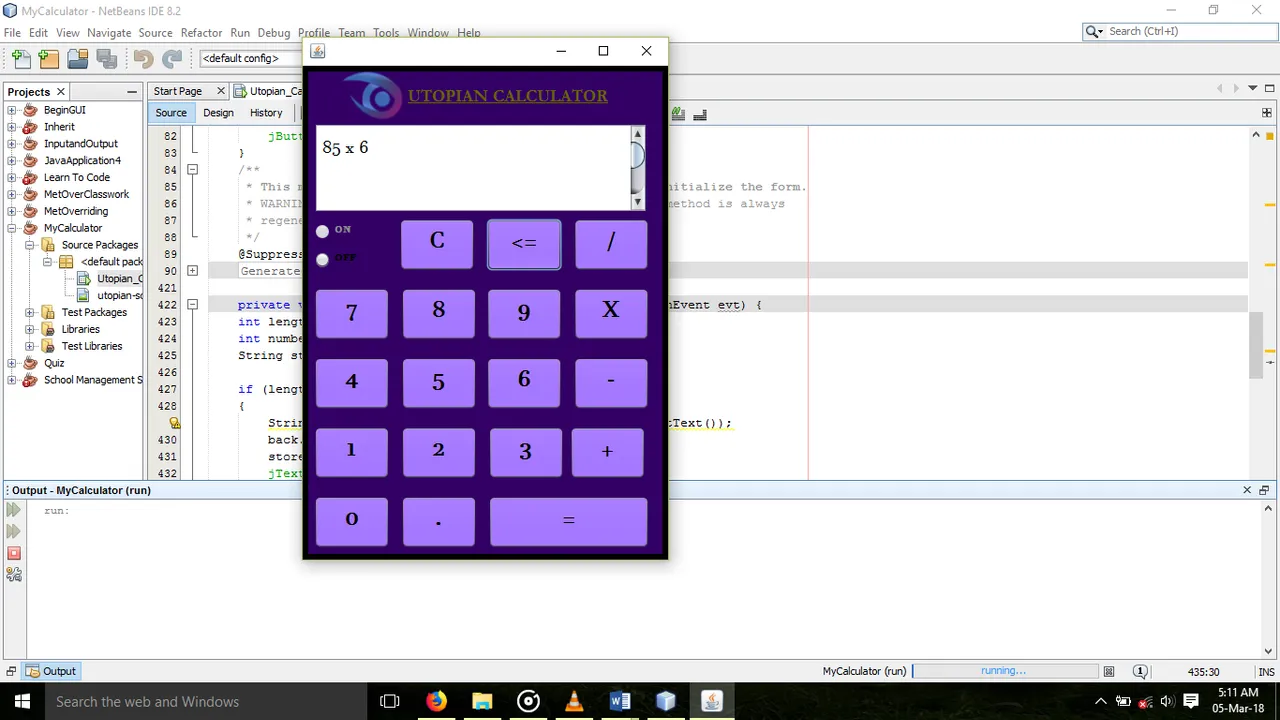
*From the screenshot above, you can see that we were able to delete three numbers from the characters in the text area. Kudos if yours is working perfectly.
Setting up Our Mathematical Operators
Mathematical operators are the addition, subtraction, division, multiplication we know and use on a daily basis. In setting up our operators, we will need to implement switch cases. Before that, we need to declare our variables. Next we create a method which will hold our switch cases.
Here's the method and the rest of the code which we are required to write.
Screenshot
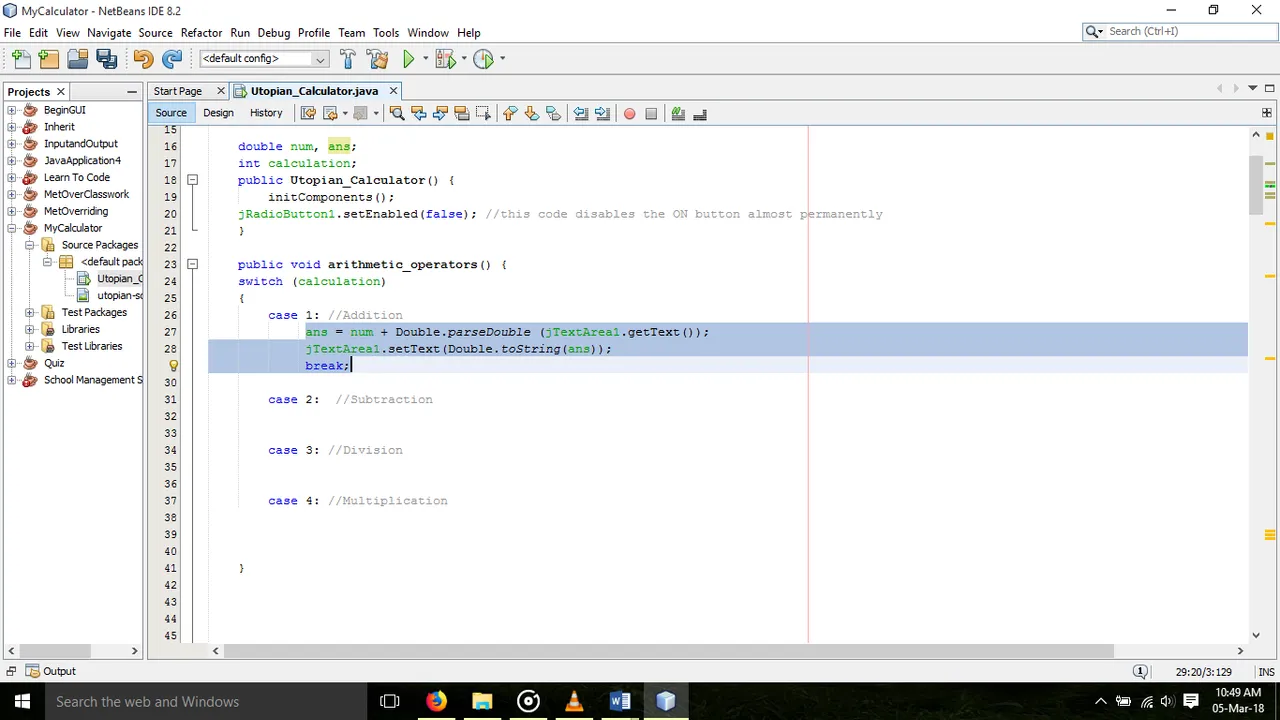
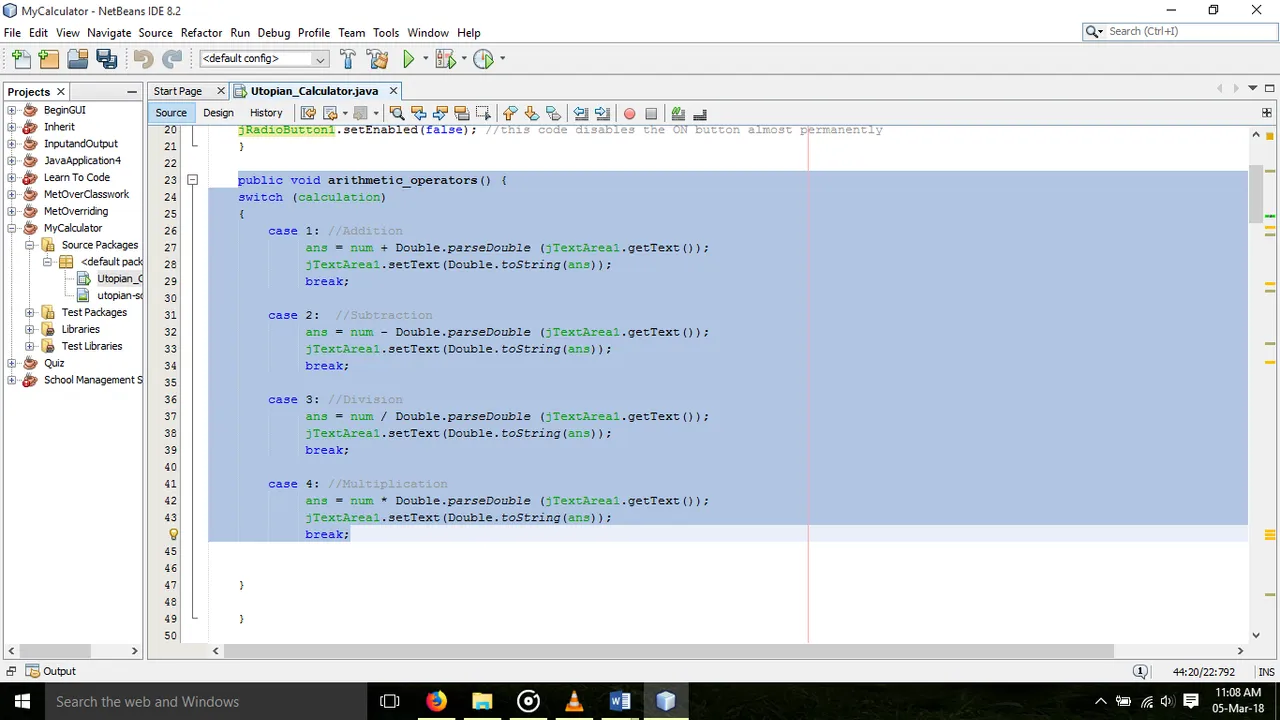
We simply replicate the highlighted codes in the other cases now while ensuring that there’s a change in the mathematical operators. Note the comments made by the side to highlight which cases are for which operators.
Screenshot
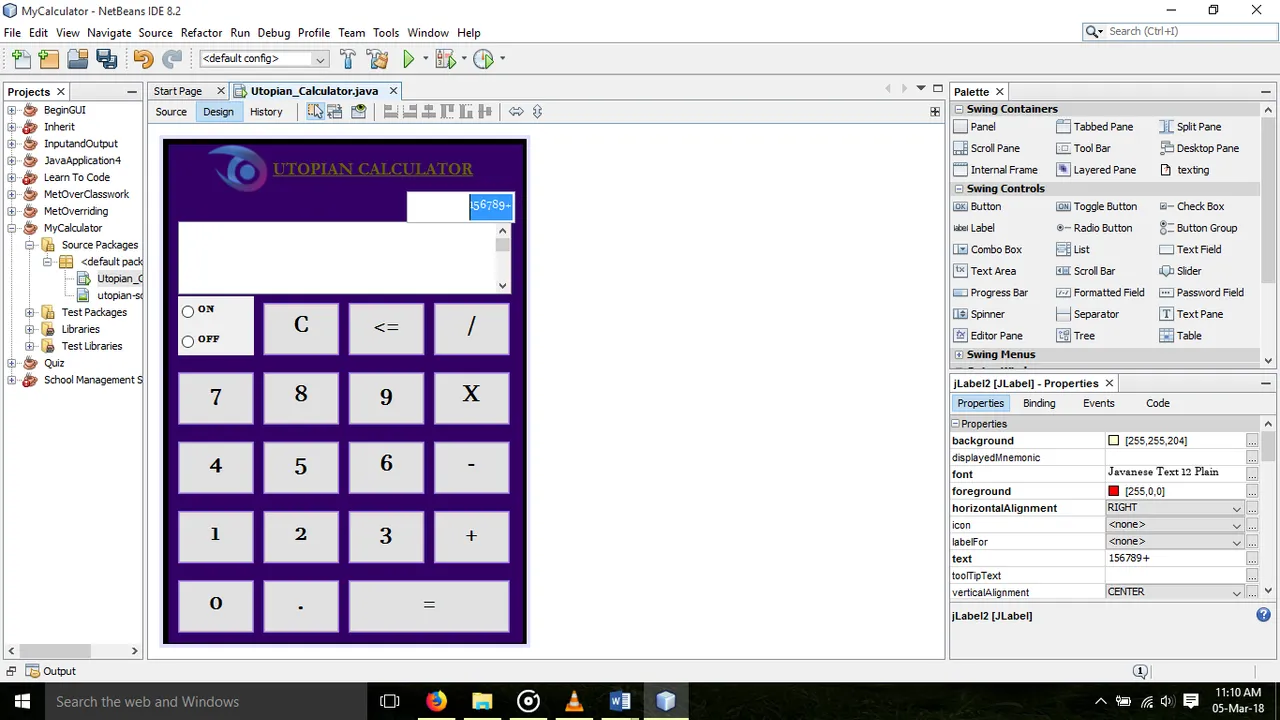
Adding a jLabel
We are going to be adding another jLabel to the top part of our calculator. The function of this label is to hold the numbers which we will type before the mathematical operators.
Screenshot
Since we are going to be making the changes through the jLabel for our mathematical operators, we will have to change the codes we formerly have there before going ahead to call the switch statement.
Screenshot
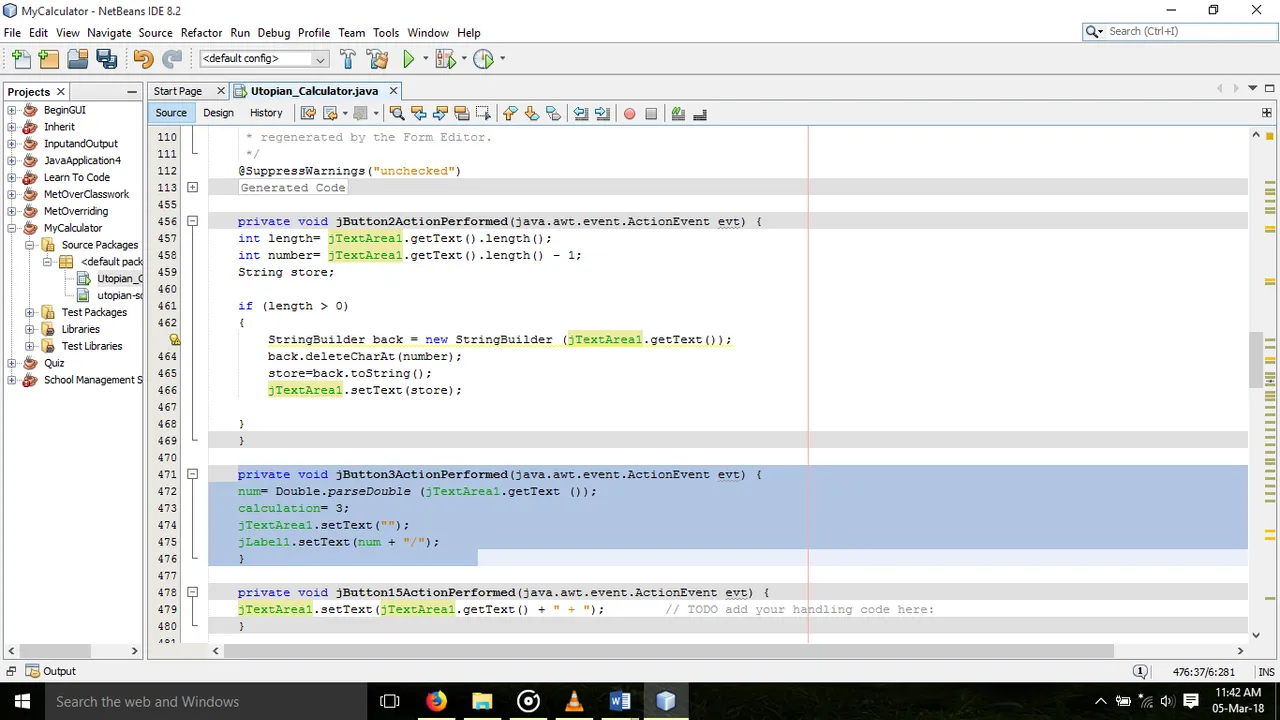
*The highlighted codes in the screenshot above is what we have replaced for our division mathematical operator.
Below is what our source will look like after implementing the change for the other mathematical operators.
Screenshot

Let’s test our app:
Screenshot: Before clicking on the equals sign

Screenshot: After clicking on the equals sign
Making our Calculator into a .jar file
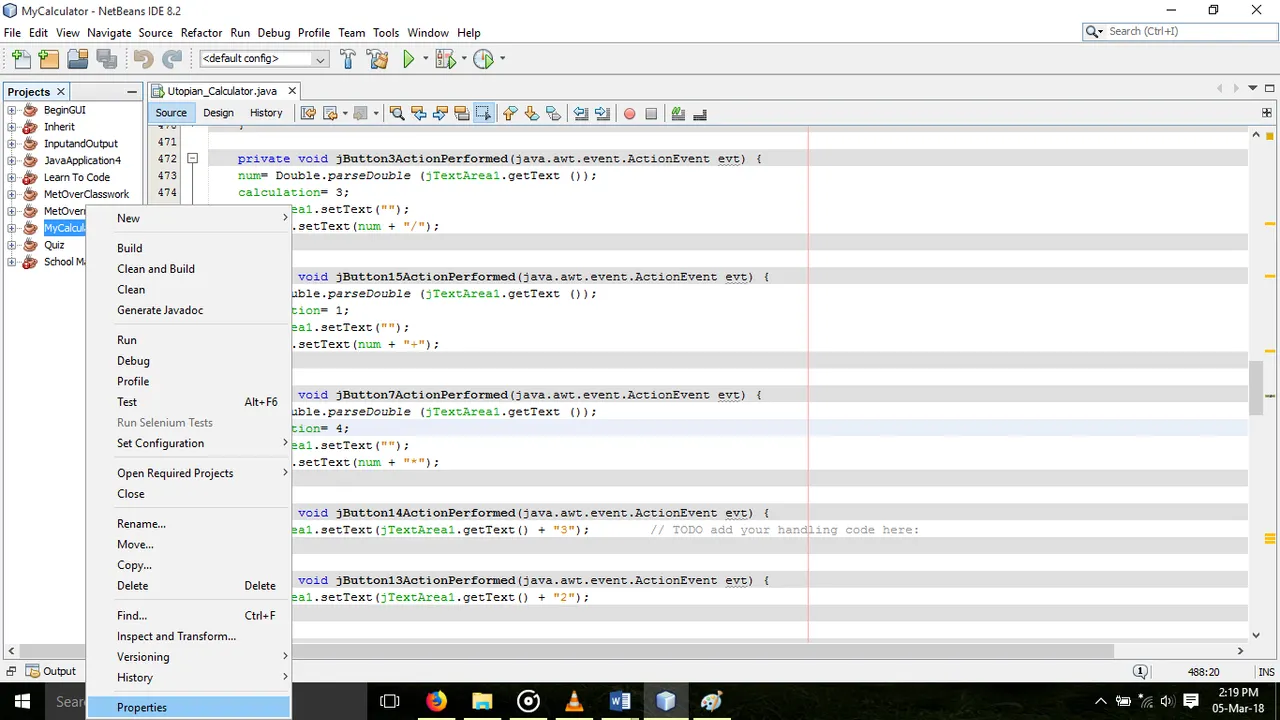
- The first step is to Right Click on Project and go to properties.
Screenshot
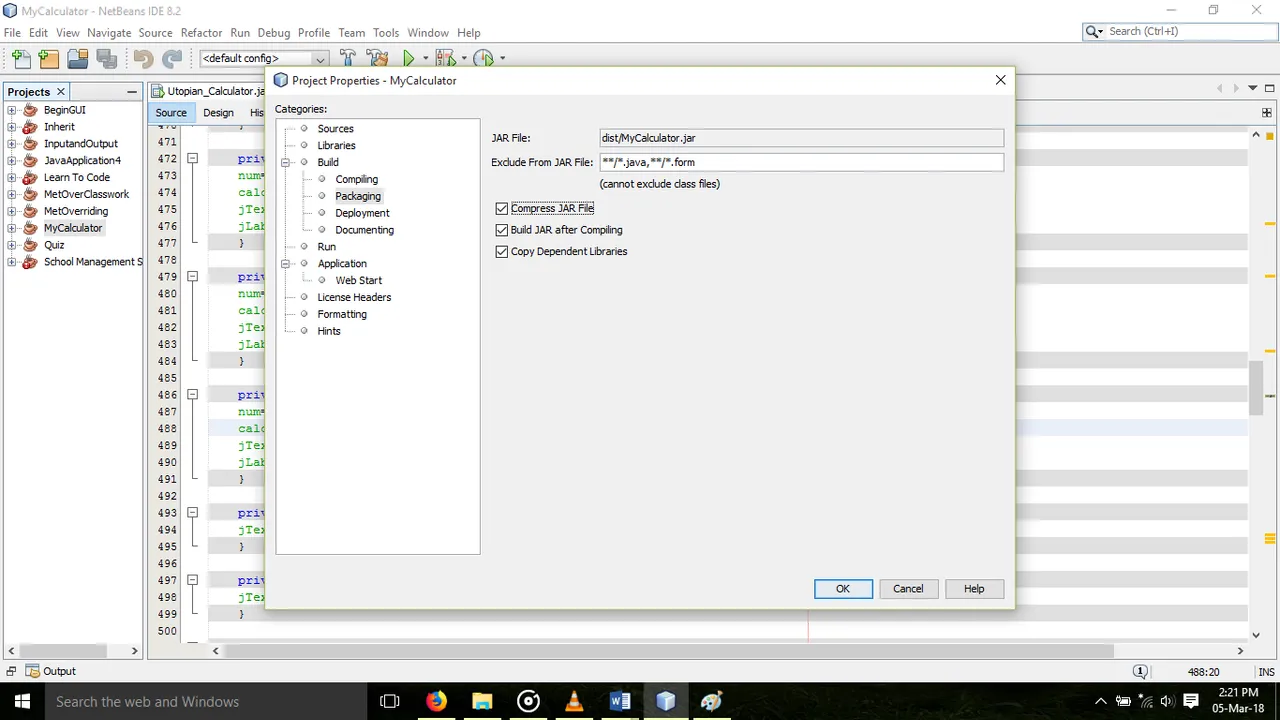
- Next, click on properties and endeavor to check all the check boxes. Then click on the OK button.
Screenshot
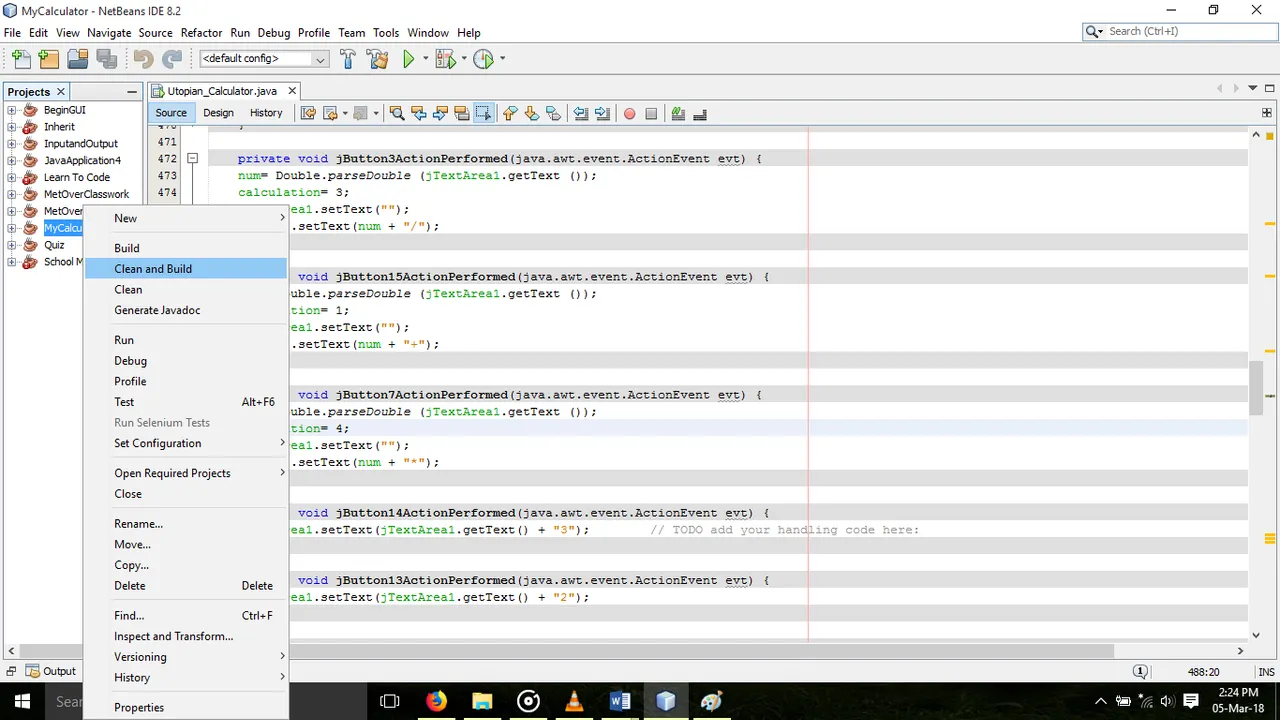
- Right click on project again and click on Clean and build.
Screenshot
- Once it is done, you will see a prompt at the bottom of your screen.
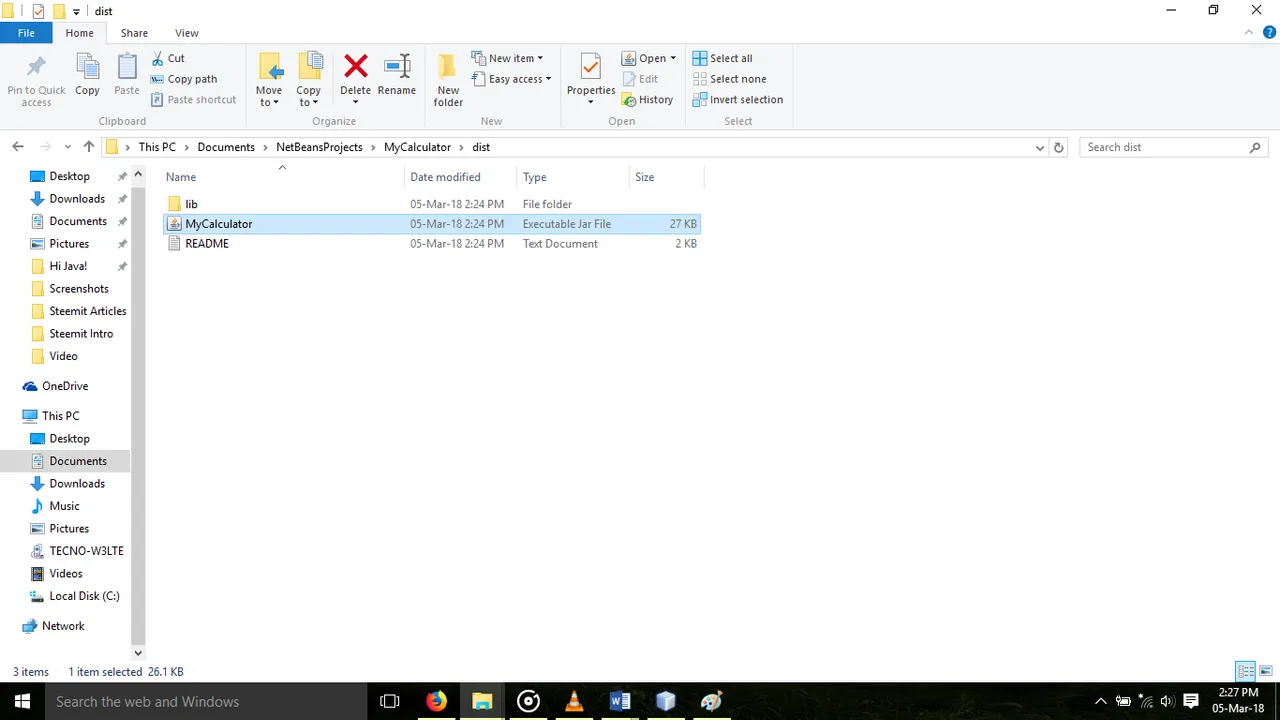
To locate your .jar file, go to the project location. You will see the file stored in the dist folder.
Screenshot
And here’s what our app looks like in the end!!
Screenshot
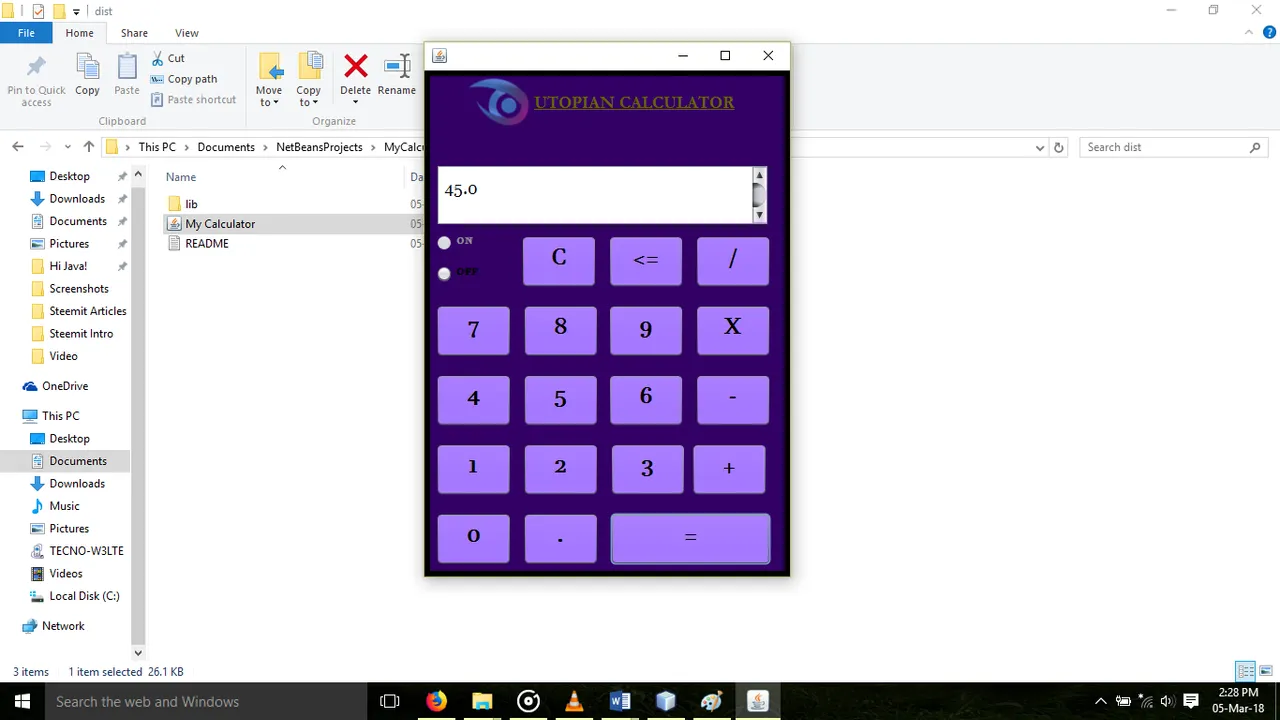
Yaayyyy!!! Kudos to us all.
With this, we come to the end of this tutorial. Endeavor to follow me and watch out for more Java tutorials from me. If you loved this tutorial, please upvote this post. Thanks to everyone.
Here's a link to our Executable jar file: https://www.dropbox.com/s/3ts8hcn3hz3ji74/My%20Calculator.jar?dl=0
Curriculum
Below is a link to the first and second episodes of this tutorial.
Java Graphical User Interface (GUI): Creating an Utopian Calculator with Java Episode 1
[Java Graphical User Interface (GUI): Creating an Utopian Calculator with Java Netbeans IDE Episode 2 (https://utopian.io/utopian-io/@curtwriter/java-graphical-user-interface-gui-creating-utopiancalculator-with-java-episode-2)
Posted on Utopian.io - Rewarding Open Source Contributors