
Introduction
Hi everyone Anidel ( @ankarlie ) here. Today I am going to show you how to install the Raiblock Desktop Wallet and a shortcut on how to synchronize the wallet (getting latest data record of the the blockchain). I will try to keep the tutorial simple so that newbies and techies alike will be able to appreciate this tutorial.
Requirements
- Raiblock Desktop Wallet installation file
- Web browser with internet connection.
- 7-zip compression/decompression program
- Windows Operating System 64 Bit
Procedure
Step 1 Installation of Raiblock Desktop Wallet
The first thing we need to do is to download the installation file of the desktop Raiblock Wallet. You can download the file here.
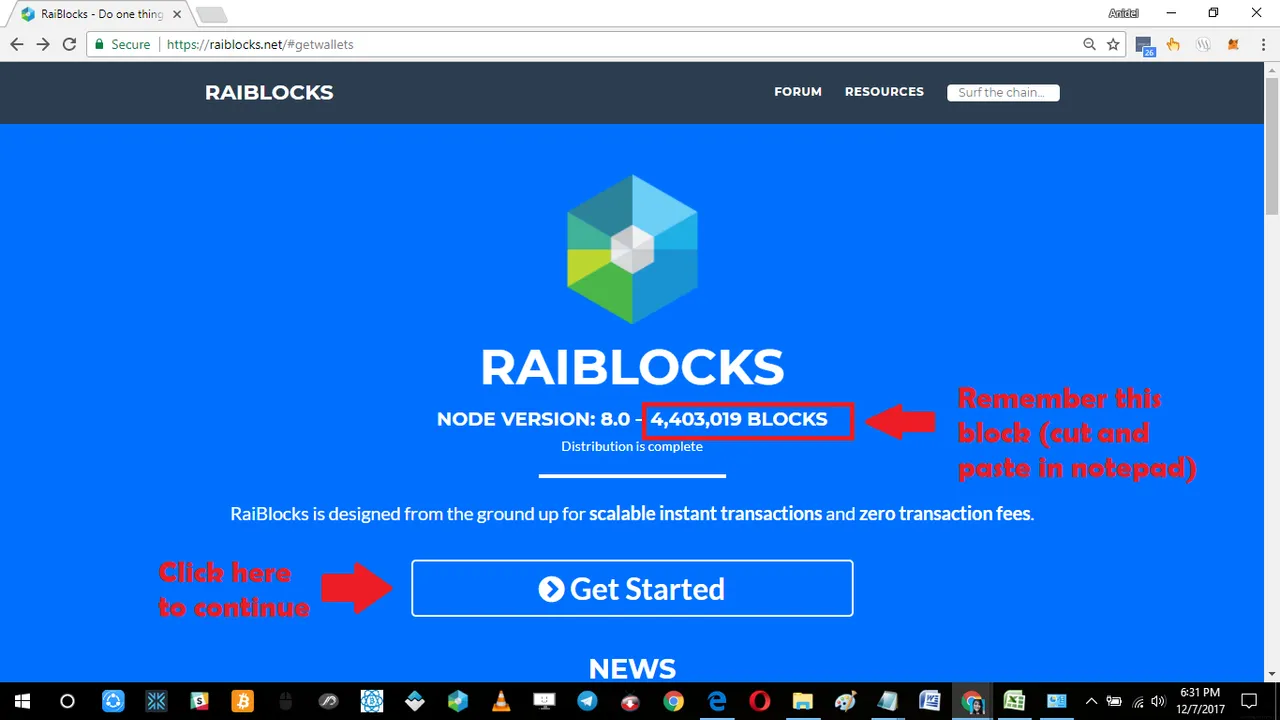
To get the files needed for installation we need to go to the website of Raiblocks. Copy and paste the count of the latest blocks in a notepad, we will be needing this information later. To proceed click on the "Get started" button situated in the middle of the page as shown above.
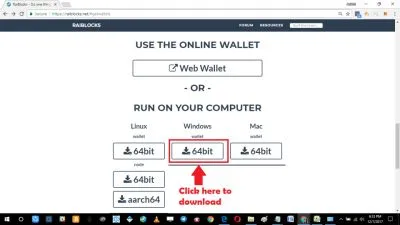
Once you click the "Get started" button it will bring us to the download page of the Raiblock wallets. For our tutorial we will be using the Windows 64 bit version.
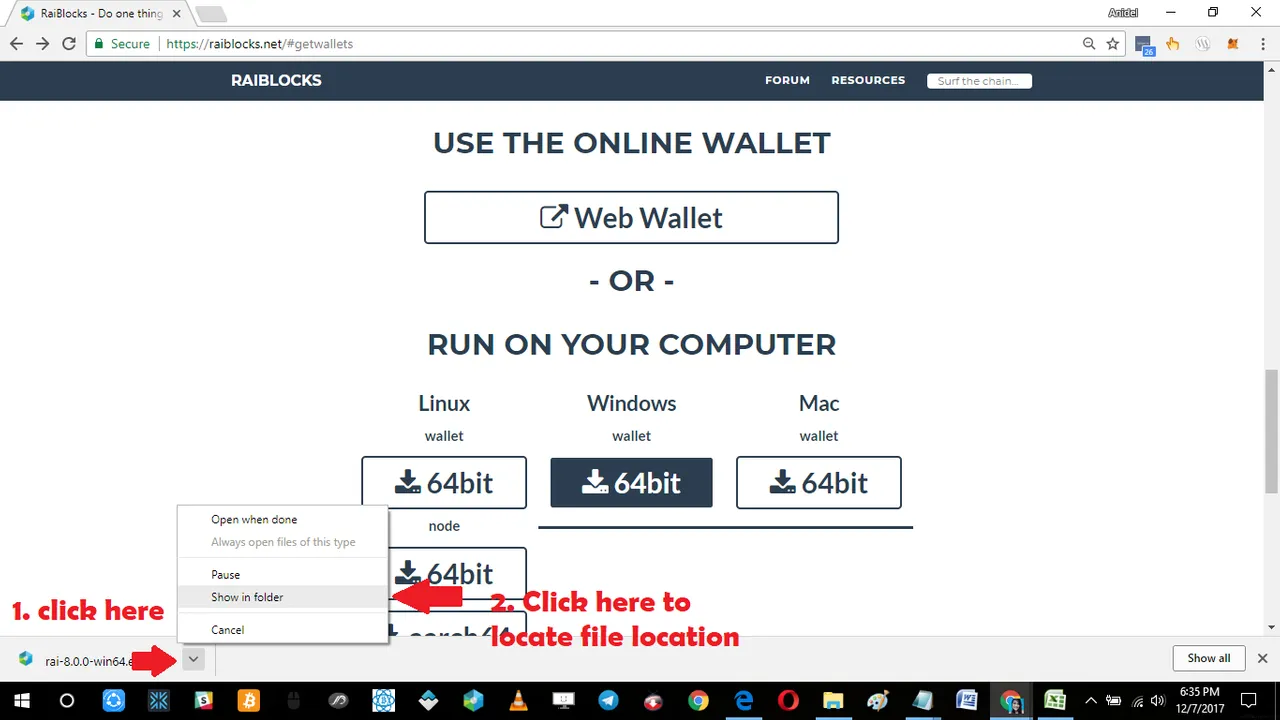
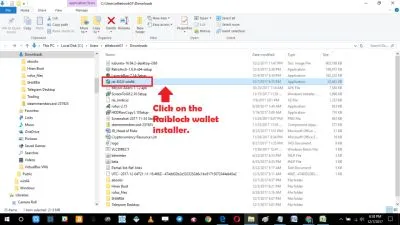
After downloading the file. Locate and run the installation file. You can find the file by going to the default download directory as shown in the screen capture above. Once you locate the file, double click on it to start the installation of the Wallet. Follow the simple steps shown below.
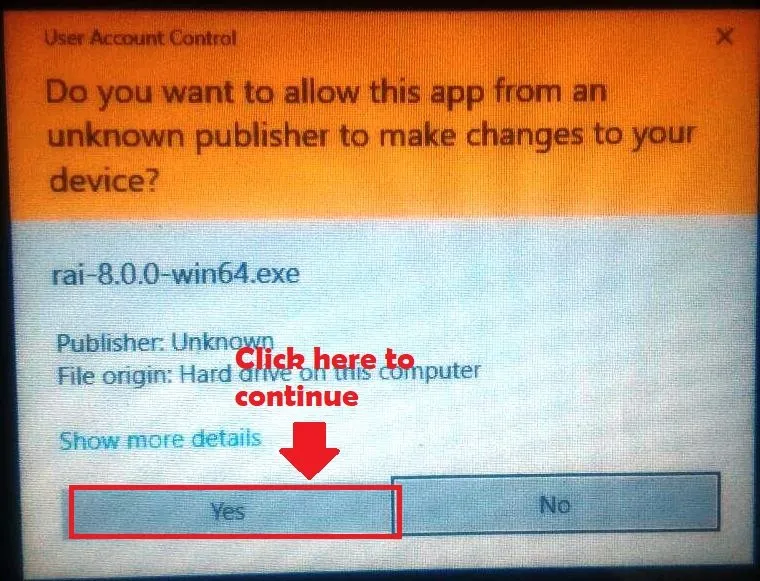
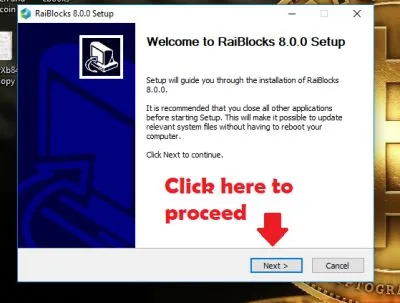
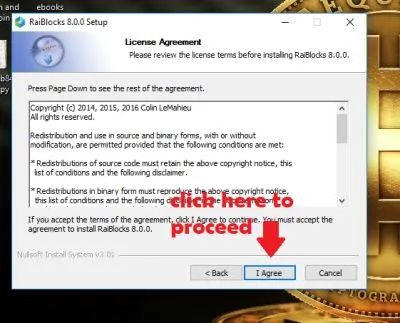
After clicking on the "I Agree" button we will be brought to the "installation location window" where we will specify the directory where the wallet will be installed. No need to change anything as we will use the default location. However we need to take note of the directory. Cut and paste the installation directory to a notepad where you can access it later.
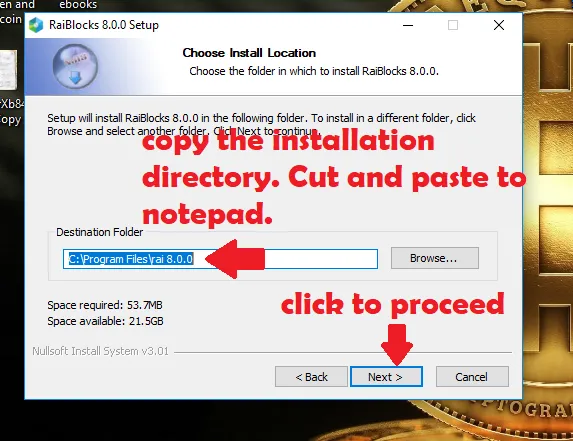
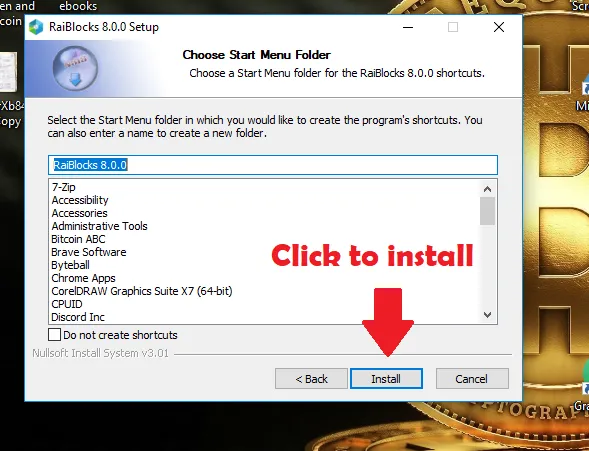
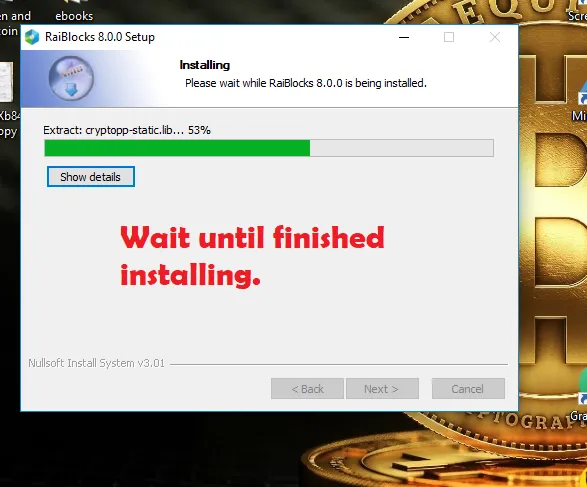
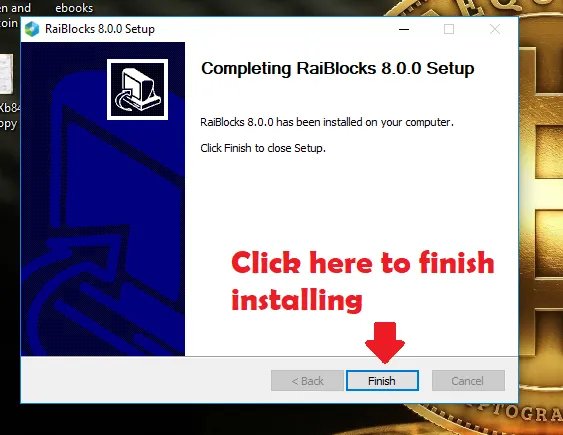
Once we finish installation you can see that there are no shortcuts created during installation. So we access it by typing in the installation location (the directory we copied earlier) in the address field of any window.
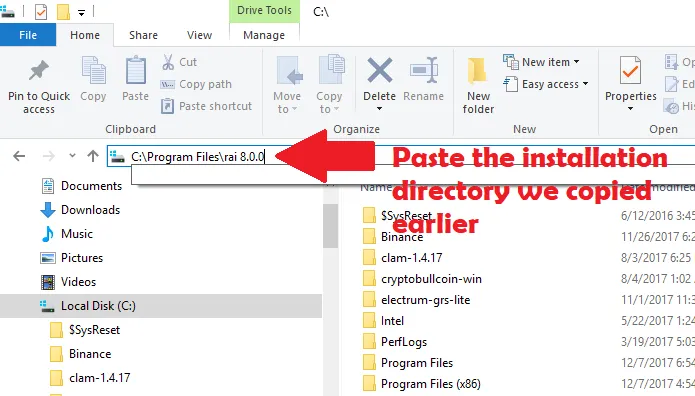
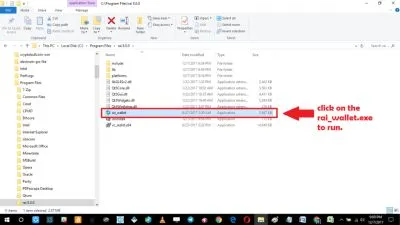
Once you get to the execution file of the Raiblock wallet it is advisable to create a short-cut for faster access later.
Alternatively you can just click on the cortana icon and type in Raiblock to show you Raiblock Desktop Wallet Icon as shown in the pictures below.
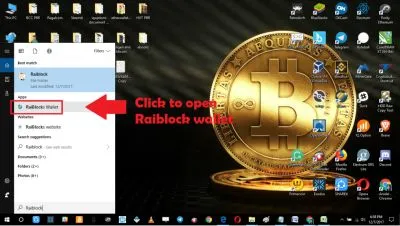
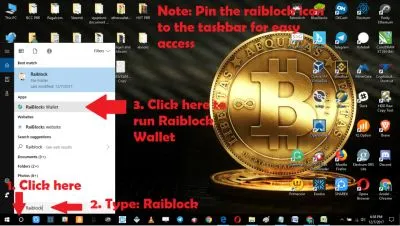
It is advisable to pin the Raiblock Wallet Application in taskbar for easy access later. This can be done by right clicking on the icon of the Raiblock. This is shown below.
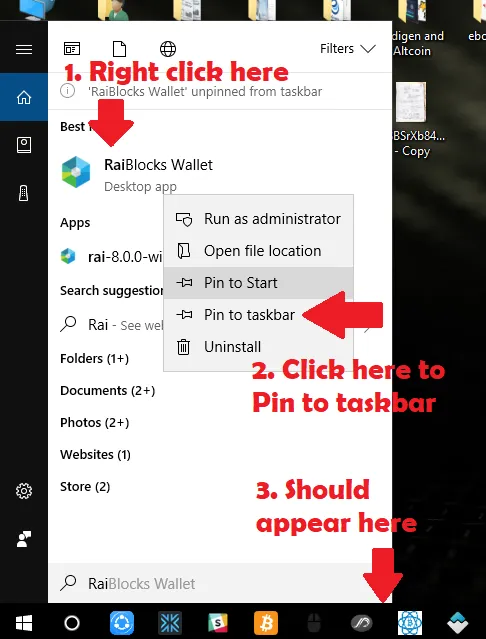
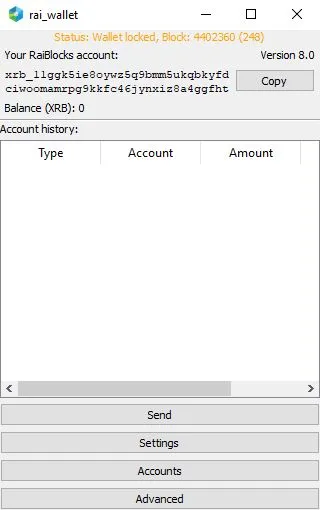
We can now run the Raiblock wallet which will look like this below.
Step 2 Synchronizing The wallet
There are two ways of synchronizing the wallet. One is to to just run the program and let it synchronize by itself (this might take more than one day to finish) or we download a copy of a synchronized data file (LDB file) to update it manually which is a lot faster.
To manually synchronize the wallet we need to download the latest synchronized data file here.
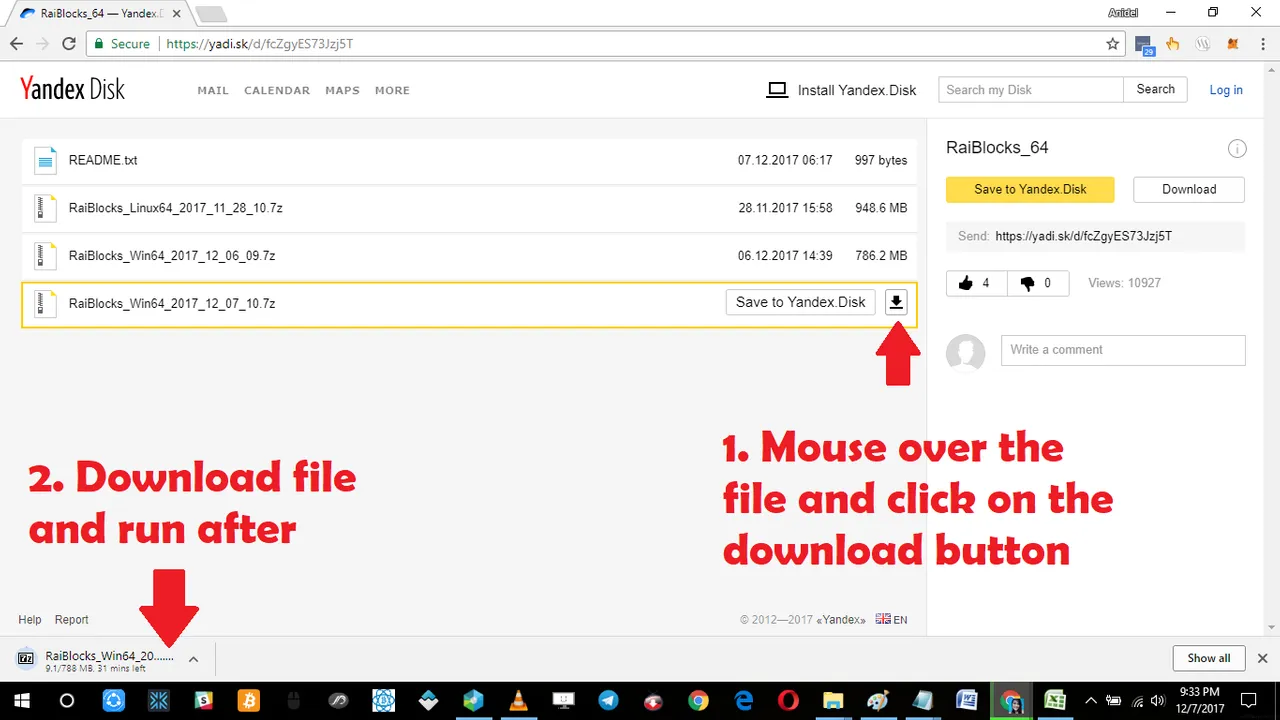
After finishing the download you will see that the file is a 7-zip file. If you don't have that compression/decompression program you can download a copy here for free.
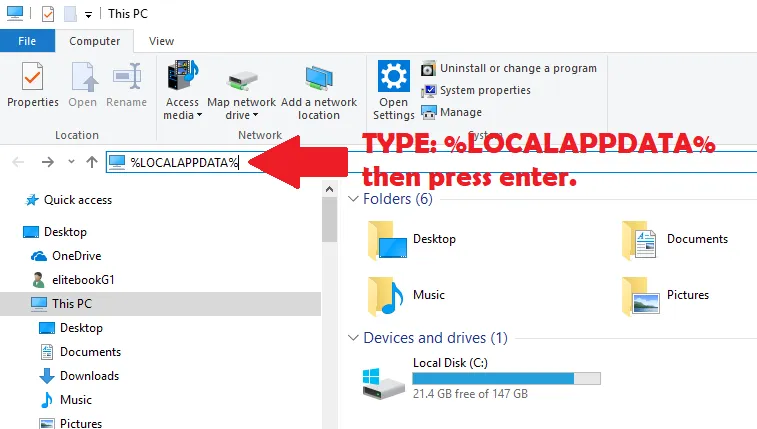
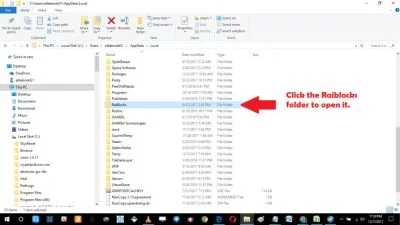
Decompresson of the LDB file and move it where you can access it easily later. Now we will find the location of the current LDB file and overwrite it. We do this by typing in the address field of any window this directory: %LOCALAPPDATA% Find the "Raiblocks Folder" and access it there is where you will find the old LDB file which you will overwrite.
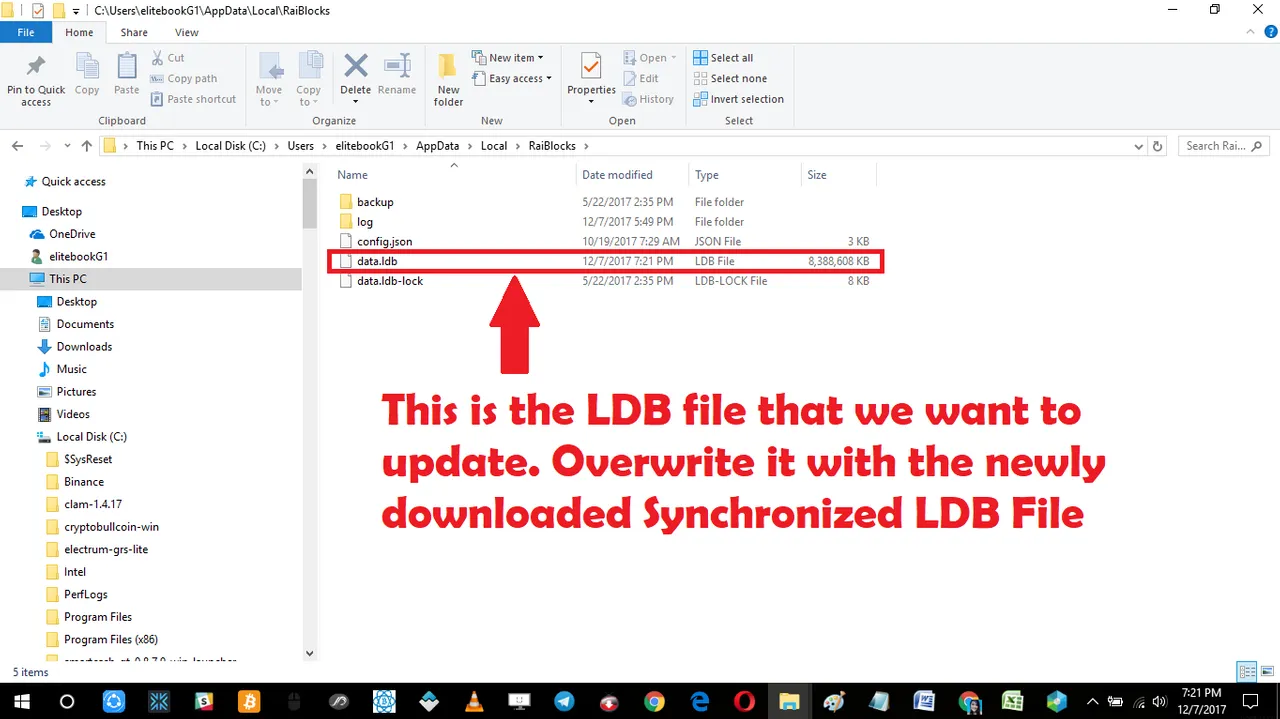
After overwriting the LDB file we open the Raiblock wallet again. There will be a couple of minutes for additional synchronization but it will be a lot faster than waiting 1 or two days. Congratulation you have successfully installed and synchronized your new Raiblock Desktop Wallet.
That is it for now, I hope you found the tutorial useful. Good bye.
Posted on Utopian.io - Rewarding Open Source Contributors