As some of you may know, before I was diagnosed with my first chronic pain condition in 2012, I organized community clean ups with my best friend. We returned to one location multiple times to restore it to it's natural beautiful state. I climbed a rock and debris filled cliff with many earth warriors and we were all on a mission to help make a difference. We had a dump truck and excavator remove the debris we picked up one weekend. But then, fibromyalgia changed my life and I had to put community clean ups on hold until I got better. Or could deal with the pain levels of 28 of 50 according to the McGill Pain Index.
But just when I thought I had a grip on the world in my condition, I broke my arm and was diagnosed with CRPS. Rated 42 of 50 and good Lord it sucks. But there is a lesson. And that is to #getshitdone. Regardless of my situation.
That was me.
Since then, I have been accomplishing a lot in regards of helping the CRPS community, in return, helping my spirits. But I forgot about my roots. The mission to help the environment remained strong and my physical limitations prevented me from accomplishing what I had in the past.
I have always had a passion for upcycling though. And for writing. So I was thinking in the back of my mind, someday I would like to blog about it. But I never did.
Then I was inspired by the @themarkymark's Get Shit Done Contest.
It was time to start my earth warrior mission again, in a minor way but still stepping.
It took me a week to make these little buggers because of my current conditions, but I saved a piece of boxboard and a large magnet from the landfill in the process AND I have really cute magnets :)
Here are the steps so maybe you can try your own at home :) They are fun and the options of customizing them is unlimited for most people :)
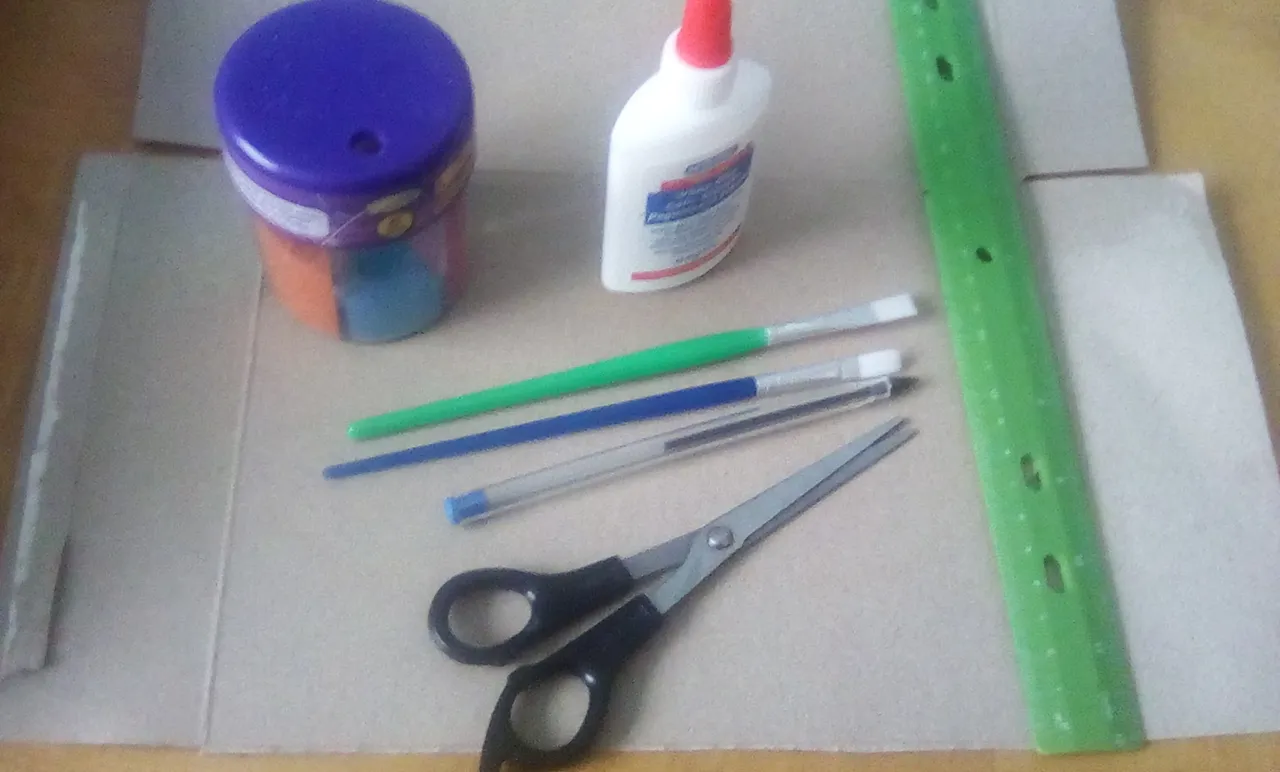
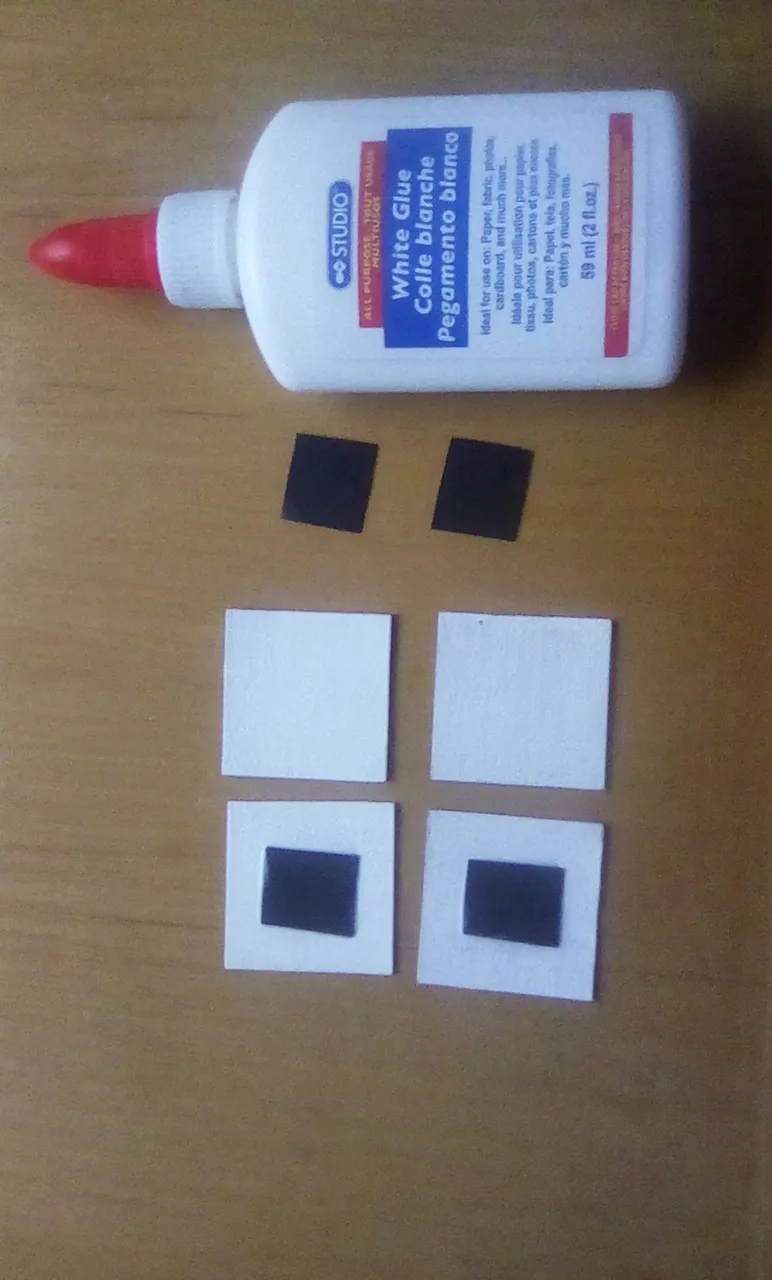
All you need is:
- Boxboard (from a cereal box of something of similar feel. I call it boxboard although the that is probably not the correct term.)
- An old magnet you can cut up
- A ruler
- Glue
- Pen and paint
-Glitter is optional
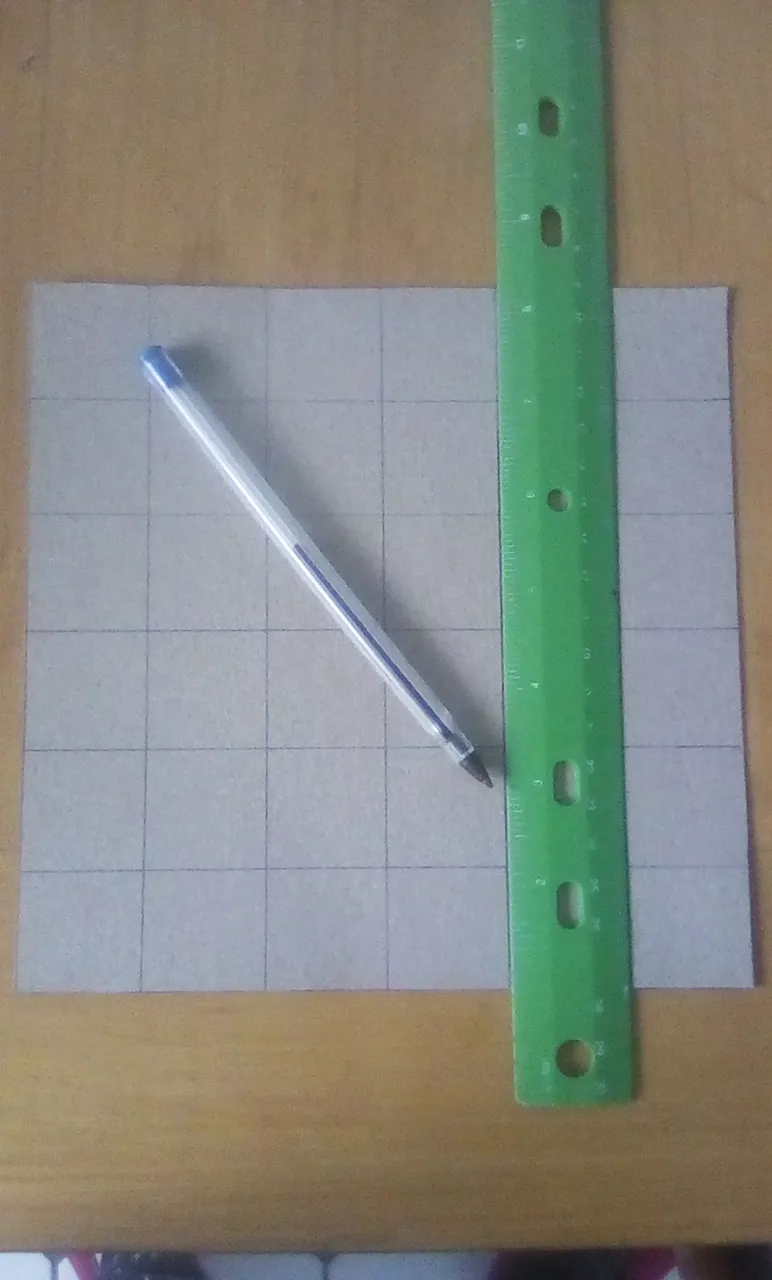
- Start off with an old cereal box or something of similar boxboard material. Break it open so you have a full side to work with:
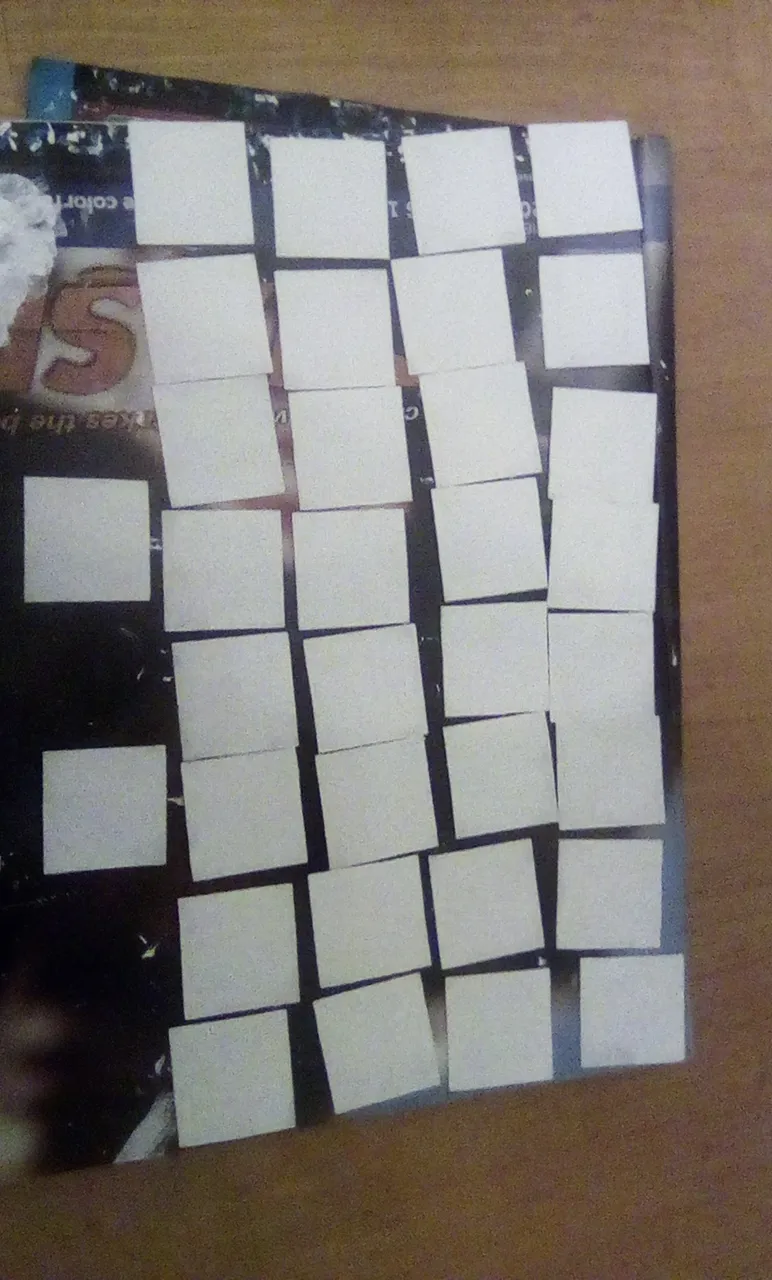
- Use your ruler to make a grid of perfect squares:
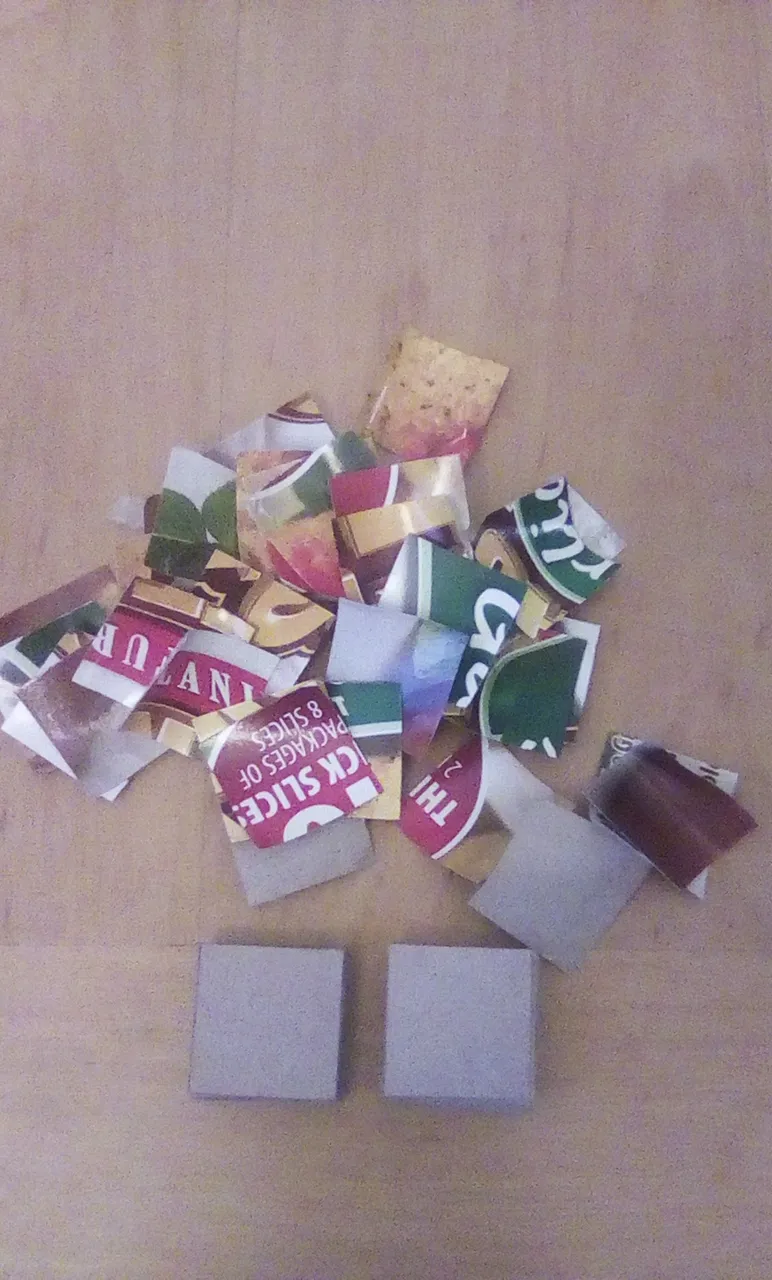
- Cut them up:
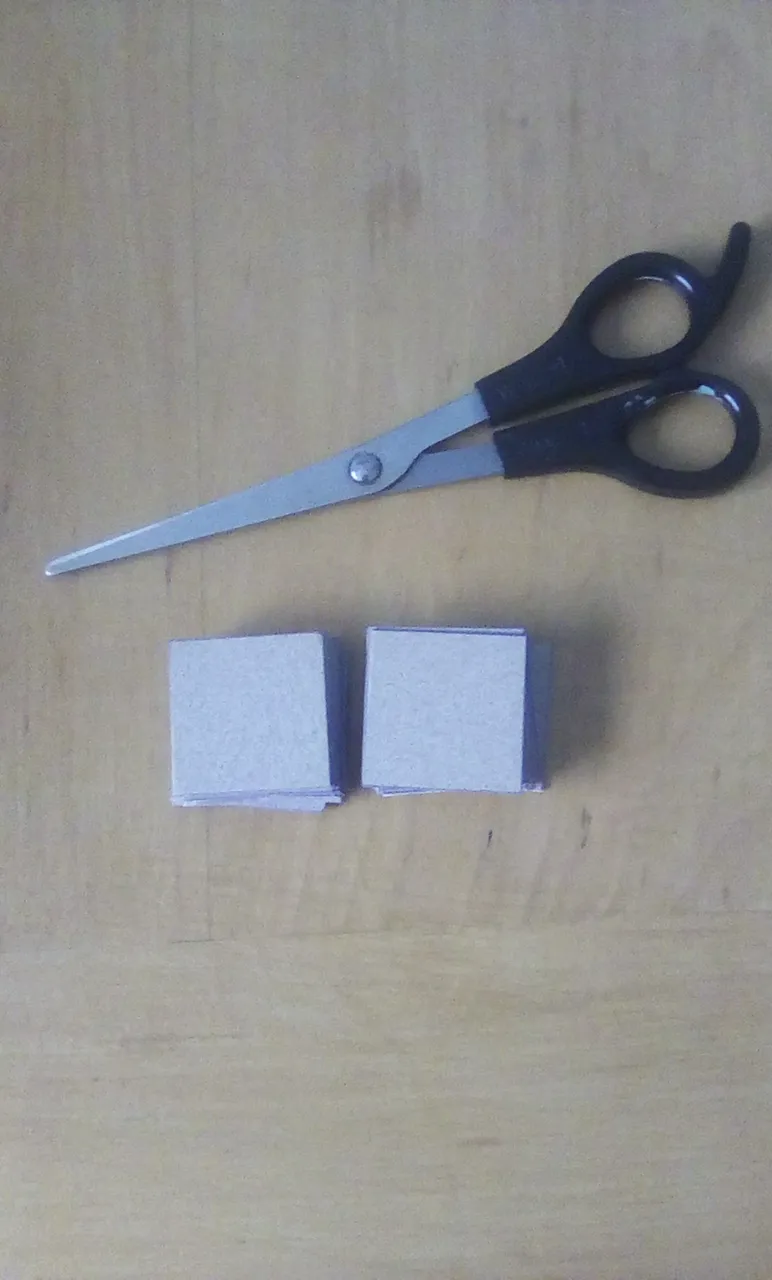
4: Peel the back off of each of them it to remove the image and leave raw boxboard:
5: Paint what you just exposed, this will be the back where your magnet sticks in the final step (do not stick the magnets on yet, makes it difficult to design later I found):
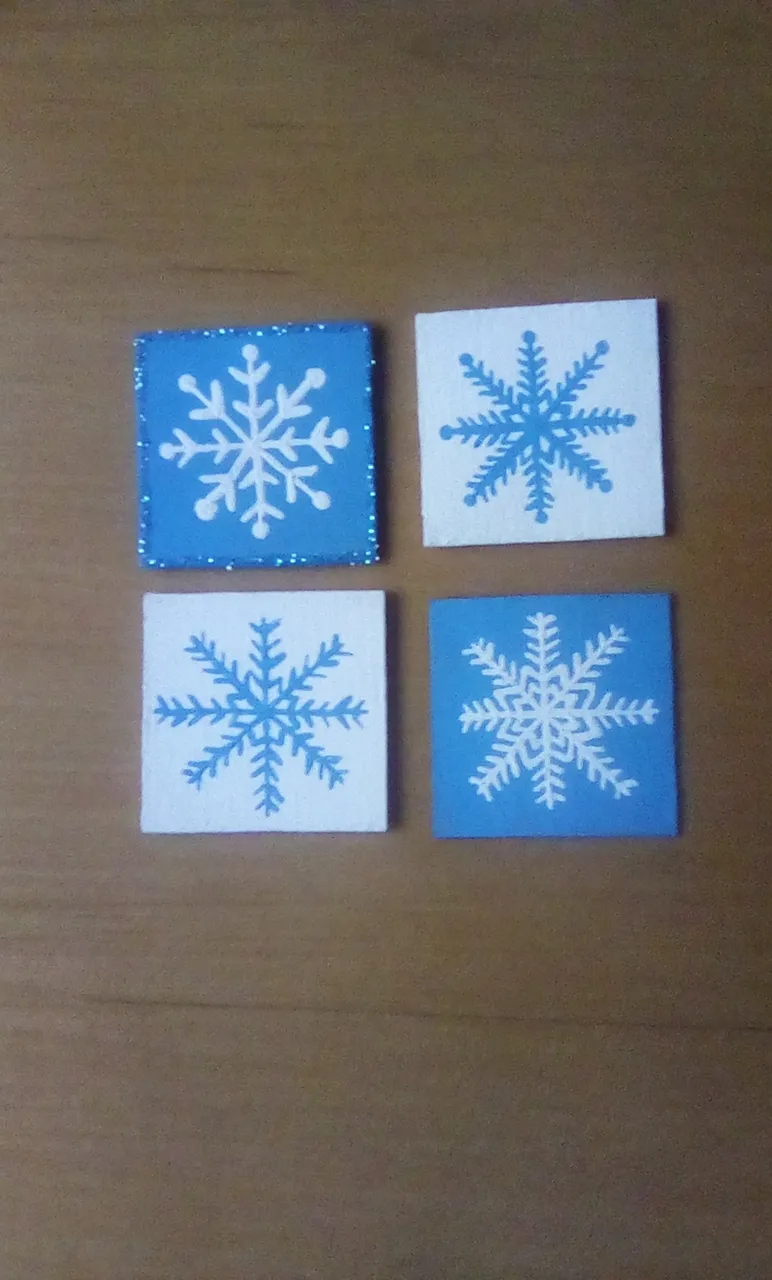
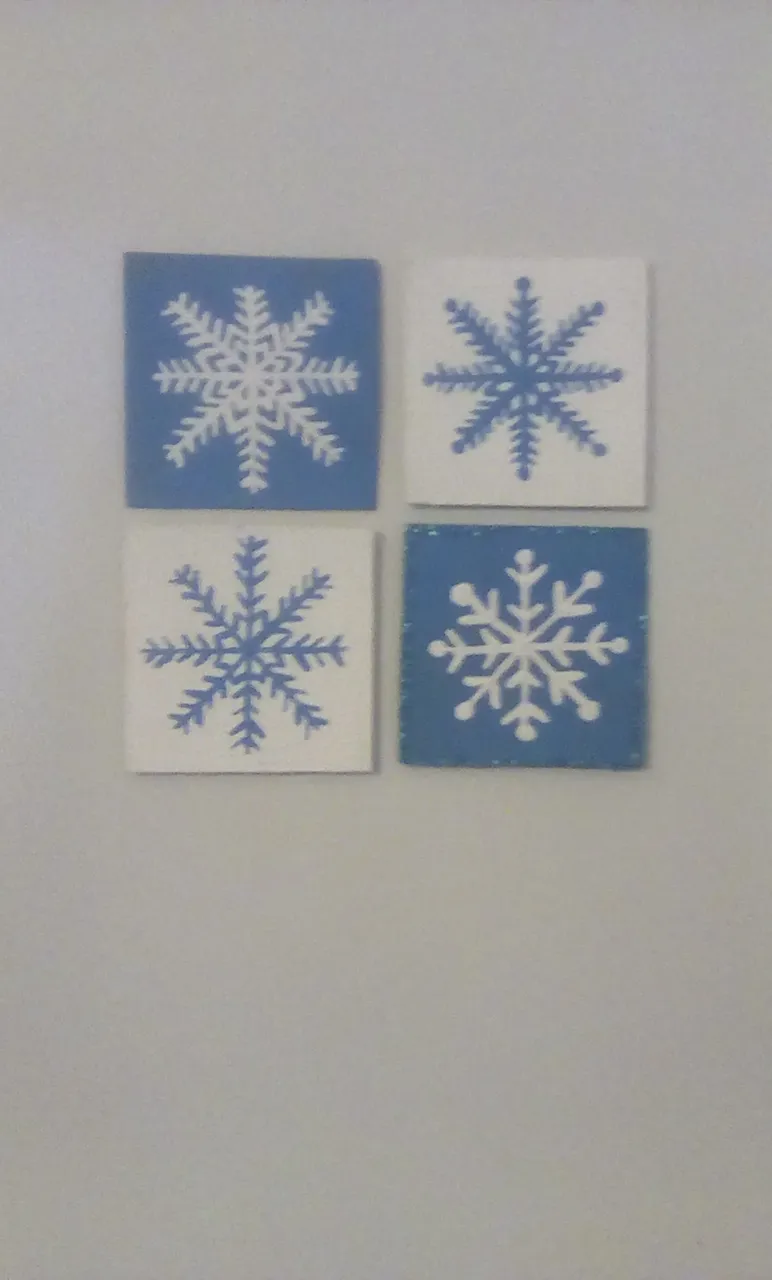
6: Customize the front however you prefer. I chose snowflakes, but have done letters, words or pawprints in the past.
7: Cut your magnet into small squares:
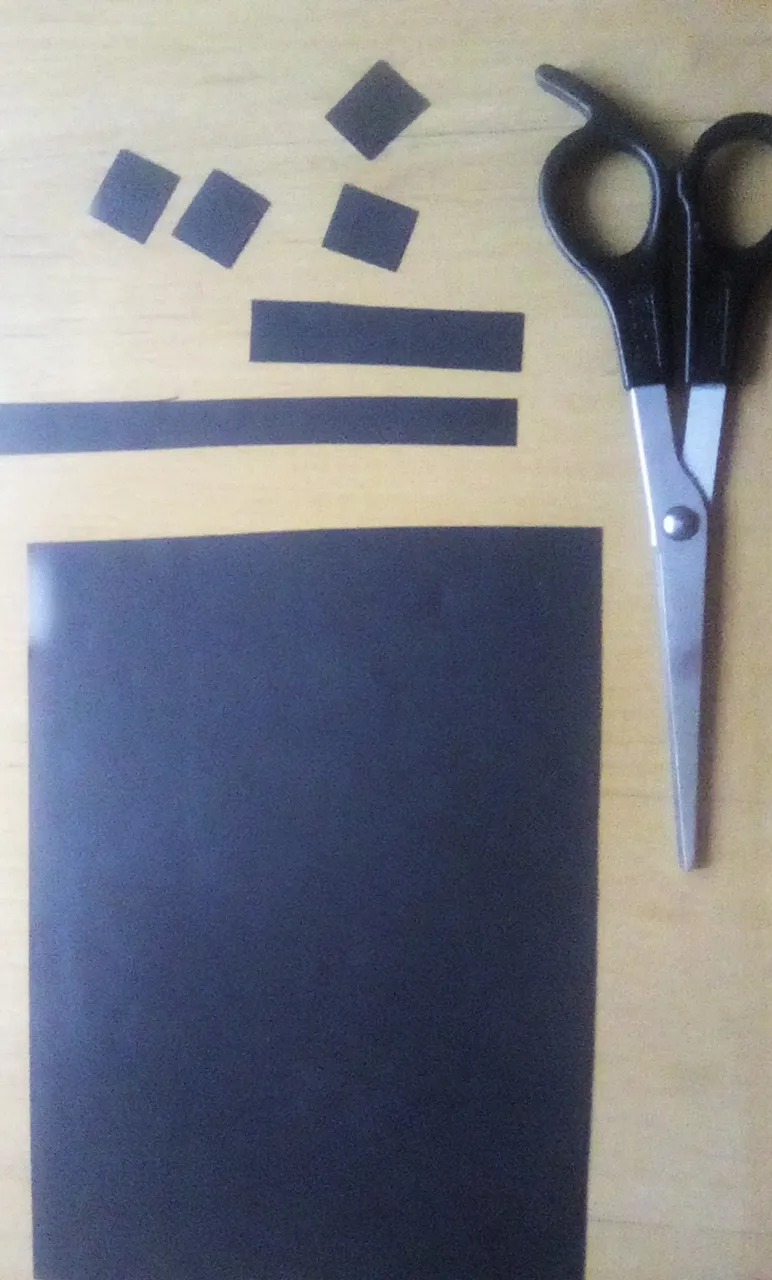
8: Glue them onto the back:
9: Enjoy your Upcycled creation :) You just saved the world in a small step and made some stellar magnets! I call them Sew Earthy Creations and am hoping something wonderful grows from them someday :)
First entry for my Upcycled guide down, many more to come!
Thanks @themarkymark's for inspiring me to #getshitdone for myself! May this be the beginning of something great!
Positive thoughts for finding the best in each day, regardless of our situations.
-Kristen
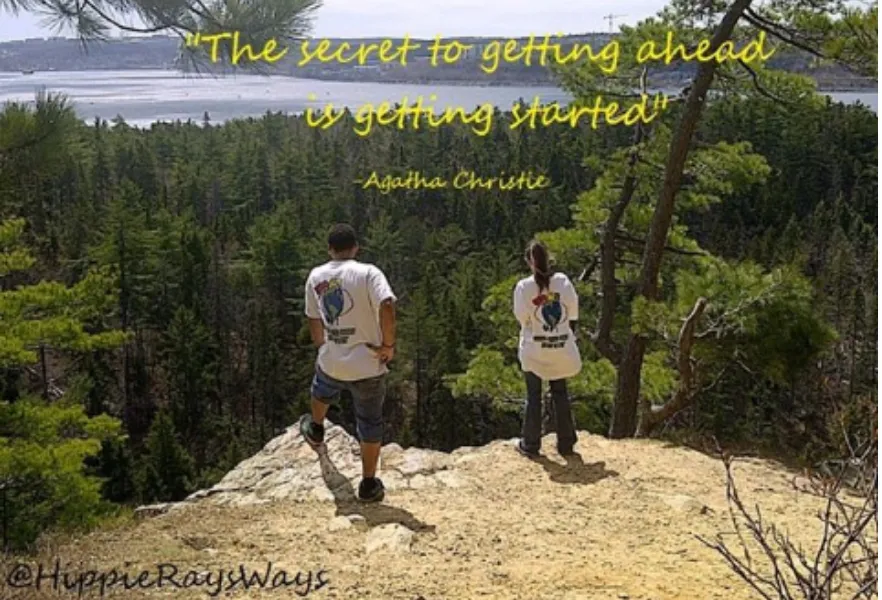
@HippieRaysWays on Instagram