How to Design a Unique Character Quickly in Adobe Illustrator

Character Design sounds as a complicated process, but it can also be easy and fun. In this tutorial, I will explain how to create simple characters using basic shapes.
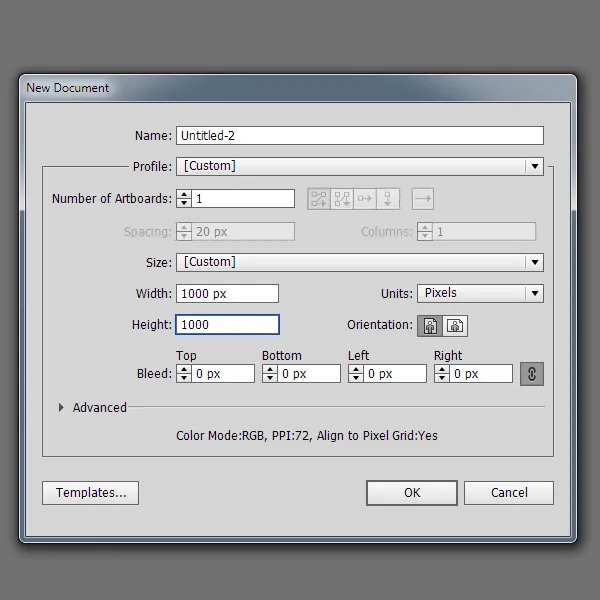
- Create a Print Document - 'Print Document'
Because we will make something simple, then we can use the artboard size 1000 x 1000 px.
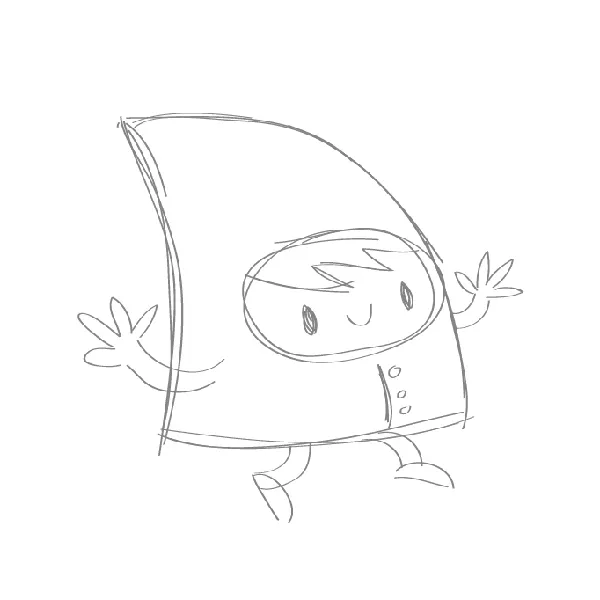
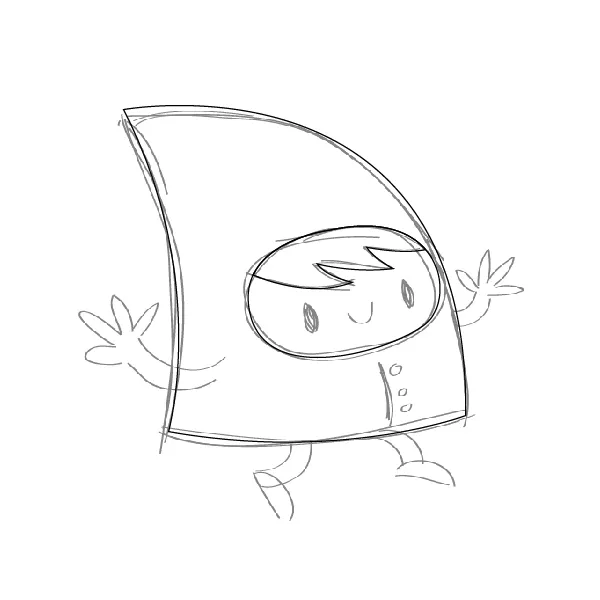
- Create a Simple Sketch
Try to create a character that consists of some basic shapes (basic shapes). I use large shapes for limbs, and some small shapes for the face and limbs. Use gray - this will make the tracing process easier.
If you use sketches outside Illustrator, then use the import method (File> Place). If you draw directly in the Illustrator program, the drawing group (Control-G) and its layer key (Control-2).
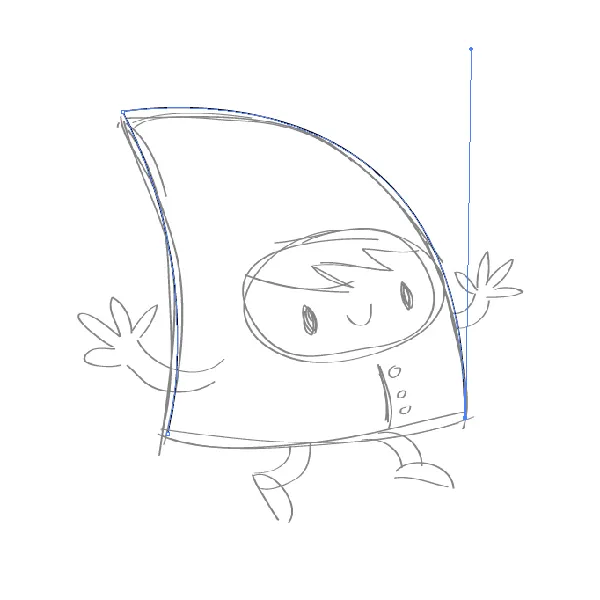
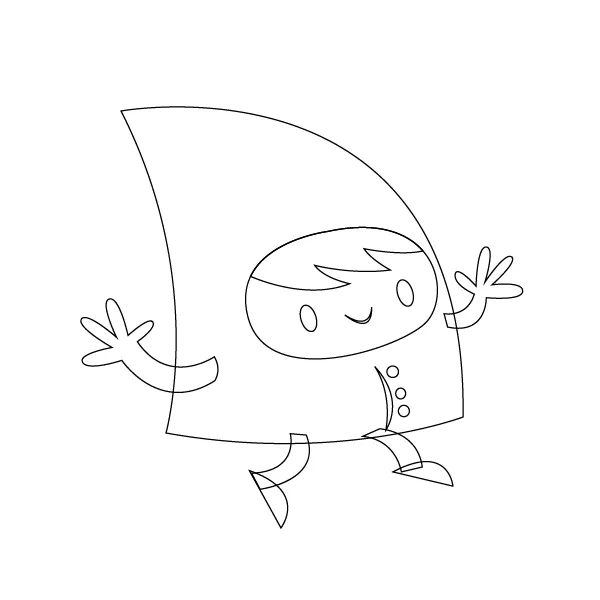
- Start Tracing (Tracing)
With the Pen Tool (P), you will trace the entire body of the character. Start with a large section and slowly move to a small part. Make sure that the fill is empty and the stroke has a black color.
Step 1
First, you do the first part of the body, as the greatest form. Use the Pen Tool (P) to trace the body lines. Remember that the fewer anchor points you make, the smoother the line will look.
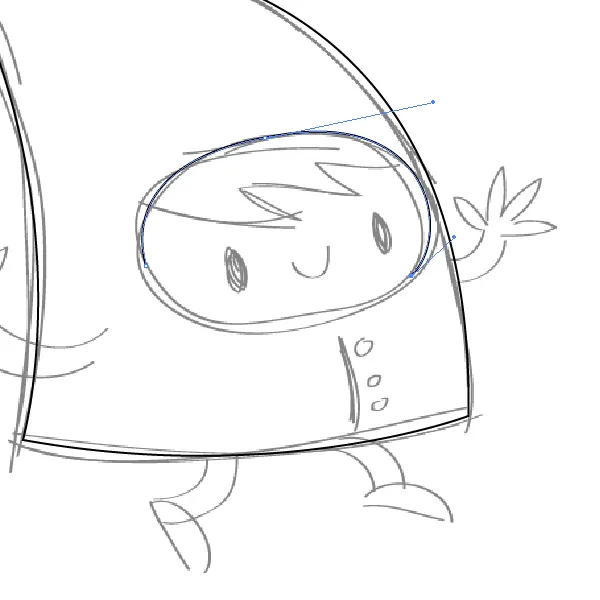
Step 2
Now let's move to the front. Make a circle using just 4 anchor points only - to make it look smoother. If you have not really mastered the Pen Tool, then you can use the Ellipse Tool (L).
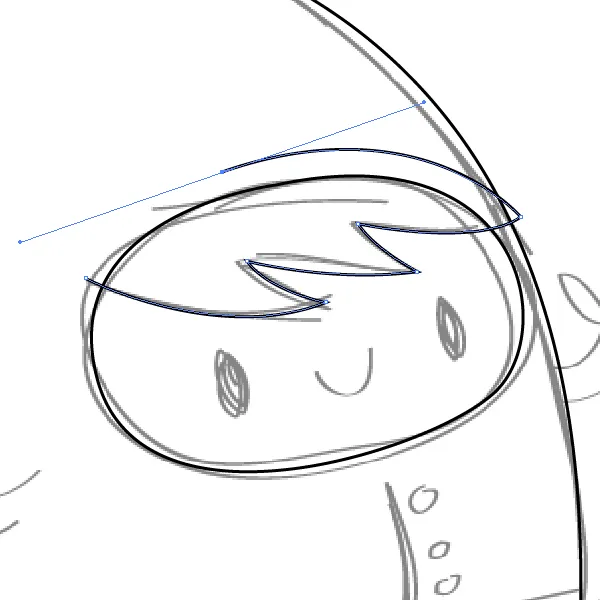
Step 3
Let's add hair. Try to follow the sketch inside the inner circle - the outside you can do as much as you.
Step 4
Copy the face shape and paste in front (Control-F) the hair shape you just created.
Open the Pathfinder panel (Window> Pathfinder). Choose a hair shape and face shape, then use the command or Intersect method.
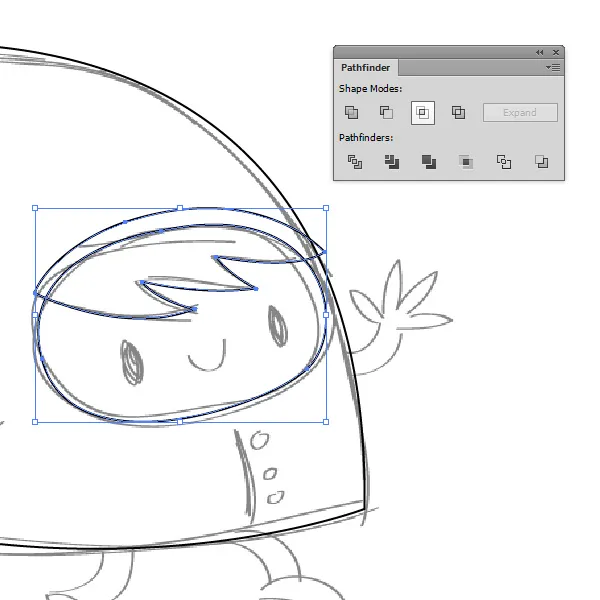
In this way, you will get a new shape whose position corresponds to the corner of the face
Step 5
You can draw the eye by using Ellipse Tool (L). Make two ellipse shapes (long sphere) and position them in the eye portion of the sketch.

Step 6
After you trace the mouth, all the parts in advance are done. Now we will continue to trace in the legs.

Trace the hands slowly (carefully). Give more attention to the fingers, because that part has many arches. I recommend to make only a few anchor points (enough). If you find Pen Tool hard, try outside art board exercises by drawing some circles. If you are a beginner, it may feel more complicated. But I promise this will be easy as time passes (the more you practice).

Step 7
The thighs are a bit easier to work with. First, trace the thigh then the legs.

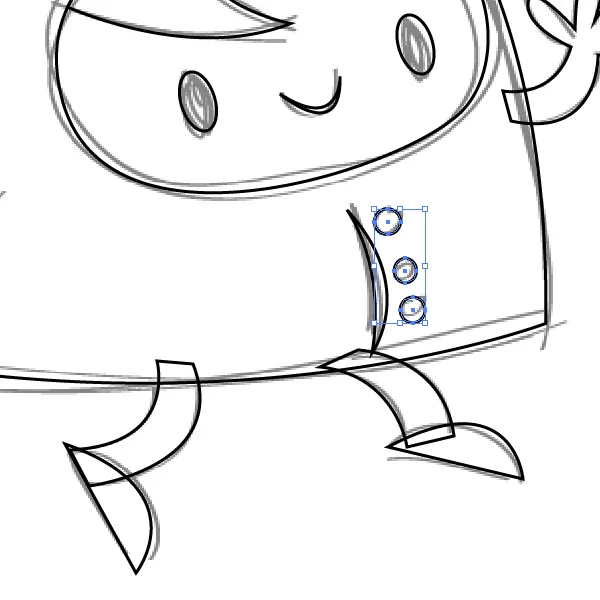
Step 8
Finally, trace the buttons of your character outfit. Use the Ellipse Tool (L) to draw three small circles and position them according to your sketch. The image is also a line next to it, to indicate the position where the clothes are covering each other.
Step 9
Unlock the sketch (Object> Unlock All) and delete. You will see the entire image in the outline view (line). Looks good, right?
- Coloring
Coloring is the third phase of the design character. This sounds like an easy job, but sometimes I spend hours trying to get the right color palette. Fortunately, for this tutorial you just use a few colors only.
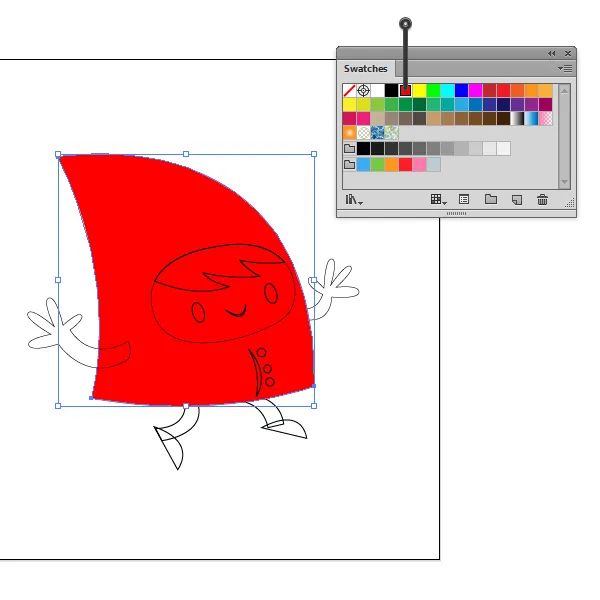
Step 1
First, start with body parts. Select the body part and open the Swatches panel (Window> Swatches). Choose basic RGB Red for its fill color and make sure there is no stroke.
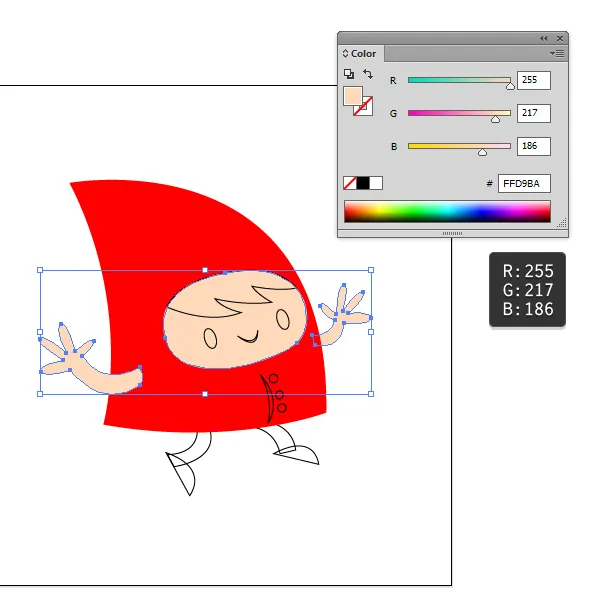
Step 2
For the face and hands, use the color of the skin. I wear R255, G217, B186.
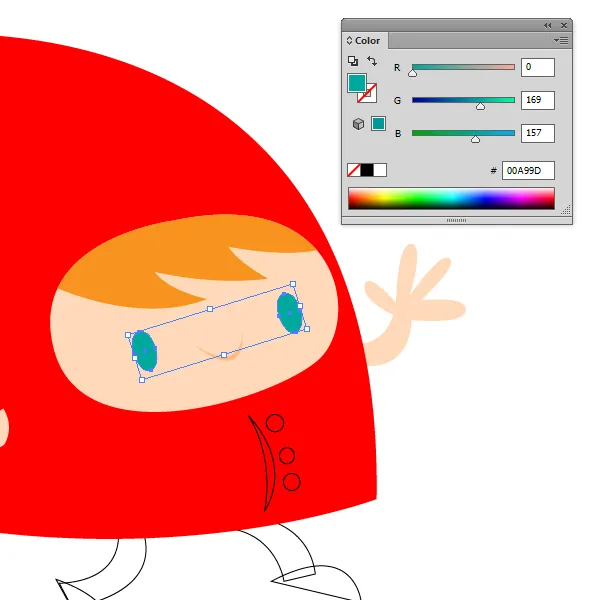
Step 3
You can give orange hair, blue eyes, and for slightly darker skin tones.
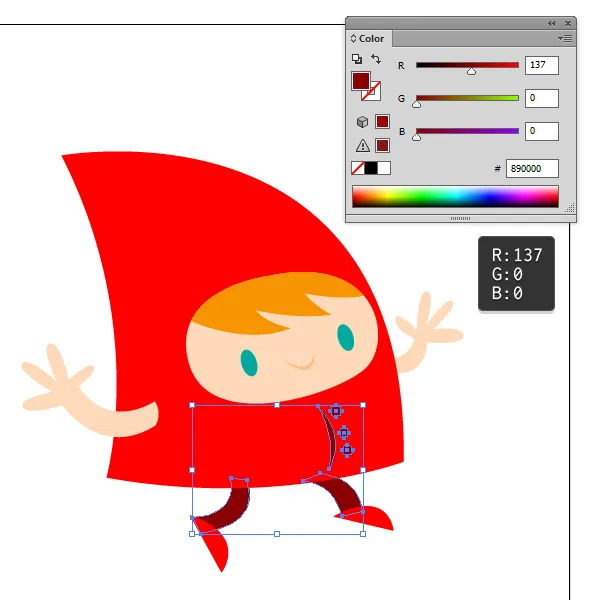
Step 4
The legs can be given the same color as the body parts, and for the thighs, the darker shades of the same color (eg R137, G0, B0). Do the same for the buttons!
You're almost done! To add depth effects, you can add a little detail like hair detail and shadow.
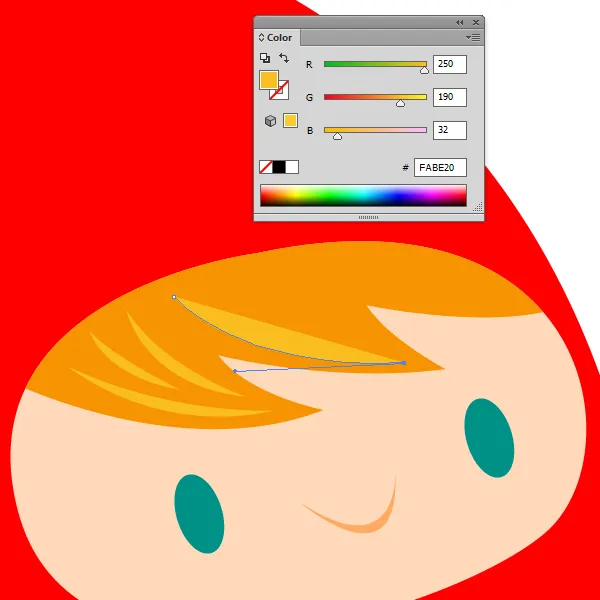
Step 5
Let's add some hairline. If you feel lazy, you can draw a hairline, and then duplicate and rotate it.
Step 6
To give a more visible depth effect, you can add simple shadows like this. Use the Pen Tool, and draw a simple shape that will cover a small part of the body's left side of the character.
