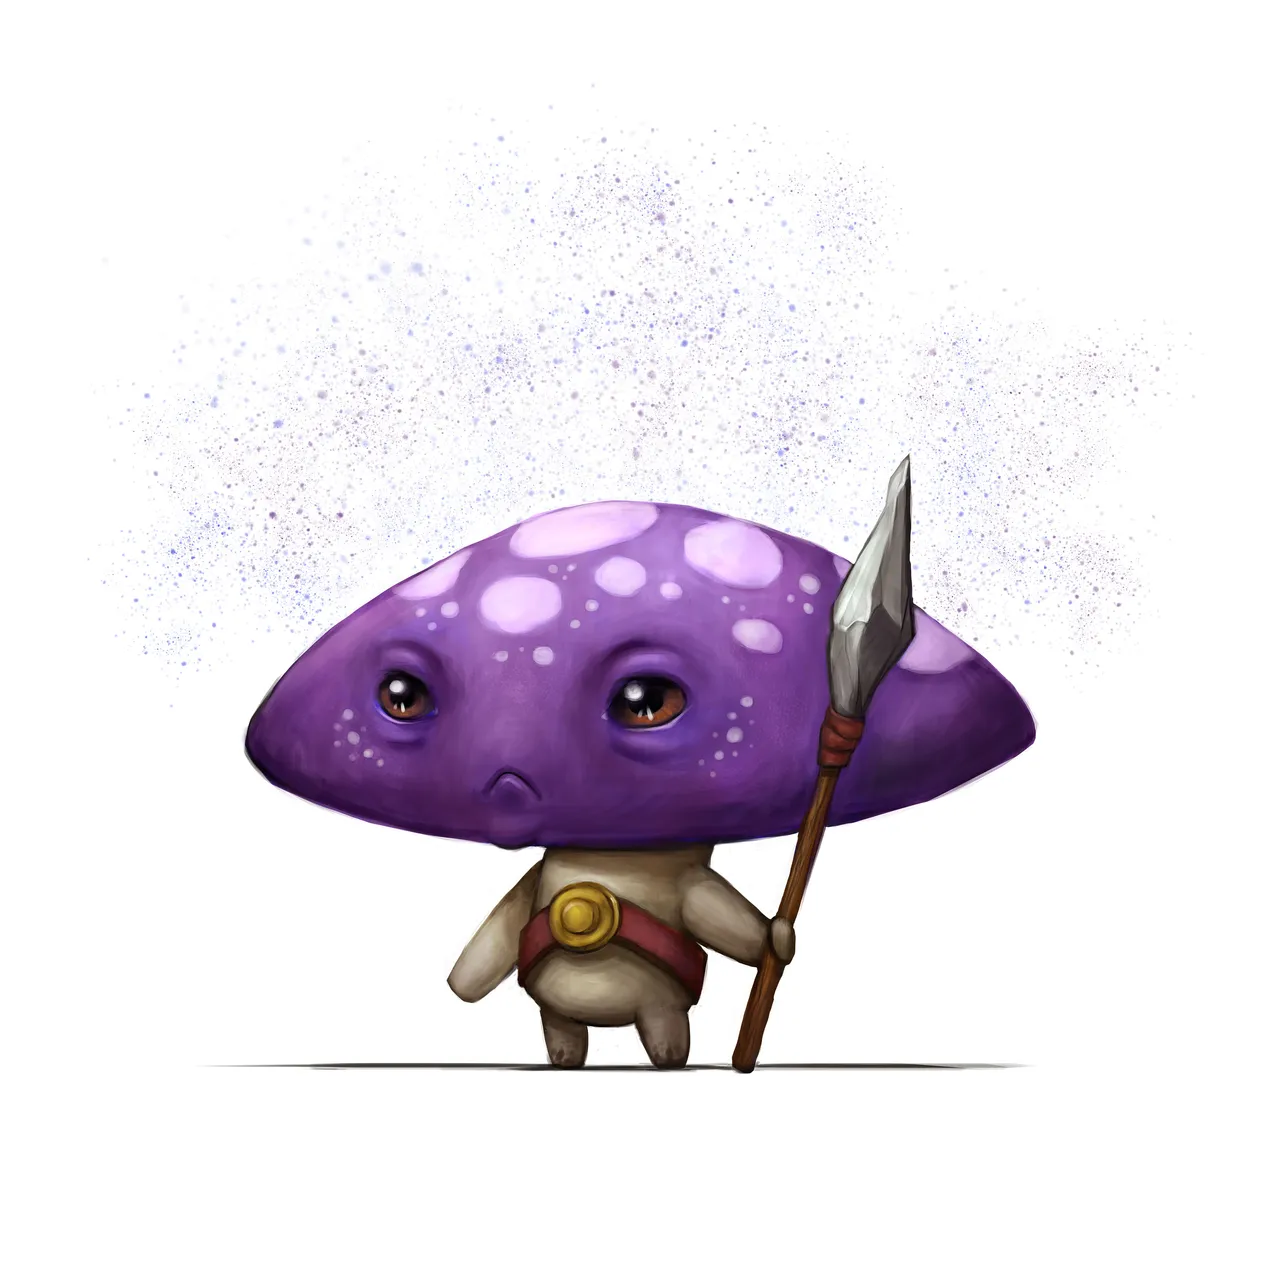
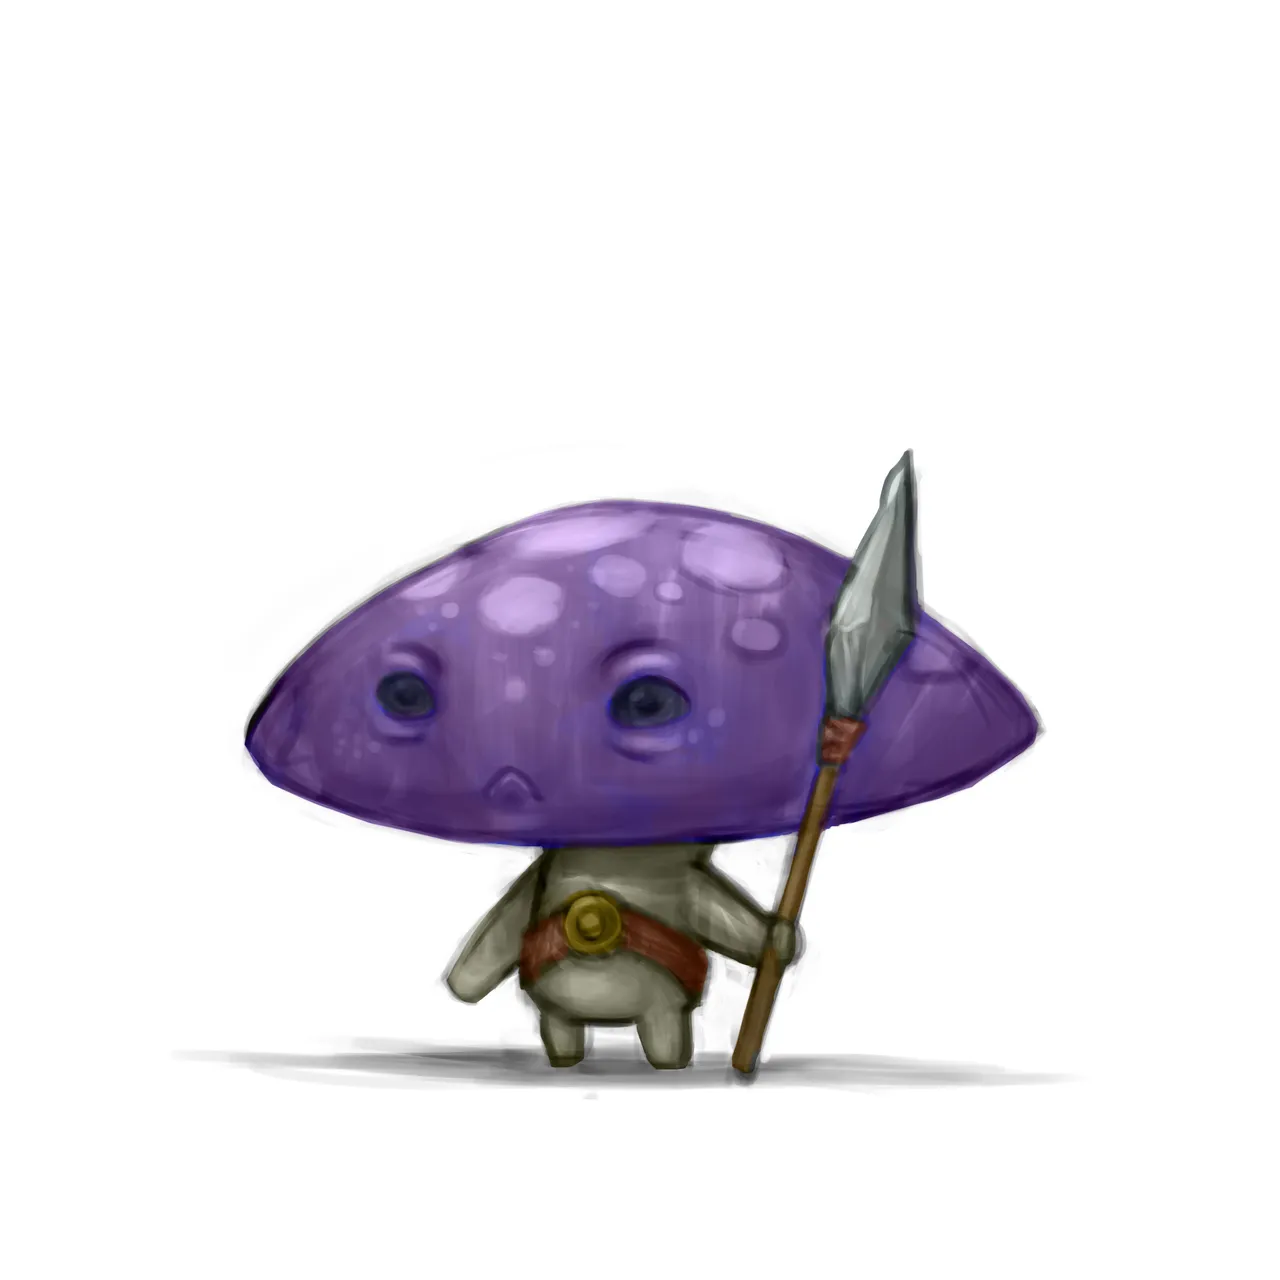
Here's a little mushroom guard I had painted while ago.
It was a very simple piece, but I thought I'd share my process as this is the usual one I'd use for most of my work (right now, anyway). Note: Currently, I'm using Photoshop CC.
Below are little explanations/a brief breakdown of the steps involved.
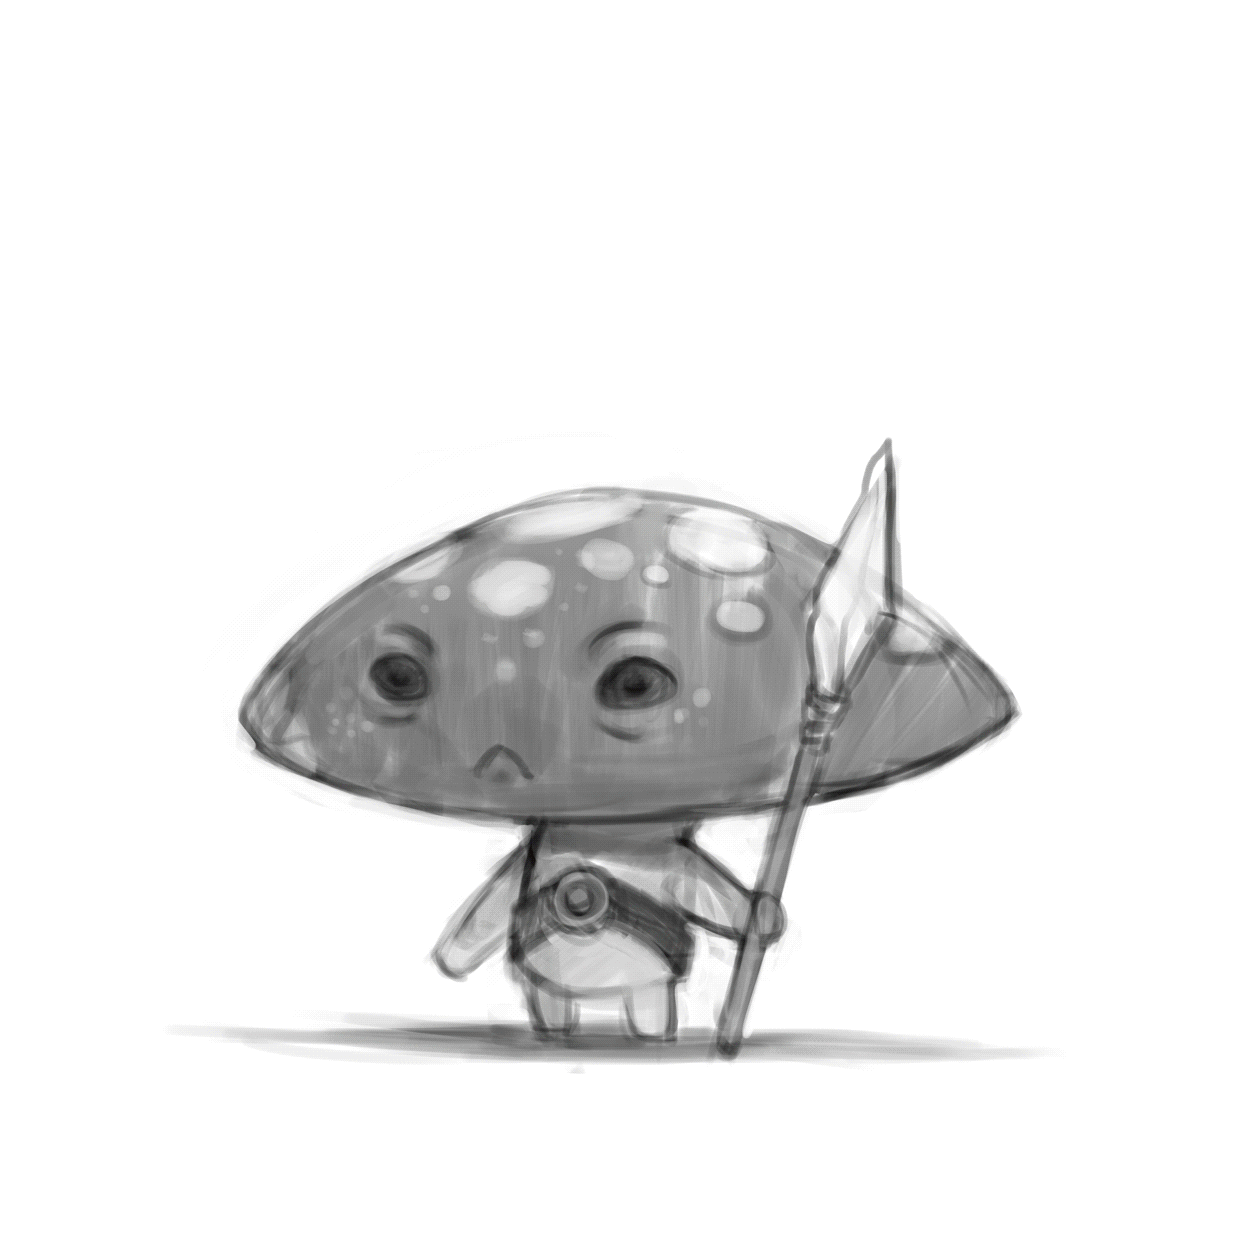
Sketch

I always start off with a rough sketch. Good to keep it loose here to keep the energy and flow of the character in the piece.Local values
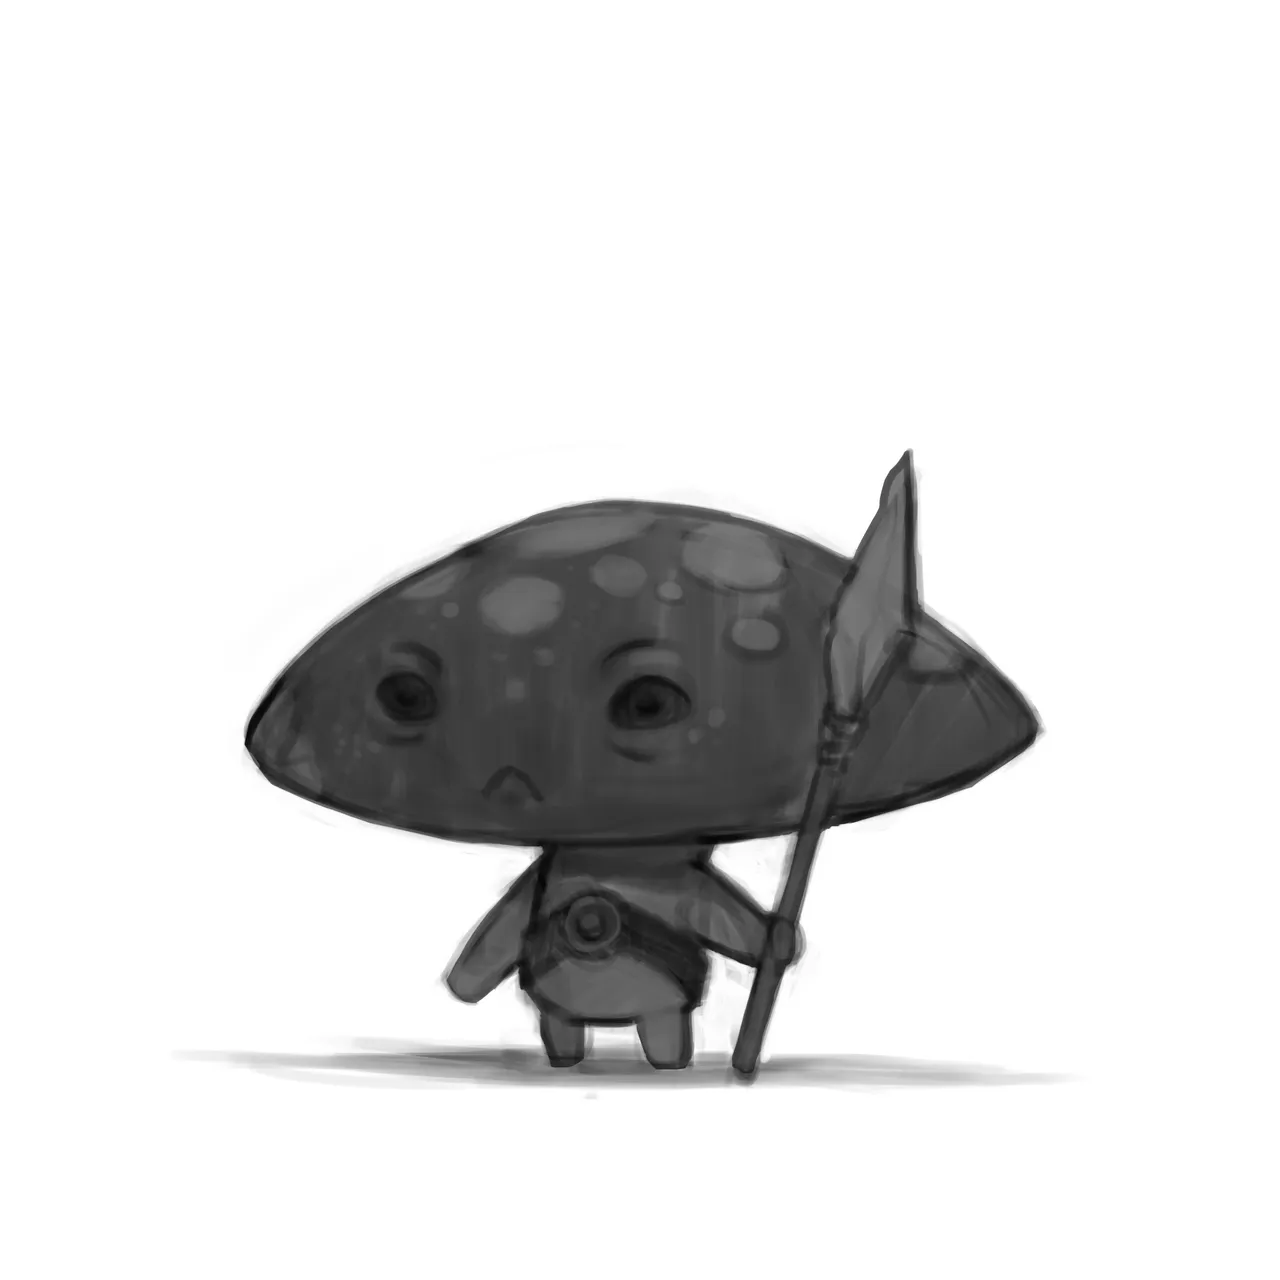
Starting to block in the local values for the little guy.Lighting
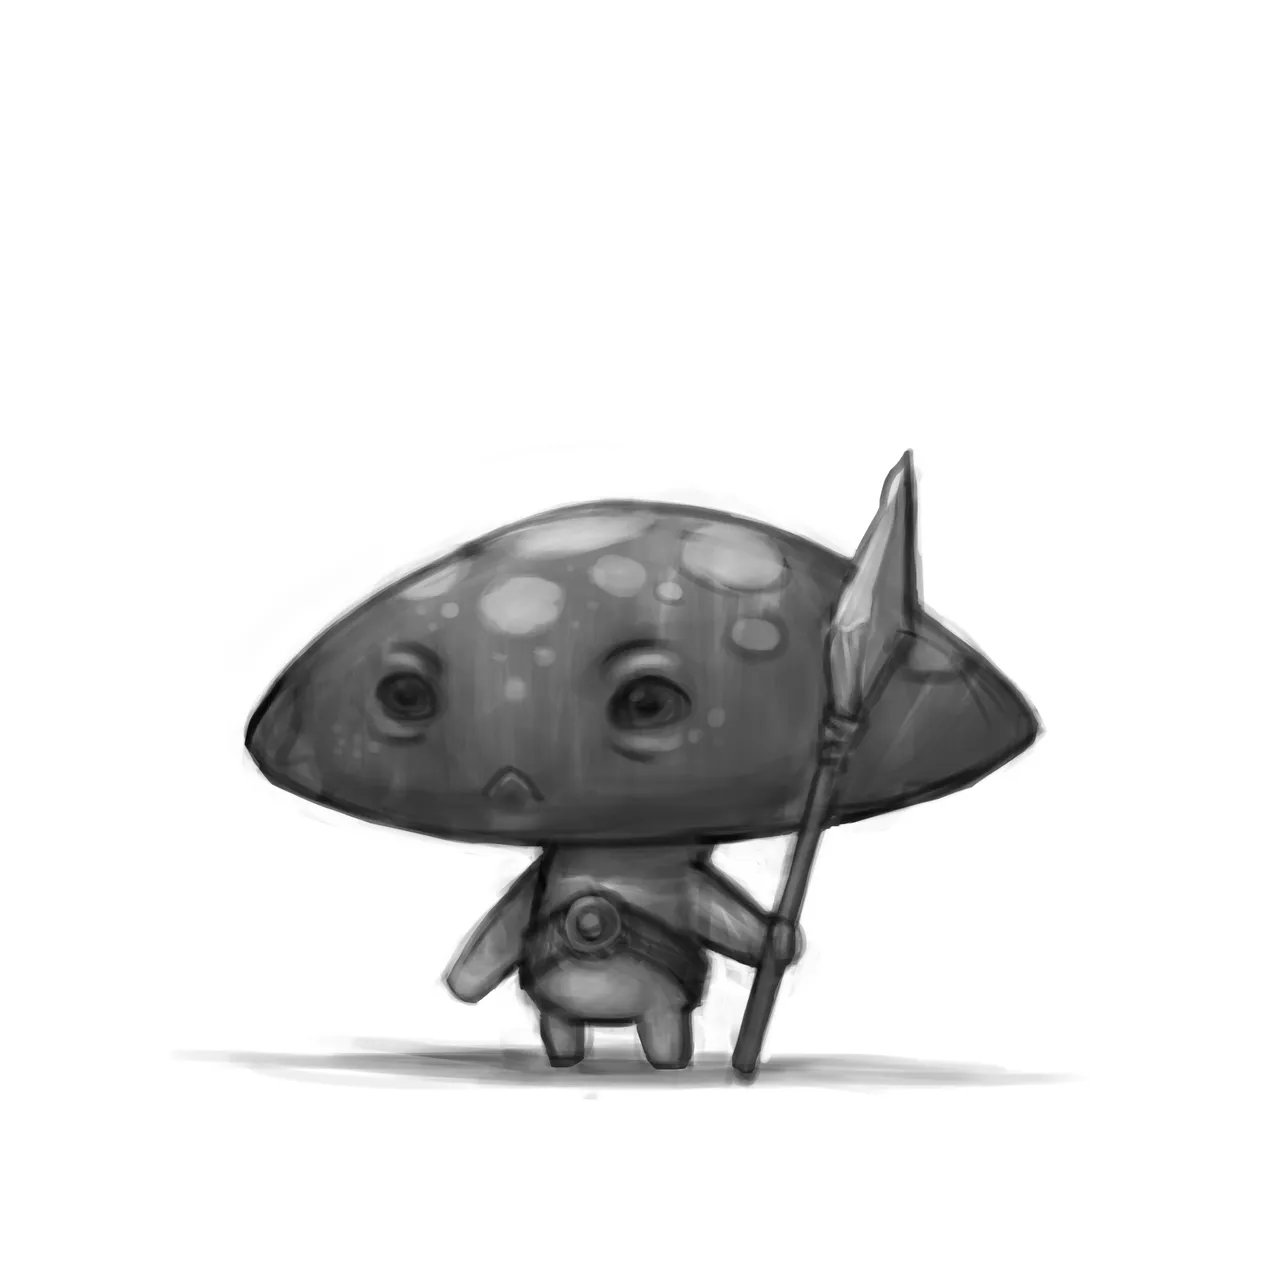
Brushing in some basic lighting, and still keeping it greyscale so I can try my best to make sure the overall values work.Colour
I put on a colour layer on top of the B+W image, and start painting in some colours.Levels
Making some adjustments to the level to push the contrast and how I'd like the light to hit the character.Colour Balance

I set up a colour balance layer on top of all the previous ones, to bring in more cool or warm tones.PAINting

Now, I start painting/rendering the image. This part of the process is usually PAINtful, or amazingly therapeuthic. I also tend to turn off my "base layers" (sketches, etc.) and clean up the silhouette to take away all the unneeded noise.Spicy Sauce
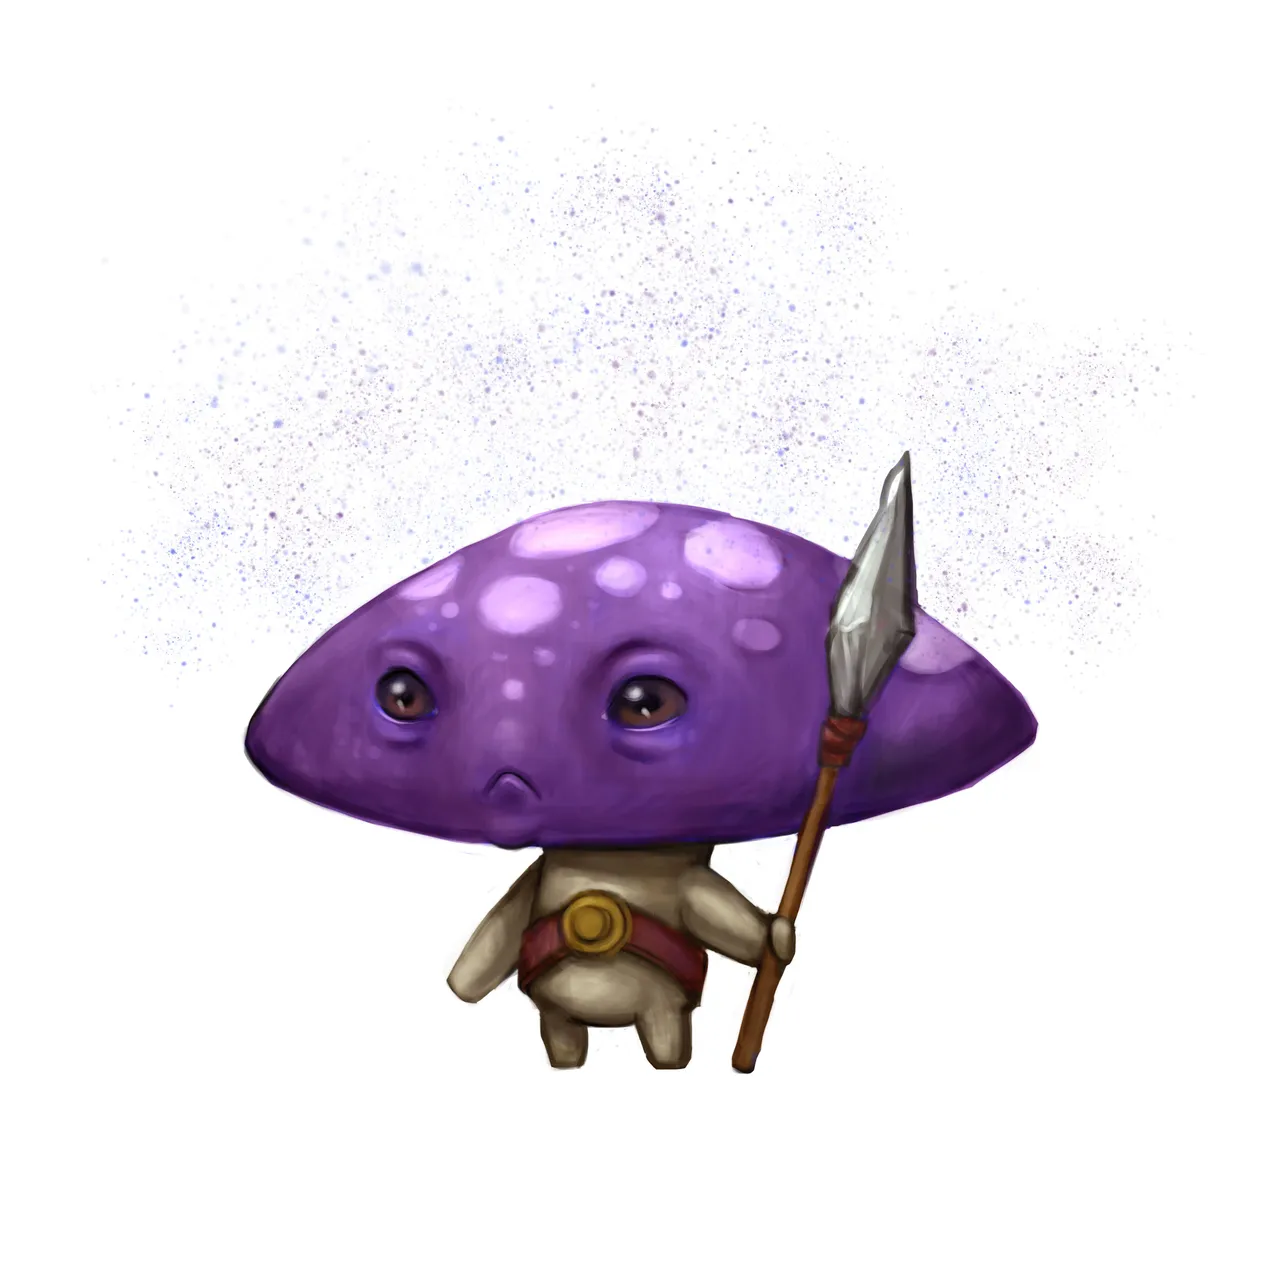
Usually, at this point, I'm pretty tired of painting and blending, so I entertain myself by adding some particles or smaller details in the piece. For this guy, I've added some spores, with the idea that if he were a game character that could be his basic move. Some other examples would be whiskers, freckles, leaves, etc., or throwing on a colour dodge layer to give it some "pzazz".
The spicy sauce is usually added in an instant (and can be tweaked later); personally, it helps me get through and keep painting a piece to as refined a state as possible because it helps me visualise the end result a little better.Finishing - Final

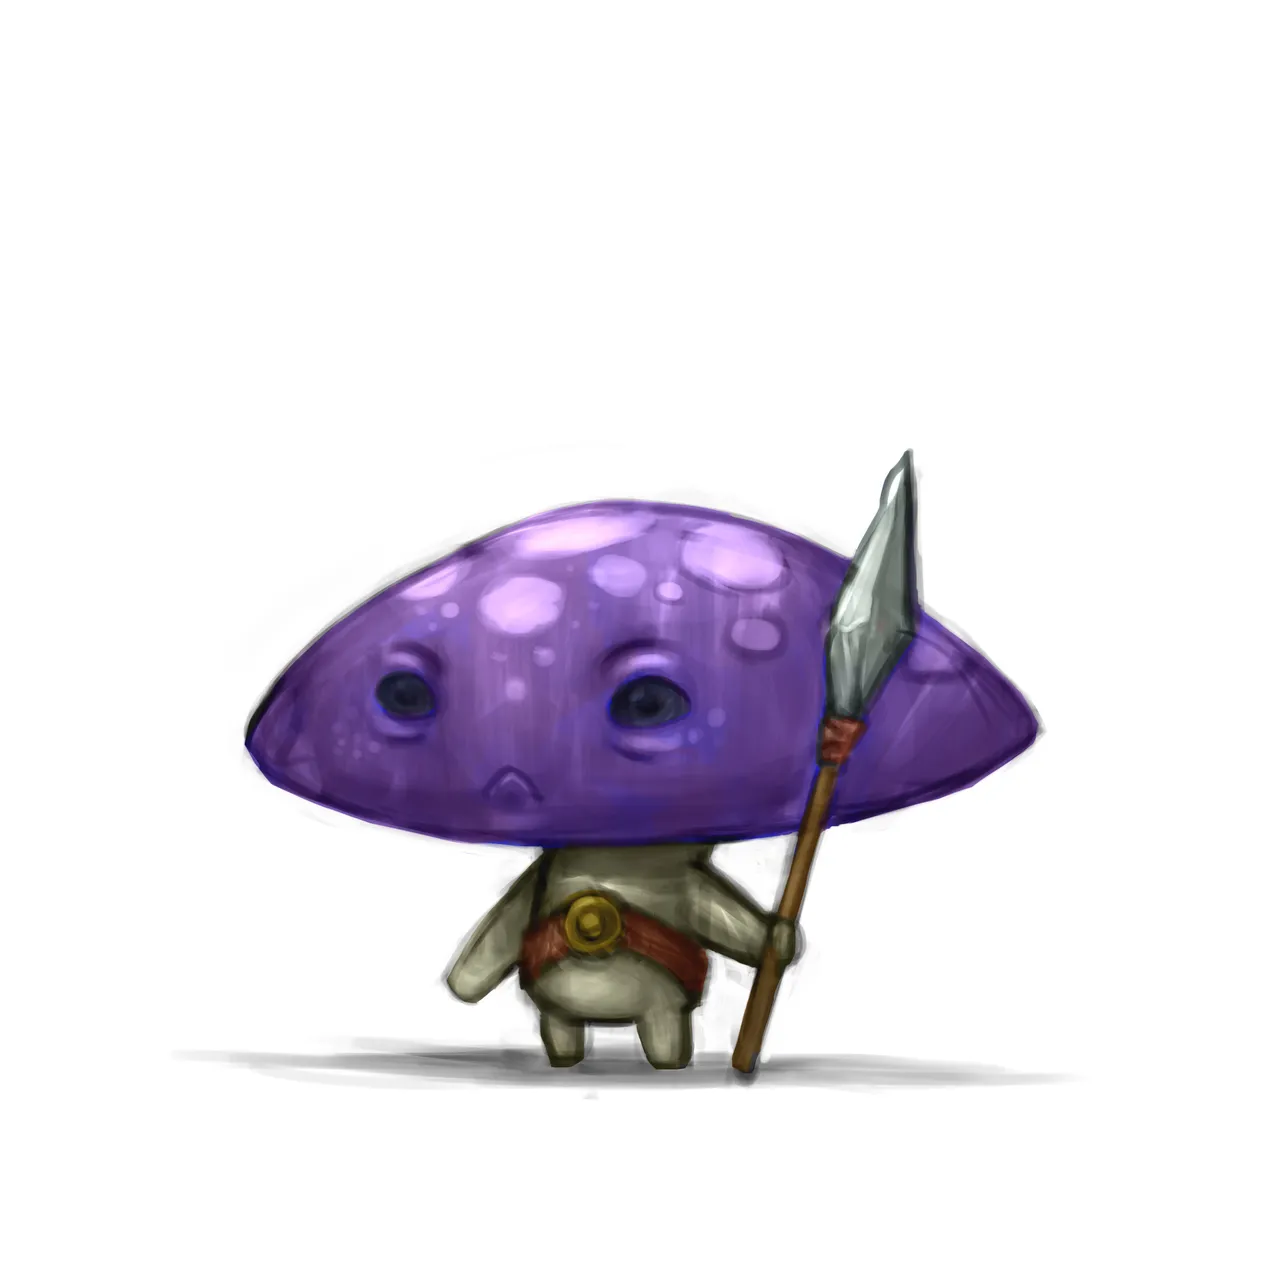
And the piece is pretty much done! At the final stages, I clean up the piece as much as I can and throw in all 3rd-level details (dirt on the feet, wear and tear on equipment, etc.). I usually try to give my characters some "footing" by adding a (very simple) drop shadow on the ground.
Usually, I also throw on a gradient map to make sure the temperature for the piece feels right, and I sharpen the image a little at the end too.
And that's it! It's not a terribly complicated process, and outside of any adjustments or drastic changes, I generally keep everything on one layer the moment painting starts.
I hope you enjoyed it and that this could help with your workflow and process in Photoshop.
Happy painting!