Using the Markdown Editor
Are you a newbie? Has someone invited you to Steemit to post? You now finally got approved and is now excited to submit your very first entry. You clicked on that Post button and you got presented with a page with three editable boxes with the top box labeled for Title and the bottom box labeled for tags. You clicked on the center box, and the words flow from your mind into your hands. Then you realized how do you do formatting and styling? WTF!?!
Sounds familiar??
This tutorial is aimed at people who have not used, tried, nor have heard of HTML or Markdown. People, who at the moment have very little time to learn but would love to jump in and submit entries to Steemit.
There are two ways to write your post in Steemit: using the Markdown editor or using the WYSIWYG editor(or simply “Editor”). At first, I was using the Editor to write my posts, but now I find it much easier to write posts using the Markdown editor. This tutorial or guide will focus on the Markdown editor and would cover only the syntaxes that will be initially of use to the author.
Let's get started.
Markdown screen
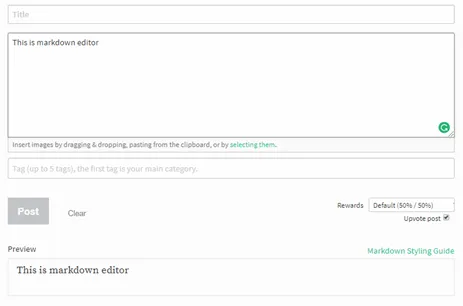
The Markdown editor is as plain as your basic notepad. No special tags needed in writing plain text. Anything you write is easily previewed at the bottom of the screen.
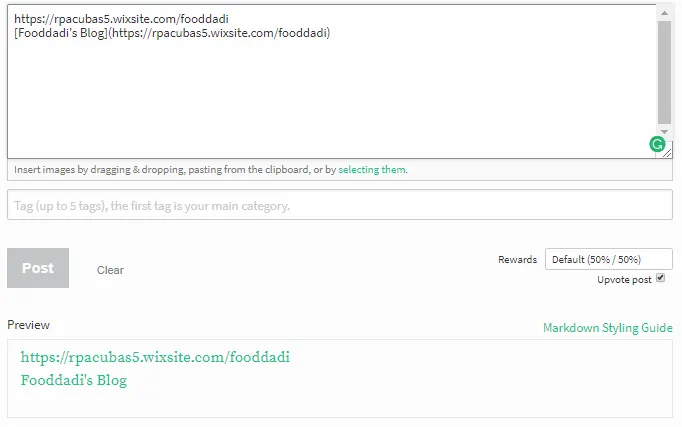
Even hyperlinks ("links") will be properly marked (underline and differently colored) and will automatically point to the written web address. If you want the link embedded to a text then just follow this simple syntax [Text to display](http://website.domain). Below are two hyperlinks pointing to the same address:
https://rpacubas5.wixsite.com/fooddadi - plain web address
Visit Fooddadi's Blog - web address with a different display text
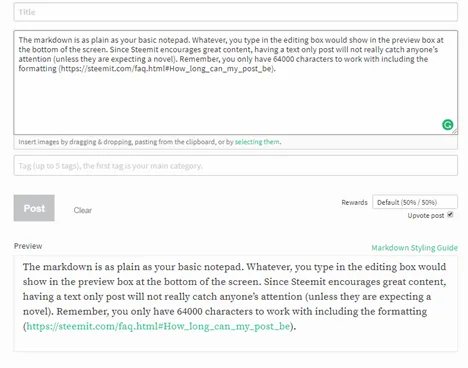
Since Steemit encourages great content, having a text only post will not really catch anyone’s attention (unless they are expecting a novel). Remember, you only have 64000 characters to work with including the formatting (https://steemit.com/faq.html#How_long_can_my_post_be).
Adding images will certainly improve the quality of your post. In the Markdown editor, you can just drag & drop or paste your images from the clipboard. Pasting or dragging images to the editor will automatically fill-in the appropriate tags.
To further format your text, it would require you to use Markdown syntax. Here are some formatting that you can do
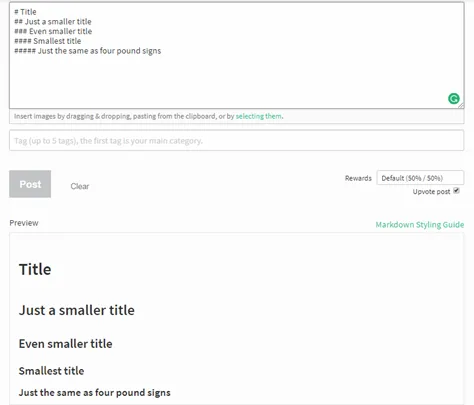
Making the Title pop
Using hashtags (#) will make the text in bold and in a predefined size (usually bigger than the default text size)
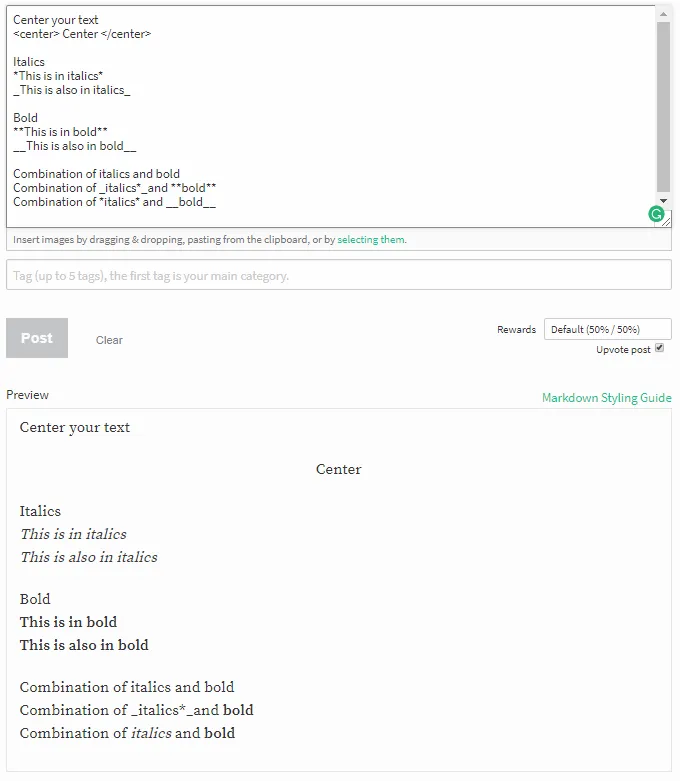
Adding Emphasis (BOLD and Italics and moving to center)
Using either asterisk(*) or underscore(_) to encapsulate the text will make the text bold or italicize it. Also encapsulating the text with the tags <center> </center> will put the text in the middle of the line
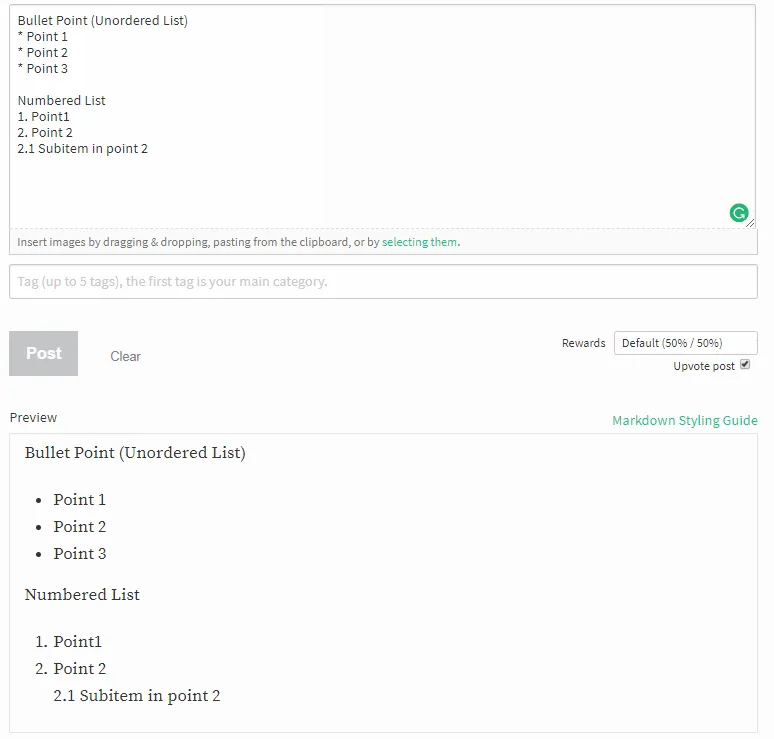
Make that list (using bullets and numbered lists)
Using the asterisk or a number before the text will display it as an item in a list. Adding two spaces before the asterisk will make the test into a sub-item.
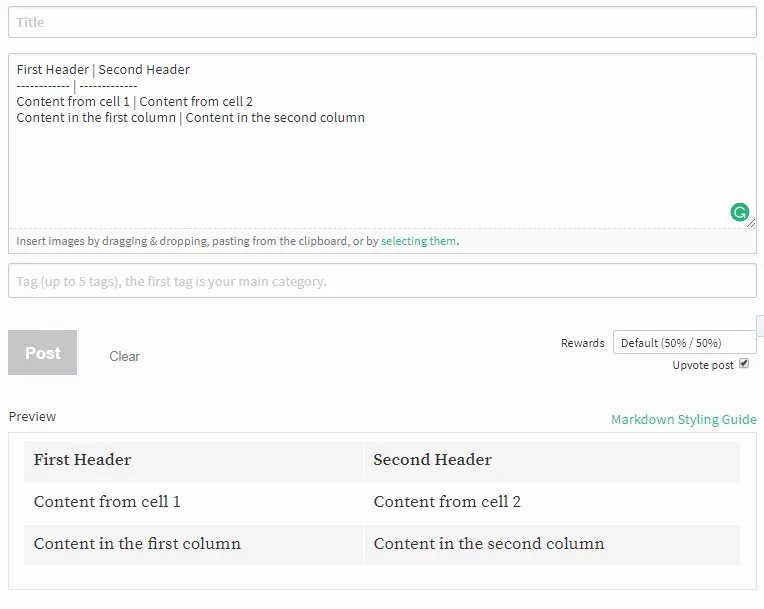
Setting the table
If you wish to be more organize in presenting a series of values, a table is a great way to go.
There are more syntaxes that you can use. Just click on the Markdown Styling Guide. This post was actually based on the Markdown Styling Guide but was just presented in a manner that I believe that would be easier to consume.
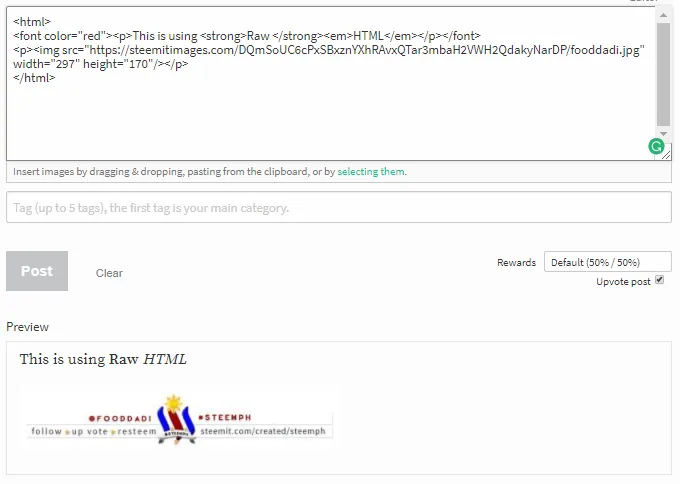
If you are knowledgeable of HTML, you can still use HTML instead of the Markdown syntax. It will provide you with more options for styling. Unfortunately, coloring of the text seems to be not working on the main Steemit site.
I hope that this post will help out the newbies on Steemit who might be struggling in writing their first post or their next great post.
Additional Useful tutorials
https://steemit.com/tutorial/@sndbox/markdown-tutorial-steemit-blogging-tips
https://steemit.com/tutorial/@deveerei/panahon-na-para-paunlarin-ang-kakayanan-mo-sa-markdown-it-s-time-to-step-up-your-markdown-skills-a-tutorial-just-for-you-in
