Introduction
In this Blog post, you'll learn how to setup your Unity project for developing with the Google Cardboard. Since many online tutorials are outdated or incomplete, this one should help you out post-2018.
First, you'll need Unity, your one and only choice when it comes to VR|AR|MR development. You can download it here
1. Enabling USB Debugging
This Blog post assumes that you have installed and set up the Java SDK and Android SDK. If not you'll find tons of material online.
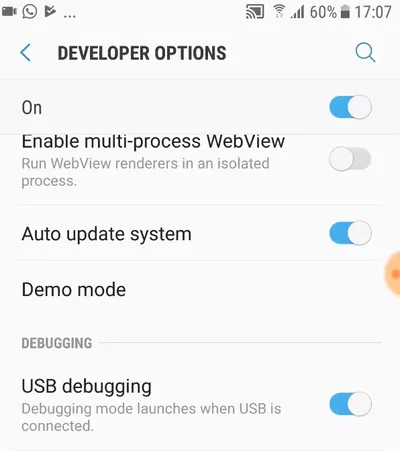
Enabling the Developer mode on your phone feels like activating a cheat code. Here is what you have to:
Go to Settings on your Android Device
Scroll down and find 'About phone'
Open 'Software Info'
Look for 'Build number' and click on it for about ten times (not joking) After you have done that you should get a message with something like "Developer mode enabled"
Go back to settings and on the very bottom look for the secret developer mode
Open the developer mode and enable USB-Debugging. Congratulations you now can build on your phone directly from Unity via USB cable.
Congratulations you now can build on your phone directly from Unity via USB cable.
🎉 🎉🎉
2. Installing the GVR SDK
As said, I believe you already have the Java SDK and Android SDK. In case they didn't find their way to your hard disk yet, you can find the latest version here and here.
The only thing you need to get started is the Google VR SDK. You find it here. Now it's time to create your Unity project. Create a new project and then double-click the GoogleVRForUnity_unitypackage and import the files.
3. Setting up Unity for Google Cardboard
Your project is almost ready for some awesome VR development. Here the last steps to get started:
Go to Player Settings and switch the platform from Standalone to Android.
In the same Build Settings, you also find the Player Settings. In the Player Settings, you want to find XR Settings on the very bottom, enable Virtual Reality Supported and then select GoogleVR after you clicked on the little +
Set the minimum API level to Android 4.4 'Kit Kat' (API level 19) or higher.
Hit Build and run and enjoy your VR experience.
Final Words
You are ready to build great Google Cardboard apps. In case this was your first step, and you created something for your mobile device, feel free to share your project! I'd love to see your creative ideas coming to life.
If you found this topic interesting, head over to our course section and enroll in our latest VR Development With Unity program.
As always, if you have any questions or remarks let me know: dinesh@univrsitas.com
Cheers
