I recently had the need to setup a Raspberry Pi from scratch but had no access to a TV or monitor with a HDMI input. So I figured that I would document and post the procedure for future reference.
Requirements:
- PC or Laptop with an SD card reader.
- Raspberry Pi
- Power Supply for the Pi
Software
- Etcher (for flashing the SD card with the Pi’s OS) https://etcher.io/
- Putty (SSH Client for connecting to the Pi’s terminal) www.putty.org
Firstly you need to download the official Raspbian Operating System from https://www.raspberrypi.org/downloads/raspbian/
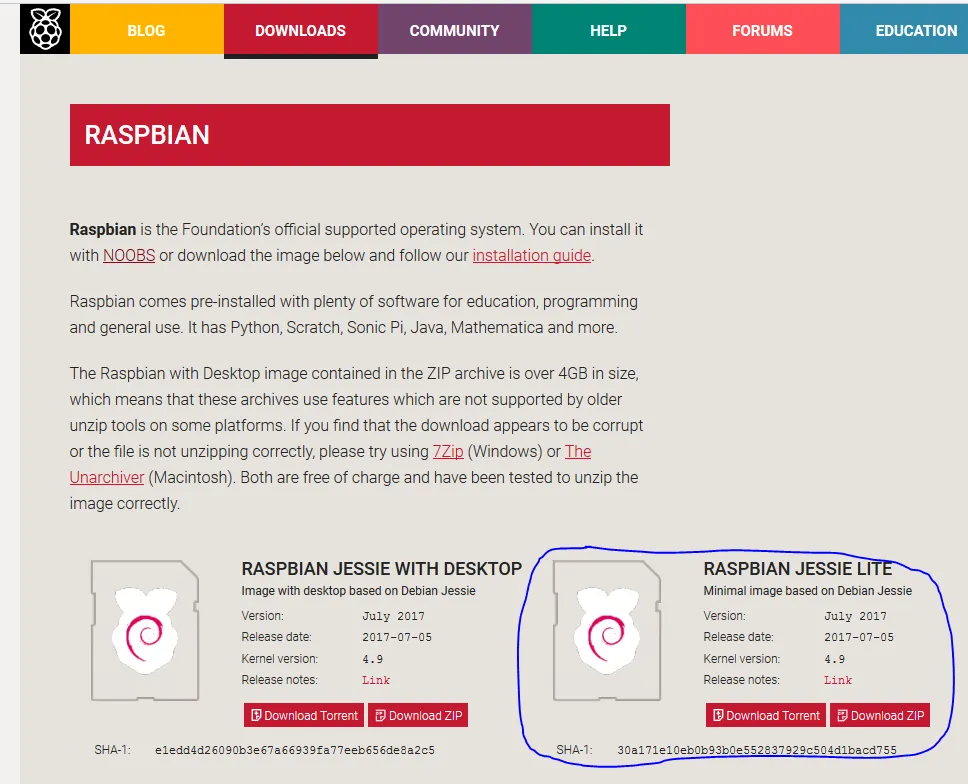
Since we have no access to HDMI we have no use for the desktop environment so it is pointless to use the Pi’s resources to run the UI, so download the .zip file for the Lite version. (If you want to use the Pi with the desktop environment, this will work just fine with the other image too)
Open Etcher, click select image and point it to your zip file (there is no need to unzip first)
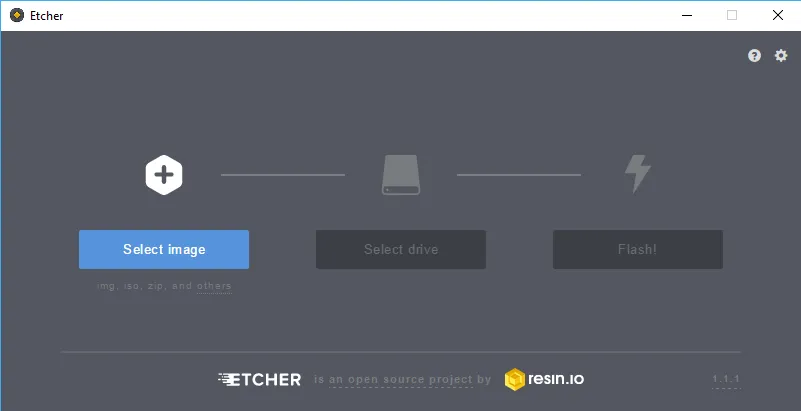
This takes 30-60 seconds
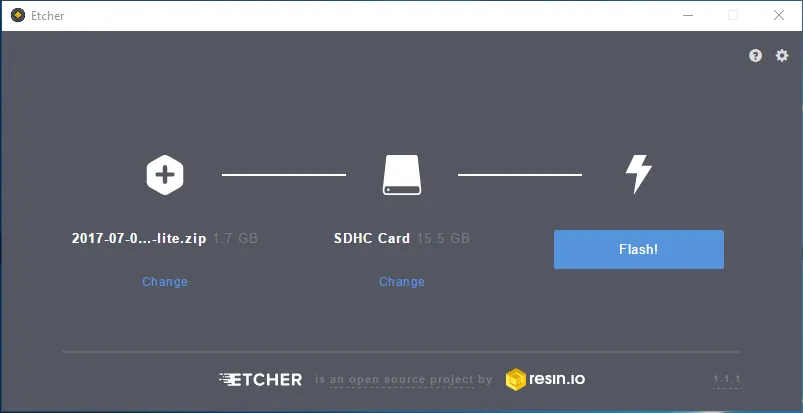
Etcher Auto-magically detected my SD but you may need to click select and point to yours... once your screen looks similar to the above, just click "flash". Now sit back and browse Steemit, this will take a few minutes...
Note: During this process Windows may detect another drive and ask you to format it, if this happens click "cancel"
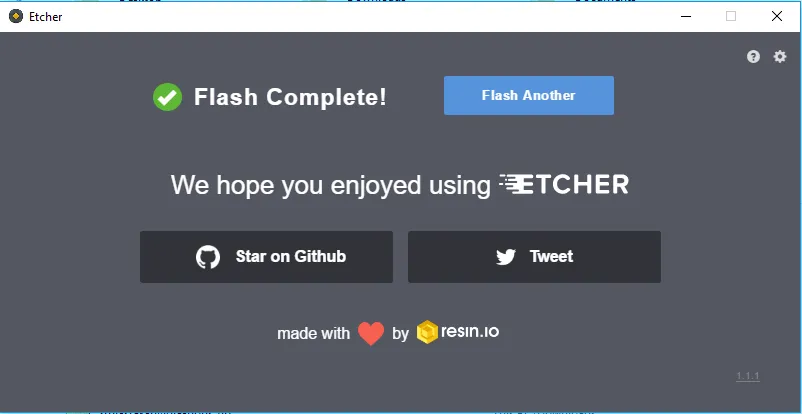
You should eventually be presented with a screen similar to the above.
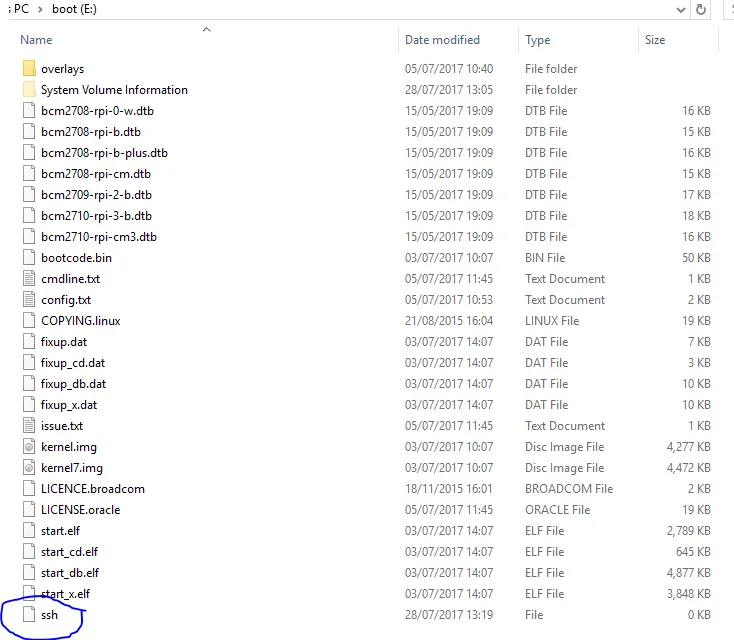
By default the Pi doesn’t run an SSH server, so you would have no way to connect to it over the network. Open "Windows Explorer” and navigate to the SD drive, the filesystem should look similar to the one below. Create an empty file called “ssh” with no file extension.
Once this is done, eject the SD card from the PC and install it in the Pi. You will need to plug one end of the ethernet cable into the Pi and the other into your router. Then just plug in the power supply and give it a minute to boot.
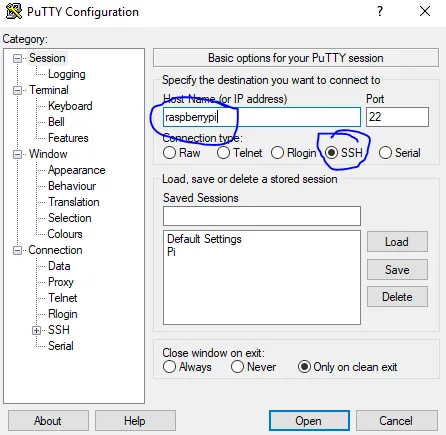
You should now be able to connect via putty using the hostname “raspberrypi”. If this does not work you will need to go to the DHCP lease table on your router and figure out its IP address and use that instead.
The default credentials are:
Username: pi
Password: raspberry
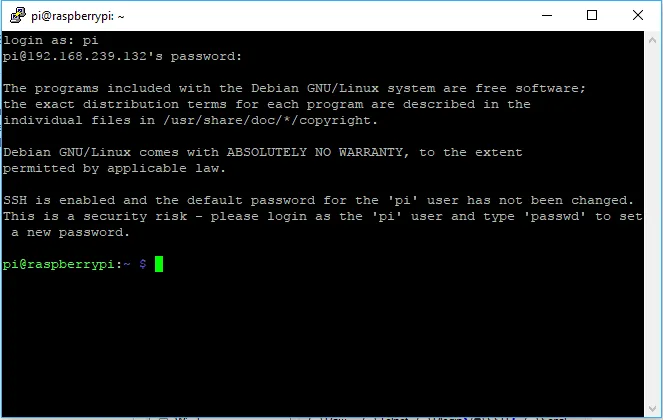
You should now have a terminal window just like the one above. Next some basic house keeping and security precautions.
Change the password for pi by typing the command:
sudo passwd pi
You will be asked for a password then asked to confirm.
Next you want to install the latest patches for the OS, to do this type:
sudo apt-get update && sudo apt-get upgrade -y
This will connect to the raspbian repositories, identify the applicable updates, download and install them. The process may take some time depending on various factors such as the size of the updates needed and the speed of your internet connection.
Congrats you now have a working Pi
If you find this post interesting please command and/or up vote. I have been using Raspberry Pi's since they were first released and have lots of little projects that I could write tutorials on if people show an interest.