Greetings! Friends, I want to tell you about my hobby. I like to collect and run old computers. Where I work, come across different devices, which have been for many years. Colleagues on work laugh and say that this should be sent to the museum. But I'm from the generation when the first computer was ZX-Spectrum, and the games were long and stubbornly loaded from cassette tapes.
And now sit down comfortably, I begin my story. I got a motherboard, but I managed to read only LS-486E, the manufacturer is unknown, maybe it's Lucky Star. Although there was no processor and memory on the board, the BIOS chip was in place, which gave us hope for a successful launch.
The socket for the processor has the form factor Socet3, which means that there should be support for INTEL 80486DX4 / DX2 / DX / SX / SL, P24T, P24D. These are already 32-bit, x86-compatible microprocessors of the 4th generation. Tempting the Internet, I found a similar documentation on the board. What do we have on board?
3x ISA 16 bit, 3x PCI 32bit, SIS85C496/497 chipset (with IDE and FDD support), 4 slots 72 pins of SIMM memory.

The first thing I needed was an old AT power supply. As you can see, the power connector has AT format. Yes, these are the same power supplies, when after the end of Windows appeared the inscription "Now the power can be turned off" =) I could not find the original power supply. In the warehouse, it was possible to find only the board of the power supply unit itself, and this was already a success! A cursory examination showed that there is no part of the parts (there is no input filter, no inductive coil at the output).
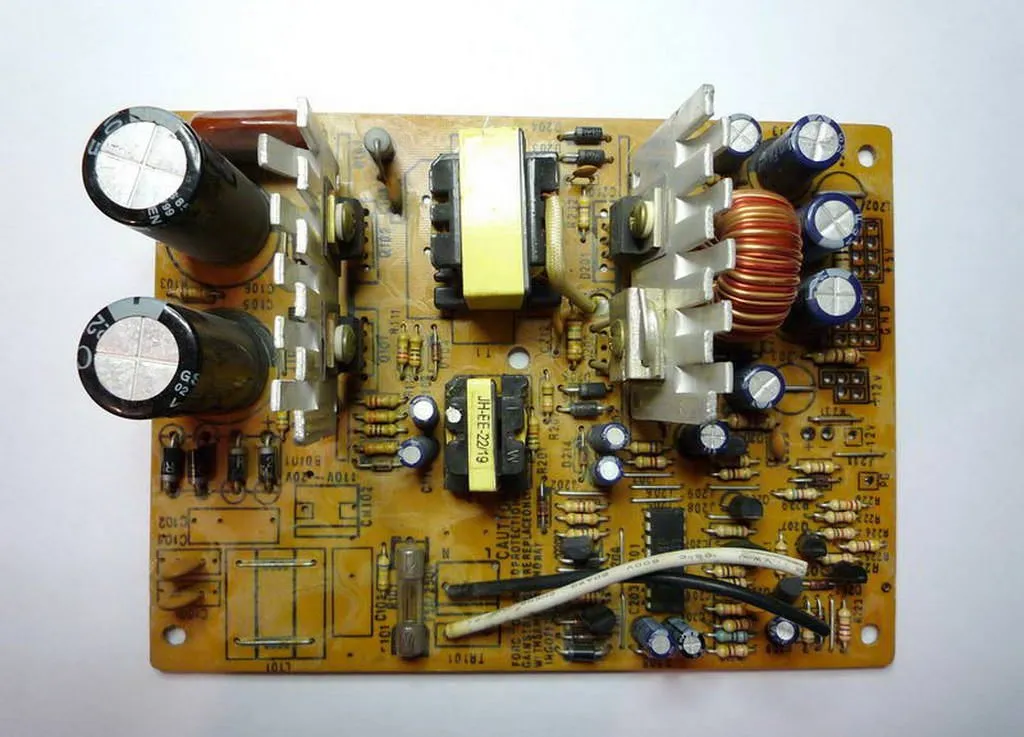
First, I washed it thoroughly in alcohol. Then, armed with a soldering iron, I installed the missing parts. I checked all capacities for use (they are already 25 years old), the lost capacity went under the replacement.

By the way, I was surprised when the board was installed in the case from the ATX power supply. Only the fan had to be changed.

We install, seal the wires, and fix them.

Now I started searching for the processor and found it on Ebay. I managed to find a lot from Greece (where an interesting seller sells things and equipment from a military warehouse). So I bought Intel 486 DX2.
Here are its characteristics:
Frequency: 66 MHz.
Bus speed: 33 MHz.
Clock multiplier: 2
Power supply voltage: 5V.
SL enhanced technology: supported.
Write-back technology: not supported
Year of manufacture: 1992


Further memory! I have a friend who knows about my hobby, he searched for the necessary memory for a long time, and the search was crowned with success. My joy was not the limit =)


Processor and memory installed! Hooray! Now I hardly doubted the success. As you know, on modern motherboards cup and memory installation is a matter of 5 minutes, but right there for correct operation all modes are selected by jumpers (supply voltage, multiplier, bus frequency, etc.). Apparently, the former owner is very fond of quests, otherwise how to understand their complete absence. Well, yes, it is, the attraction is called - set at random and slept all to hell! By a fluke, the necessary configuration was found in the manual from a similar board somewhere in the depths of the Internet.
As you can see on the left of the processor, chips are installed - this is a cache memory. I also installed a buzzer and a 3V battery for BIOS operation.

Almost everything is ready for the first launch, but we can not do without a video card and keyboard, the mouse is optional. Since there are PCI slots, it was tempting to install an SVGA board and not to be fooled. I also wanted to find an old ISA, the search dragged on for several months ... I managed to find a video card with an ISA bus. This is the Macronix MX86000FC, a great sample, by the way! 16-bit, 256 kB memory, the year of release 1992. Interestingly, it can crypto mining? ))

The video card is beautiful, but there was a problem. Pay attention to the empty DIP Socket, there should be a BIOS, without it it's just a brick!! By investigation, the owner was established. He said that he took out the microchip bios and broke several pins.

I decided first to remove the DIP Socket. Again, I take up the soldering iron.

On the Internet, I deducted that on old chips it is possible to cut the body with a needle files (within reasonable limits, since the substrate with layers is closer to the center of the chip). Restoring the pins, solder to the video card. Now it's not going to be broken.

At work there was an AT keyboard, we have a DIN connector here.

But first it needs to be restored, the buttons in the ultrasonic bath are washed well, and the body with a cleaning agent.

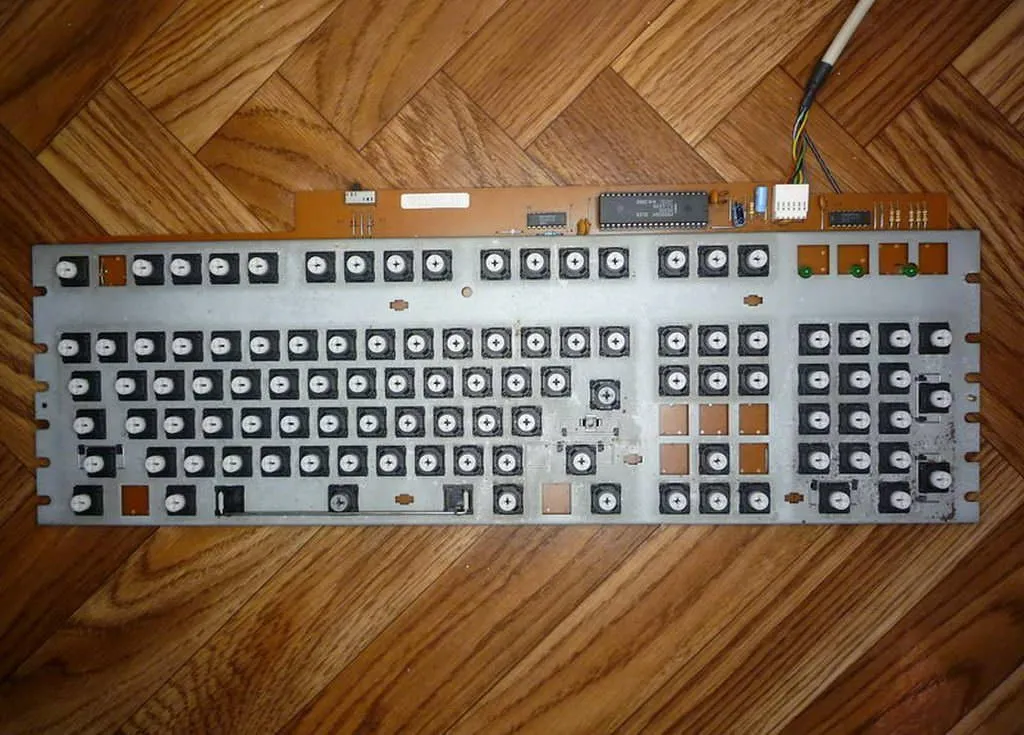
Now it looks like this! :)

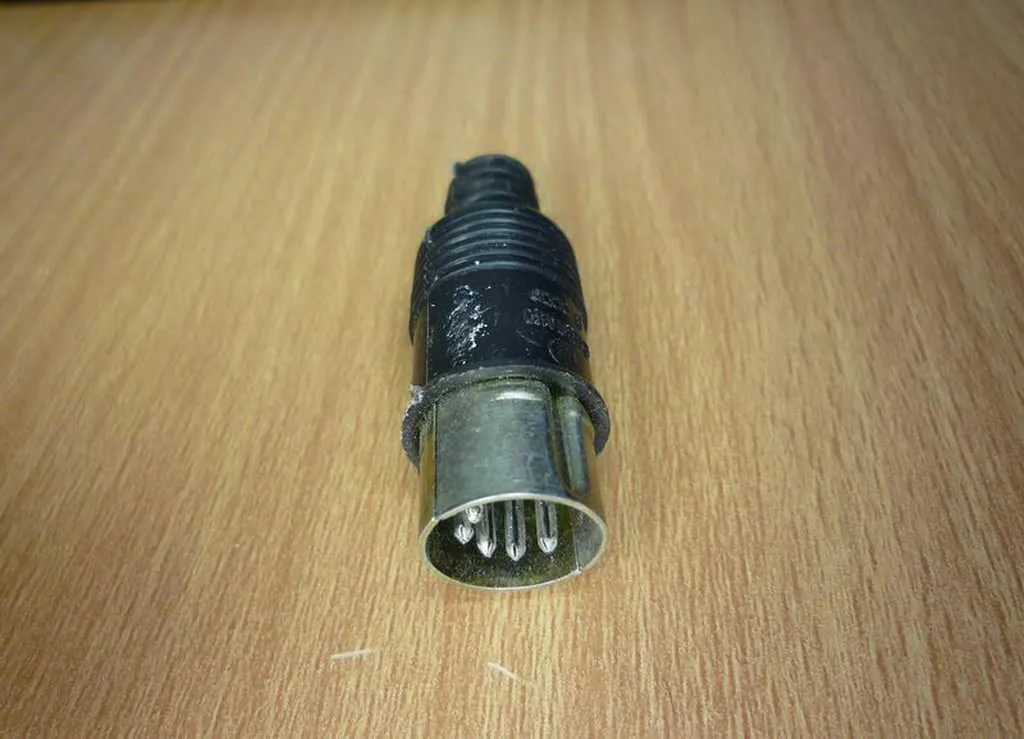
Next, I found that the connector had a very strong oxidation, it had to be replaced by the first suitable one.

This is the connector from the Soviet tape recorder "Vesna".
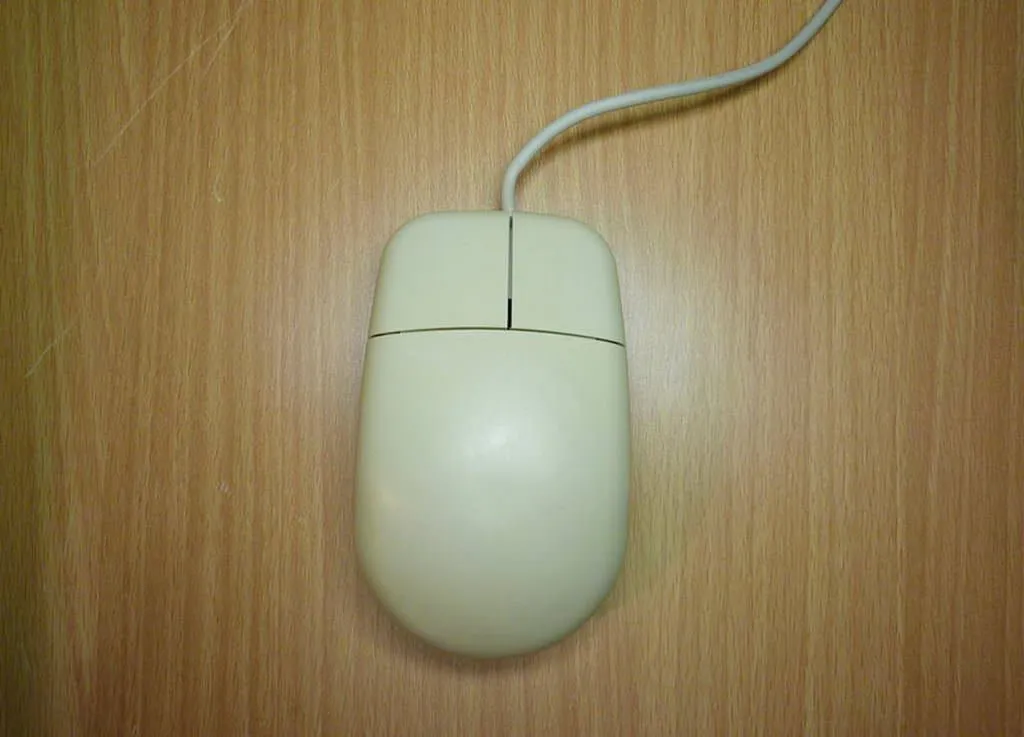
How do you like this mouse? )))
And so, it's time for the first run. With trembling in my hands I press the power button!

Yes! I had fears that the motherboard could be non-working, and I was not sure if I could fix it, but it earned.
And then I connected the hard drive and installed the software and games, but I'll talk about this in the next part!
to be continued ...
Sincerely, @gleb-jeglov aka Evgeny