I thought I would give you all a look at the making of my logo channel silver bar. It has become pretty popular, so here is how I make them. The mold was carved for me by our "carver" Ag Randall from a chunk of wax. The Bear @theb3ar was kind enough to make a hard resin master mold by casting the wax mold. This will hold up forever!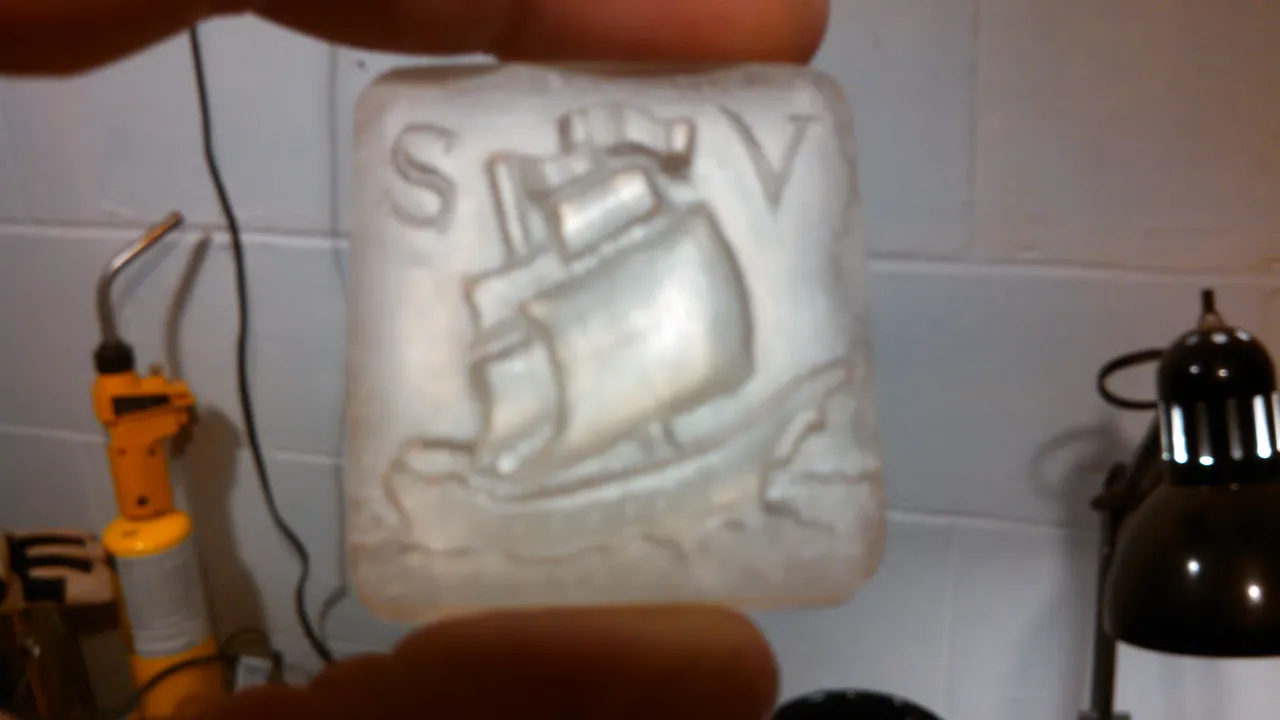
I fill one half of the flask with petrobond sand and smooth it over. apply powder, and press in the mold about half way.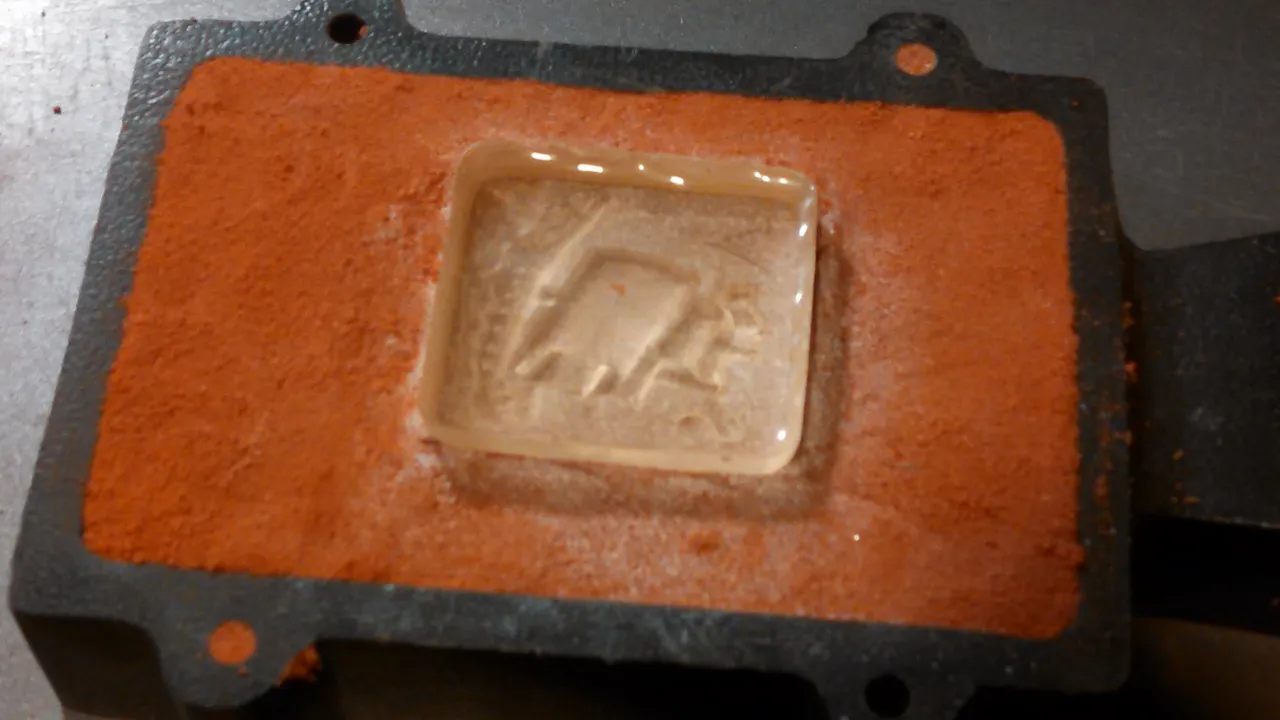
Carefully remove the mold. It leaves a nice impression.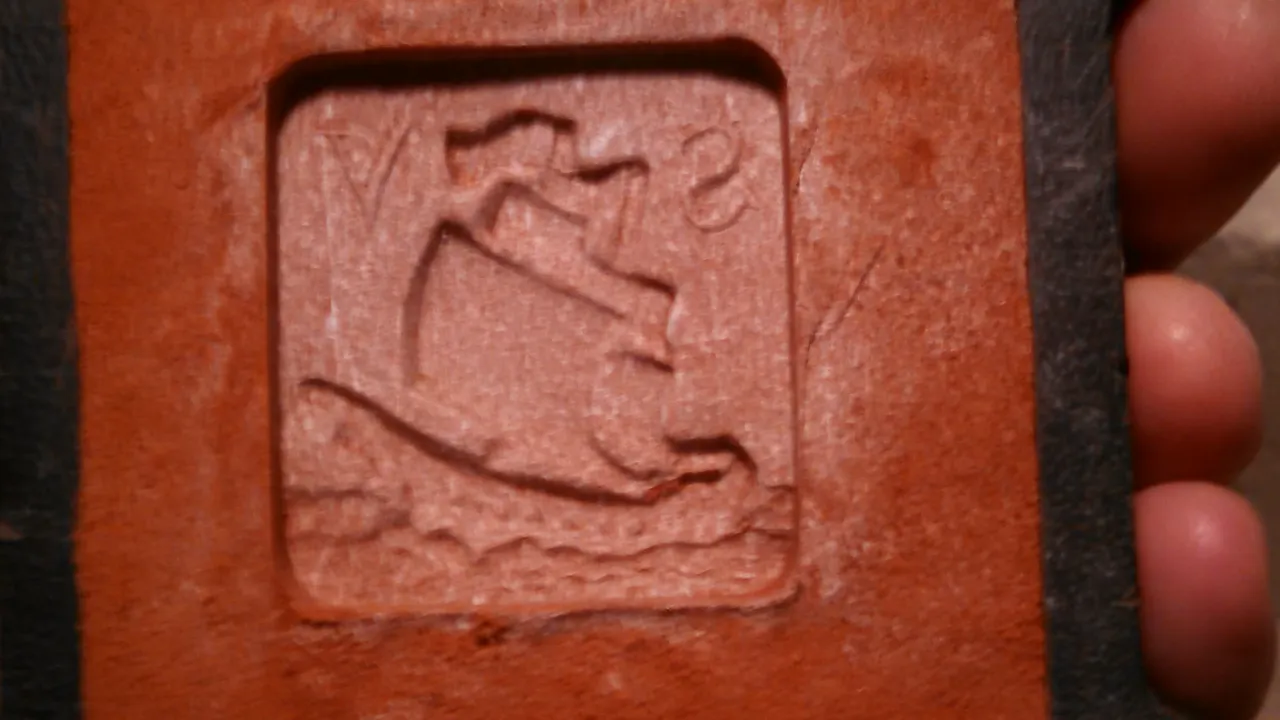
This will hold a perfect 4 ounces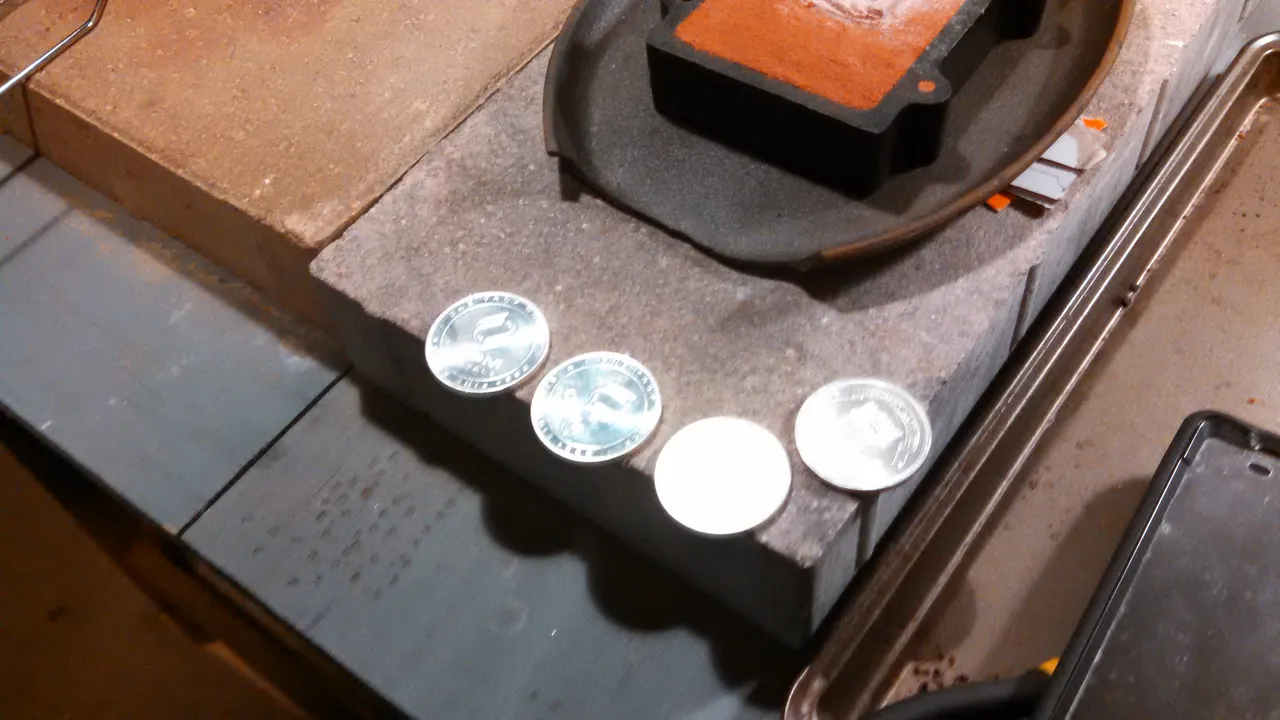
With a little extra shot for good measure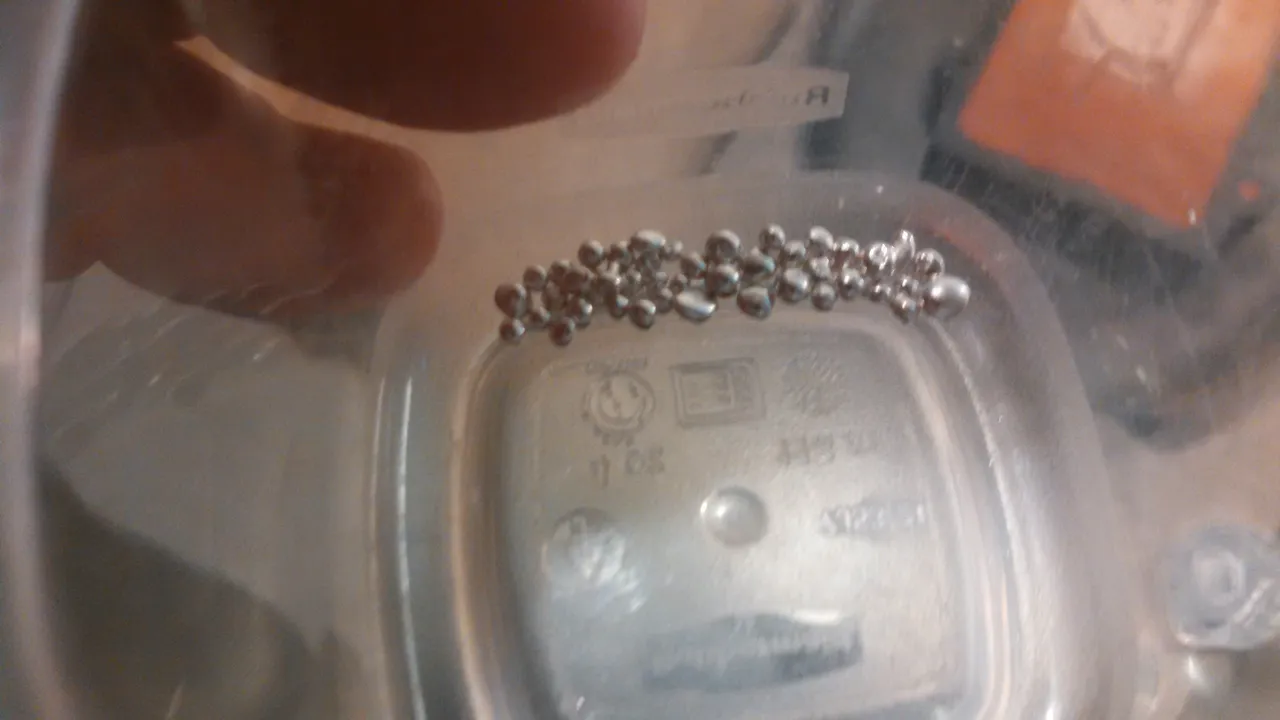
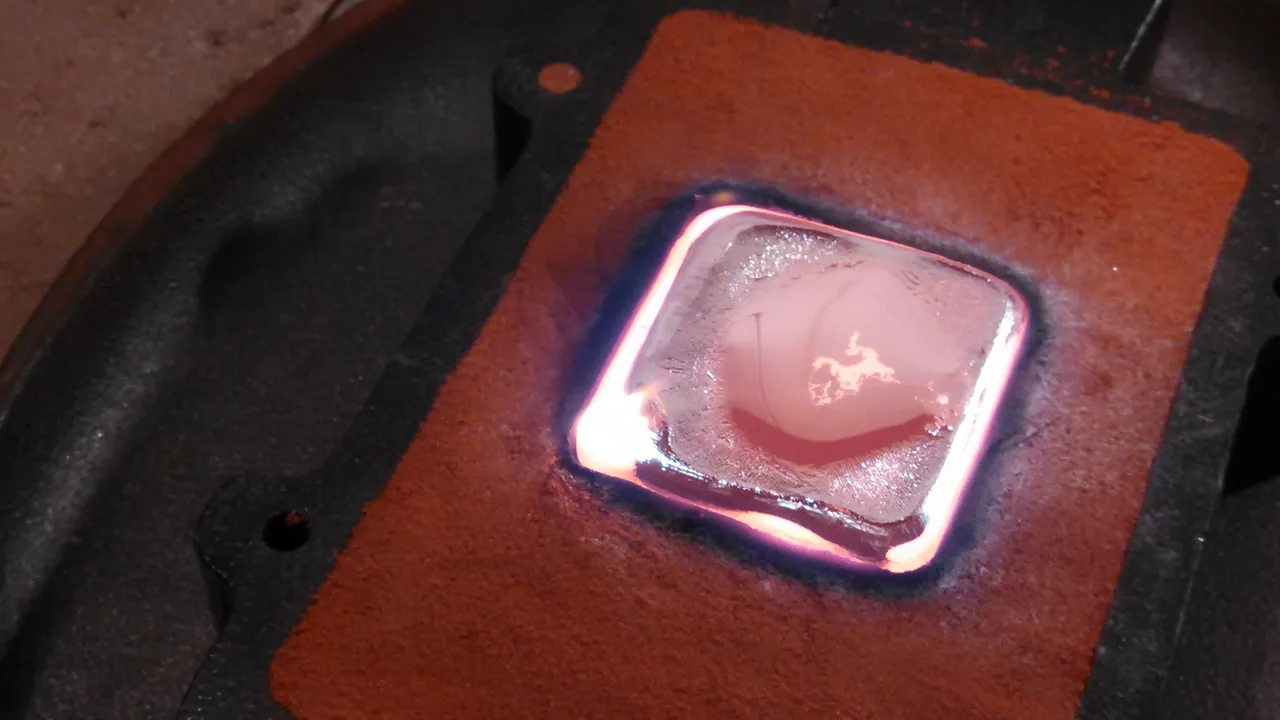
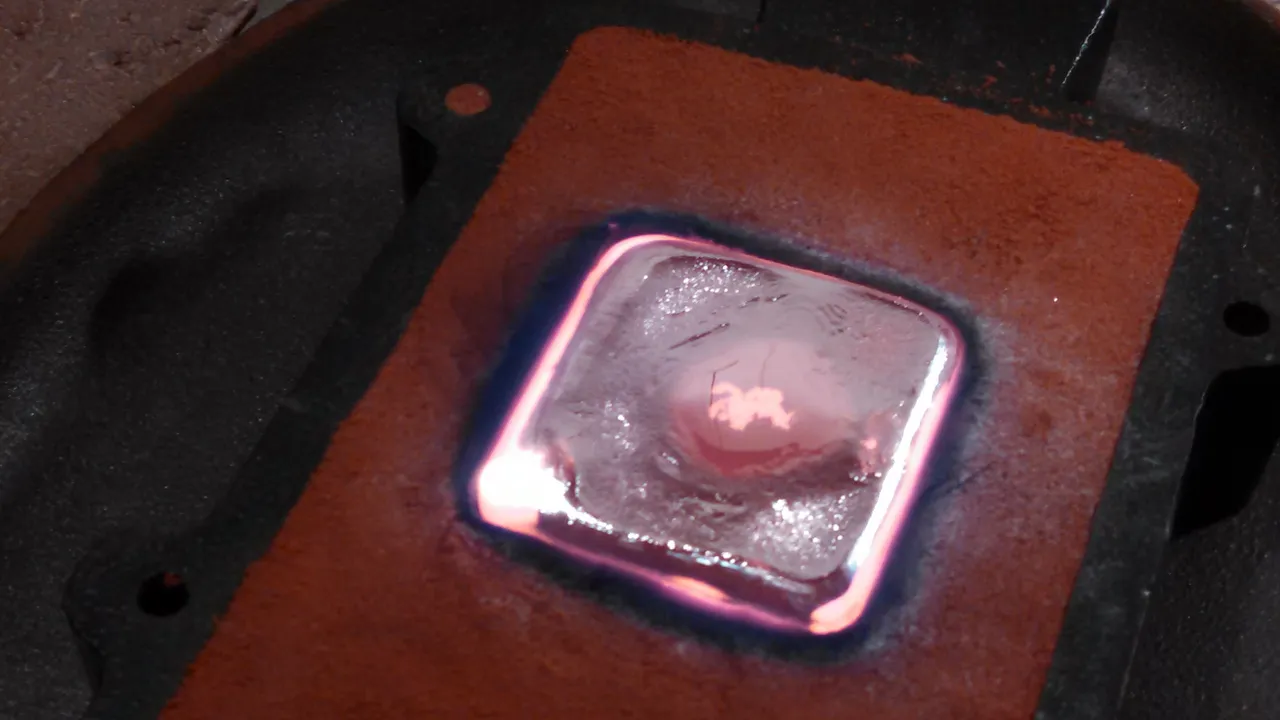
Time to liquify the shiny precious metal!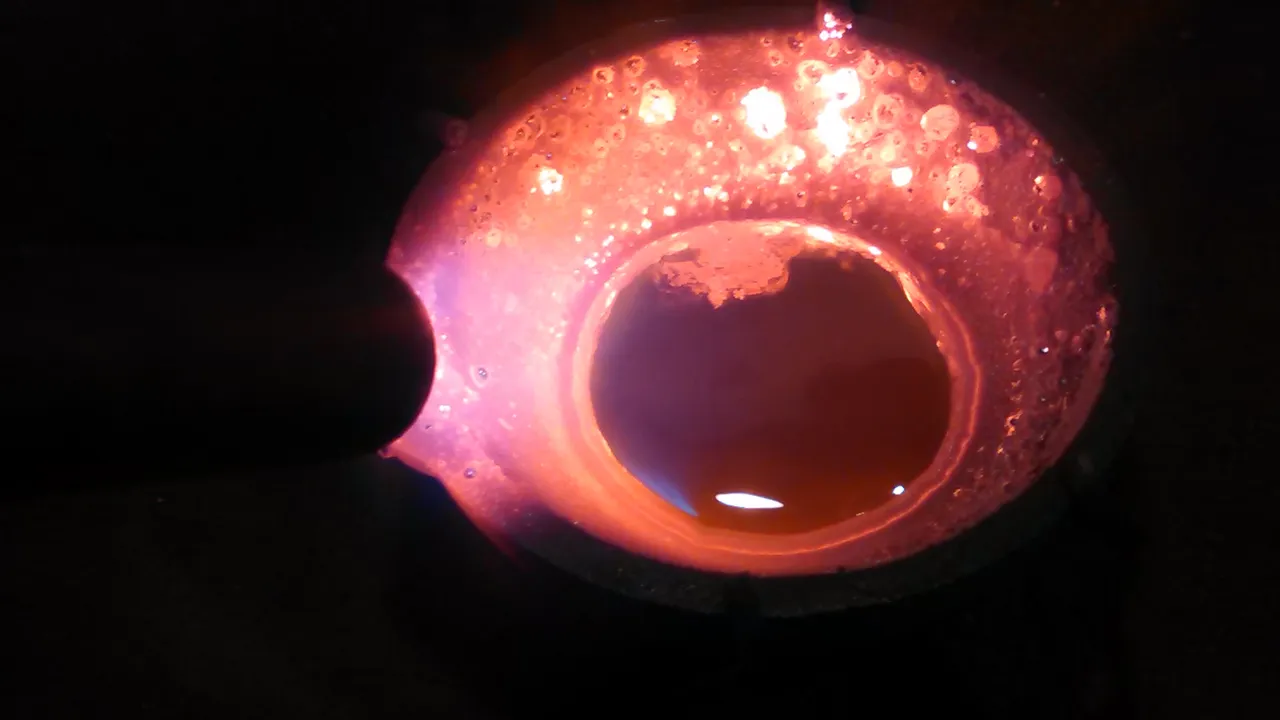
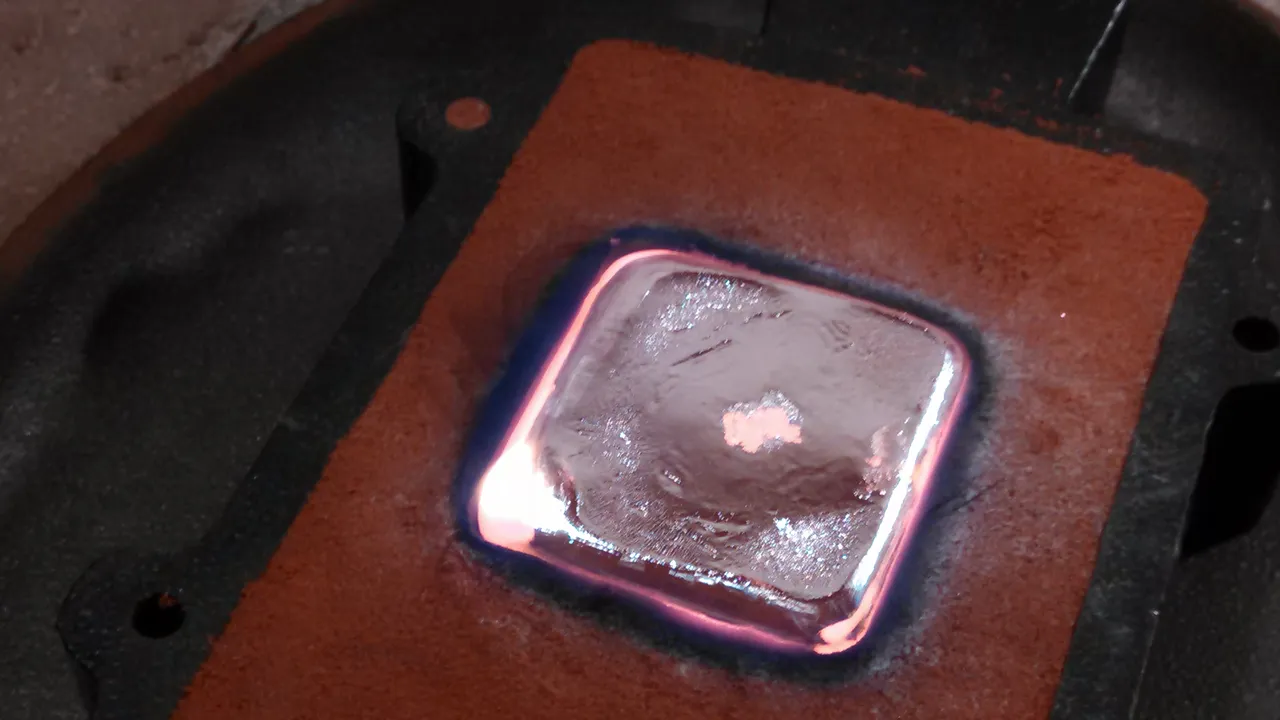
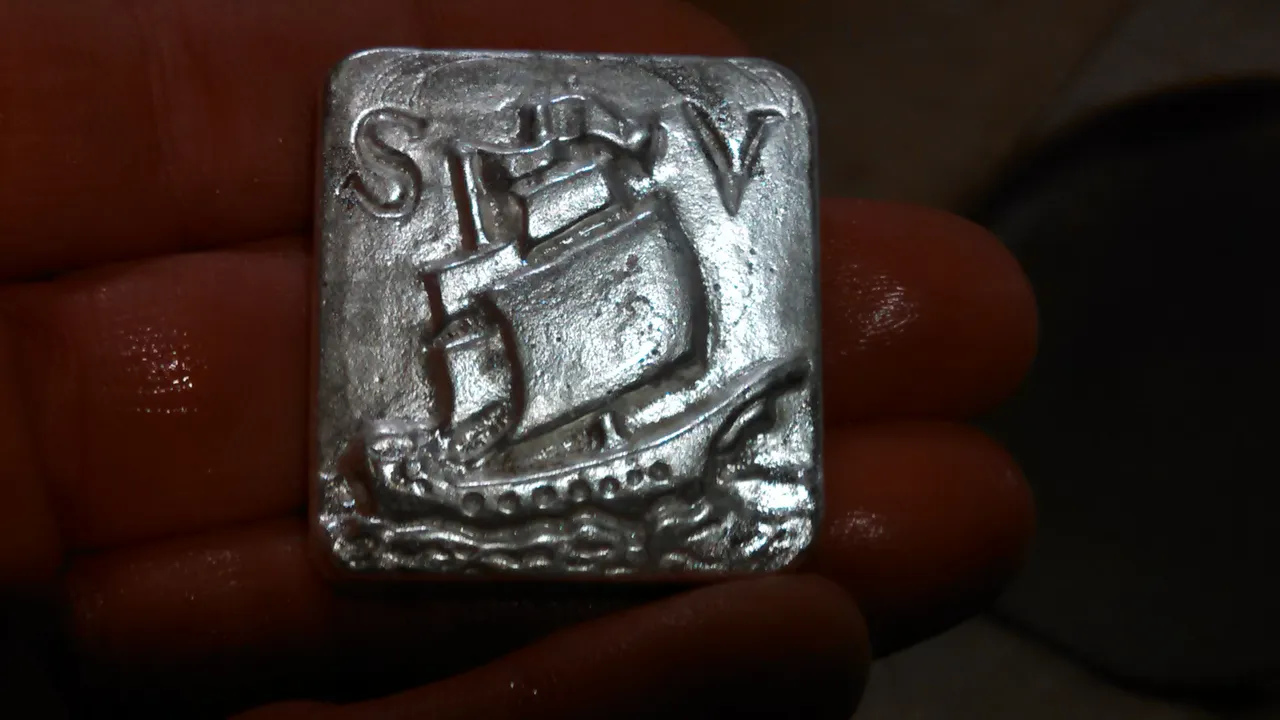
I do these bars as "open pours" as opposed to closed cast. I like the uneven rugged look of the open pour for this bar.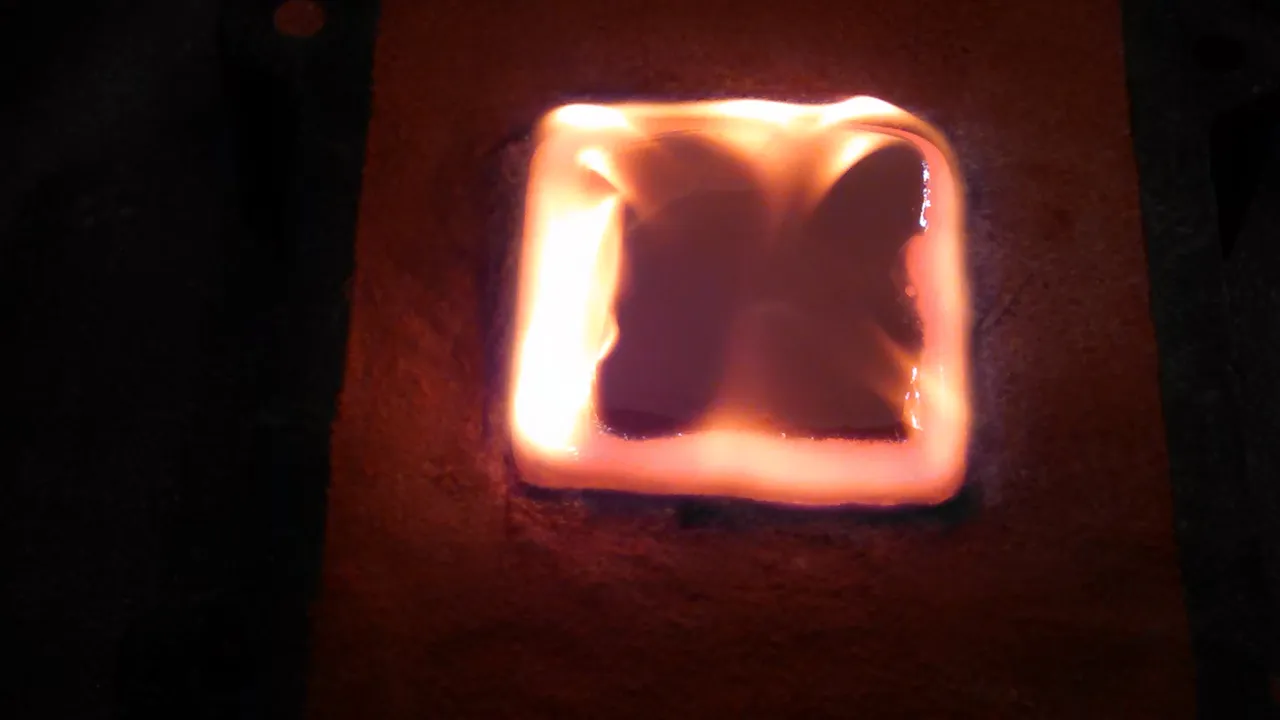
Time to quench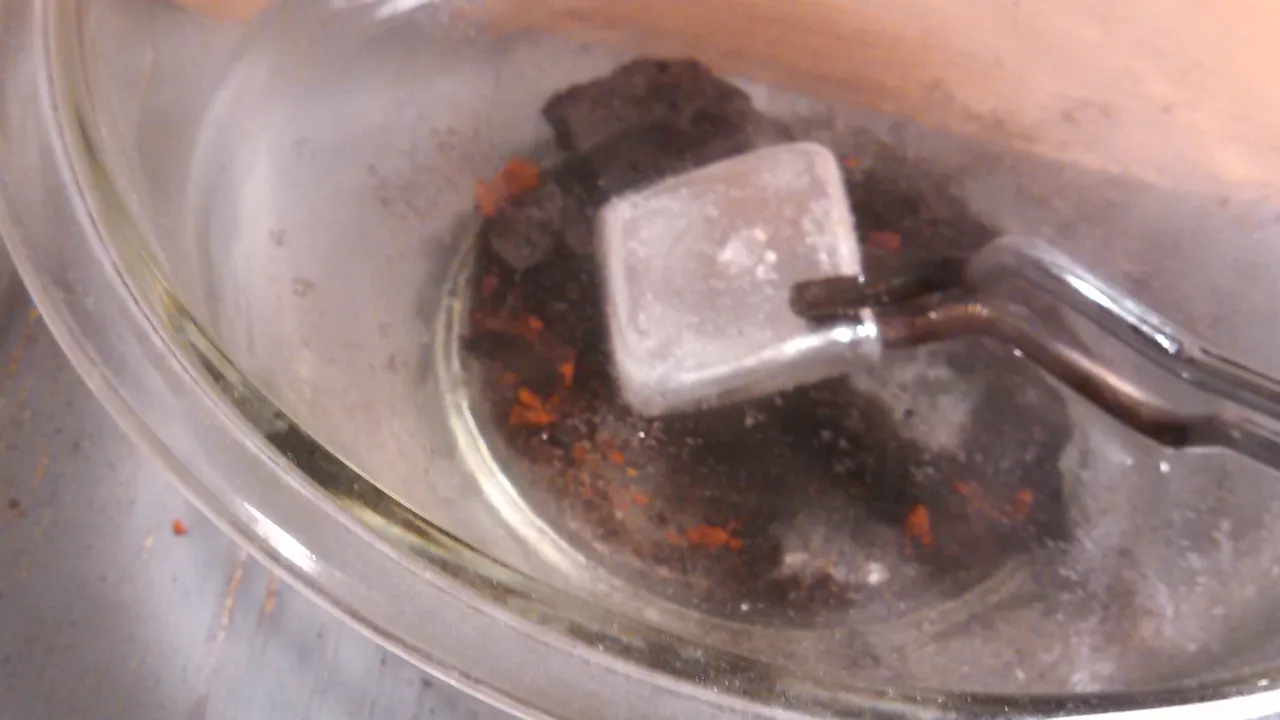
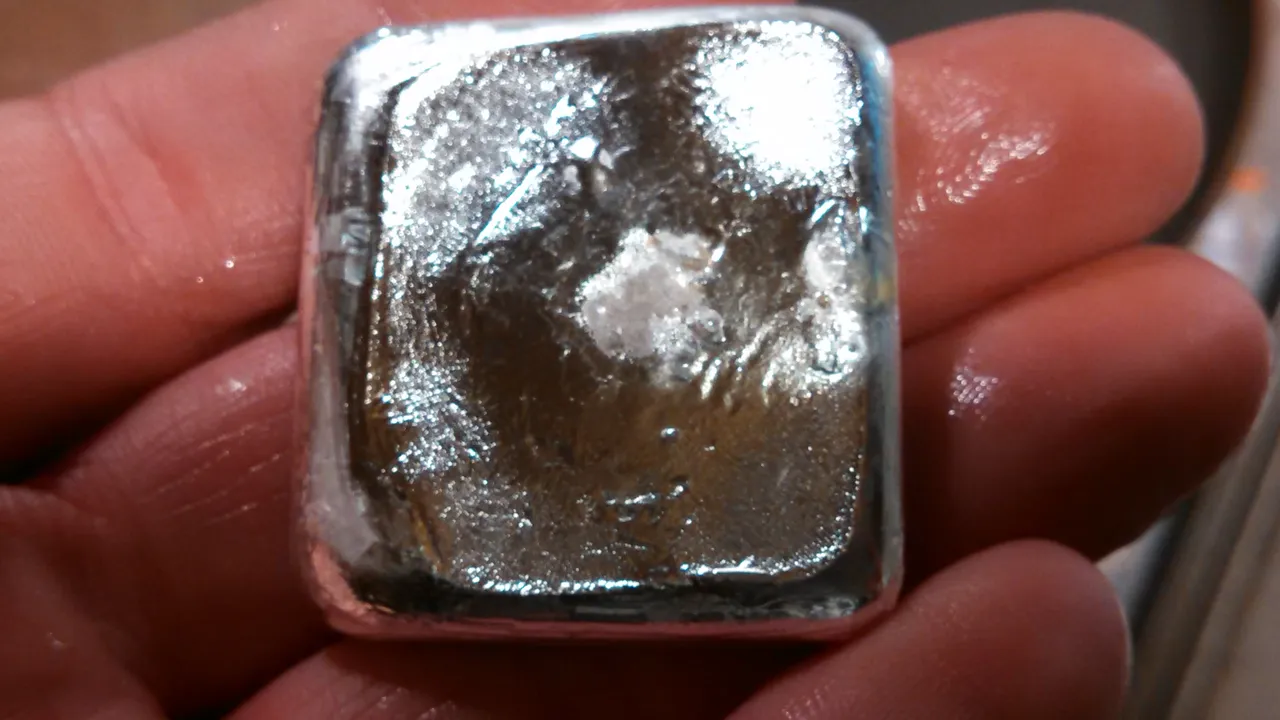
Lets see what she weighs...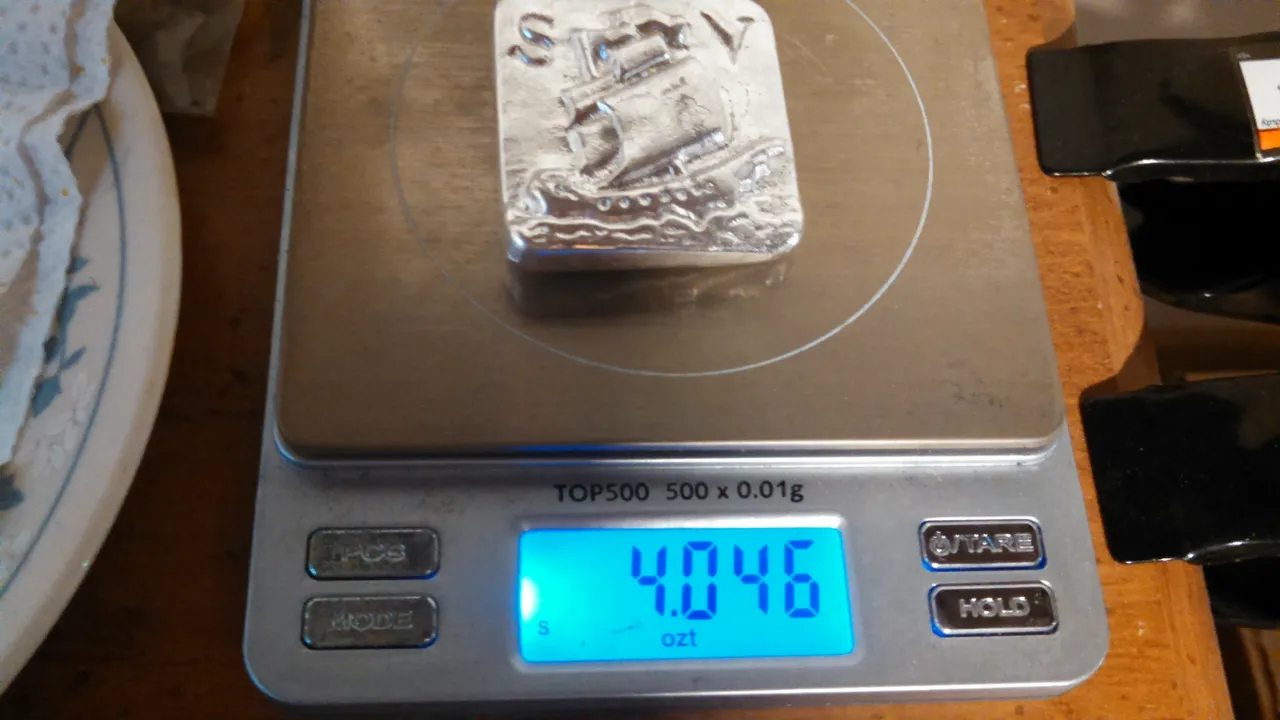
Perfect! Now on to clean up. First, I remove the "warts" and high spots with a dremmel and a hard aggressive, yet smooth bit.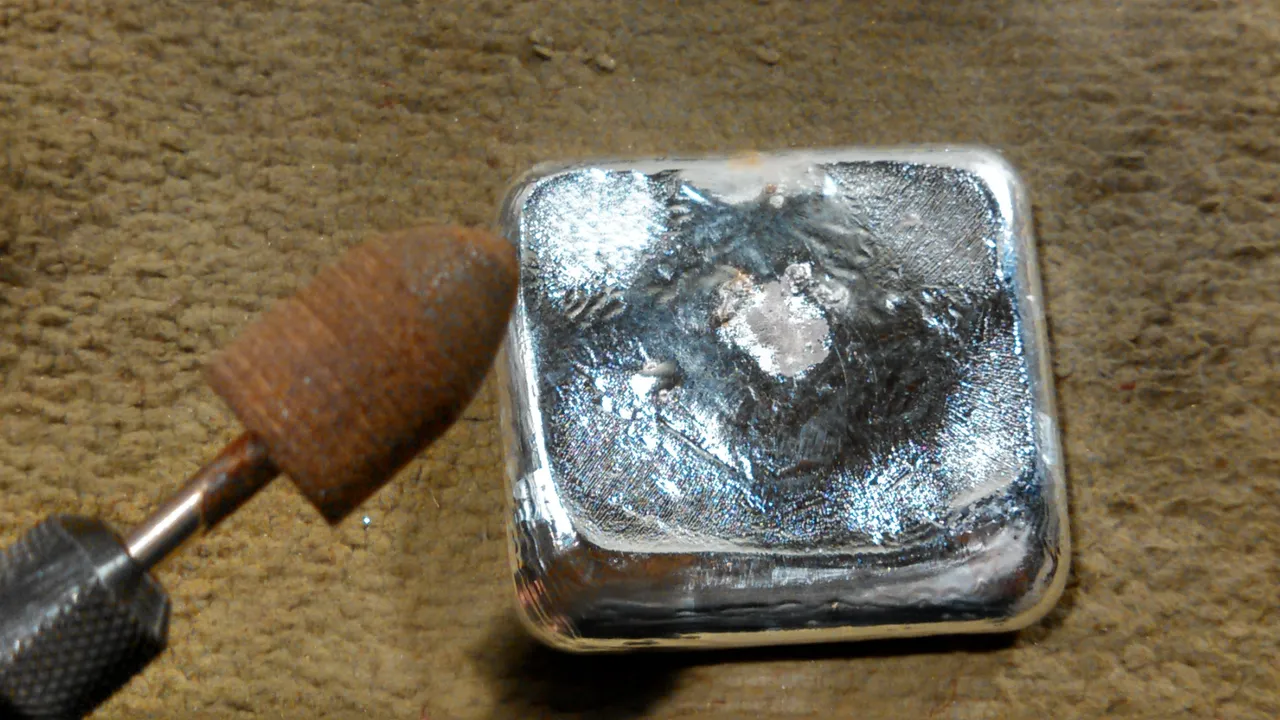
Then a sandpaper disc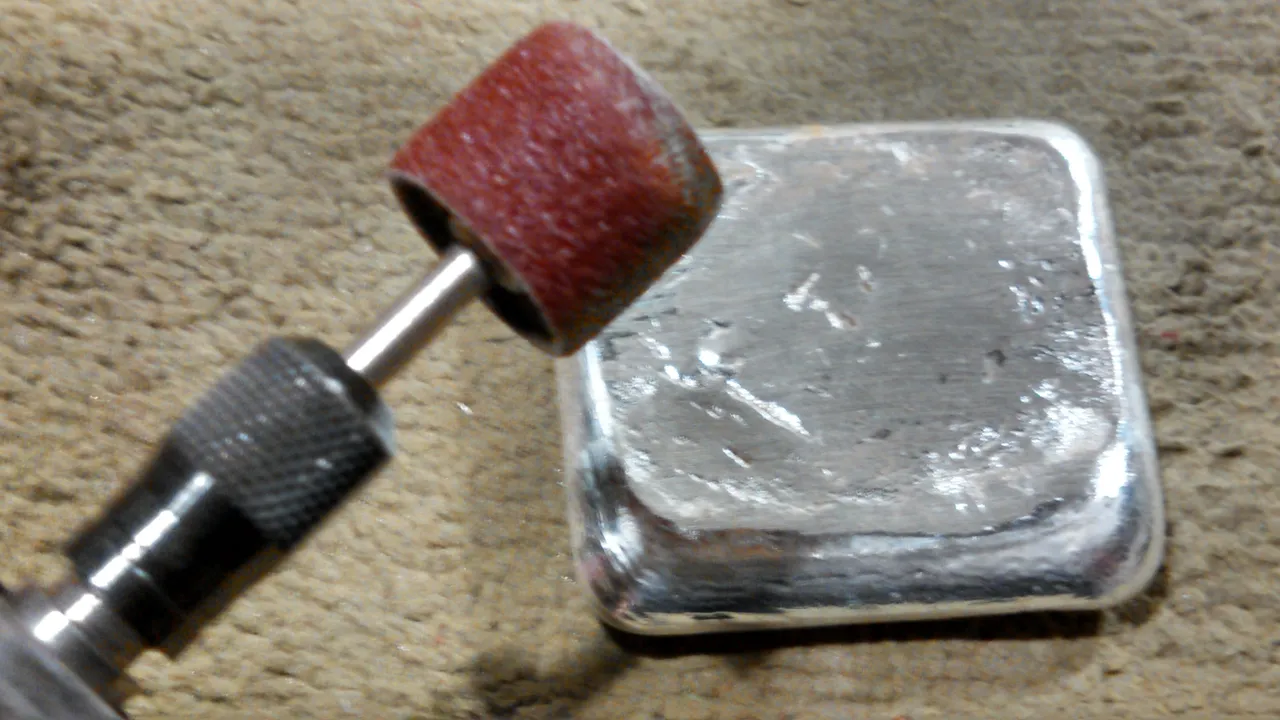
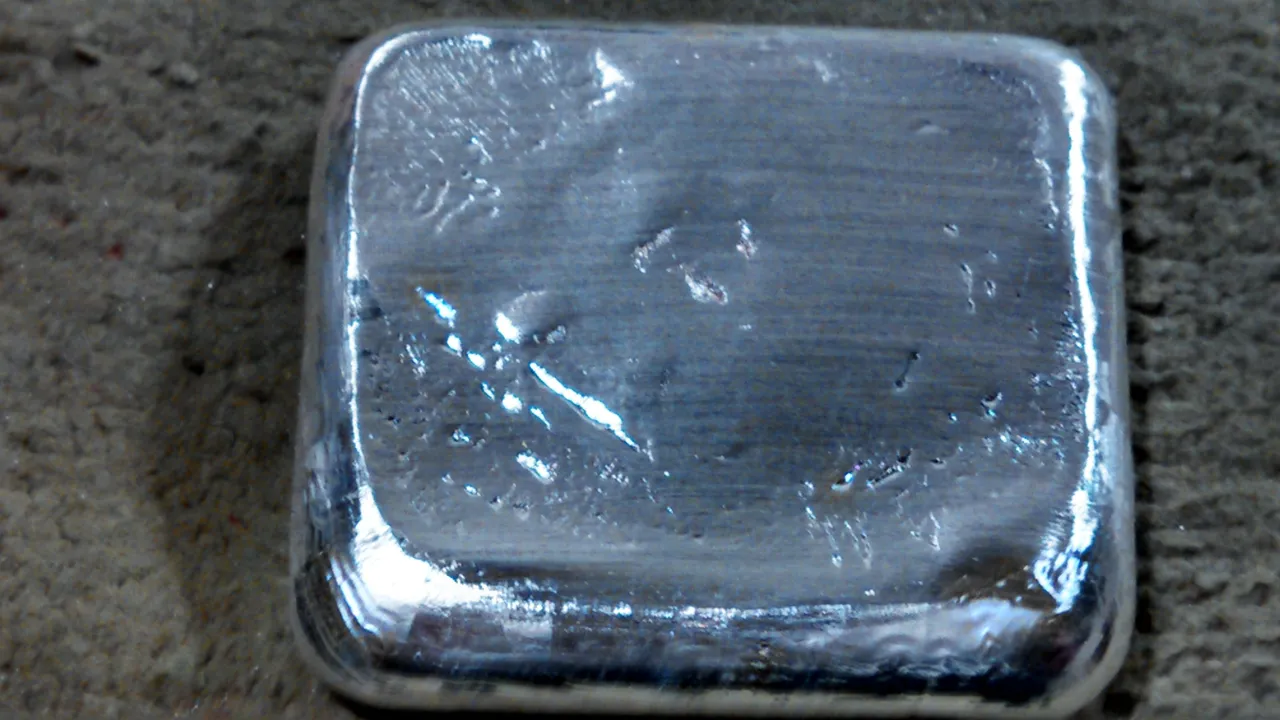 Then a smoother leveling bit
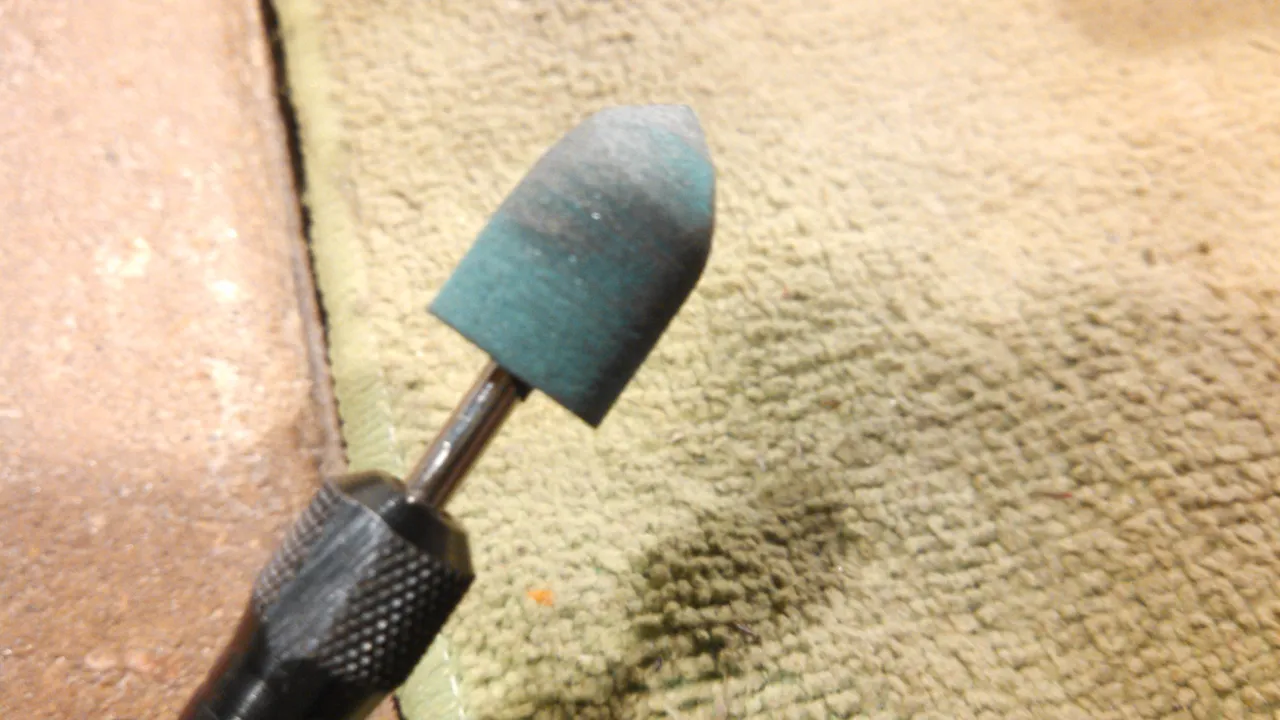
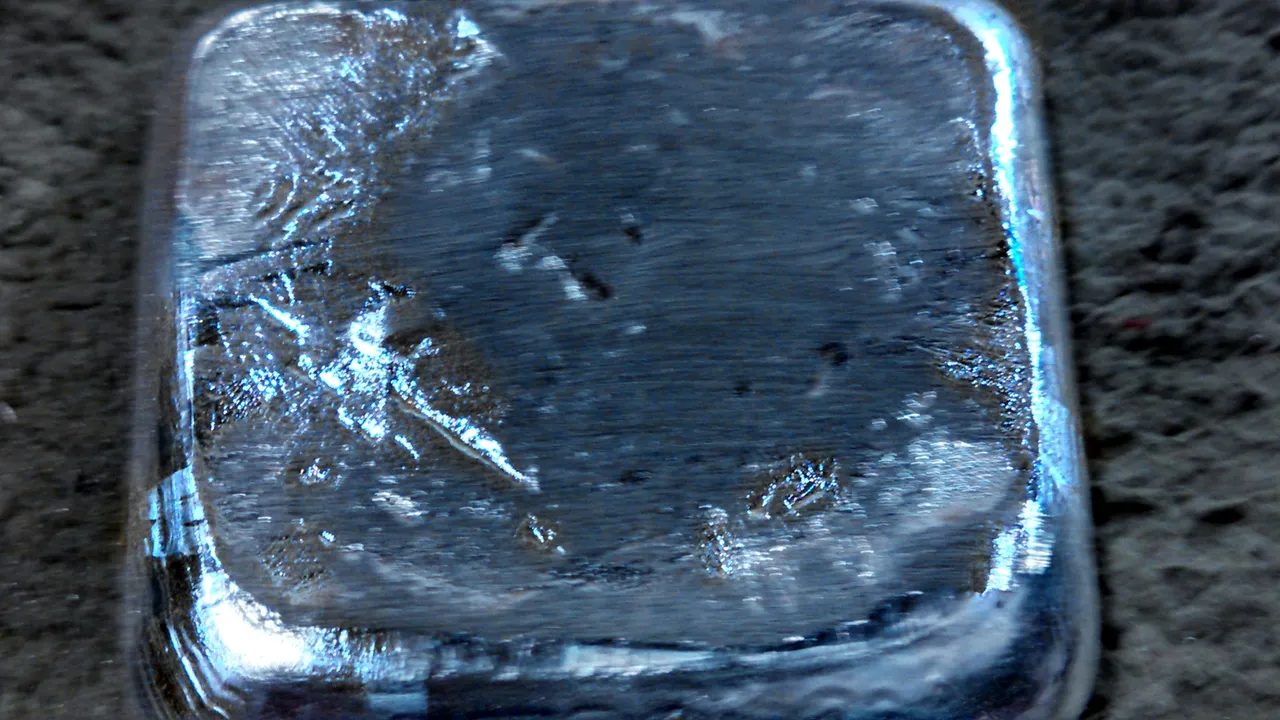
You can see the tooling marks, so I take it to the hand sanding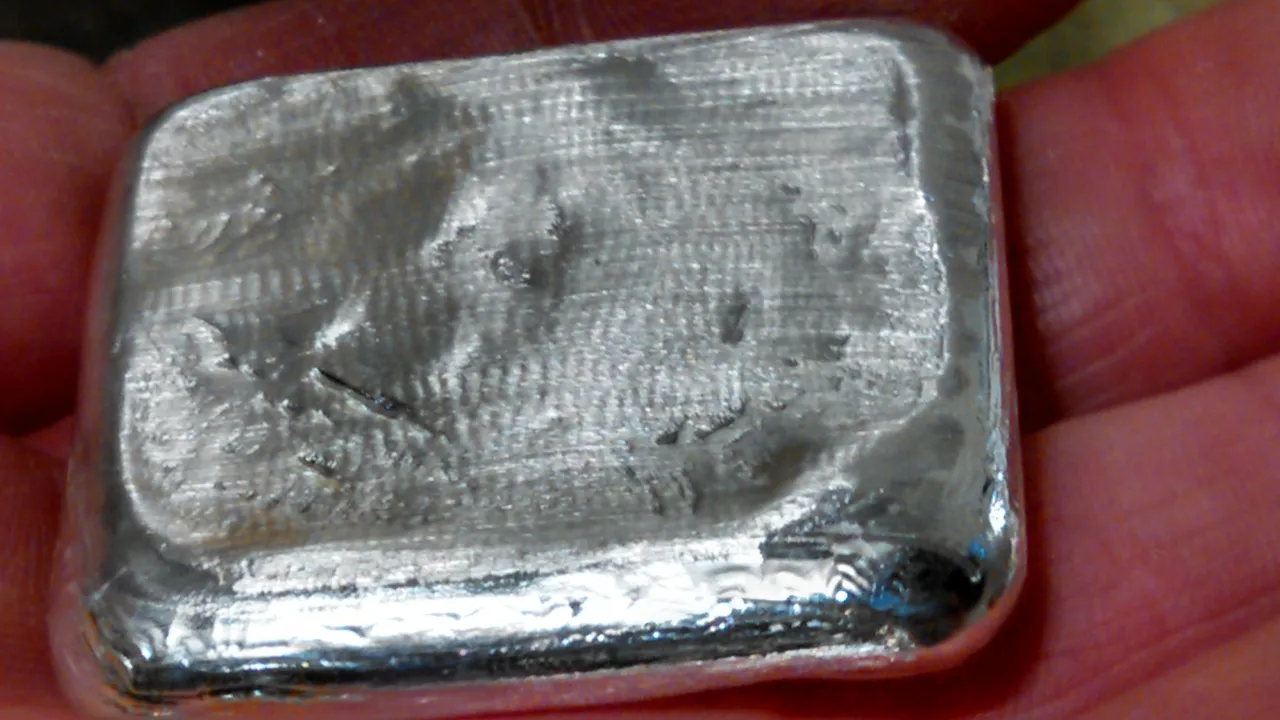
Up to 5000 grit paper for this particular bar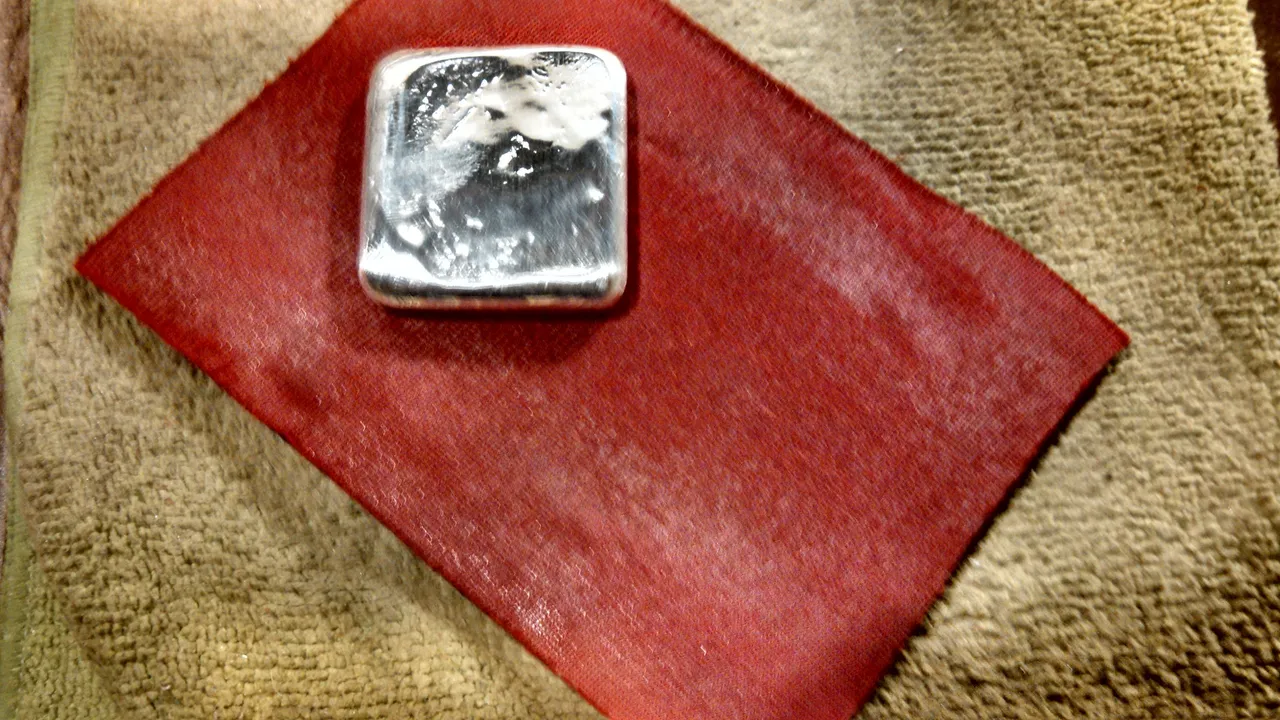
Time for a final weight check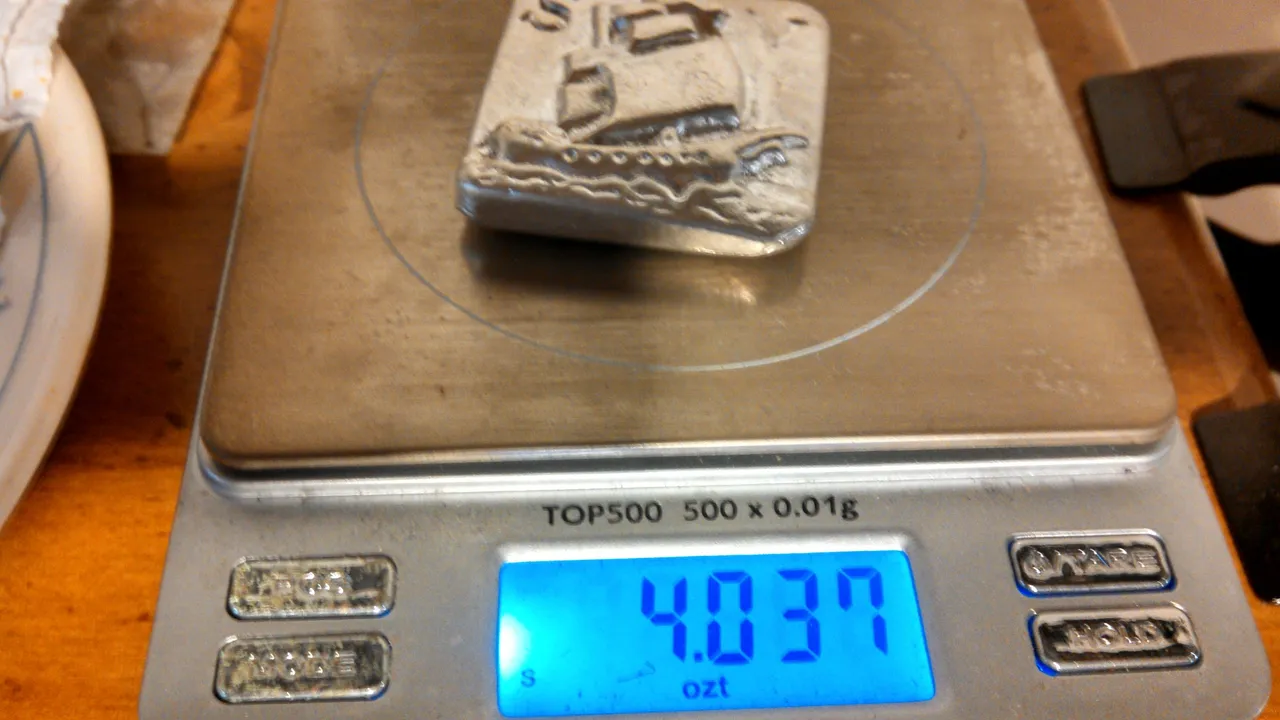
Good to go! Now time to stamp her up! I start with my hallmark ship stamp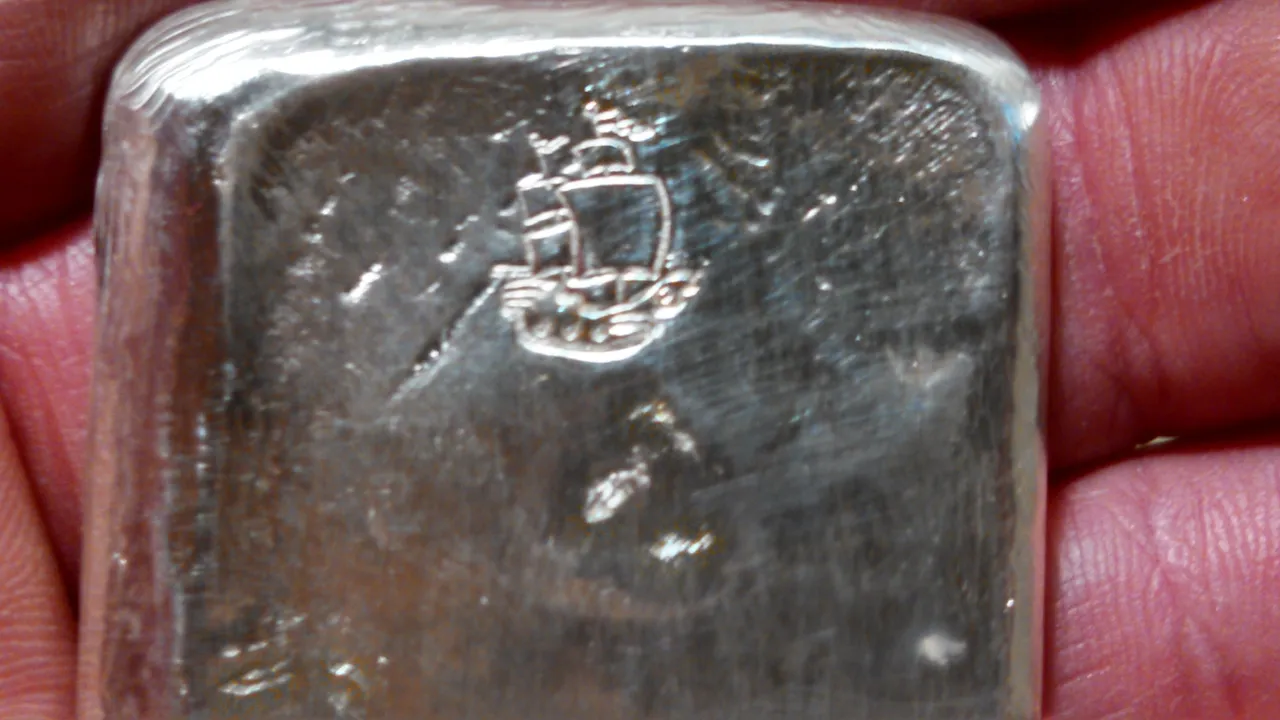
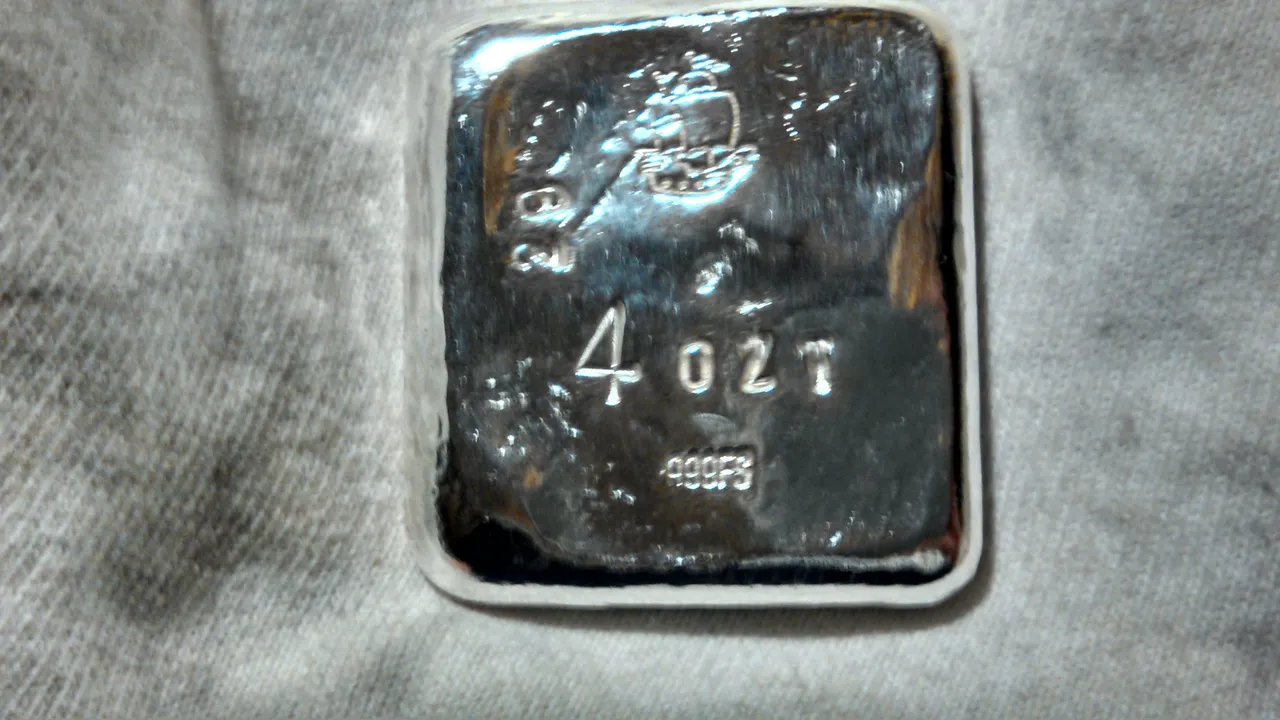
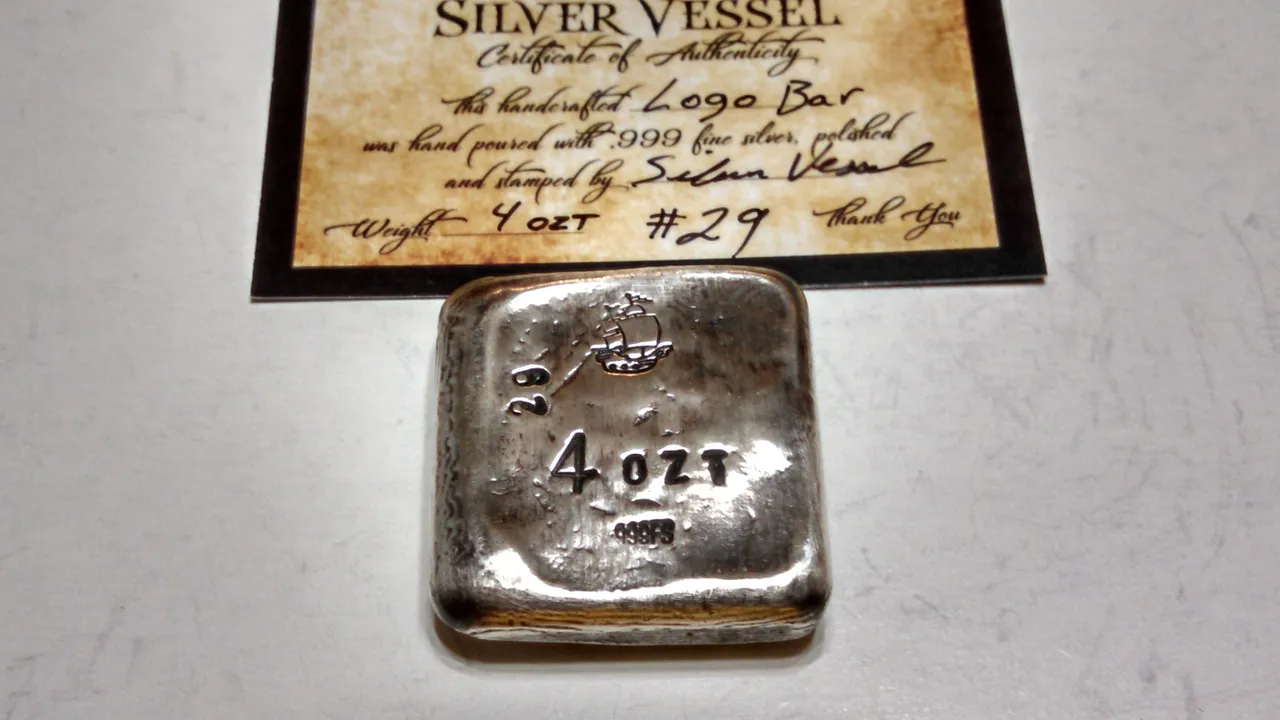
Then the weight, purity, and serial number. This is number 29
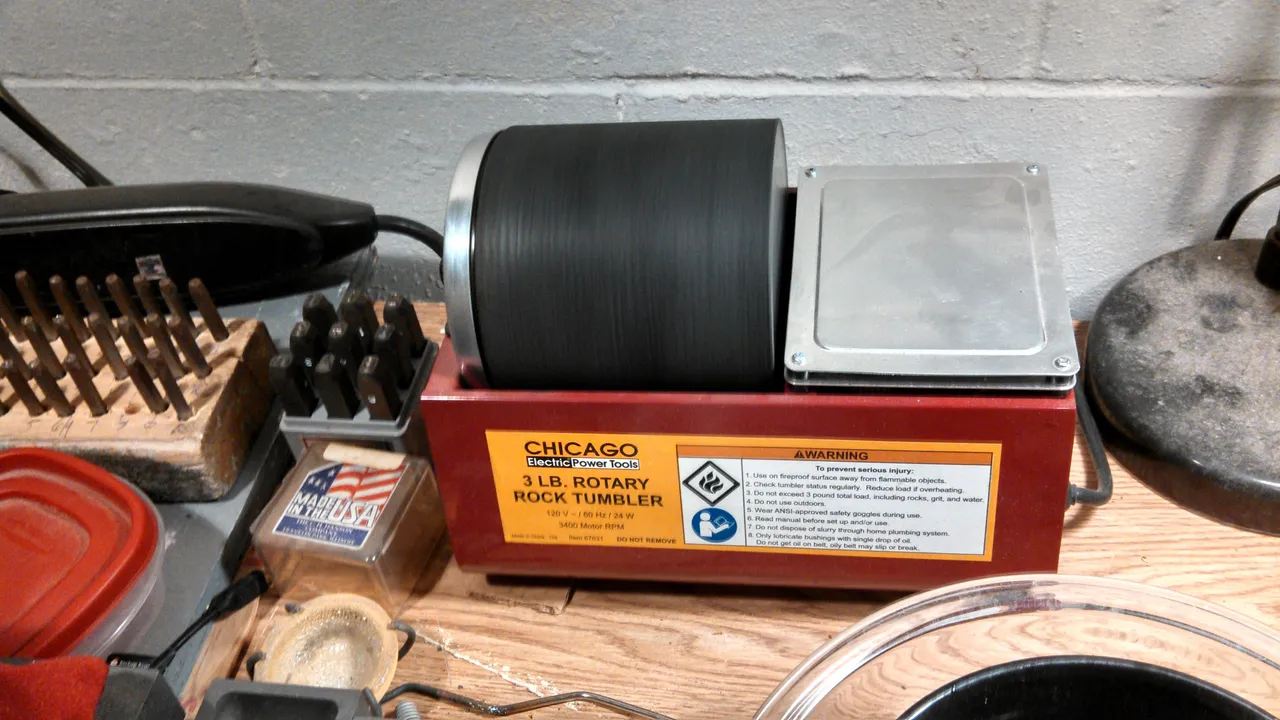
Then its off to the tumbler for burnishing. I use Shine Bright. A little goes a long way! I tumble for about 3 hours in stainless steel jewelers shot.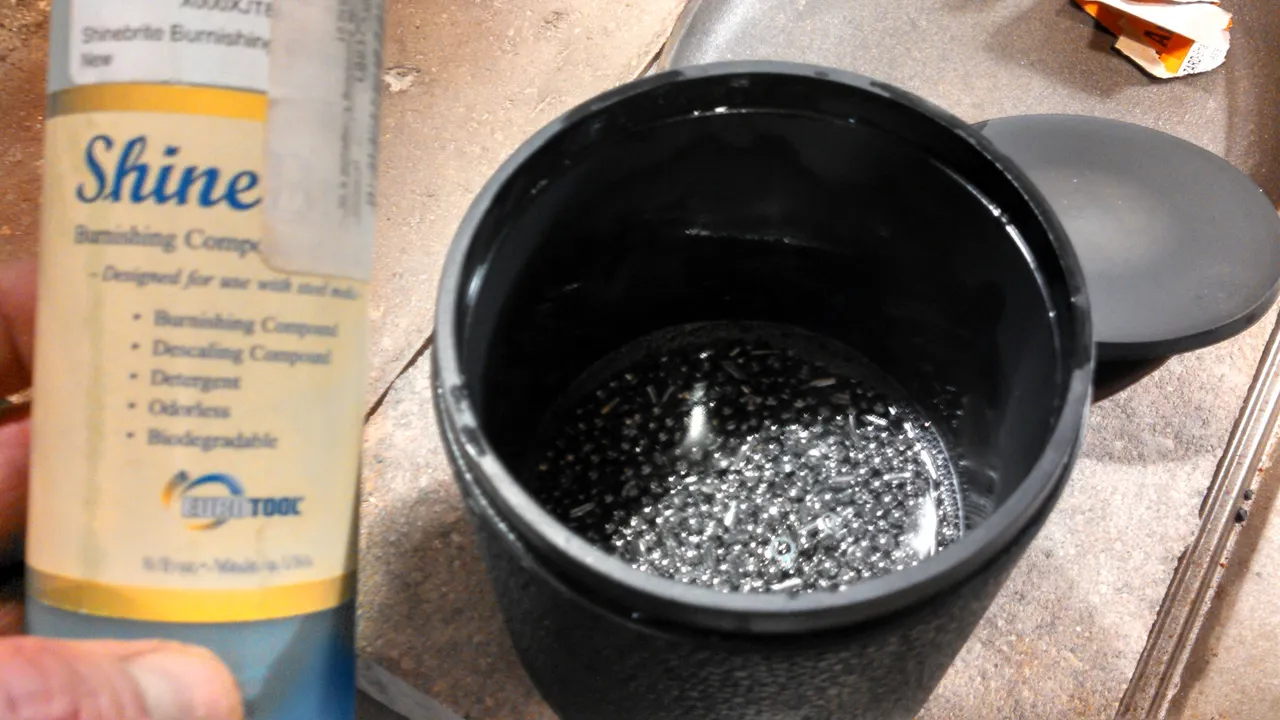
Here she is, fresh out the tumbler all shiny as can be!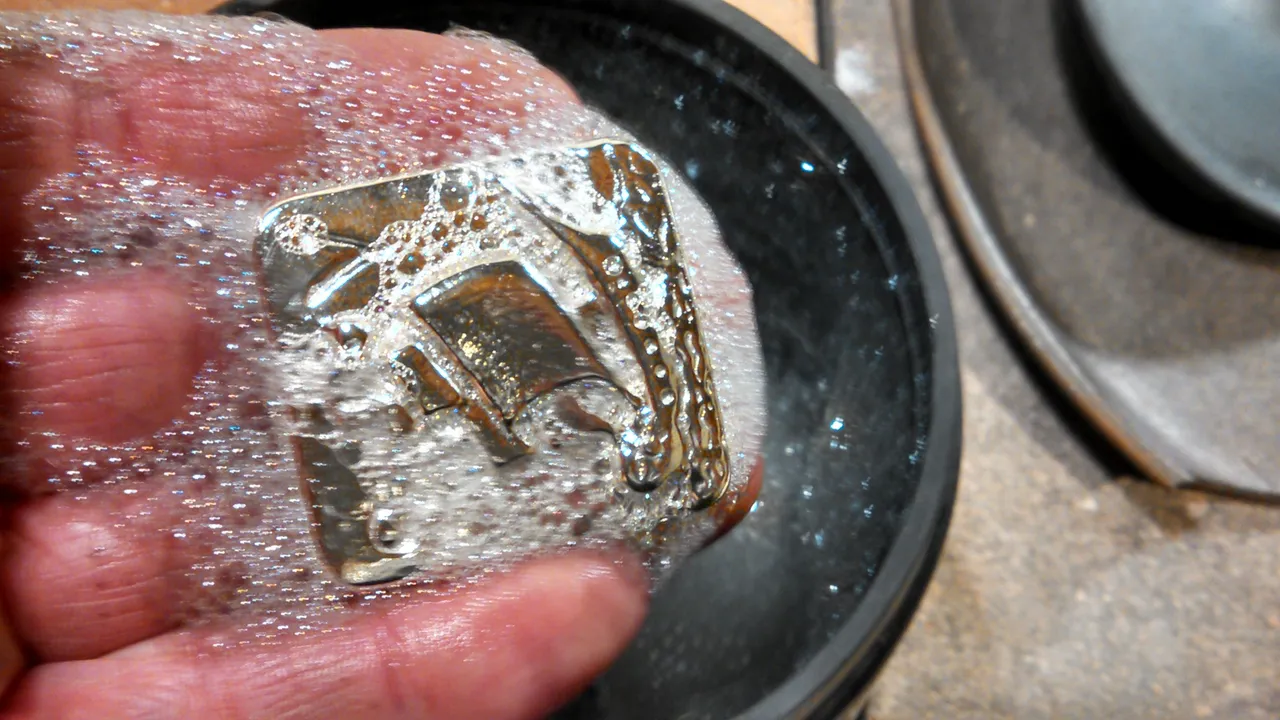
After a quick rinse and pat dry it's ready to be blackened. I use a top secret method. (Not LOS) It is wet, and needs to dry for some time. I usually wait overnight.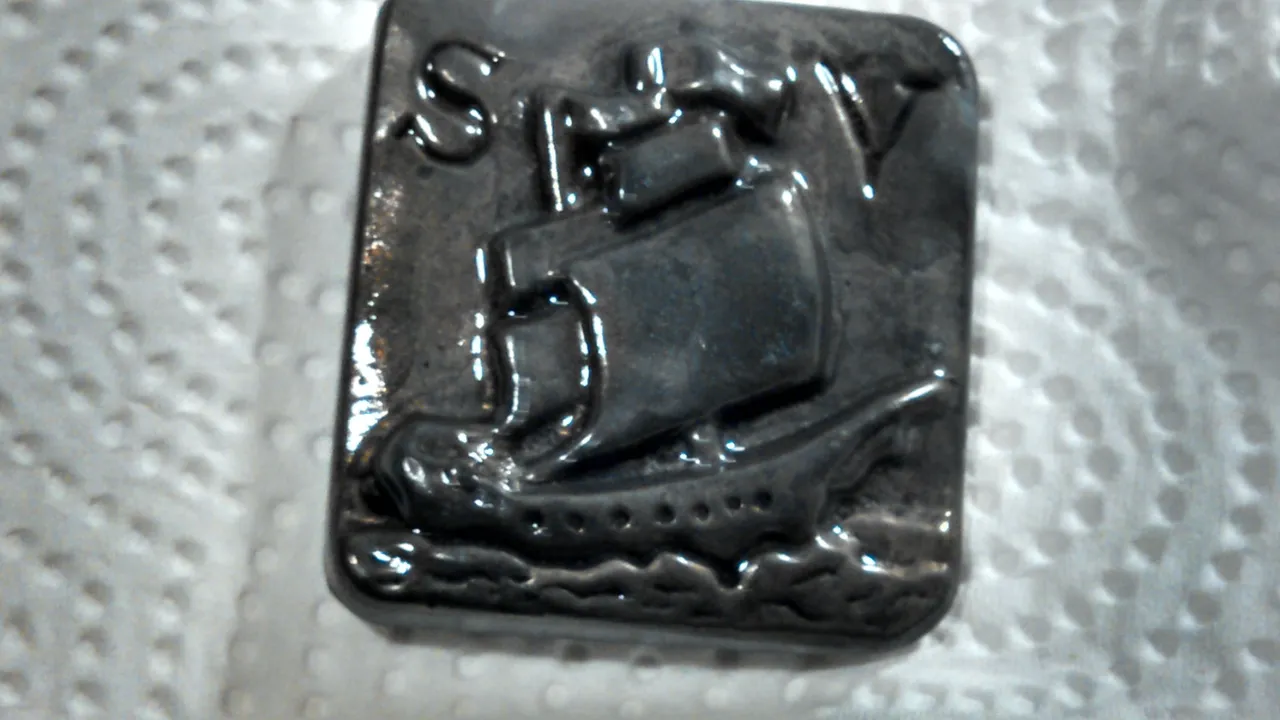
Next I do a once over with 0000 steel wool hitting all the high spots, sides, and back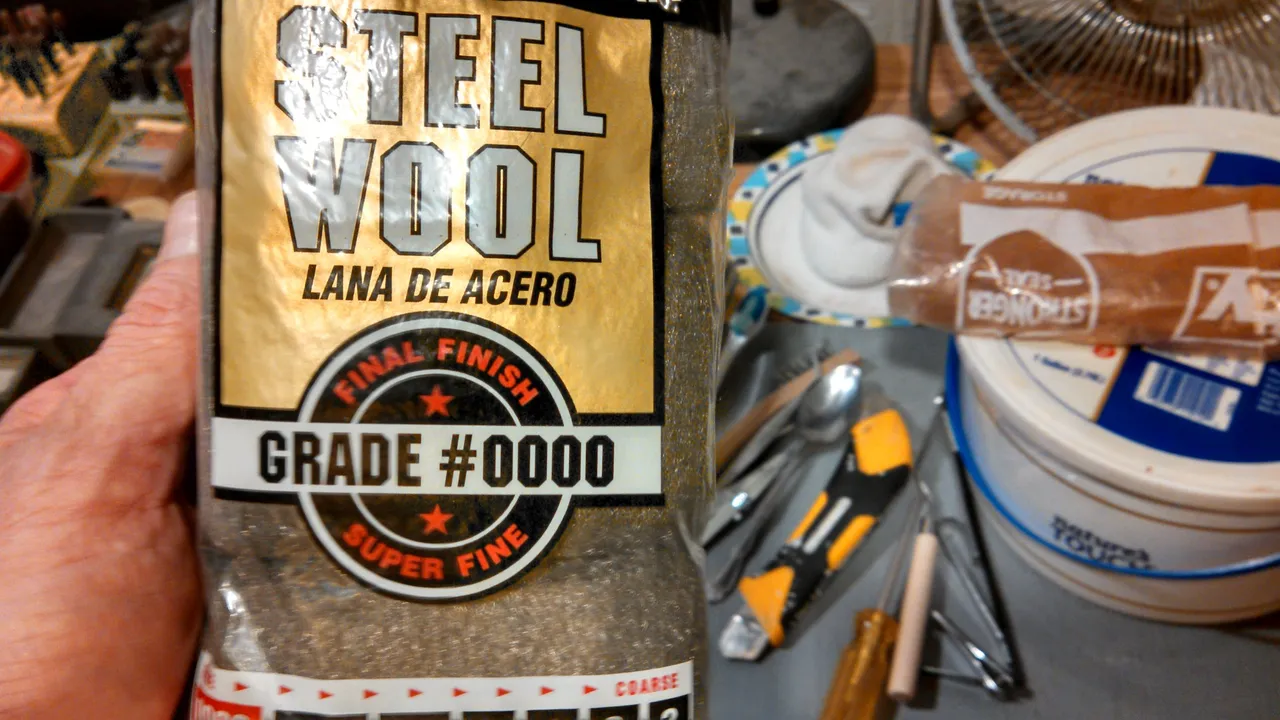
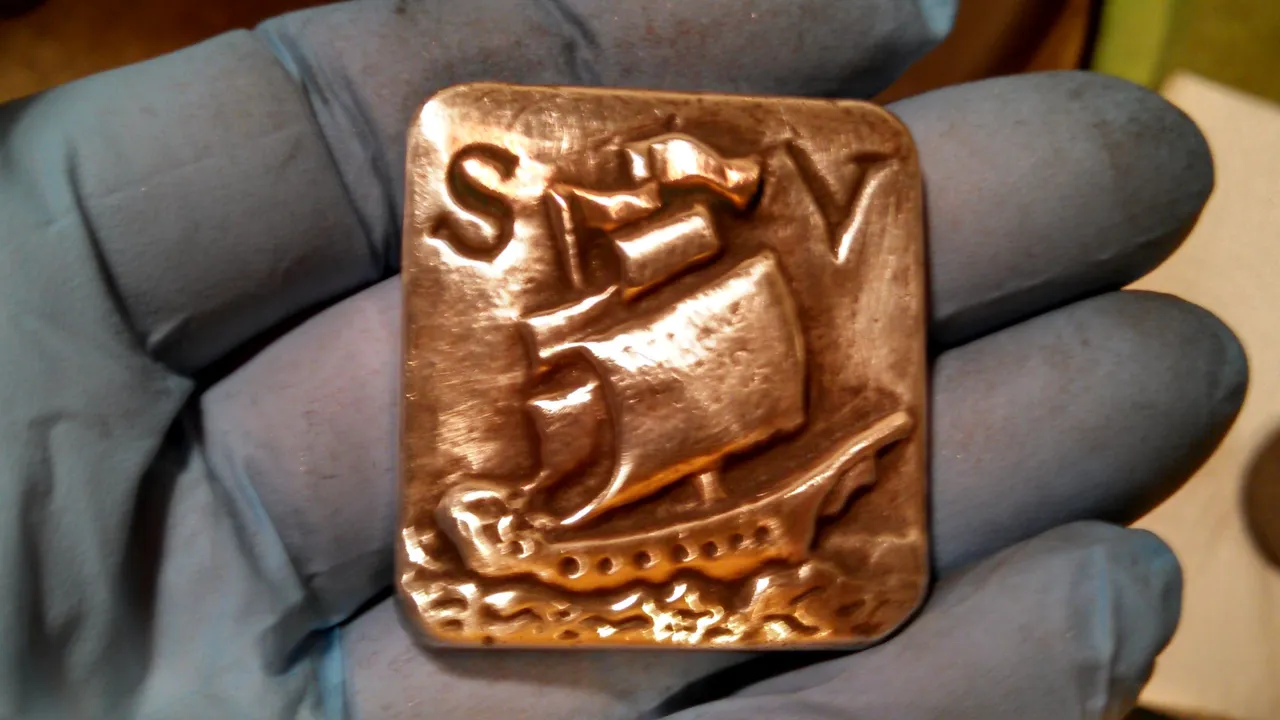
Leaving a little patina on the back for that old pirate treasure look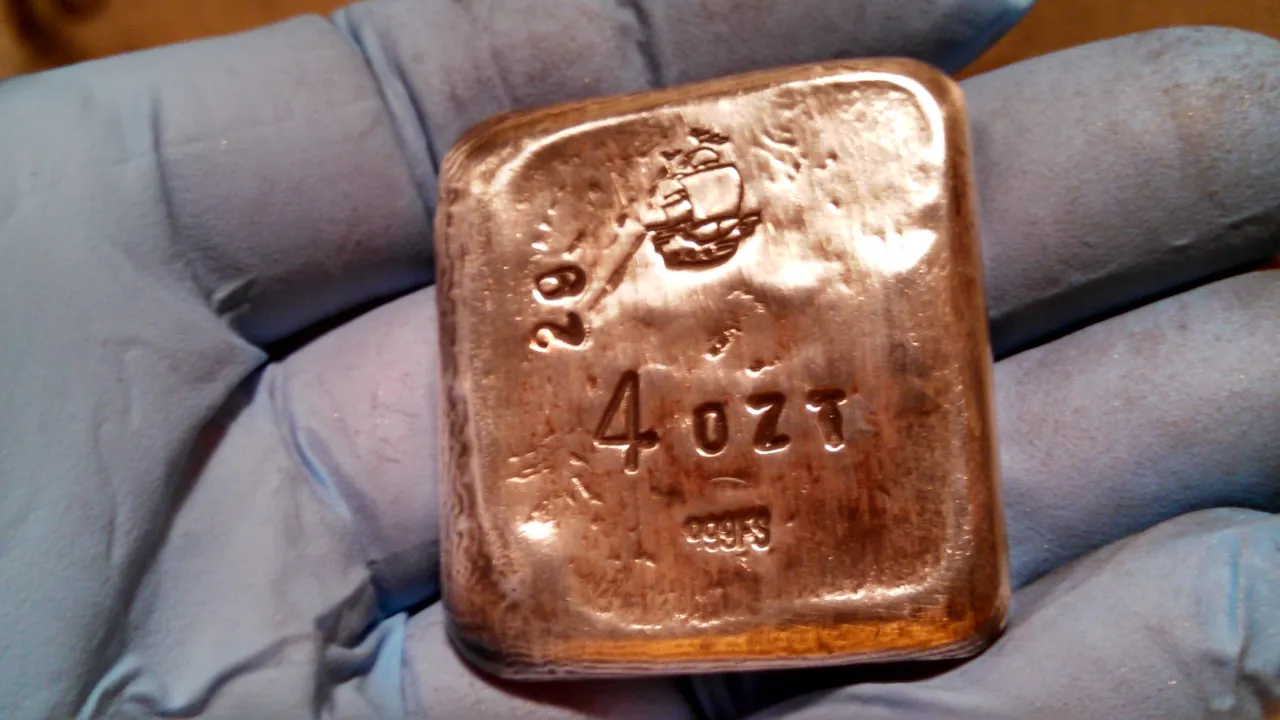
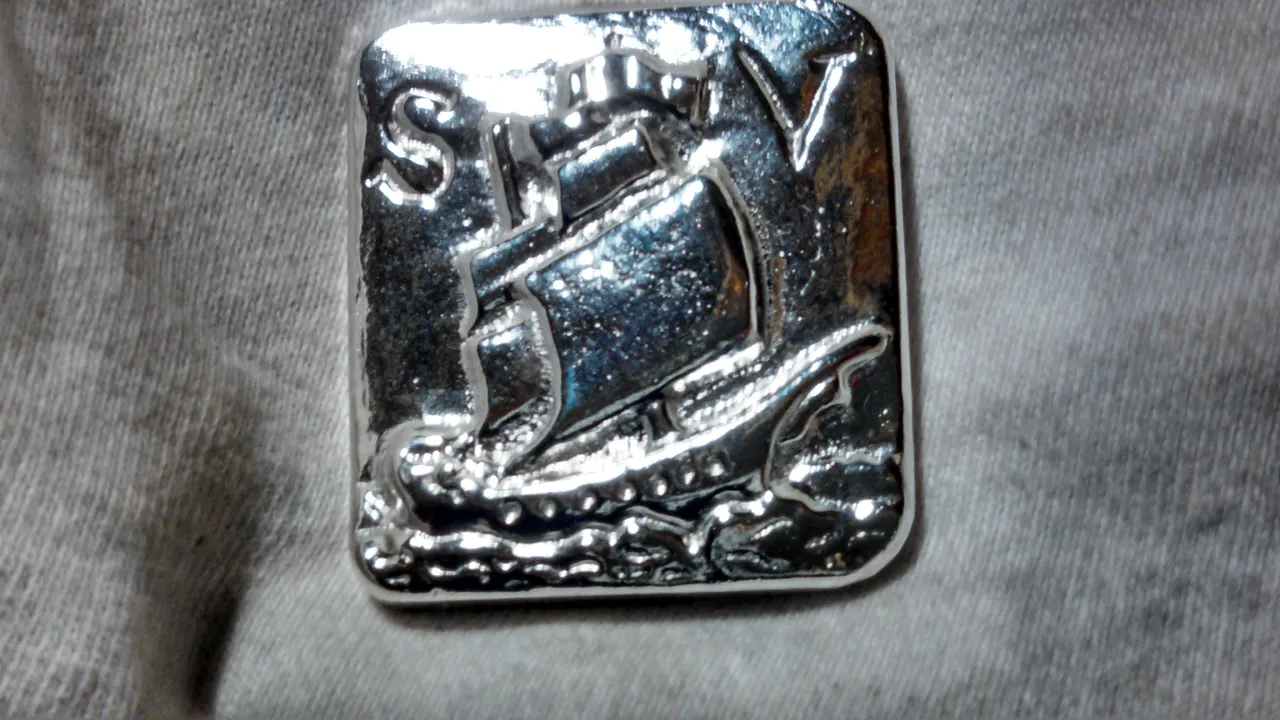
Bringing us to the final product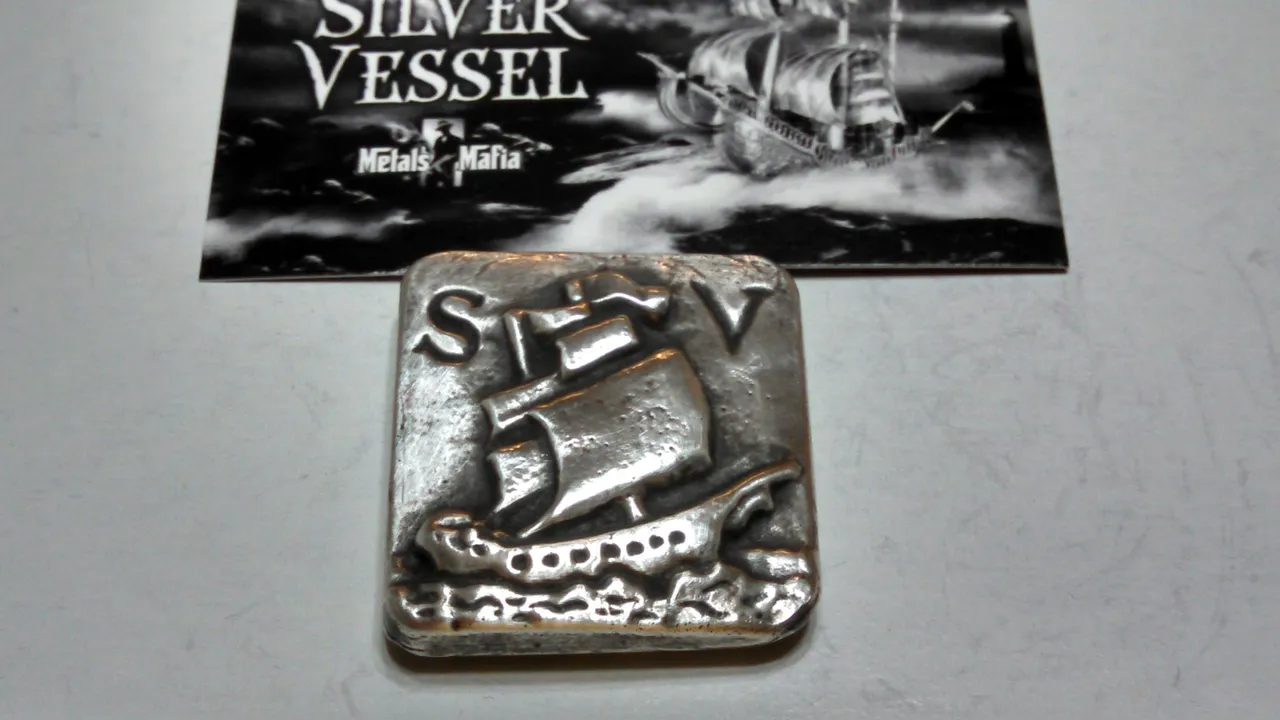
I hope you enjoyed the ride my steemy friends! Thank you!