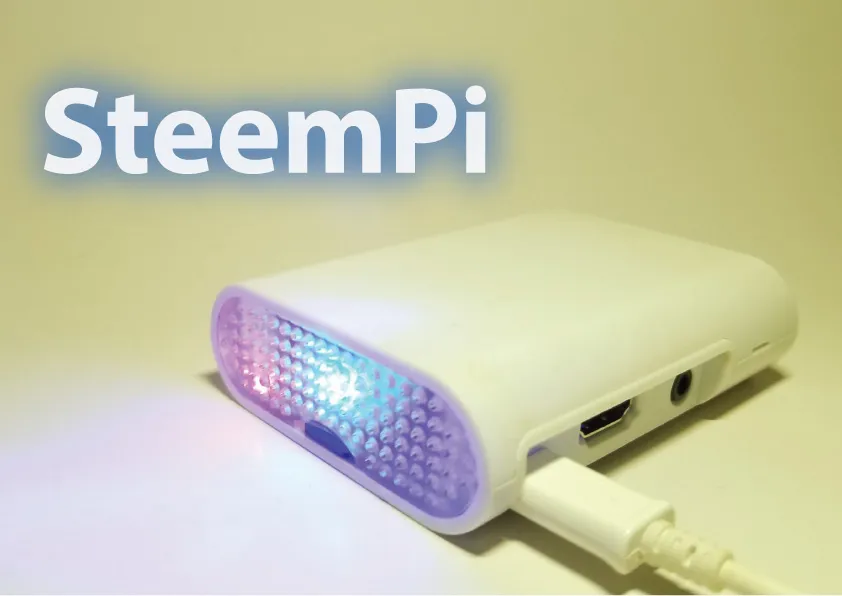
SteemPi
In the past days i have researched and made a simple setup to turn a Raspberry Pi into a Steemit notification center, with notification light for new votes/comments/transfers/ The project is getting shape and coming along quite well, but i really need some help with connecting the LED (GPIO output) to new votes/comments/transfers
Getting Started
These instructions will get you a copy of the project up and running on your Raspberry Pi for development and testing purposes. (i'm not a good coder but for a early version it works, and coping this project to your Raspberry Pi should be easy
Prerequisites
What things you need to prepare and install.
- 1x SD-card         (8GB)
- 1x Raspberry Pi
- 1x LED
- 2x wires &
- Raspbian OS        (https://www.raspberrypi.org/downloads/raspbian/)

Optional
- Case
- Tape/hot glue
- Resistor
Installing
A simple step by step tutorial that tell you how to get configure you Raspberry Pi into a webserver with LED control (GPIO) (duration around 40min)
http://www.instructables.com/id/Simple-and-intuitive-web-interface-for-your-Raspbe/ (by TheFreeElectron)
IMPORTANT: Skip the instructions from step 1 and 2 and Start with step 3 of the above tutorial (NO NEED to do step 1 and 2 'installing WirigPi' because WiringPi is already included in the latest Raspbian OS. (you can still read trough step 1 and 2 to get a better understanding of how the control of the GPIO (led) works.Download the SteemPi index.php web-interface i made and use it instead of the on from the zip file mentioned in step 5 of the above tutorial.
SteemPi My SteemPi Web-interface code to update the old index with: http://txt.do/dog1e (its crappy but it works, feel free to participate)
Connect the LED to GPIO port 17. and your done, Now you should be able connect with the SteemPi web-interface trough the browser and you should be able to control (on/off) the LED with the button in the web-interface.
LED control trough SteemPi web-interface

SteemPi web-interface

Loading SteemPi web-interface on (TV(hdmi) or browser)
Apps
SteemPi makes use of other websites and put them into configurable modules/widgets/apps, this is in a very early stage and it can use some help with how to to this in the most optimal way.
List of the integrated Apps
The list probably will change in future updates of SteemPi. It is not difficult to add in other Apps and websites and the goal is to make this more easy in the future.
- Google trend charts        https://trends.google.com/trends  Google
- Steemit Pond               http://steemitpond.com            @mynameisbrian
- SteemitBoard               http://steemitboard.com           @arcange @captaink
- Steem-o-graph              http://steem-o-graph.com/         @roelandp
- Steem Stream               http://steemstream.com/           @roelandp
- Steem Follower             https://steem.makerwannabe.com/   @shaunmza
- Test notification light    https://steemit.com/@techtek      @techtek
Led button images: Replace green_0.jpg and red_0.jpg with those files
https://steemitimages.com/DQmdcv3dEwAv6P8JdhHGx5oMXVUmSomVHNX47qmLoXNPMTx/red_0.jpg
https://steemitimages.com/DQmXhCk4nAhdqgiq9D5S5bDrtfgnueaaPjUhx3JHkecxTeG/green_0.jpg
Customizing
For rearranging and adding in new apps, you will need a little bit of knowledge of HTML. but for the future it would be nice if the user could do this without HTML editing.
Wishlist / Help needed:
Are you a coder and maybe laughing at my code :p ? because it is so clumsy and SteemPi could be much better! Please consider to participate with SteemPi OS and the following points:
- Make the LED light up on upvotes/comments/transfers
- Make the webinterface Apps more easy to delete and add in new ones
- More features into the webinterface
- Compatibility with multiple browsers (mobile)
Contributing
Please help to make this project become more functional and more easy to use please upvote, comment, resteem and participate.
Authors
- Techtek - Concept, design and prototyping
- You - Please participate