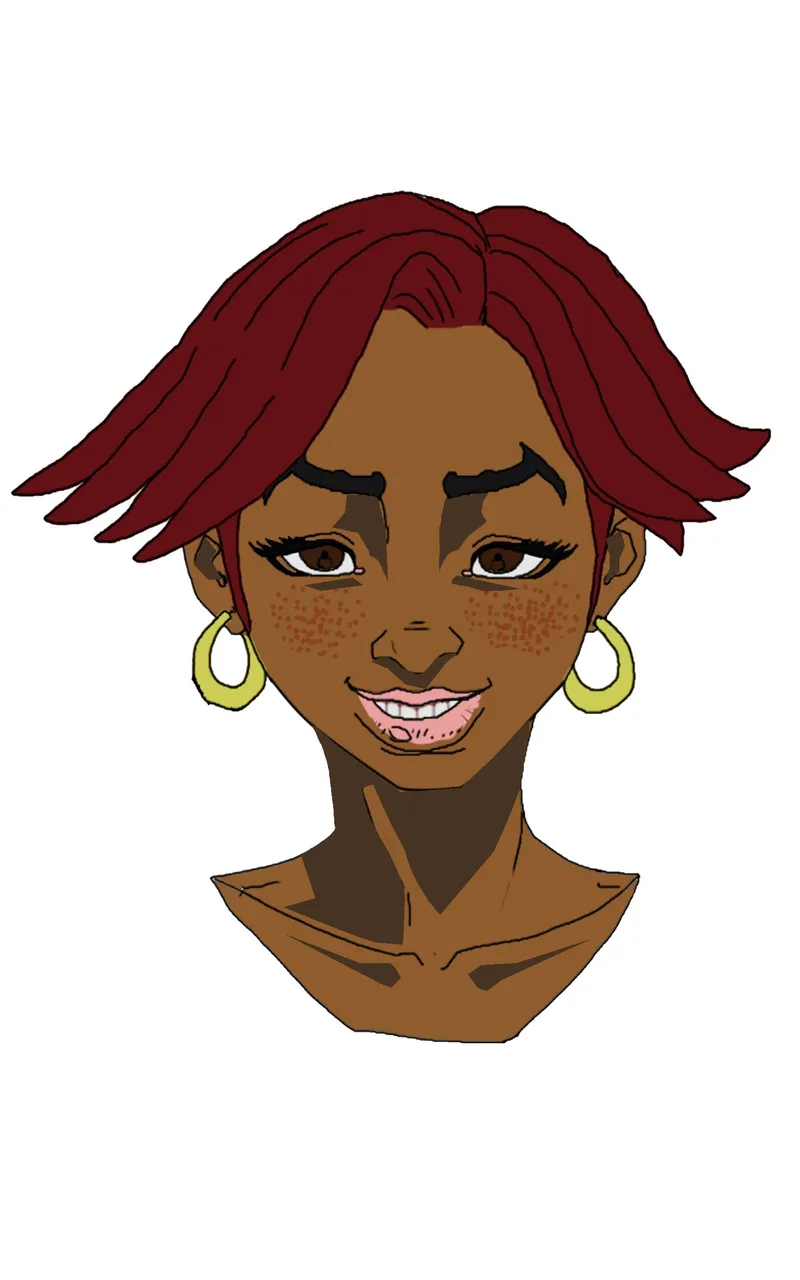
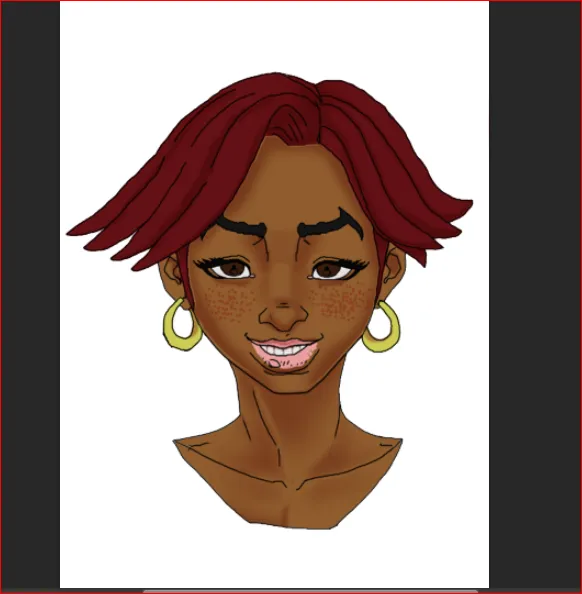
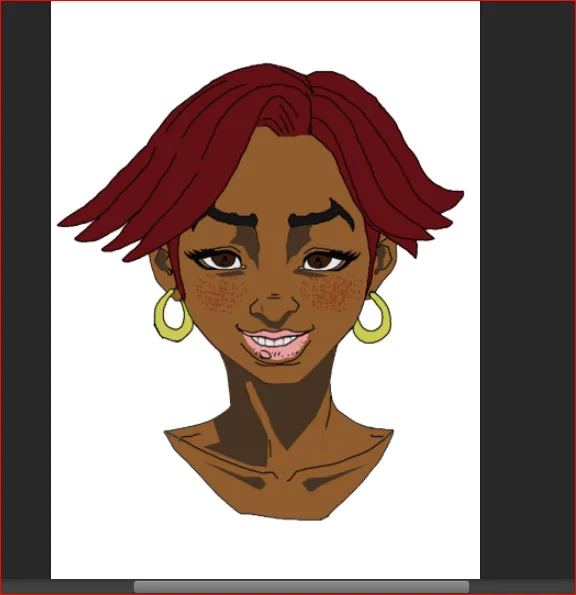
Hello everyone, hope you enjoyed the last lesson. Today we will be moving to the next phase which is shading of a characters on Photoshop easily. The last time, yeah, I didn’t explain in details how to do it, I mean opening of layers, using brush tool, eraser tool, how to change the colour effect etc. here, I will try my possible best to do so, Thanks so much for staying posted. There is the product of what I will be teaching today.

#1 OPENING OF A PAGE ON PHOTOSHOP:
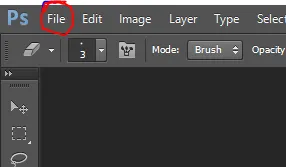
The first interface you see when Photoshop has opened is a blank page. To open a new page, you click on “file” which is on the top corner besides “edit” on the interface, which will bring you a lot of options,
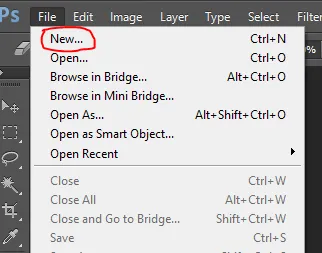
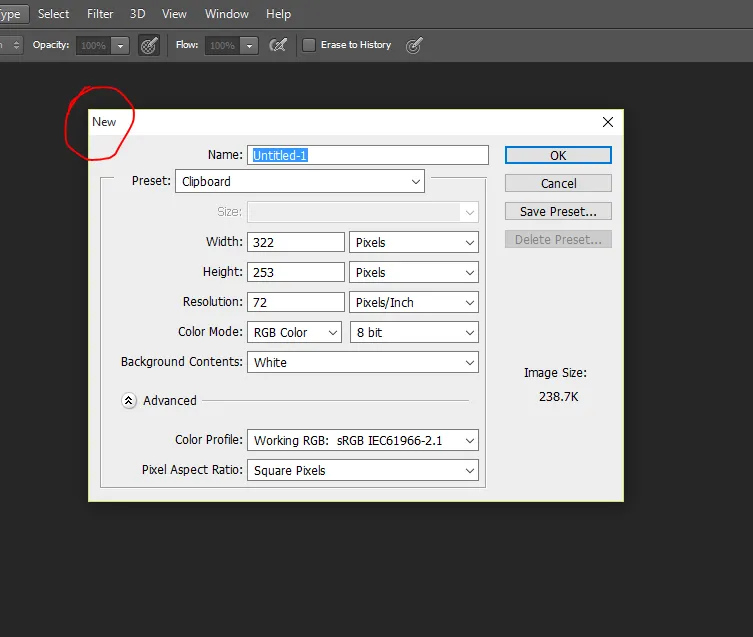
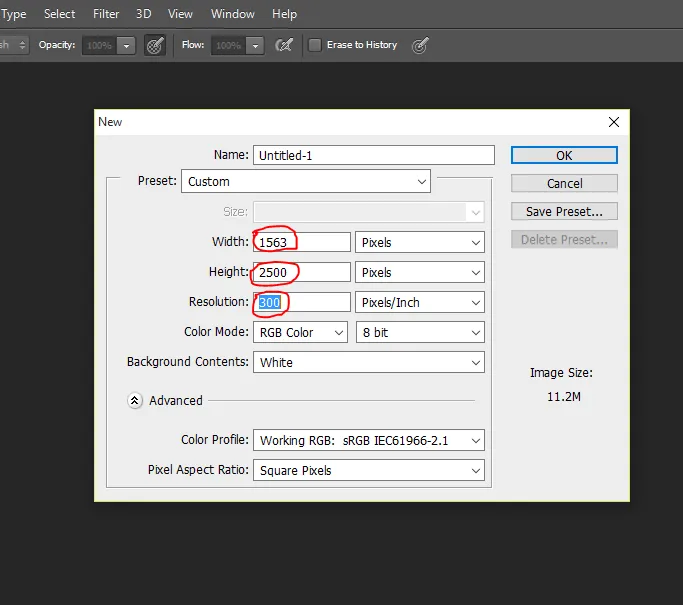
Then, click “new”, here you will also see series of option, here you can switch the file format, ether you want A3, A4, a letter etc. but for now the measurement we’ll be using is 1563x2500 pixels, resolution 300, after that click OK. There, you have opened a page. Here is another reference to the theory aspect for better understanding.
#2 IMPORTING YOUR IMAGE
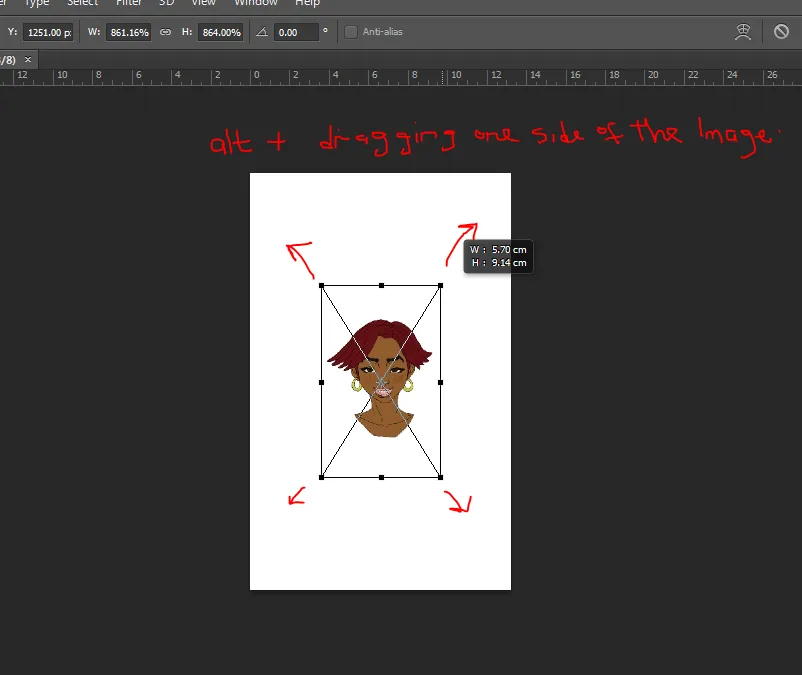
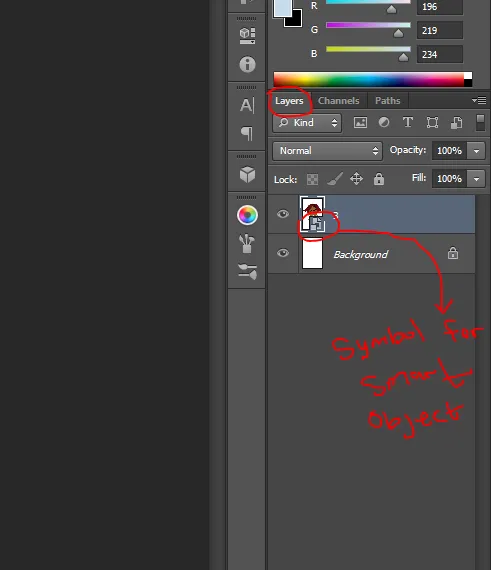
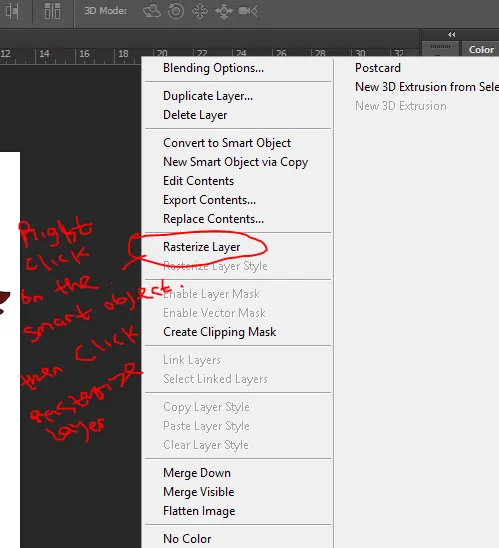
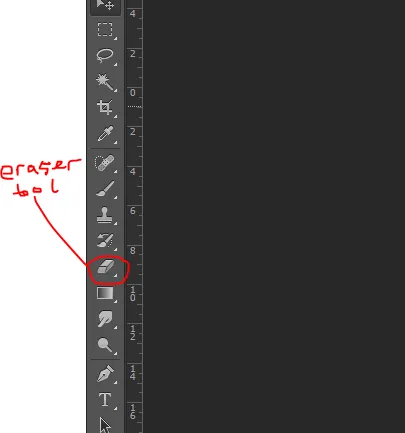
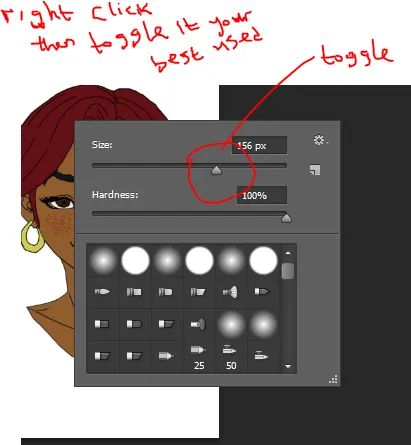
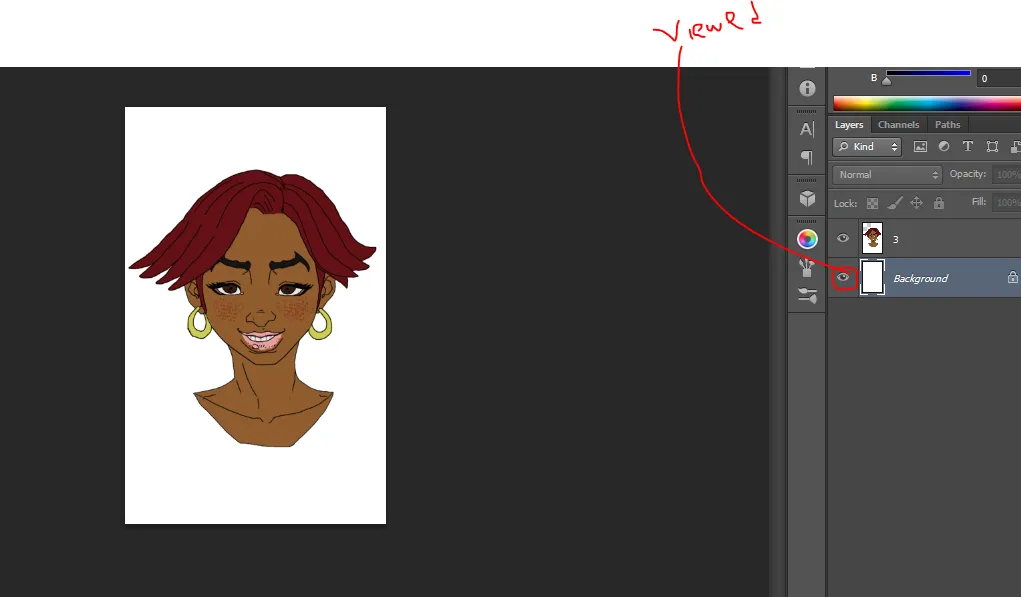
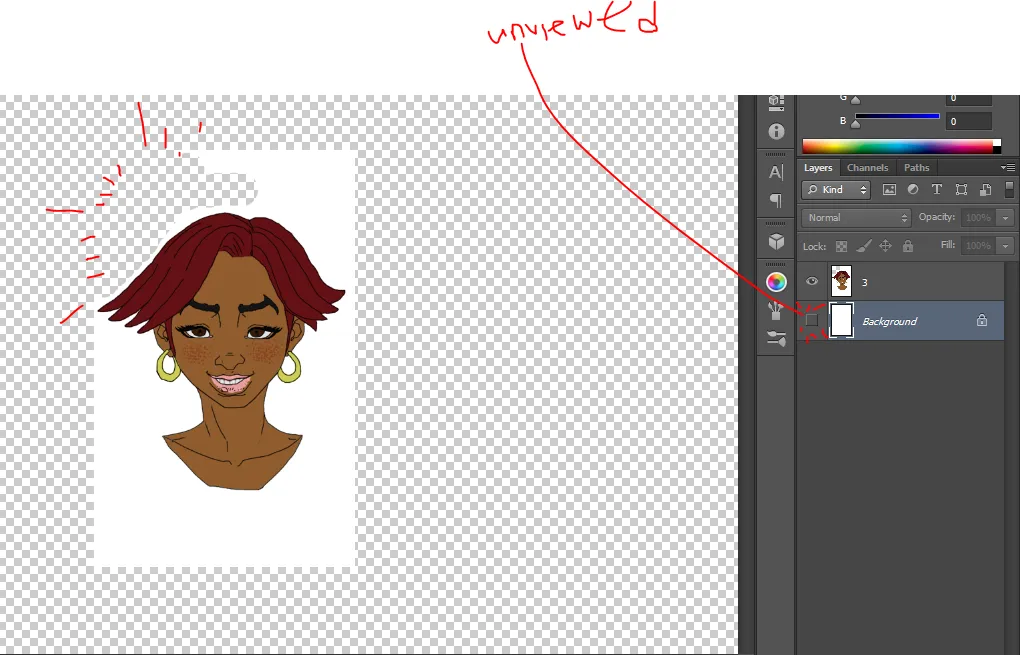
After opening your page then, you import your image which you have flatten (from previous lesson) by dragging it into the software. After that, you scale up/ increase the size so as to fit the page, right now your image is a smart object, i.e it’s like a zip file or a folder which houses the main file which in one way won’t be usable. You right click on the layer and then rasterize layer i.e making a whole, then, it can be usable [In nutshell A smart object layer is just like Apple product (not usable, secured) while a raterize layer is just like a Samsung product (free access, unsecured)], after that you press the “E” button for eraser or go to the tool box and click the eraser tool, then you erase the unwanted area since you won’t be needing it, take note to unviewed the “background” layer by clicking on the icon in front of the “background” layer, every layer has this, so if a layer is distracting/disturbing just click the icon in front of it. Note to increase the size of the brush right click the toggle the size to your taste. After erasing then you view the background. Here is another reference to the theory aspect for better understanding.

#3 OPENING OF LAYERS
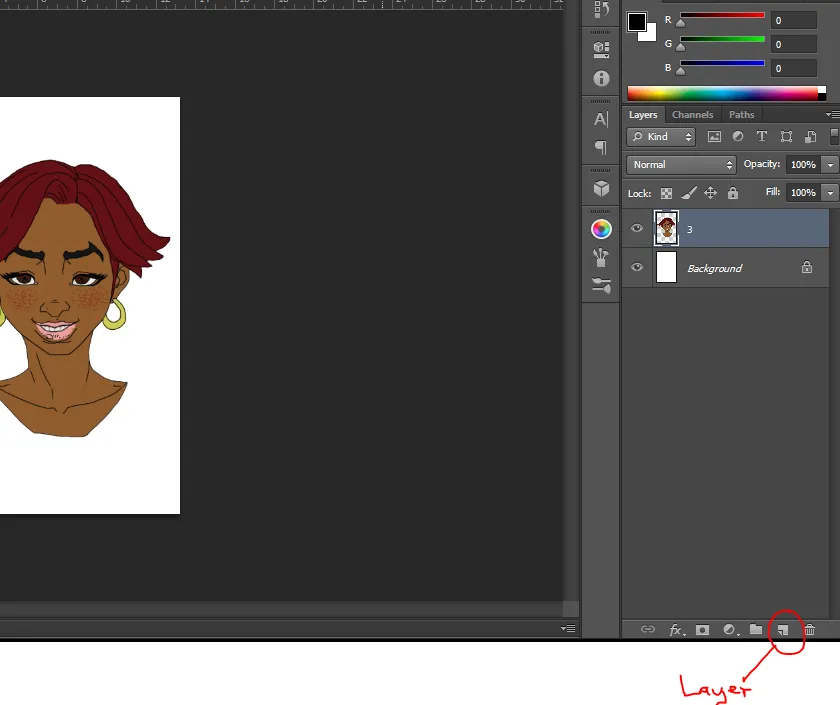
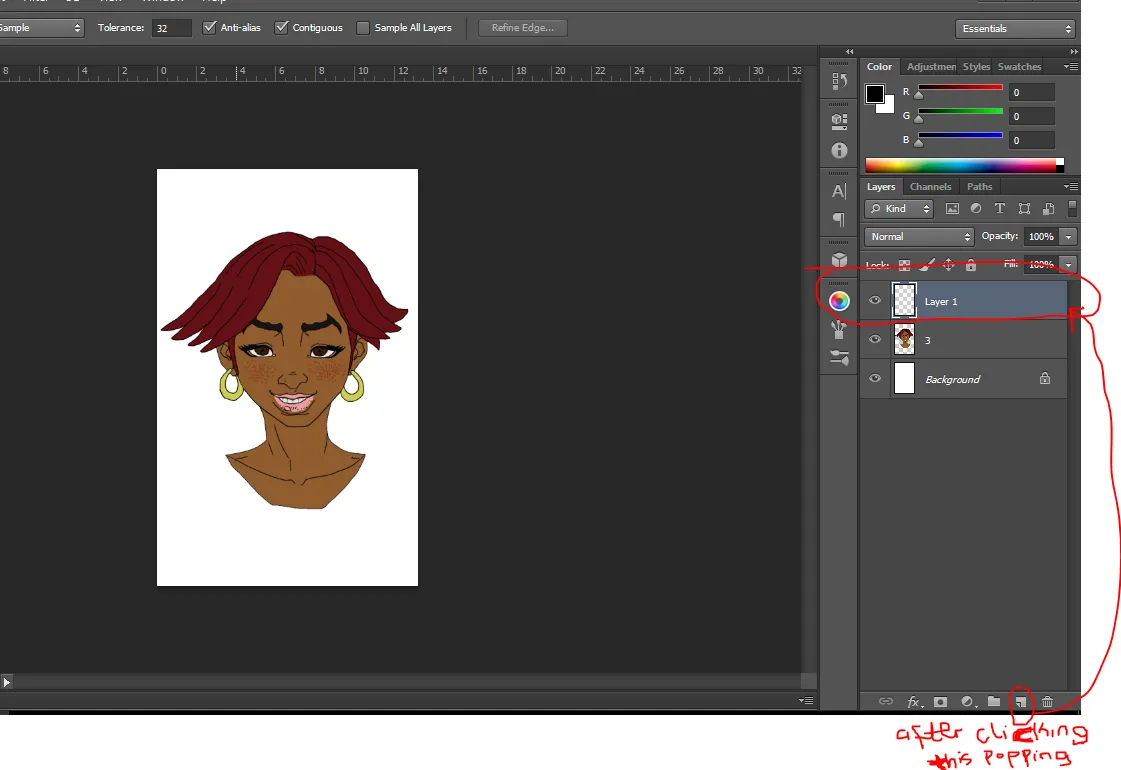
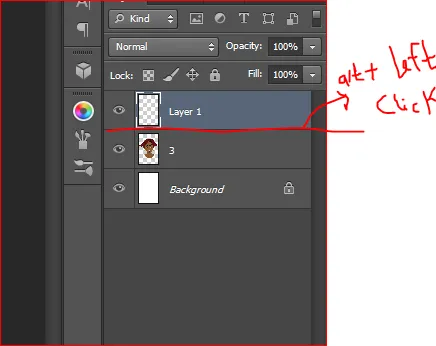
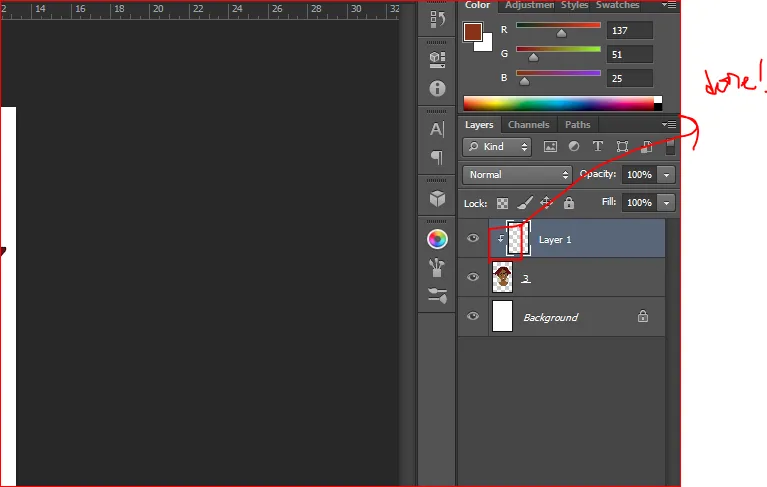
After importing and clean up, the next phase is to create a layer where you apply the shades. Adding layer is at the bottom corner of your interface. It is better to create a layer so you will able to will free and not disturb about helping your main work. After that clip the layer onto the work layer, by clipping, you click on the empty/new layer, then, press alt between them, then left click. Clipping helps you so when you working it won’t exceed the work area. make sure the new layer is above the work. Here is another reference to the theory aspect for better understanding.
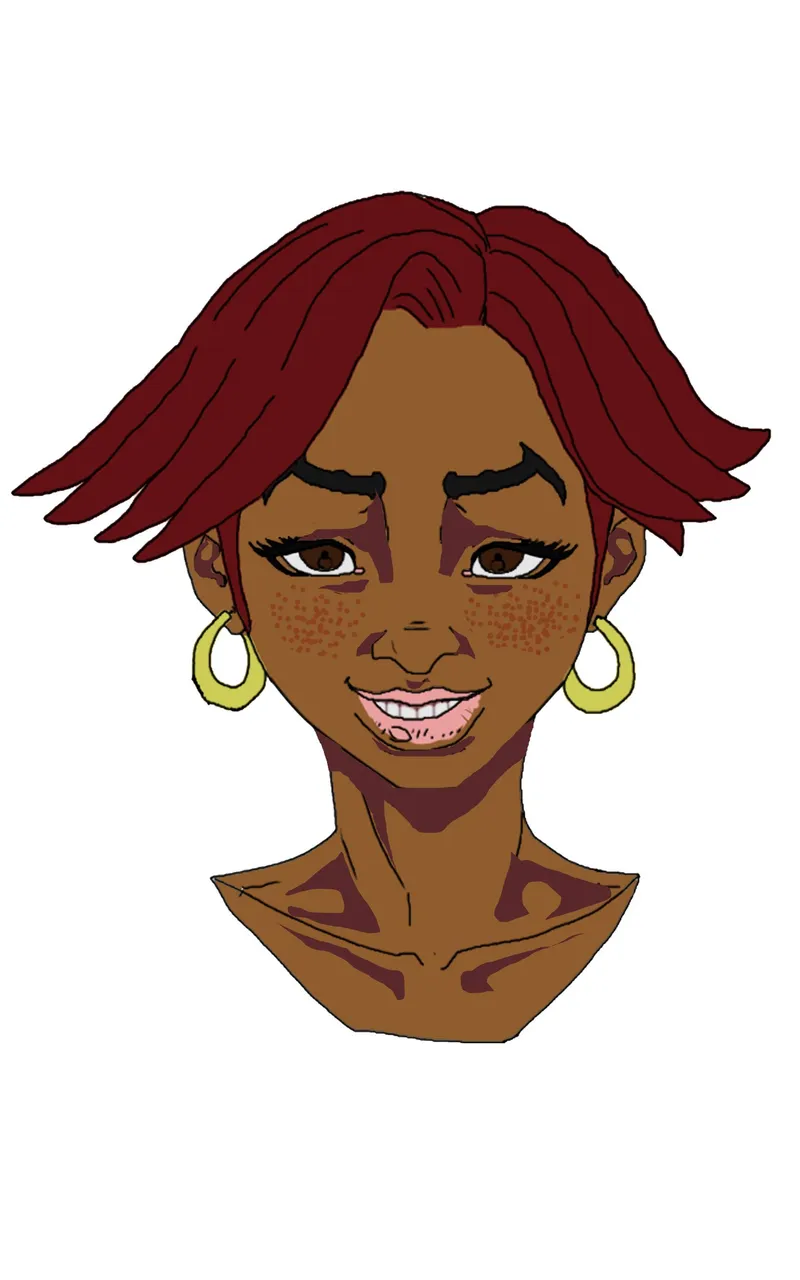
#4 APPLYING COLOURS/SHADE
Here is where you start apply shades. Watch closely you might either use a brush, pen, or lasso tool or turning your layer’s effect into multiply.

A) Using the brush tool
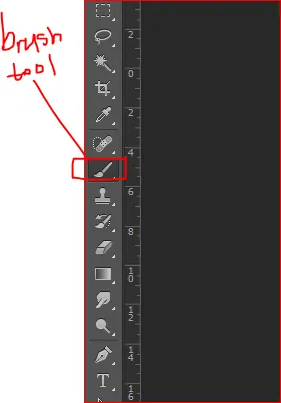
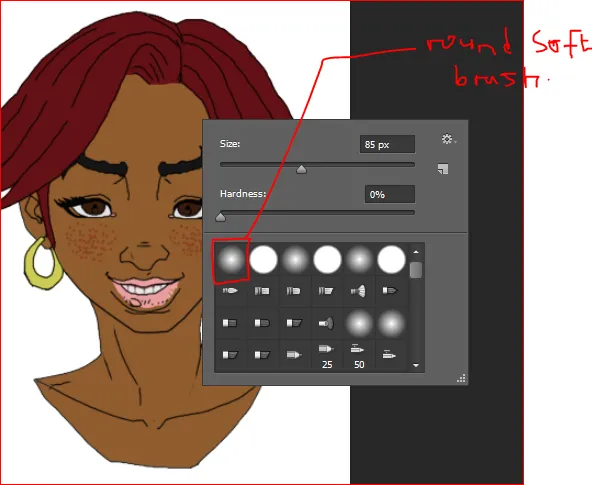
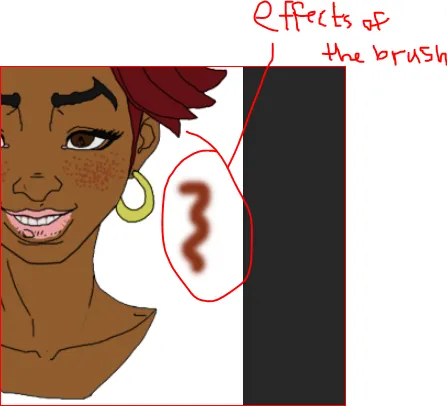
Firstly, to switch to brush tool you can press “B” button on your keyboard or go to the tool bar then click on the brush tool (looks like a brush). Then, you can either switch on the multiply effect for the brush tool you will be using or changing the colour on the colour palette. Here I will be using a round soft brush, to change brush preset you right click then you choose, you can also change size, it’s just as your eraser. Here is another reference to the theory aspect for clear understanding.
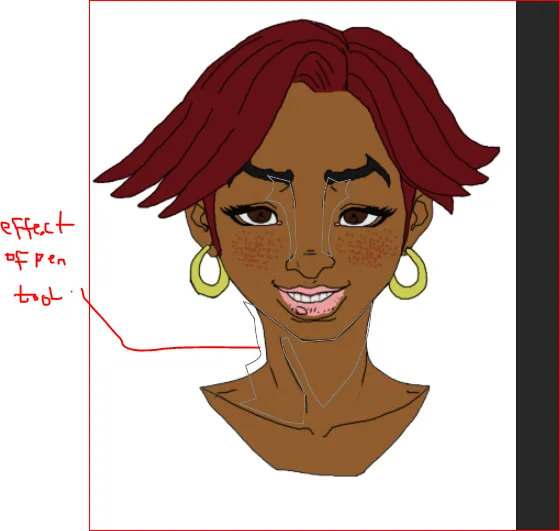
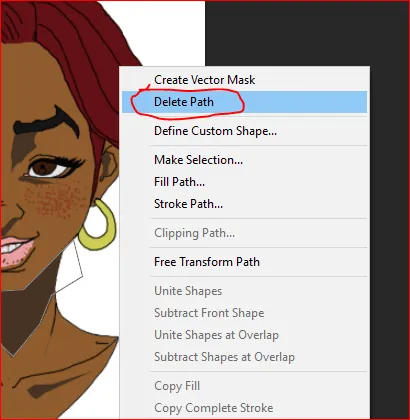
B) Using the pen tool
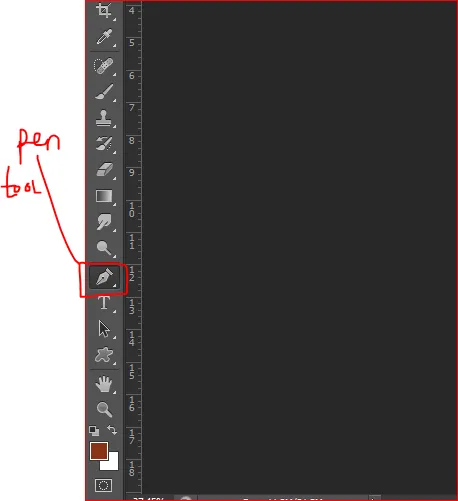
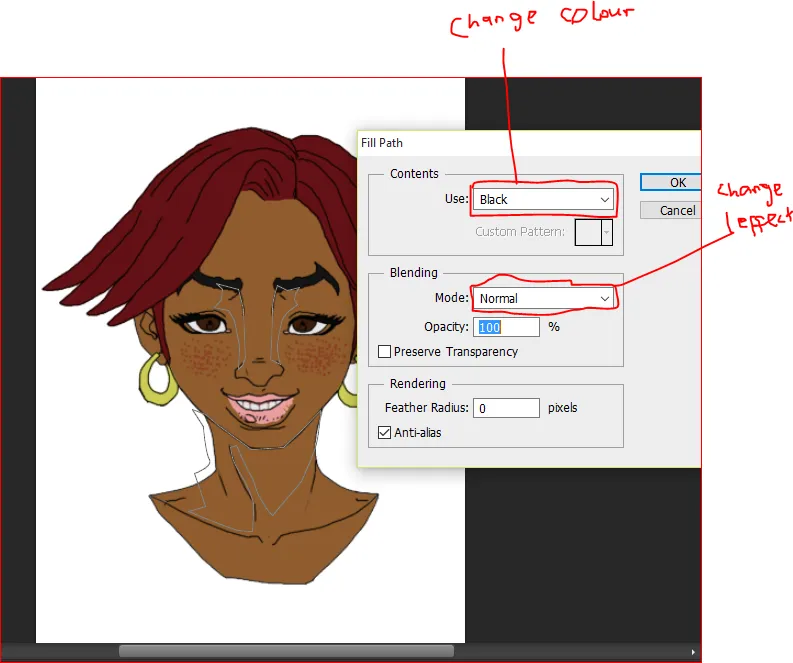
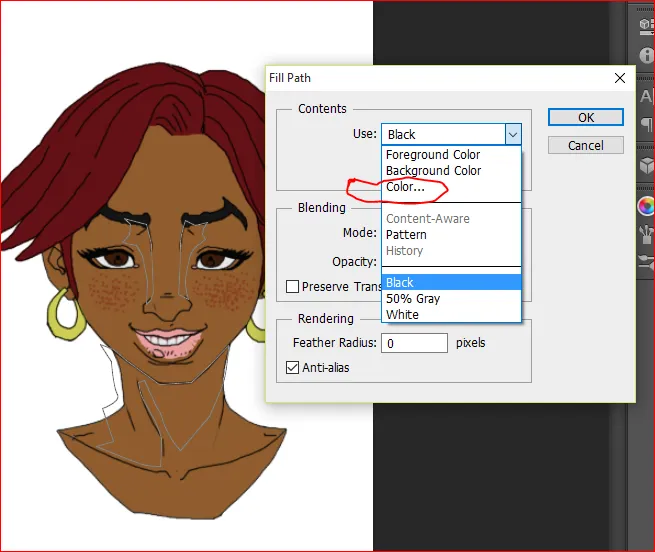
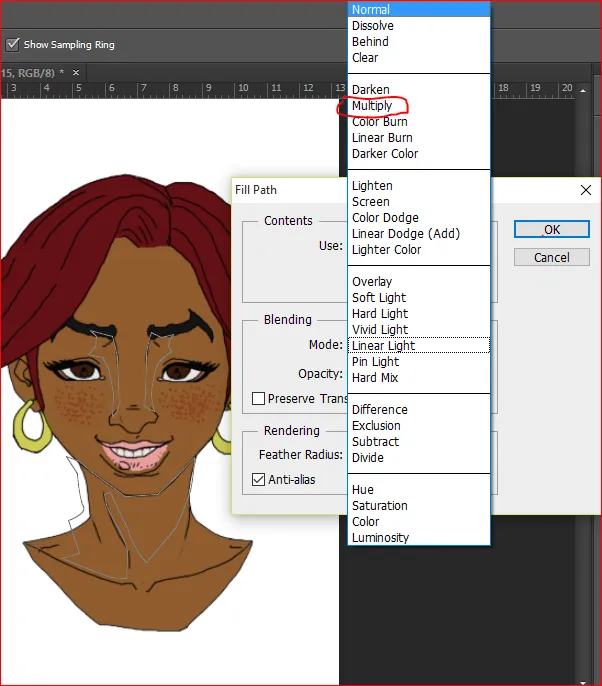
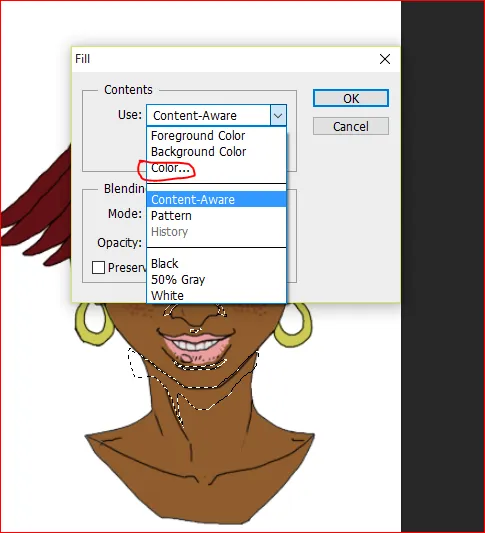
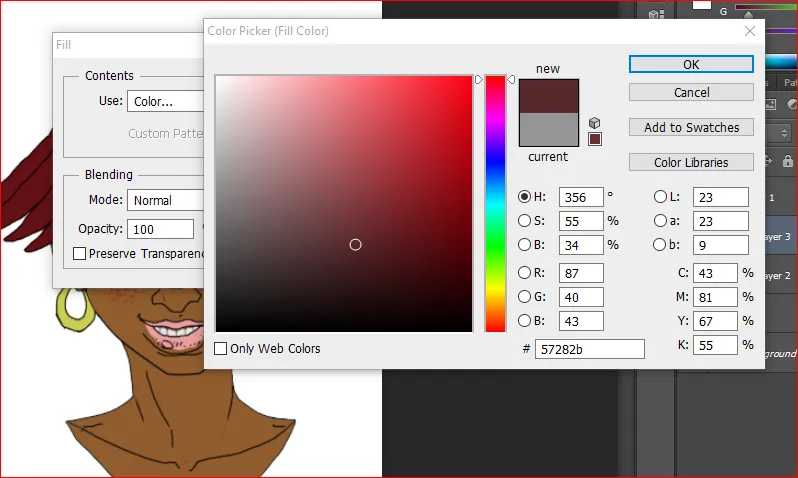
To switch to the pen tool, you either press the “P” button or go the tool bar then click the pen tool (looks like a pin). Then, you highlight the area you want to shade, closing the path, then, right click, click on fill path, after that you click on use, then select color, after that select the colour you want (make sure is a dark colour), after click on mode, select multiply, then click on Ok.
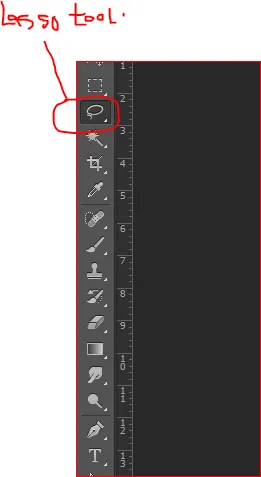
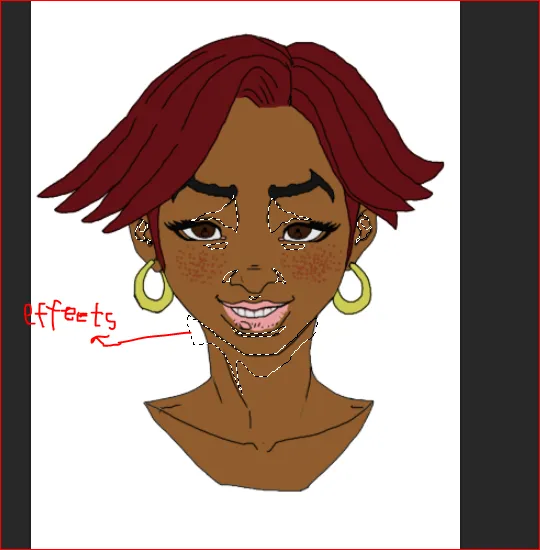
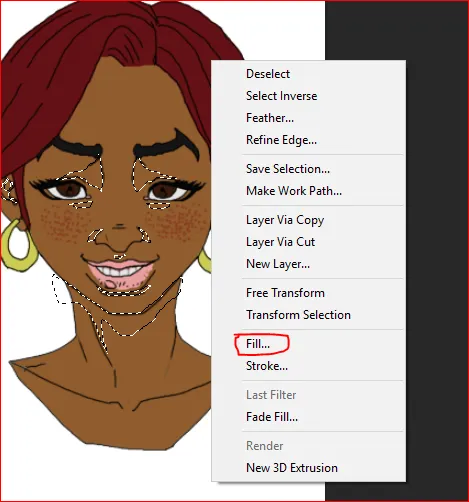
C) Using the Lasso tool
To use the lasso tool, you either press “L” button or go to the tool bar, then, click the lasso icon (it looks like a knot rope). This particular too works just as pen tool but a little different. The difference is that for pen tool you tend to close the part yourself, but for lasso tool, it closes by itself. Then, you highlight the area you want to shade, then, right click, click on fill (instead of fill path for that of pen tool), after that you click on use, then select color, after that select the colour you want, after click on mode, select multiply, then click on Ok.

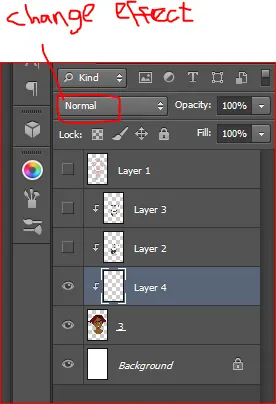
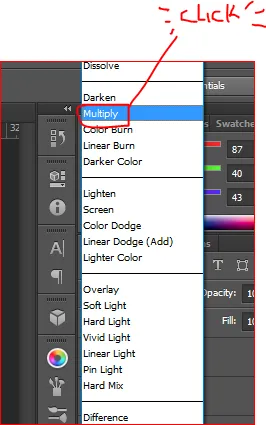
D) Using Layers
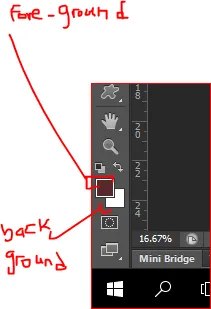
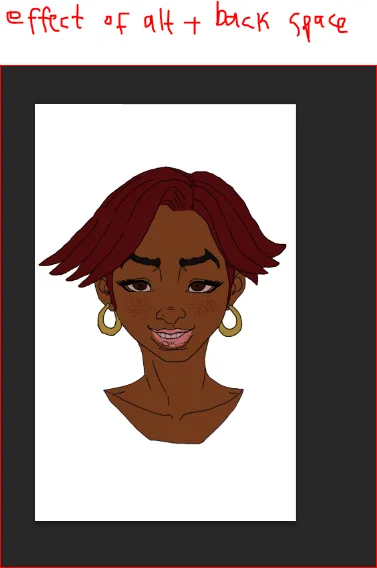
Here you click on the empty layer you will be working on the click “Normal” on the layer settings, change it to multiply. Make sure you are changing the empty layer you will be working on and not the imported/dragged image. You select the colour from the colour palette (it does not have to be too dark like that of lasso and pen tool) which is left bottom corner of the interface, then you start applying colour with your brush or you fill the whole layer by pressing alt + backspace which will auto select the colour which is ontop of the palette(foreground) or pressing ctrl(control) + backspace which will auto select the colour which is under the color ontop the palette(background), then you start erasing the unwanted areas.

Thanks for reading this post
If you like this lesson, kindly upvote and comment.
You can ask questions :)