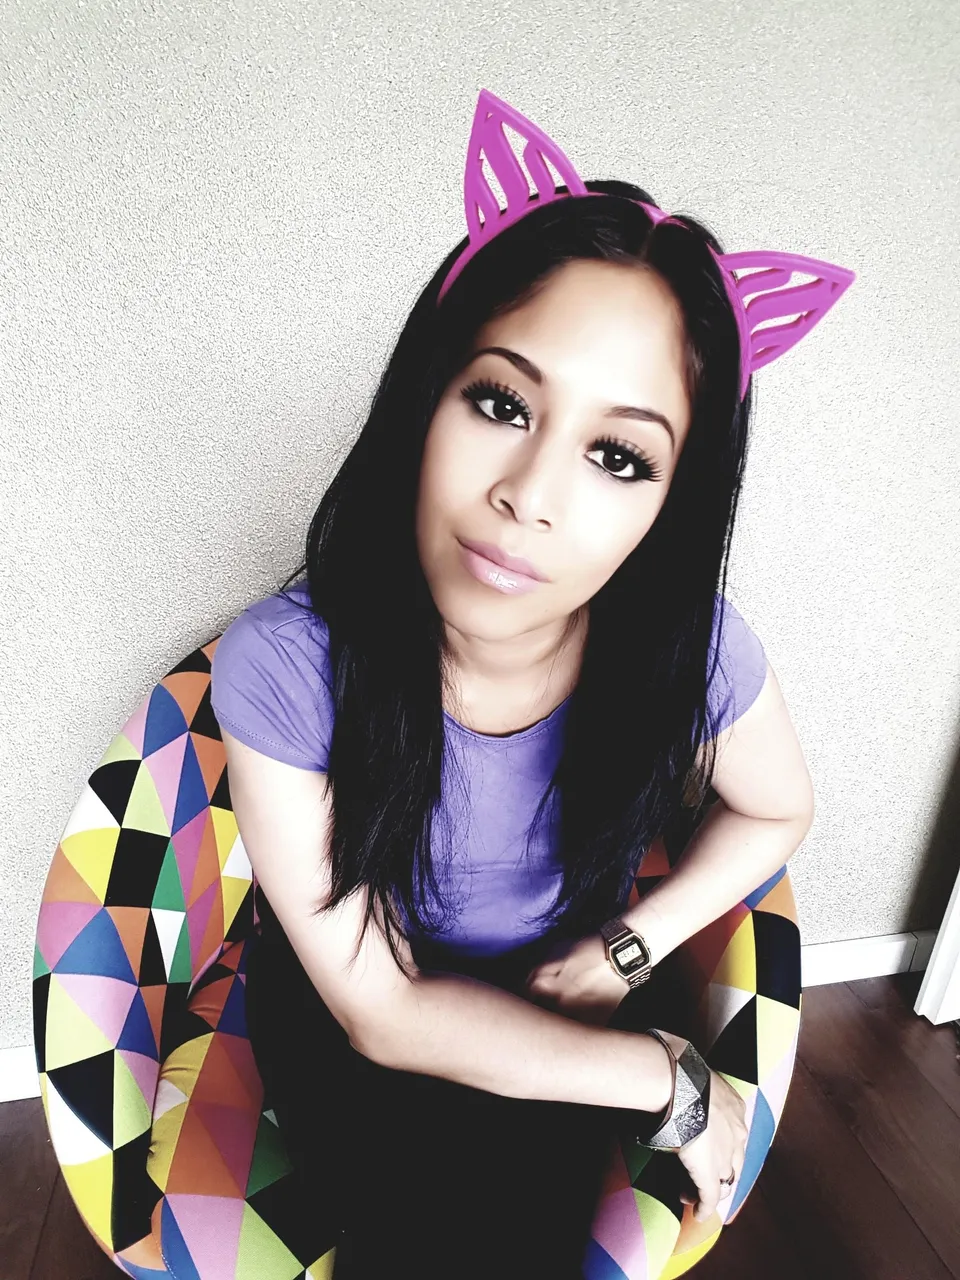

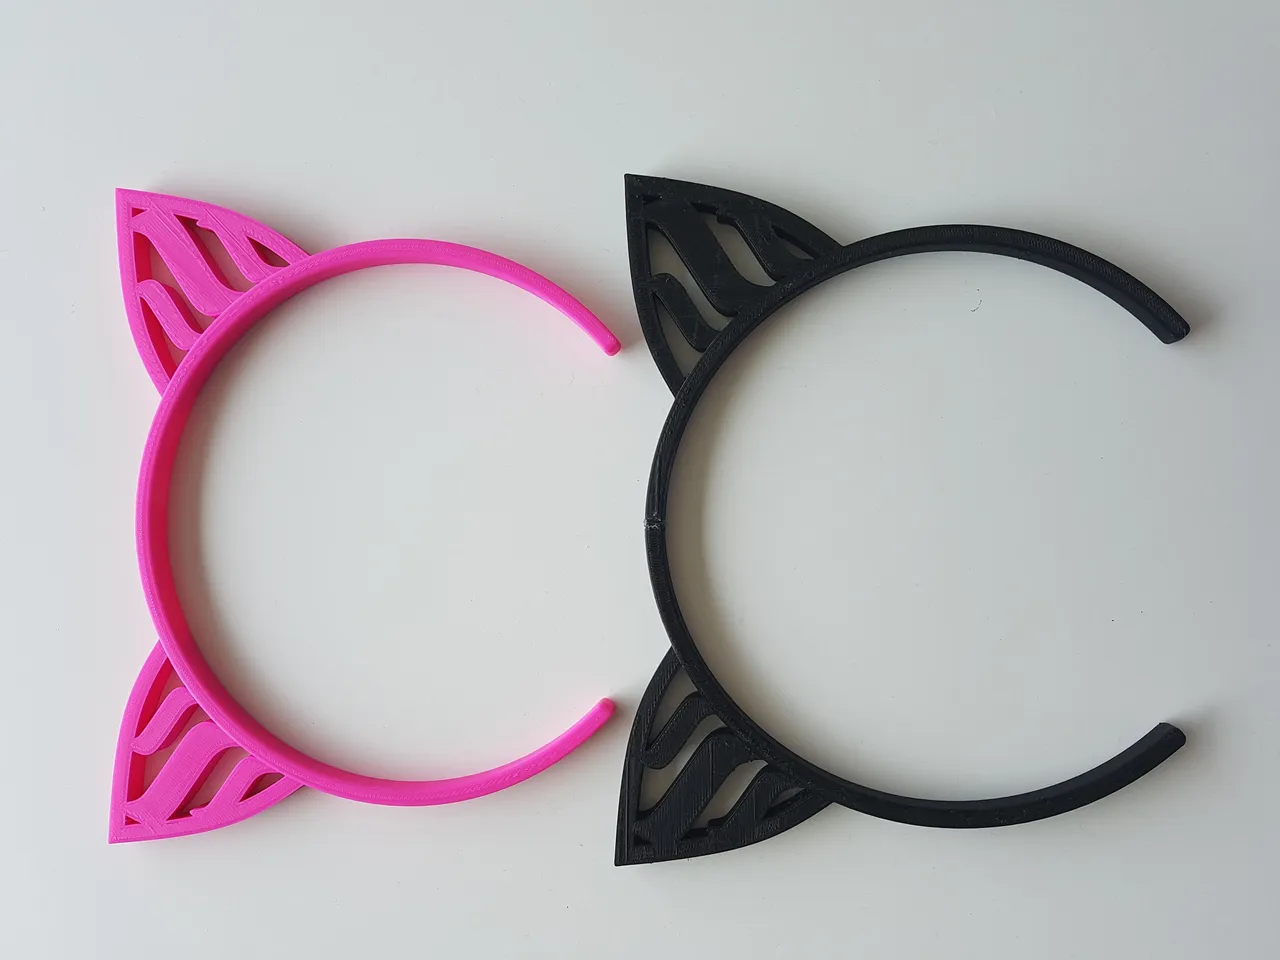
I made these cat ear headbands because it is something else than what I have made so far. I was kinda struggling and spent hours on this!
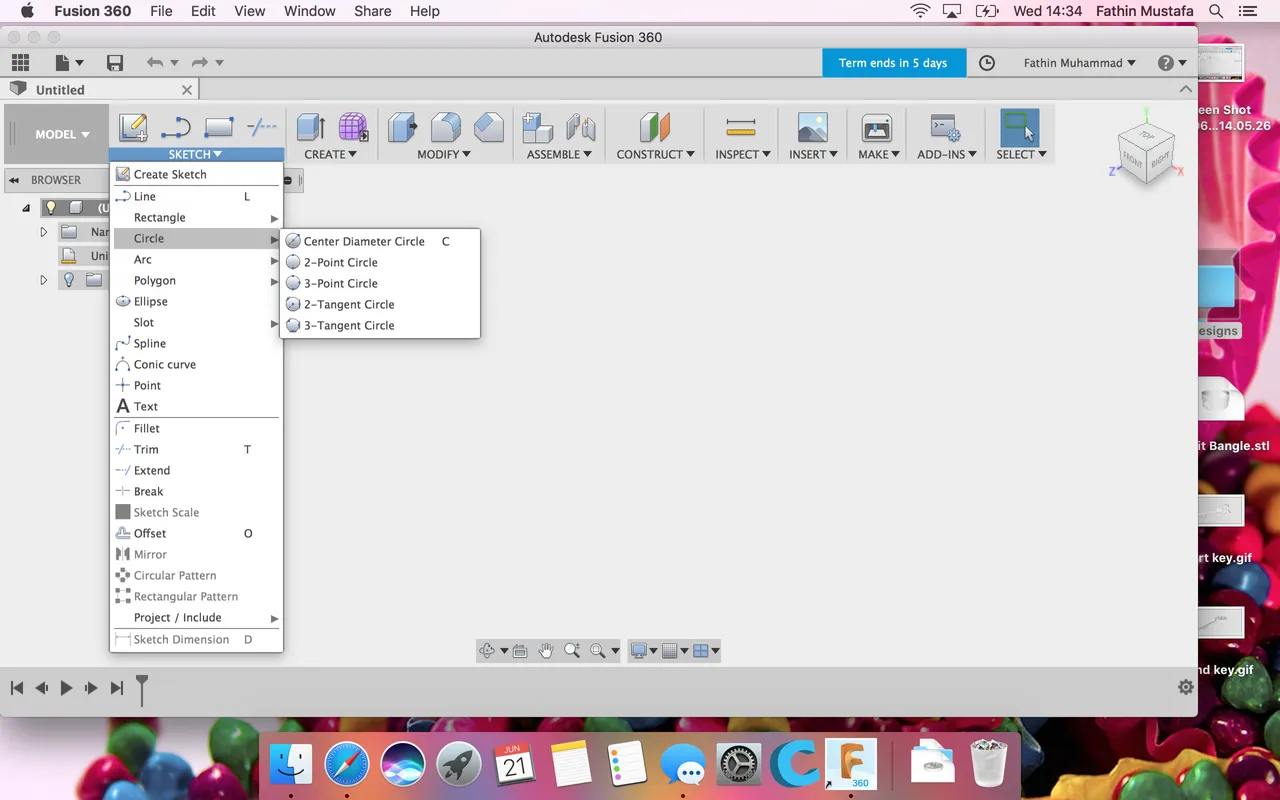
Below I show you in steps how I designed these cat ear headbands using Fusion 360 software together with Mufasu Cad tutorials I have watched at Youtube.
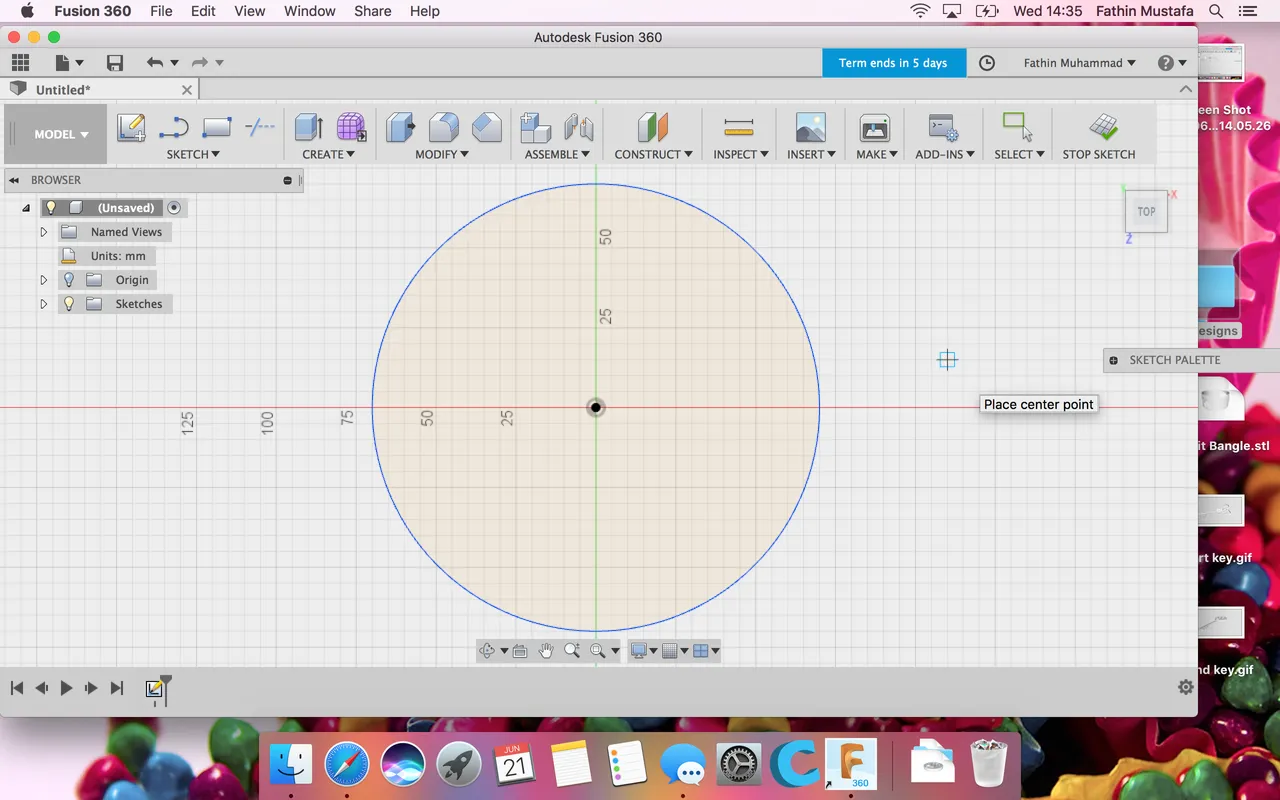
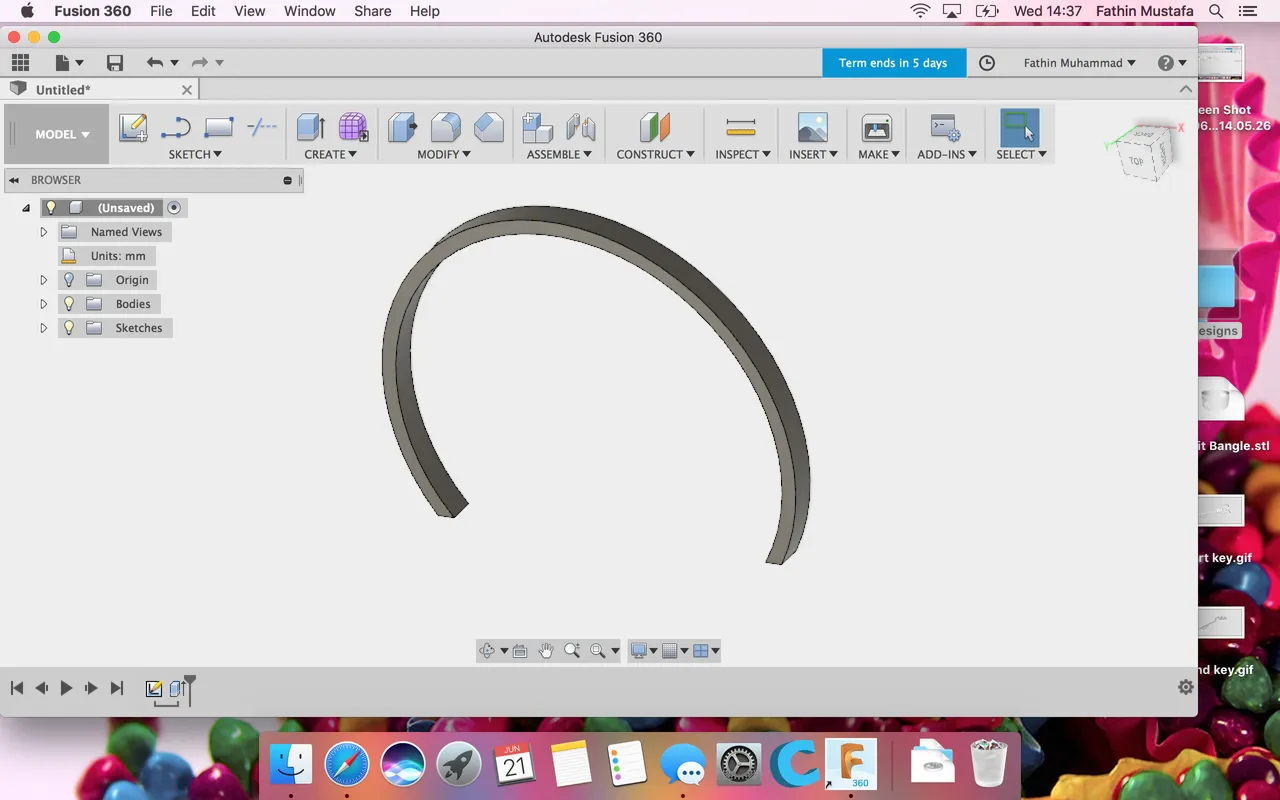
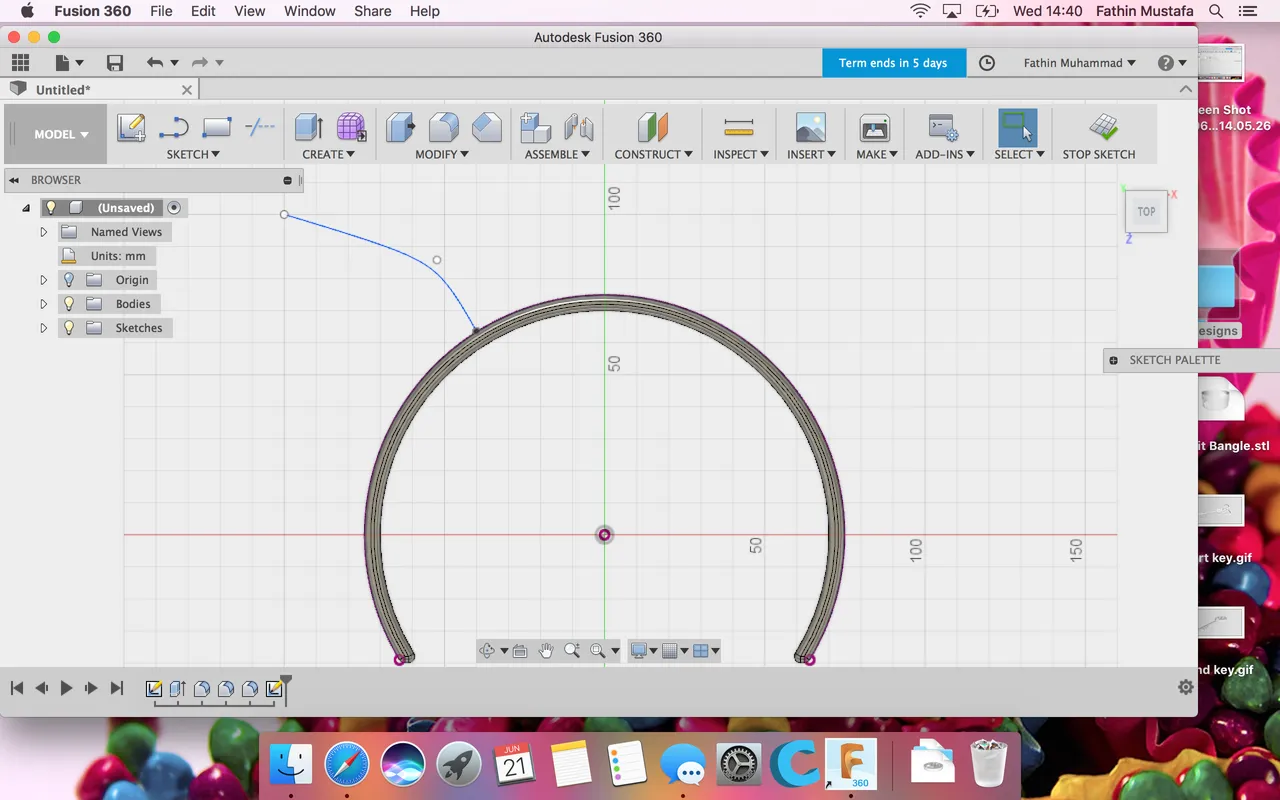
Click on Sketch, Circle and choose Circle diameter center. Make a circle of the desired diameter.
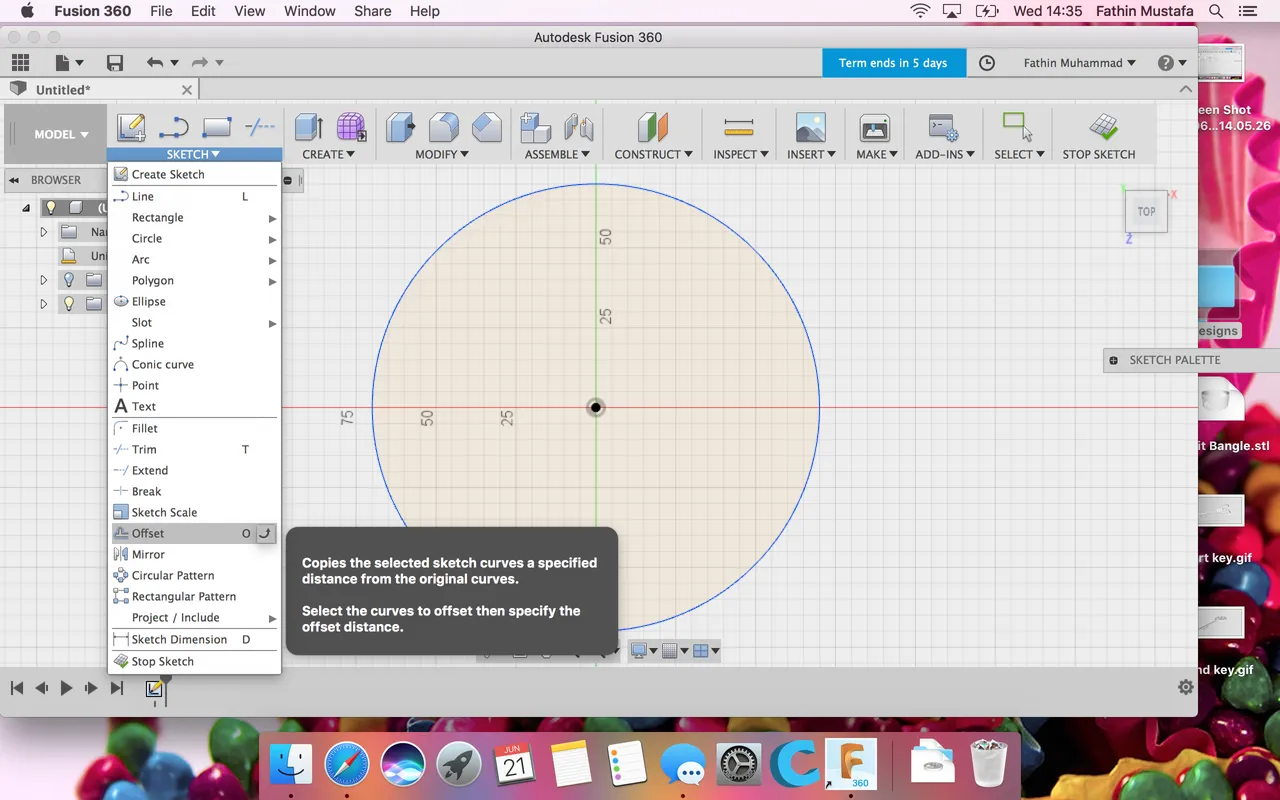
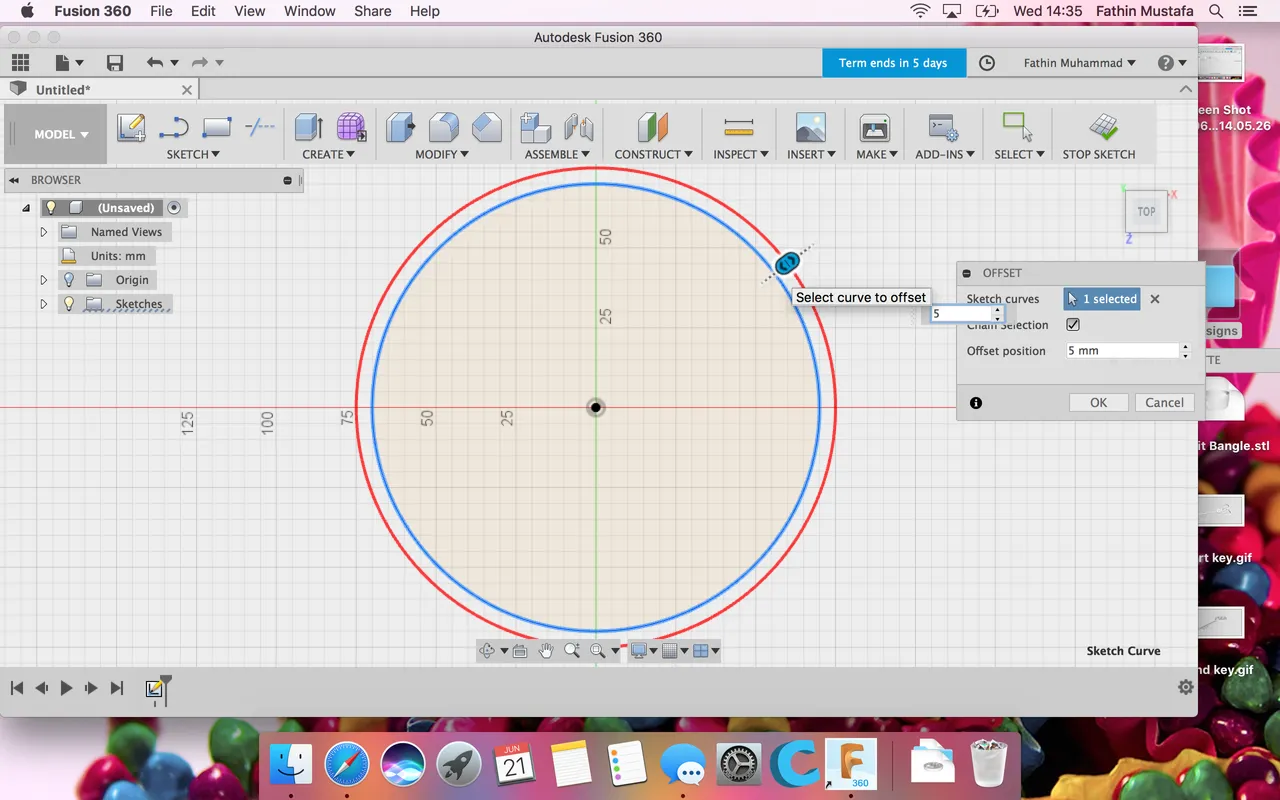
Choose Sketch and click Offset. This is for the thickness of the headband.
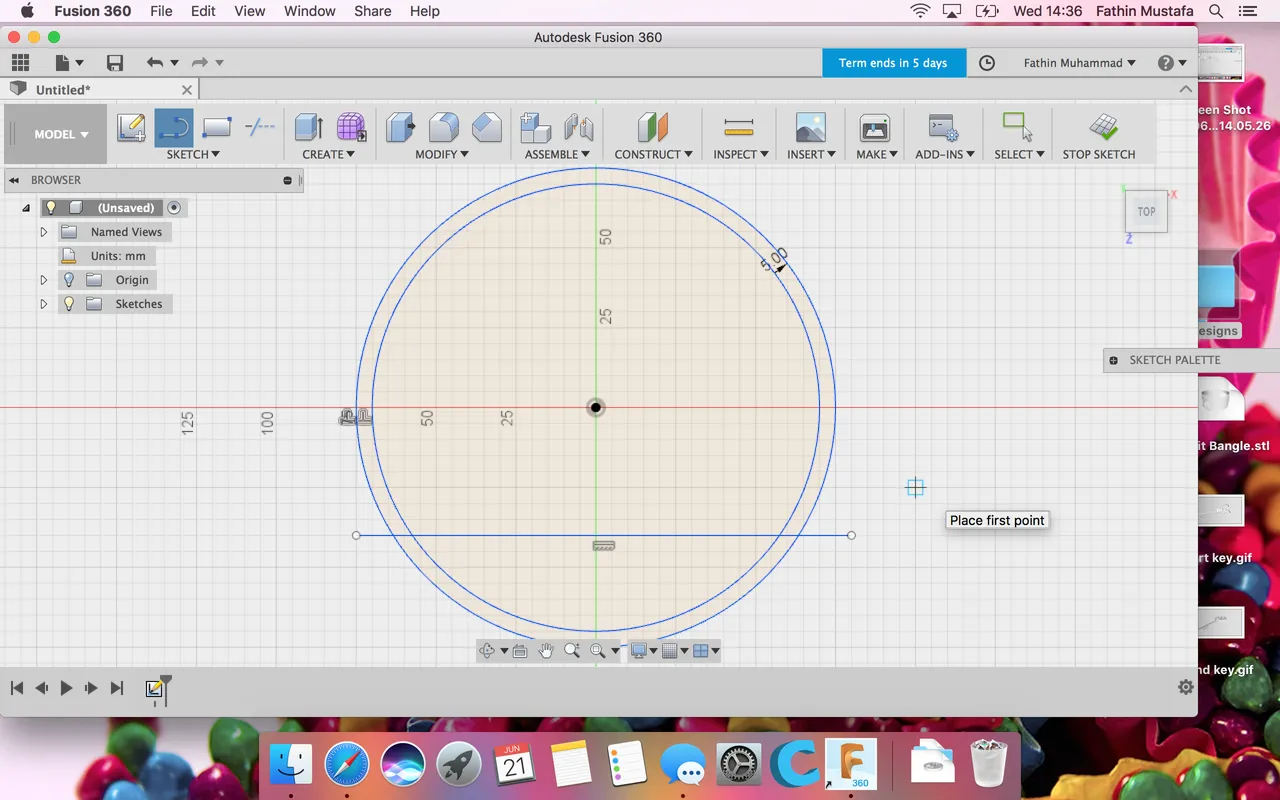
Go to Sketch and choose Line.
We make the line for the opening.
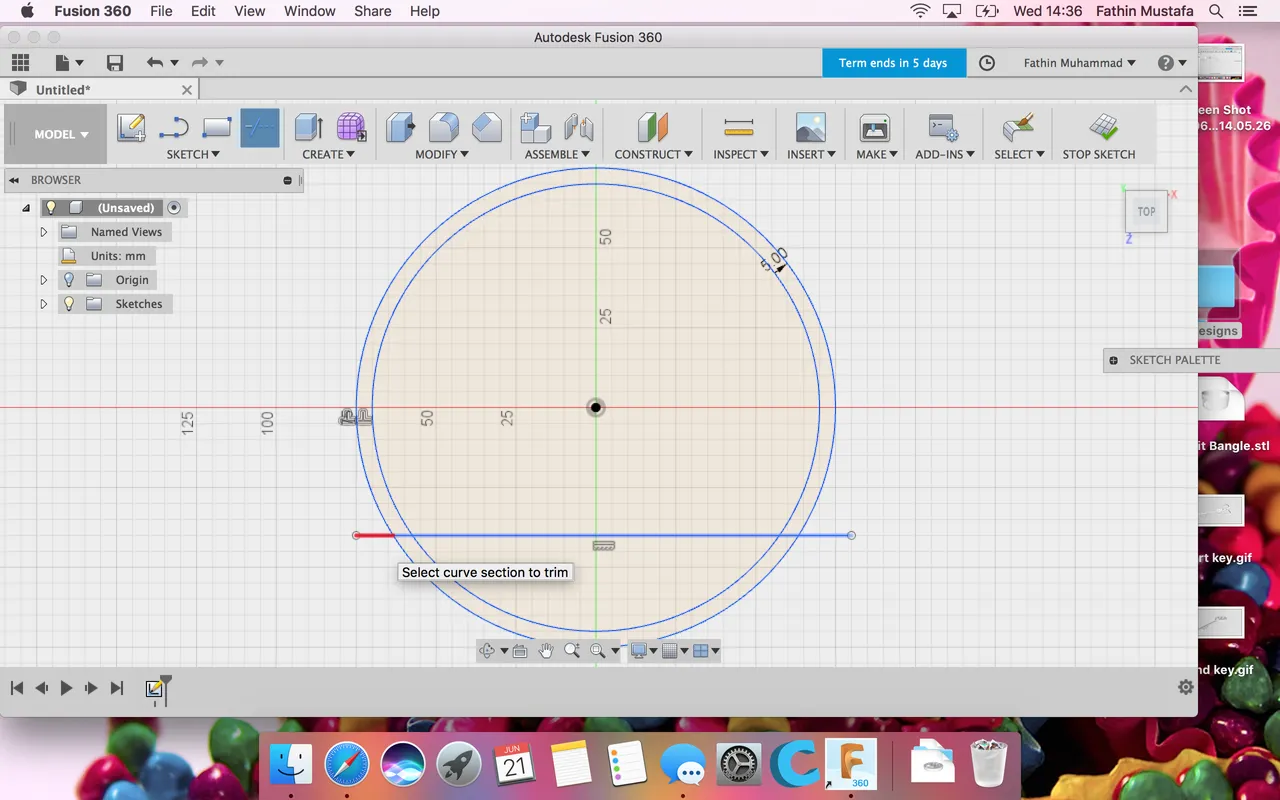
After that choose Trim to remove the helping lines.

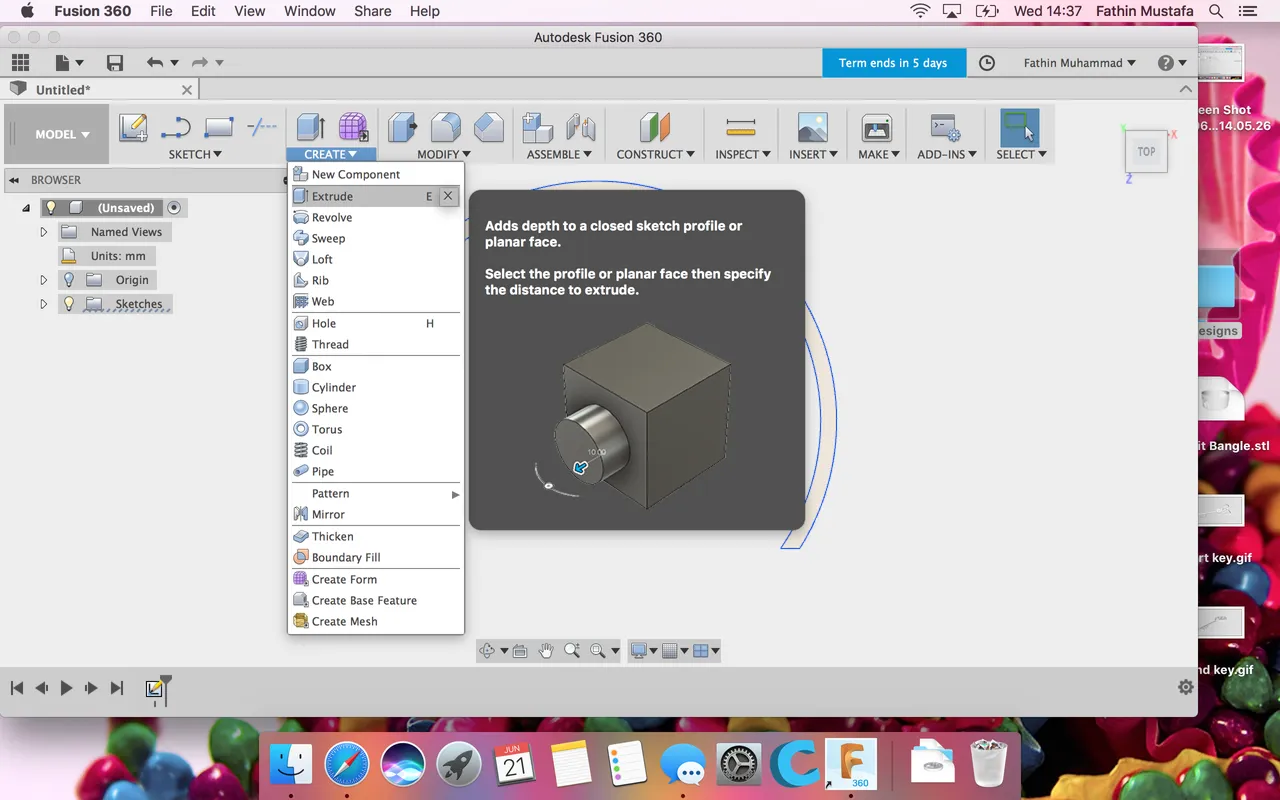
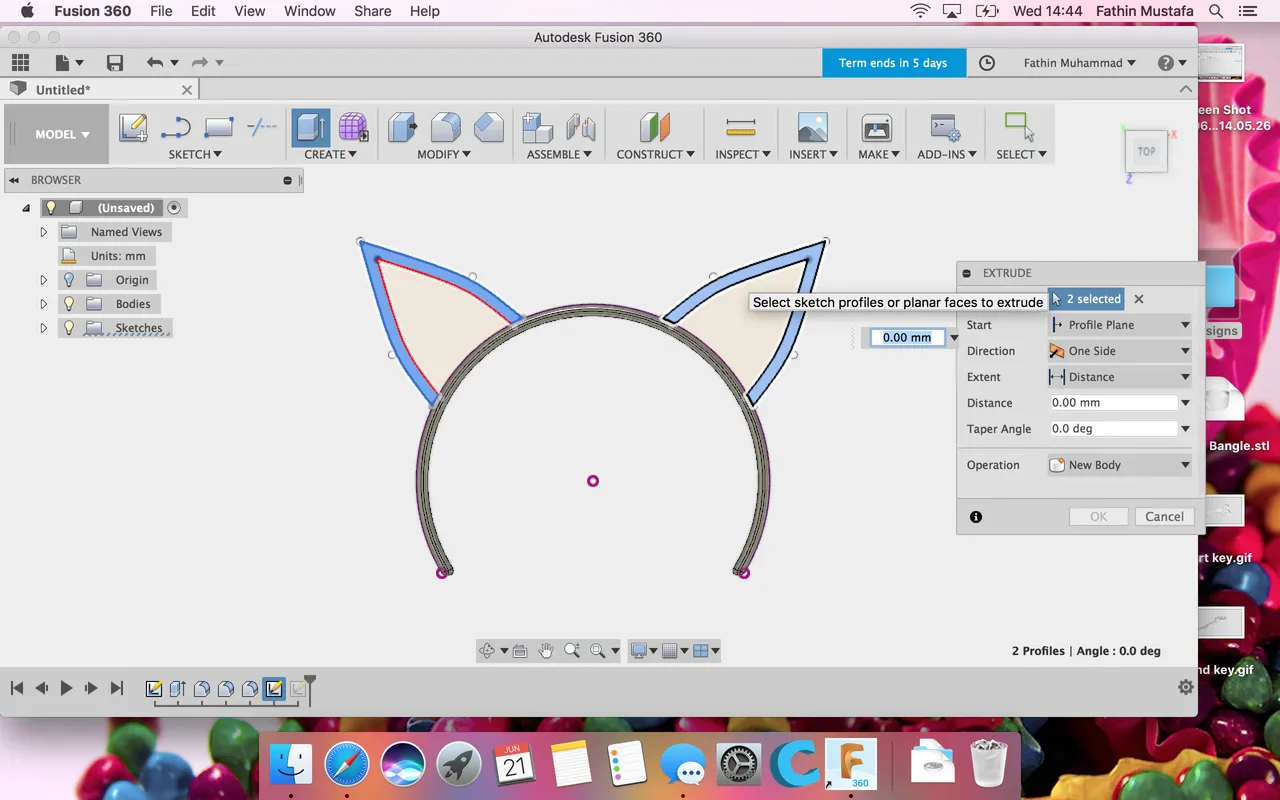
Go to Create and choose Extrude. We make the width of the headband.
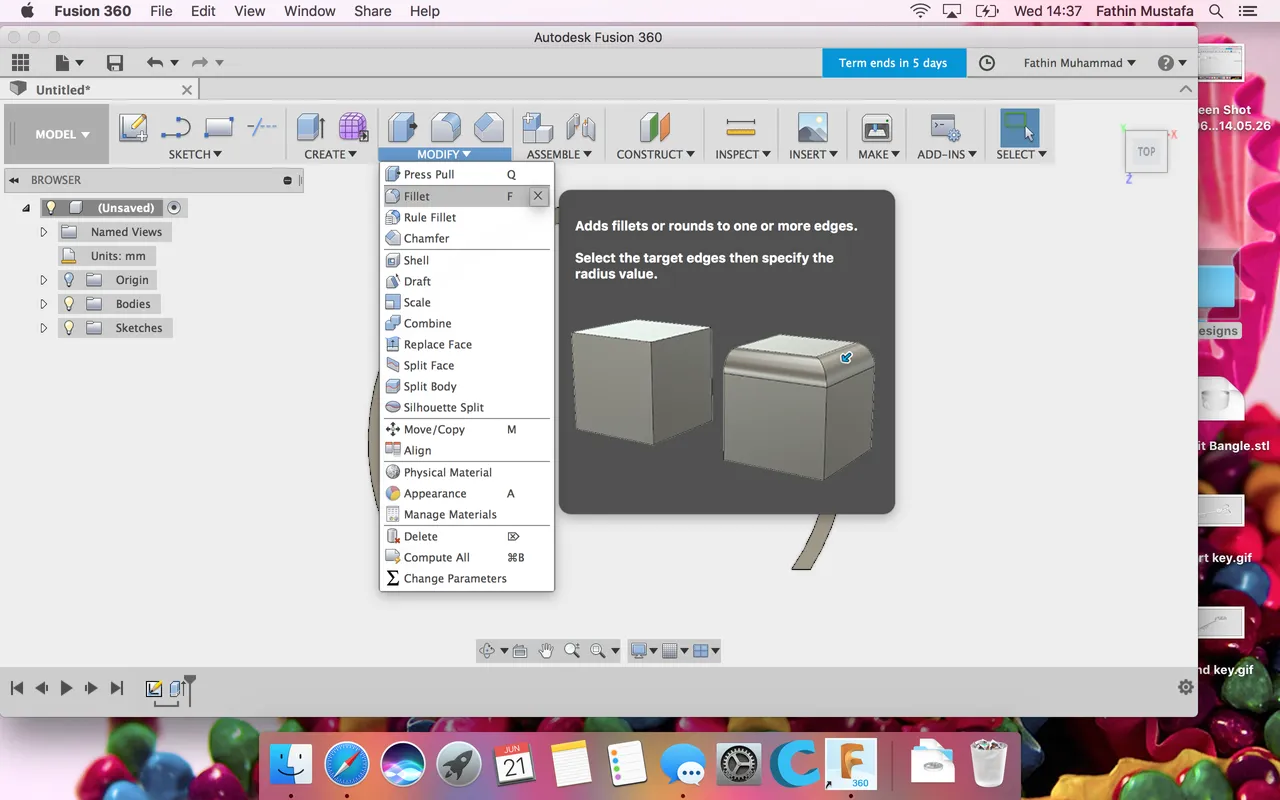
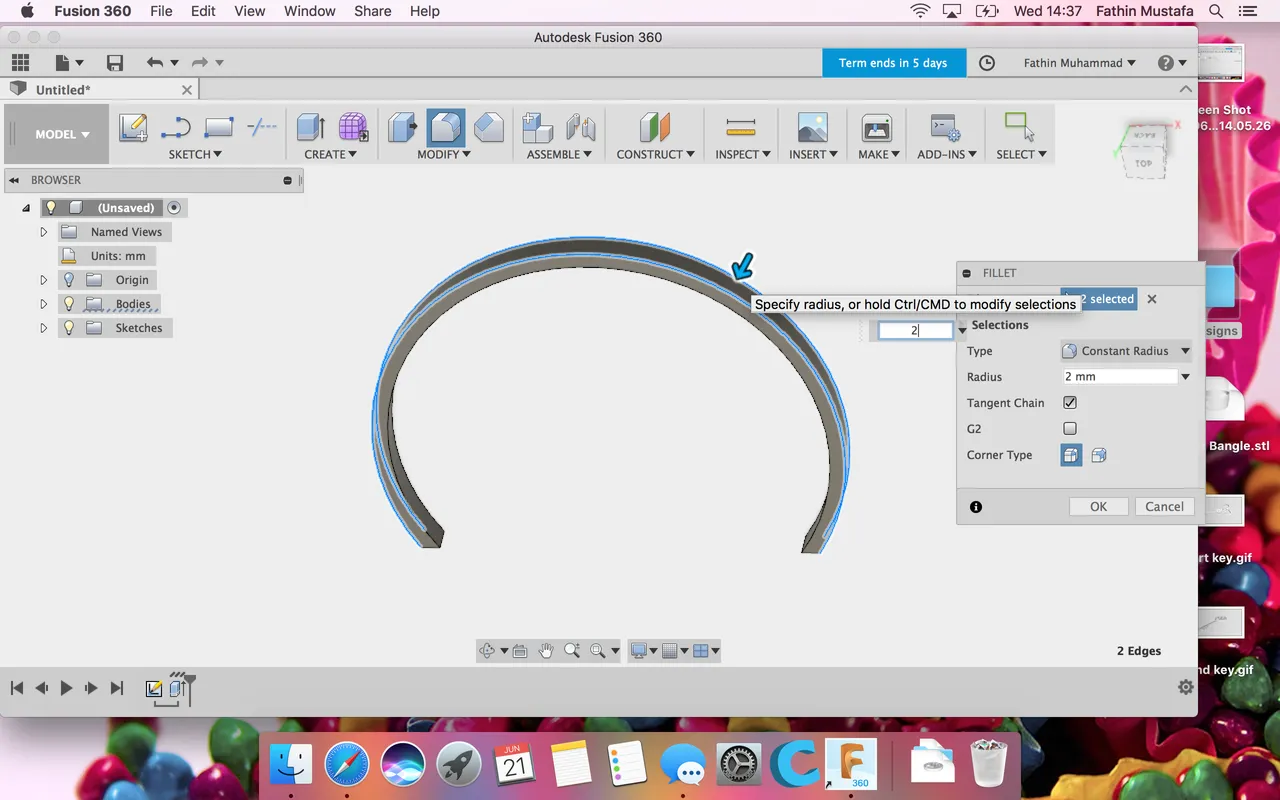
Go to Modify and choose Fillet to smoothen the edges.

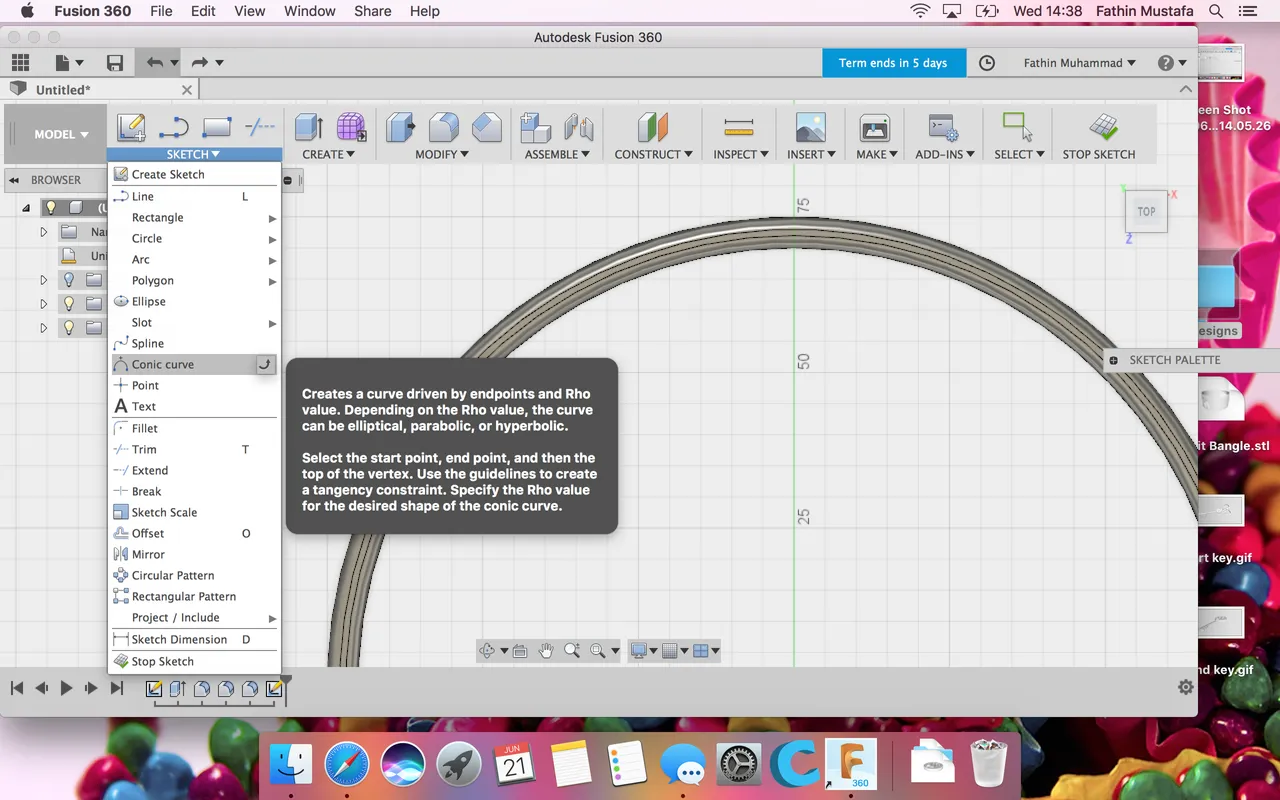
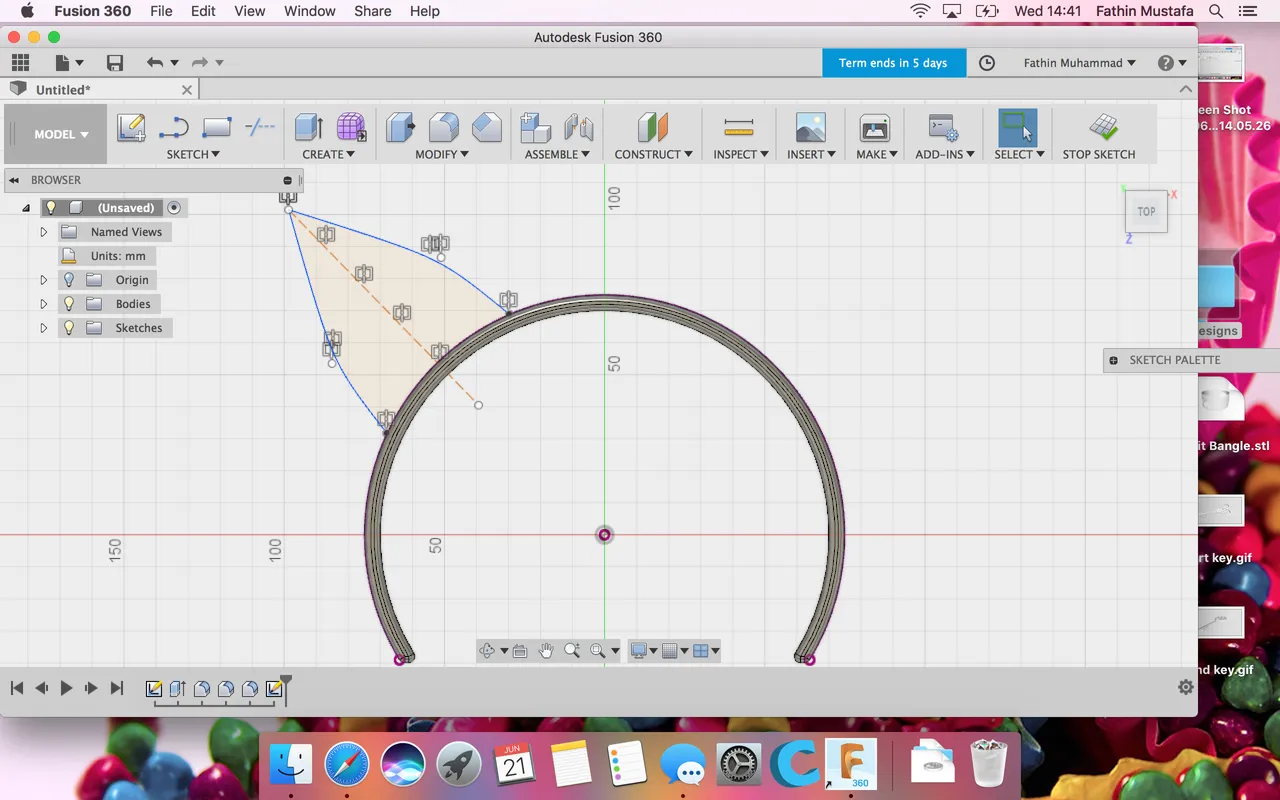
Go to Sketch and choose Conic curve. We gonna make the shape of the cat ears.
Make half of the ear.
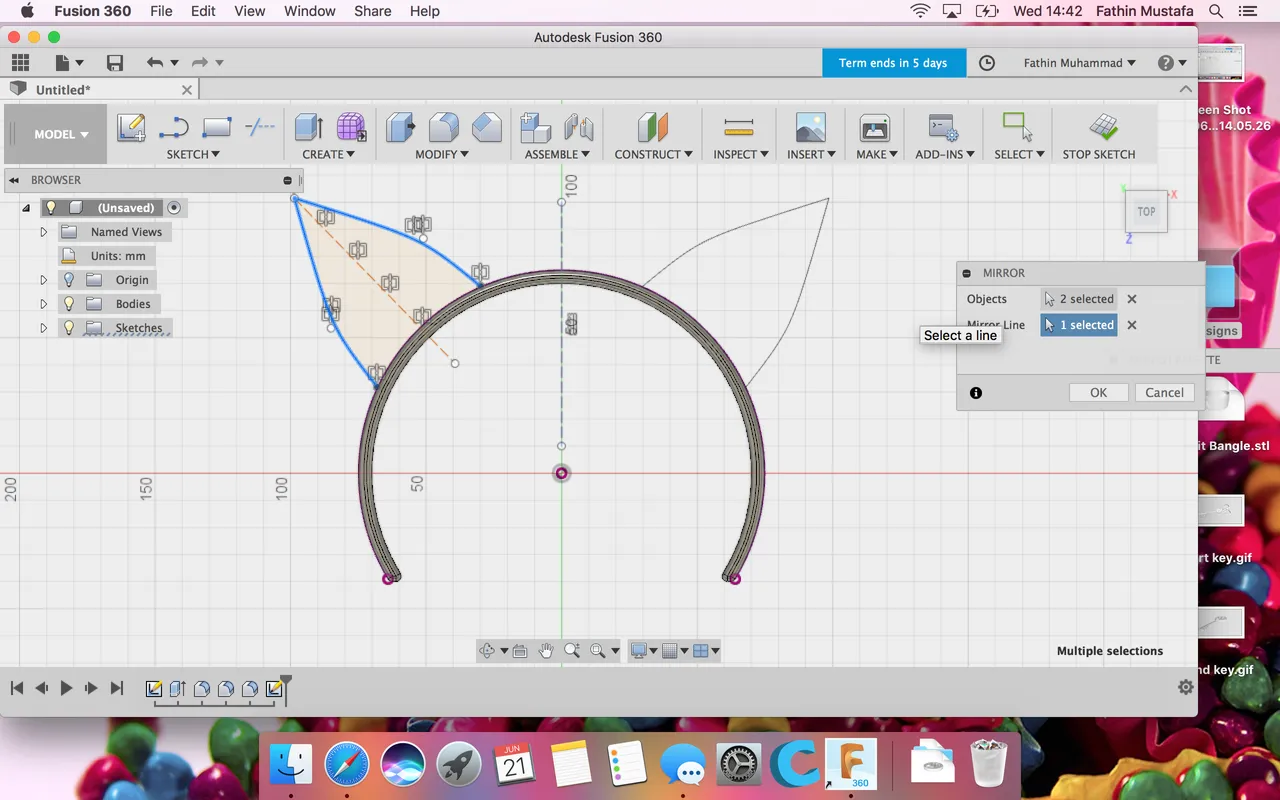
Then choose Line under Sketch and make line in the midle. Click on X and click on the line again. This line we use to mirror the cat ear.Go to Sketch and choose Mirror. Click the line of the cat ear and as mirror tool the broken line and click Ok.
After that you make another line as a mirror tool, vertical in the middle of the headband, press x and click on the line and mirror the whole left ear.
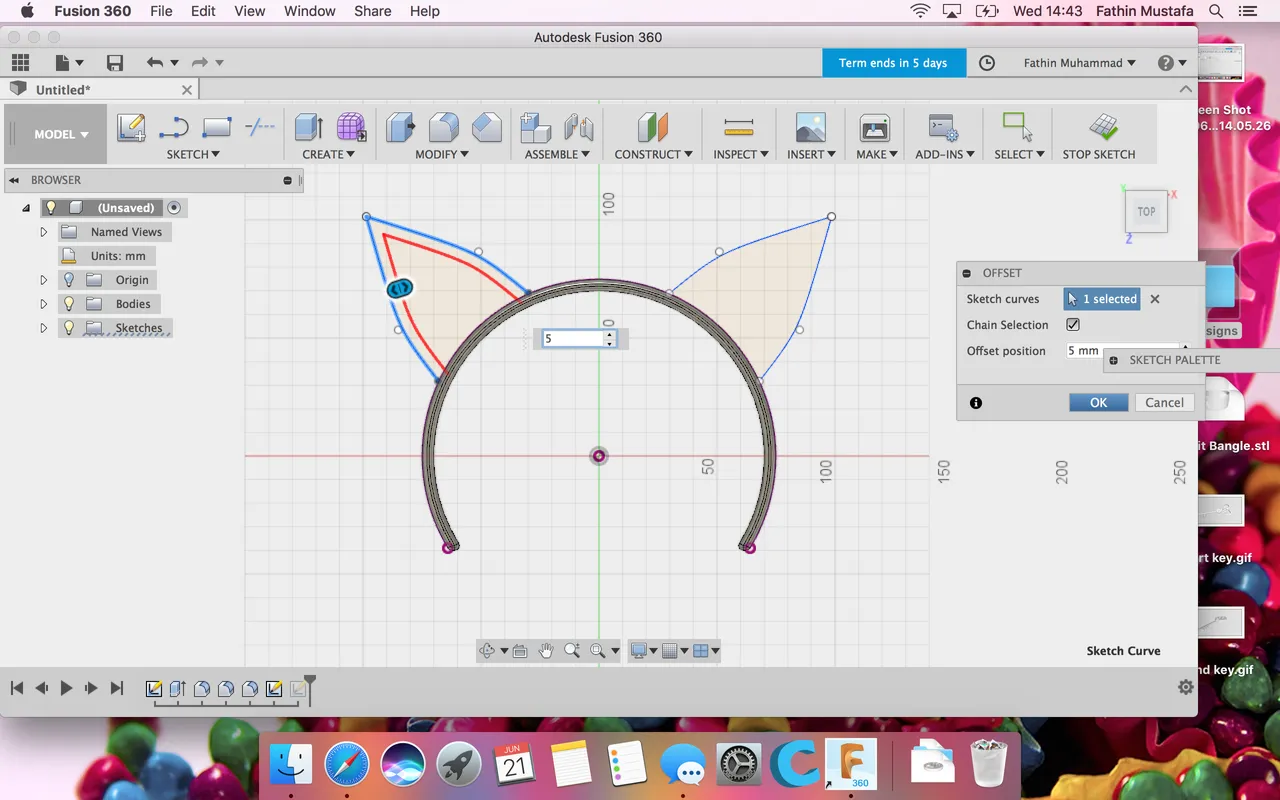
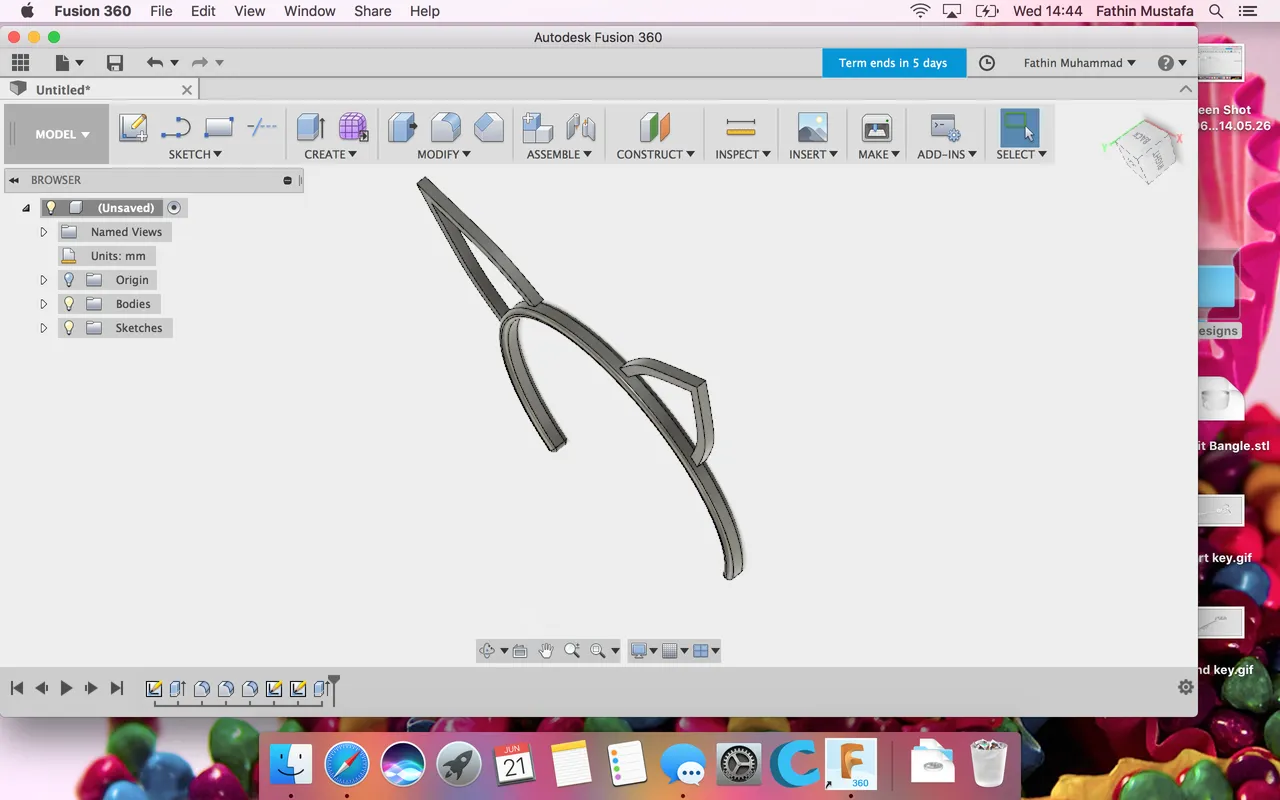
Now you go to Sketch and choose Offset to thicken the cat ears. I chose 5mm.
Click Create and choose Extrude. Now the ears are 5mm extruded.
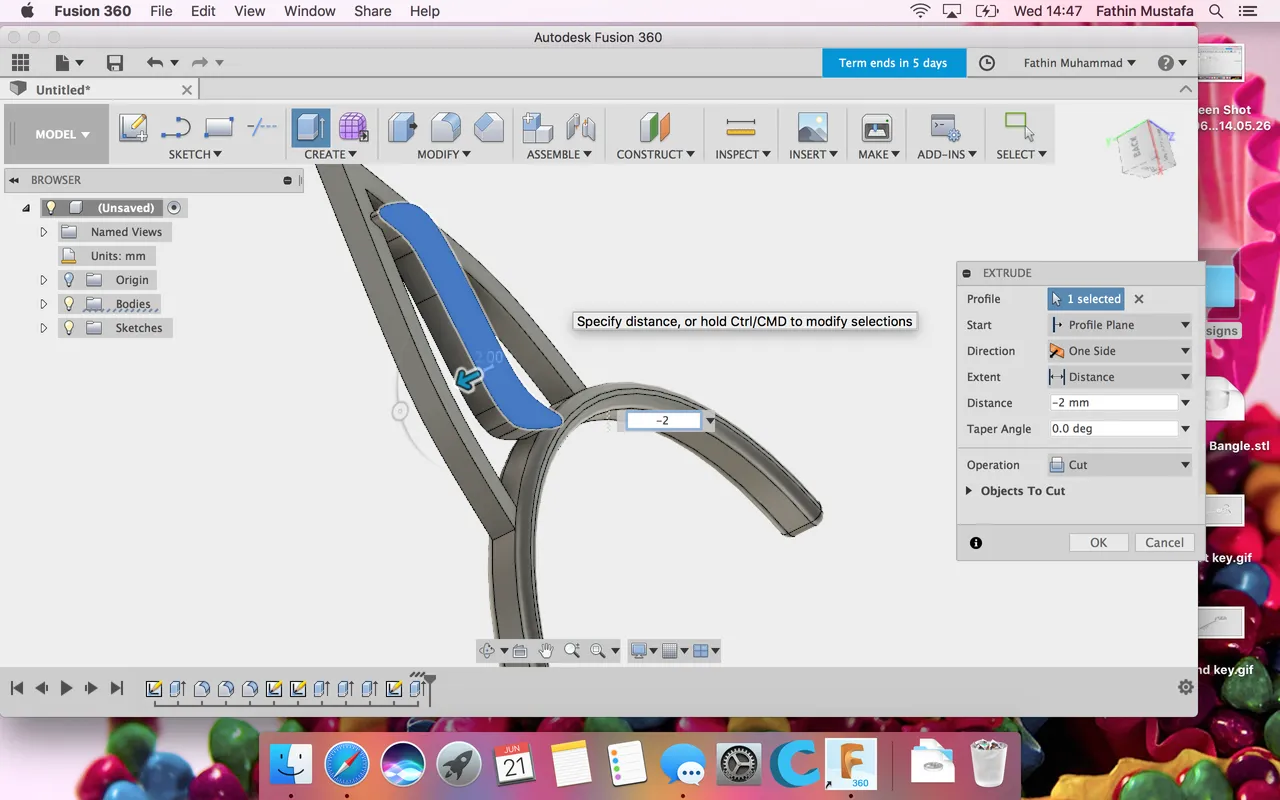
As you can see the ears are not in the middle but at the edge of the headband.
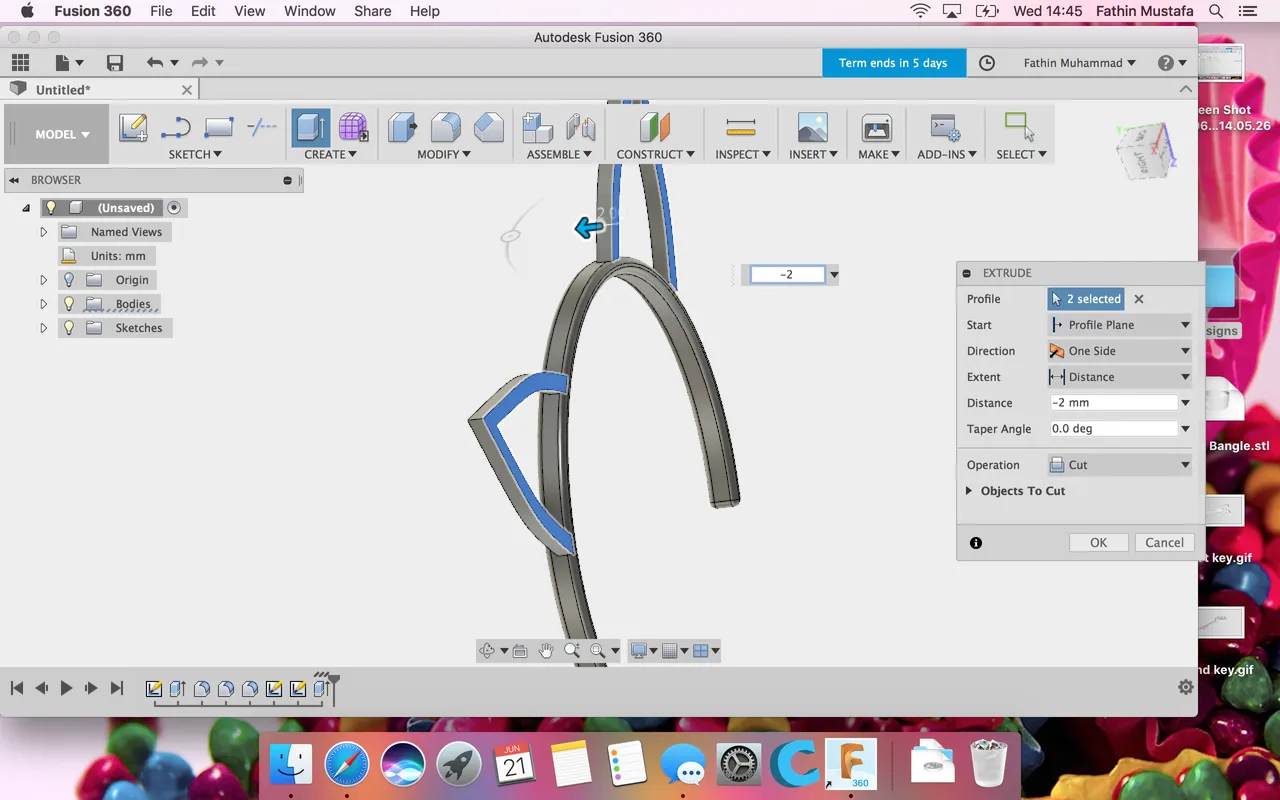
We choose Modify and Extrude and we will extrude the cat ears from the back. We choose -2mm instead of 2mm. Because we want to extrude to the inside.
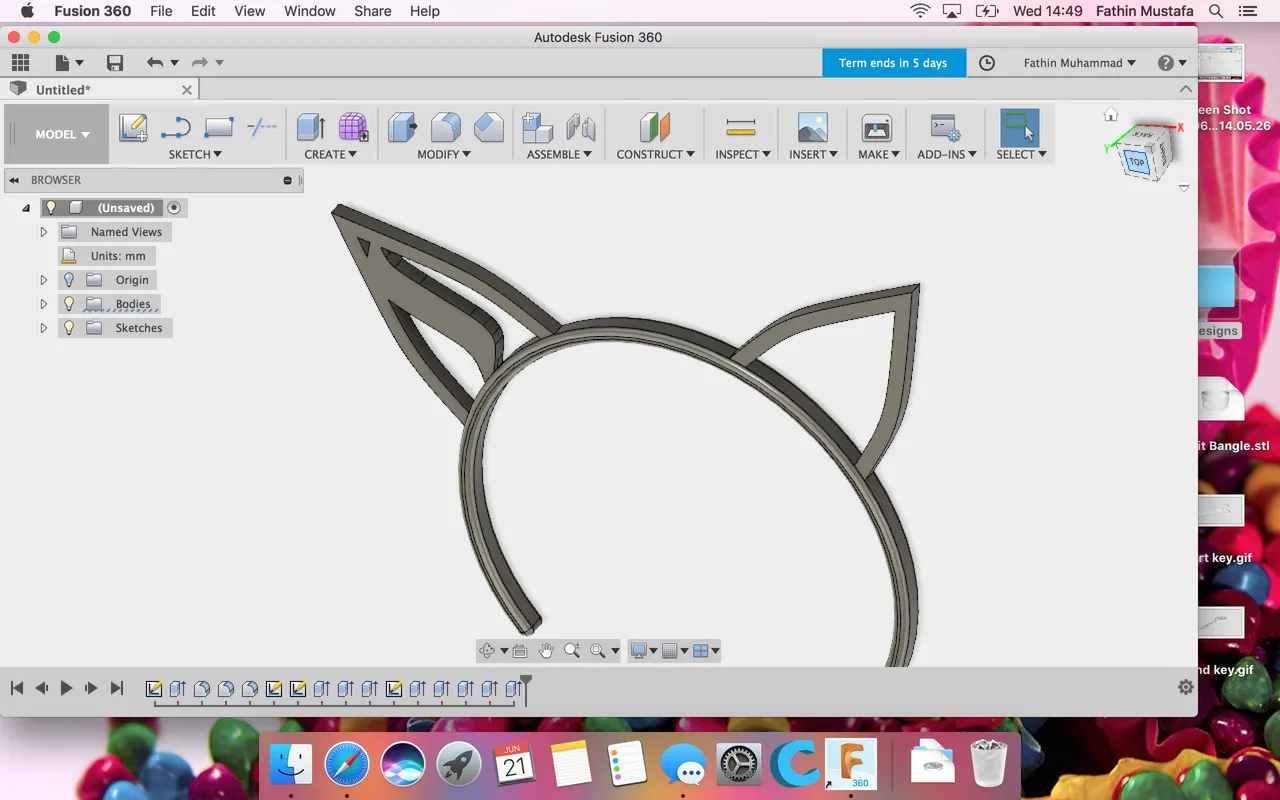
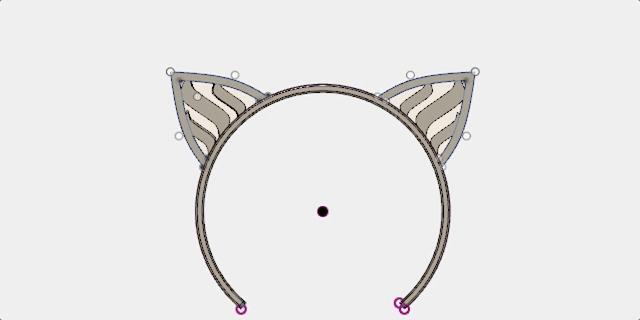
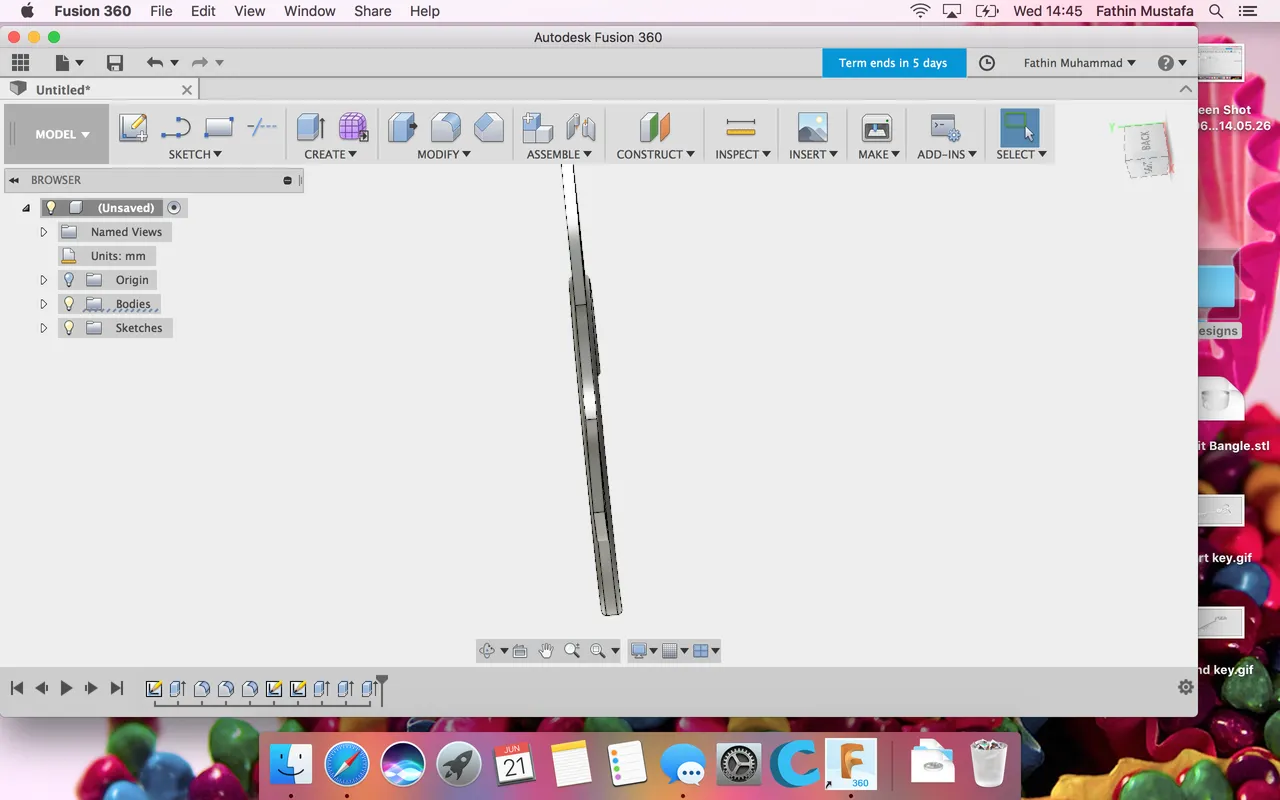
Now it is nice in the middle!
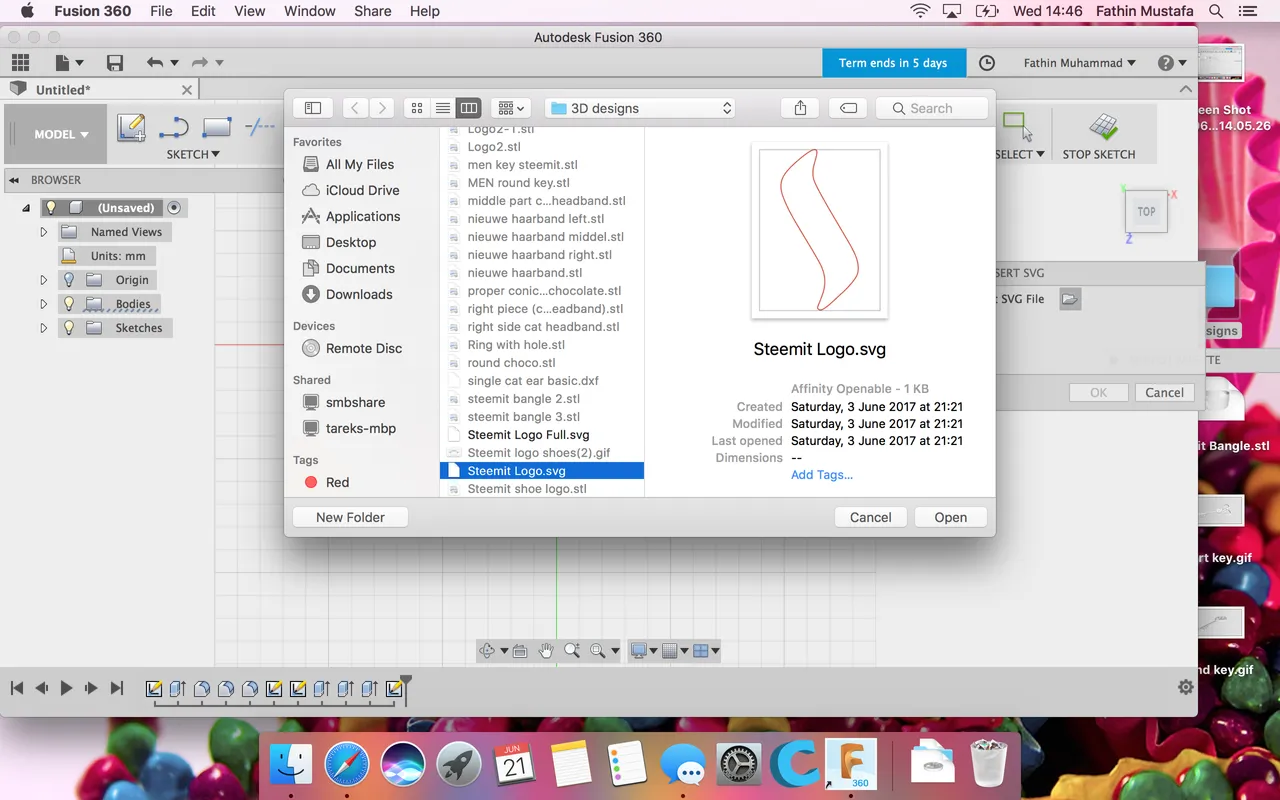
Click on Insert and choose Insert SVG.
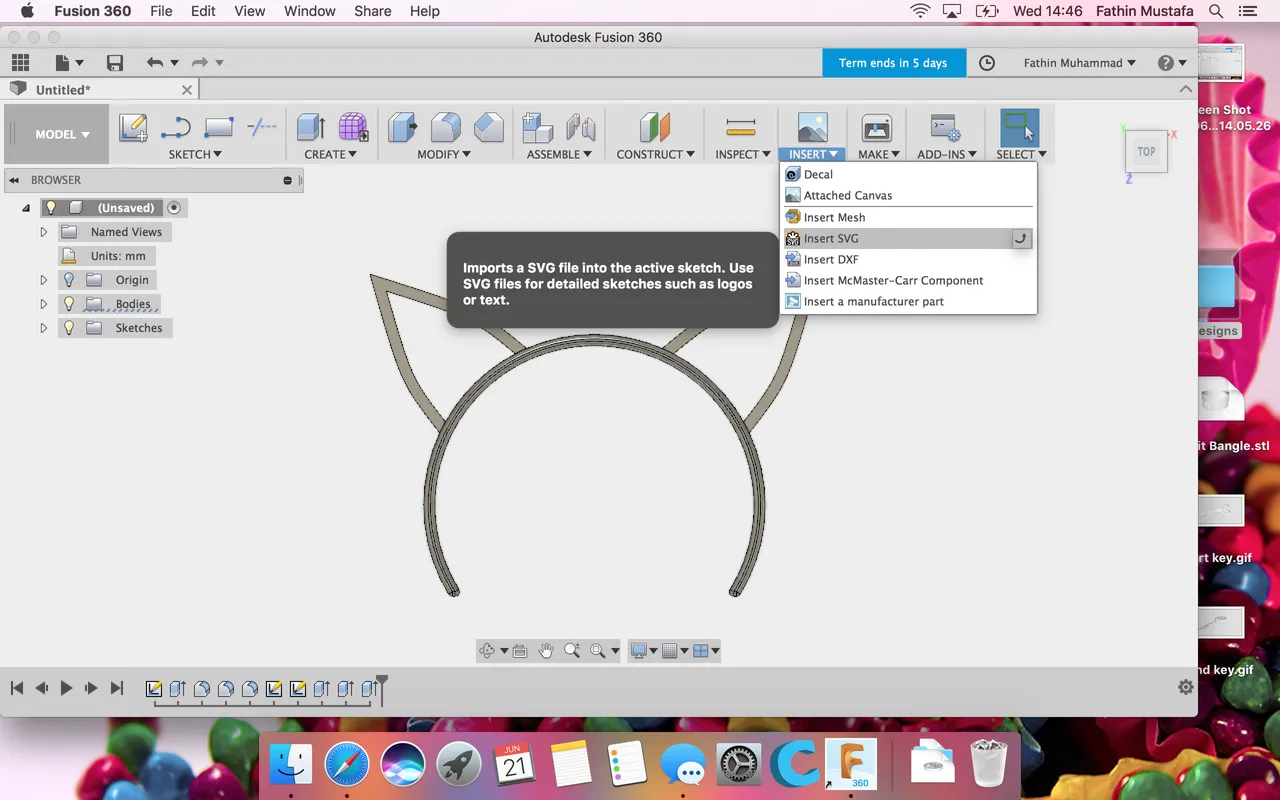
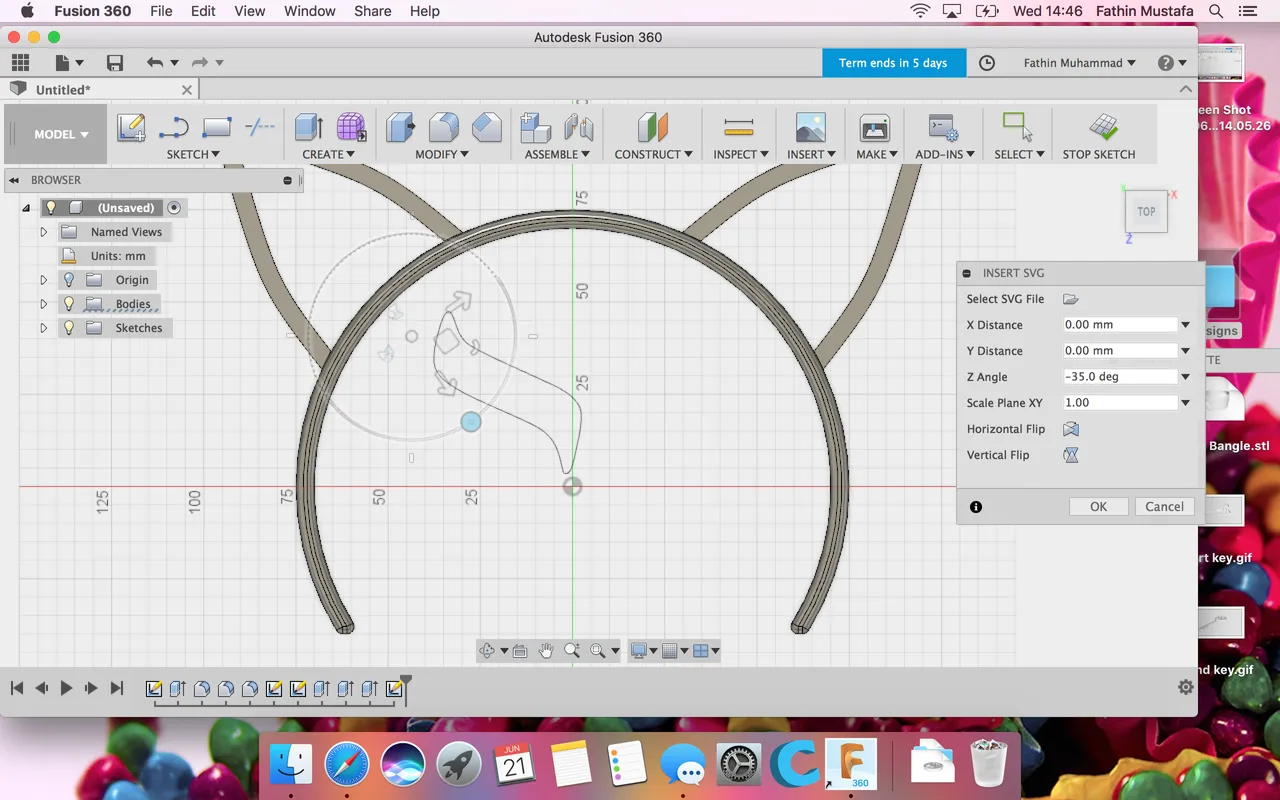
We choose single Steemit S logo.
Rotate the logo how you want it. You can also make it smaller or bigger.
Make sure you choose Join!
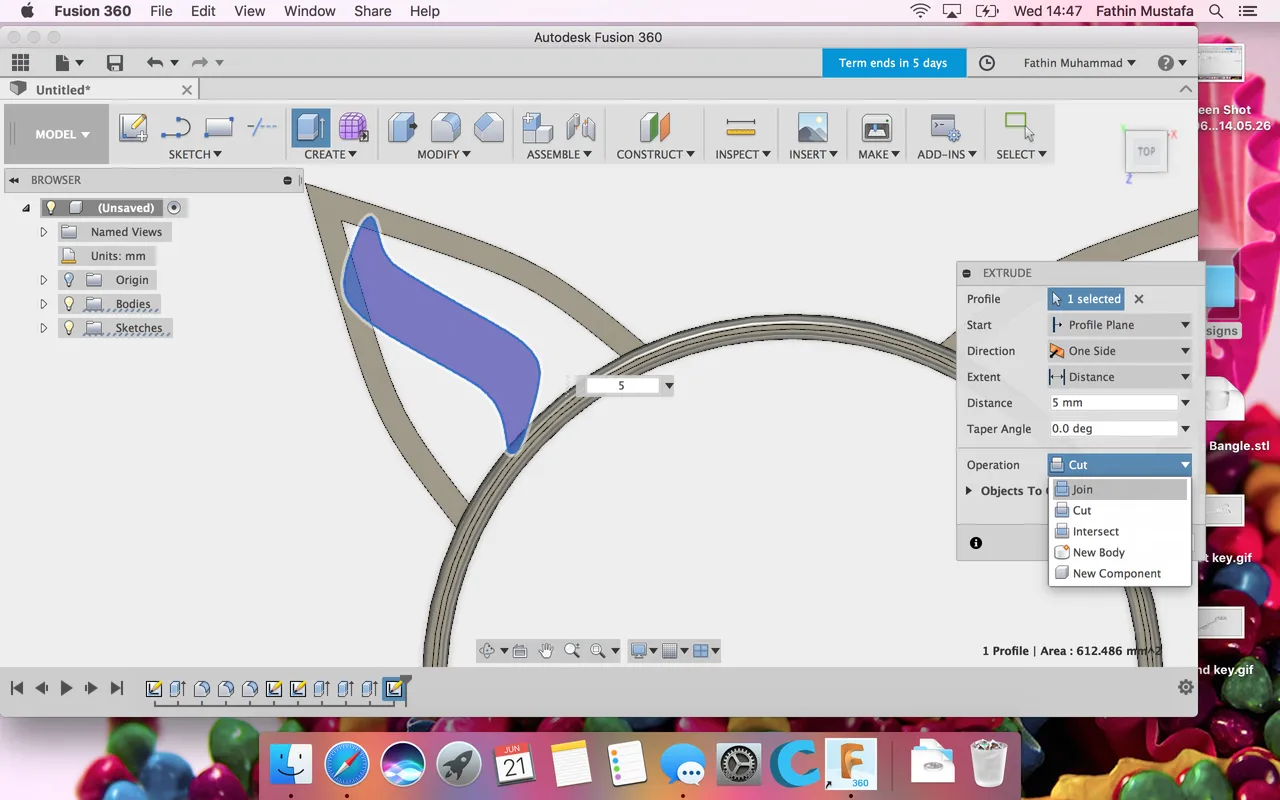
Extrude the logo and do the same with the rest!