
Dear Steemit friends, welcome to 「study with catwoman Teresa」 series. Do you learn something from my other posts?
Today I will teach you how to create a personal avatar by your pictures so that you can use it on Steemit、Facebook、namecard and so on.
We will use Photoshop. Follow me step by step.
 親愛的Steemit朋友們,又來到了「跟著貓女這樣做」的單元,大家有沒有從之前的單元學到一些有用的技巧呢?
今天Teresa要教大家如何用自己的大頭照來做成一個美麗的頭像,可以使用在各種行銷自己的場合,例如Steemit頭像、名片或微信等各種社交平台。使用這樣的專屬頭像,可以凸顯你的個人特色,讓更多人關注你喔!
要做出這個酷炫的頭像,只需要透過Photoshop的簡單處理,就可以變成獨一無二的專屬頭像,我會透過詳細的步驟說明來一步一步帶著大家一起做,只要懂得基本的Photoshop操作就可以看得懂喔!接下來就跟著我一步一步操作吧!
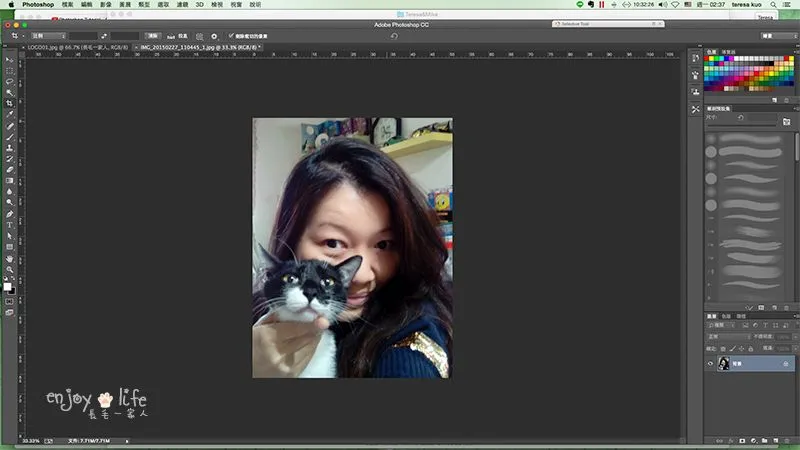
First, find a pictures you like with high contrast.Er-Mao will be my model today.
首先先找一張你喜歡的照片,最好是輪廓上有明顯的反差,轉成黑白時才會有漂亮的形狀,大家可以多試幾張照片,找出最適合的照片。今天就由二毛 和我示範給大家看~

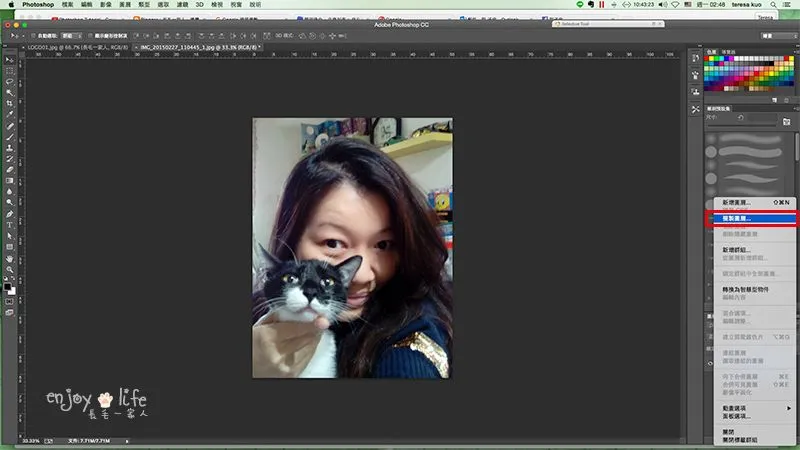
Copy the picture to another layer. We will work on the new layer you just copy.
首先選擇圖層按右鍵,複製一層原圖,接下來的步驟就在複製的圖層上執行。
這個動作建議大家養成習慣,盡量保留還沒有處理的圖,這樣萬一執行出來的結果不滿意,還可以再從原圖另外複製一張修改,反正Photoshop並沒有限制圖層的數量。
因為這篇文章希望讓只懂得最基本Photoshop操作的人可以很容易學會,所以每一個步驟我都不會教hotkey,而是從界面上的選單去選功能,所以不用怕對hotkey不熟會看不懂喔~
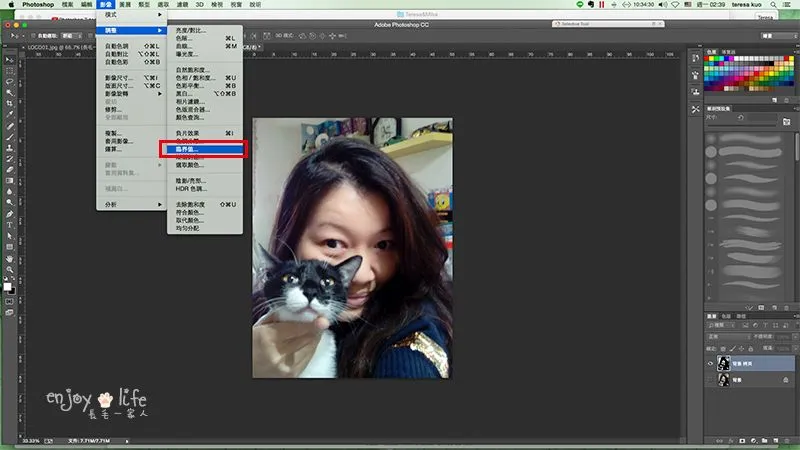
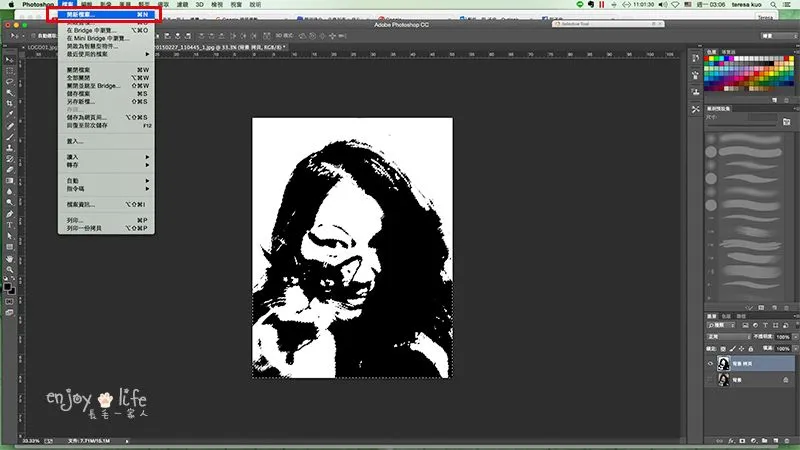
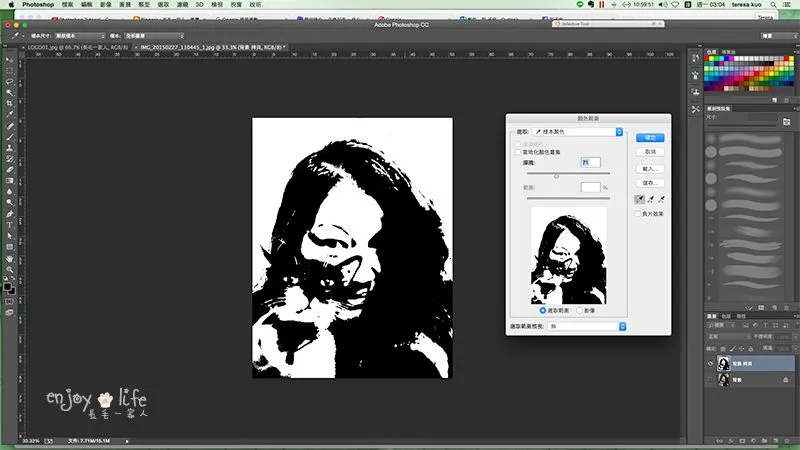
Image->Adjustments->Threshold
接下來,選擇剛剛複製的圖層,選擇menu上的影片->調整->臨界值
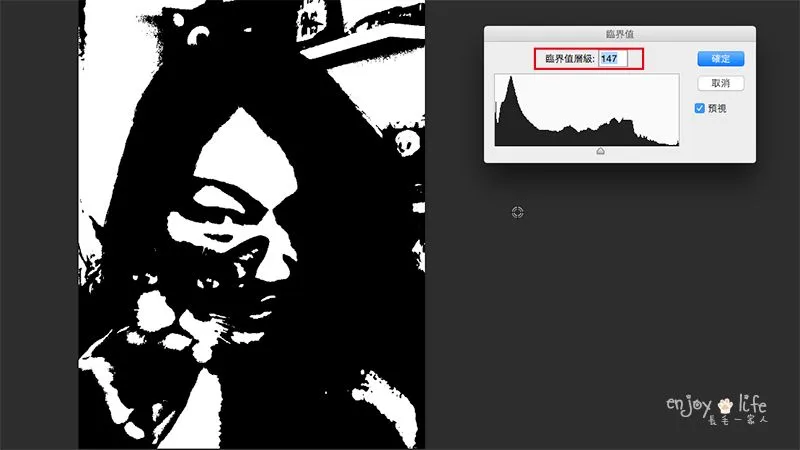
The bigger the value is, the more the black part has. This one is 147.
我們可以看到原本彩色的圖已經變成黑白的圖,臨界值的功能視窗會打開,可以調整臨界值的數值。數值越大,黑色的部分(暗面)越多。上面這張圖的數值是147。
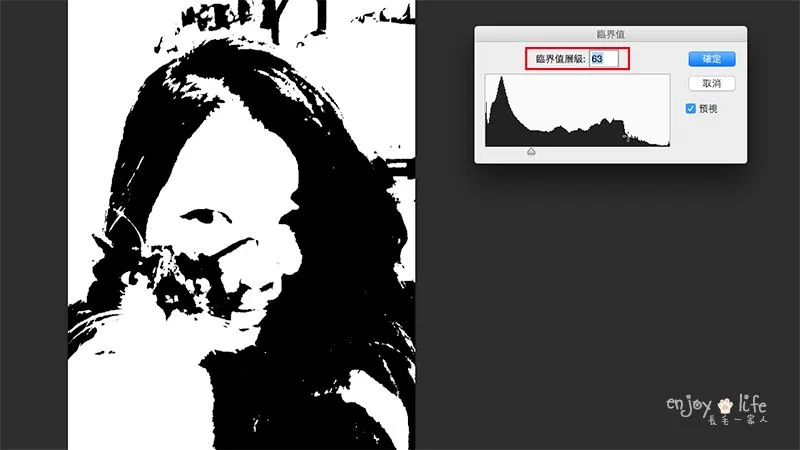
The smaller the value is, the more the white part has. This one is 63
數值調小,白色的部份(亮面)越多。上面這張圖的數值是63。

I finally use the value 110 and smaller value for hair.
調整到你喜歡的結果,然後按確定。上面這張圖的數值是110。
我發現以這張圖來說,數值調小的時候亮面太多,但是頭髮的細節會比較多,我很喜歡。所以最後我以數值110這張為基準,再另外做了一張數值小的圖層,把頭髮的部分修出細節來。
有沒有發現,當初留了原圖,這裡才可以再多做一個不同數值的圖層。
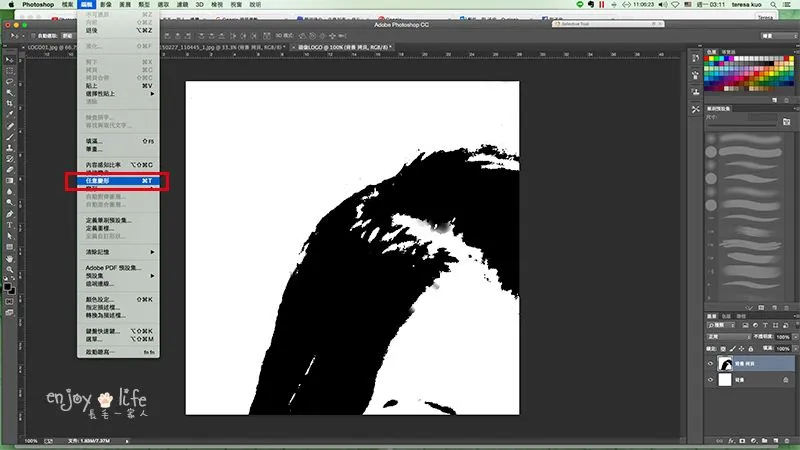
Clean the background. Now you get a basic avatar. Isn't it cool?
除了將頭髮的層次修出來之外,另外再把背景的雜物修掉。這時候頭像已經可以看出大概的基礎了,是不是開始覺得有點成就感了?
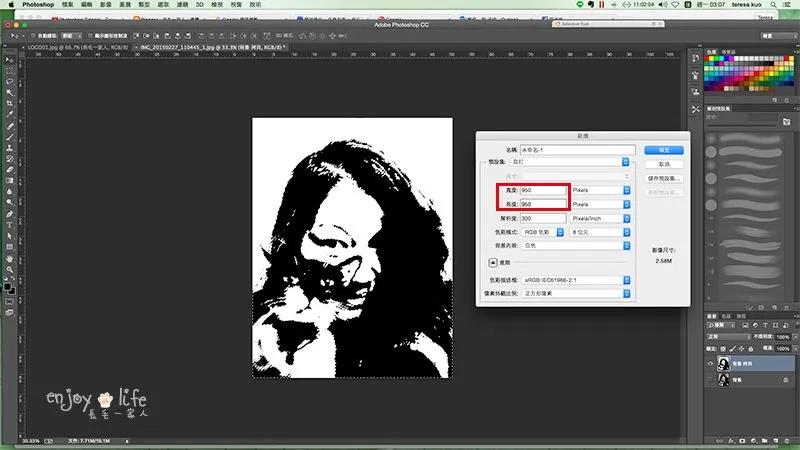
Open a new file
接下來我們開一個新檔案,輸入你想要的檔案大小後按確定。
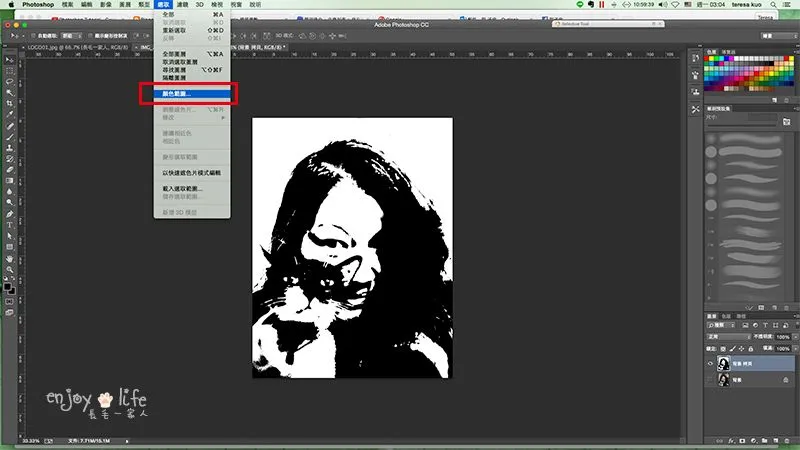
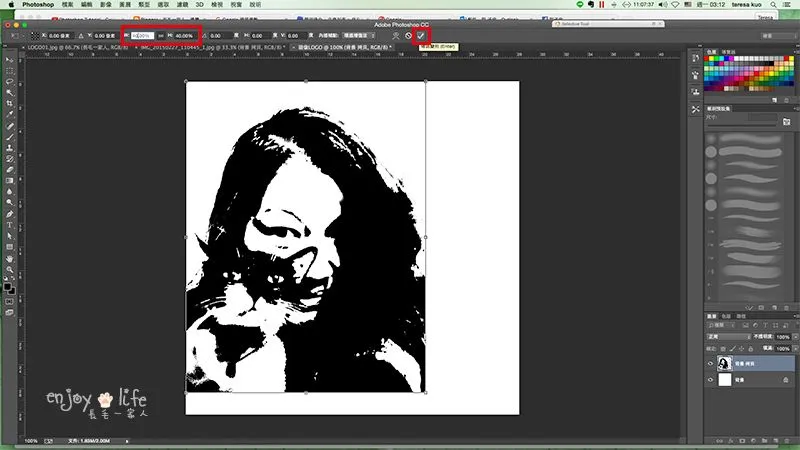
Select-> Color Range
回到之前製作的圖檔,從menu選擇選取->顏色範圍
Use the dropper to pick anywhere of the black area
顏色範圍的功能視窗打開,這時候游標會變成一個滴管,用滴管去選擇任一黑色的範圍,不需要調整任何數值,就可以按確定了。

Edit-> Copy, go to the new file, Edit-> Paste
這時我們會看到黑色的部分已經被選取,選擇menu中編輯->拷貝,複製被選取起來的部分。然後到剛才新開的檔案,選擇menu中編輯->貼上,把選起來的黑色部分貼到新的檔案中。
If the size is not proper, Edit-> Transform
貼到新檔案時,如果尺寸大小不對,就要選擇menu中編輯->任意變形
Resize and move the picture to the middle of the canvas, confirm.
調整到適當的大小後,把圖層移到畫面正中央,然後選勾勾確定。
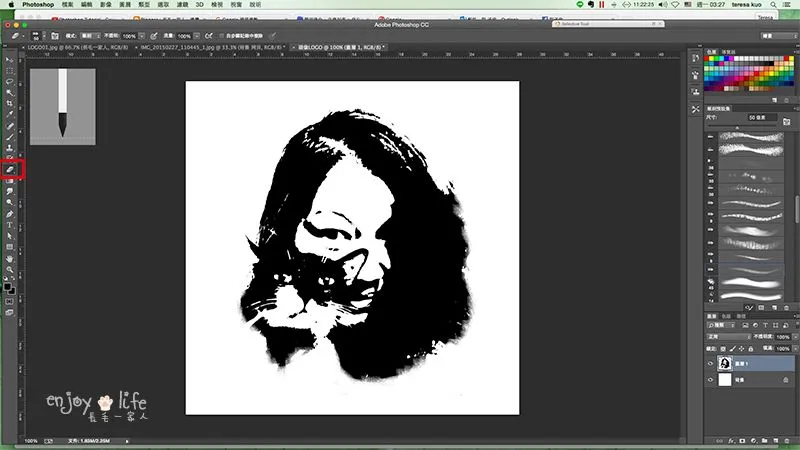
Erase the area you don't want
用橡皮擦把邊緣修整一下,接下來就可以開始上顏色了。有沒有越來越興奮的感覺?
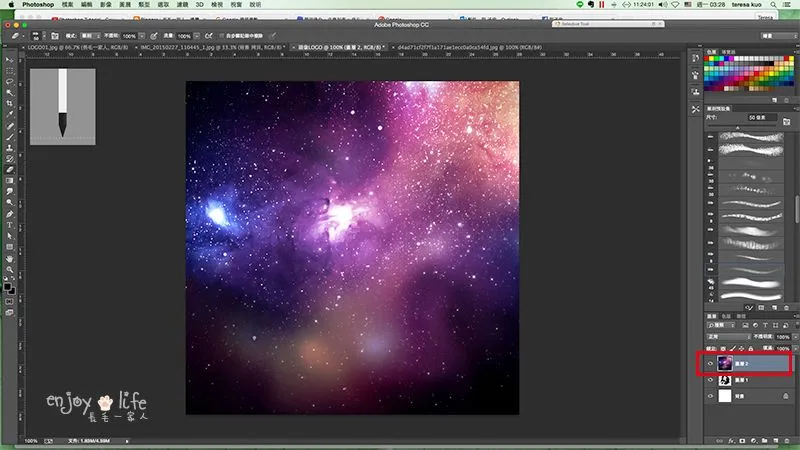
Find a picture for the color of your avatar. Load the picture on the upper layer of avatar.
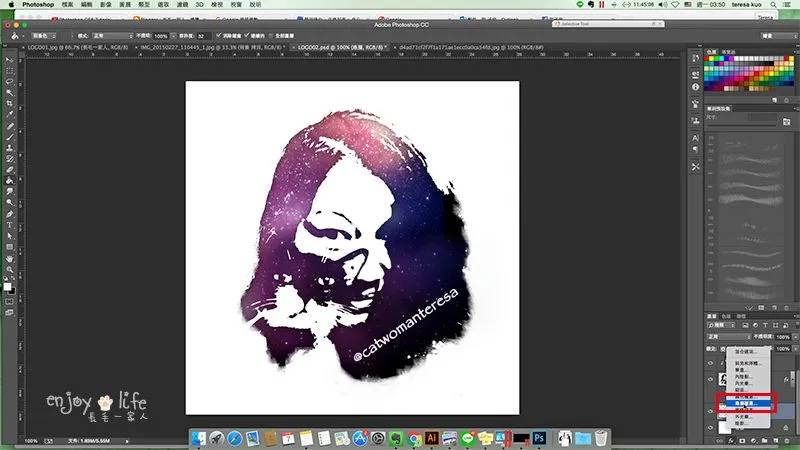
找一張喜歡的圖,加到新的圖層上,用來做頭像的顏色,圖片的選擇決定頭像呈現的效果和色調,大家可以發揮自己的美感,做出獨一無二的個性頭像。在這個示範,Teresa選了一張紫色調的宇宙星空圖。這裡要注意的是這張圖的圖層要放在黑白頭像的上面一層。
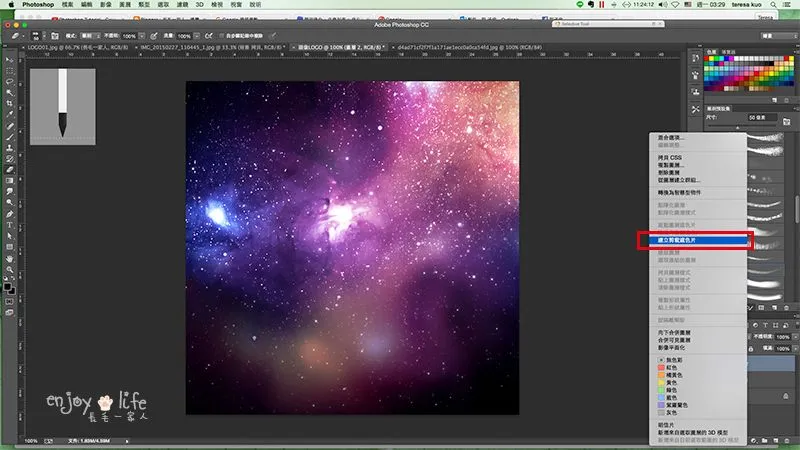
Choose the galaxy layer, right click->Create Mask
選擇這張星空圖的圖層,按滑鼠右鍵,選擇建立剪裁遮色片。
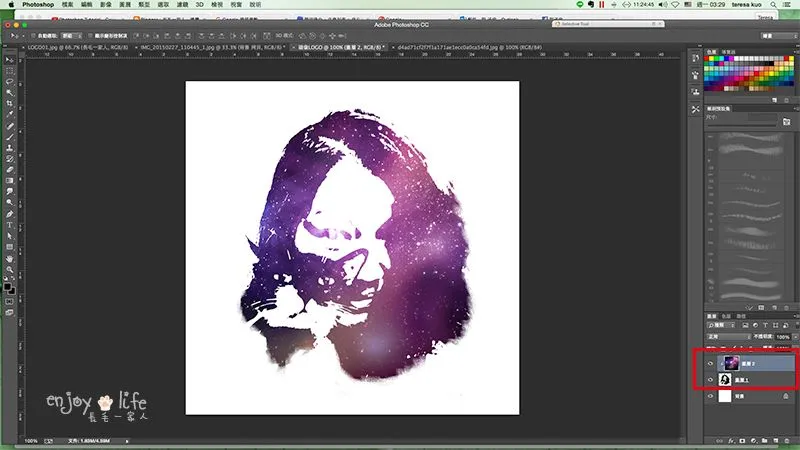
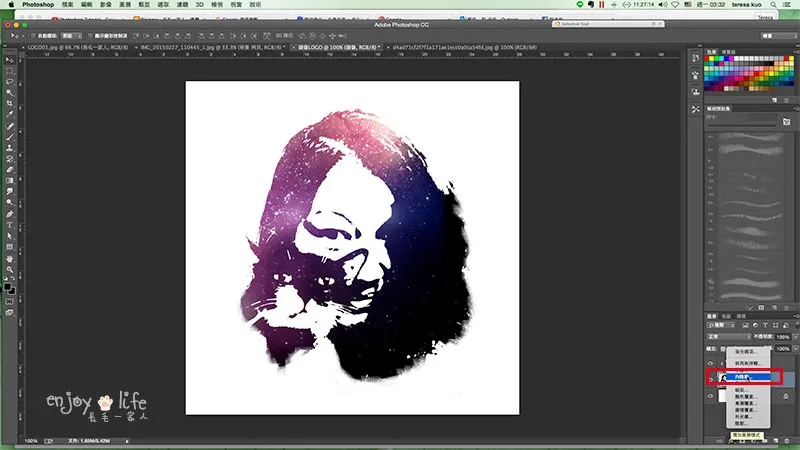
Now the avatar is colorful.
看到了嗎?星空圖和黑白的頭像建立了遮色片的連結,頭像有顏色了!
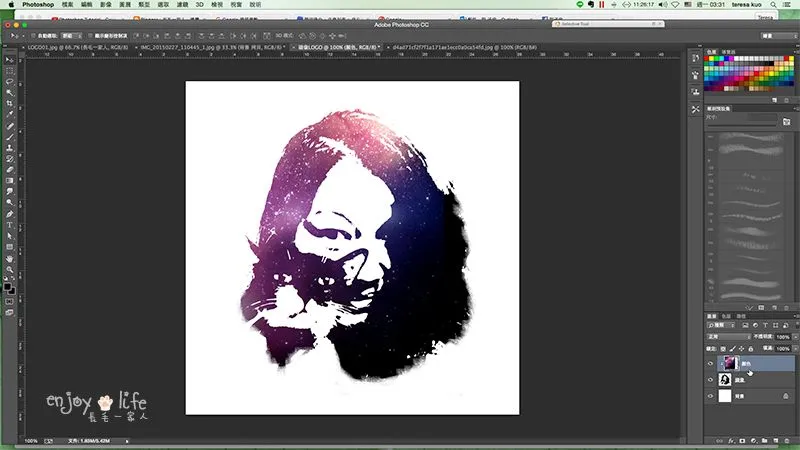
Move the galaxy picture to adjust the color. If you are satisfied, you can stop here. You can also follow me for more details.
這時候我們可以選擇星空圖,移動星空圖或調整圖的大小等來找出最適合的顏色圖案。
做到這裡,其實已經蠻漂亮了。可是Teresa覺得邊緣稍微單薄了一點,所以繼續再加上一點小小的effect。
這裡開始已經是細節的調整了,如果你對目前的成果已經滿意了,可以不用再繼續往下做。
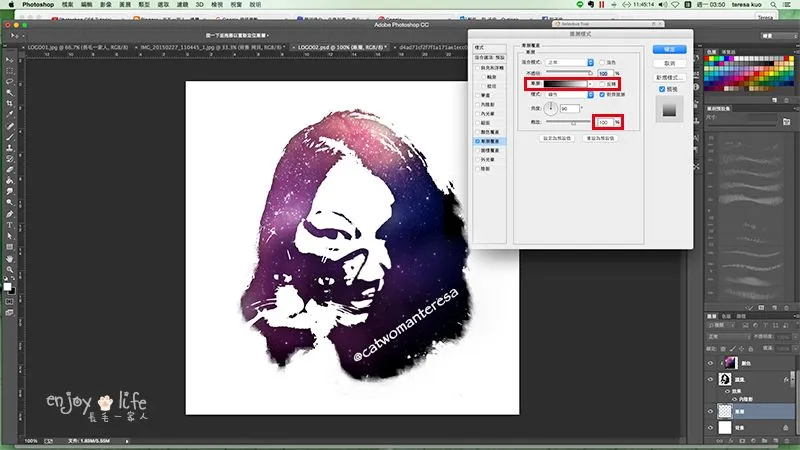
Choose the black and white avatar layer, add inner shadow effect
選擇黑白LOGO的圖層,加上內陰影的效果。
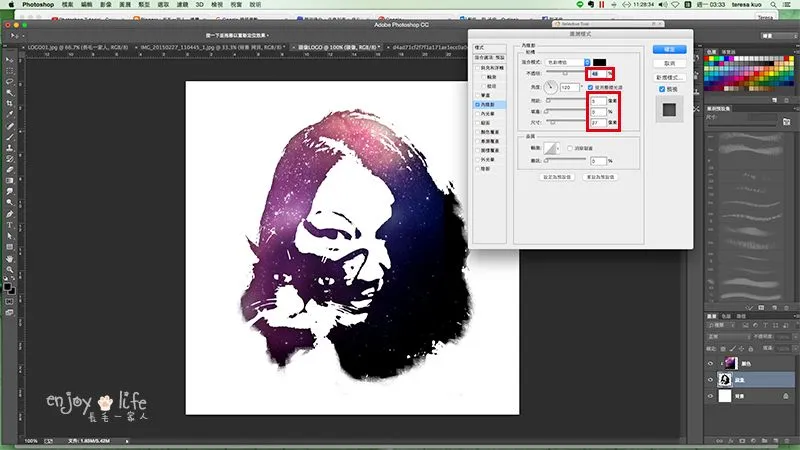
Adjust the value to get the effect you like
這個效果會讓邊界產生漸層,頭像看起來會比較有層次和厚度。陰影不需要太深,可以調整一下讓陰影的邊界模糊一點,看起來比較自然。
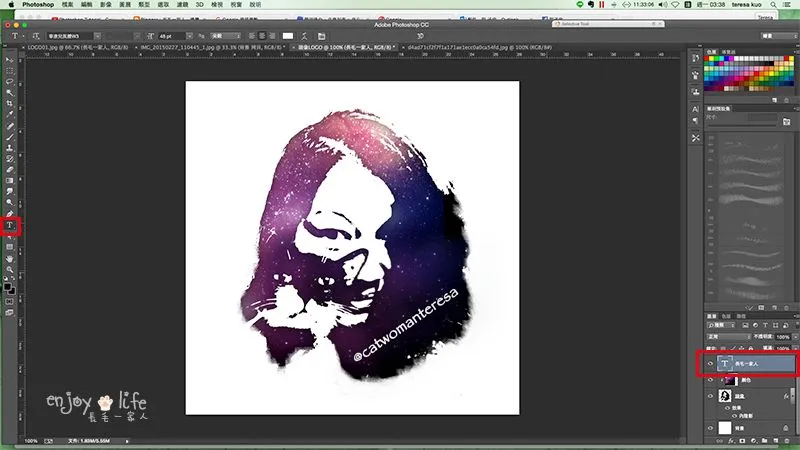
Type the word you like
在頭像上打上名稱。字體和顏色都可以依據自己的喜好調整。
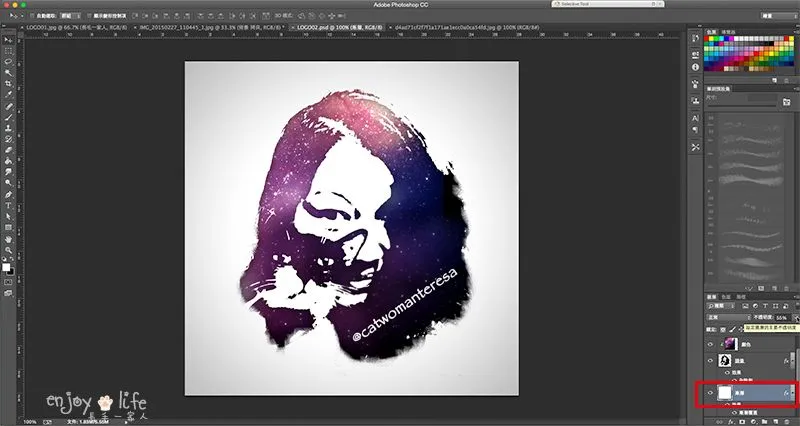
Add a new layer on background
如果覺得背景純白色太單調,可以增加一點漸層。先在背景圖層之上新增一個圖層,將這層圖層填上白色。
Add Gradient effect on background
在新增的圖層加上漸層覆蓋的效果
Adjust the color and value you want. I use the radial gradient and transparency 50%
調整漸層的顏色和數值,讓漸層達到自己想要的效果。這裡Teresa選擇放射性的圖層,反轉勾上,透明度調到50%
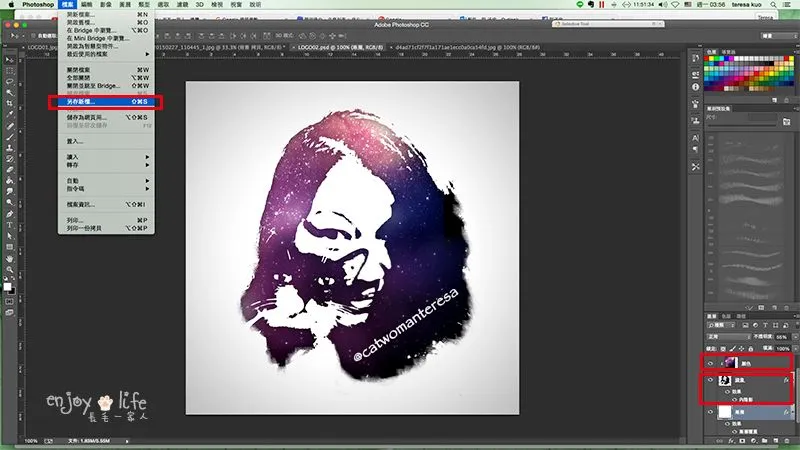
You can adjust the color by moving the galaxy picture. Save the file if you are satisfied.
最後可以再確認顏色和形狀輪廓是否滿意。若是要調整顏色就調整星空圖,要調整輪廓就修改黑白頭像圖層。
滿意之後,就可以儲存成JPG檔案啦!
This is the final work. Isn't it simple and cool? Follow the steps to create a beautiful avatar.
最後調整過後的完成品就像這樣啦!是不是很簡單又看起來很唬人?
趕快來跟著步驟做一遍,加上一張美麗的頭像,可以讓你的部落格更有個人特色喔!
© Copyright 所有照片與文字皆为原創 All rights reserved.

Thanks for reading.
If you would like to learn more about me, please read my self-intro.

Welcome to leave comment, upvote, resteem, and follow me. See you next time.
如果你想要更了解我,請看我的自我介紹

歡迎留言跟我聊天,我們下次見!