Hello, everyone. I hope everything in your life is going well.
INTRO
😁Welcome to my delightfully wacky artistic domain! I am a quirky artist who enjoys creating funny digital illustrations of humans, monsters, and aliens. I create characters that exist outside the bounds of ordinary imagination using limitless inventiveness and a sprinkle of eccentricity.
I am a crazy artist that enjoys creating humans, monsters, and aliens in wacky digital illustrations.😁
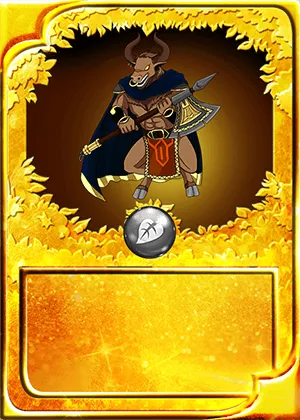
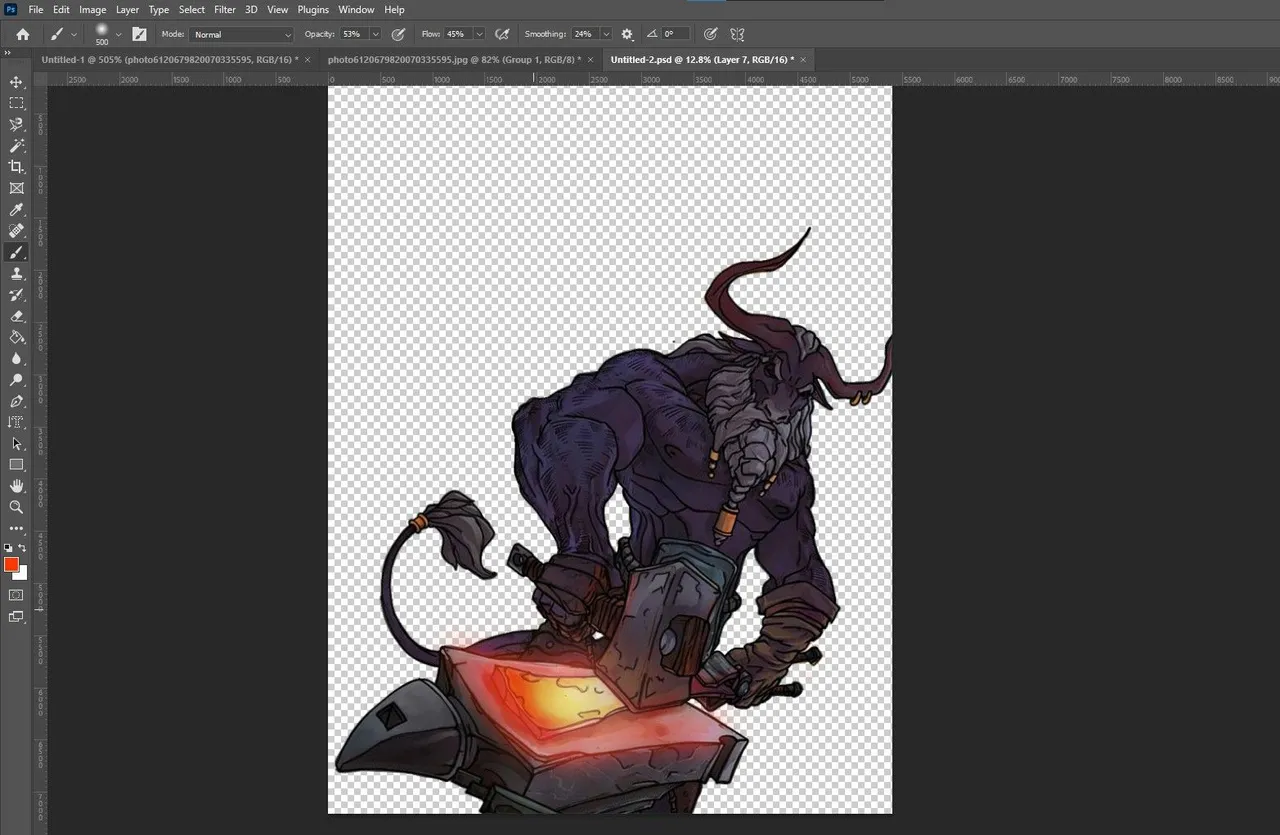
I've selected MINOTAUR WARRIOR for this entry.
Producing aesthetically great artwork necessitates the use of the proper tools to bring your ideas to life. In this blog post, I'll go over the tools I used to make my artwork, notably Adobe Illustrator and Photoshop. These strong software applications offer a wide range of features and capabilities to artists, allowing them to design, depict, and develop their work. Join me as we go through the steps of creating compelling art with Illustrator and Photoshop.
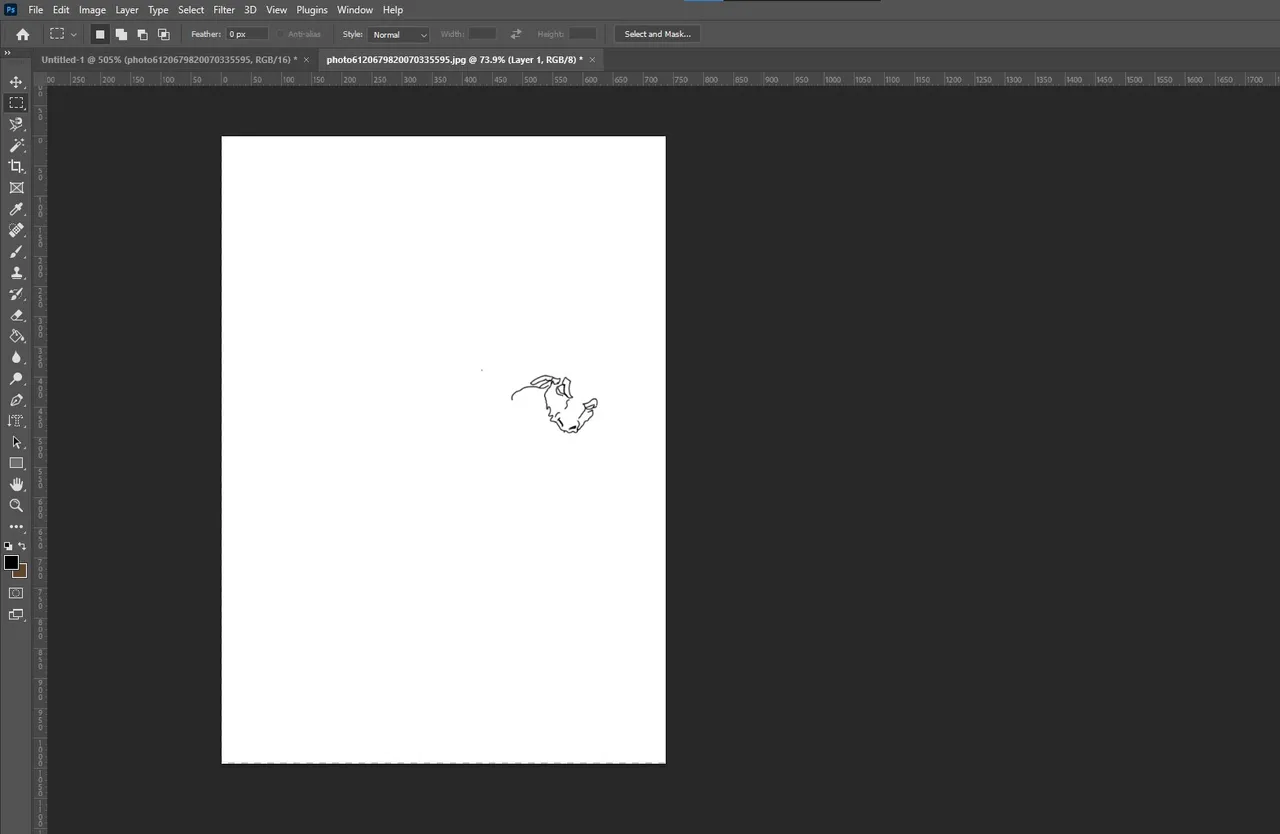
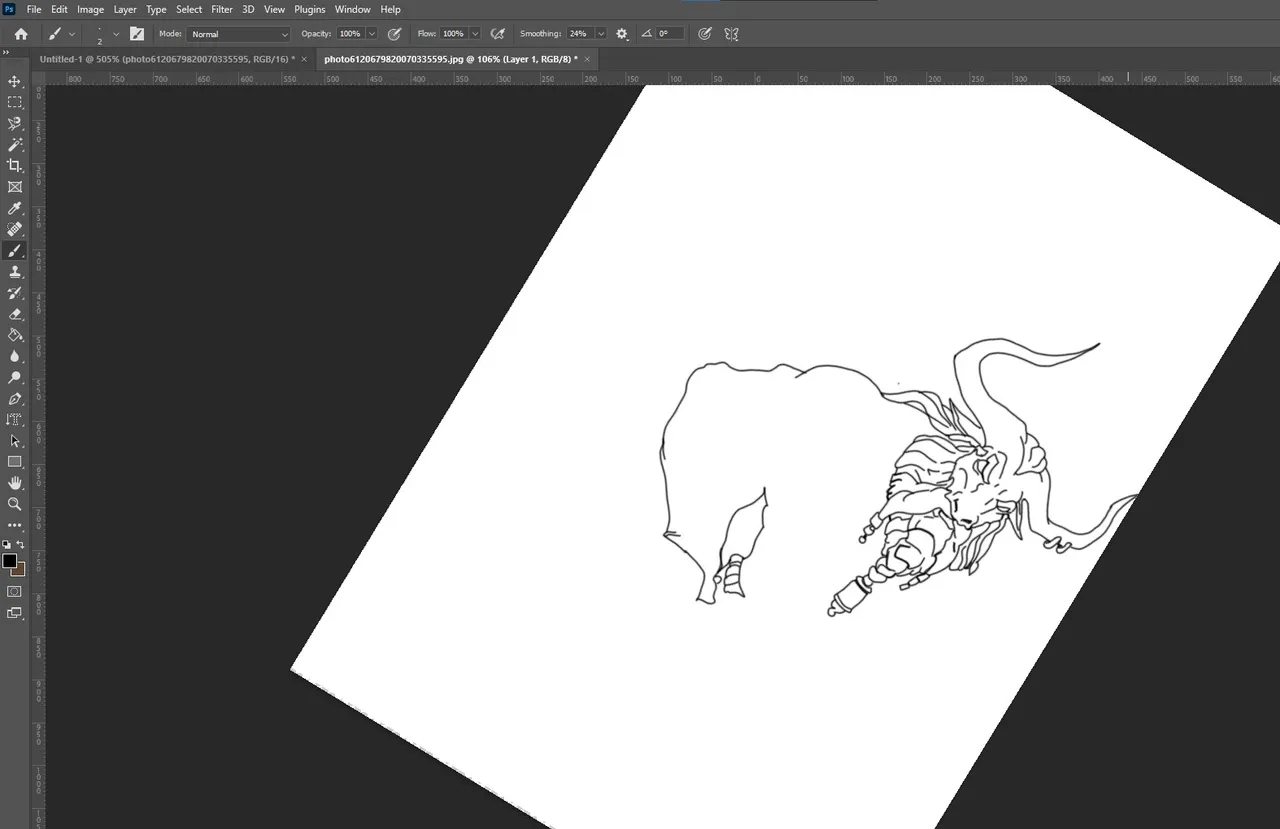
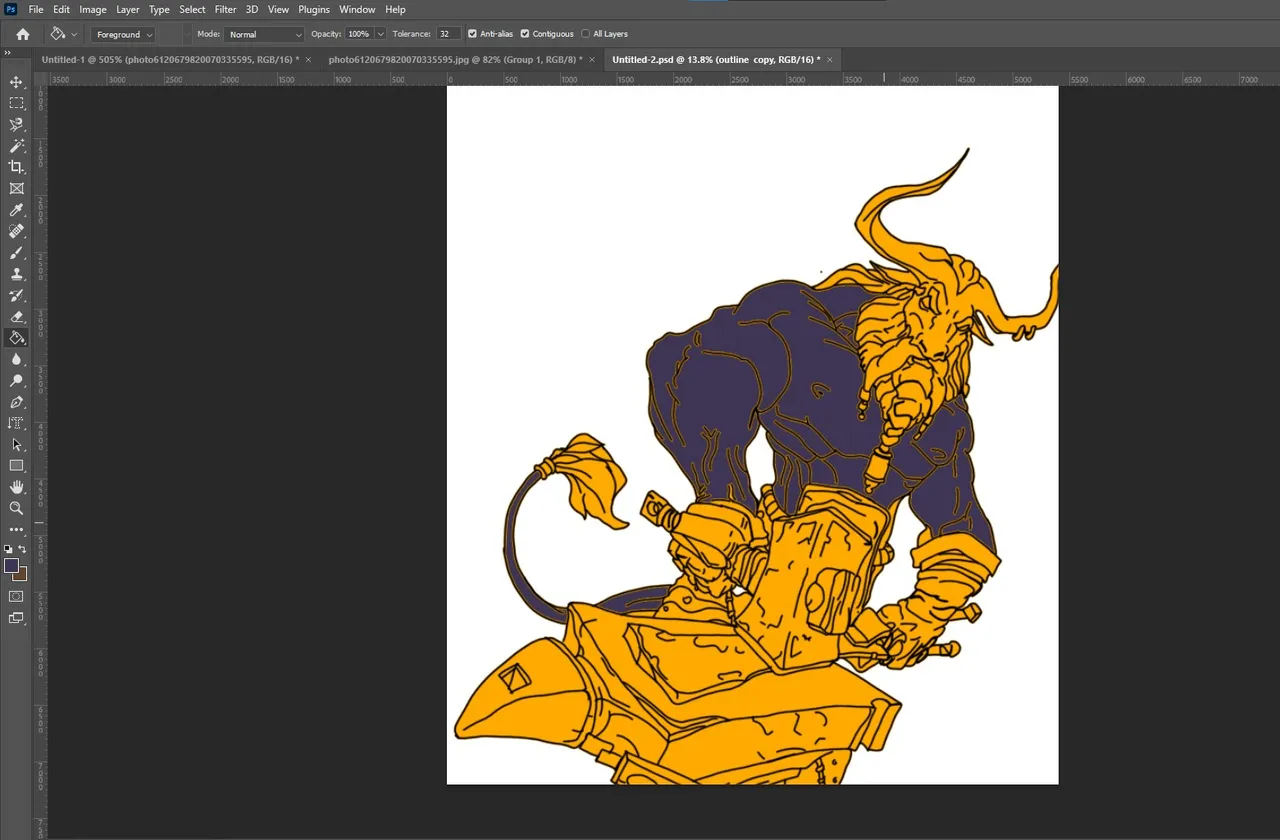
1.Character Design and Outlining:
Before getting into the specifics, it's important to understand what you want to achieve. I began by outlining my character in Illustrator and meticulously refining the lines to attain the desired aesthetic. This step lays the groundwork for future improvements to the artwork.
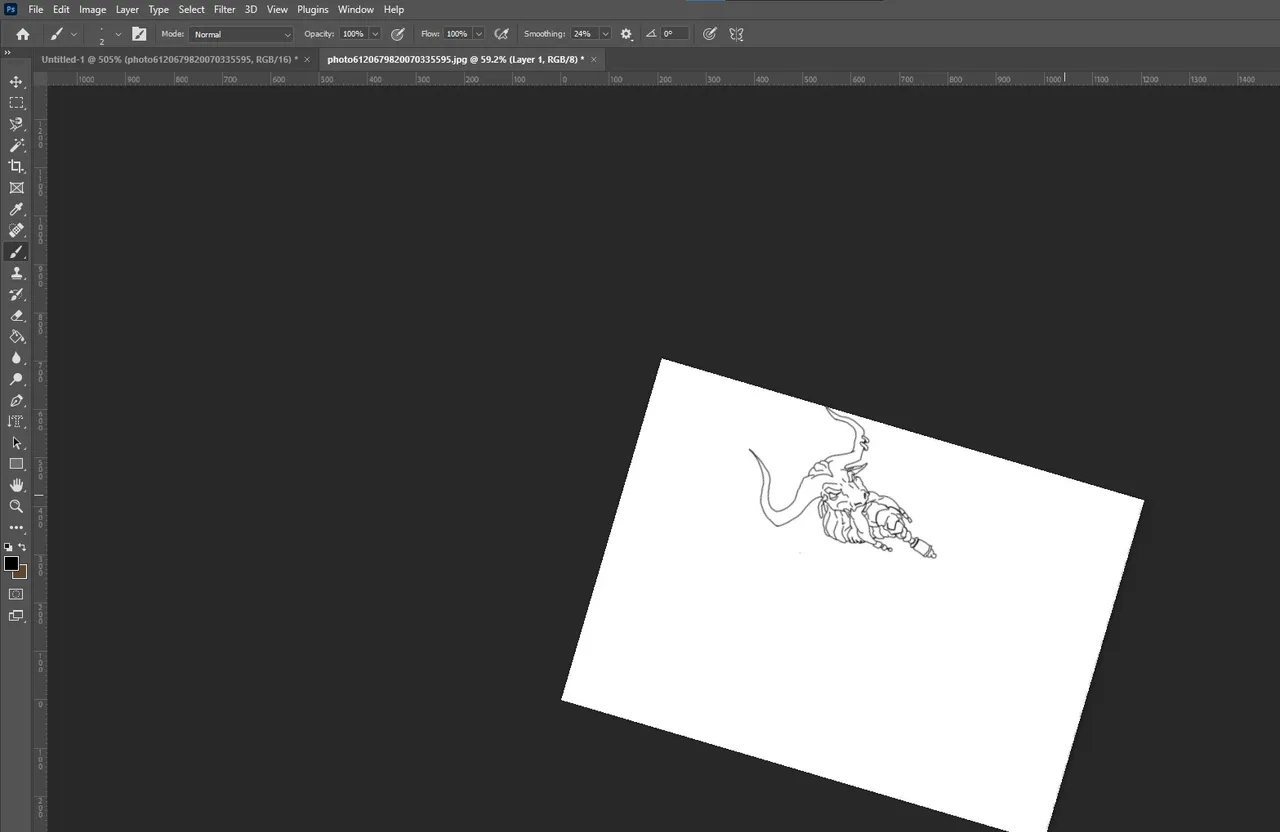
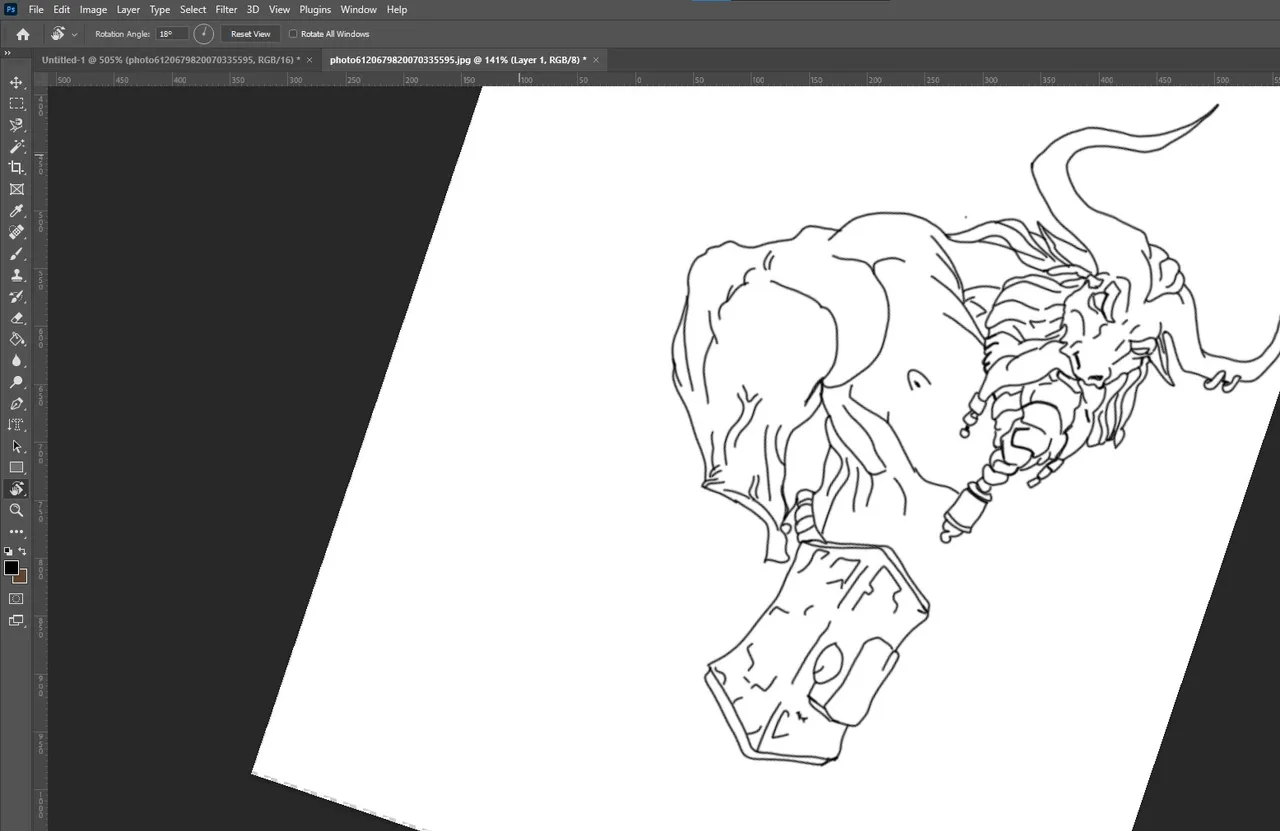
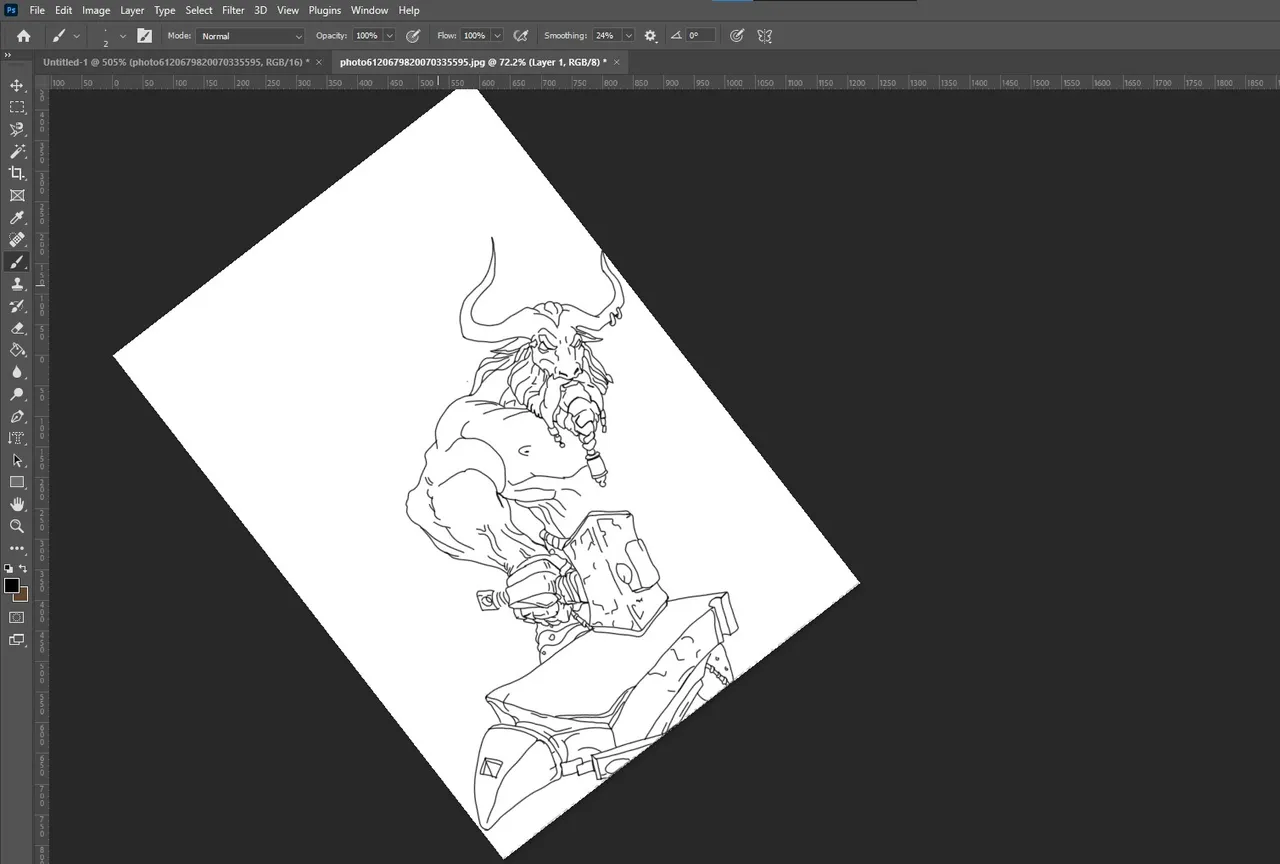
2.Adding Additional Details and Shadows:
Once the character design is complete, it's time to add extra features to the artwork to provide depth and perspective. I diligently develop the character, paying attention to every little detail, using thin lines and applying shadows. This attention to detail contributes to the art piece's overall aesthetic appeal and authenticity.
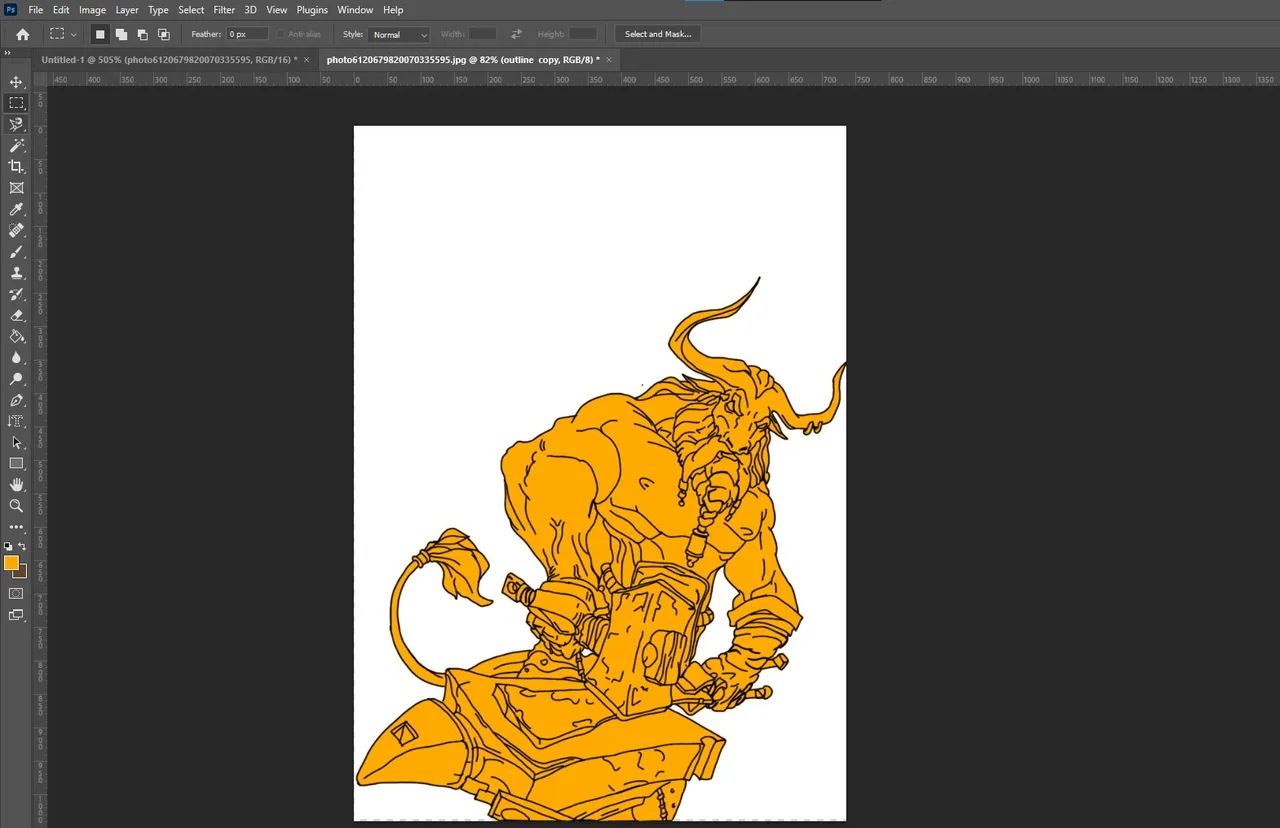
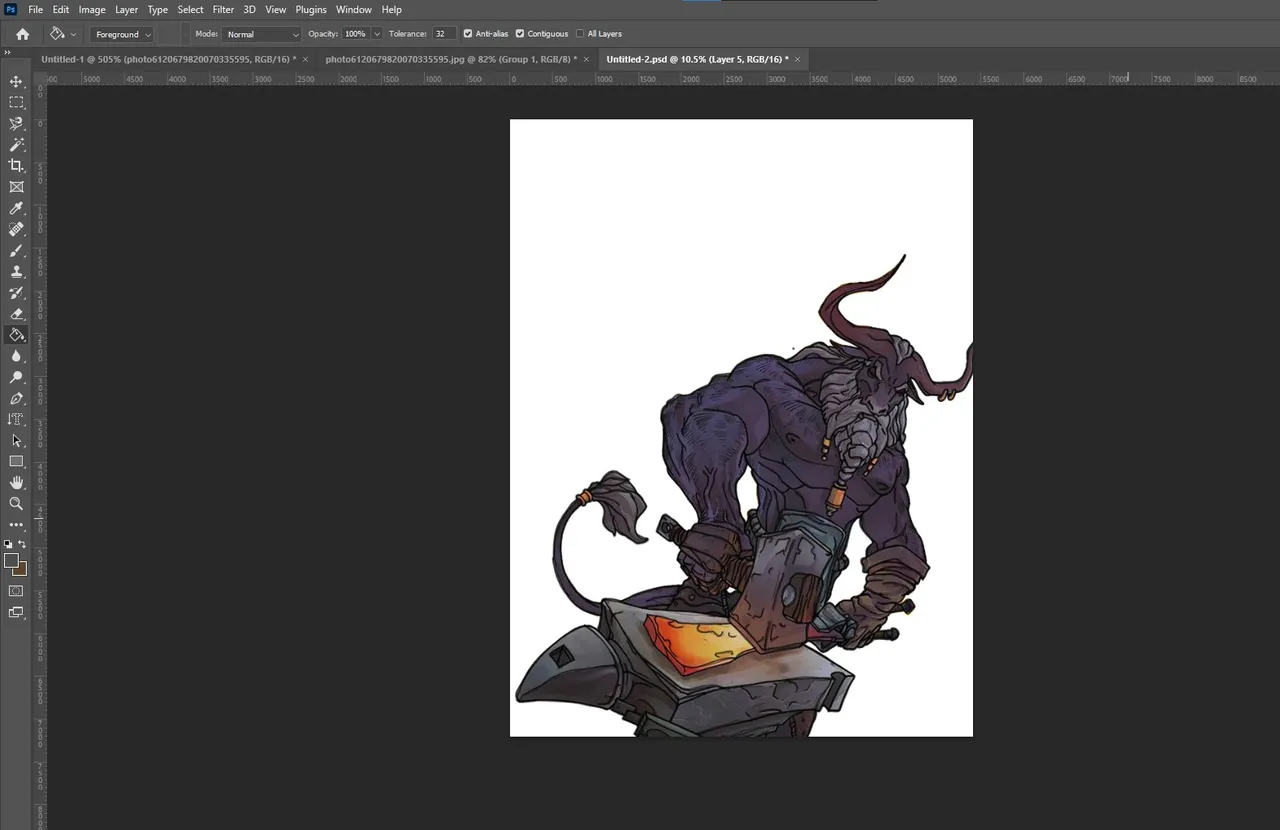
3.Colourization in Illustrator:--Colour is important in art, and Illustrator makes it easy to add colour to your characters. I use swatches to keep track of my colours and to create a consistent colour scheme for the artwork. Beginning with the base colours, I meticulously apply swatches to add shine and change the foundation colours by introducing light and dark tones. This procedure brings the characters to life, making them visually appealing.
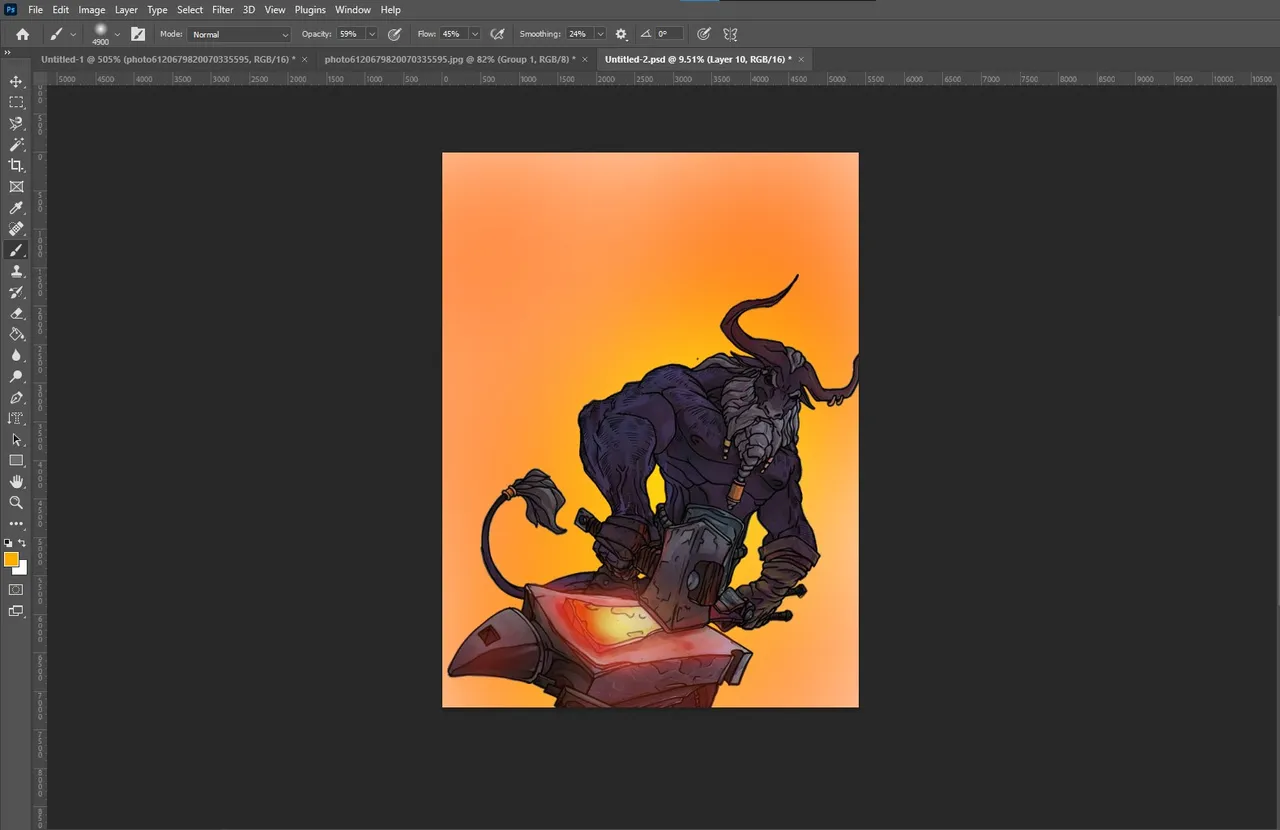
4.Creating and Coloring the Background:
Next, I use Illustrator to create an acceptable backdrop that complements the character. It is critical to maintain a coherent visual story by aligning the lighting locations with those of the characters. When the design is finished, I painstakingly colour the backdrop to ensure that it complements the overall artwork.
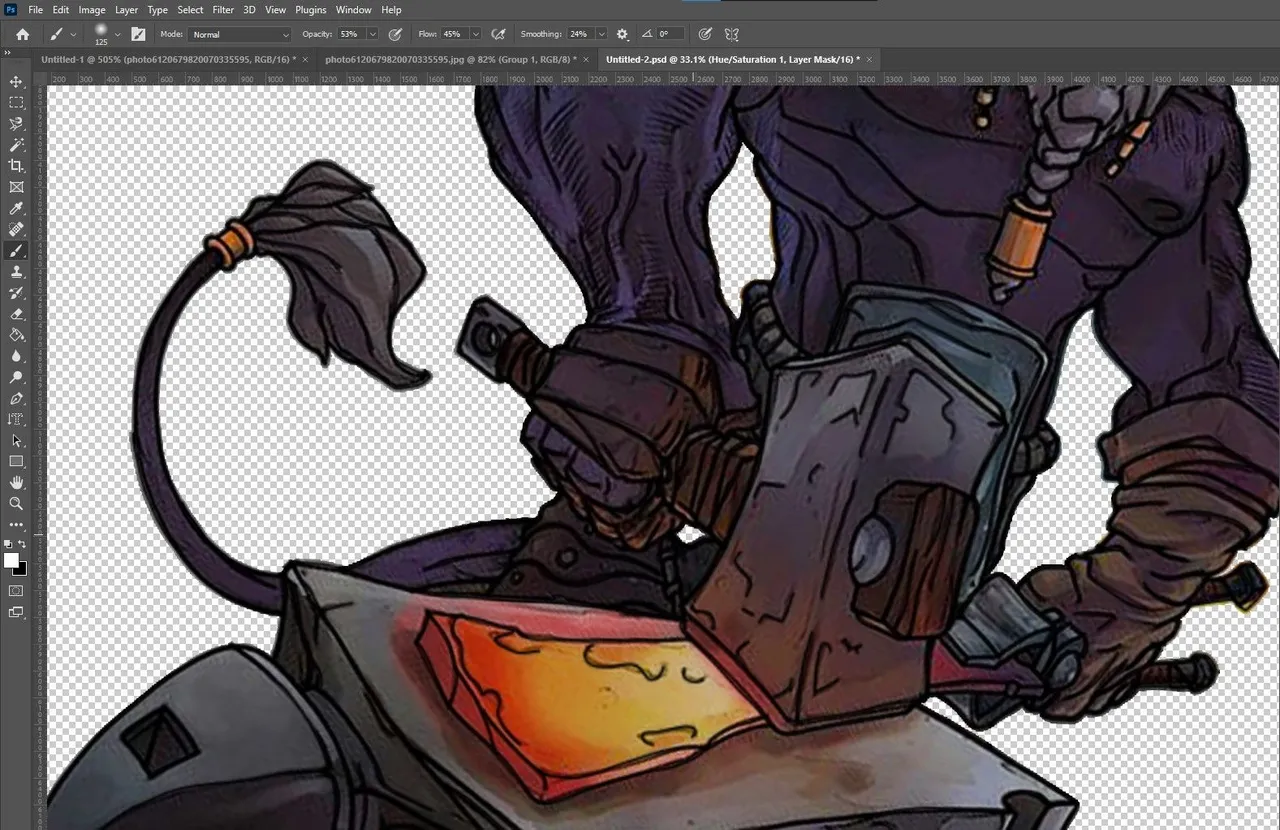
5.Emphasizing Shadows and Lighting:
Shadows are an important component in bringing artwork to life. To make the characters stand out visually, I highlight and combine their shadows, making them more obvious and realistic. In addition, I use backdrop lighting techniques to accentuate the lighting and shadows of the figures, resulting in a coherent and visually attractive picture.
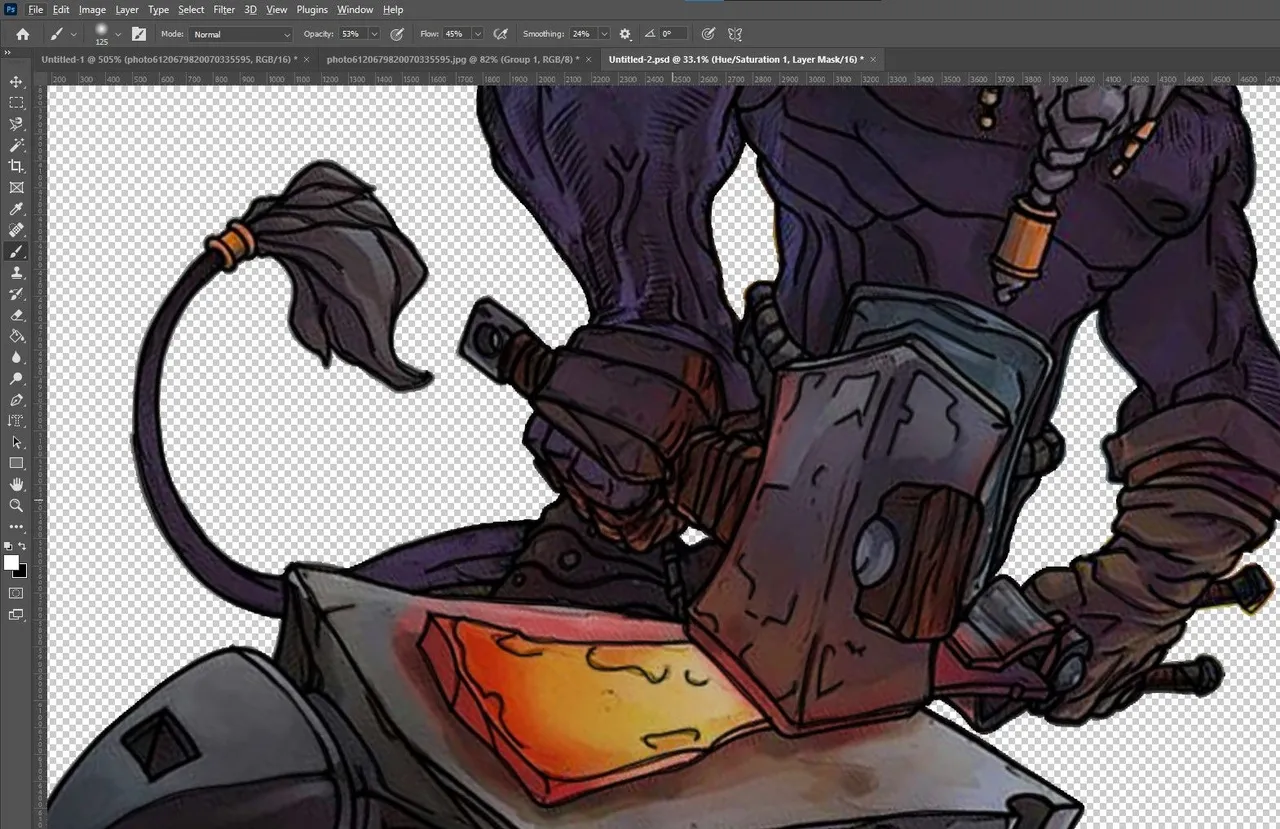
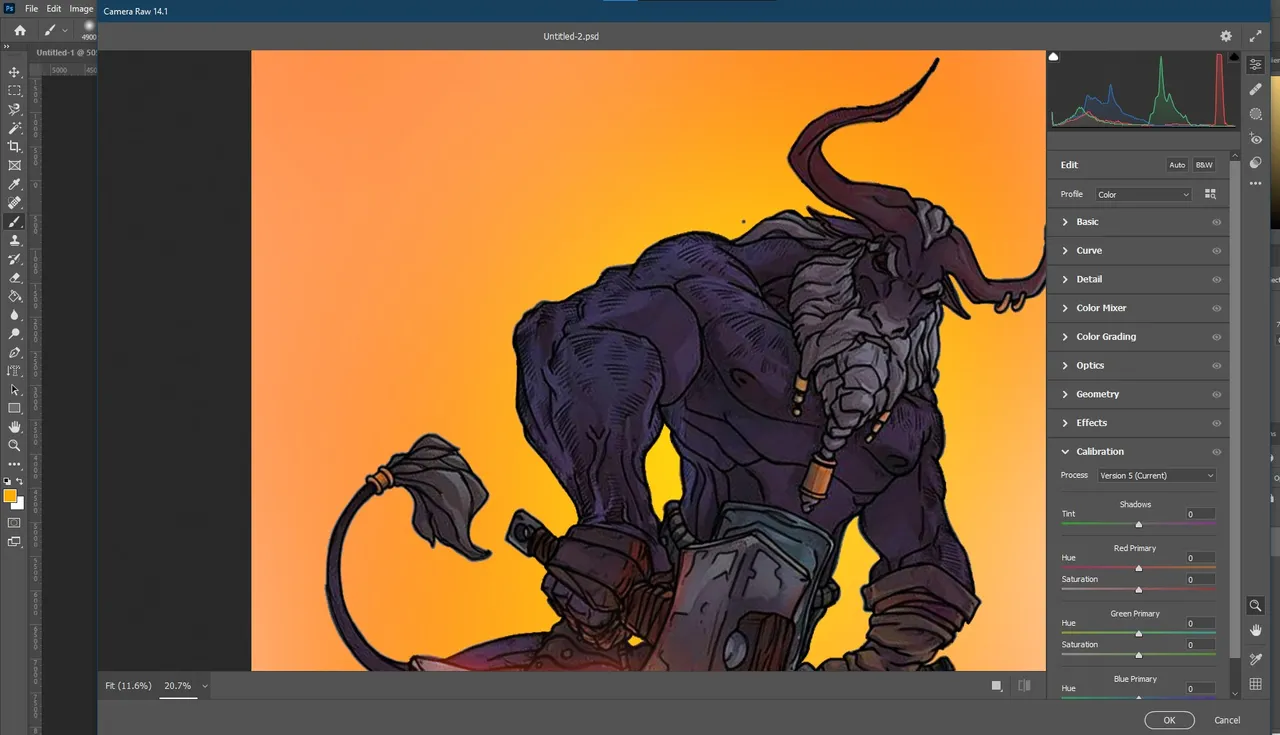
6.Final Touches and Color Enhancement:
Now that the artwork is starting to take shape, it's time to finalise the composition. To safeguard the original artwork, I consolidate all the layers, duplicate the group, and conceal the copy. This process guarantees that the original work is maintained while also allowing for future changes. To add depth and vibrancy, I use Photoshop's camera raw filter to blend and add more colours to the group, further boosting the artwork's visual appeal.
The creative process of bringing art to life with Illustrator and Photoshop is a joyful experience. Artists can design, refine, and enhance their artwork in previously inconceivable ways by utilising the features and capabilities of these advanced software apps. Whether you're a professional artist or an aspiring hobbyist, utilising these tools gives you a world of possibilities for creating intriguing and visually amazing art. Now grab your digital canvas and let your imagination run wild with Illustrator and Photoshop.
The workflow is depicted in the screenshot below.

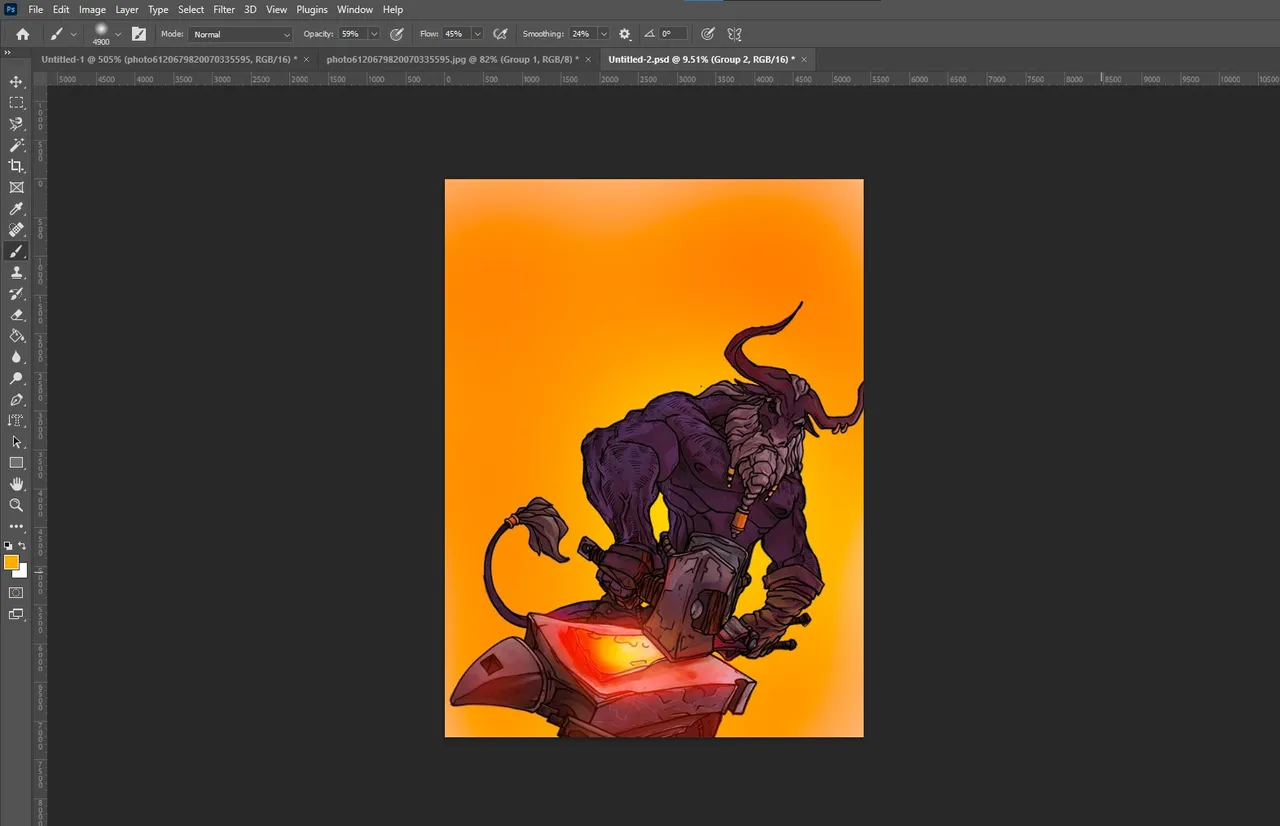
Here are the final outcomes
Thank you for sticking with me until the end. Please provide feedback on what you think of my artwork.
I'll see you all again in another post.
 👽
👽