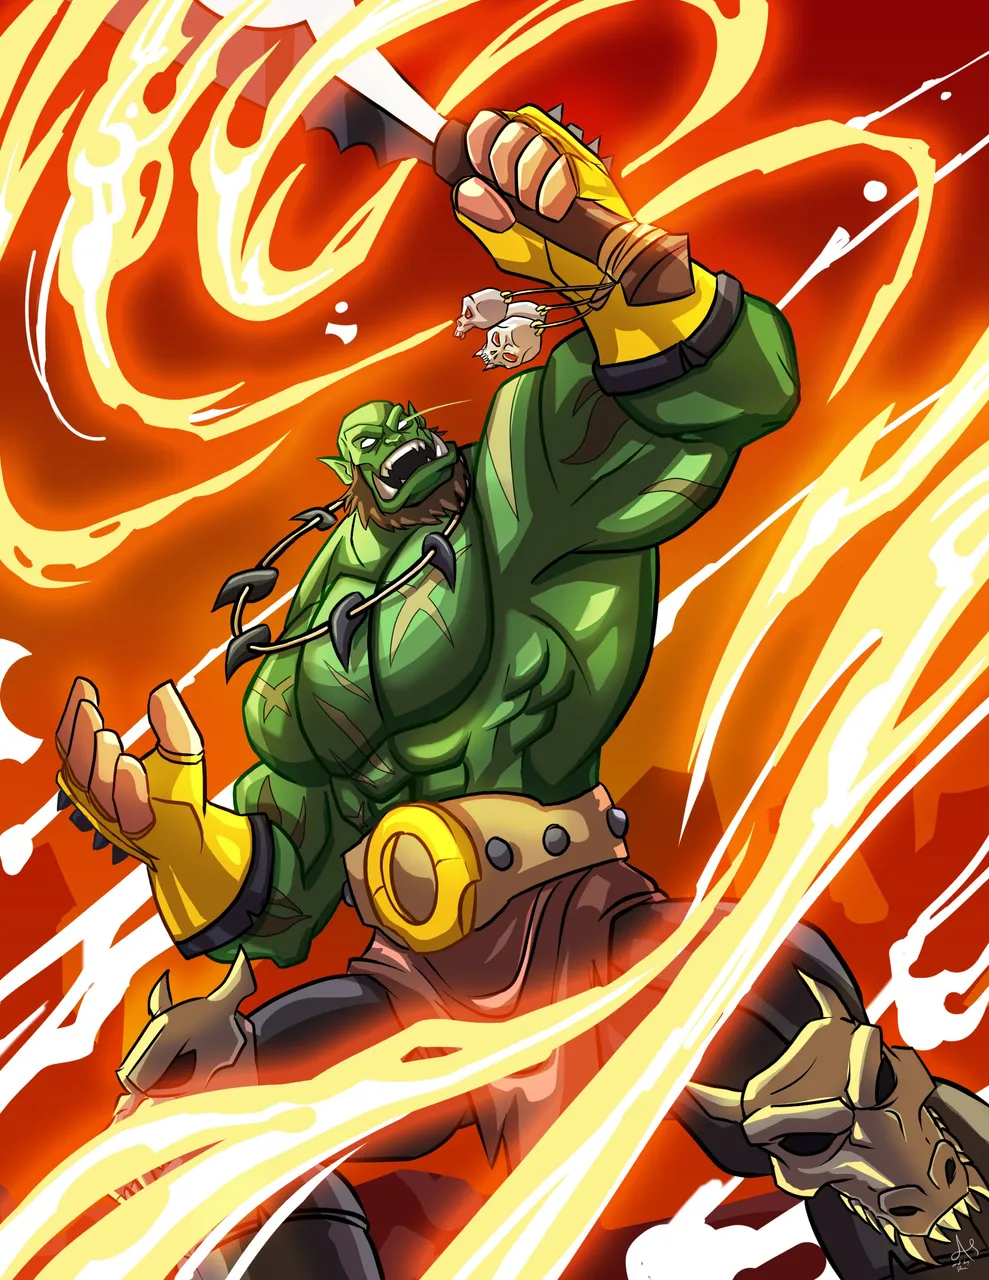
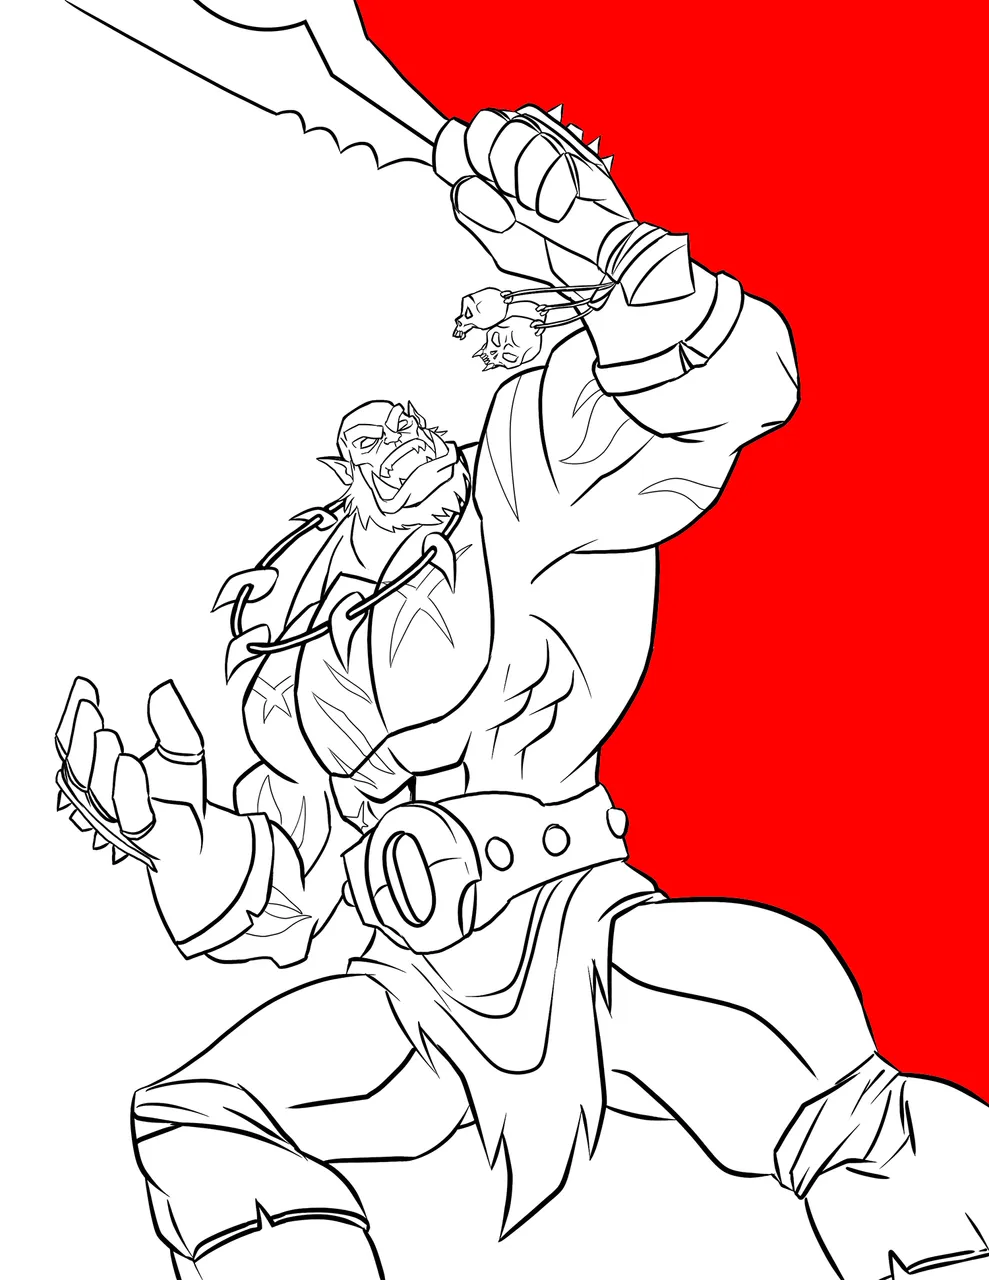
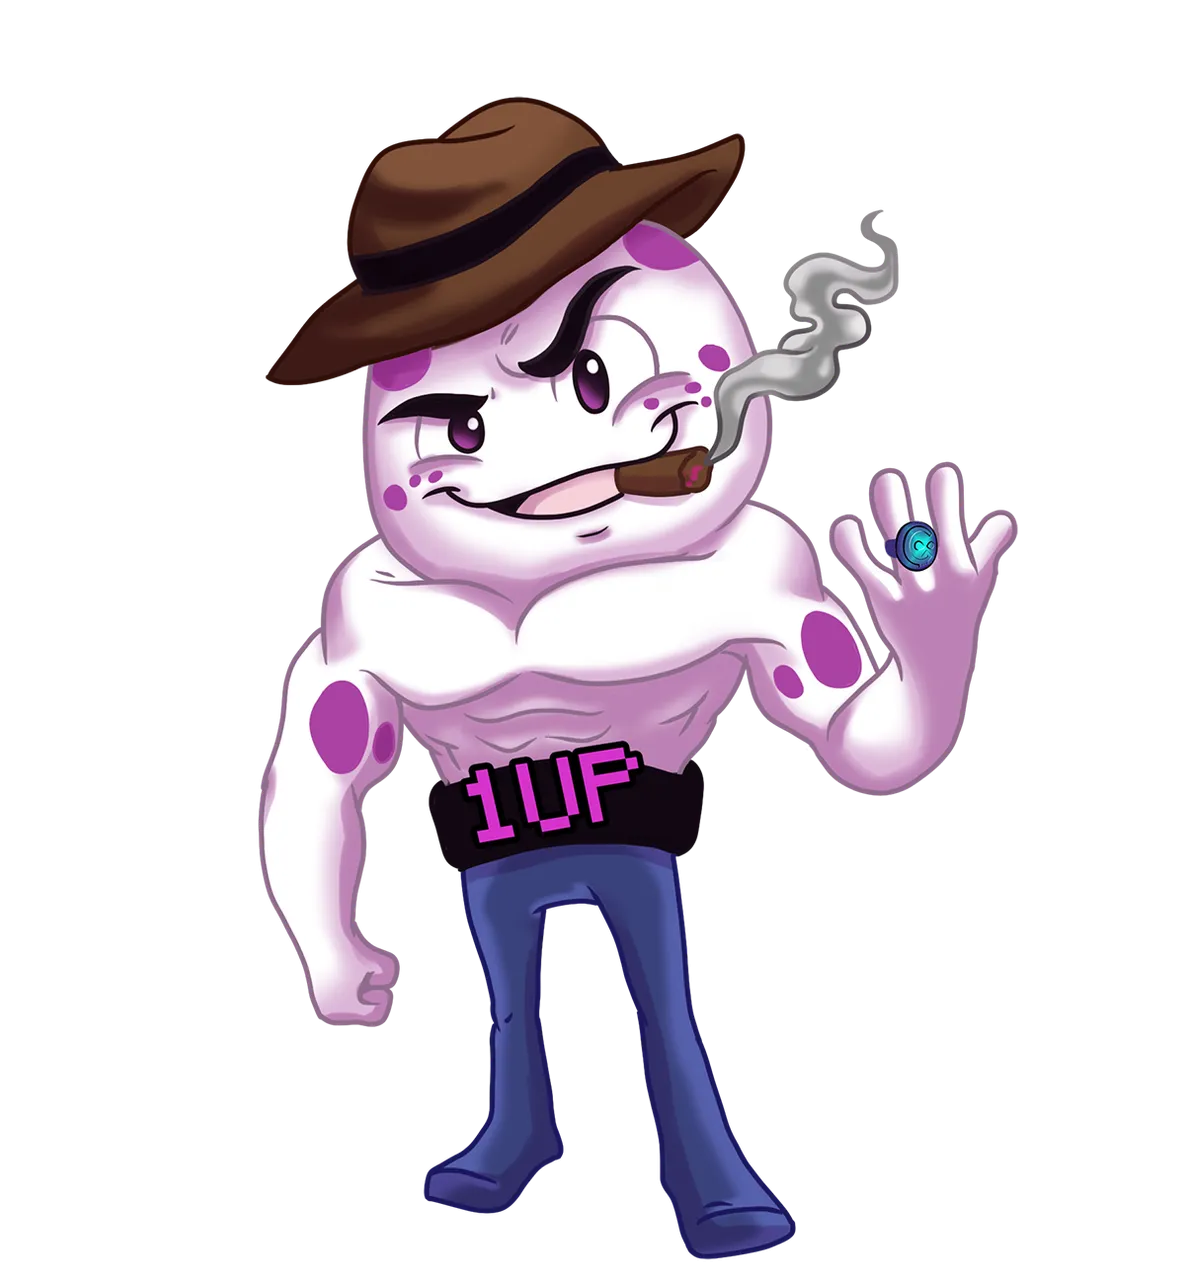
Grum raised his greatsword above his head and shouted. "Draykh un Fliera!" This is a fan art submission to Splinterlands Art Contest.

The Creation of Grum Flameblade Fan Art
Greetings everyone! It is me again Steven.
Today, I'd like to share to you my Art entry of the weekly contest in Splinterlands. You could join the Contest by clicking this LINK HERE.
I will teach you some technique that I learned in my drawing process (for beginners only). So come on and let's dive into the Digital Art Making Process.

Materials and Software
Adobe Photoshop CC
Paint Tool Sai Ver.1
HUION H640P graphic tablet
ASUS X415 Laptop

Digital Fan Art Process
STEP 1
Gather information
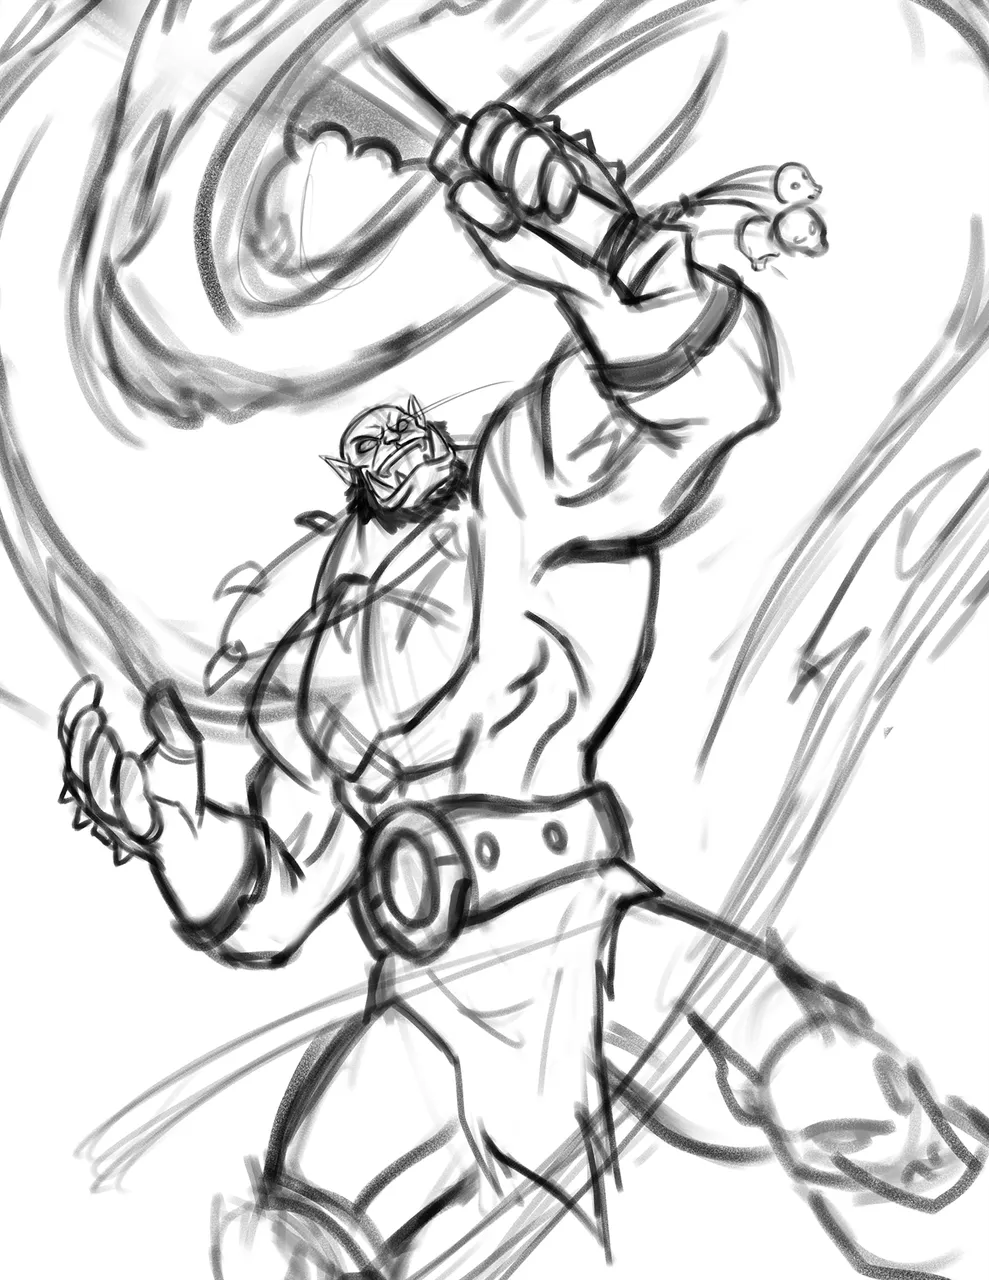
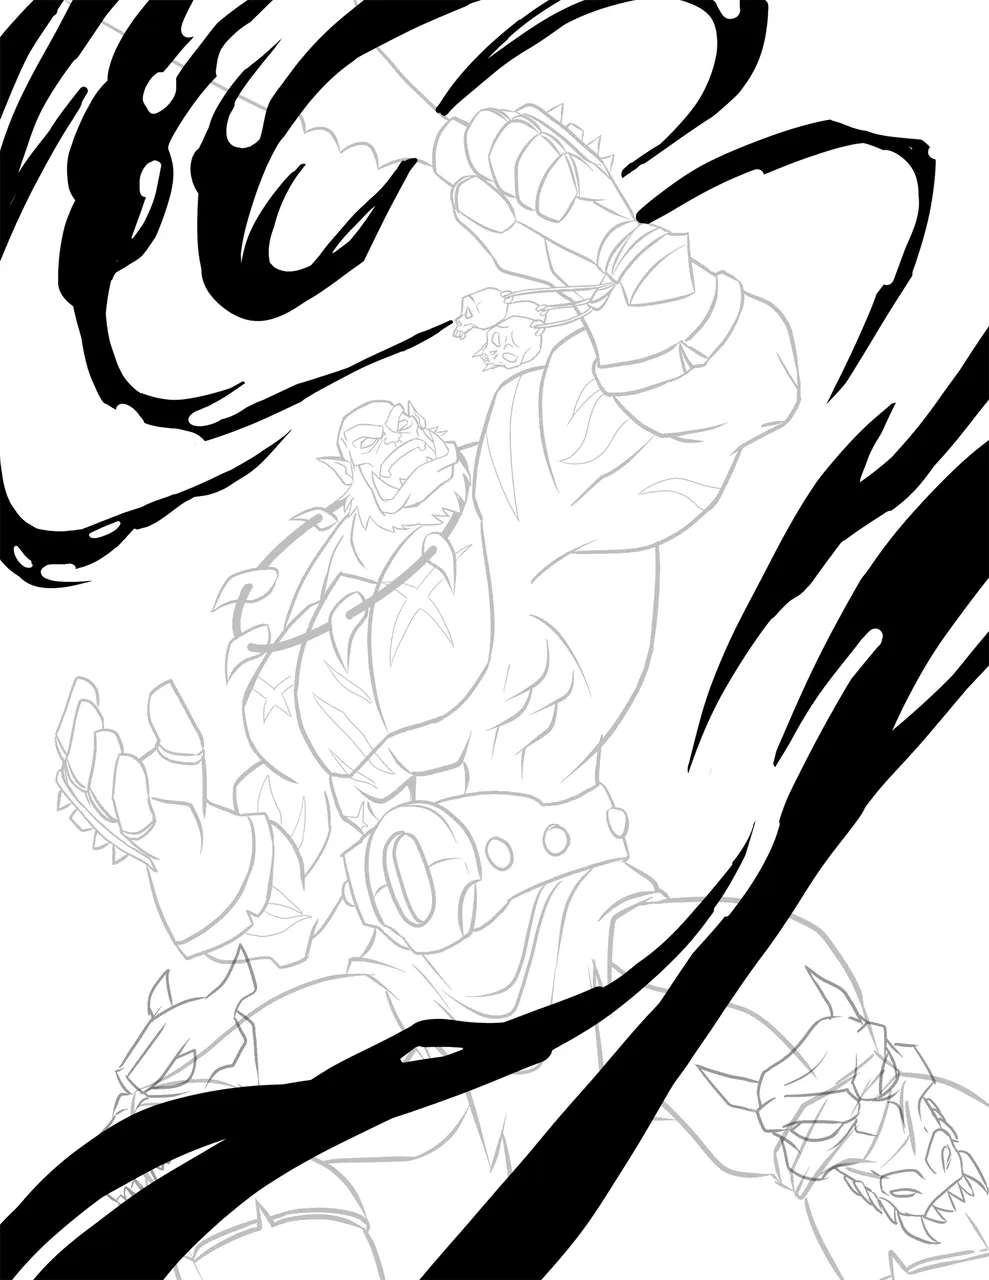
First thing that I did was gathering information about the character or monster card that I wanted to create. You could read Grum Flameblade Story here and also the reference image I used.
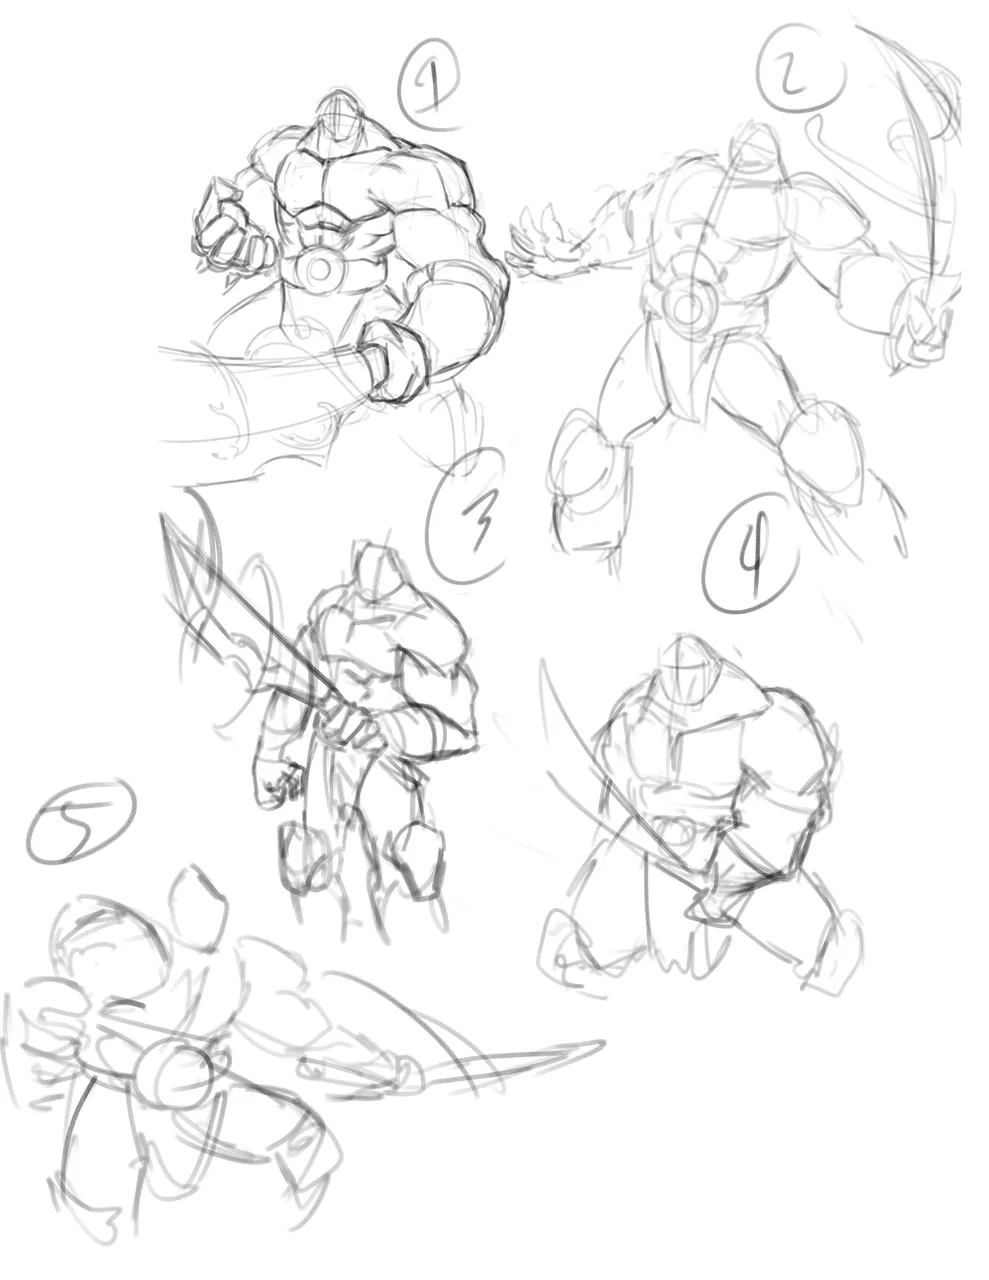
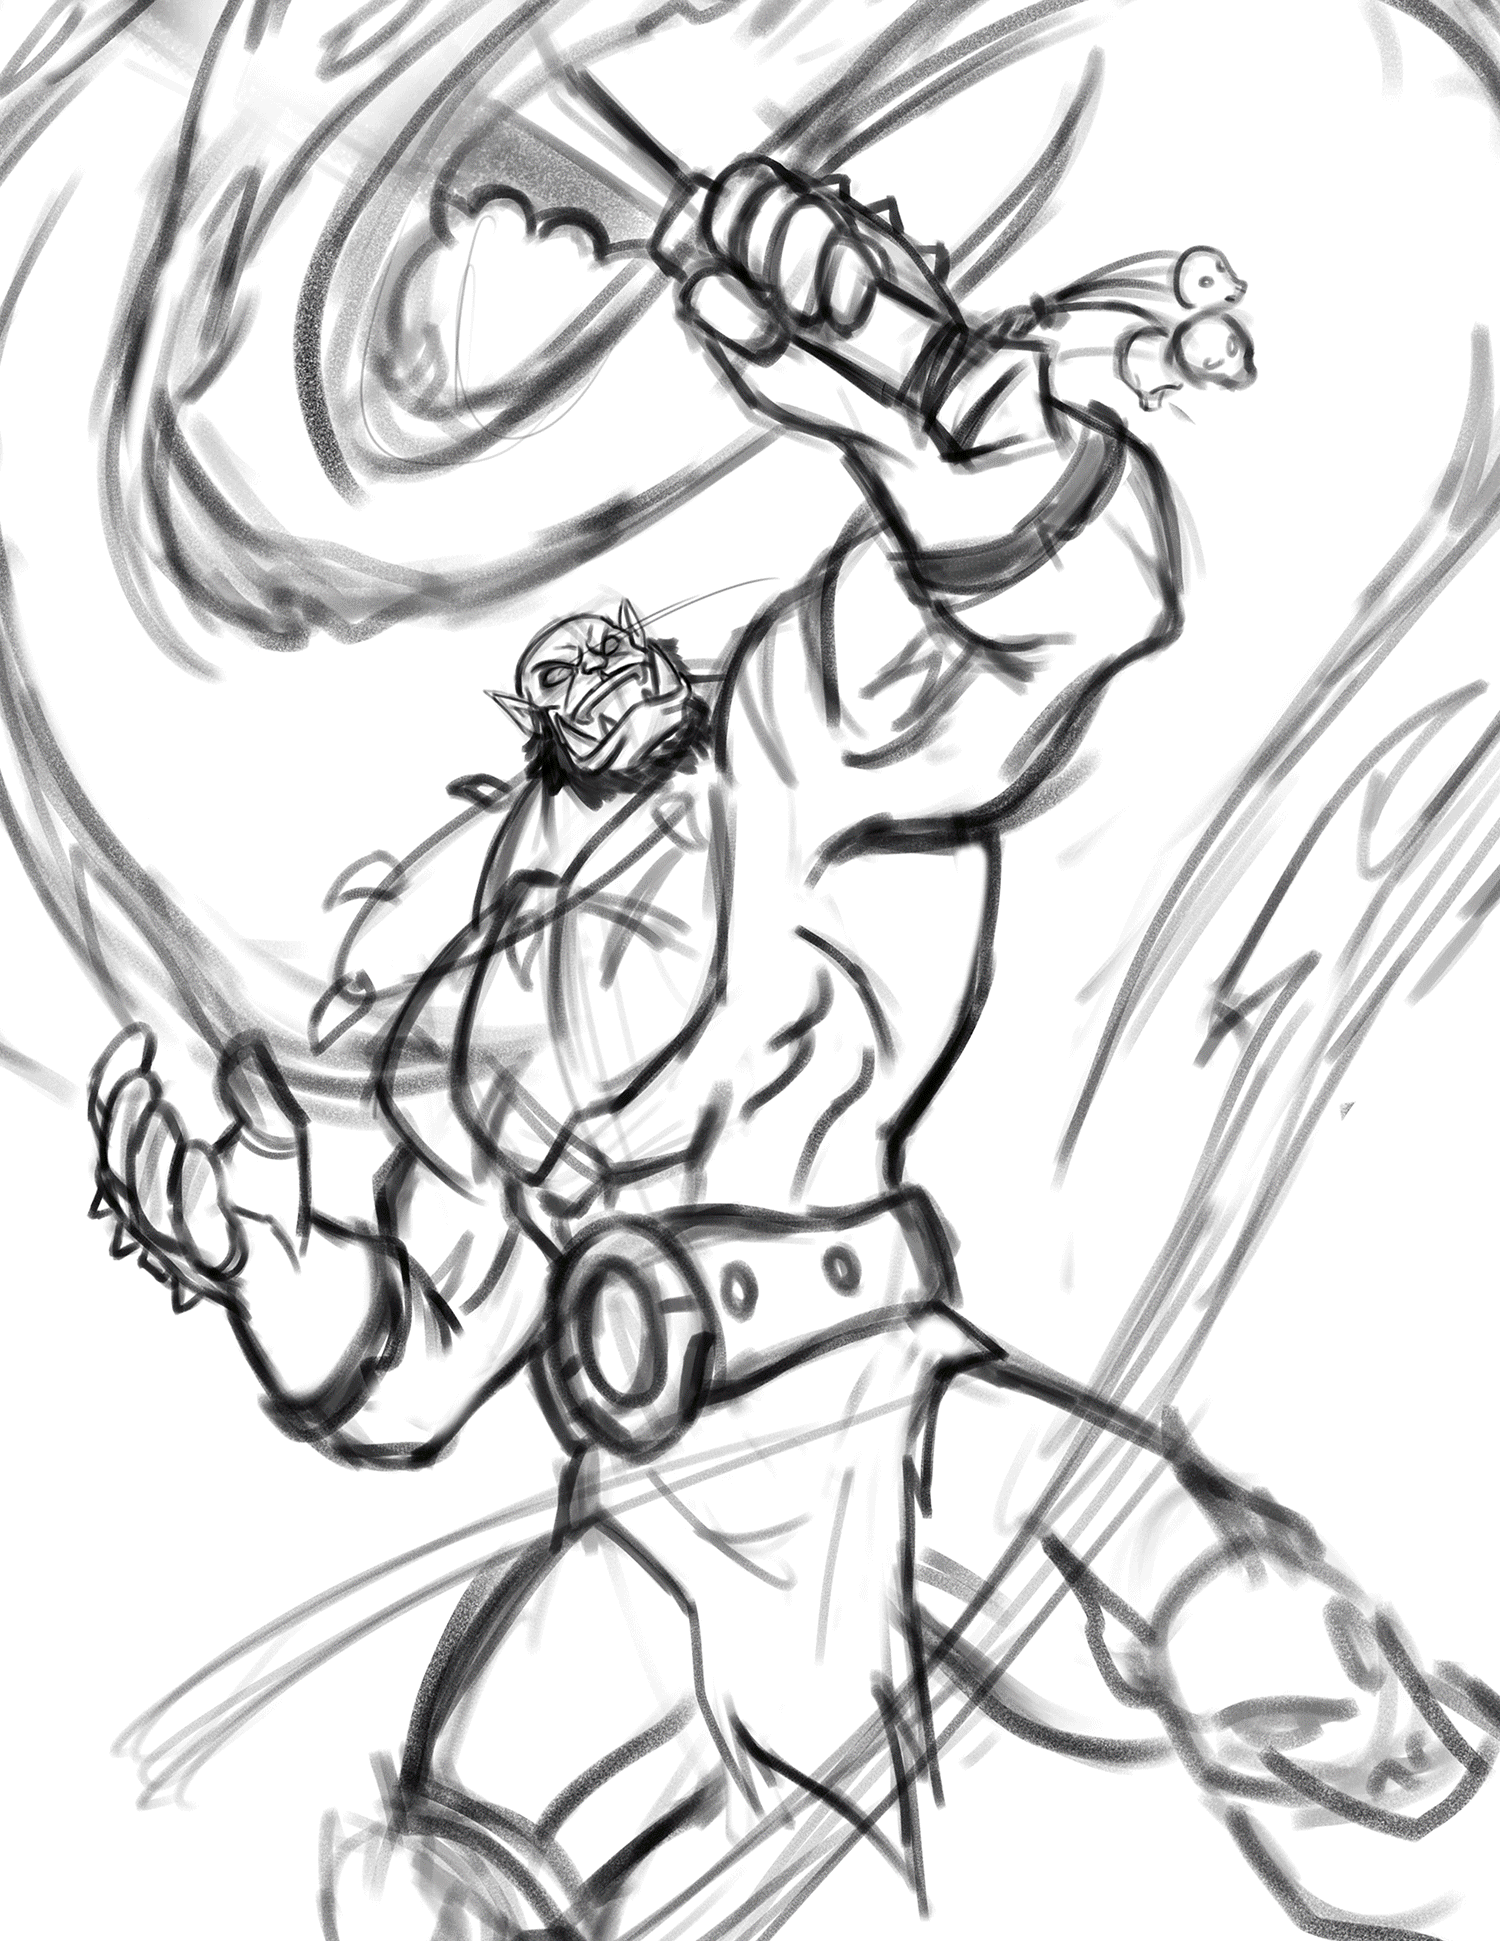
After having some insights about the character I begin sketching.
 |  |  |
|---|---|---|
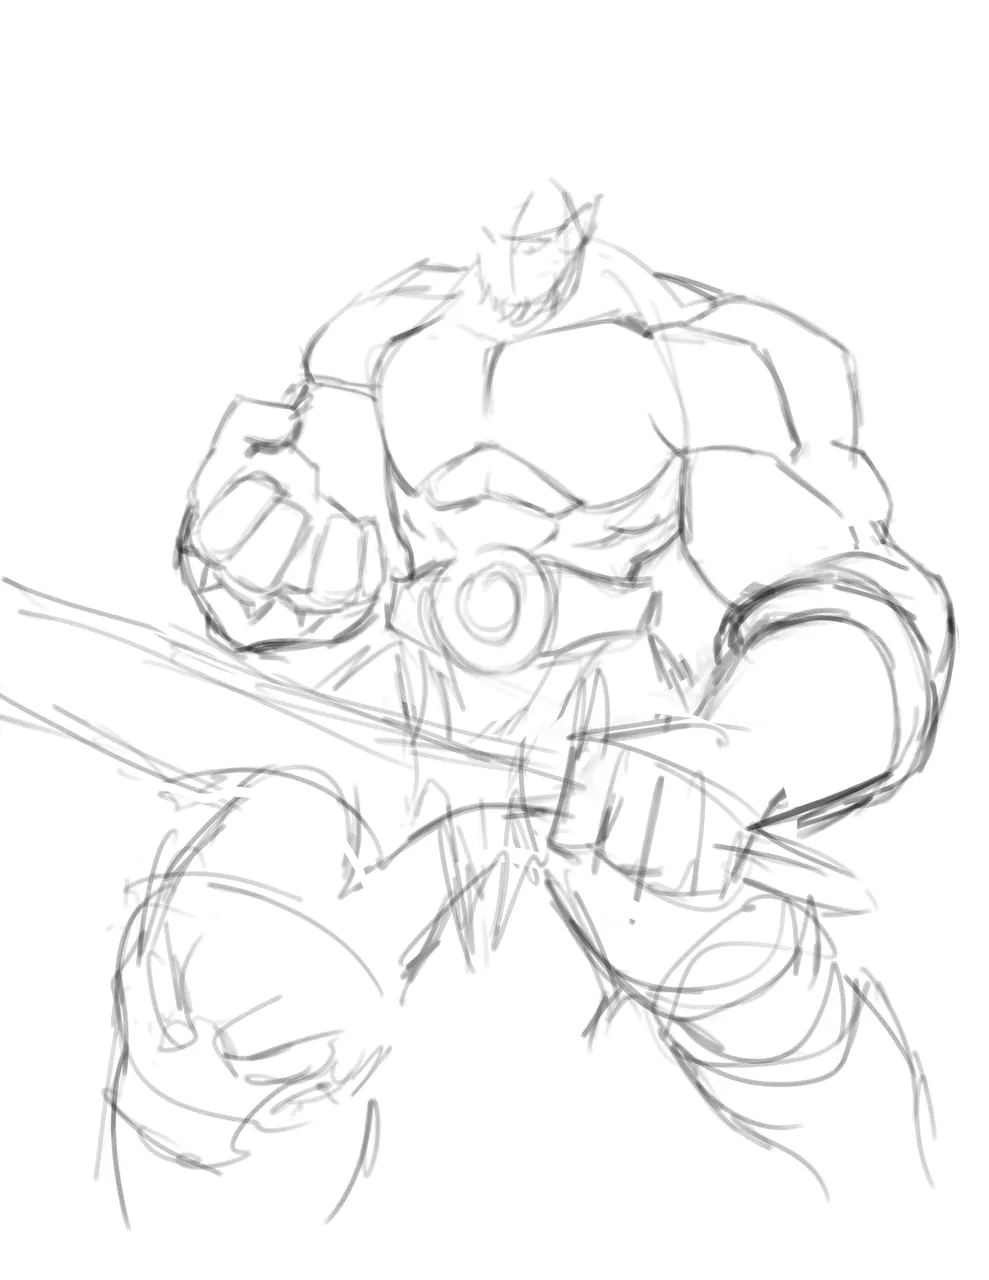
I did some mini sketches of the pose I want to make. I find number 1 pose very cool. So, I enlarge it and redraw the sketch. I wasn't happy with the result though so I change it again and come up with the Final Sketch. I refine the sketch and here is the result.
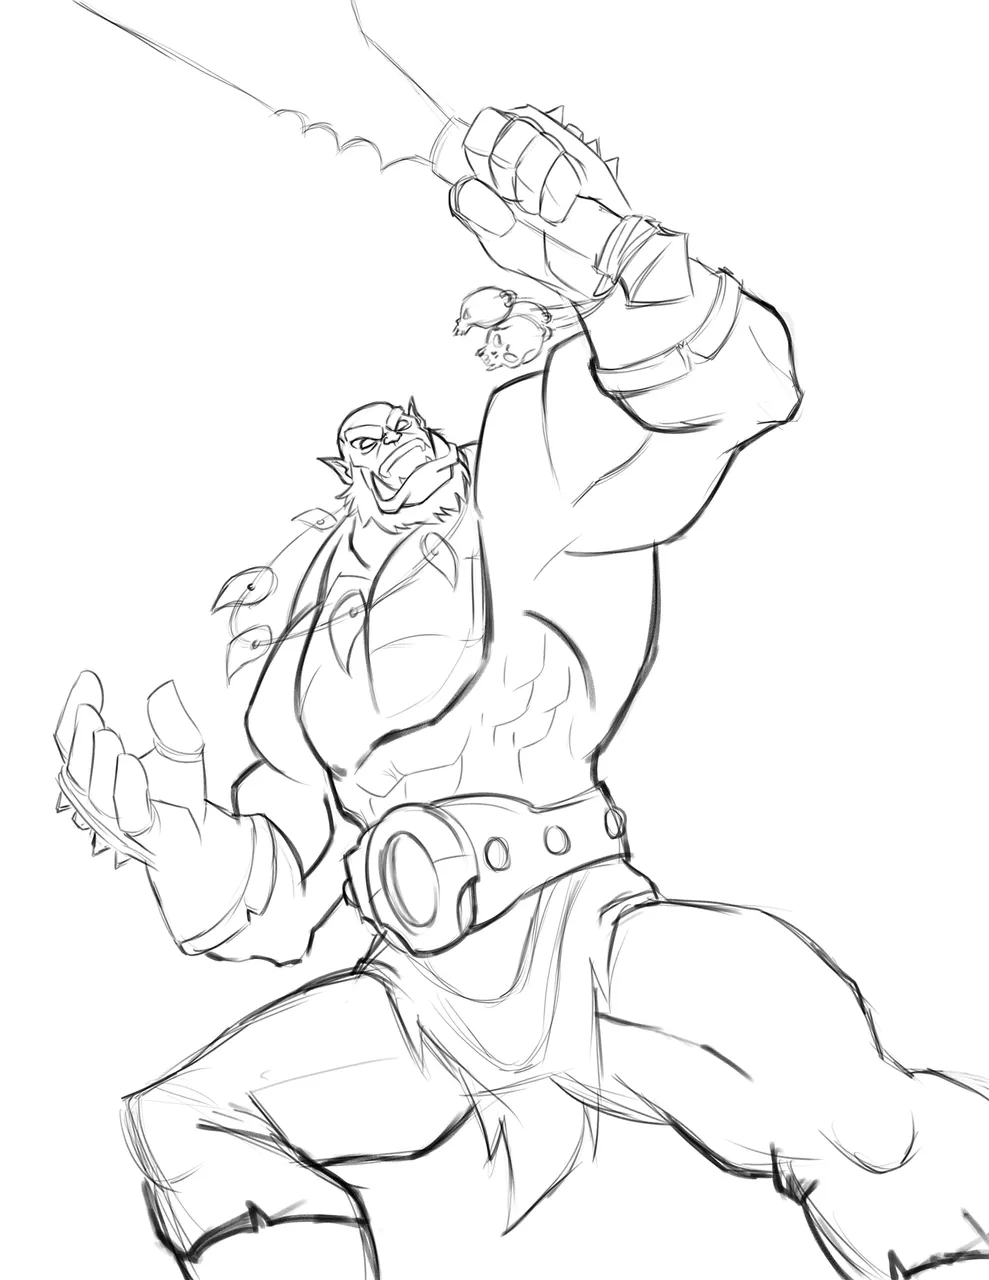
After I have my final sketch, I am already satisfied with the outcome. Let's proceed to the next step. I Hope you're having fun so far.
STEP 2
Outlines
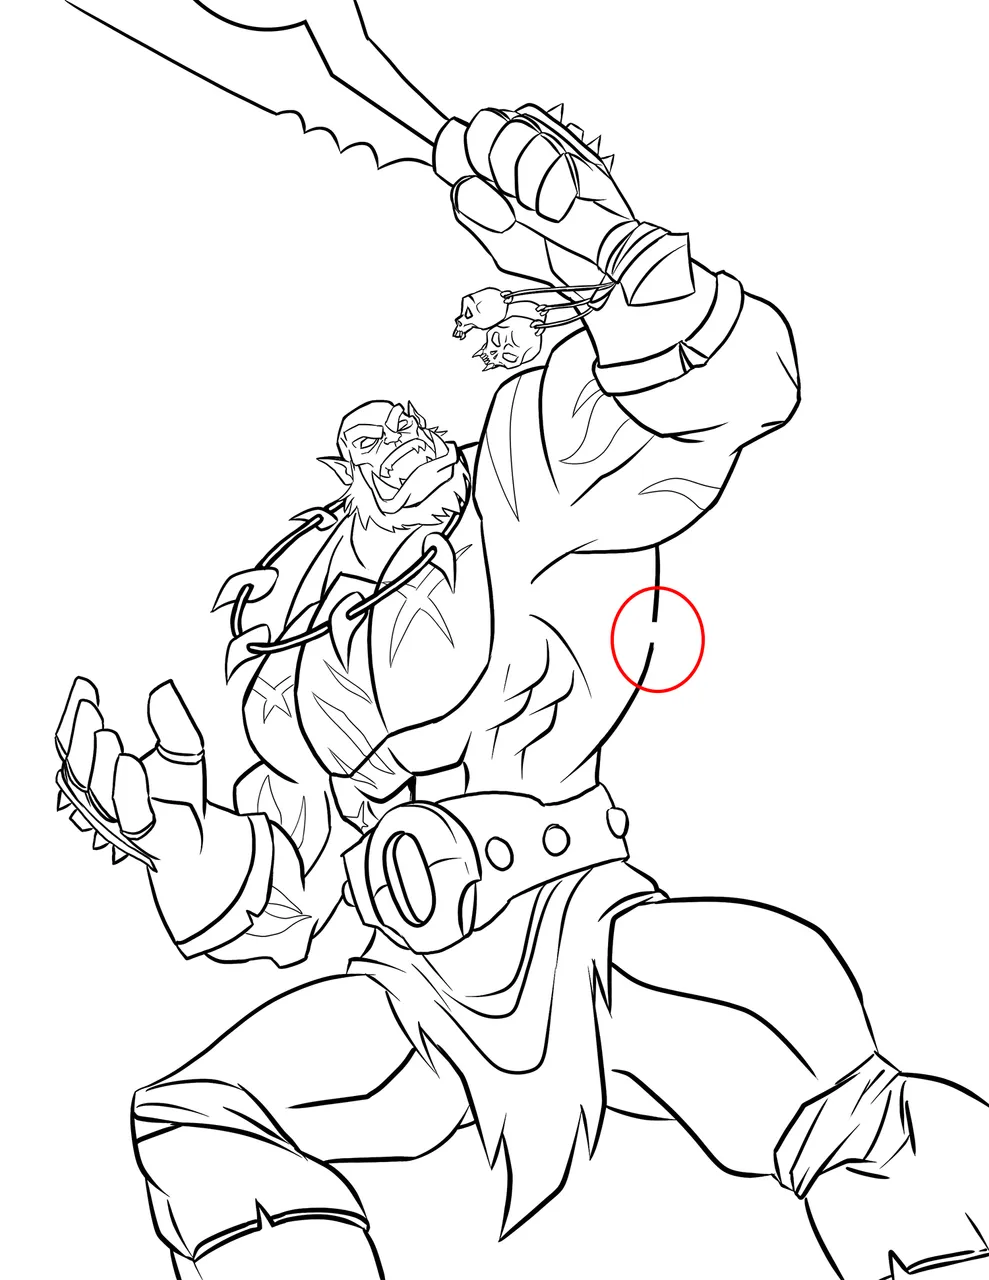
Alright! here I saved my sketch that is done in Photoshop CC and open it in Paint Tool Sai. Why did I do that? It just happen that Paint Tool Sai is very awesome to use in making outlines. I have a feeling of Inking a sketch drawing of somewhat a traditional way in drawing. It's just my own preference though, everyone has it's own way of creating art.
I lower the opacity of the Sketch Layer. Then, on top I added my Outline Layer. I traced the sketch that I made. And here is the result.
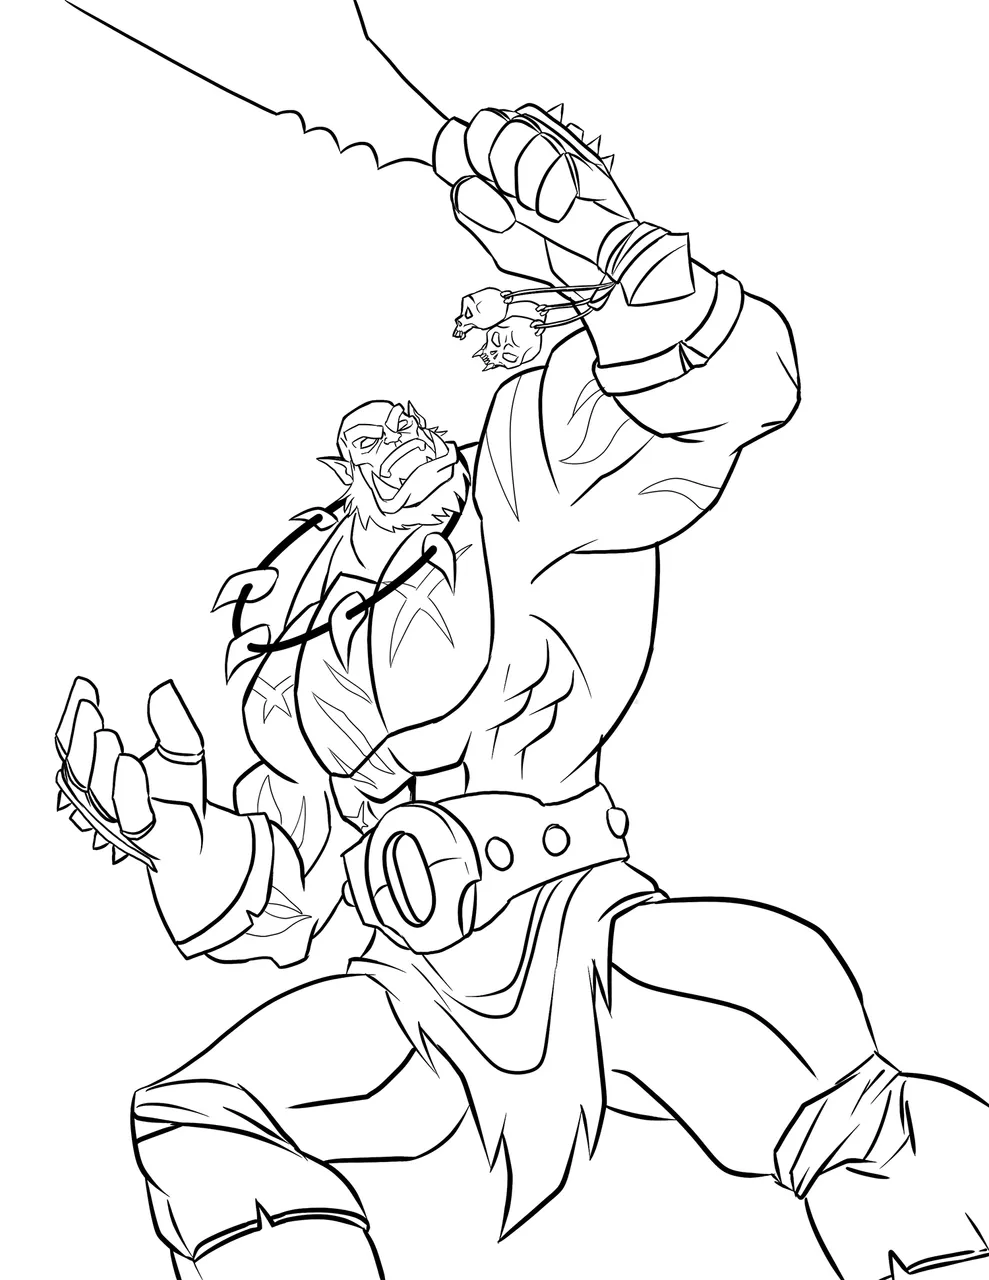
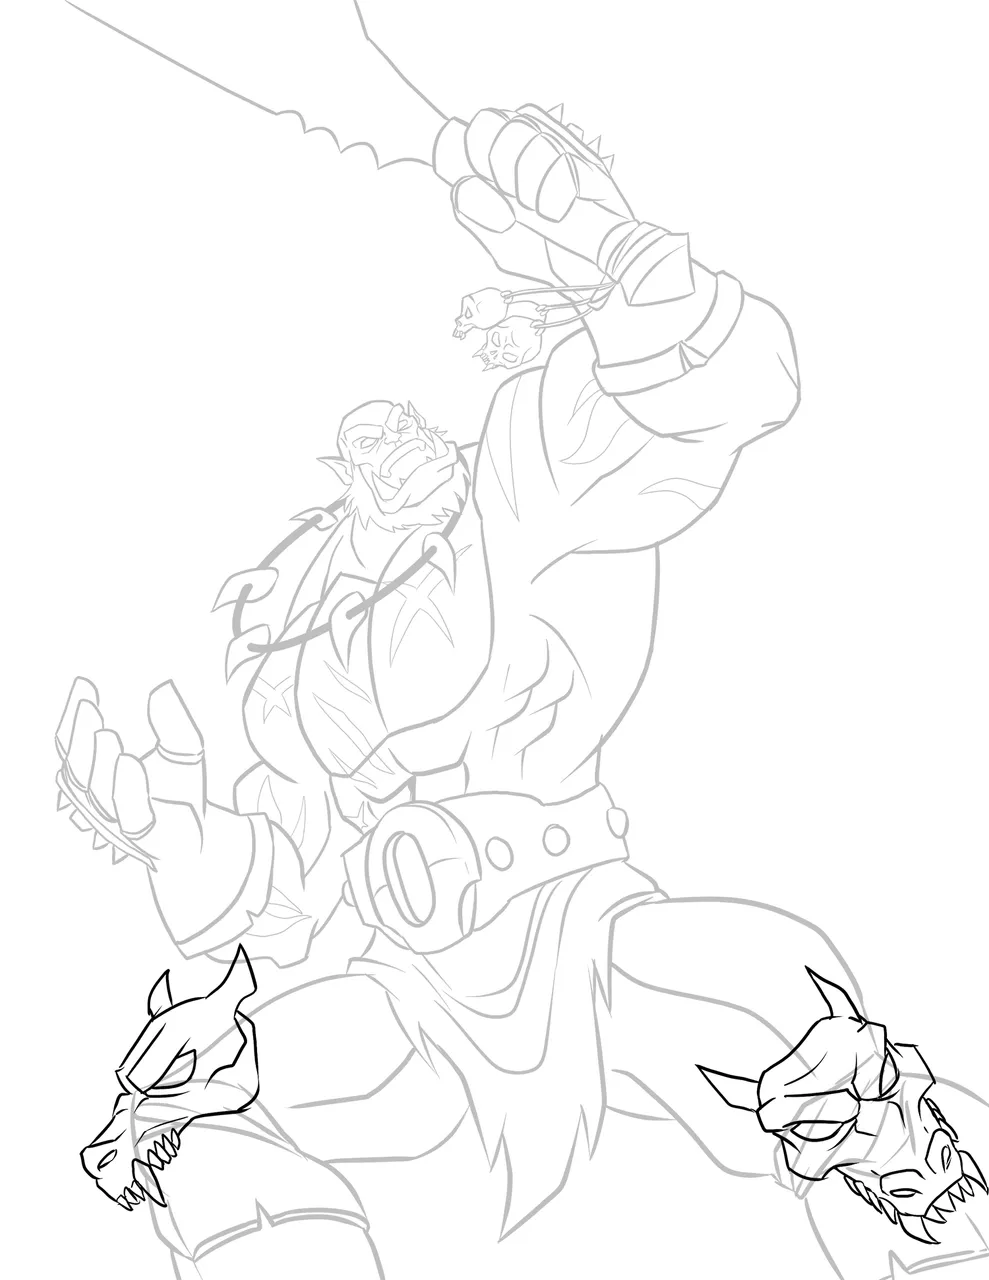
I'm happy with that and now it's time to add the Skulls on his knees and Swirling Flames on his sword.
 |  |
|---|---|
It's getting more exciting as we are about to finish. Let's proceed to the next step.
STEP 3
Base Colors
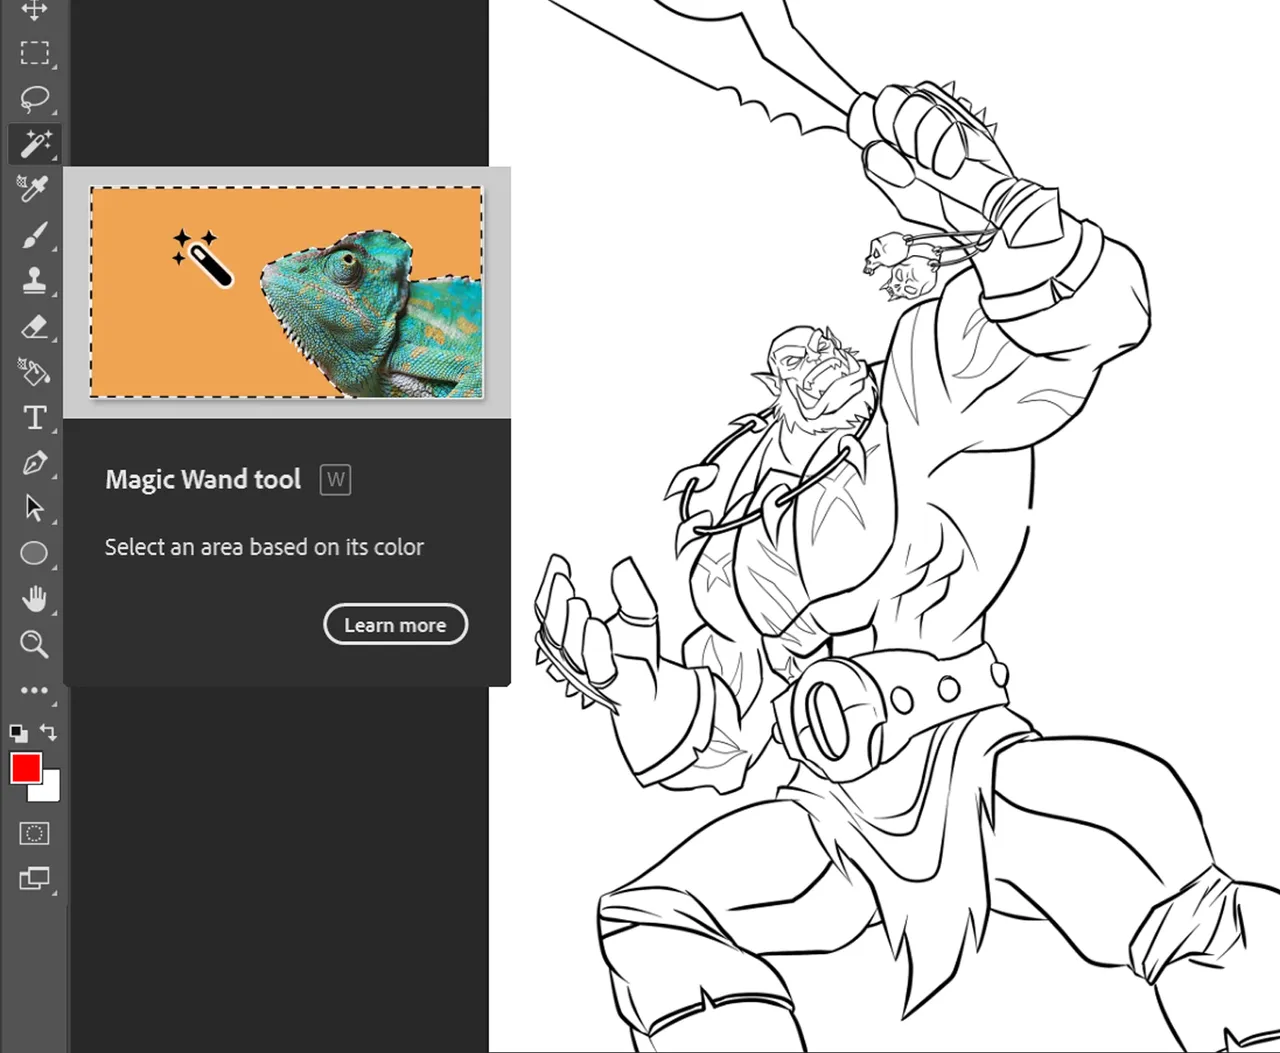
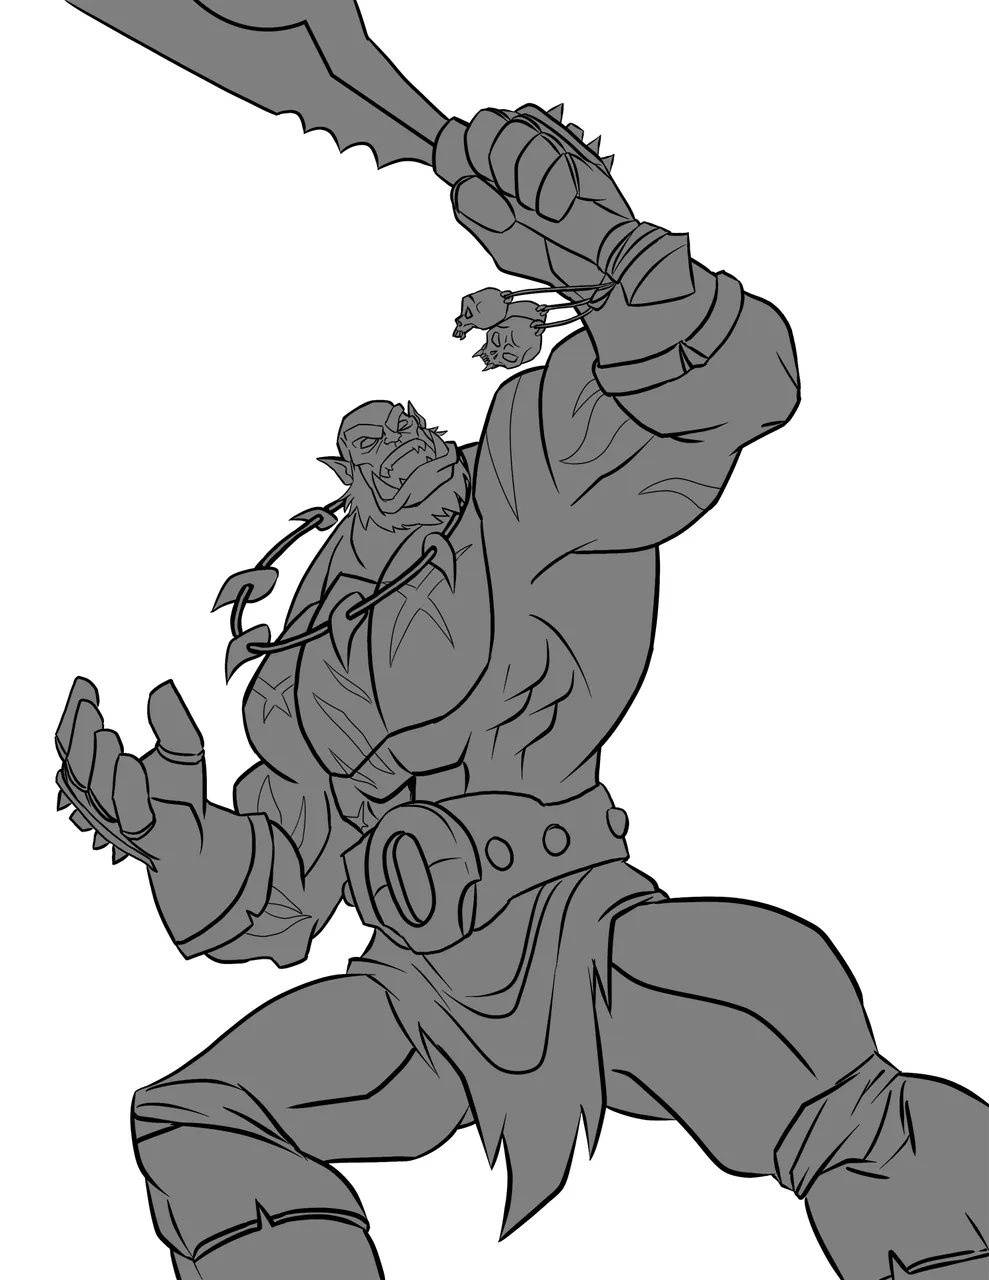
For this step, I open the Outlined File in the Photoshop again because this is where we color our design. I have more features in Photoshop that I know than the Paint Tool Sai. I will teach you of another way in masking an object or color that you are making. To make it easier, make sure that your outlines or stroke are closed and attached. Don't make any broken lines.
Example:
 |  |  |
|---|---|---|
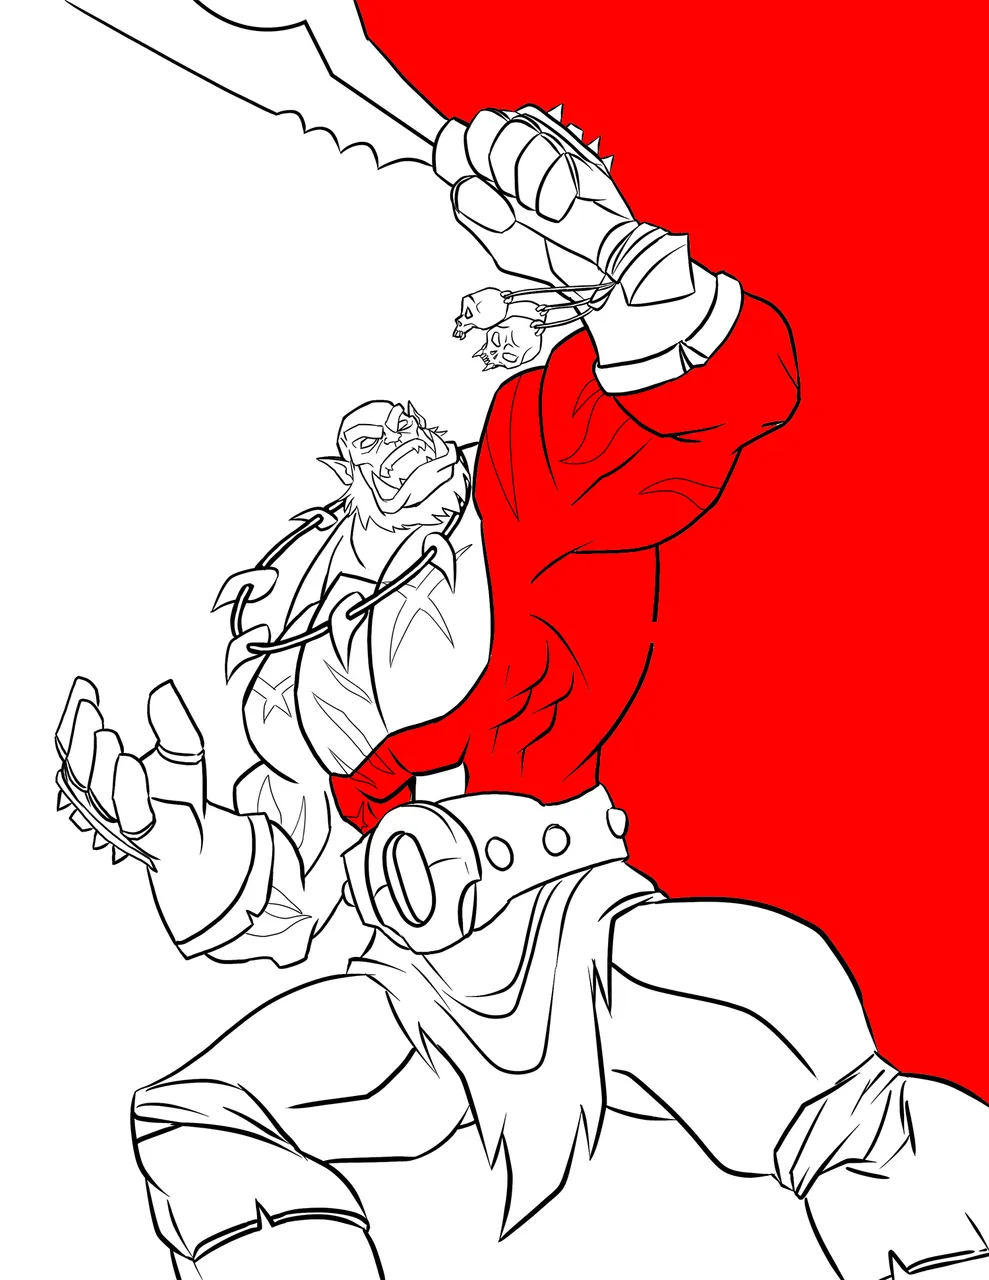
As you can see right here. When we have a broken outline we will be having a hard time using the Magic Wand Tool in Photoshop. It will select all red areas and we don't want that. So, instead we need to have a clean and fix outline to make the tool work.
 |  |  |
|---|---|---|
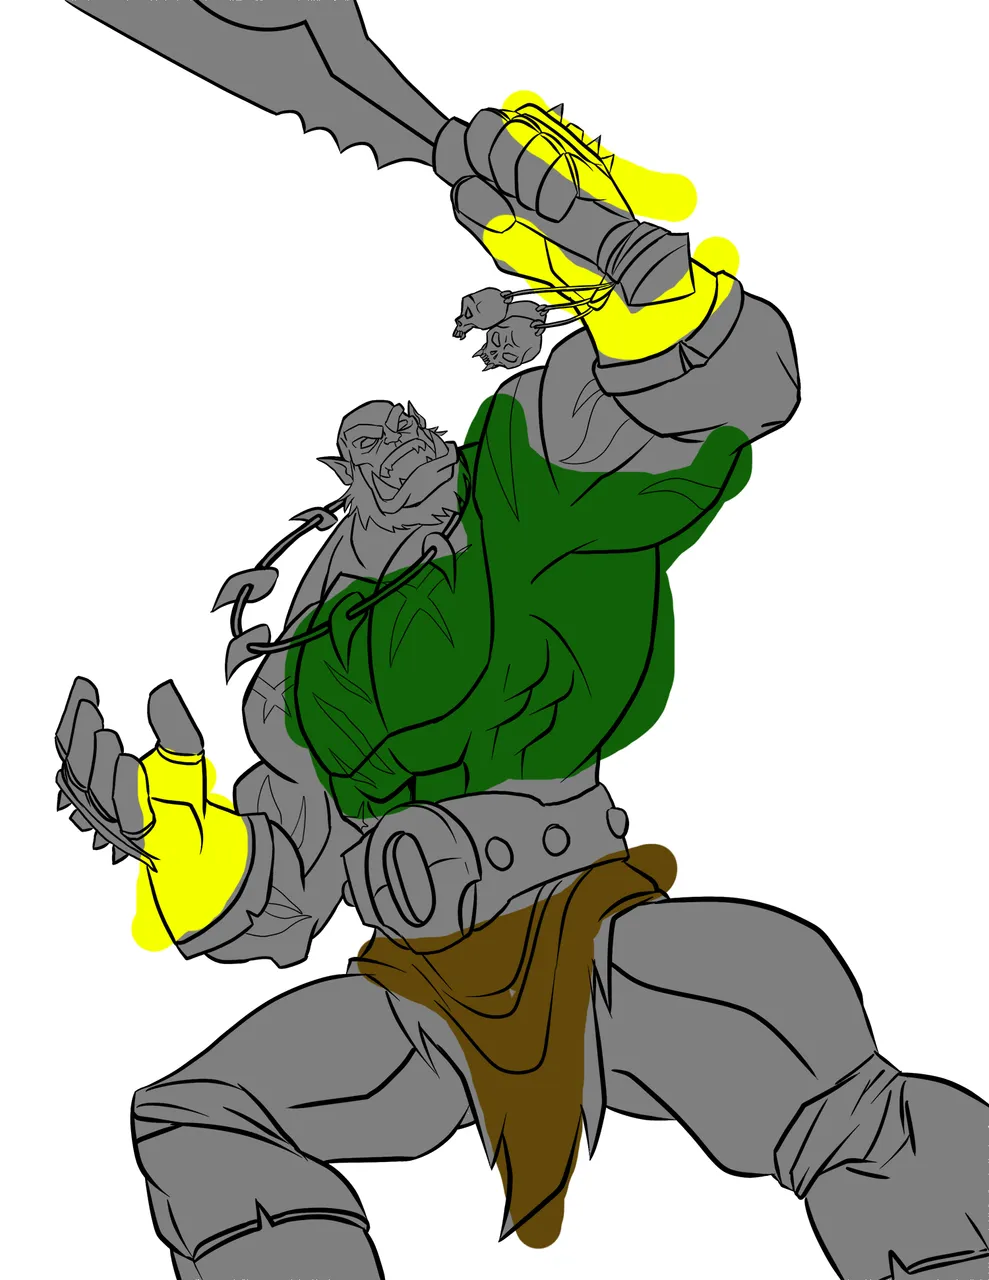
You might be wondering, oh! My outline are already fixed and closed, how did I came up with the image shown at the middle of my table? To answer that question, simply select the outside area, invert the selection by pressing (Control + Shift + i) on your keyboard that's the shortcut for inverting selection. Then, add one layer at the bottom of your sketch layer. You could name it or not but we call that Base Color Layer.
Are we learning so far? Alright next, here in the base color layer we could add any color we want. But take note if we simply color that layer there's a tendency our colors will exceed the base that we created.
Example:
 |  |  |
|---|---|---|
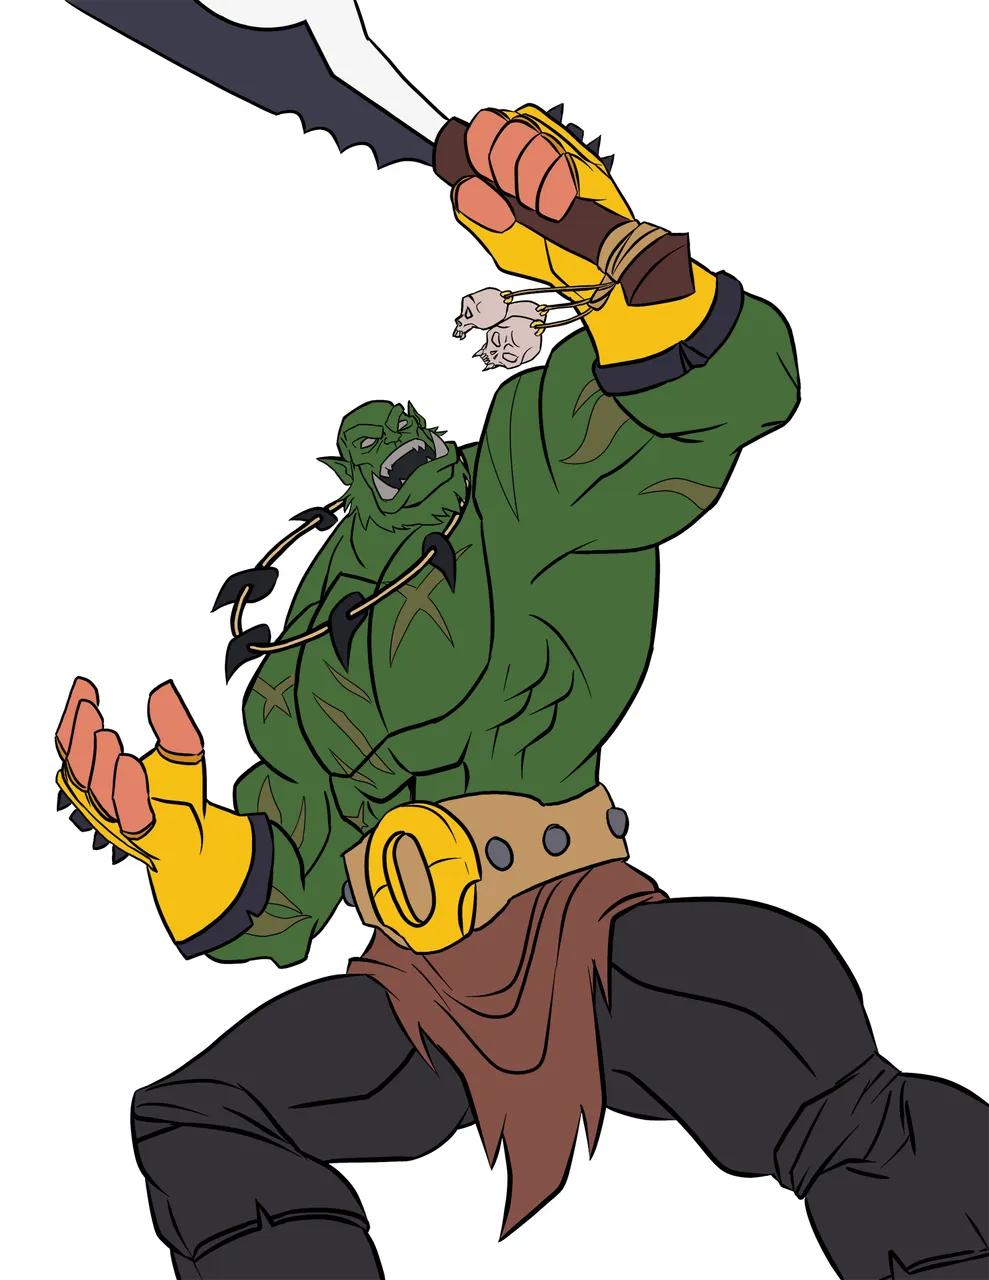
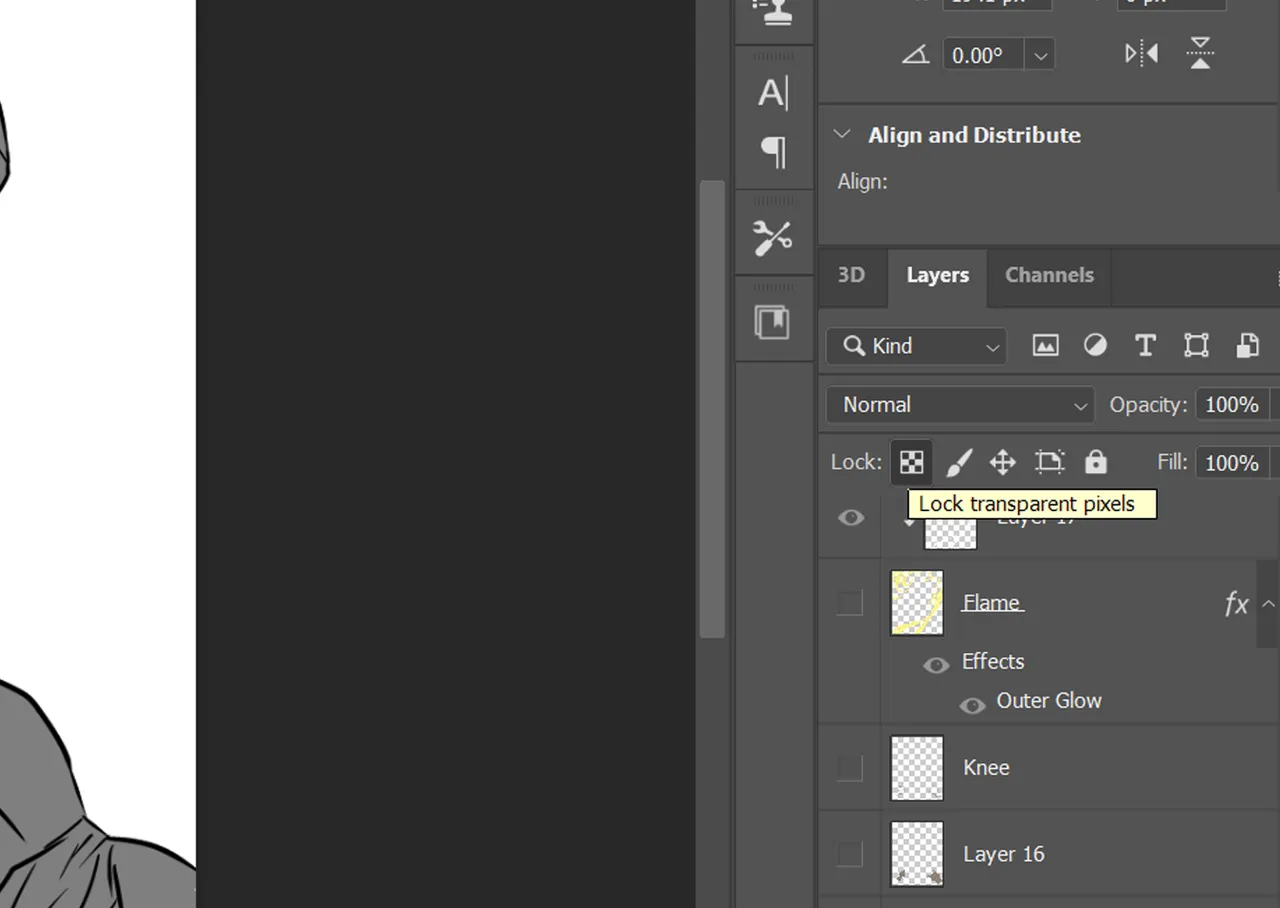
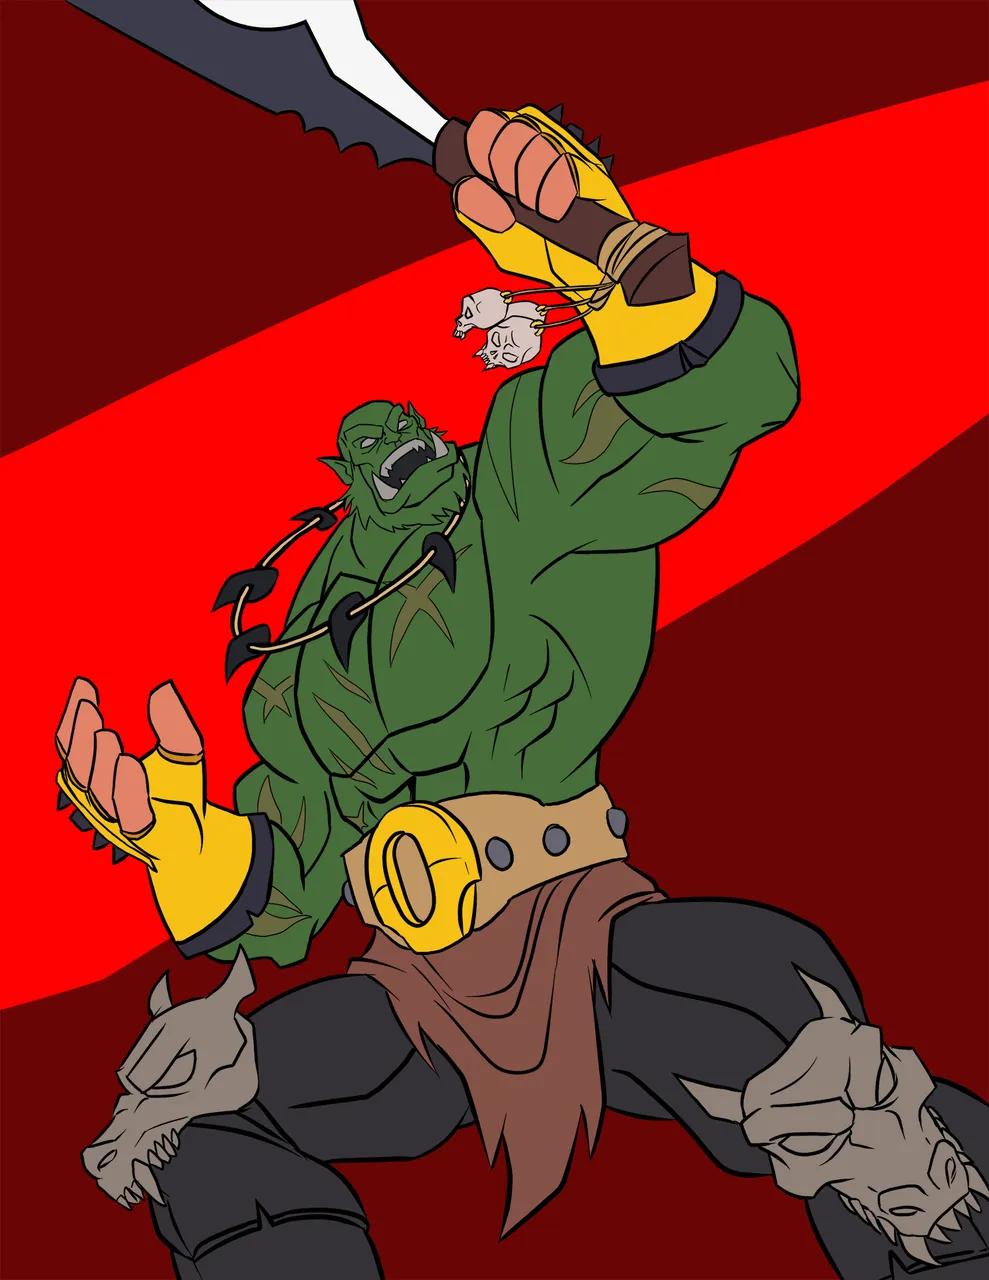
We could see in the example that our colors will exceed when we add colors directly to our base color layer. What we could do is to control click on the layer thumbnail incase you deselected your layer or Click the Lock Transparent Pixel. Most of the time I like to use Lock Transparent Pixel. After you click that icon you're free to add color without exceeding into your base color. This is my final base color output.
We're almost there guys! Keep going! Let's go to the next step.
STEP 4
Shadows and Highlights
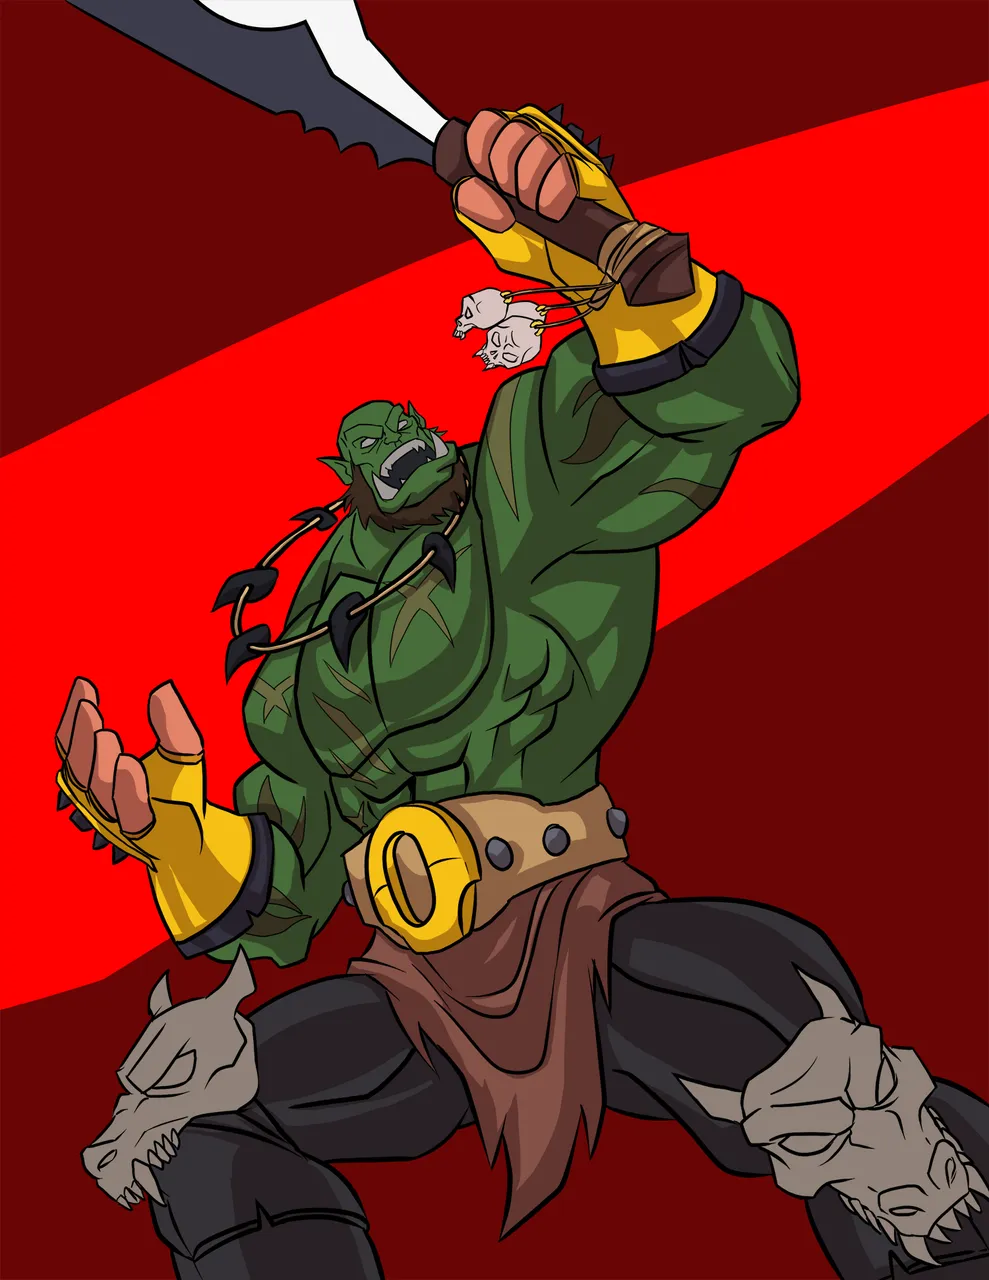
This is how I set up my shadows, I added a layer on top of my base color. I named that layer as shadows. After, I mask it to the base by pressing alt + click at the middle of both layers. Basically, I set this to multiply blending mode.
Then, I put on these highlights by adding additional layer on top and make it an overlay blending mode.
Hooooo! Let's breathe for a while.
Alright, let's move forward!
STEP 5
Background And Flames
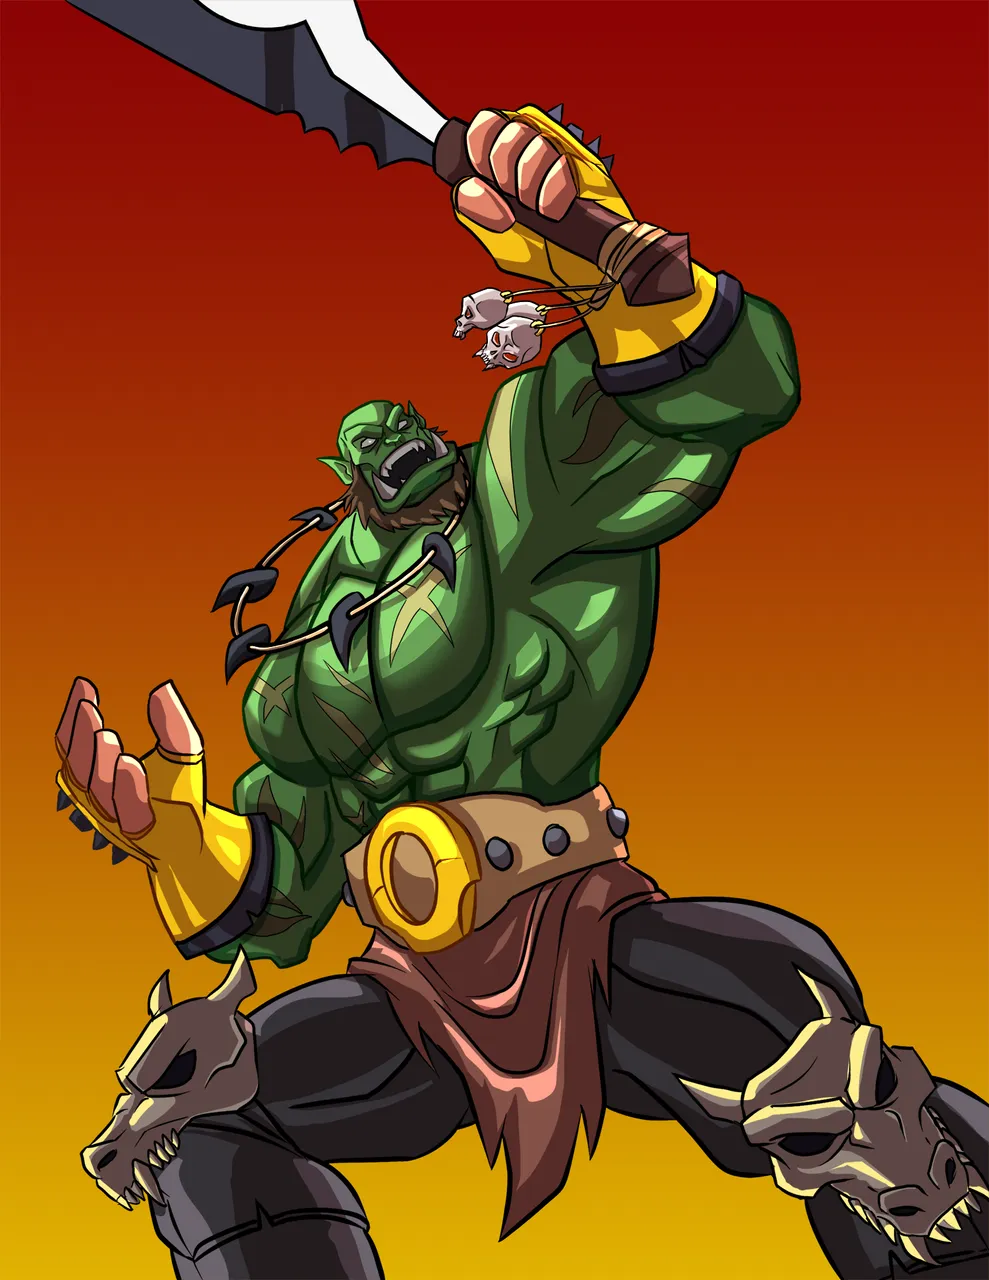
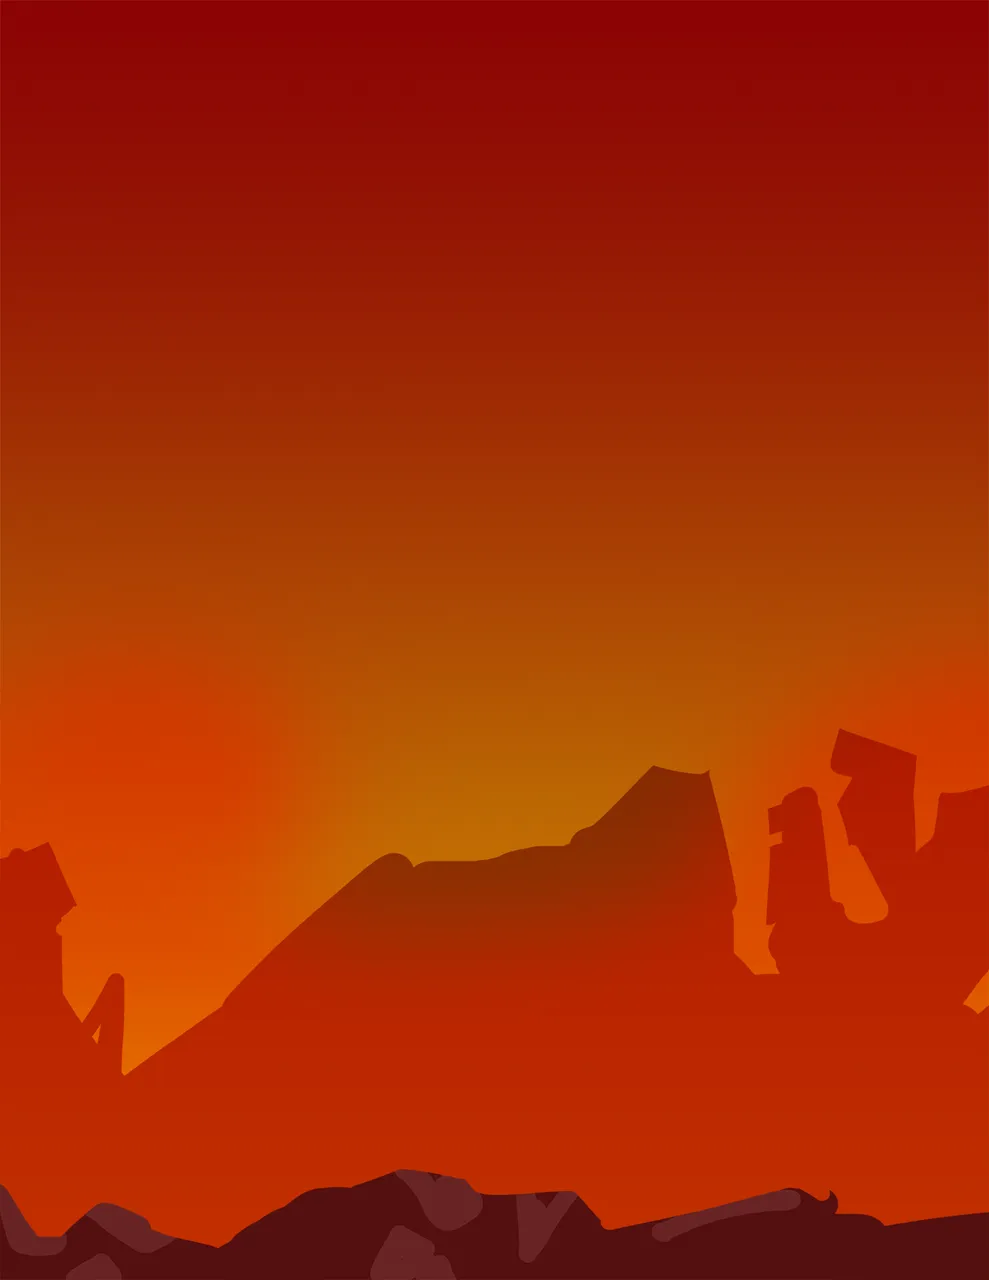
For the Background stuff, I did not do much for I solely focus in the character. Just a scribble rock formations.
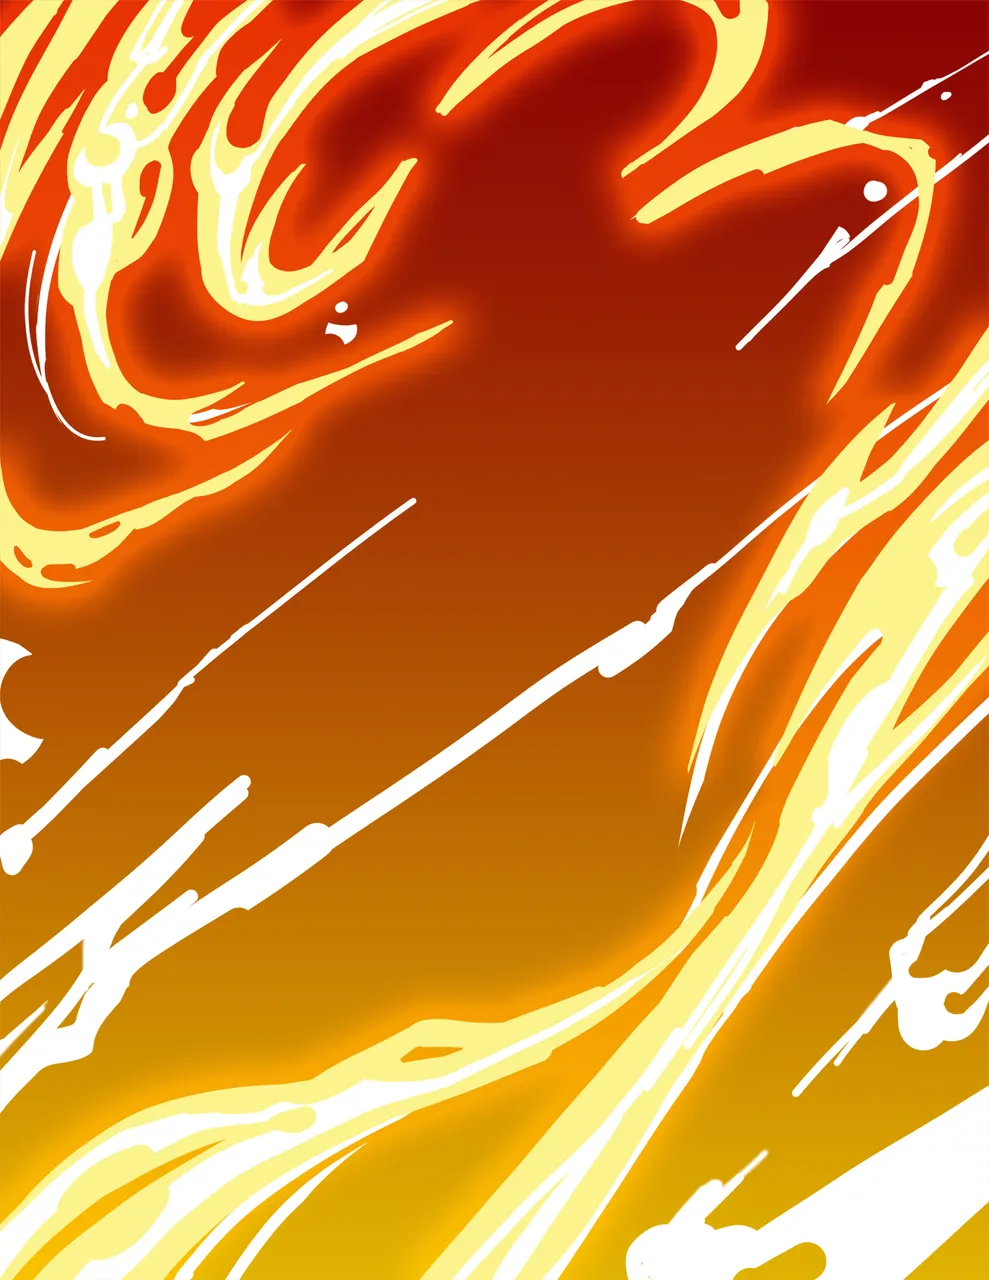
For the Flames, I just did a simple yellow color with red outer glow and added some white lights above the flame with some random white like smoke all over the place. That's just simple as that ha ha (kidding aside) art should be fun and never be complicated. I like Bob Ross when he says that. He's making simple but amazing painting.
Hoooooo Fiery Hot! Let's finish this!
STEP 6
Final Step
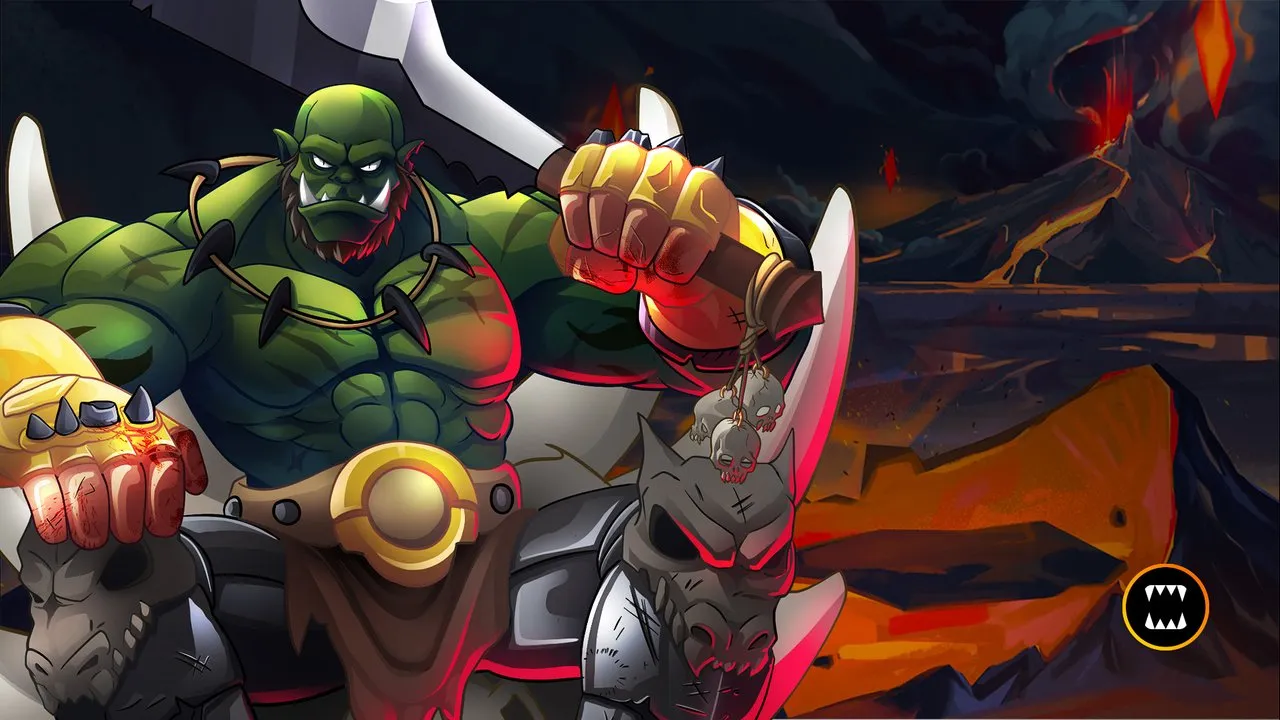
Add them all together. The layers from the background to the character to the flame. Also, I added some extra Lights to the eyes, body and his gear.
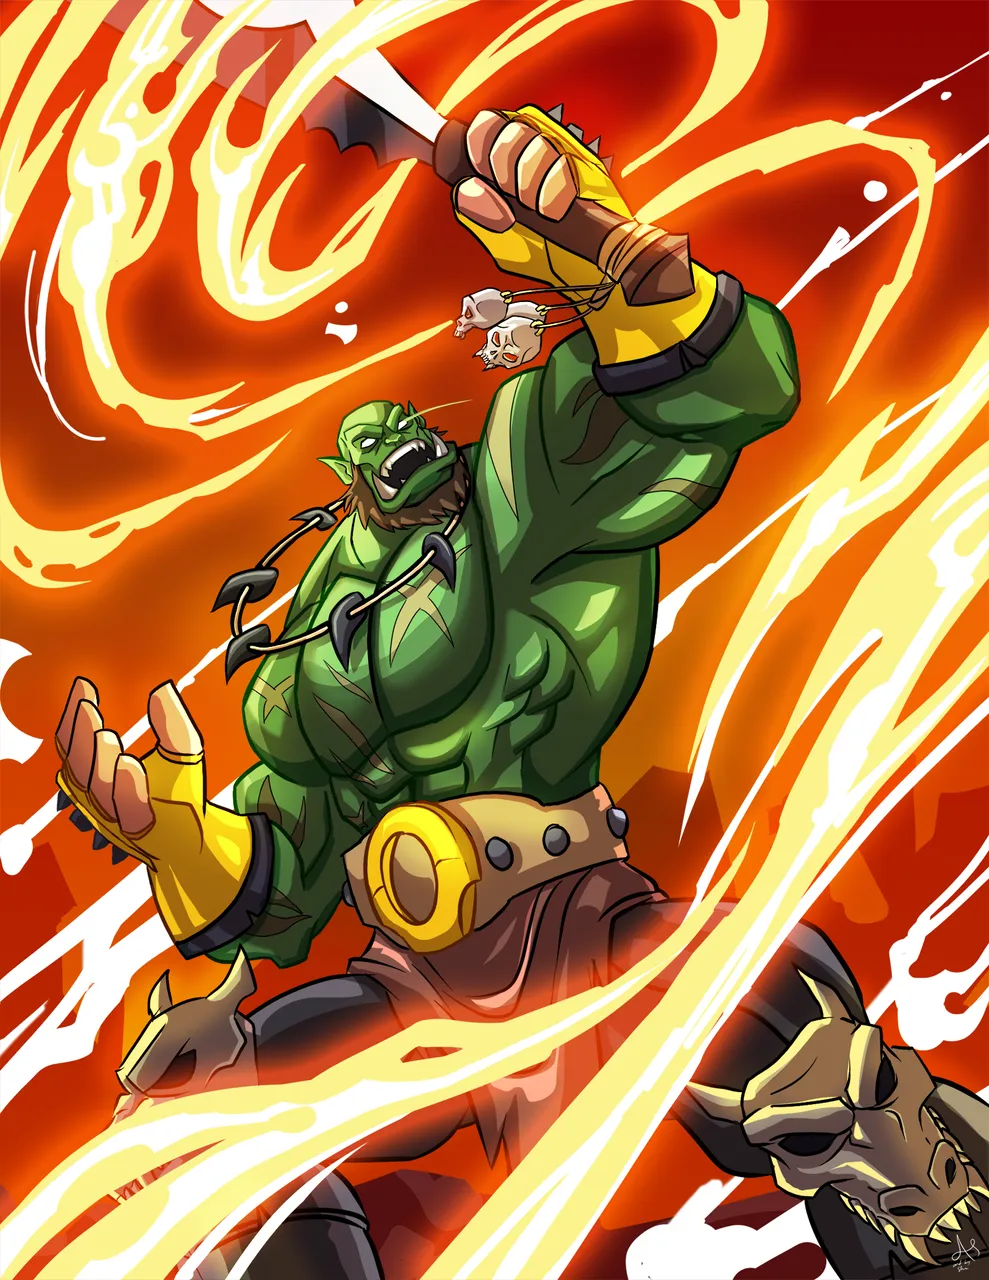
Wohoooo we're done!

GIF PROCESS
If you want to know about these cool Text Formatting please visit Cartel Post Framework I know you would love this guide as much as I do.
Hoooo! that was fun. You made it to the end of this post. I really appreciate your time and attention and I hope you learned something today.
'Till the next post see yah!
Thank you very much!
Join the Discord to learned more about Oneup and the Cartel