~
If you missed Part 1 – Spinning the Web, Setting your Intention, Finding Sacred Feathers and Chosing your Crystal, you can check it out right here:
https://steemit.com/spirituality/@calluna/how-to-make-a-sacred-dreamcatcher-part-1-setting-your-intention-and-spinning-the-web
Preparing Your Feathers
You have spent days, weeks, or even months, waiting for the right feathers to find you. Now it is time to sort, clean and prepare your feathers for use.
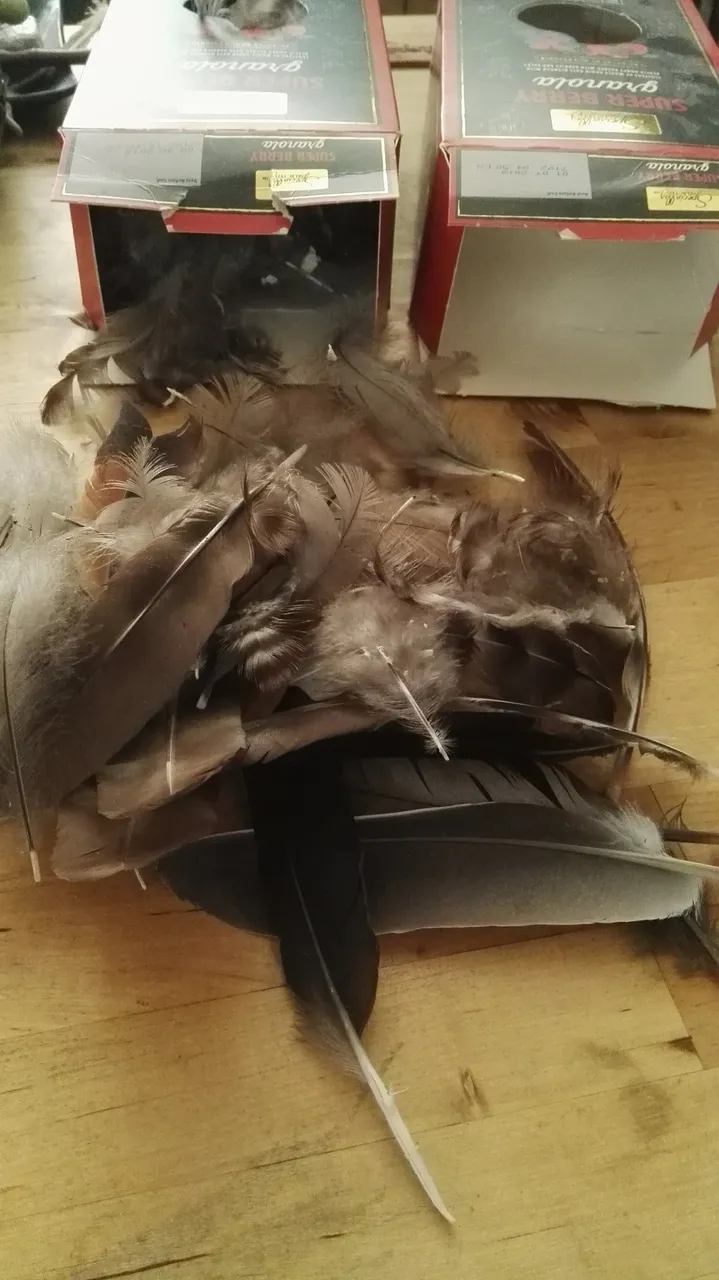
Separate your feathers into two categories
- Main Feathers – these will be longer, stronger, often flight feathers. They will be the ones you feel most drawn to
- Downy Feathers – these will be smaller and softer, they have more of a floaty quality, and are often very fluffy
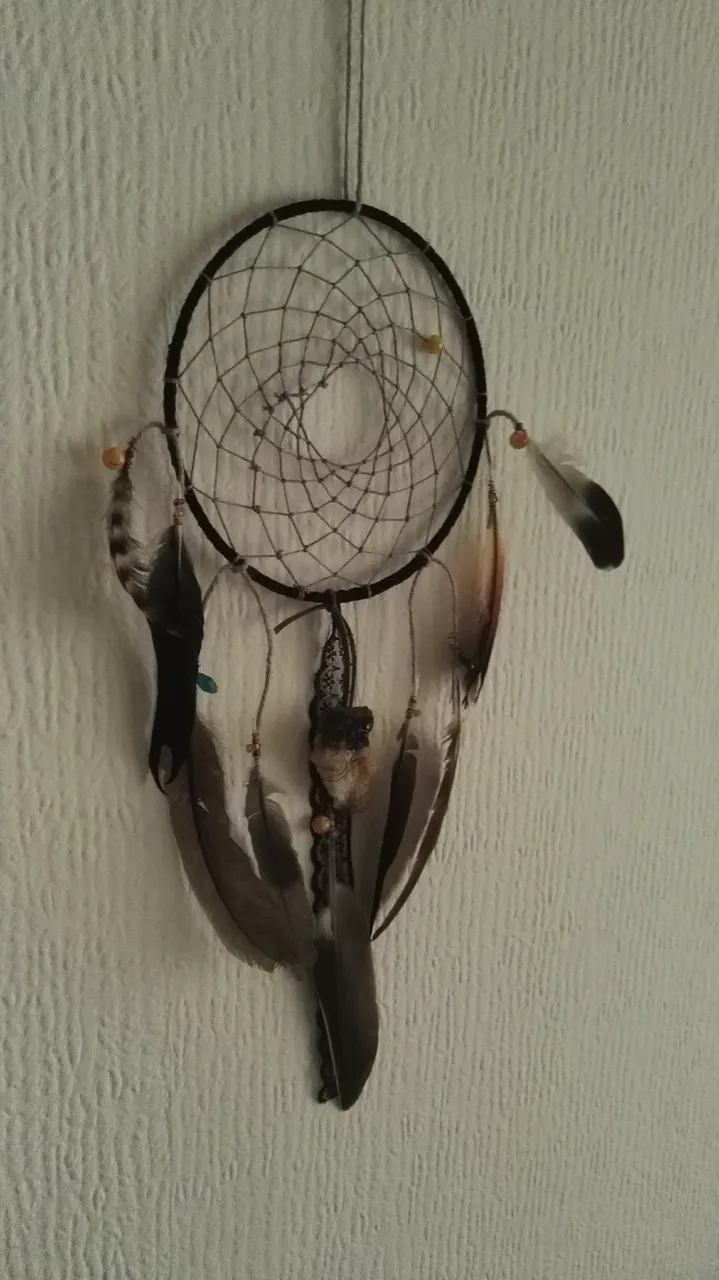
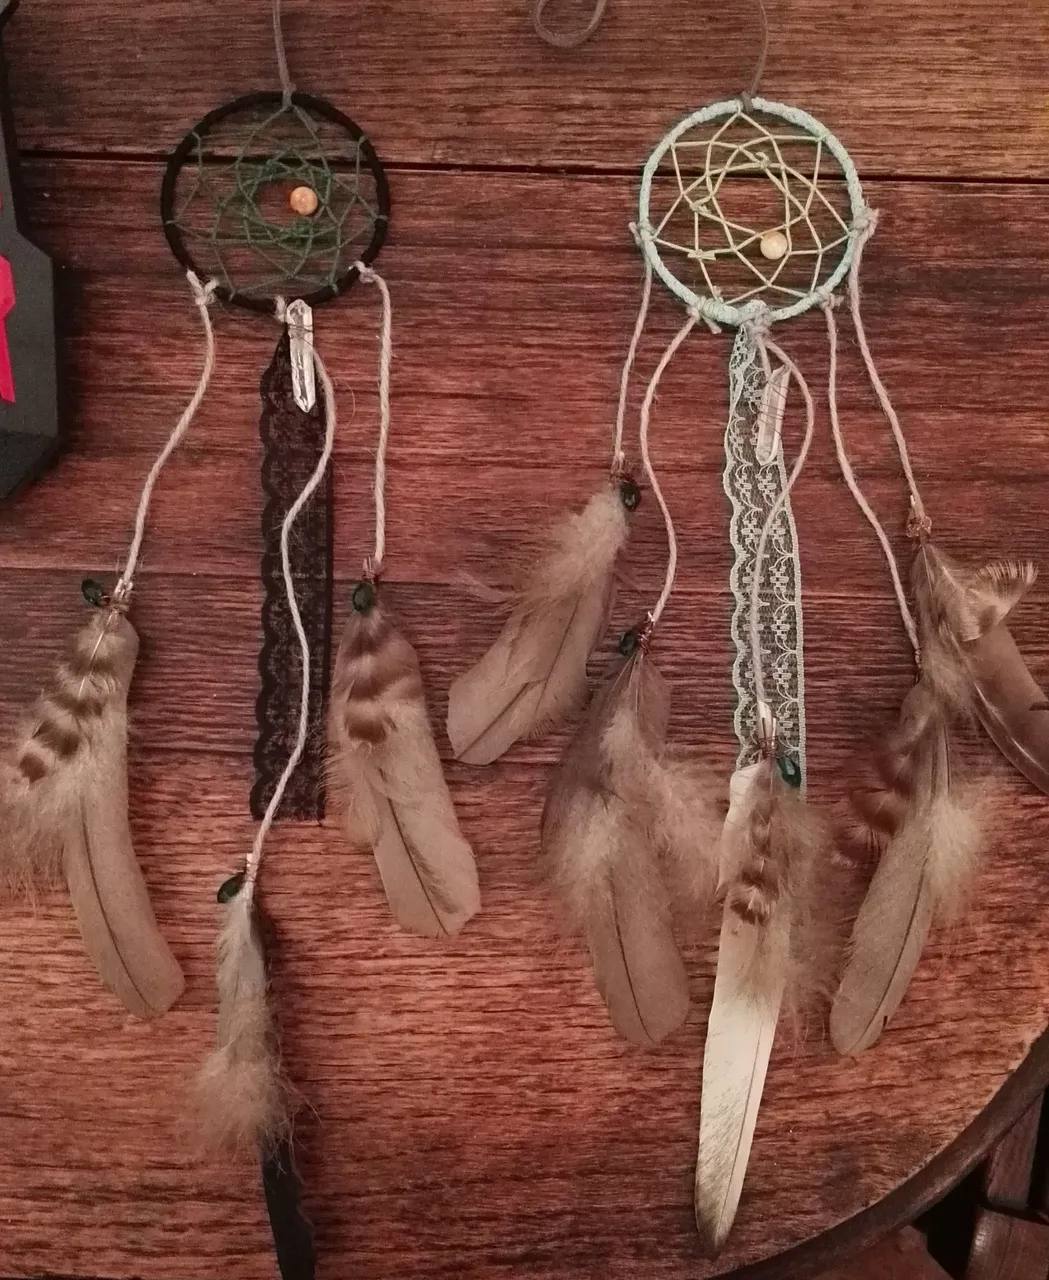
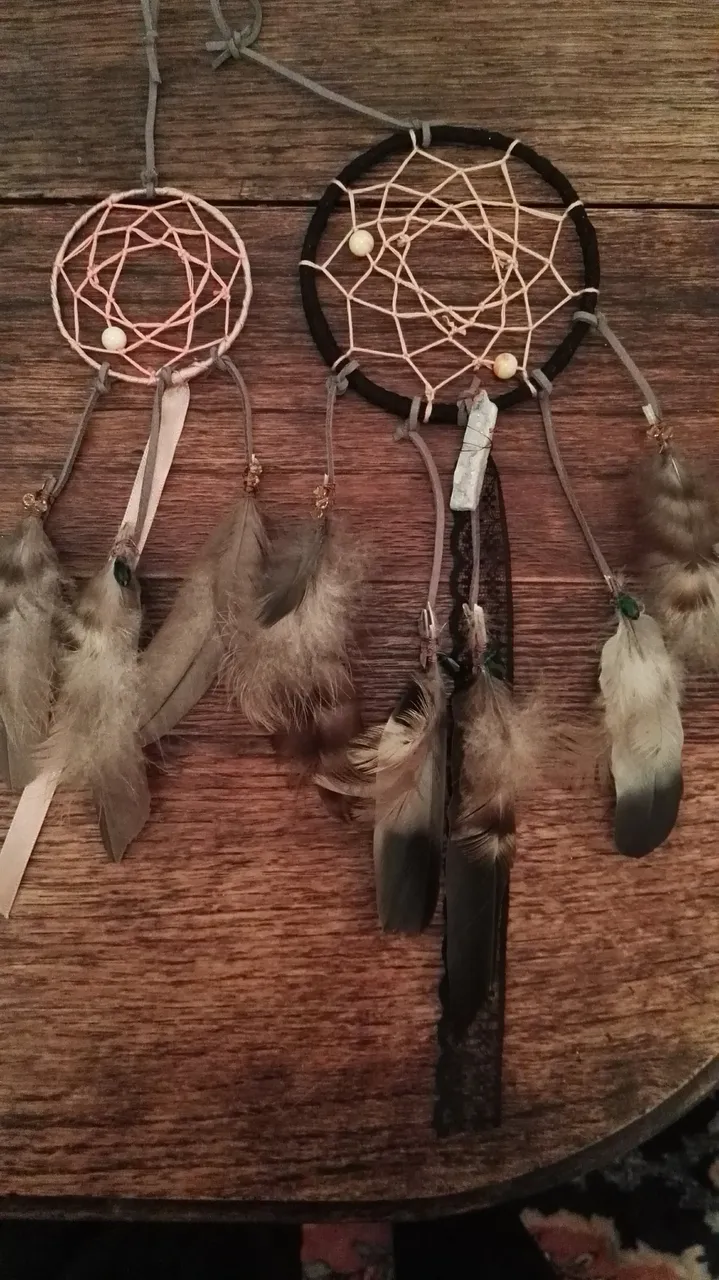
You can either have single feathers hanging, like I have done in this example, or you can make bunches (as seen on the dream catchers at the bottom)
Cleaning Your Feathers
Carefully run the feather between your finger and thumb, moving with the grain, to remove any bits of dirt or muck. I used some feathers my chickens moulted right on the back door step, so as you can see, they have bits of saw dust caught on them. Gently tease anything that has matted into the feather off. You may found that the strands of the feather have become separated or crinkled, and need further cleaning or straightening. Hold your feather in the steam over a pan of boiling water/kettle, turning it, allowing the steam to drift through the feather. You will find the feather may look brighter just for this. Then as soon as it is cool enough to touch, run the feather between your fingers to bring the strands back together. Think about how a bird cleans its own feathers, you are trying to recreate what it does with its beak.
Sorting Your Feathers

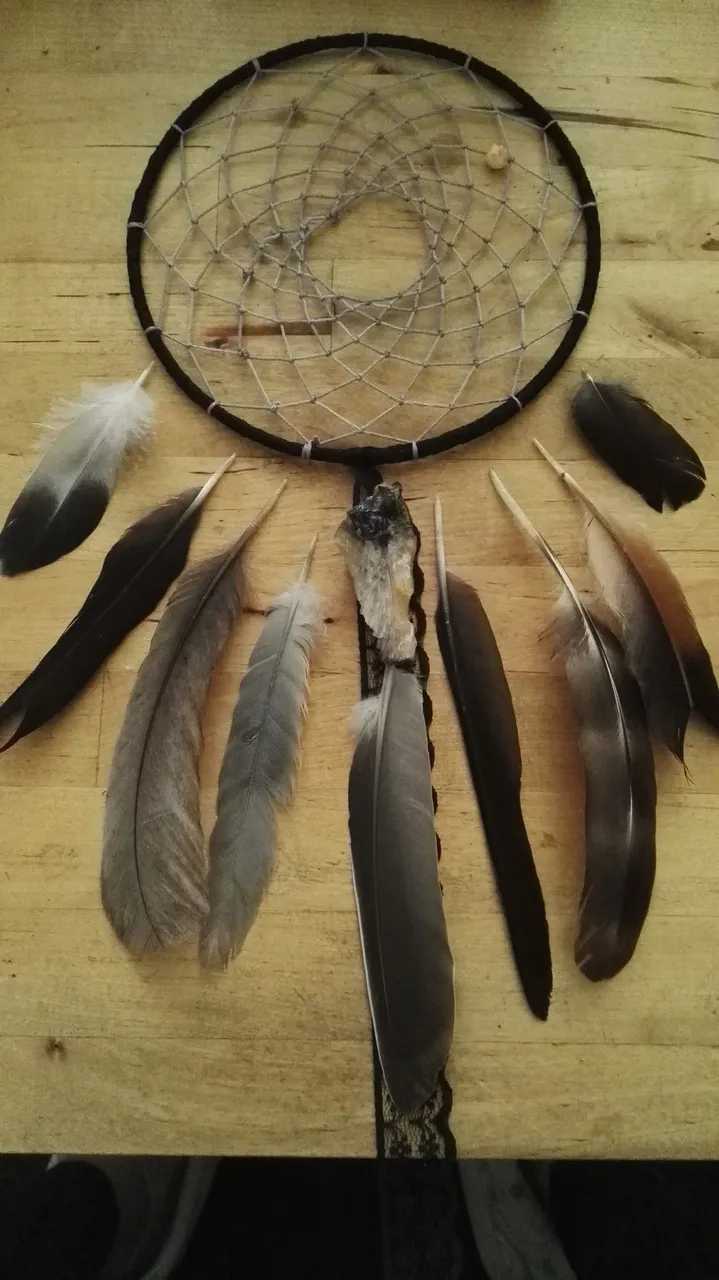
Main Feathers
Lay your main feathers out on a flat surface. You will already know which one will be your center feather. If you aren’t sure which one is your center feather, it is likely you do not have your main sacred feather yet, and I would suggest waiting until you get one that you feel is just right. Select your side feathers, these will hang either side you’re your main central feather. You are looking for pairs to hang opposite each other.
Downy Feathers
If you are having single feathers hanging from the web, you will only need a pair or two of downy feathers for the very outside however if you plan to make little bunches, you will need quite a lot. As single hangings, you want to select the strongest and most decorative downy feathers, whereas for bunches, you will want to fluffiest, softest feathers.
Now you have chosen all your feathers, cleaned them, and are ready to make the feather charms.
Making The Feather Charms
Lay out your feathers below your web to give you a good idea of how they will look. This also helps you work out where you will want to tie string onto the hoop to attach the feathers.
If you are using single feathers, use a needle to piece a hole to piece the hollow shaft (stem part) of the feather. You can thread the wire through this hole which will make it much easier to wrap. If you are using bunches of feathers, you will want to wrap them all together
You can thread beads of your choice onto the copper wire for added effect. If you don’t have copper thread, you can use a needle and thread to bind your feathers together.
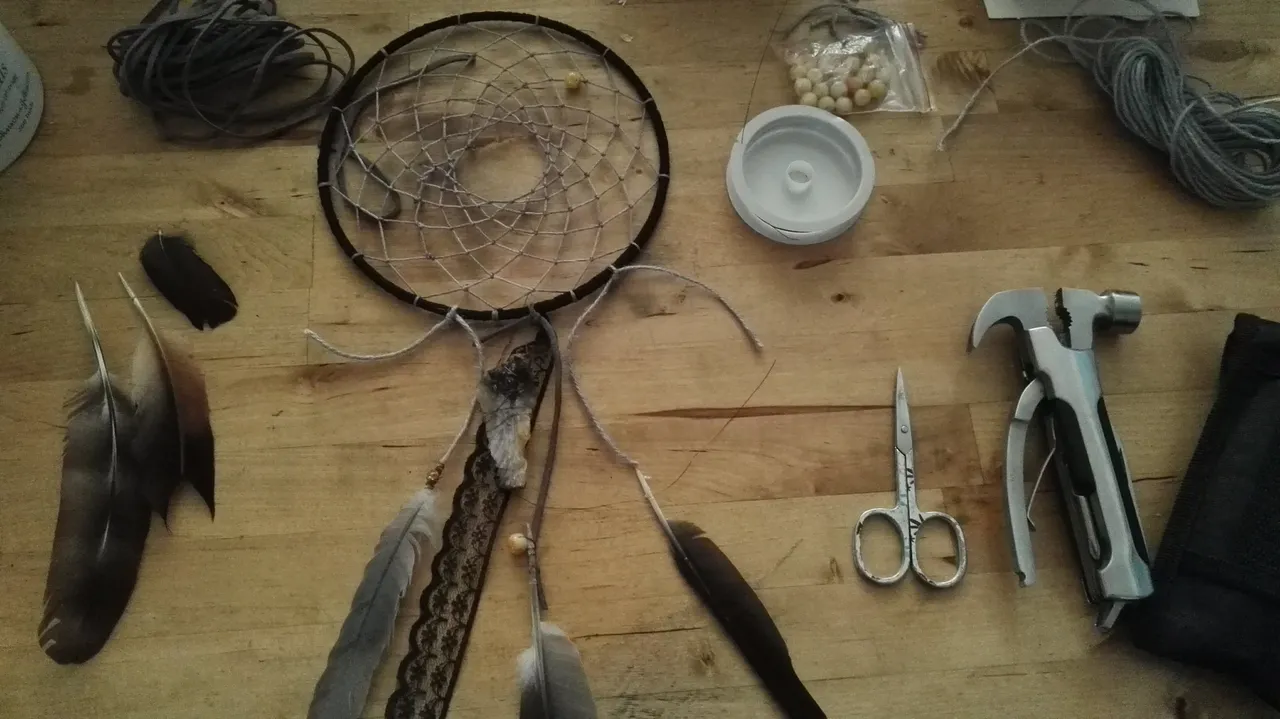
Tie your string to the hoop, then lay the feather, or bundle, at the end of the string. As you wrap the wire around the feather, also wrap it around the string. This will help it stay firmly affixed. Keep going until you have attached all of the feathers.
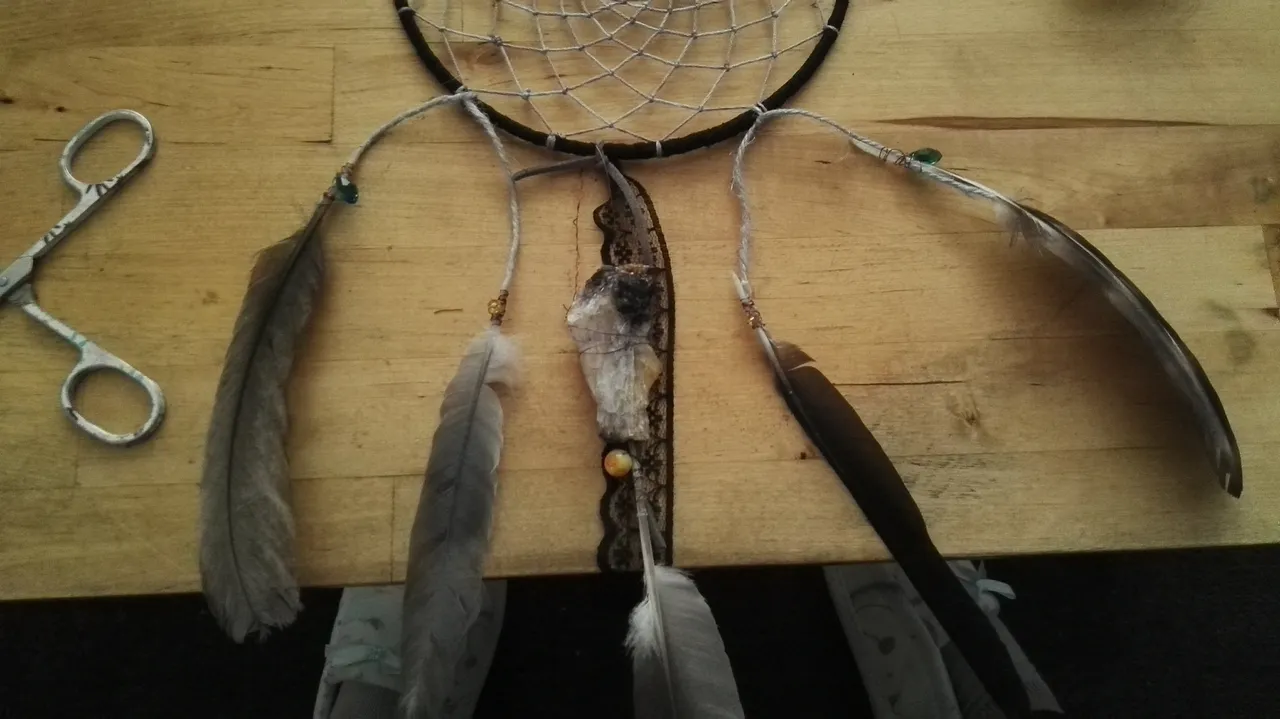
Your Chosen Crystal
Wrap your crystal in copper wire, making a large loop at the top connecting it to the hoop. Once you have done, lift the hoop up and hold it against the wall so you can see how the crystal sits. It may take a few attempts to get it to sit right, but it is worth unwrapping, and rewrapping, until it sits flush against the wall and hangs at the right length with your feathers. I went for a crystal from a local mine, I visited on my birthday and this crystal just really stood out as for me. I got to see the view where they mined it from as well, so it really does feel extra special.

Other Decorations
There is literally no limit to what you can decorate your dream catcher with. I have some dried flowers from a houseplant I will eventually attach to a hoop for added decoration. Beads, crystals, charms, anything you feel is right, will be. This is really a time to trust your instincts, so if you feel like you should be using it, you probably should.
I have made a few variations below, including a variety of colors for the web and the hoop wrap, some with lots of bunches of feathers, some with just a few, and even a dream portal.
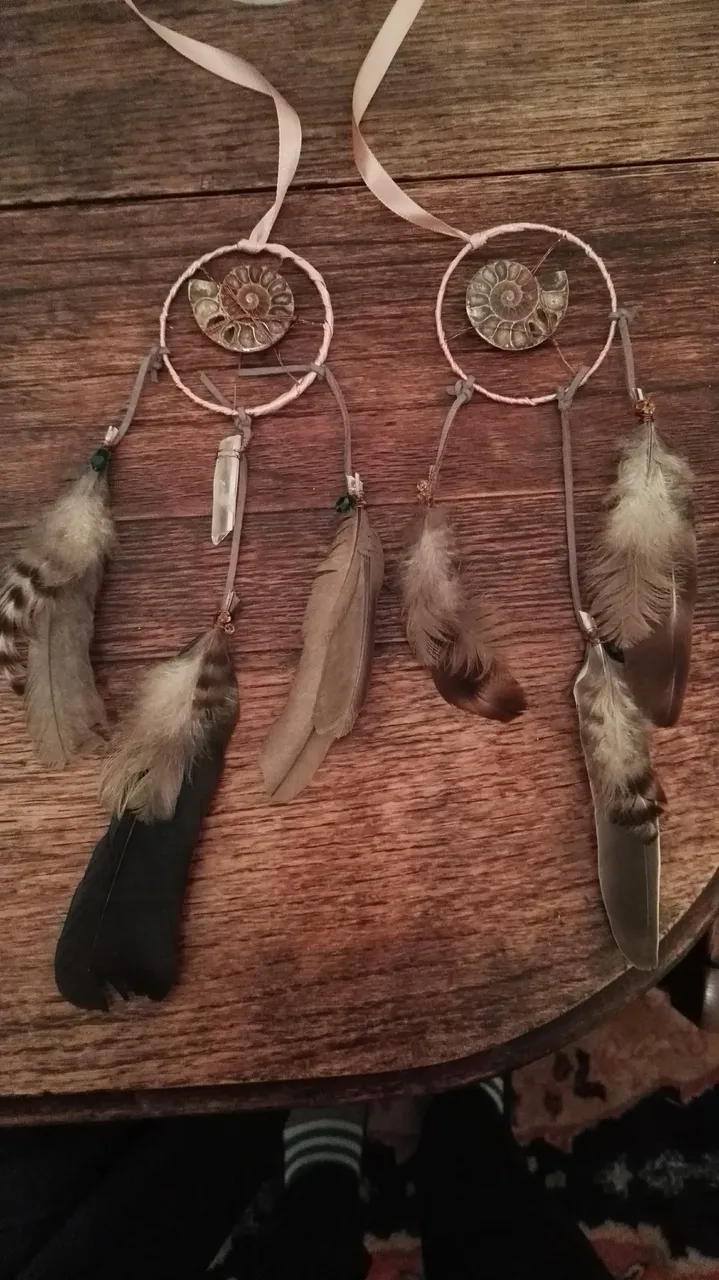
A dream portal is a dream catcher, but instead of a web, you use two halves of an ammonite. Instead of filtering your dream through the knotted web, your dreams rush towards the centre, where they can reach out across space and time, and be felt in the other half. This is a great gift for someone who lives far from home and family.
Well I hope you had as much fun as me here, and feel like giving it a go yourself. I have included a selection of dream catchers I made specially for people last year below for a few ideas. The blue one which was for my mum is possibly my favorite!
The Dream Portal
Thank you for stopping by, and if you are feeling brave and giving it a go, I would love to see yours!