
Assuming that you already know about the blockchain technology and why do we should care about it, I’m not going through that in this article.
This article is focusing on getting your first Ethereum Solidity smart contract deployed and fully working as soon as possible. This article is great for hackathon. If you have some programming background, after you read this article's introduction, you could build more complicated projects by reading official dev documents which I also pasted them at the end. I'm planning to write a serial of the Ethereum Solidity Tutorials, so stay tuned!
1. Write a Solidity smart contract
Smart contract gives you the ability to write the program on the blockchain. Anyone in the world can access and see the public data. The contract itself is very similar to the class on other programming language. You can create a instance of the contract or as many as you want and deployed it/them into the node(s).
Let's take a look at the following contract.
pragma solidity ^0.4.17;

contract HelloWorld {
    string public message;

    constructor(string initialMessage) public {
        message = initialMessage;
    }

    function setMessage(string newMessage) public {
        message = newMessage;
    }

    /*
    function getMessage() public view returns (string) {
        return message;
    }
    */
}
This first line declares the version of the solidity. Because the solidity development is so fast, we want let the compiler know which version of solidity are you coding with. You don’t want your code get broken tomorrow.
We defined the contract as HelloWorld
contract HelloWorld
We define the message as public, as it can be accessed by anyone.
string public message;
You can accomplish the same thing by writing this following code.
string message;
function getMessage() public view returns (string) {
    return message;
}
I commented the function there, but it is just a bit of longer.
Those two functions are just for setting the message variable.
    constructor(string initialMessage) public {
        message = initialMessage;
    }

    function setMessage(string newMessage) public {
        message = newMessage;
    }
2. Test the smart contract
Well, we wrote our first smart contract. Let’s have some fun with it.
I would recommend to use remix. http://remix.ethereum.org/
Remix is a great platform for writing syntax, compile and even deploy your smart contract.
On the right hand side, please choose JavaScript VM.
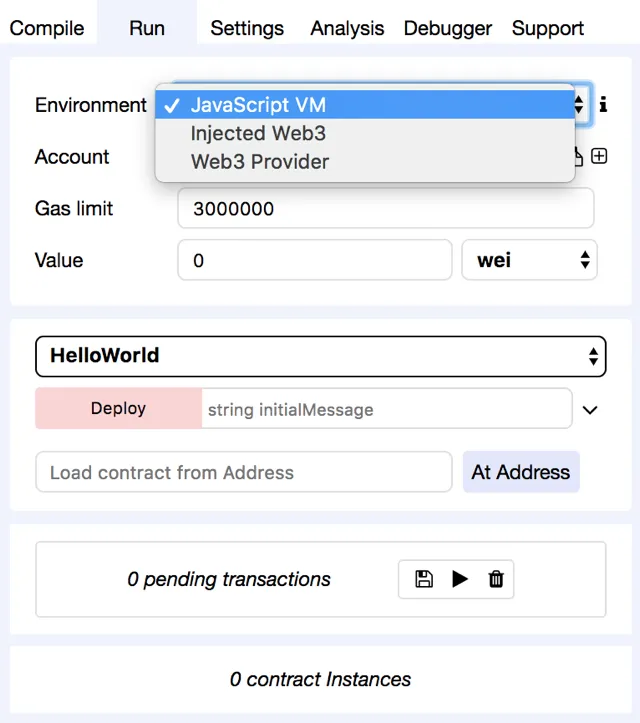
Then you click deploy, you will have contract instance in the memory.
You can change the Message to whatever you want. Don’t forget to put quotes
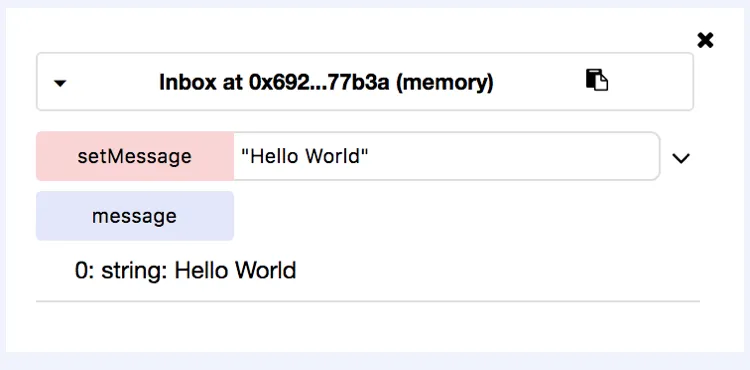
Now you can see that your contract is working!
3. Deploy the smart contract to Rinkey network
Rinkey is one of the Ethereum test net, you don’t need to spend real Ether to test your application.
However before you can deploy the contract into the test net, you need to have a Ether wallet on your browser.
Please have a chrome and install MetaMask plugin. Go ahead and create a wallet. https://chrome.google.com/webstore/search/metamask
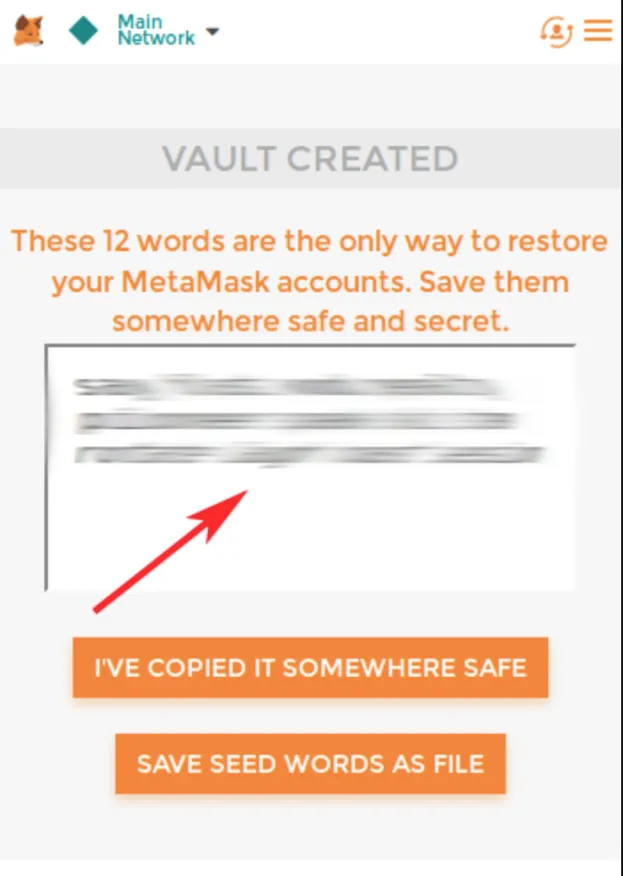
Please save those 12 words somewhere. We are gonna use them later.
You can go those two links and give yourself some testing Ether! Link1, Link2.
Now choose the injected Web3
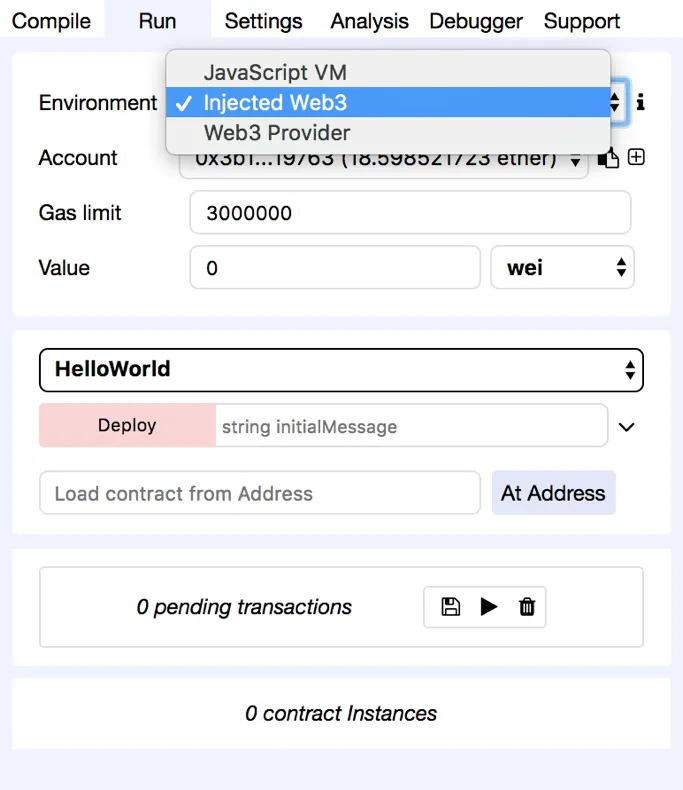
Click deploy.
You will see the CONFIRM TRANSACTION pop up from MetaMask. Click SUBMIT.
It is gonna take like 30 seconds…
I know, blockchain transactions are really slow.

Now you have a contract deployed on the Rinkey network!
You will notice that setMessage needs to send Ether but message doesn't need you to. Because setMessage is changing data on the contract while the message function is just viewing the data.
You can also copy the address of your contract, and take a look at the EtherScan. https://rinkeby.etherscan.io/
Copy paste your address and search. You will find a transaction that you just made to create the contract.
You can see the code in machine and assembly language
4. Create the web application that interact with your contract
We are using the web3 library. You need to download the latest version 1.0.0 which is at here
https://github.com/ethereum/web3.js/tree/1.0/dist
It wasn’t easy to find the 1.0.0 version…
Web3 basically create a local instance of your contract, so you can call your contract’s functions with RCP.
Most of the functions from contract are async functions, so you can see there are a lot of async/await syntax.
<script src="web3.js"></script>
<script src="abi.json"></script>

<script type="text/javascript">

  web3 = new Web3(web3.currentProvider);
  console.log(web3.version);

  const address = '0x0CeA6FCd7C5d9C2E493fF7db7f39FbfCD94d757b';
  helloworld = new web3.eth.Contract(abi, address);
web3.currentProvider is the MetaMask that you installed.
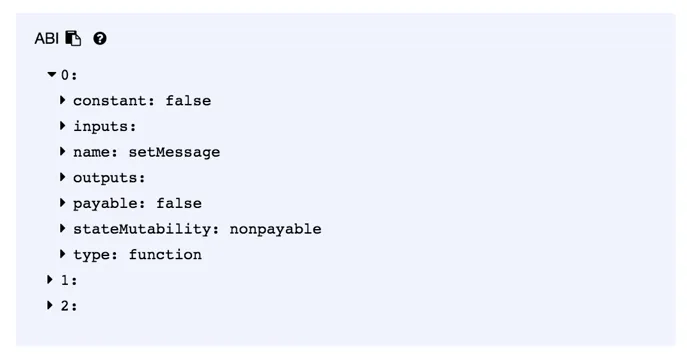
abi is an interface. Web3 doesn’t know what is the the actual contract look like and what kind of functions that this contract has, so you need to tell it. An instance is created called “helloworld”. You can find the abi from REMIX.
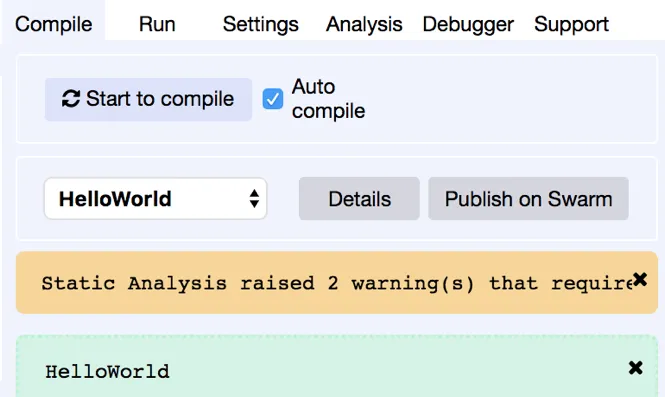
Compile tab, details button.
  send = async () => {
    // event.preventDefault();
    const accounts = await web3.eth.getAccounts();
    console.log(accounts);

    let message = document.getElementById("message").value;
    console.log(message);

    document.getElementById("msg").innerHTML = "Waiting on transaction success...";

    await helloworld.methods.setMessage(message).send({from: accounts[0]});

    document.getElementById("msg").innerHTML = "Your message have been entered!";

  }

  read = async () => {
    let message = await helloworld.methods.message().call();
    console.log(message);
    document.getElementById("current_message").innerHTML = message;
  }
  read();
</script>
const accounts = await web3.eth.getAccounts(); web3 will get the current account that you are using in the MetaMask.
.send() is altering the some variable in the contract, and you need an account as an argument.
.call() is viewing the variables, so you don’t need to passing your account.
I added a simple front end for you to put your message
<div>
  <h2>Hello World</h2>
  <div>
    <p>
      <span>Current message: </span>
      <span id="current_message"></span>
    </p>
    <h4>Please enter your message</h4>
    <input id="message"/>
    <button onClick="send()">Enter</button>
  </div>
  <hr />
  <p id="msg"></p>
</div>
I posted all my source code into github. https://github.com/yidongw/Dapp_Hello_World
This article is just get you started. We will talk about compile and deploy the contract locally next time, and also more features and functions of solidity.
Hope you like this article. Please leave comments if you have any questions. I will see you the next time.
Dev Doc Links:
https://web3js.readthedocs.io/en/1.0/
http://solidity.readthedocs.io/en/v0.4.24/