In my quest in finding my style, i have tried different kind of styles, i have drawn different kind of portrait with different style, I love the different adventures I have undertook to get here. I can vividly remember the first portrait I drew, I was so happy, I thought I have created something beautiful, but the way the person I painted reacted, I knew I had to worked on myself, and for the past two years it has been rewarding.
Recently, a new phase of style just strucked me, the inspiration came from studying the processes by Sir @dunsky which he always shared on his page daily. I have learnt so much from him, how he presents his works with so much simplicity and beauty, how he gives life to a simple sketch, and how he captures the eyes with surreal presentation of colours that leaves you in awe for a tranceful period of time.
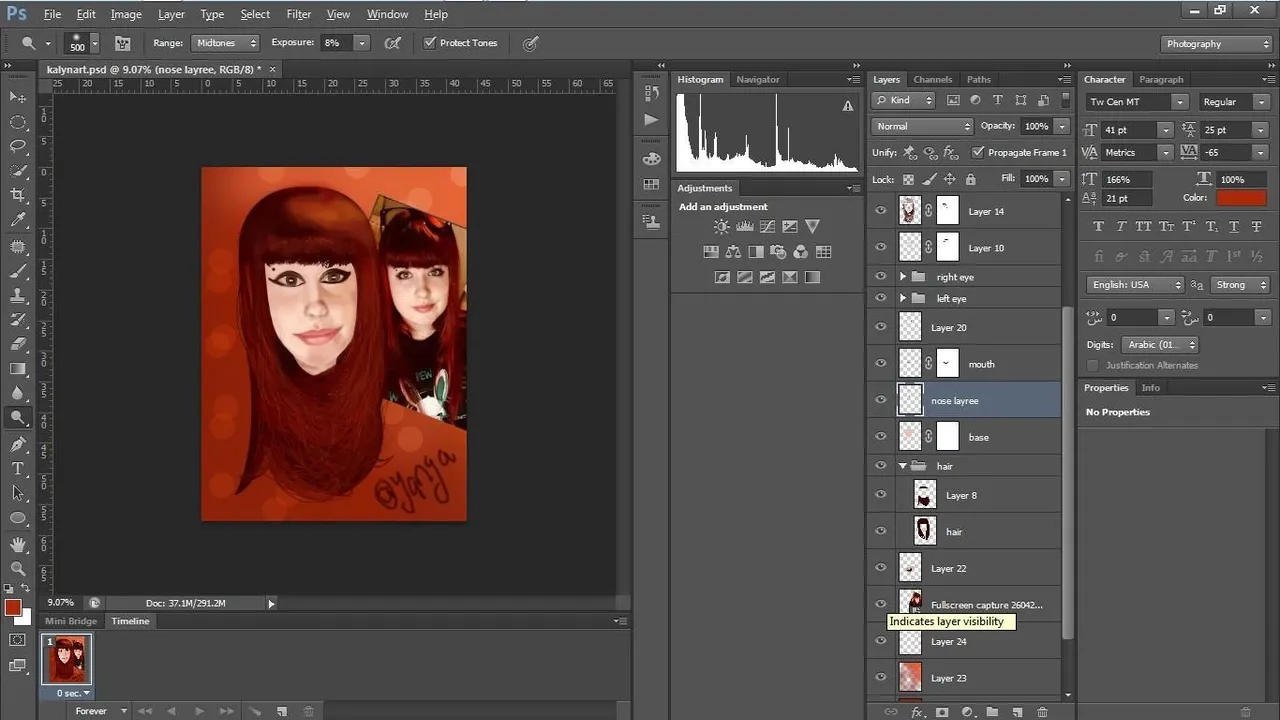
The style (I don't know the name, maybe digital painting) is all about how to effectively use the brush tool ( I will advice you get tutorials on how to use the brush tool); its all lies in your ability to know when to add pressure or not to your brush, its helps in painting of highlights and shadows. If your using a mouse (Since i can't afford a pad yet) like myself, adding pressure will be determine by your increasing or lowering opacity and flow. Increasing them makes the coloring more pronouced, and lowering makes it soft. If you have ever tried out Dodge and Burn in photography portrait editing, this should be easier for you to understand.
Another thing that matters here is the size and the hardness of your brush. The harder and smaller your brush, the sharper your lines, and the bigger the size of your brush tool, the softer your painting. You can use this idea to draw your outlines, so if you want to draw a sharp small line, like the one between the nose, you know you have to reduce the size and increase the hardness of your brush tool. Also, if you want to blend your highlights and shadows, you have to keep your brush wide open and reduce the hardness. With the help of the Colour picker, selecting your base colours, highlights and shadows is made easy.
TOOL USED: ADOBE PHOTOSHOP
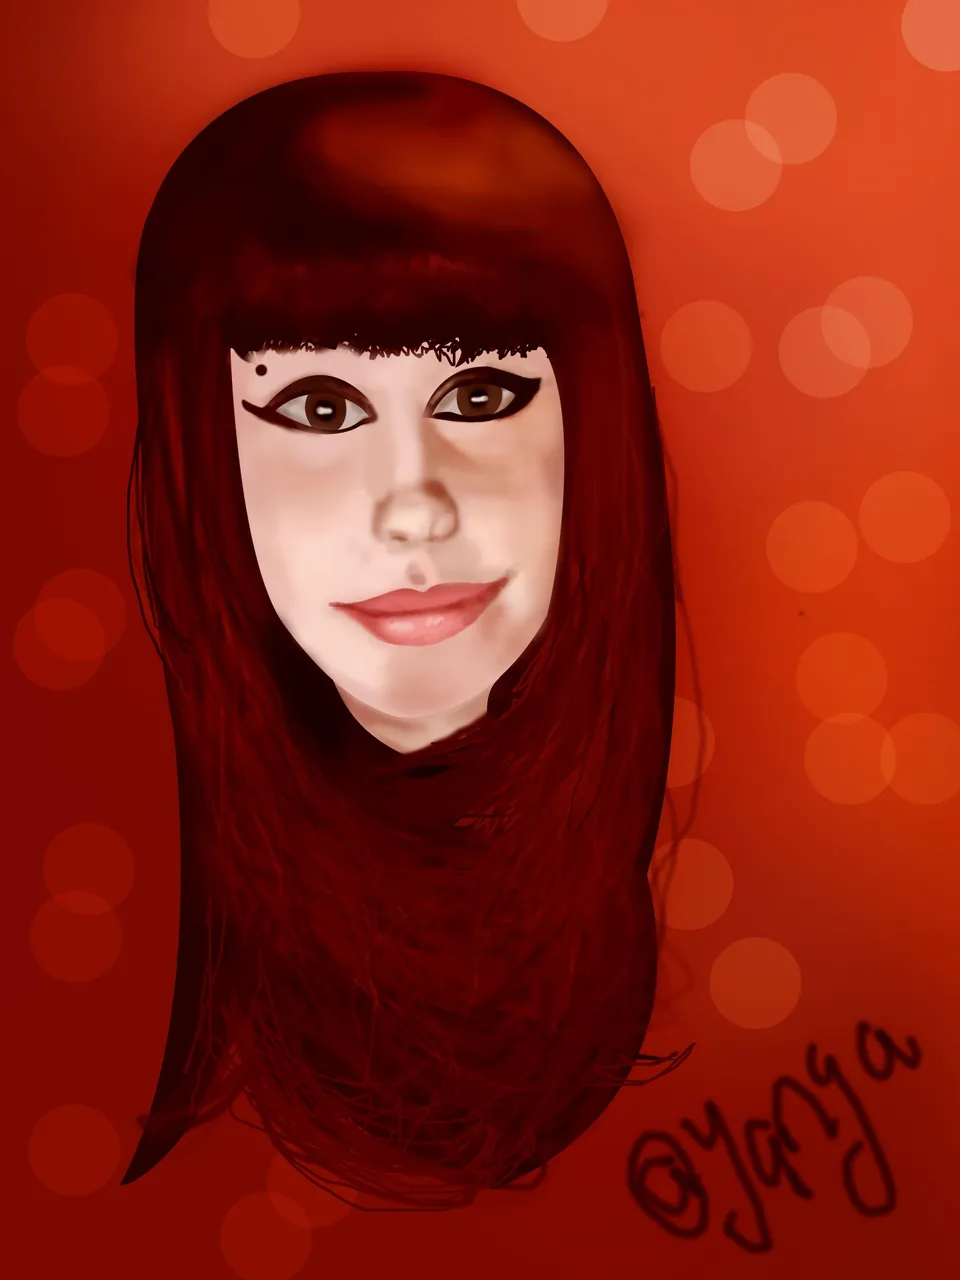
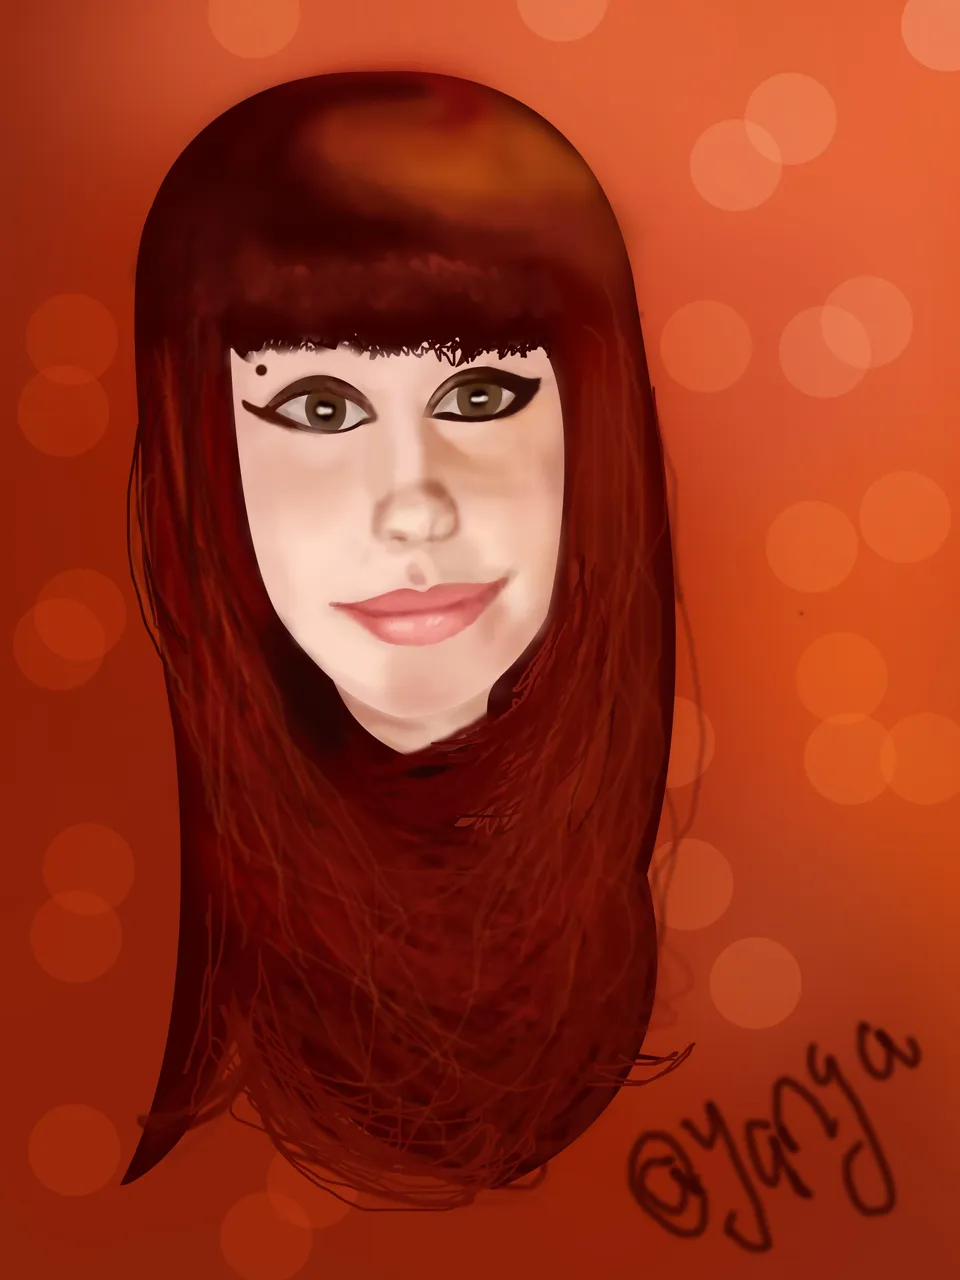
I always have confidence in @kaylinart portrait, this is not my first portrait of her, and would not be the last, don't ask me why. I love the simplicity of her face, red hair, that's why i choosed her portrait to try out this my new found style.
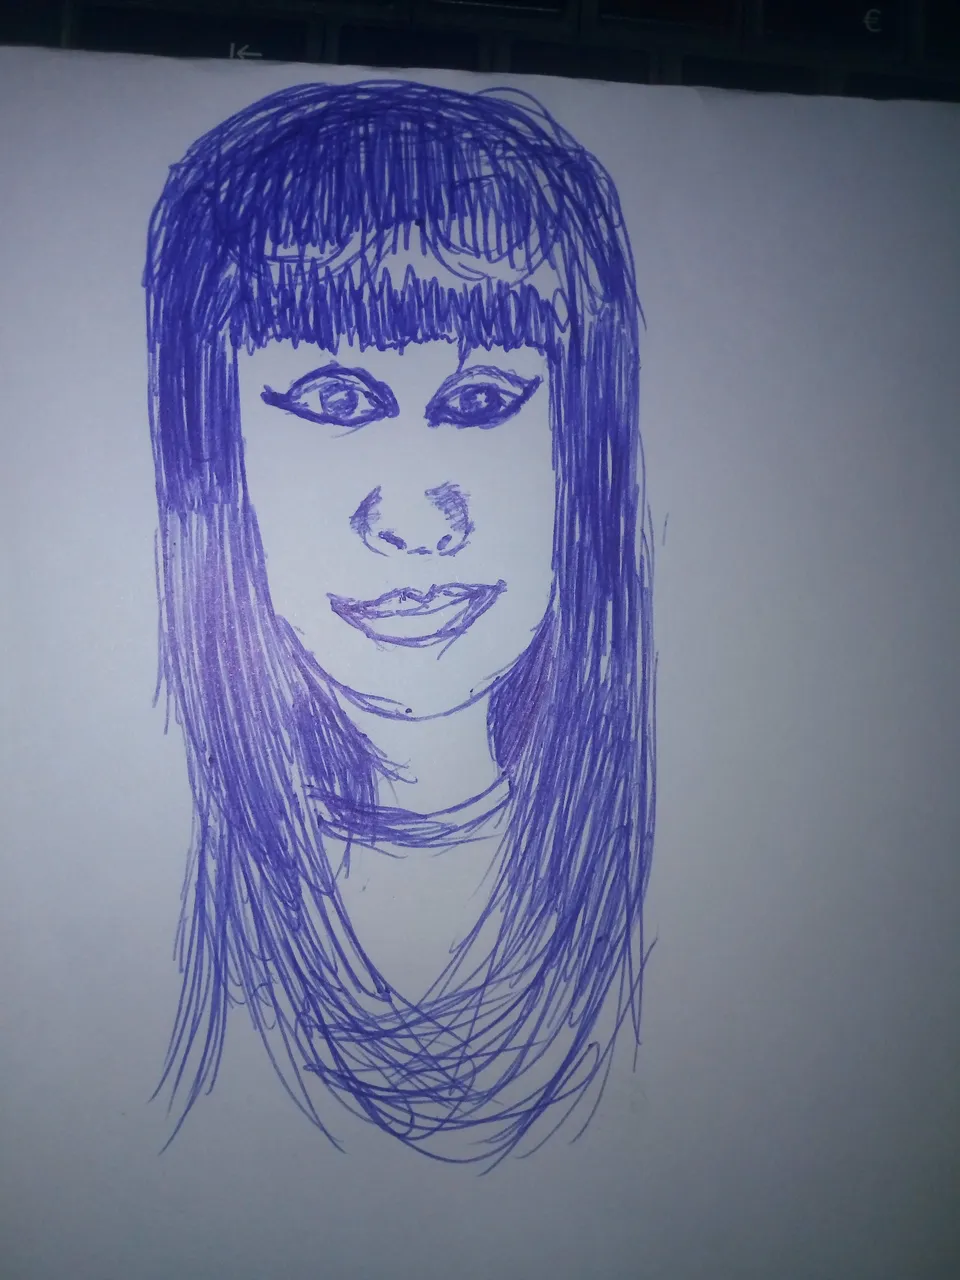
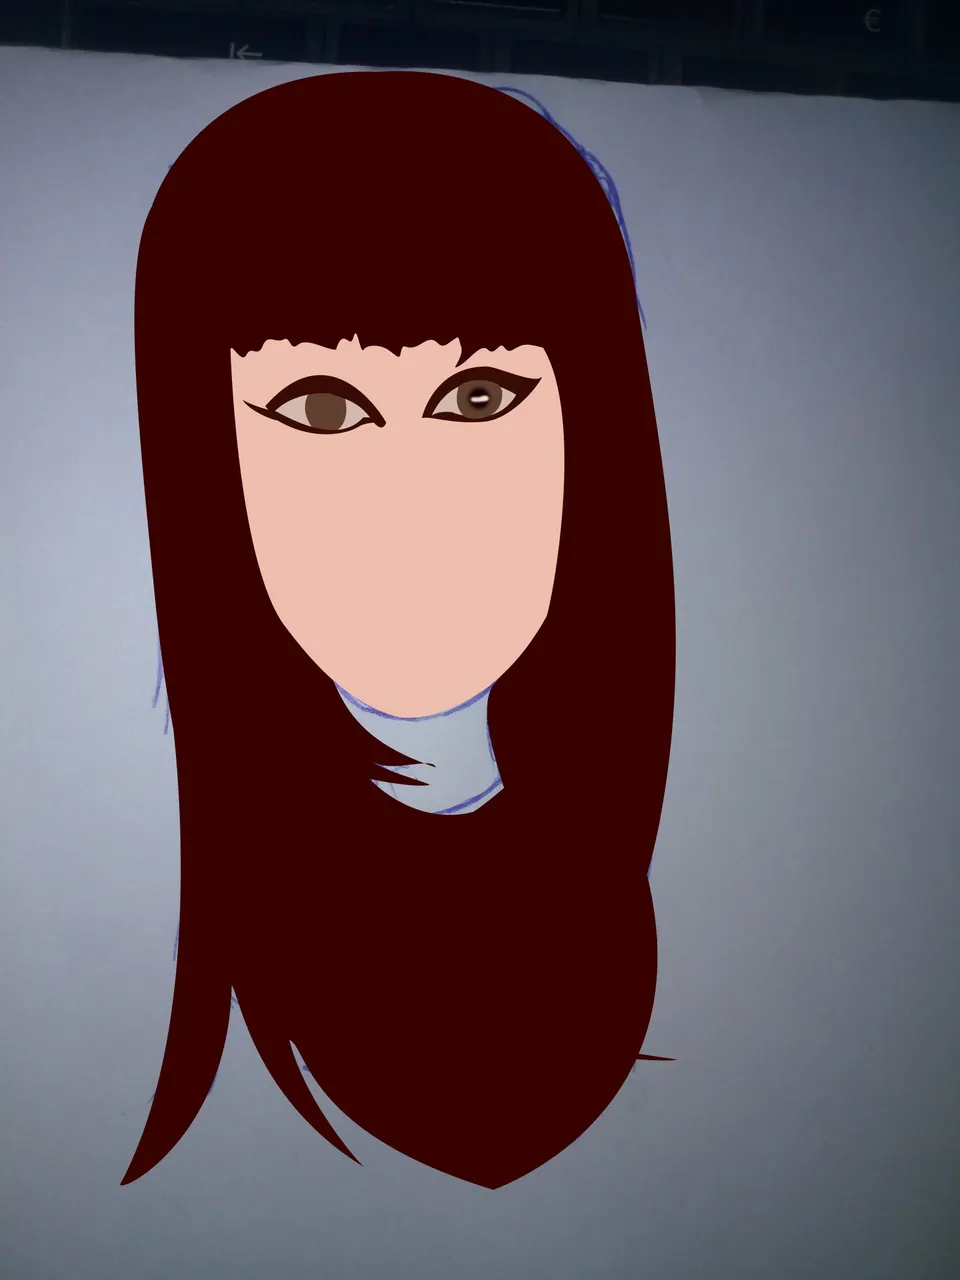
The sketch was so bad, i didn't want to continue with the colouring, I don't know where I found the courage to continue. After the sketch with a pen and paper, I took a picture of it with my phone, then I uploaded it to my computer, then opened it with photoshop.
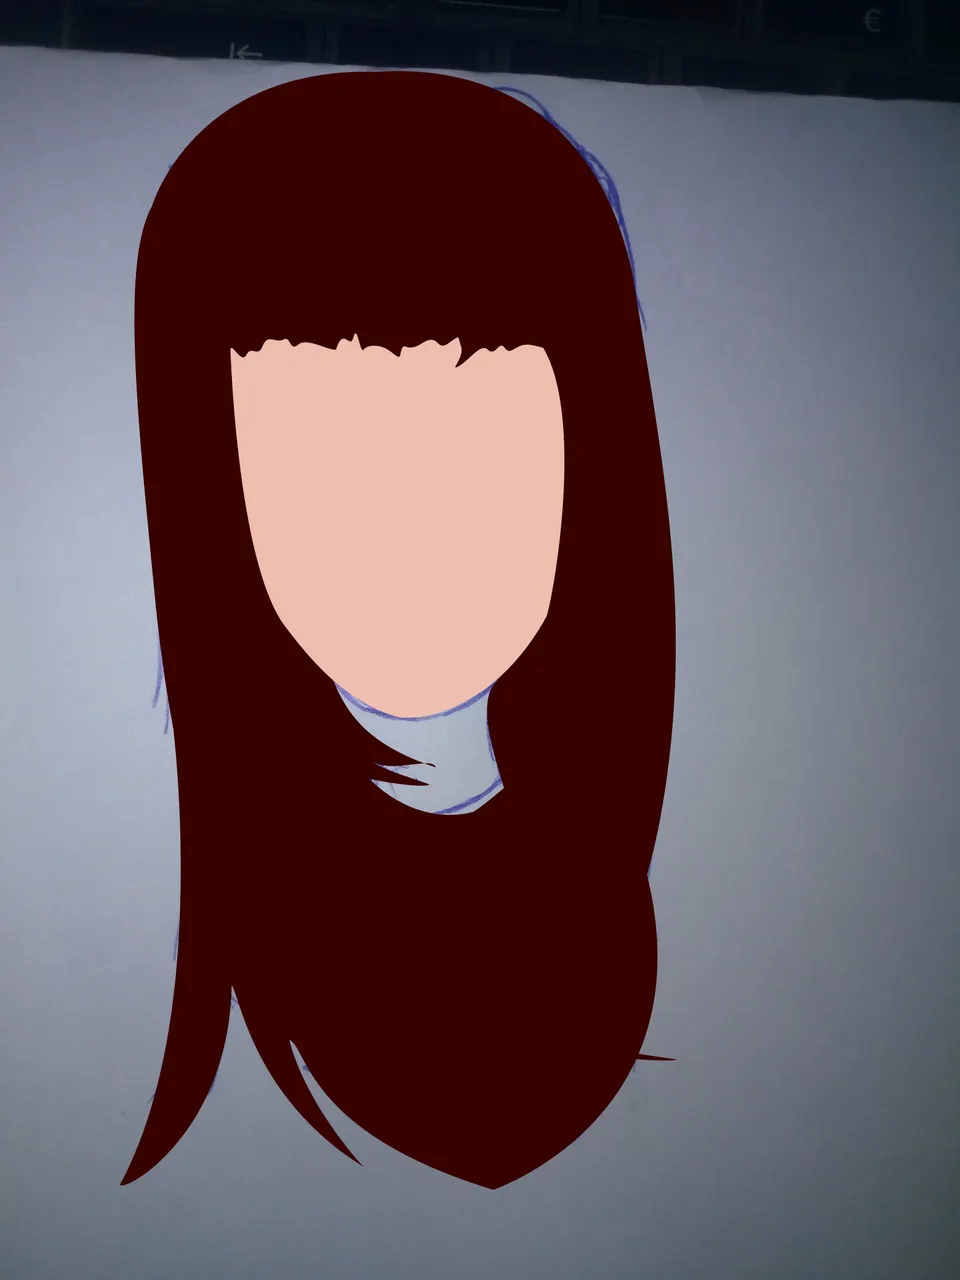
- I started colouring the entire face. Here, I used the pen tool to select the outline, then i fill in the colour, did that to the hair too.With help of my colour picker I was able to select the base colour.
- Here, I drew the eyes, I don't know why this was a little difficult for me at first, at some point, they were looking like Picasso style of drawing eyes, I think the problem was from the sketch, I didn't draw them on the same line.
I started painting the highlights and shadows here, I also added the mouth and the neck.
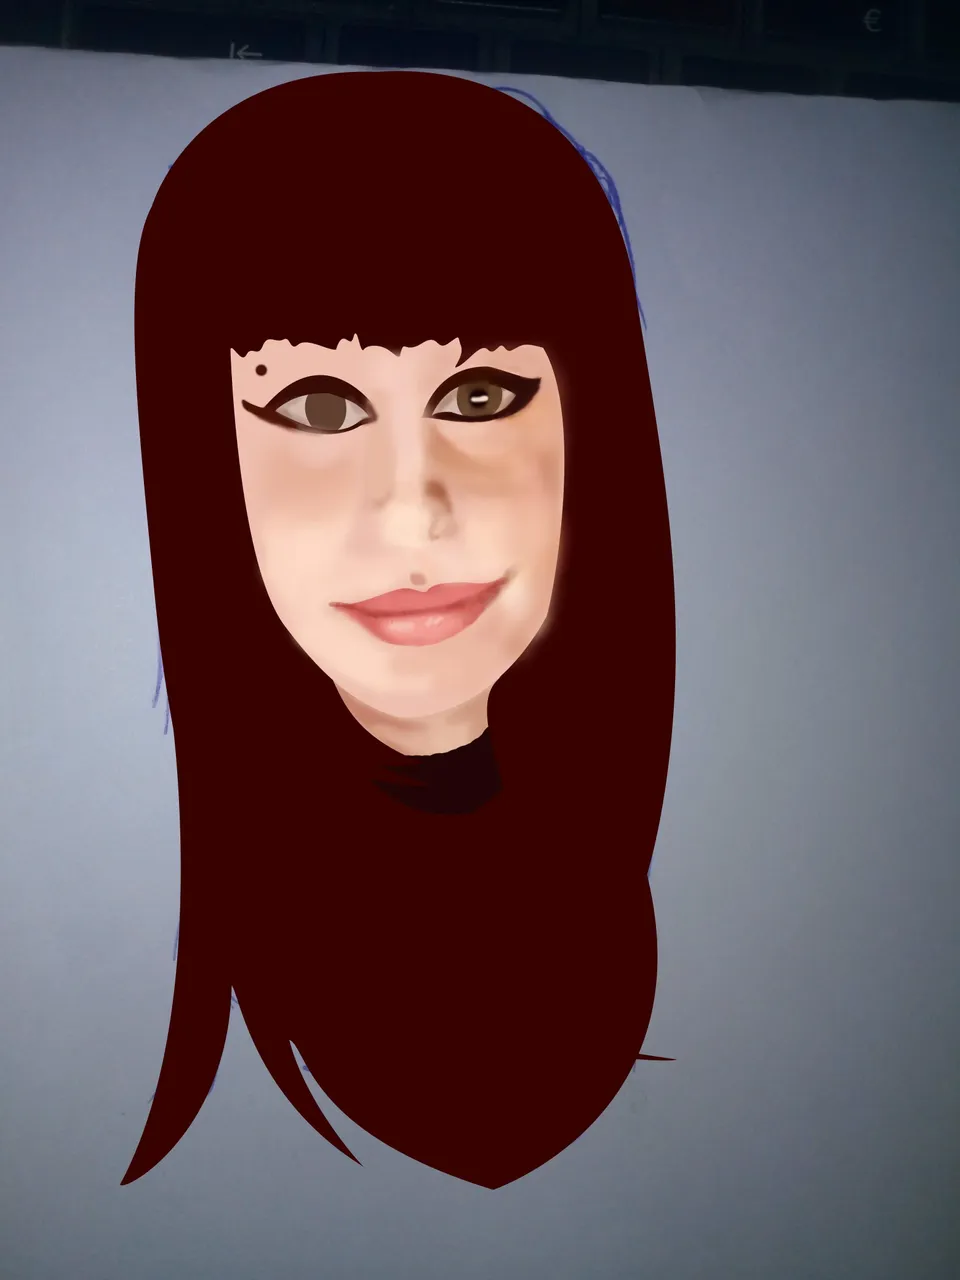
I added details to the hair here, also finished the details on the face, and made the nose more pronounced.
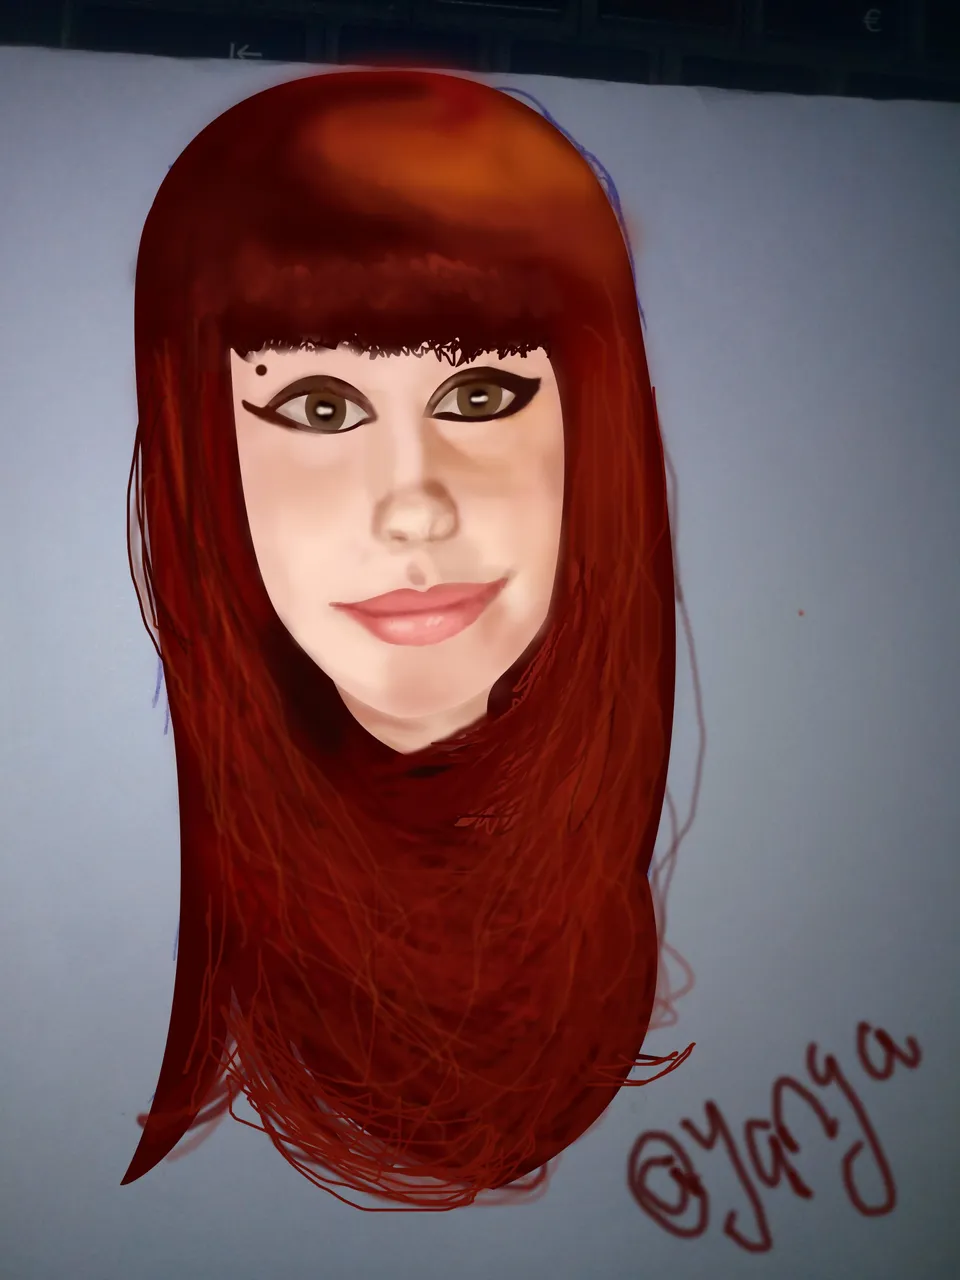
- Then, I finally added a backdrop, add some other details like levels, colour balance and the rest.
THANKS FAMS FOR COMING THROUGH...LOVE Y'ALL