Hi everybody!
Really sorry, I have been busy these last weeks and I could not post more of mi step by step work. The news is I already have another piece of step by step that I hope you enjoy it. I need to admid this illustration was heavy to finish, I have done work more complex than it before but this new one was stressfull, I do not know what happend. But one thing that I learned these years of improving in art is keep drawing no matter how horrible had turned out drawings. keep working and you will see how you become a better artist.
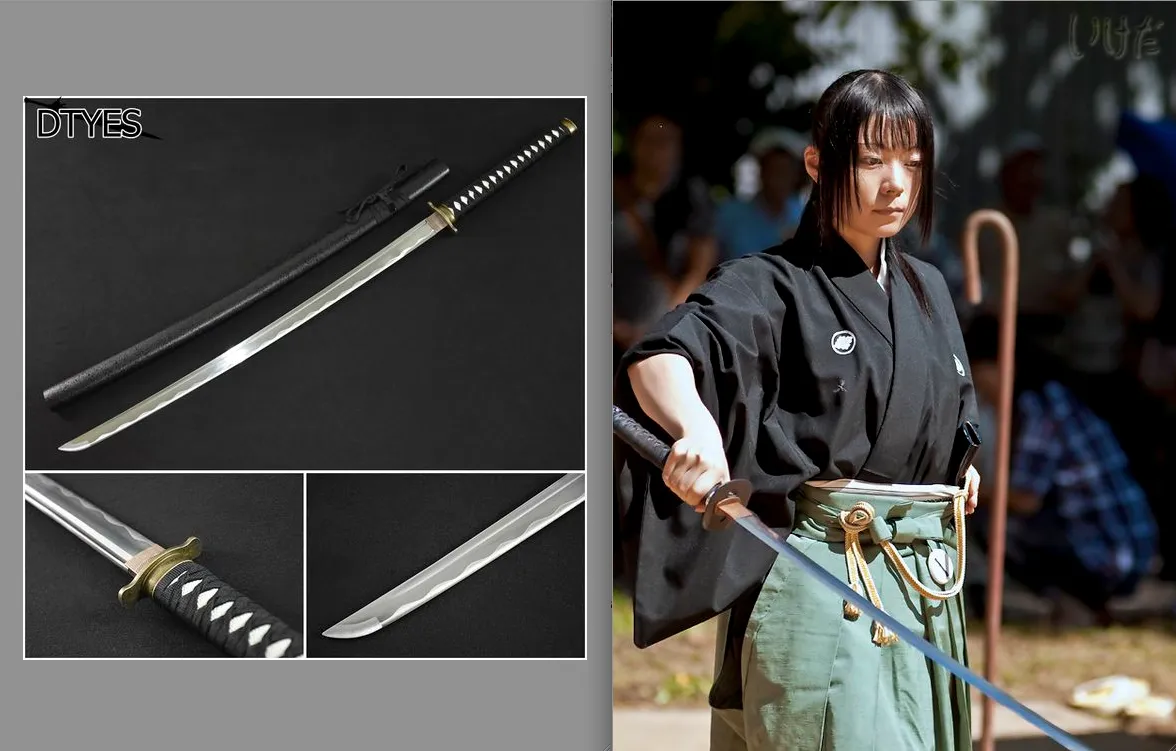
1- Here is the sketch drawing. Is not neccesary a lot of detail. The people generally thing that an artista has in mind every single perspective of a shape, and it is not true, sometimes you need a reference, juast a picture or a real person to understand better how the body looks. For this sketch I used a internet reference of a hand and how the hand hold a sword. As an artist dont afraid to have picture reference.
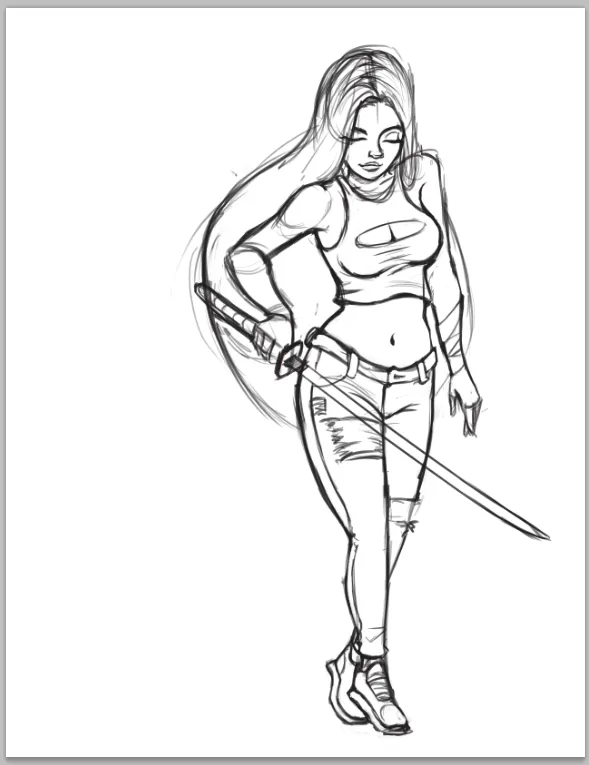
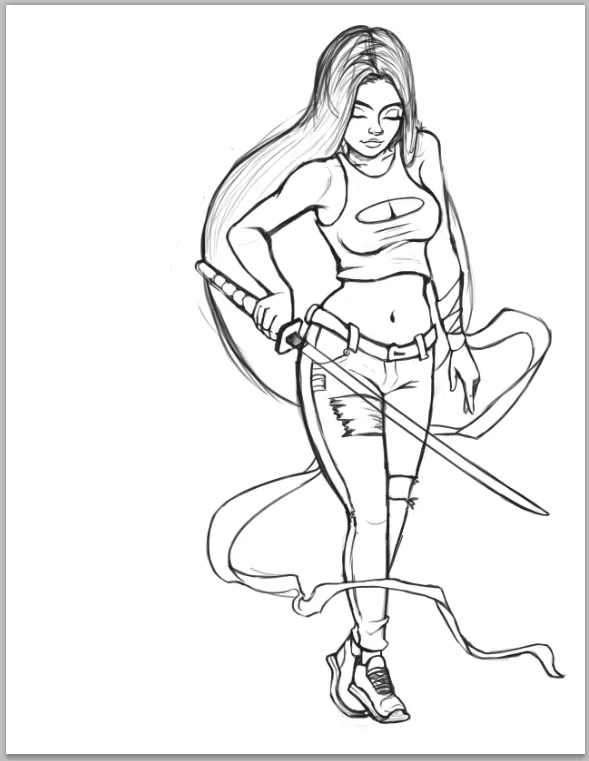
2- After that I cleaned the sketch and modify some áreas. In this case I modified the legs of main character.
3- Flat color step. Generally I make one sketch layer and below that I add a one separate layer for each color.
4- Basic shadow for the skin
5- Blending color on skin
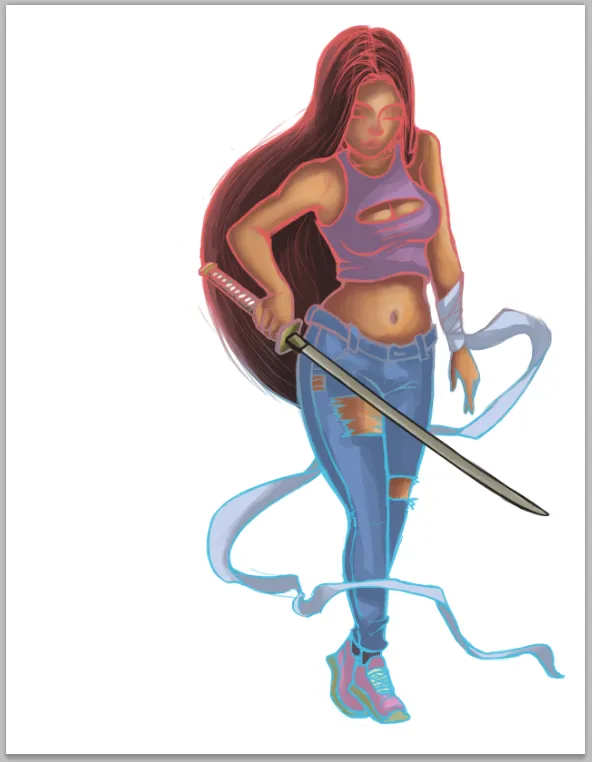
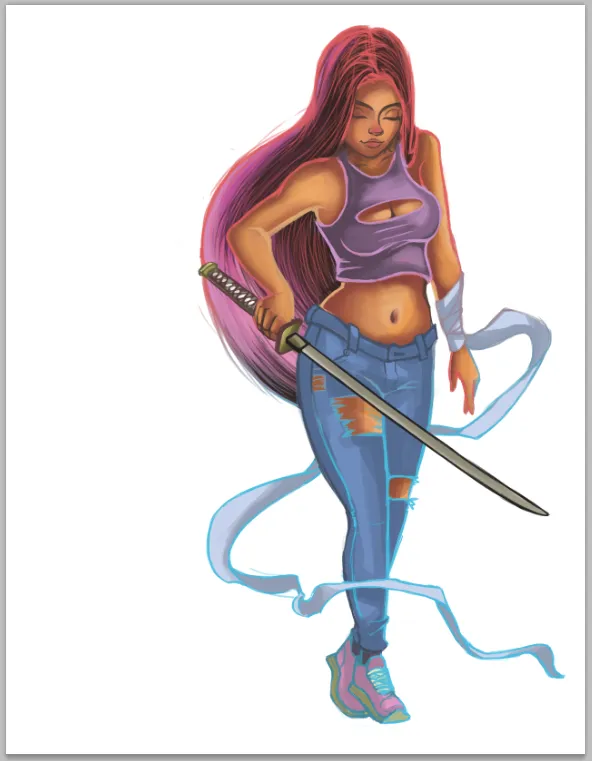
6- In this step I am learning and exploring adding gradient color into sketch layer as a way to have an idea about color harmony. I selected a gradient color between blue and red. Looking my path I think now it was not good color choice because the next steps were really complicate when I was triying to blend colors. It is a digital experiment.
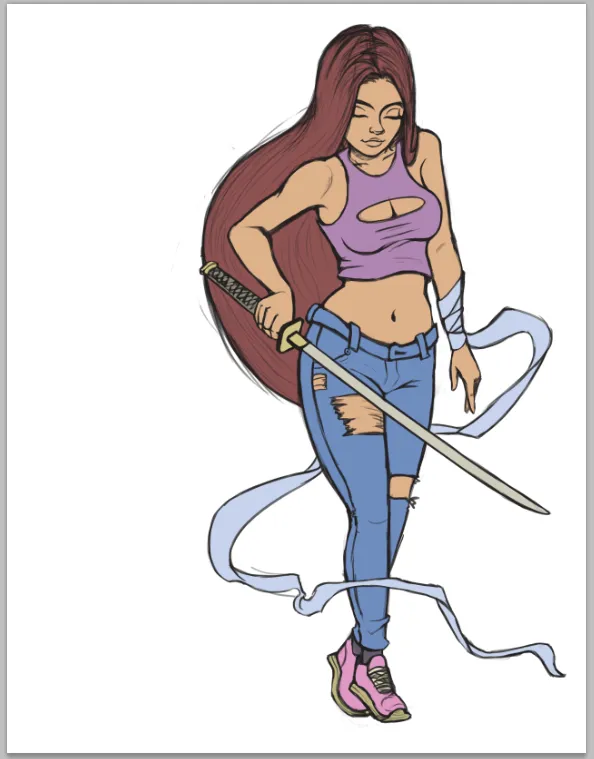
7- I redefine face details and color hair. You know, I really like bright color on hair.
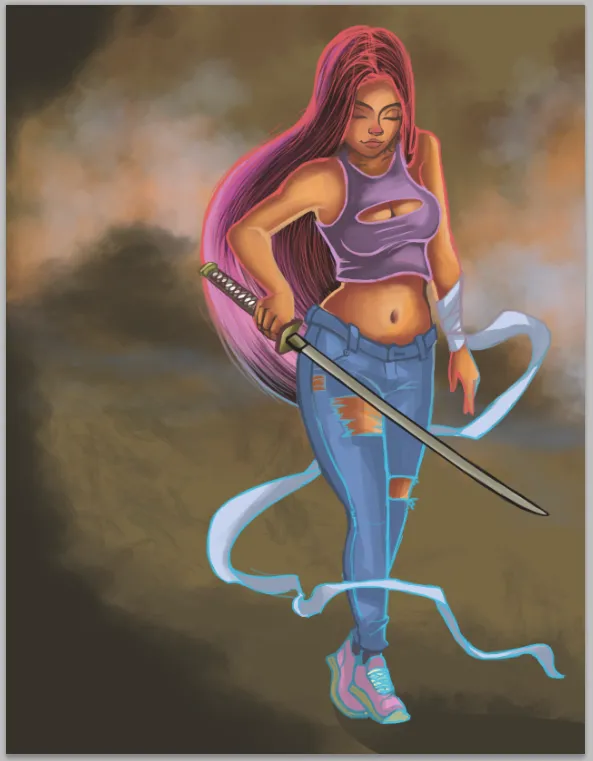
8- I added some spot colors and shadows to background it is just a reference for landscape.
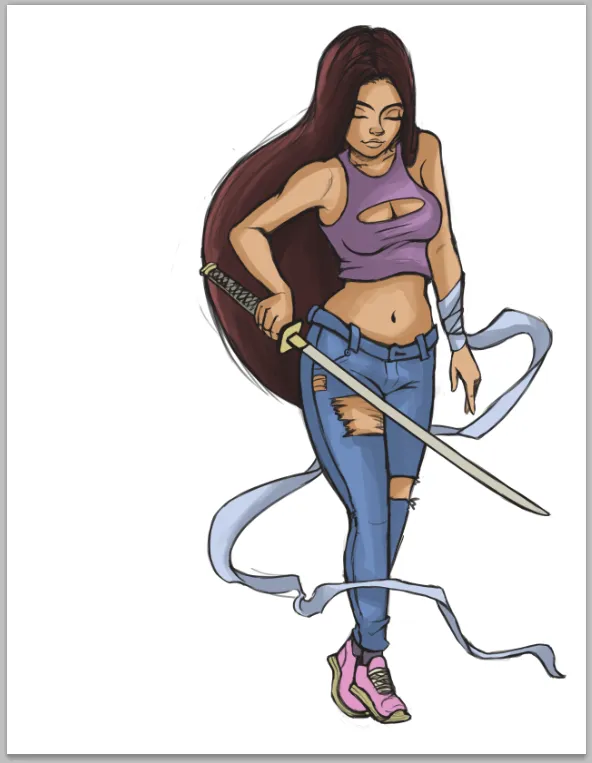
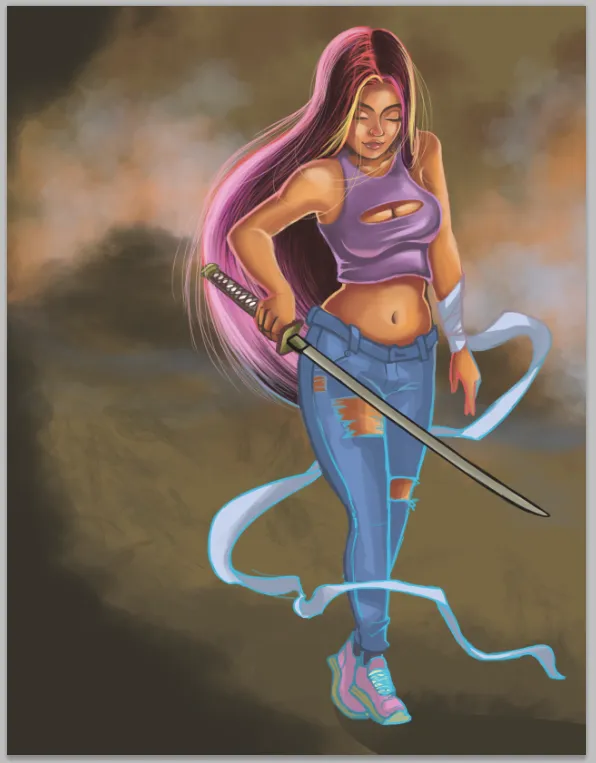
9- Here I was working more face details and blend tones. I also decided to add a yellow on hair.

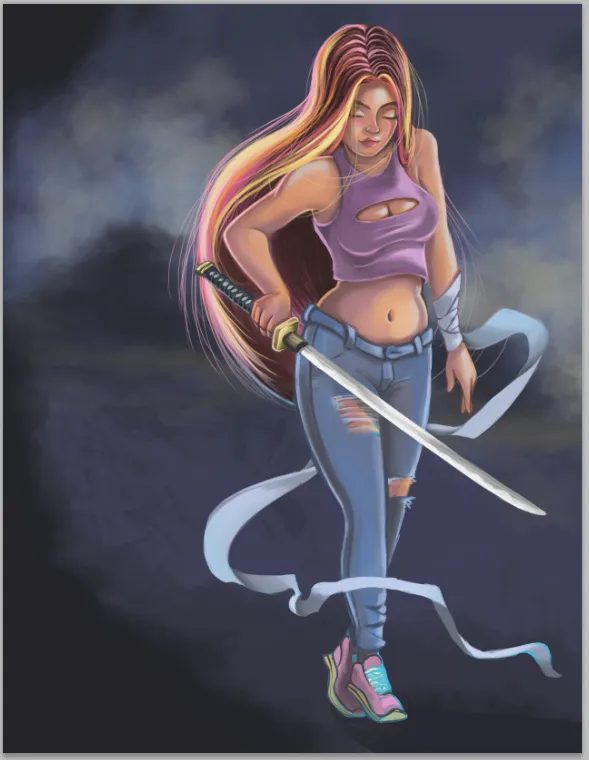
10- I added some light on hair and emulate depth with shadows. The hair for my is something really important, it helps to make a great art. At this point I realize that something I did not like so far, I see that color skin was flat, I mean in one only tone and its looks too orange.
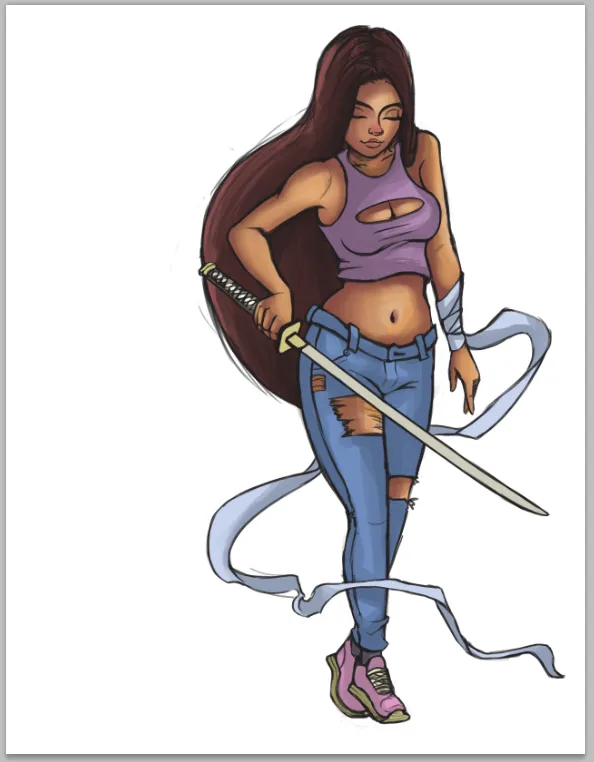
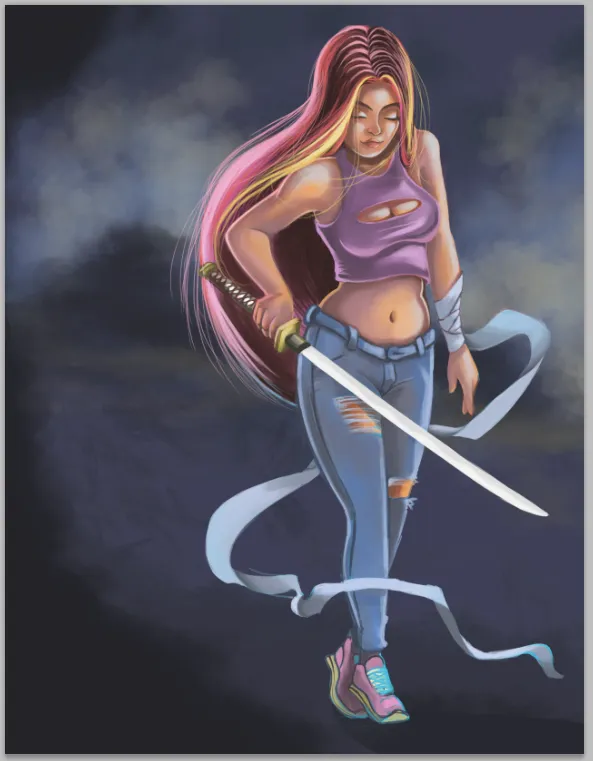
11- So I decided to modify the tones on skin adding purple-gray color. Also I changed the light color on skin to blue. It was a huge change, but is was neccesary, personally I was not happy about how it was turned out. Also with Hue/Saturation mode I changed the background tone.
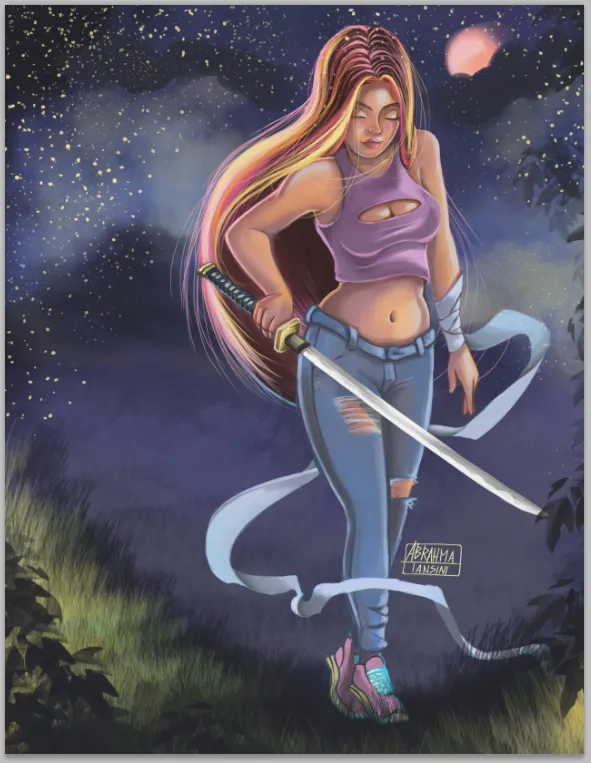
12- More blending work, trying to combine all the tones of the character. Also I defined better the shape of sword handled (it looks great dont you think?).
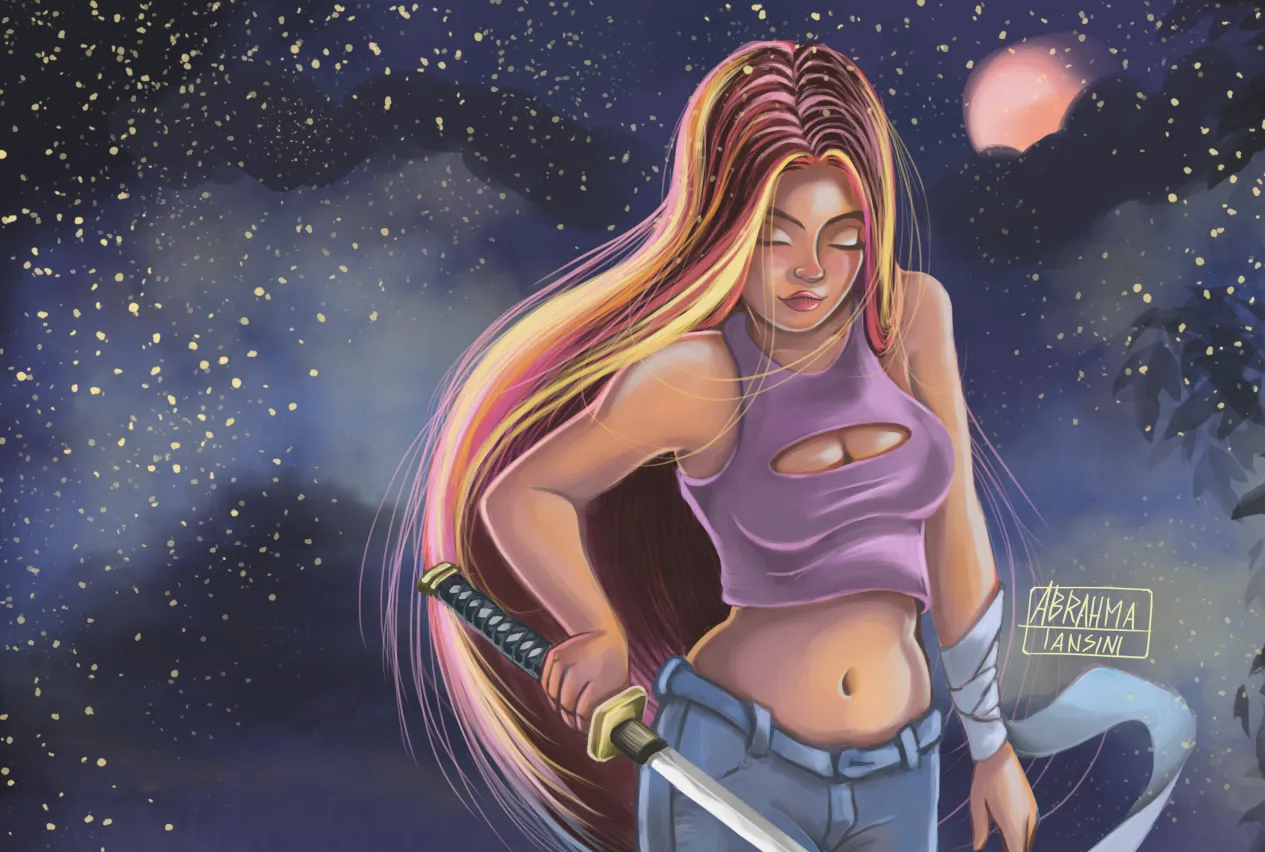
13- Finally, I added background details. I imagine some source of light at the left of main character, maybe a huge Wood fire but we did not see it, only the dust particles can indicate us that something is burning. Also I decided to add grass and some leaves to contextualized where is the character.
Here is my favorite part of a post, I mean the gif animation that shows step by step process. Is something magical waching how it is building.
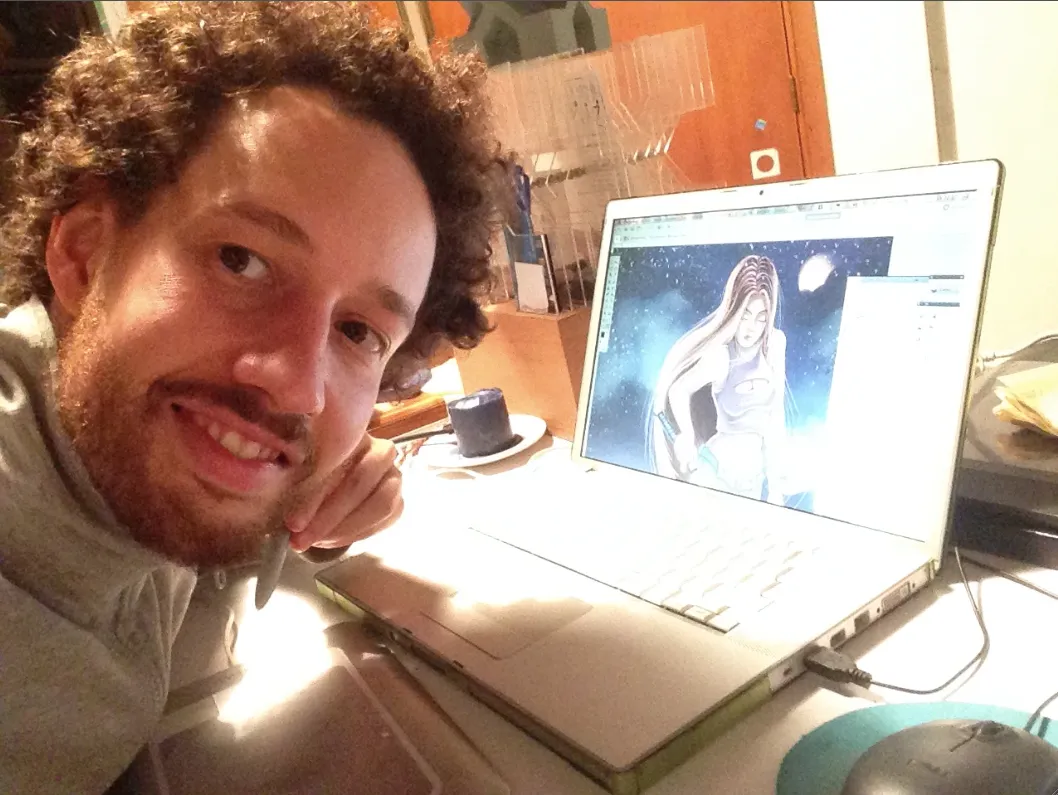
Also, a picture of myself and my old mac book pro 2006 that is Works as a new! It will not stop to surprising me.
The artwork is complete. Maybe I can dedícate more time rendering the image, but I would prefer to make another experiment. I hope you had enjoyed this step by step work. Do you like this artwork? Thank you so much to check my post. Also if you would like to see more of my work, follow me at instagram: https://www.instagram.com/abrahmatan/
Copyright @abrahmatan - All Rights Reserved 2018
Media: Adobe Photoshop and creativity!