How does one genetically manipulate an organism?
There are plenty of options, with plenty of outcomes and plenty of reasons to use them. Do you want to just change one cell? Do you want the whole organism to be changed? Do you want the offspring of the organism to be changed too? Do you not want that? Depending on the desired outcome, you have to pick a different method.
For my experiment, each cell in the mouse is supposed to carry the genetic change, including egg and sperm cells - so they can pass it on to any offspring. But what’s necessary for this to happen?
An efficient way is to induce the change in a fertilized egg cell (= zygote) before it has a chance two split in two. Because when the change happens at that point, it’s kept for each cell division that follows and is thus existent in the whole organism.
Sounds neat? It is. But, how is that actually done?
As a first step, you need egg cells from a mouse. That sounds a lot easier than it actually is! First, the mouse has to be injected with hormones, so the egg cells start to mature. Then … you have to kill the mouse, to isolate them.
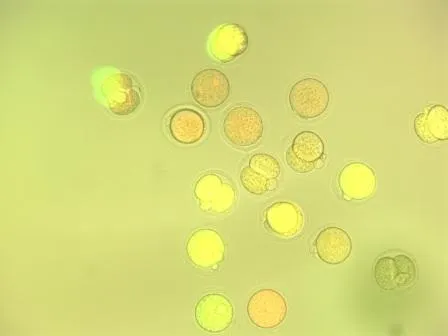
In a petri dish (and a solution to keep the cells alive), the egg cells are combined with mouse sperm and left alone in an incubator at 37°C, to allow fertilization. Fertilized egg cells look like this:
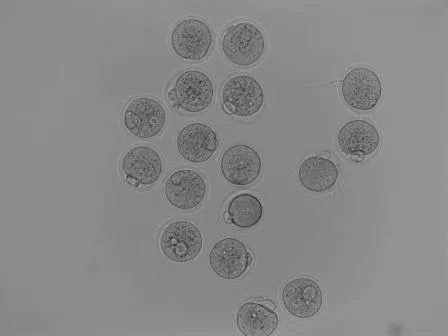
The ones without a “bump” are not fertilized, the ones with one are. The “bump” is a so-called polar body. Fertilized egg cells are then put under a special microscope that has two pipettes adjusted to it. One of them serves to gently “suck in” and thus hold the zygote, the other one is thinner and there to inject whatever solution I want to have inside the cell. @suesa
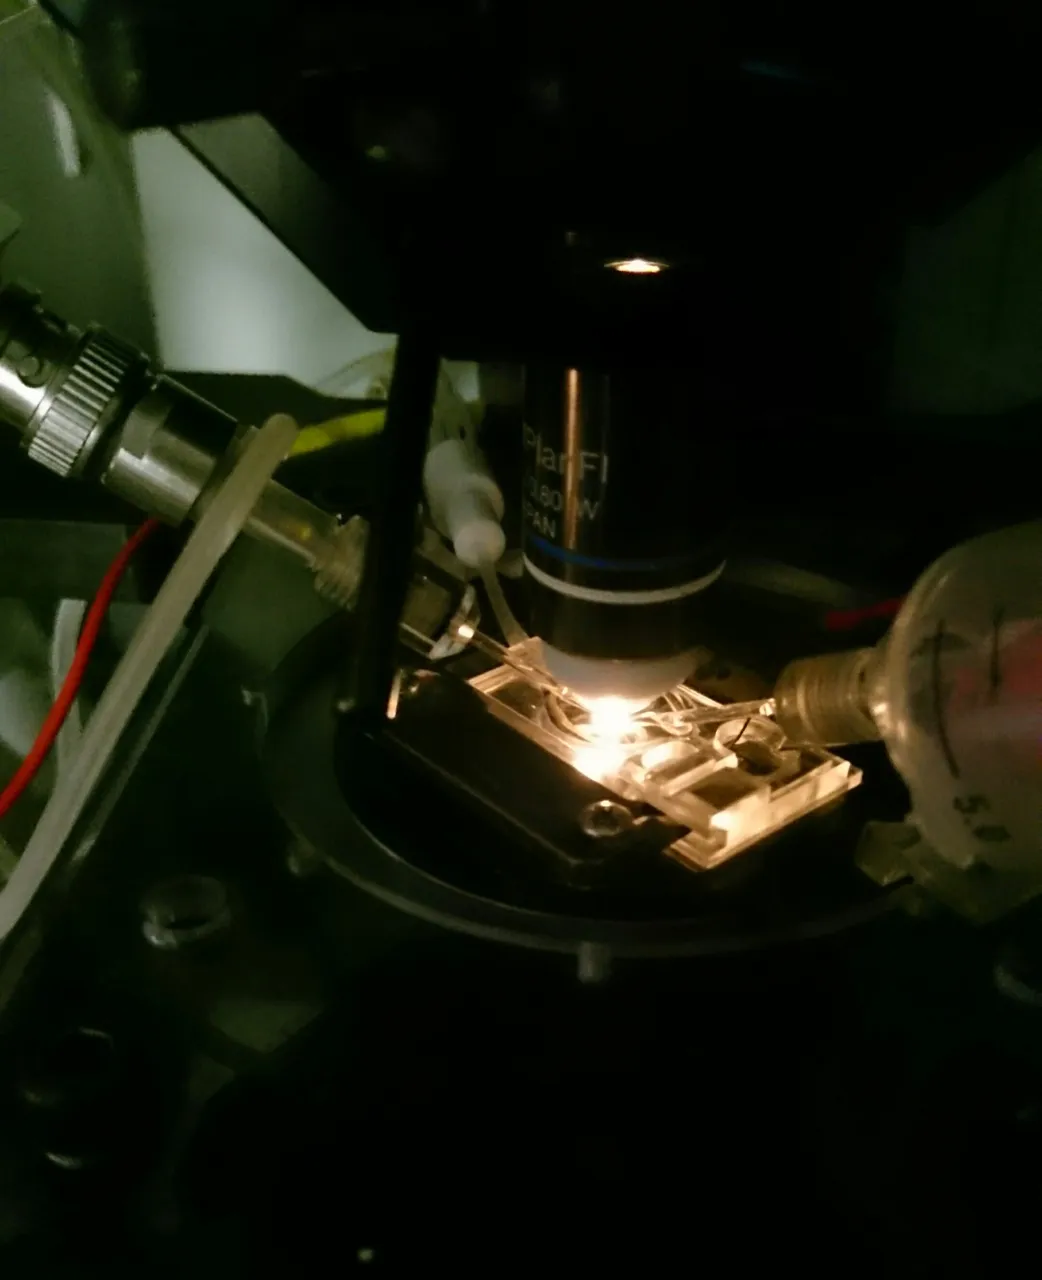
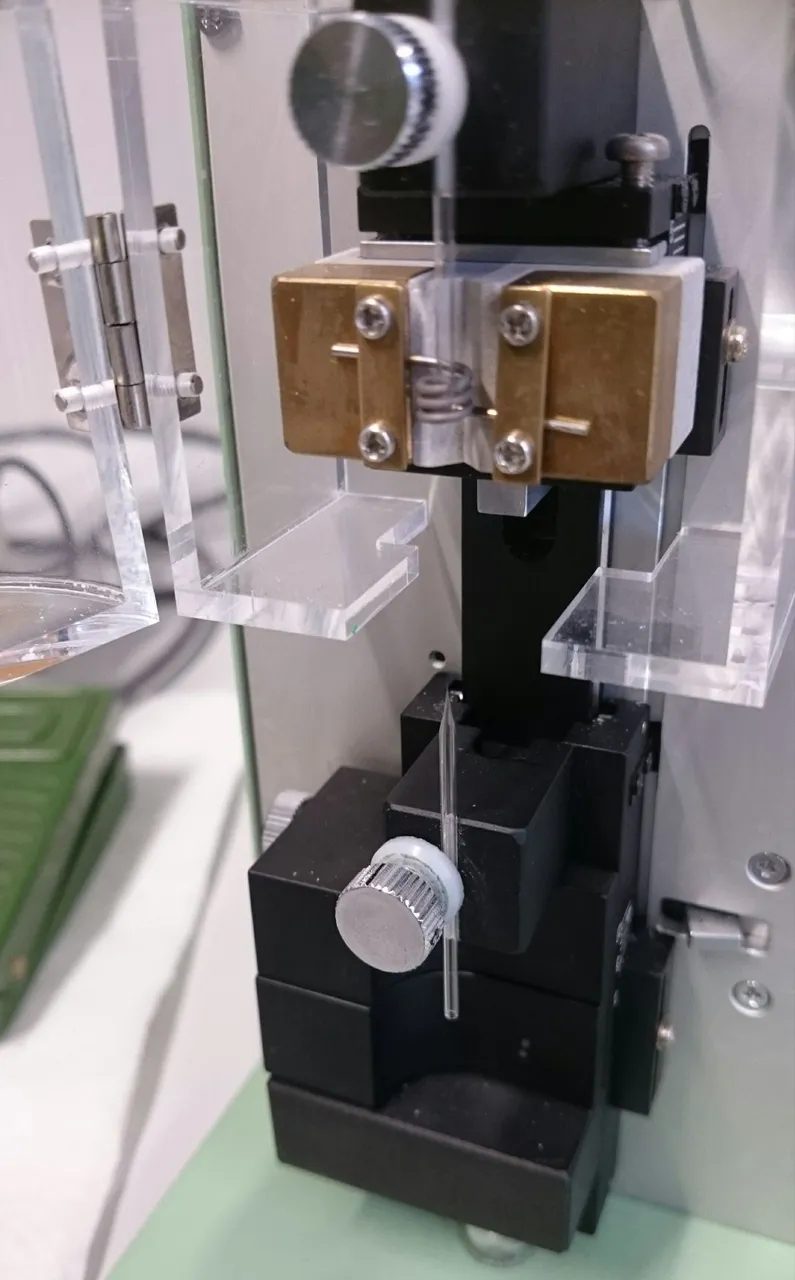
Those who remember my post about the patch clamp technique should also remember the extremely tiny glass pipettes used for it. The ones used to inject mouse zygotes are very similar, so is the process of making them. I wasn’t able to snap any pictures in our embryo lab, so you’ll have to make do with the patch clamp ones.
The thin pipette is carefully inserted into the zygote. The cell membrane is very elastic, which is why the pipette is given a short impulse to vibrate, to allow it to pass through. This usually doesn’t hurt the cell, as long as it’s not done with too much force. Once the pipette is inside, a tiny amount of the solution containing all elements for the genetic manipulation is injected. The pipette is pulled out again and one can move on to the next cell.
When I did this the first time, I wanted to test if one of my synthesized components works. It was the mRNA (“messenger RNA”, the way info from the DNA is transported) for a protein. Actually, two proteins. One coded for an enzyme, one for GFP (= green fluorescent protein). Inside a cell, the mRNA was supposed to be cut in two, so that both proteins would be produced. The GFP itself wasn’t necessary for the genetic manipulation but served as a control to see if my mRNA was faulty or not.
So, we put the injected cells back into the incubator at 37°C and waited until the next day, by which the zygotes had divided into two-cell embryos! Some of them at least. Not each injected cell makes the cut.
Under a fluorescence microscope, we could then check if the cells appeared green … which they did! Success!
At this point, the experiment was over. We didn’t need these cells anymore and most of them died a few hours later. We suspect that the concentration of mRNA was too high and thus toxic.
For my main experiment, the embryos were incubated a bit longer: a good 3 days. After that time, most were in the blastocyst stage and ready to be inserted into a surrogate mother mouse.
The surrogate had previously been put in a cage with a sterilized male, to mate and become pseudopregnant. Only when that’s the case, the embryo has a chance to implant into the uterus.
There are different ways to insert embryos, we chose a non-surgical way, which is less dangerous for the mouse. A very, very thin and long plastic pipette is inserted into the mouse’s vagina, which allows injecting the embryos directly into it. Takes a bit of patience, but the mice are surprisingly relaxed during the process.
(Or maybe we have stoner mice. Who knows.)
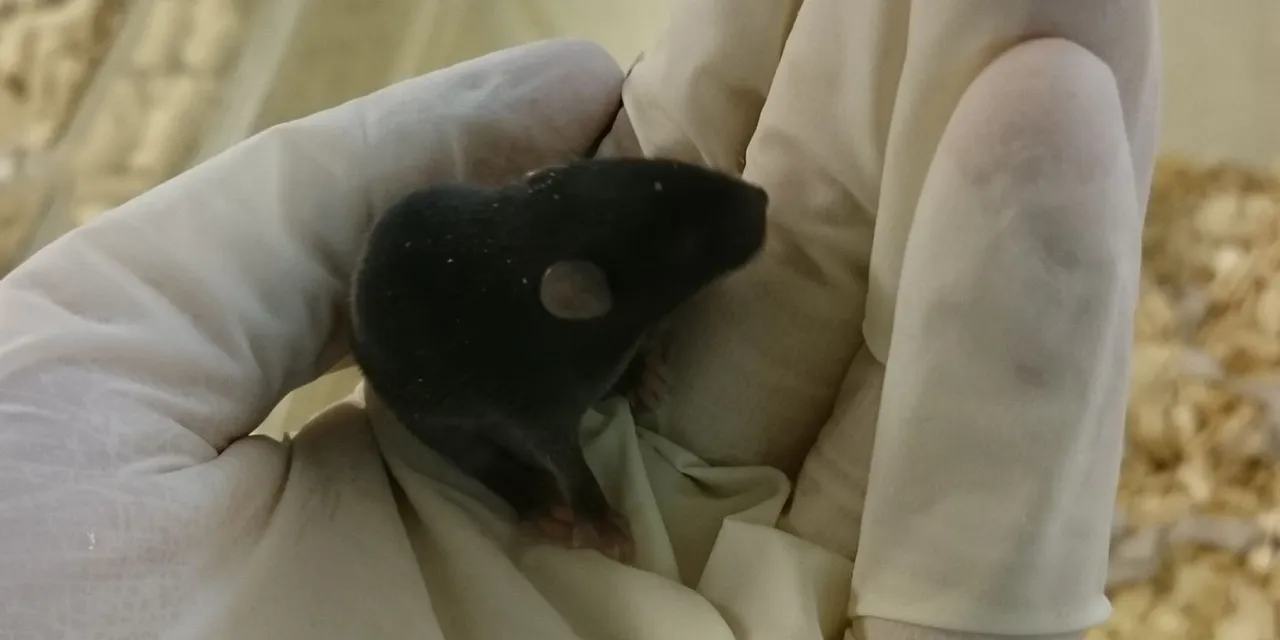
After that, it’s waiting. Not all embryos implant themselves and if the mouse is stressed, it can actively abort the pregnancy. So until 3 weeks after the injection, you can’t know if it worked. And then, it’s still 3 weeks until the babies are old enough to punch a tiny hole in their ears and use the tissue for genotyping, to see if the genetic changes even happened …
Working with model organisms takes a lot of time.
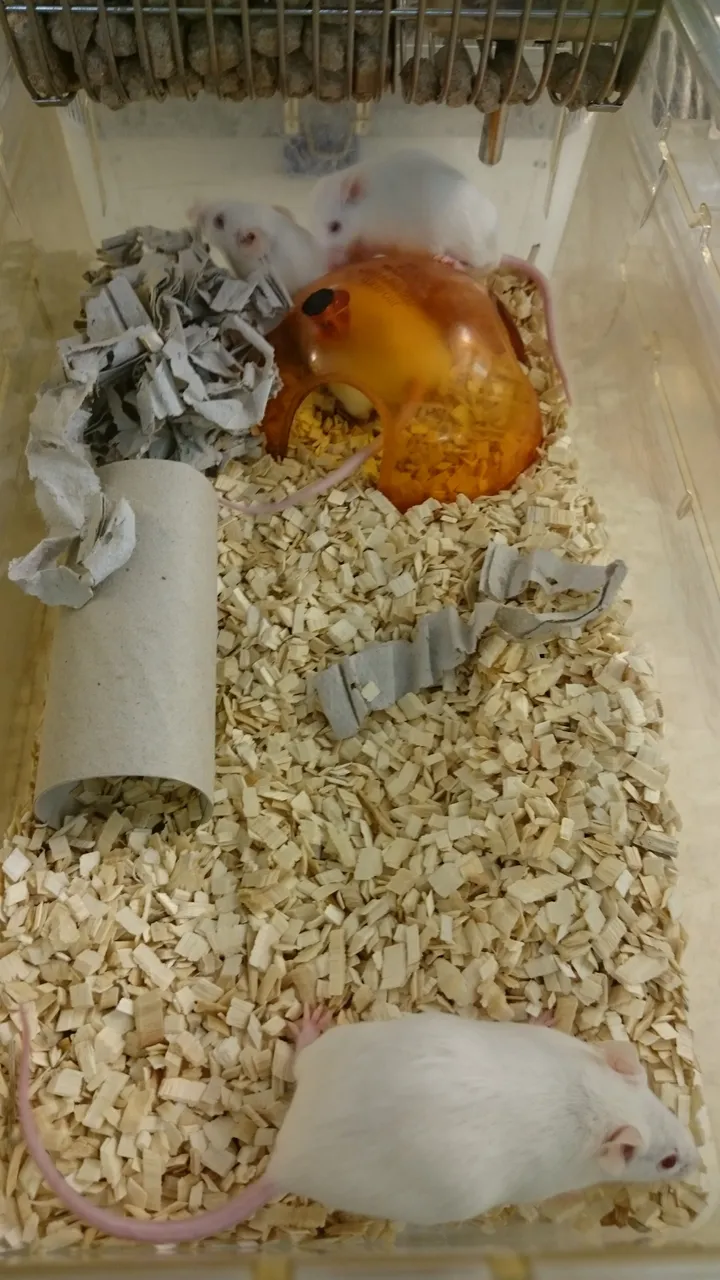
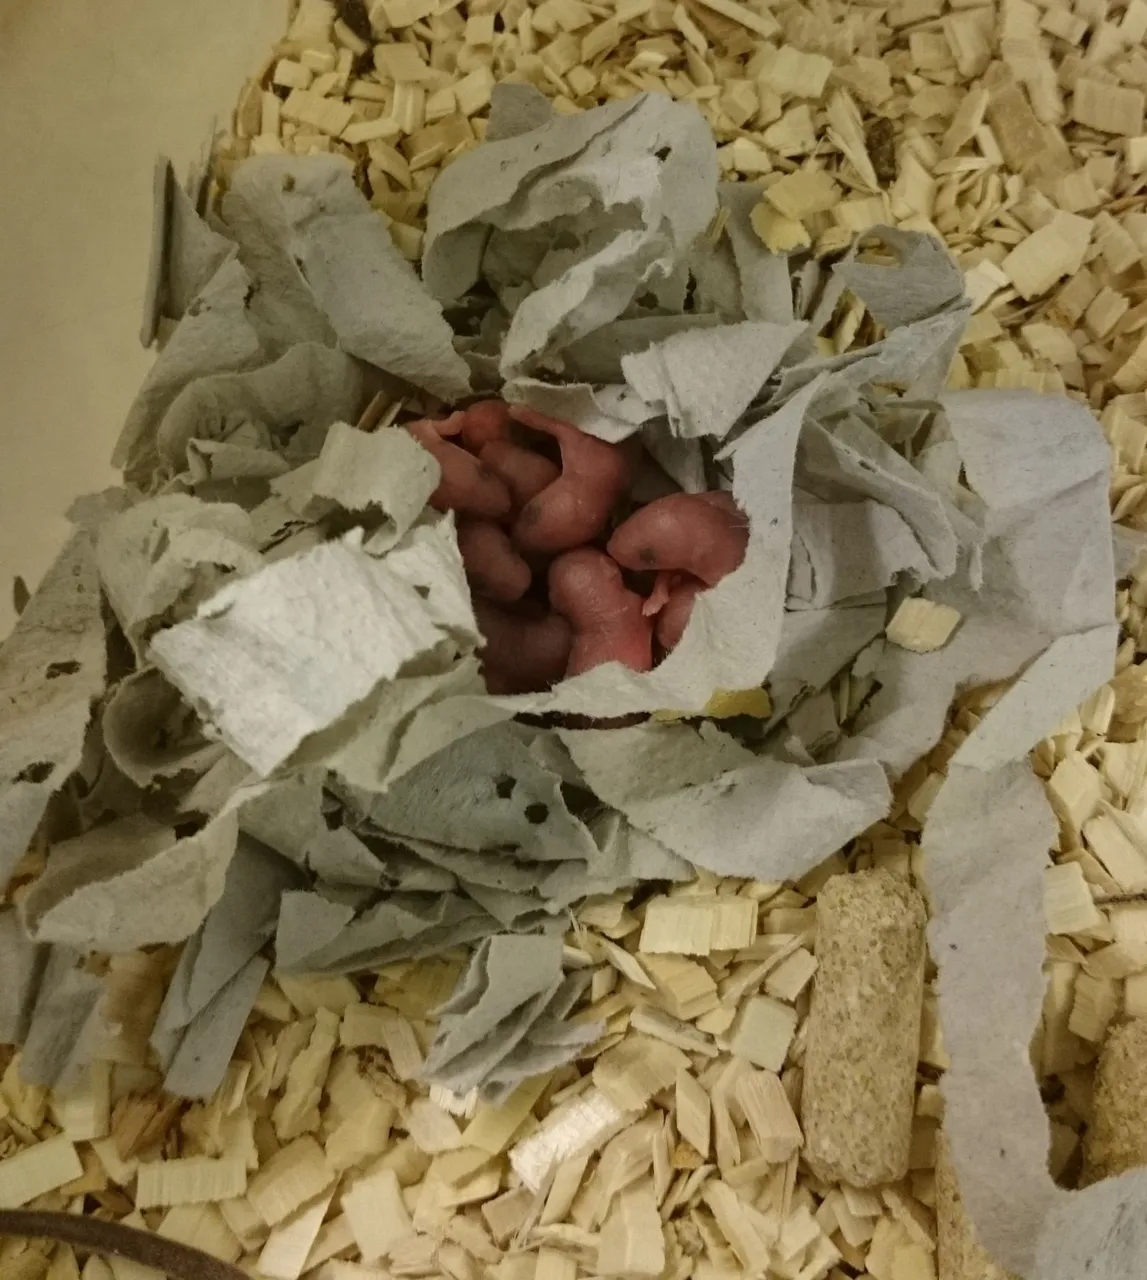
Anyway, that’s the stage I’m in right now! My first mice are hopefully born next week. I’m extremely excited about it and am hoping for a lot of healthy, transgenic babies!
If you have any questions, ask away!
References:
The processes described above have been shown and explained to me by my supervisor, but I’m still providing some papers to give you a chance to read more about it, if you’re interested.
Genetic transformation of zygotes
Genetic transformation of mouse embryos by microinjection of purified DNA
Fertilization in Vitro and Development of Mouse Ova
The Atlas of Mouse Development
Previously:
All about the Sperm-DNA - Vol. 1
Gene Editing - Cre/loxp - Vol. 2
Methods, Methods, Methods - Vol. 5